#Week 17 / Wildcard week
Assignment and learning outcomes.
What is this week assignment?
Design and produce something with a digital fabrication process (incorporating computer-aided design and manufacturing) not covered in another assignment, documenting the requirements that your assignment meets, and including everything necessary to reproduce it. Possibilities include (but are not limited to composites, textiles, biotechnology, robotics, folding, and cooking.
What I gonna do this week?
Demonstrate workflows used in the chosen process. Select and apply suitable materials and processes to create your project.
Steps to follow
Step 1) Find the image you want to screen print, and if necessary convert to a vector image. (It will need to be vector due to the vinyl cutting stage only working with vectored images.)
Step 2) Cut the image, or get it cut for you! (its very important that you ask for it to be a negative of the image, or if your weeding the vinyl yourself you need to weed the line-work from the vinyl).Once you have you vinyl decal sticker, your ready to apply it to your screen. Your decal will have a wax paper backing sheet and a transfer tape front, you need to peel off the wax backing sheet to expose the sticky vinyl. Place the decal sticky side down on the screen and rub it all over with a credit card or sign squeegee.Now peel off the layer of transfer tape to expose the no sticky side of your vinyl decal.
Step 3) Now you have your vinyl decal stuck down to the screen you just need to mask off the rest of the screen and your ready to go! you can easy remove the vinyl with a little white spirit, and reuse the screen with a new design........this makes it a lot cleaner and more practical for small print runs.
Assignment
This week we should design and produce something with a digital fabrication process (incorporating computer-aided design and manufacturing) not covered in another assignment, documenting the requirements that your assignment meets, and including everything necessary to reproduce it. Possibilities include (but are not limited to) composites, textiles, biotechnology, robotics, folding, and cooking. I decided to try make a tshirt, as was interested in silk screen printing Before I started I read some tutorials and watched vodeos about the silk screen printing.
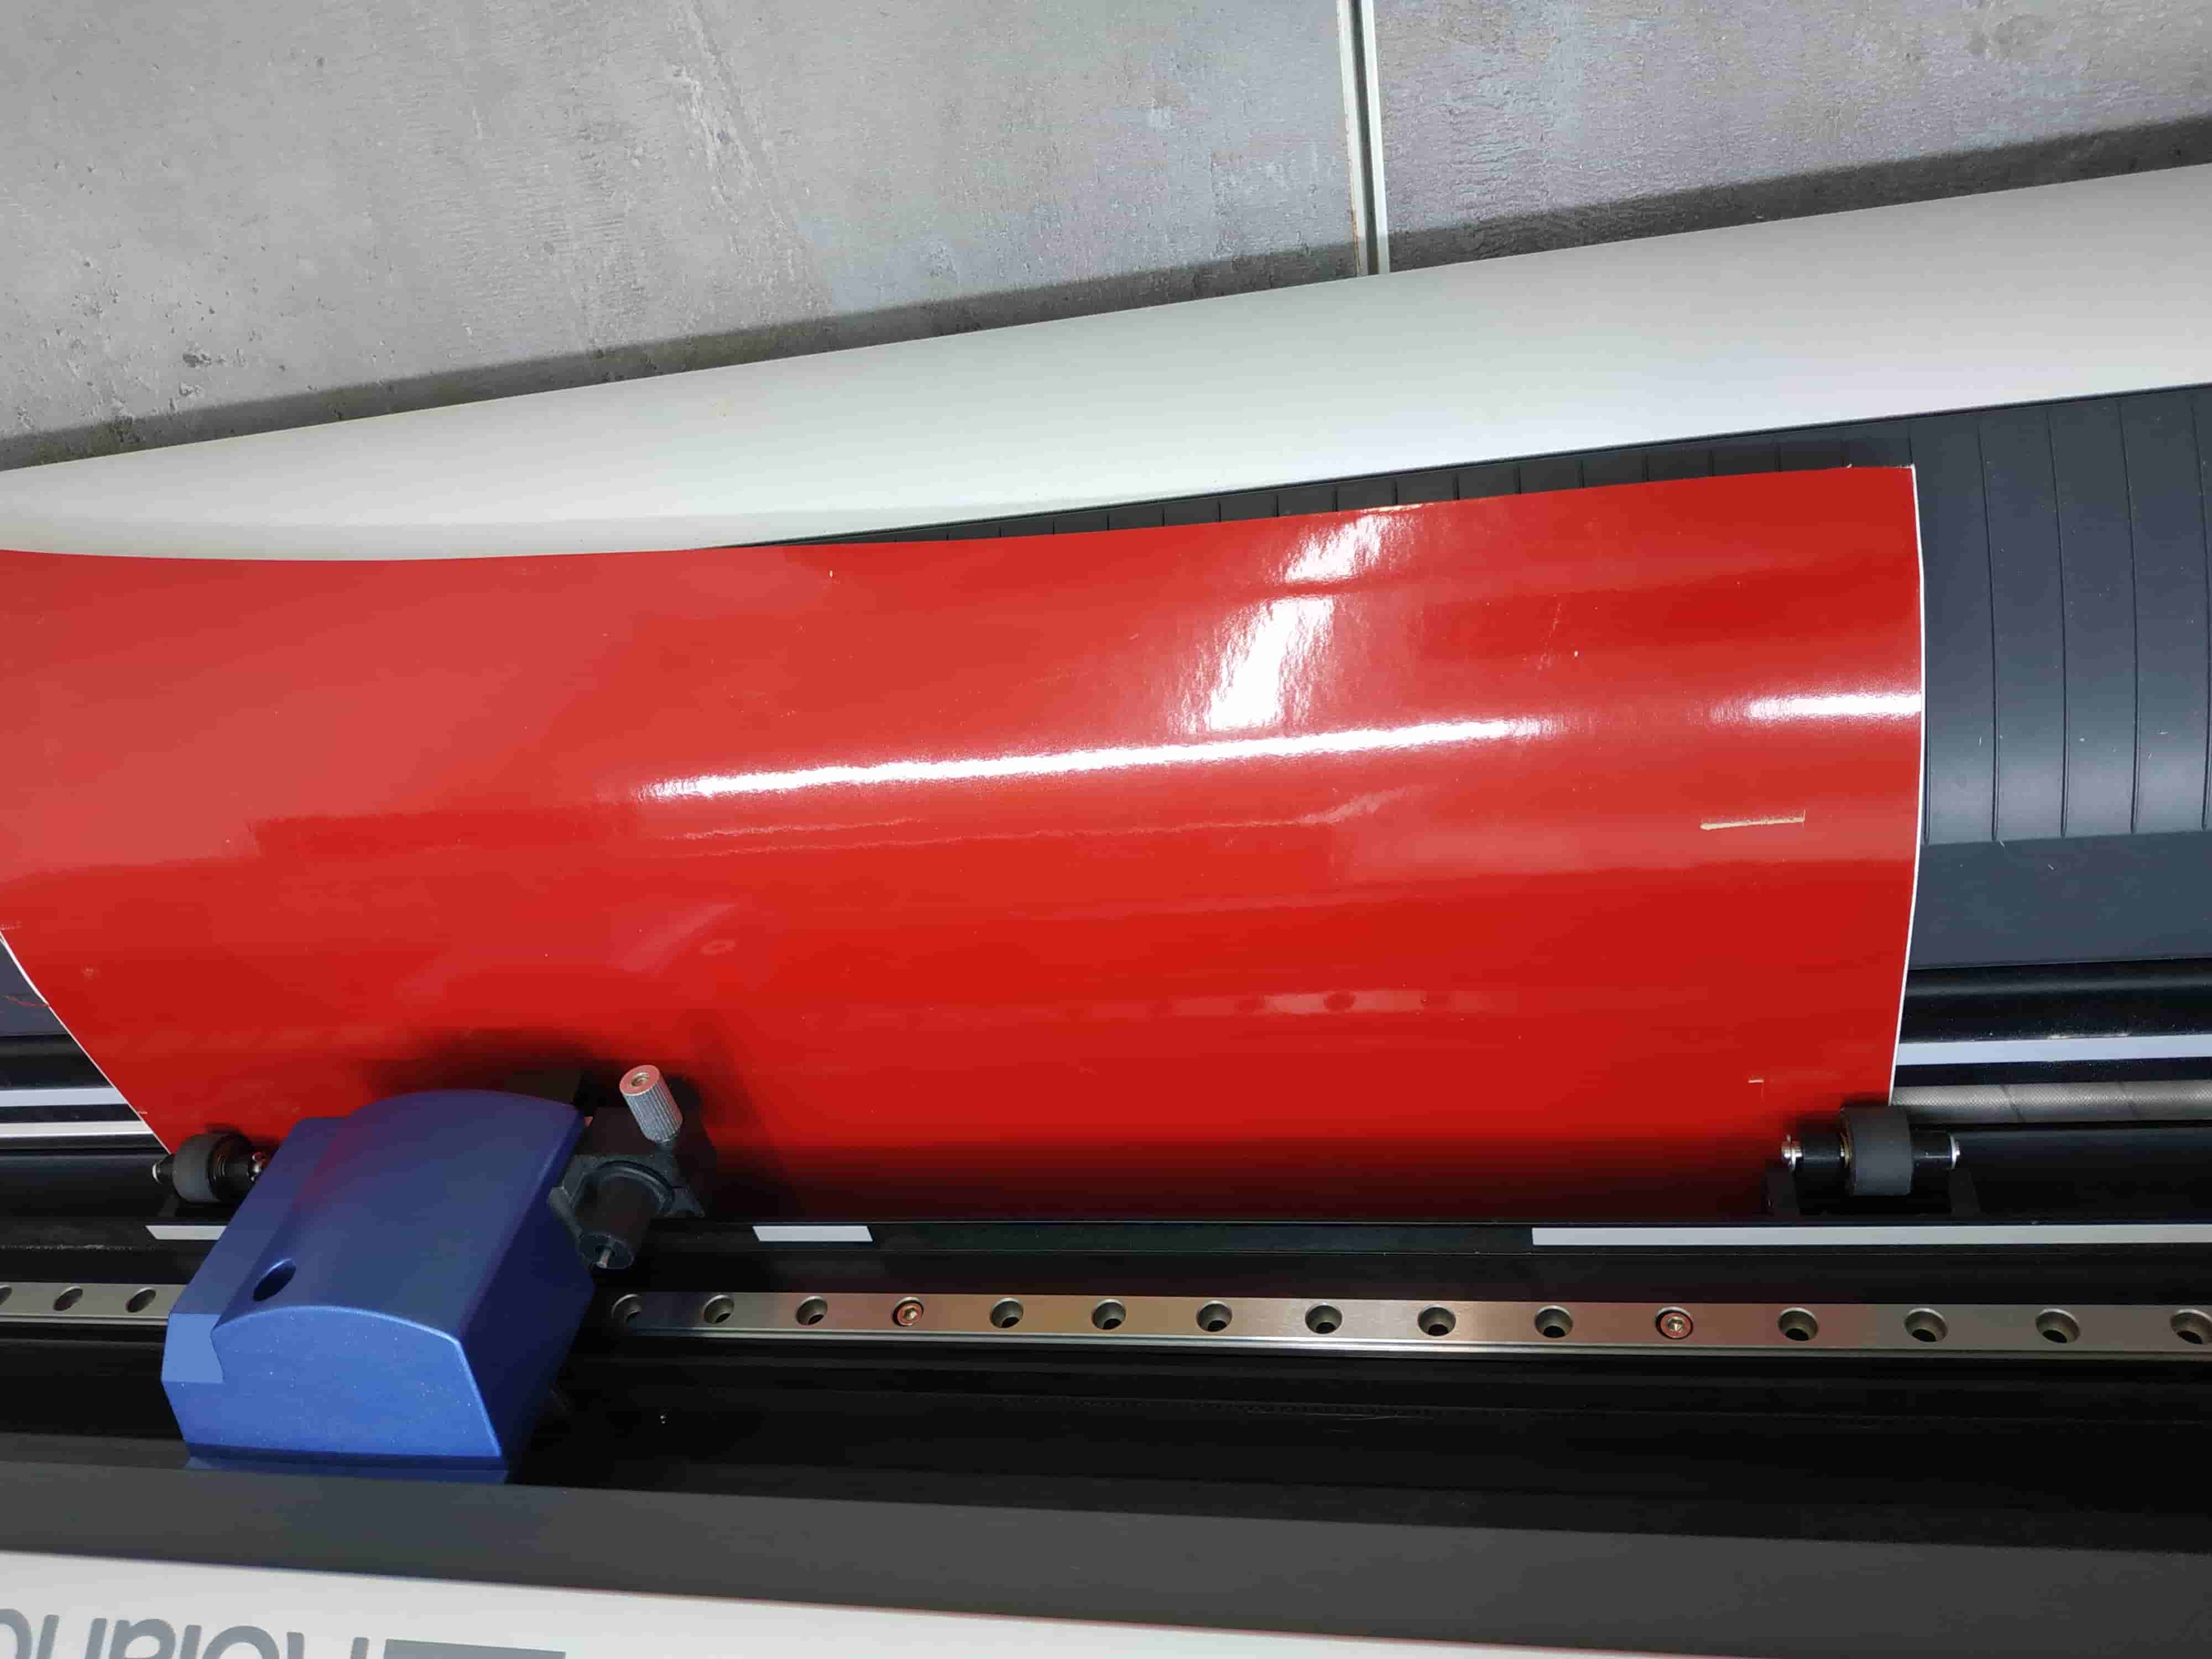
Step 1) Design and cut.
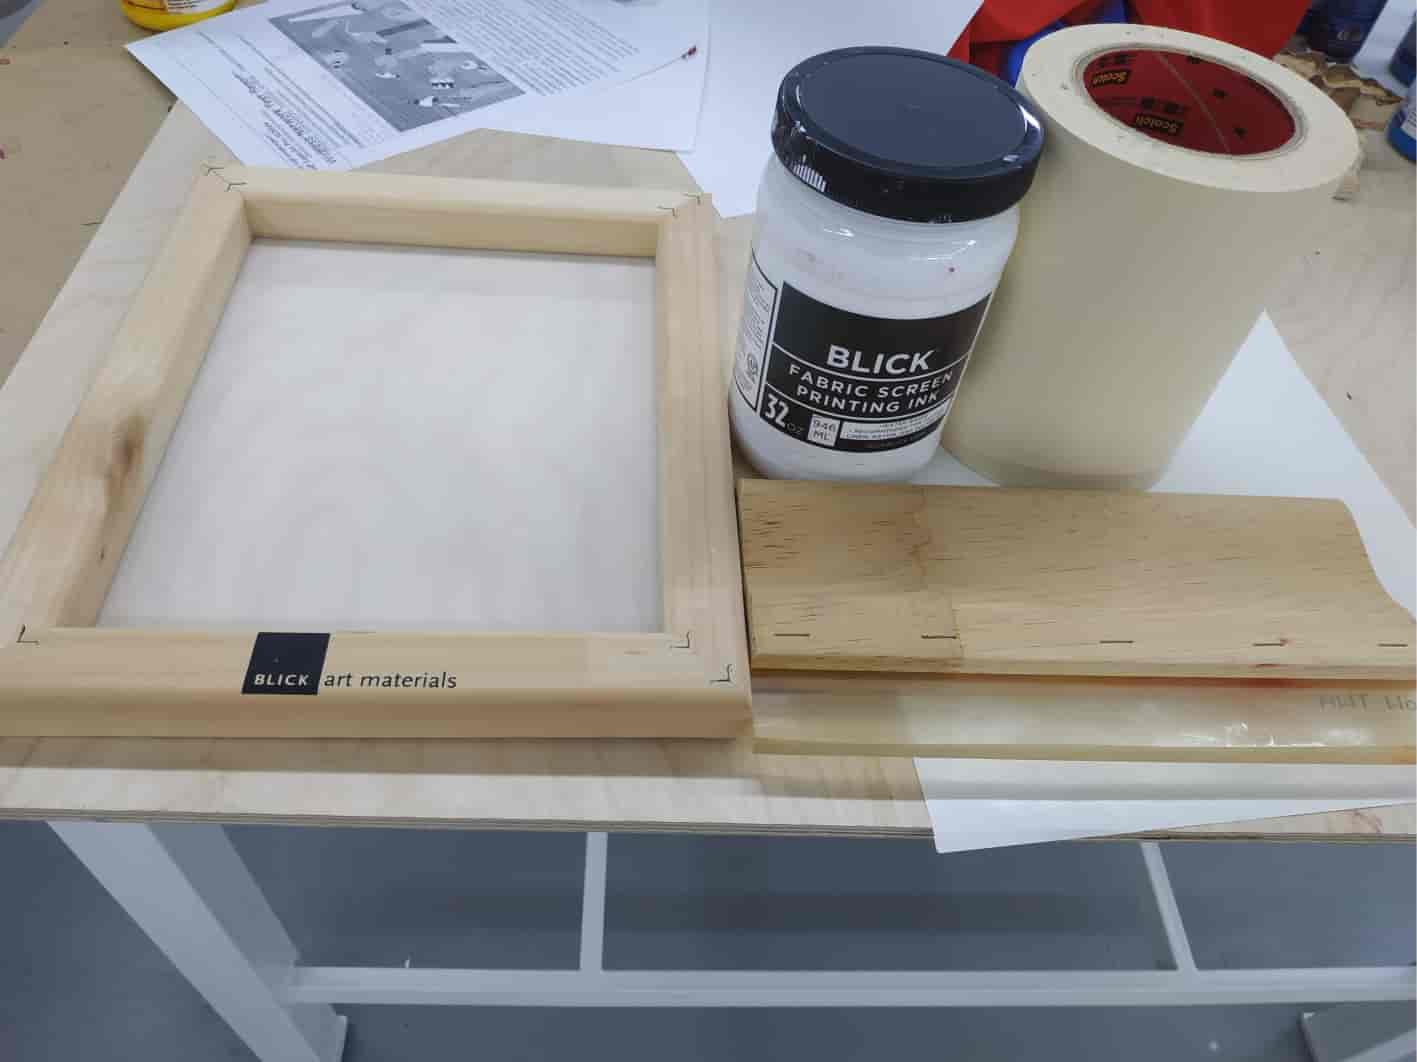
For this assignement I am going use vinylcatter machine, silk frame, colors, durometor, scoch.I tought to print lion from previus assignement, I redesign some things by Corel draw, cut it by vinylcutter machine. Here I showed how to make a file and send it to the machine.
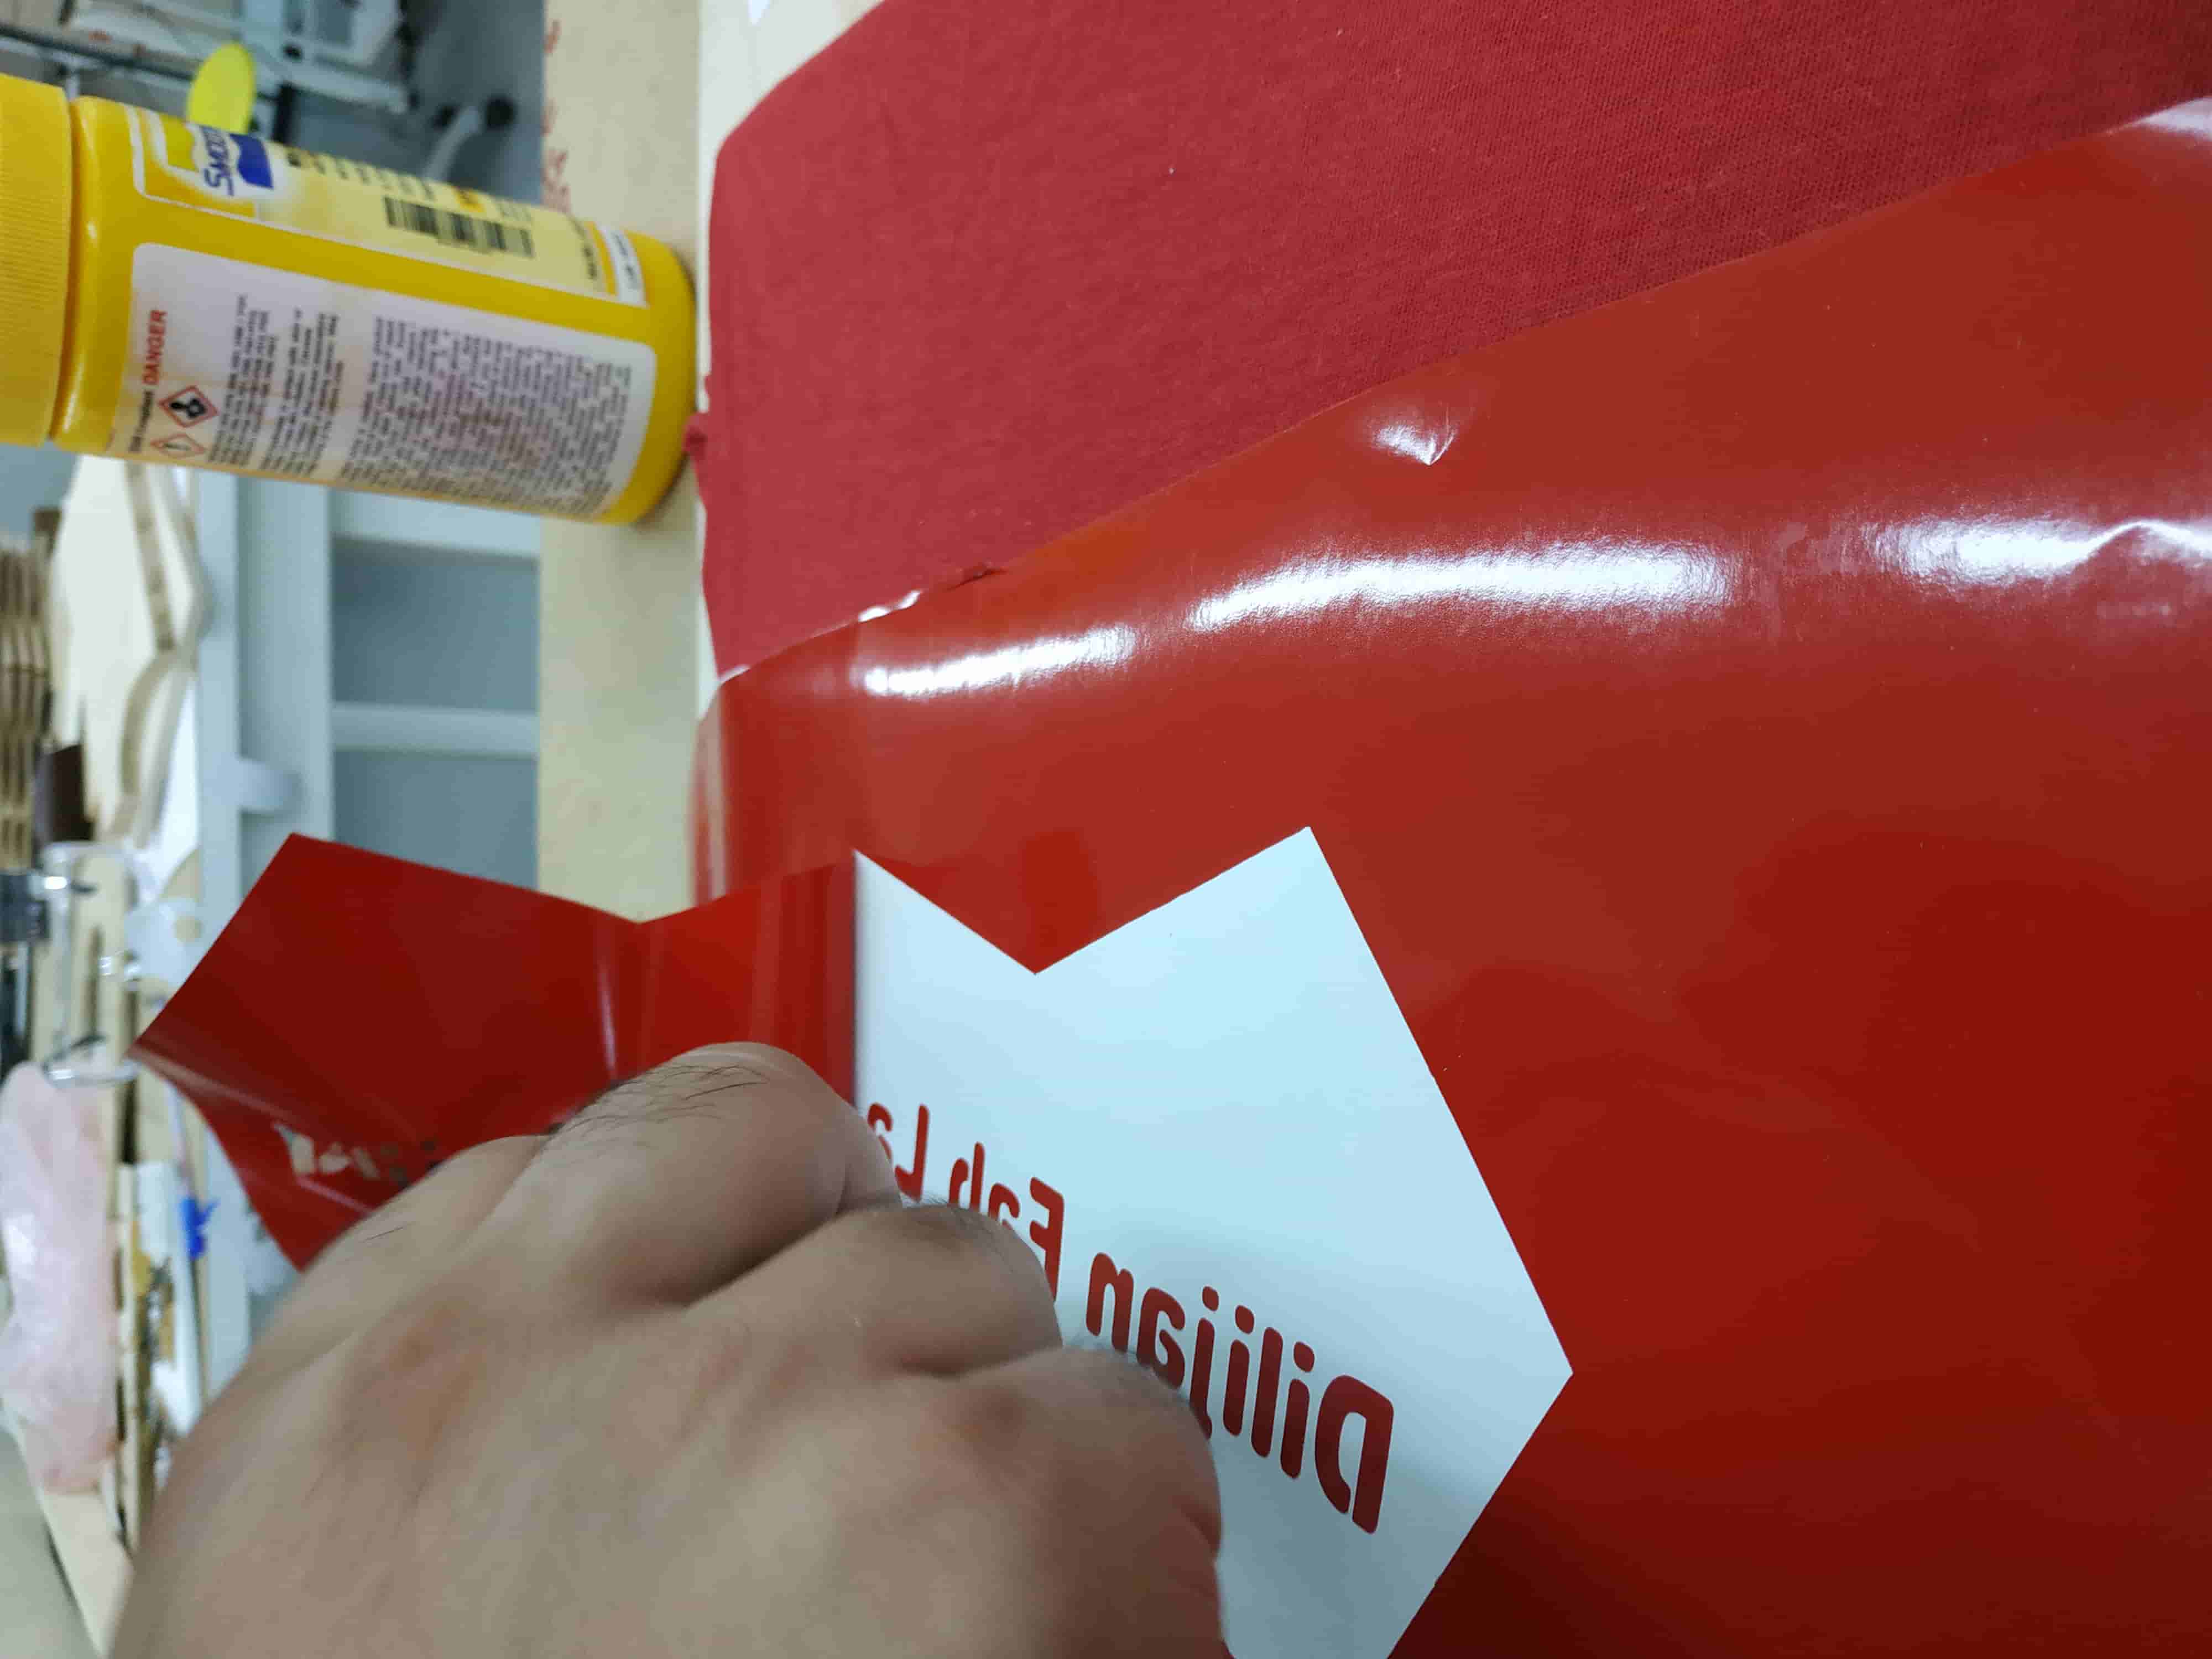
Step 2) Printing process.
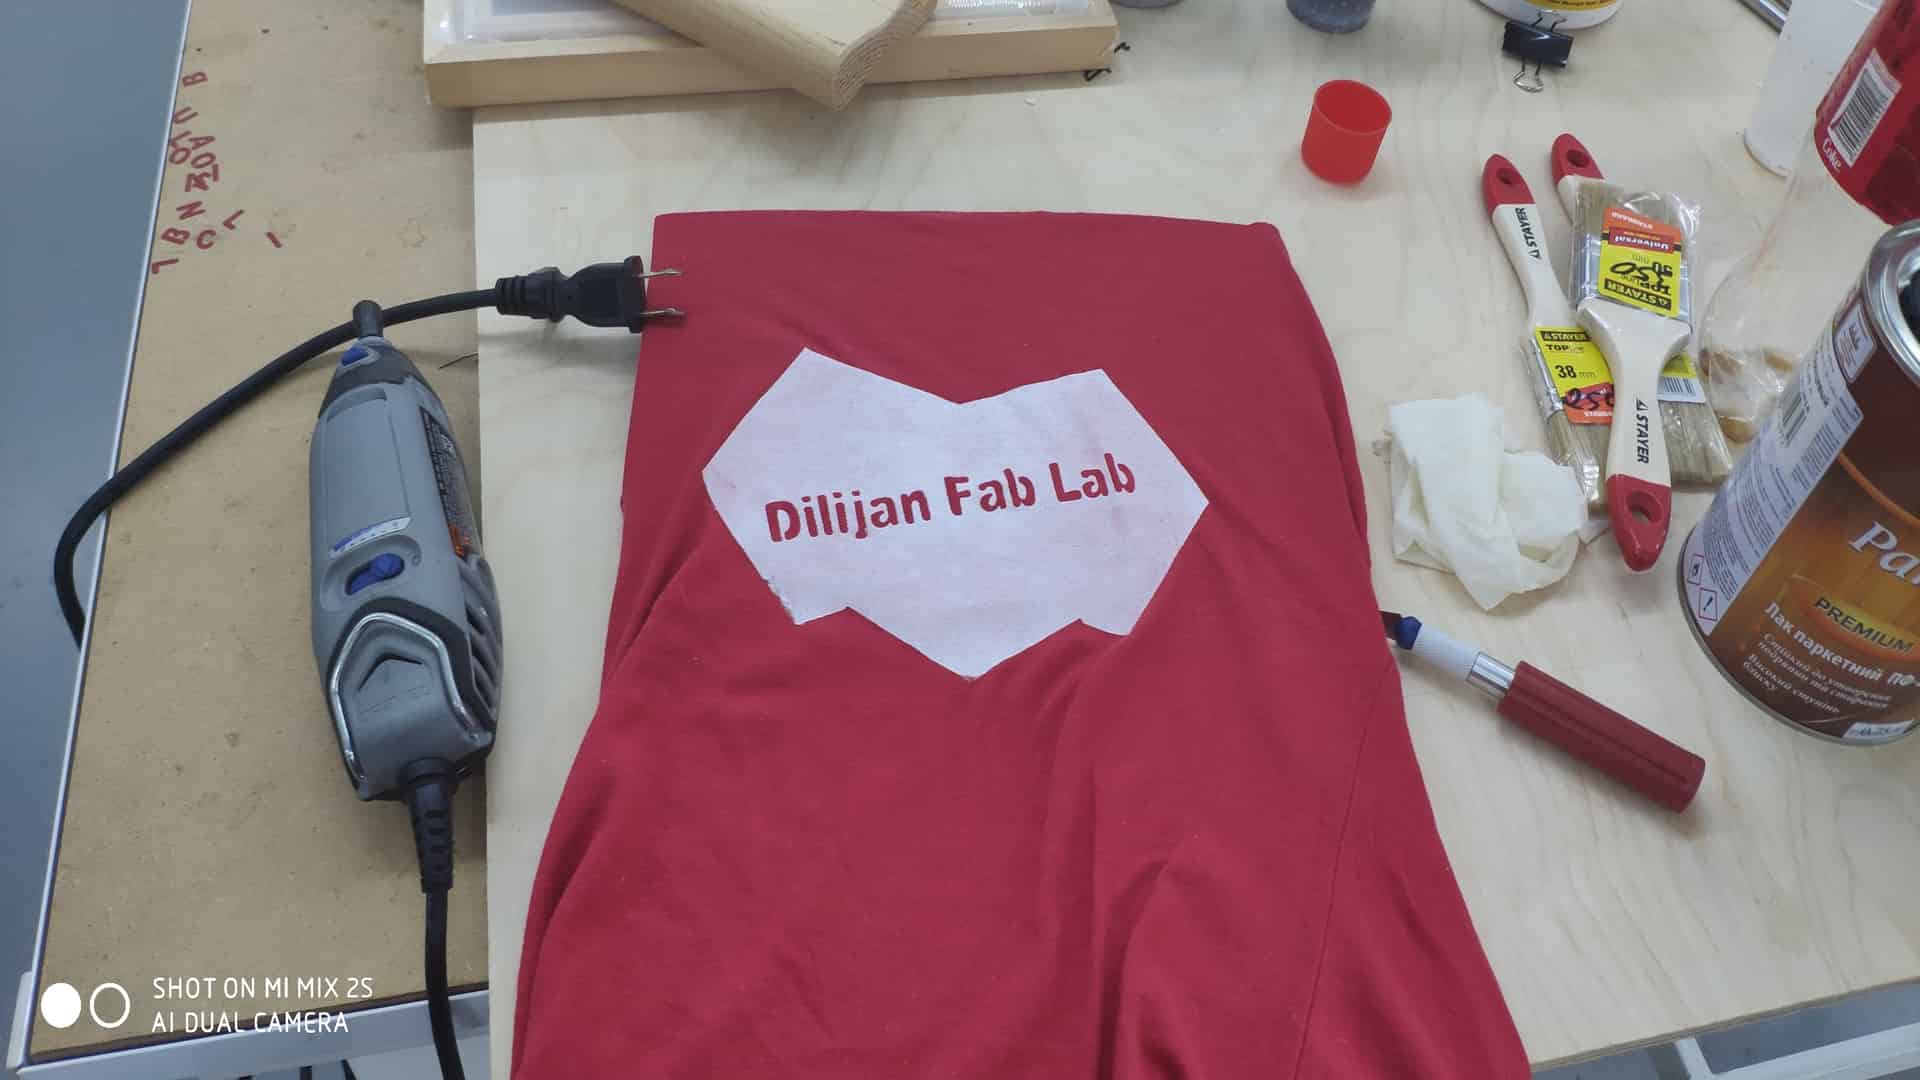
I seperated cut parts from paper and left only outline. Sticked scotch to the part with outline, after sepaerated red part from white paper and sticked it on the frame, then carefully removed the scoch. After I put a partof cardbord in the t-shirt for getting smooth surface.
The tshirt is ready and need a time to dry, for washable printing we needed 6 days for drying (read it on the can with color) After printing process, I washed all used tools and put them to dry.
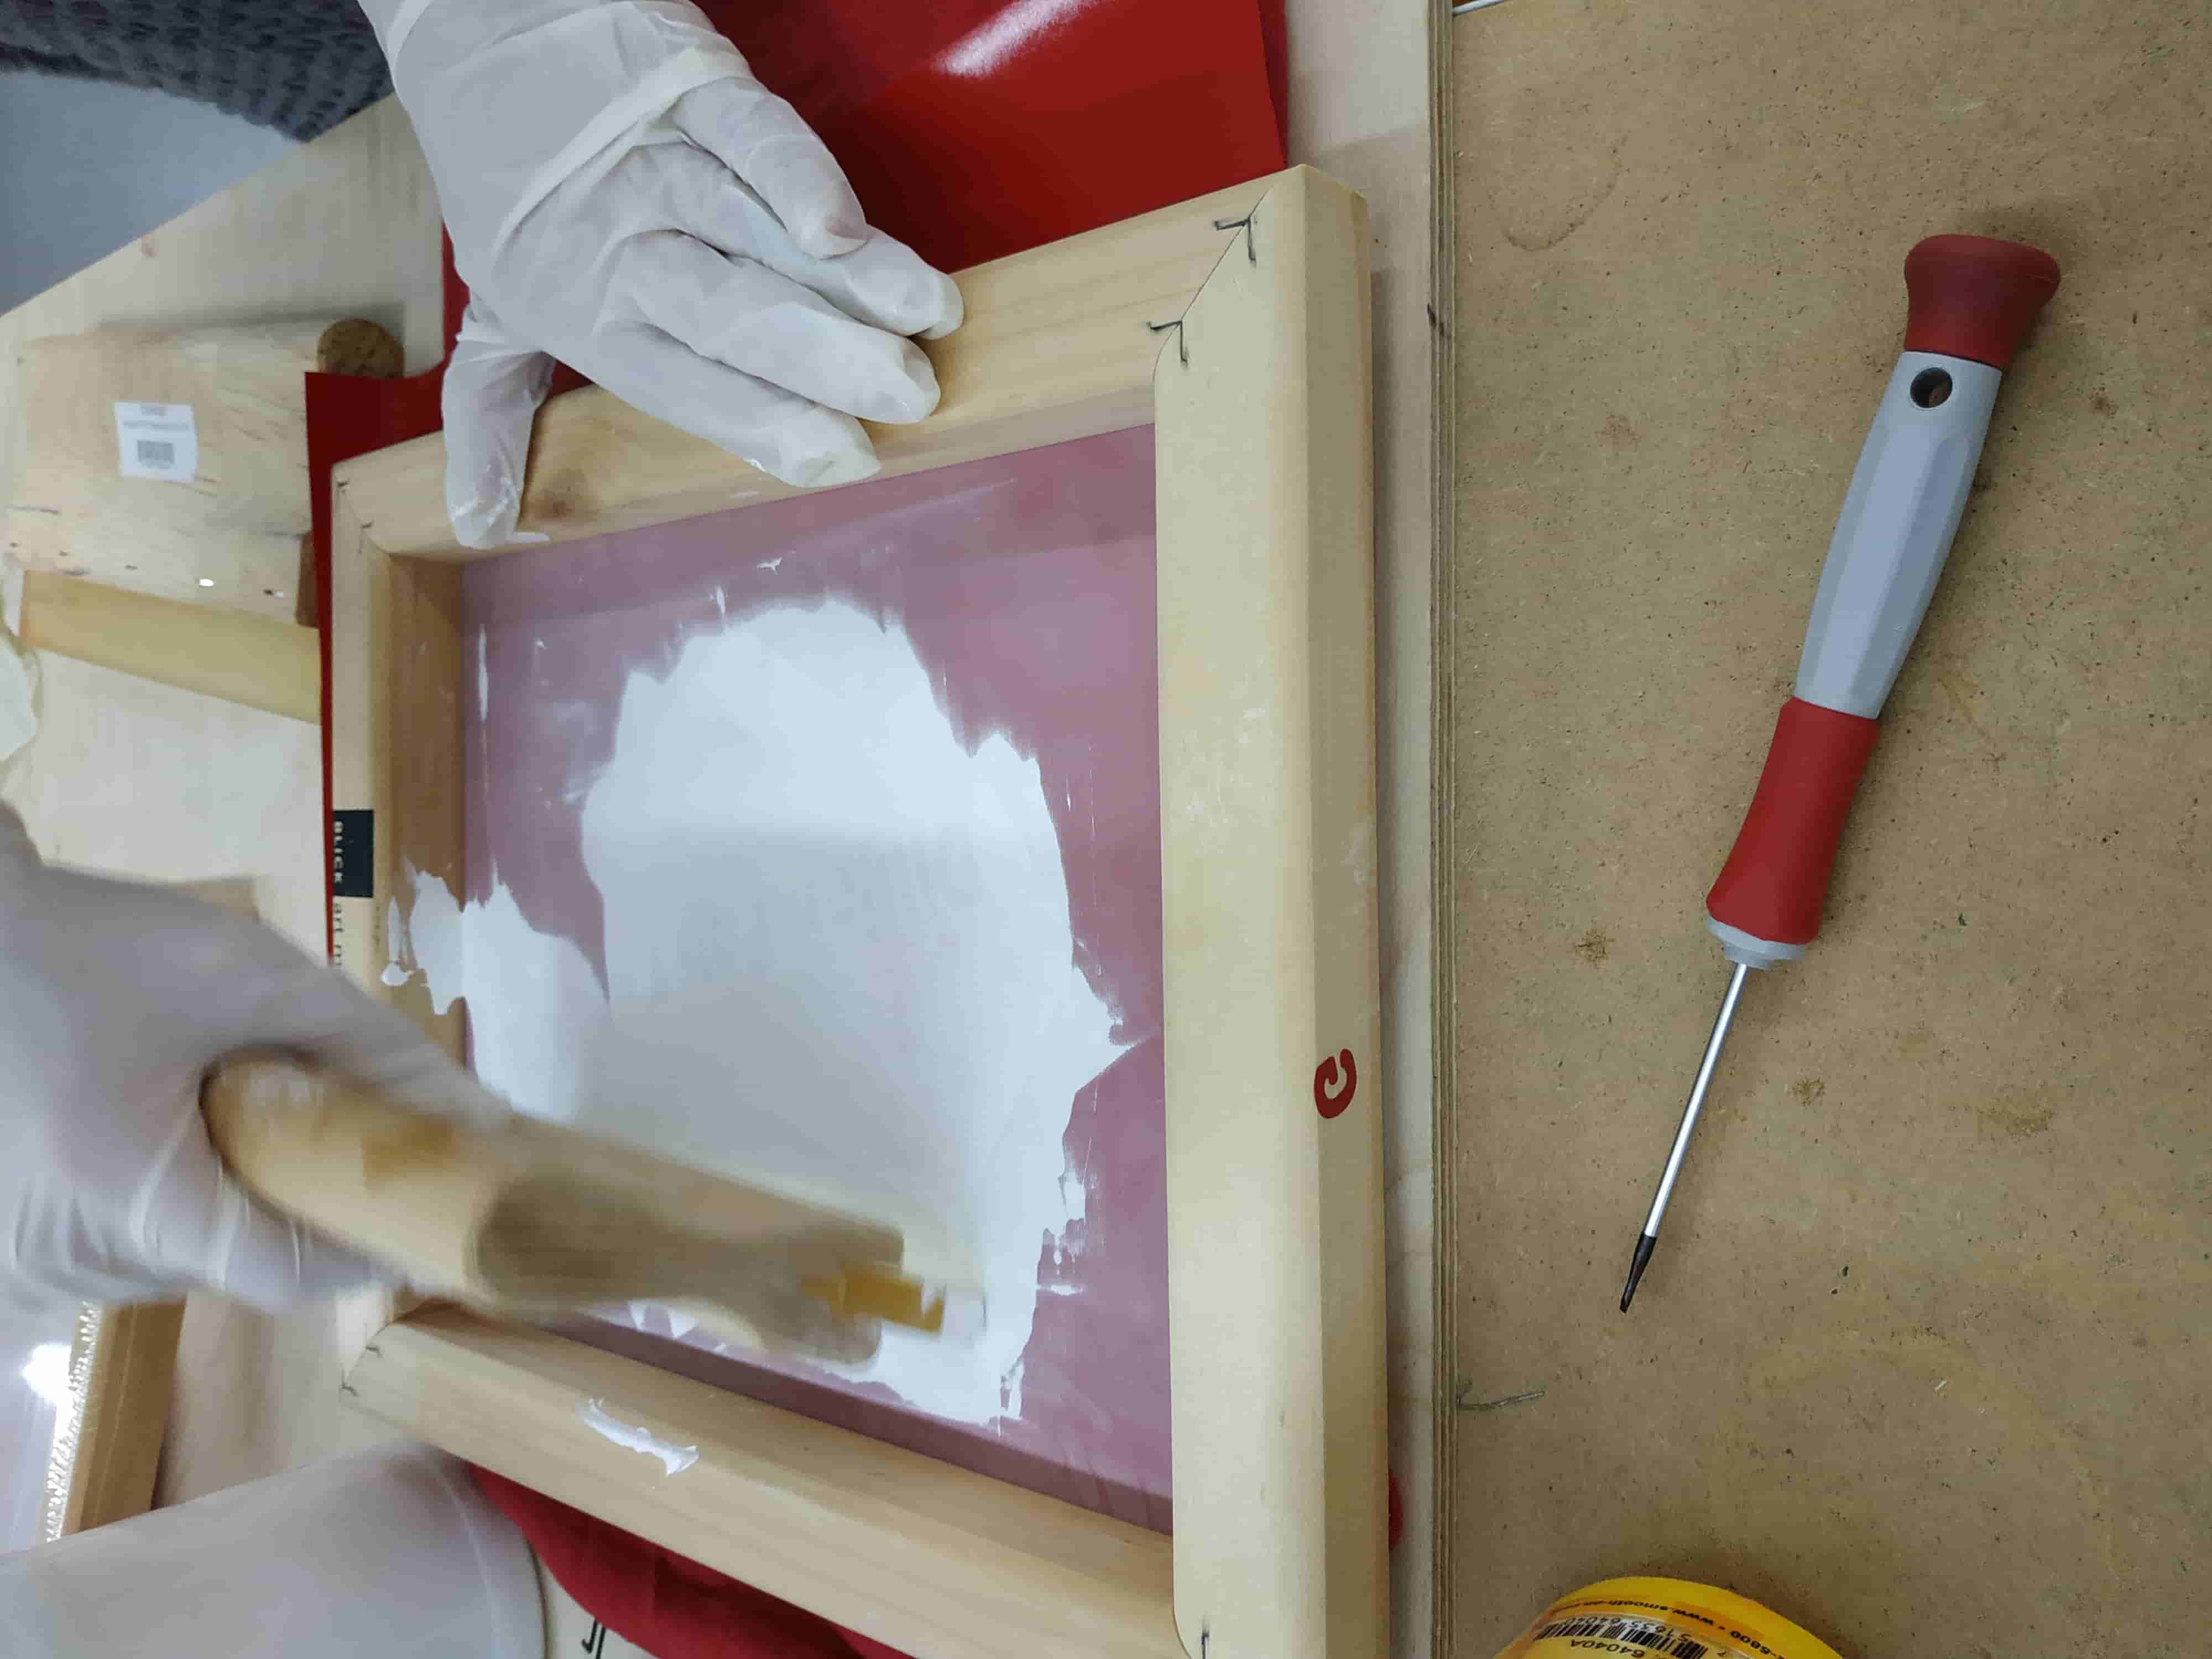
Tshirt printing process is very amusing process and I liked it.
Supplies
Conclusion
For this week try to make a print on my t-shirt using Speedball Ink(white). It was vary esay to make, then I through. The only problem that I had is removeing annessery parts from vinyl cut.