#Week 10 / Moulding and Casting
Step1) Creating 3D model and toolpaths.
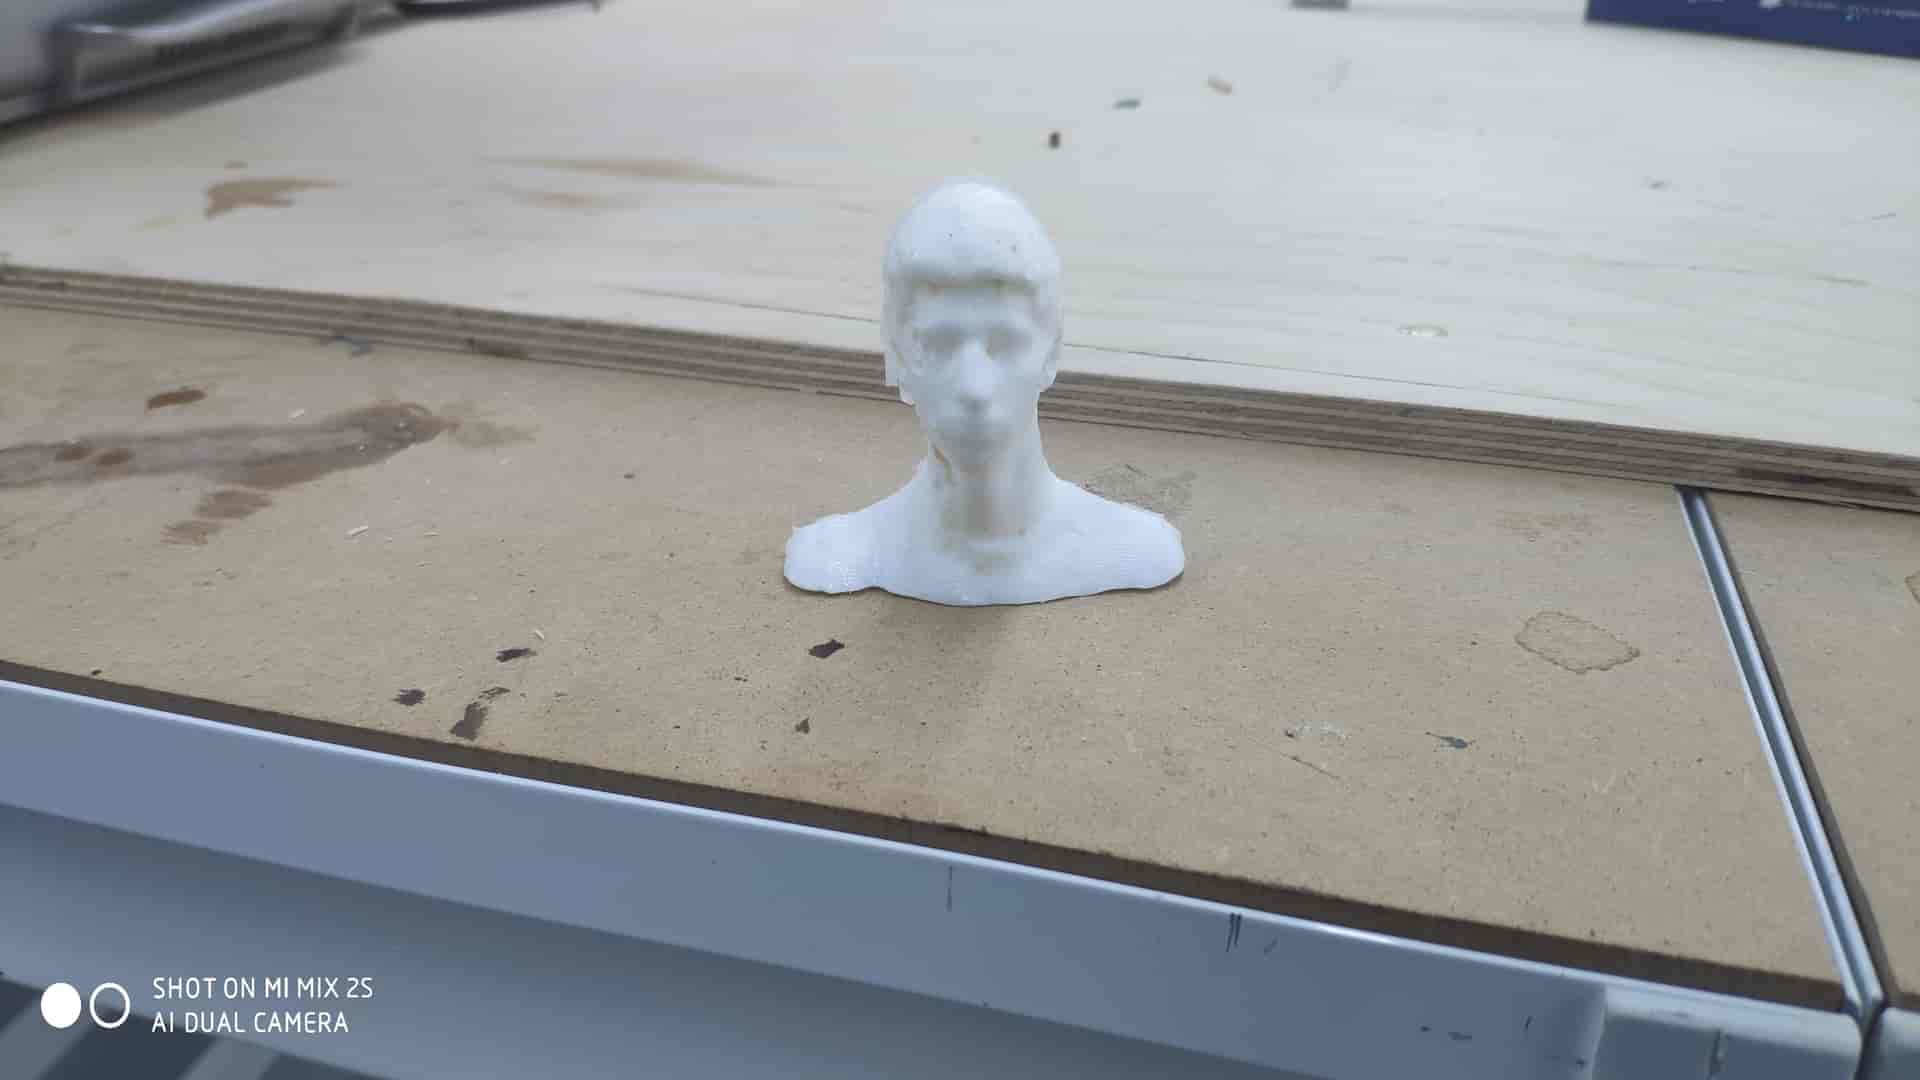
As a 3D model, I used the 3D model of my face which I created in week 6 “3D Scanning and Printing”, and for creating toolpaths I used “MODELA Player 4” and also I used “Virtual Modela” for viewing toolpaths.
Step 1.1) Download “MODELA Player 4” and “Virtual Modela”.

Step 1.2) Open 3D model. In my case, it is a 3D model of my face in a .stl file format. And also choose “Material”. In my case, it was “Modeling Wax”.
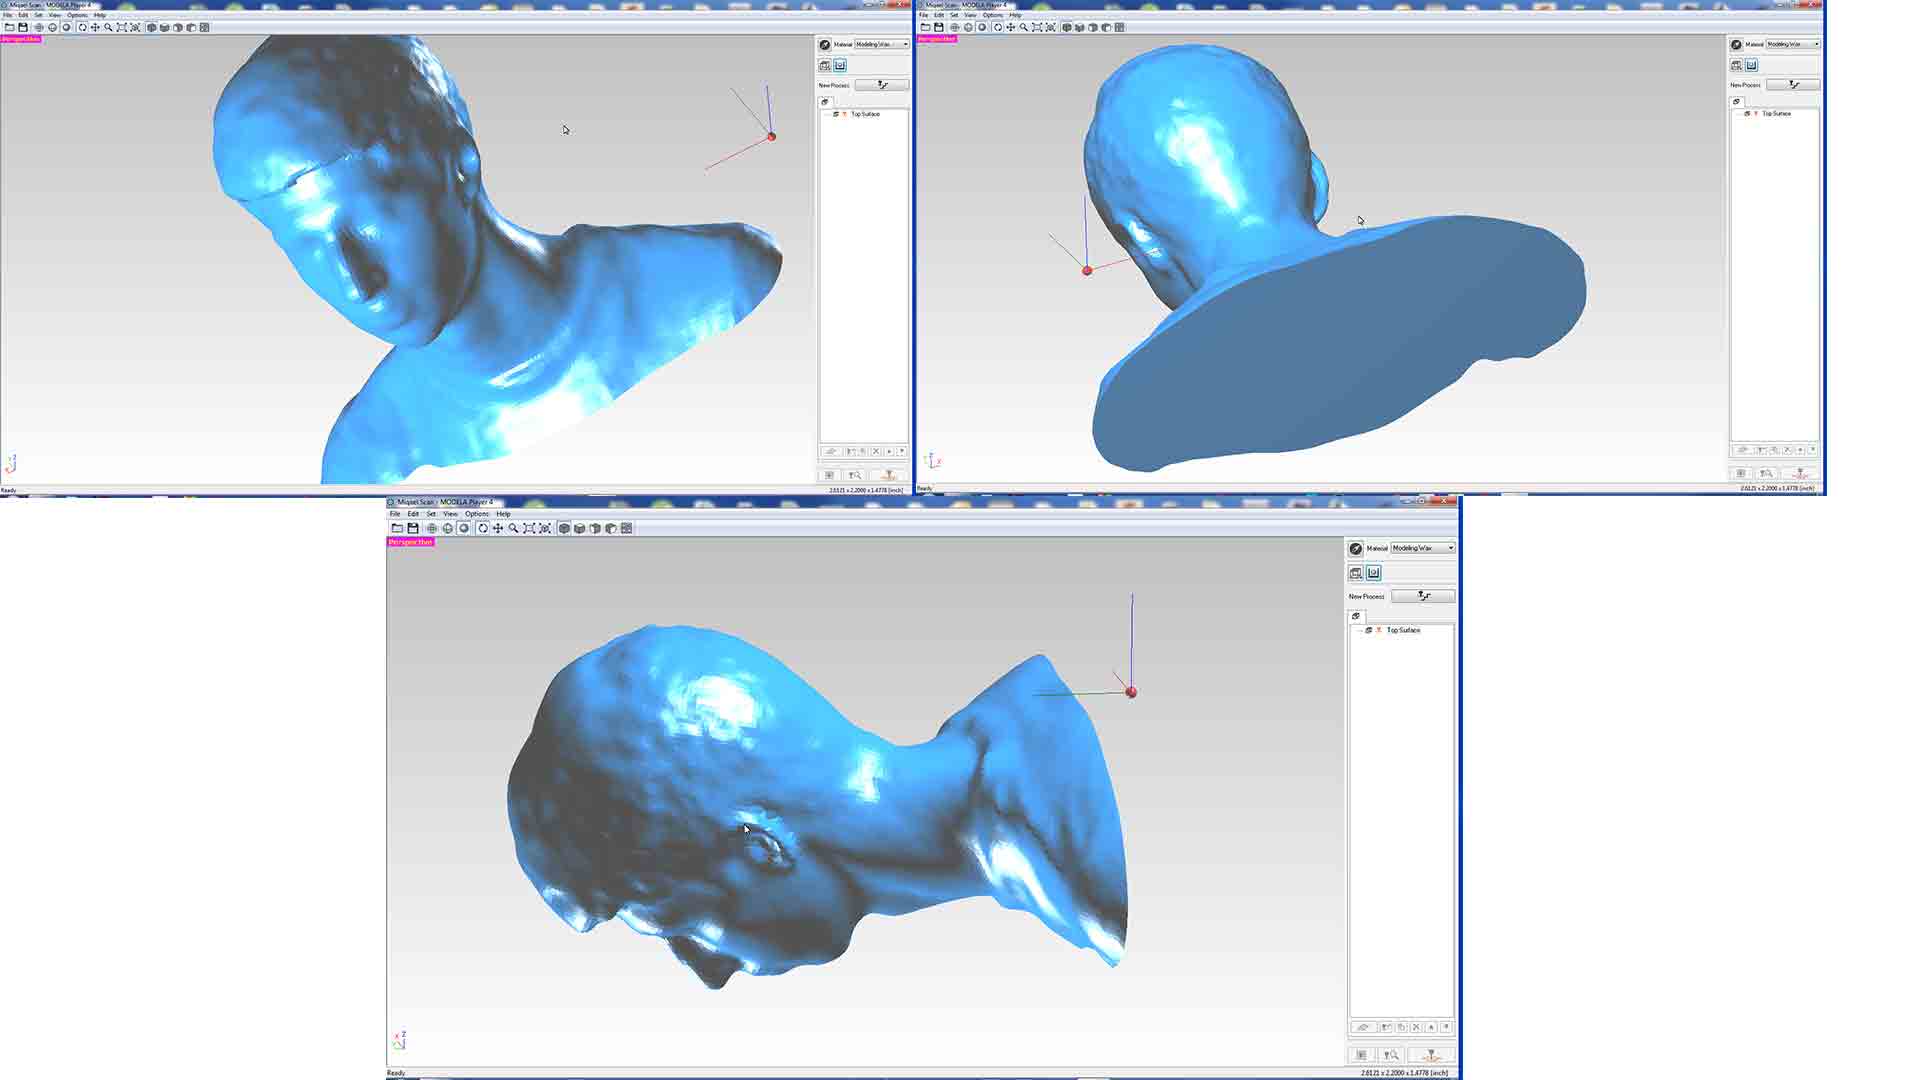
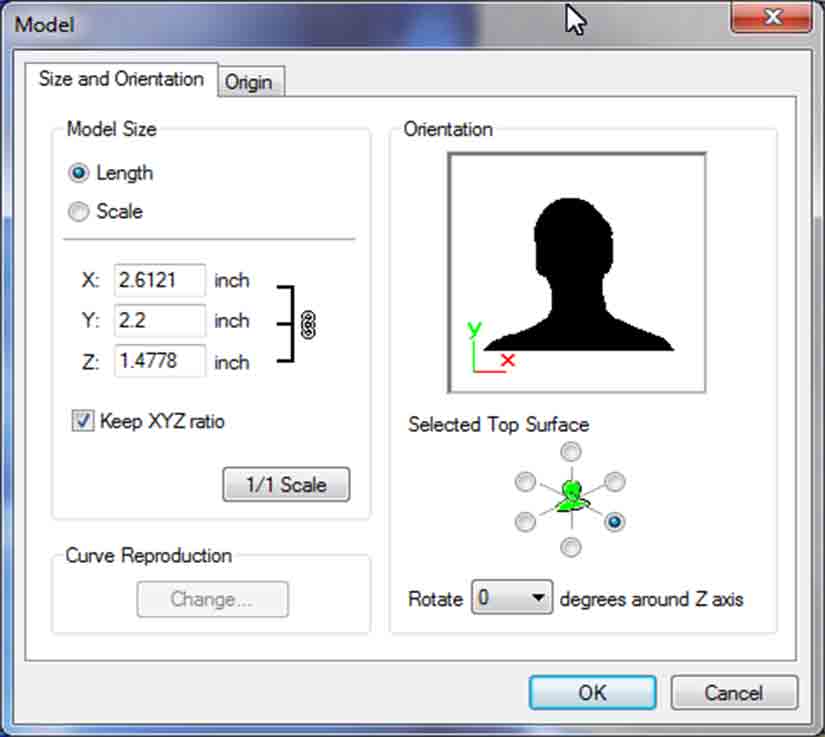
Step 1.3) Go to “Model ” and make sure that the orientation and size of your model are correct. At first, I created toolpath of my face and after milling it I rotate the model in”Model”, and done the same for the back of my head.
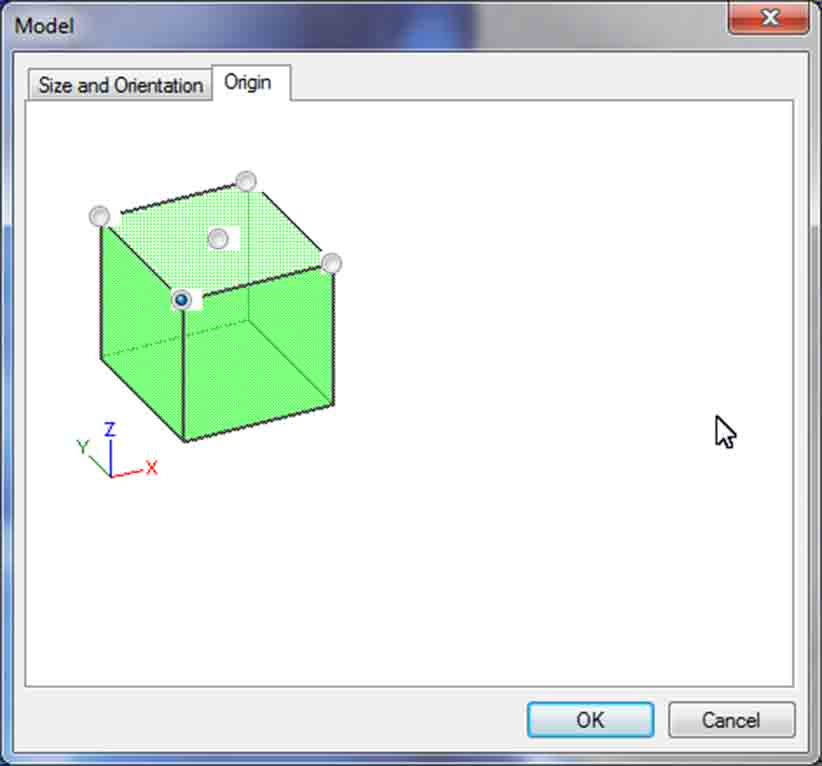
Step1.4)Choose the Origin in “Model > Origin”
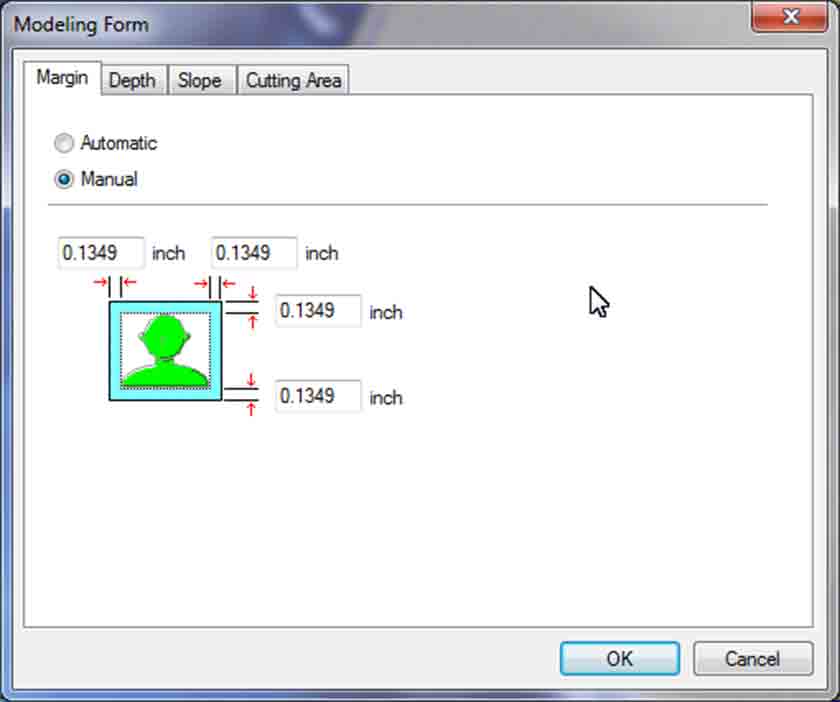
Step1.5) Go to “Model Form” and Choose the margins. For ⅛ inch end mill, I chose “Automatic” mode, for 1/32 inch ball head mill I chose the half of the “Automatic” set. Be careful because 1/32 inch mill can bounce the walls of your model(I have got the problem like that, the mill was bouncing the wall and I fix the problem by changing “Margin” in “Manual ” ).
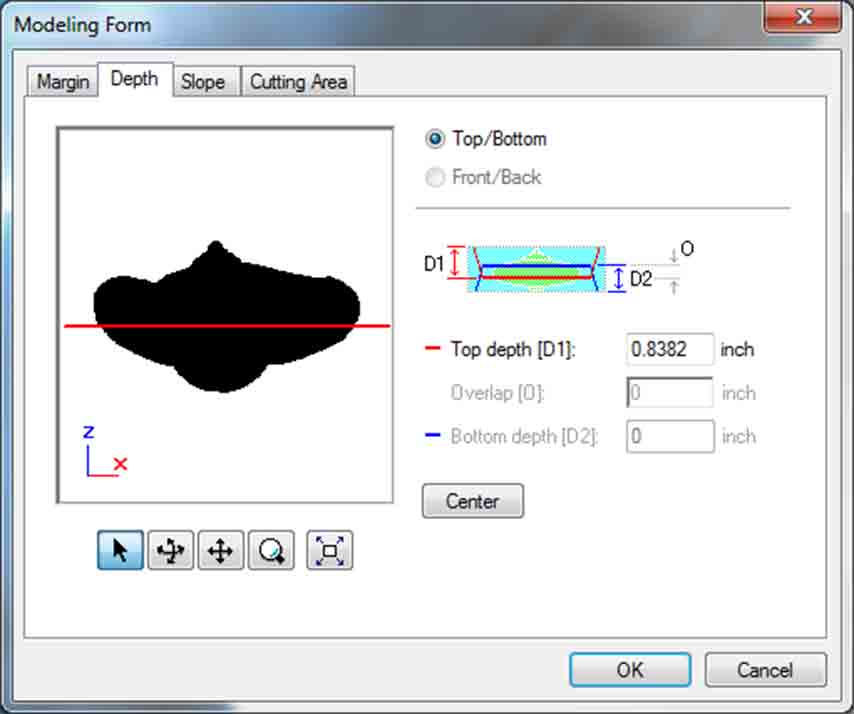
Step1.6)Choosing the right “Depth ” is very important If you want 2 sides to be perfect. You can check the “depth” is good or not just by looking at toolpath. First, go to “center” and if it is not good change it.
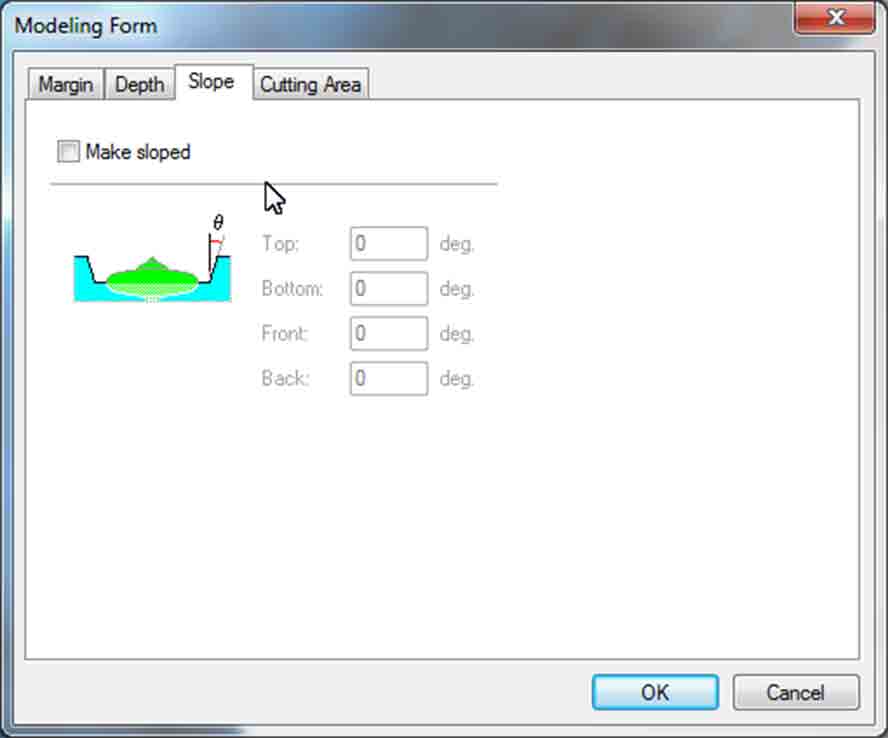
Step 1.7) If you want to give some angel you can go to “Slope” and choose the angel.(I recommend to choose an angel because with straight angles it is very hard to take out the silicon form Wax ) .
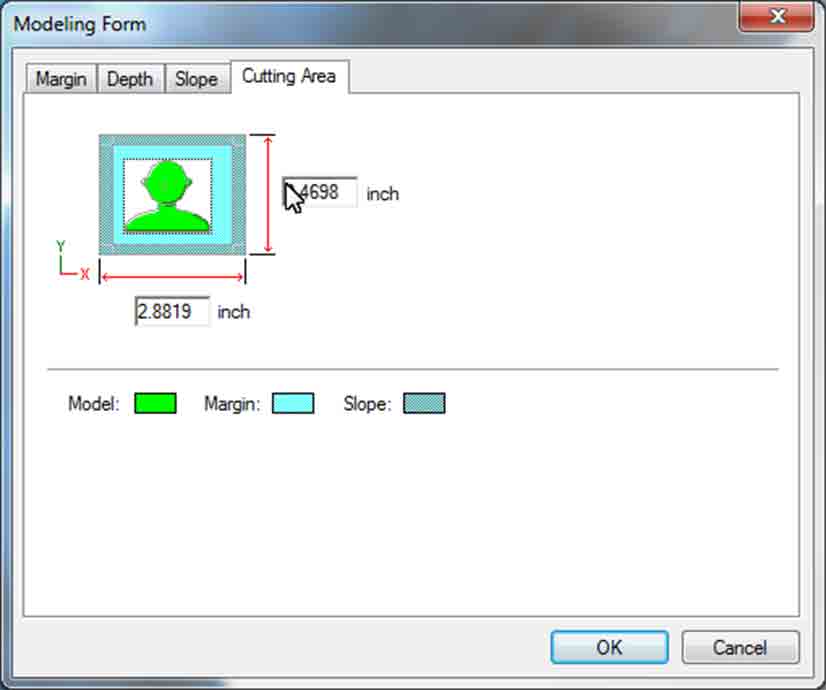
Step1.8) In “Cutting Area” just look if it fits your material.
Step1.9)Go to “New Process”. Here we gonna crate 3 processes “Surfacing”, “Roughing”, “Finishing”.
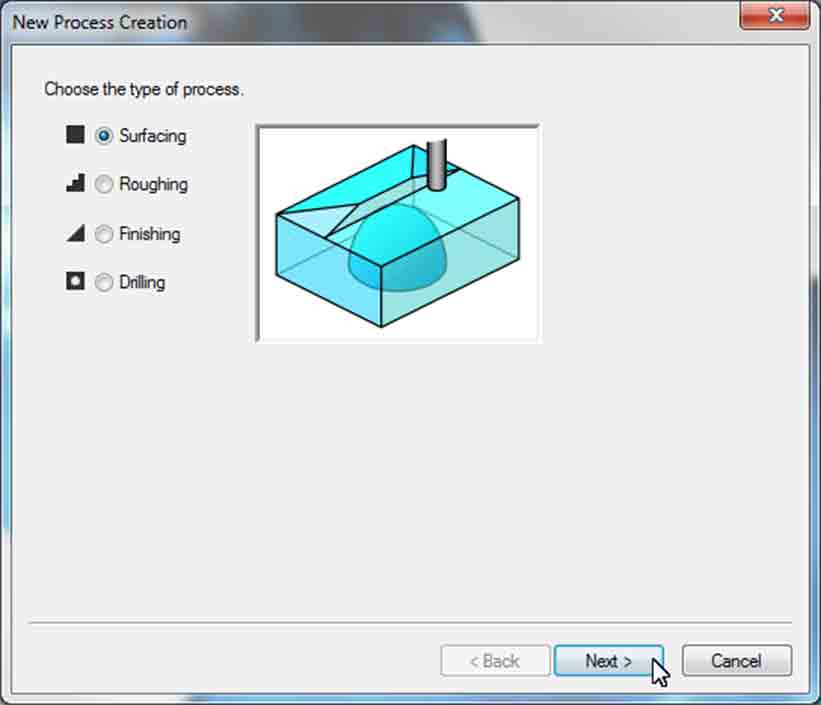
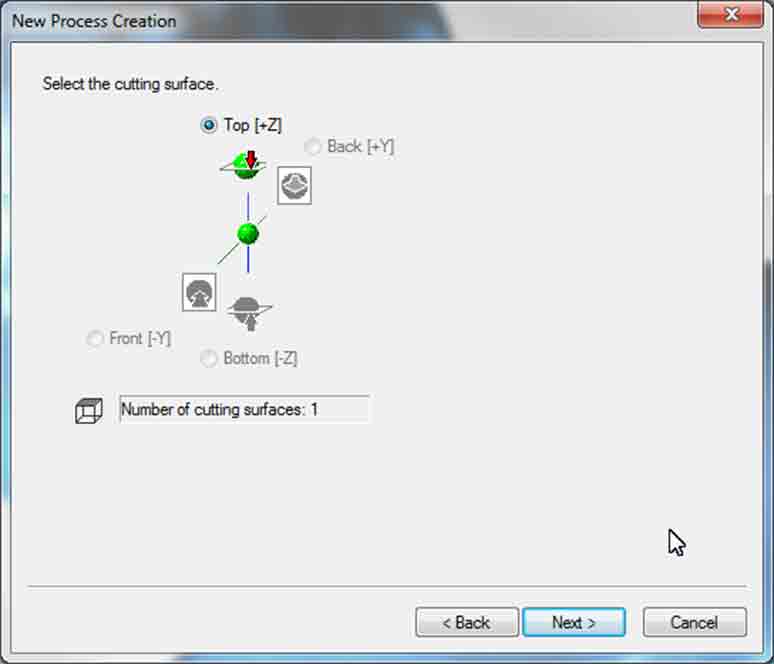
In “Select the cutting surface.” for 3 processes leave as a default.
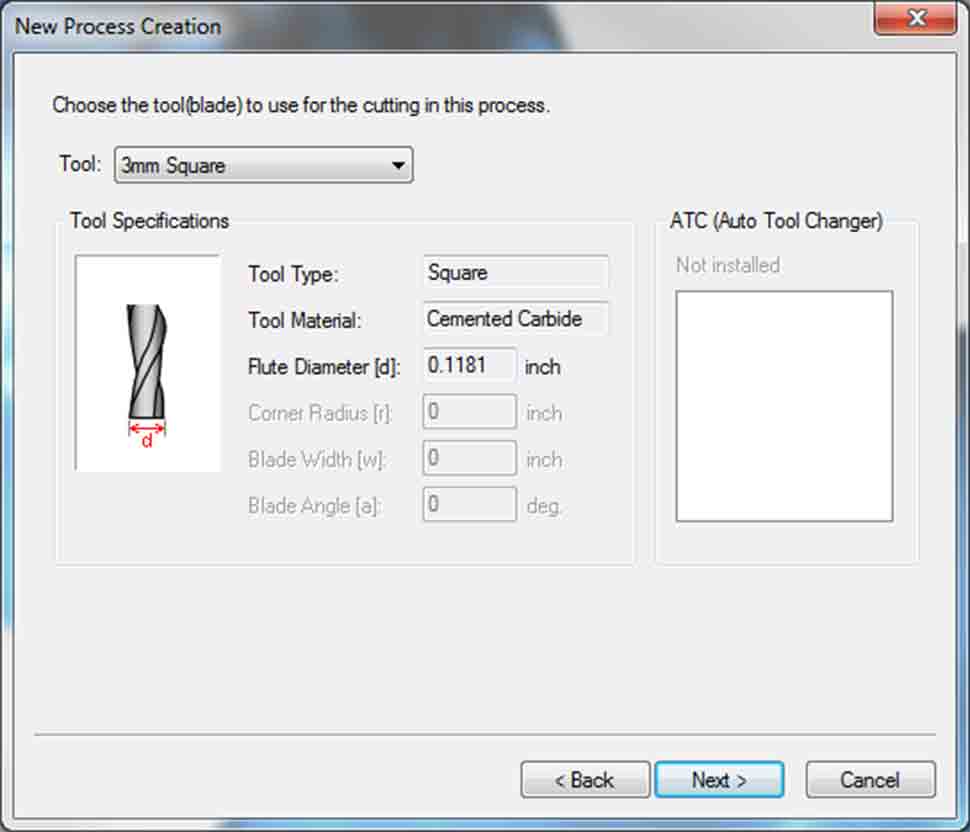
For “Surfacing”, “Roughing” choose “3 mm Square”(it’s the same as ⅛ inch mill), for “Finishing” choose “0.5mm ball” (it’s the same as 1/32 inch ball head mill).
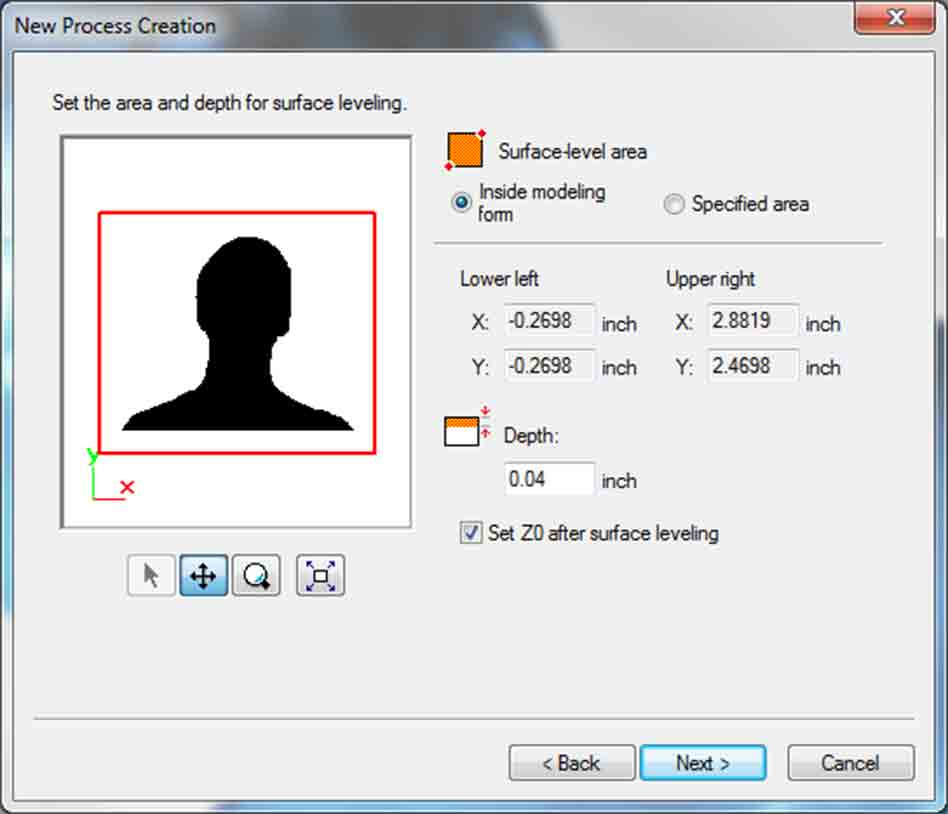
In “set the area and depth for surface leveling” for “Surfacing” set 1mm “Depth” (0.04 inch) (But don't forget to zero z-axis after surfacing), and for “Roughing”, “Finishing” don't set “Depth ”.
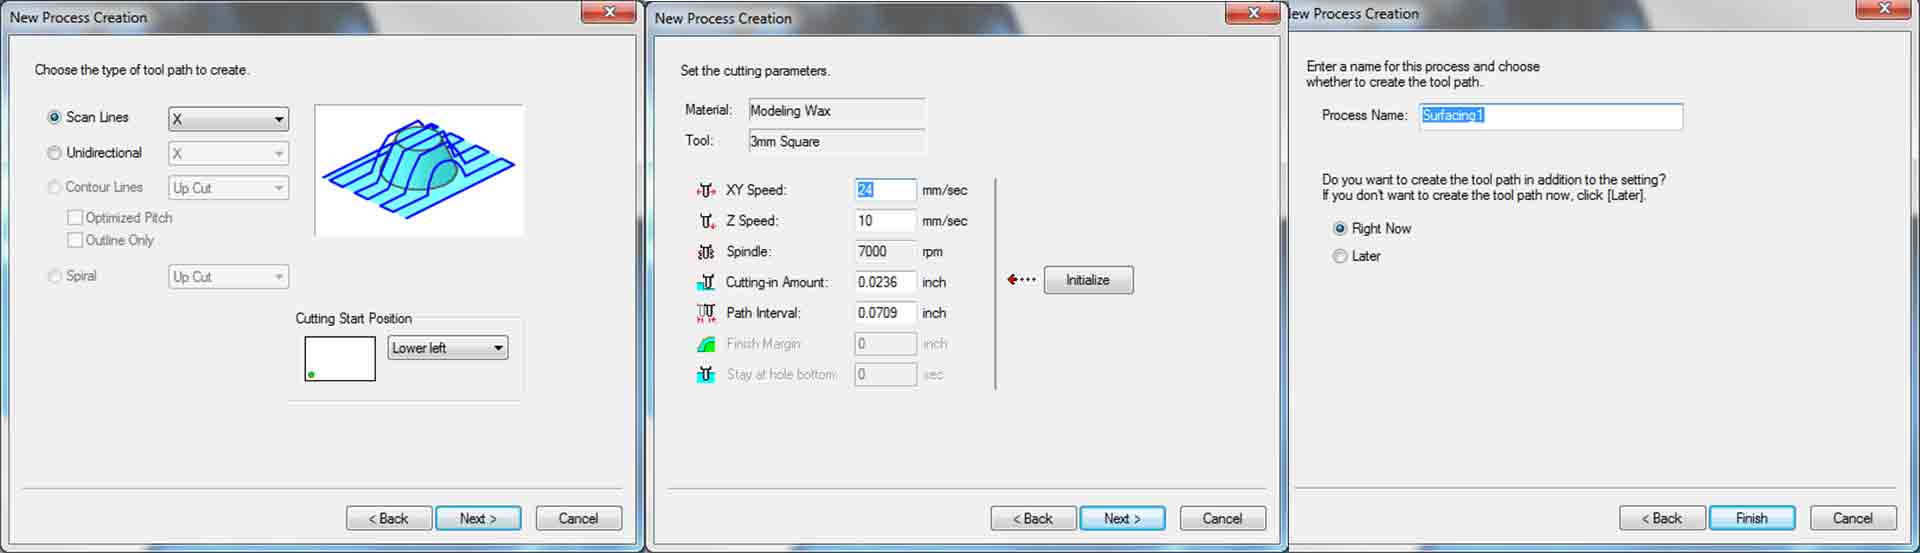
In “Choose the type of tool path to create”, “Set the cutting parameters” and “Enter a name for this process and choose whether to create the tool path ” leave as a default.
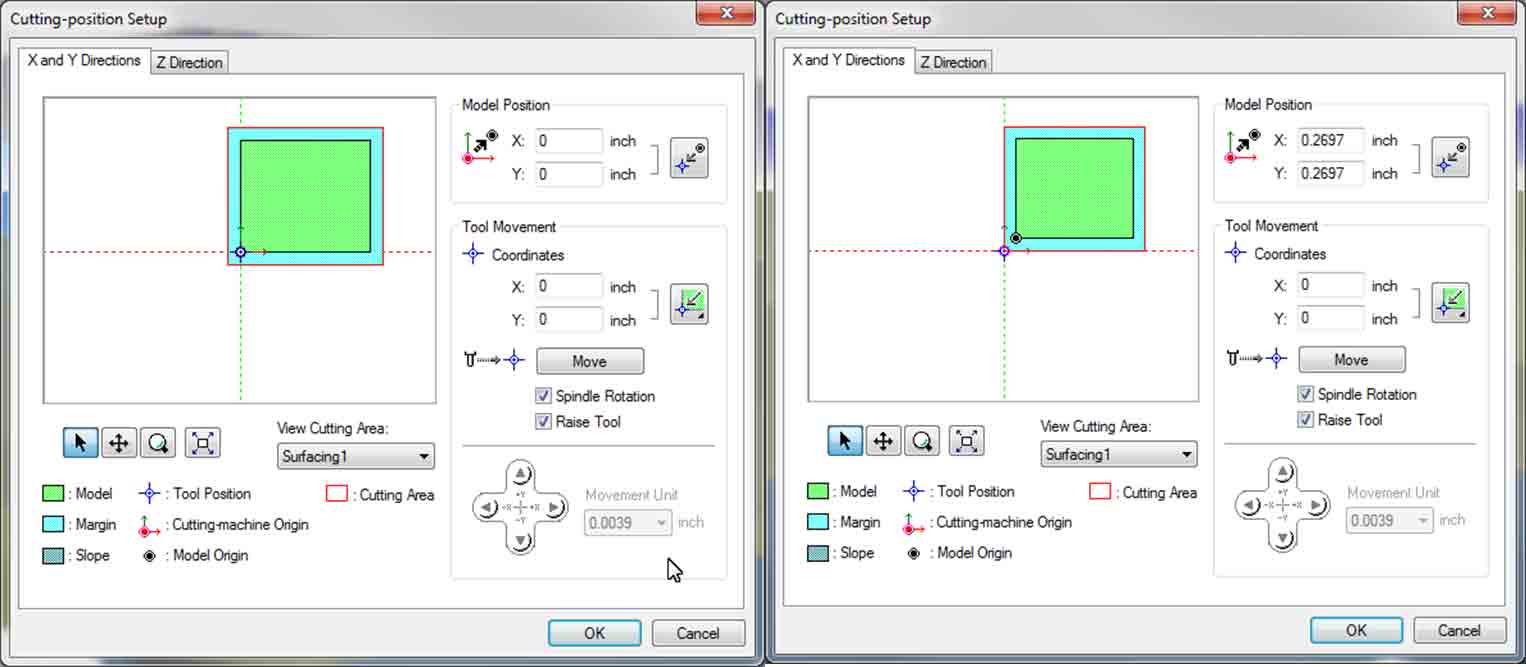
Step 1.10)Go to “Cutting-position Setup ” and change “Model Position ” and “Tool Movement”.
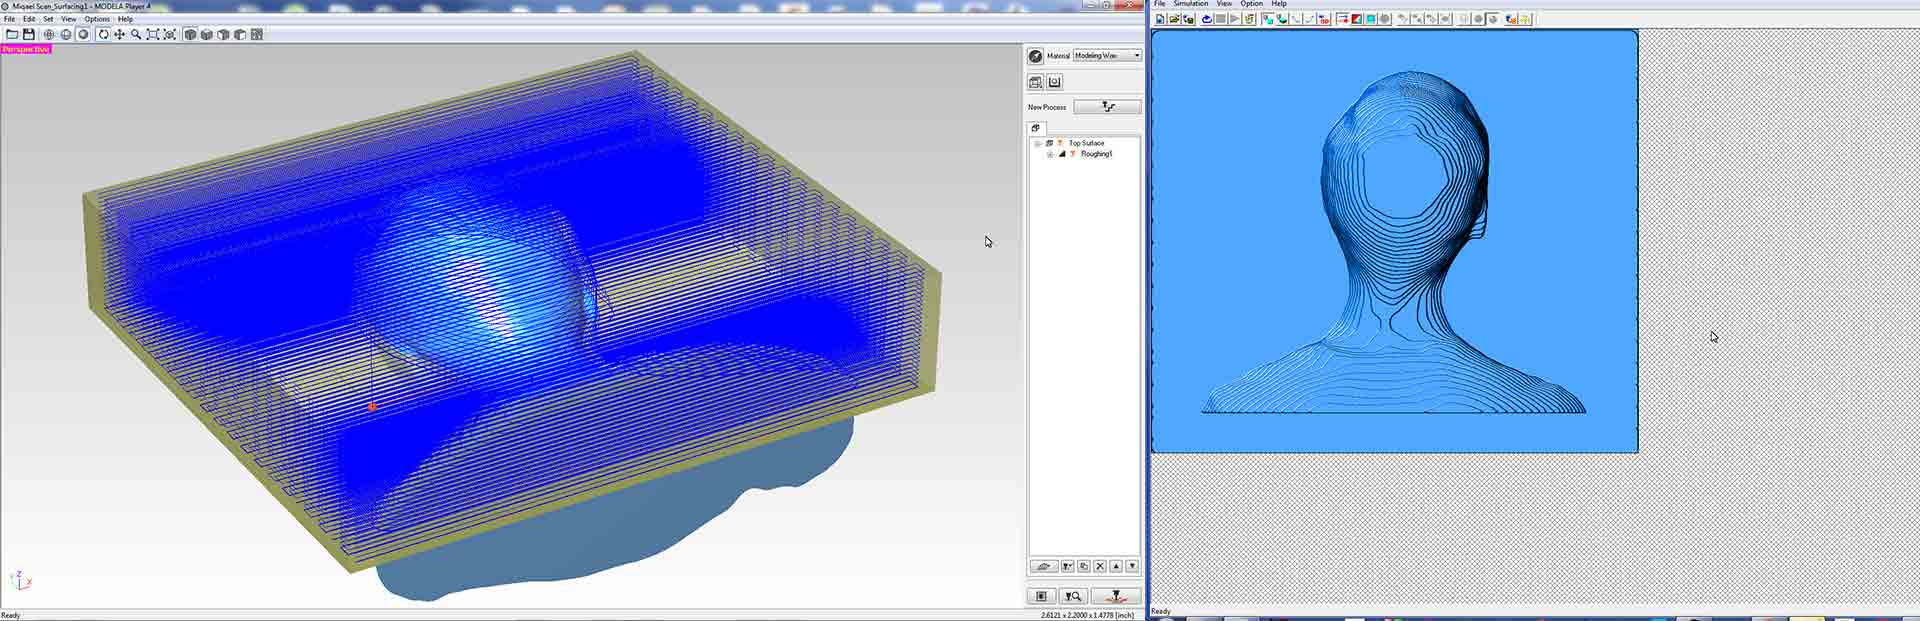
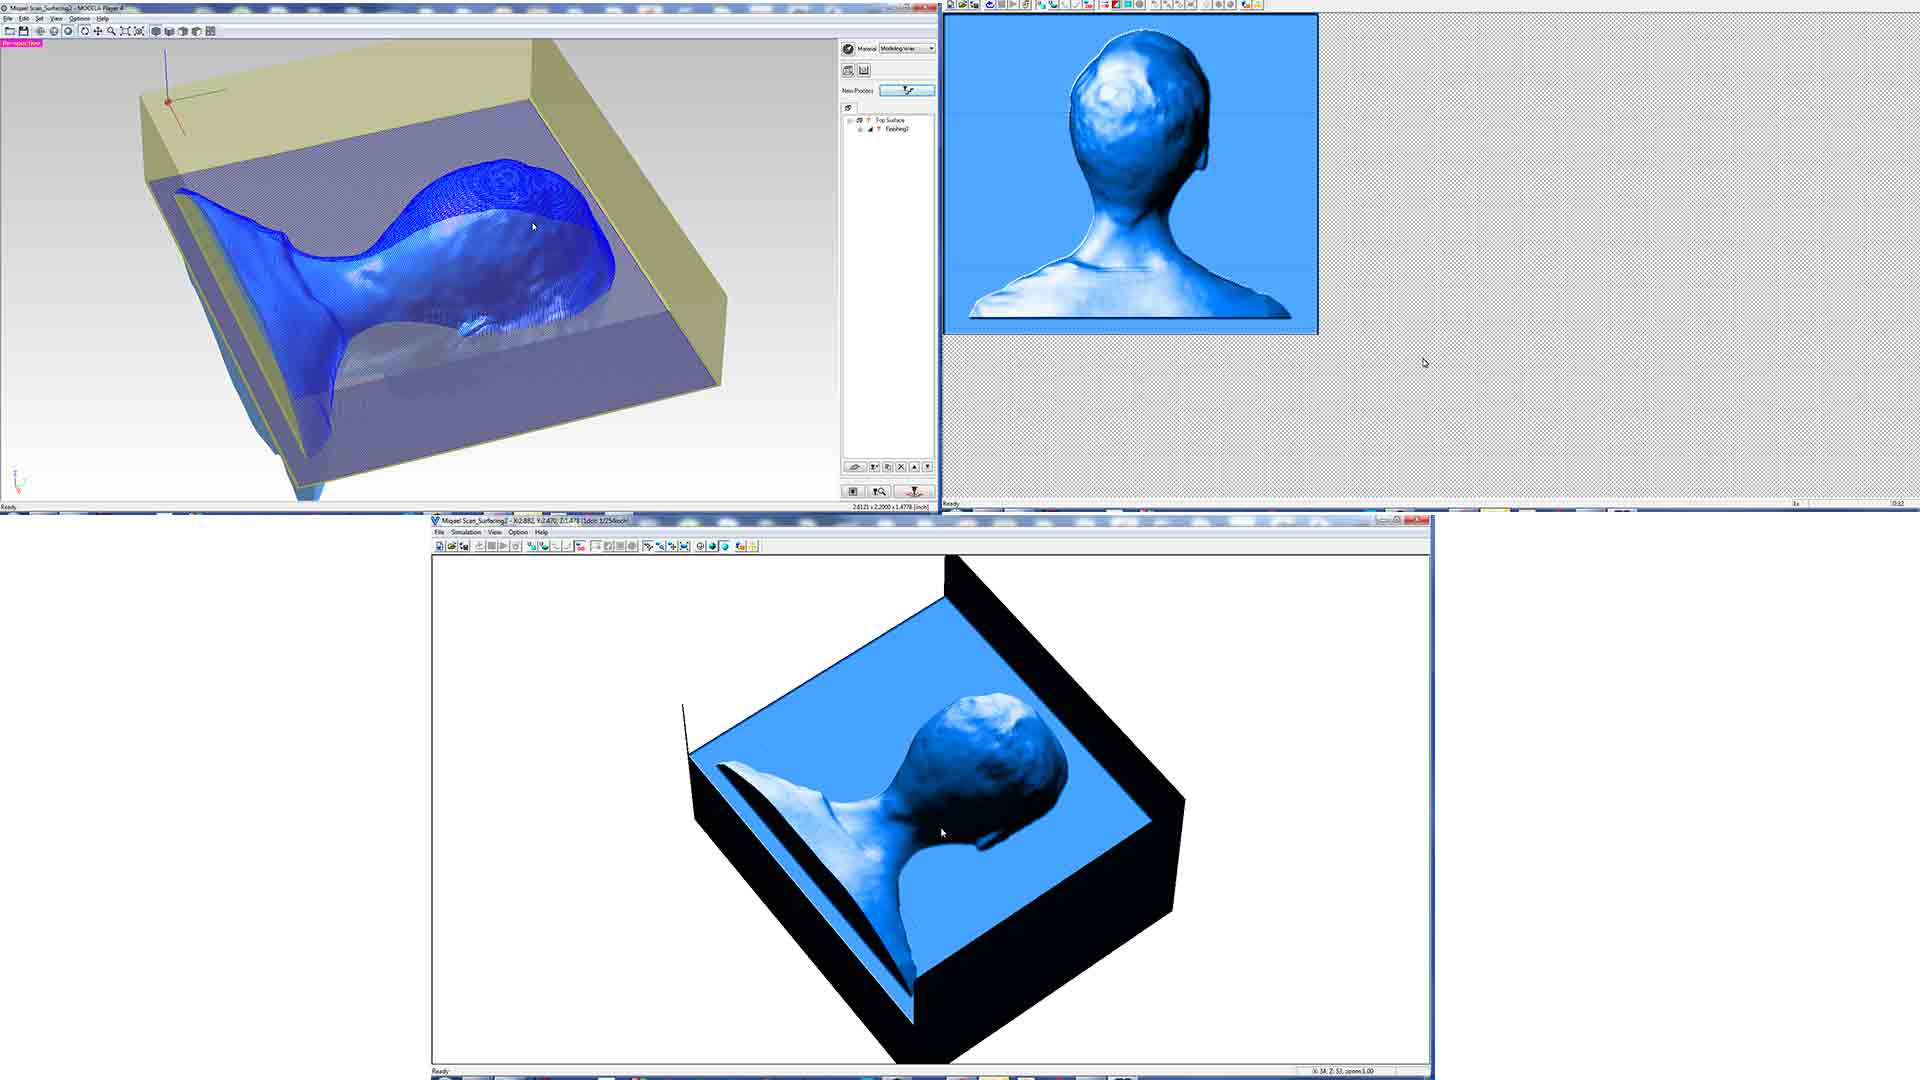
Step 1.11)Generate toolpath and look with “Virtual Modela”
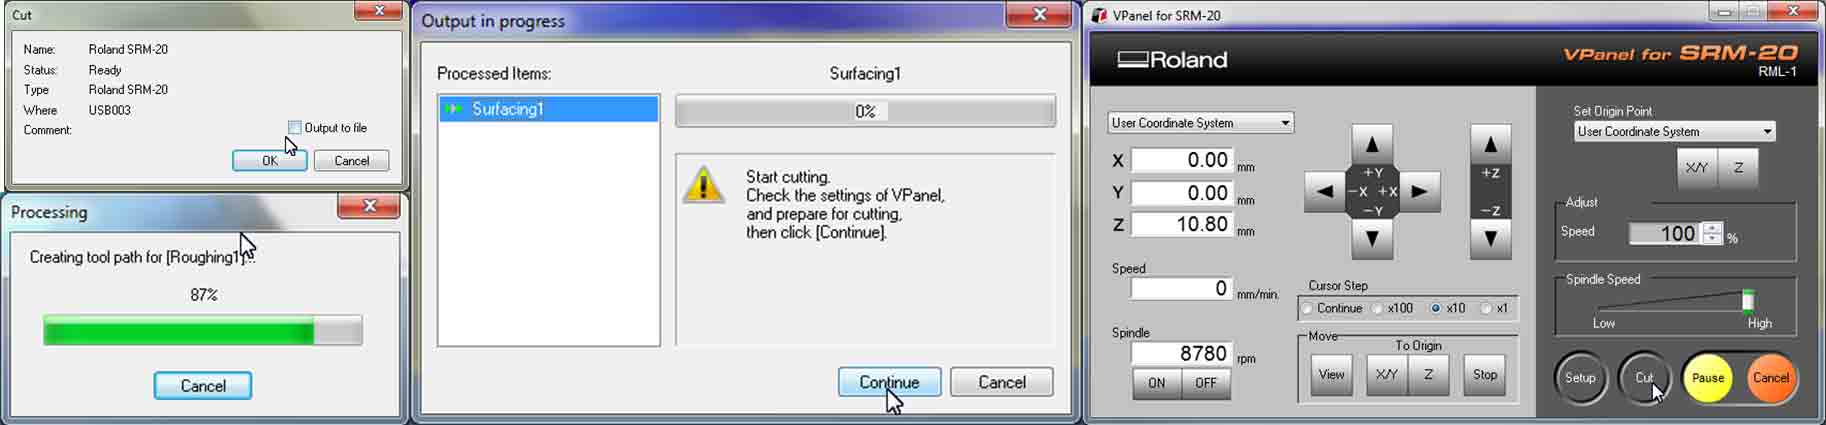
Step 1.12)Cut the path(make sure you 0 all axis ).
Step 2) Milling, molding and casting.
Step 2.1) Position your material on board (Use double sided tape and also I added silicone on the corners for stability ).

Step2.2) 0 all axis .

Step2.3 ) In the process of milling some times pause and clean the surface with a vacuum cleaner.
Step2.4) After It's finished take out the material and carefully clean it, and make the surface smooth with hot air.
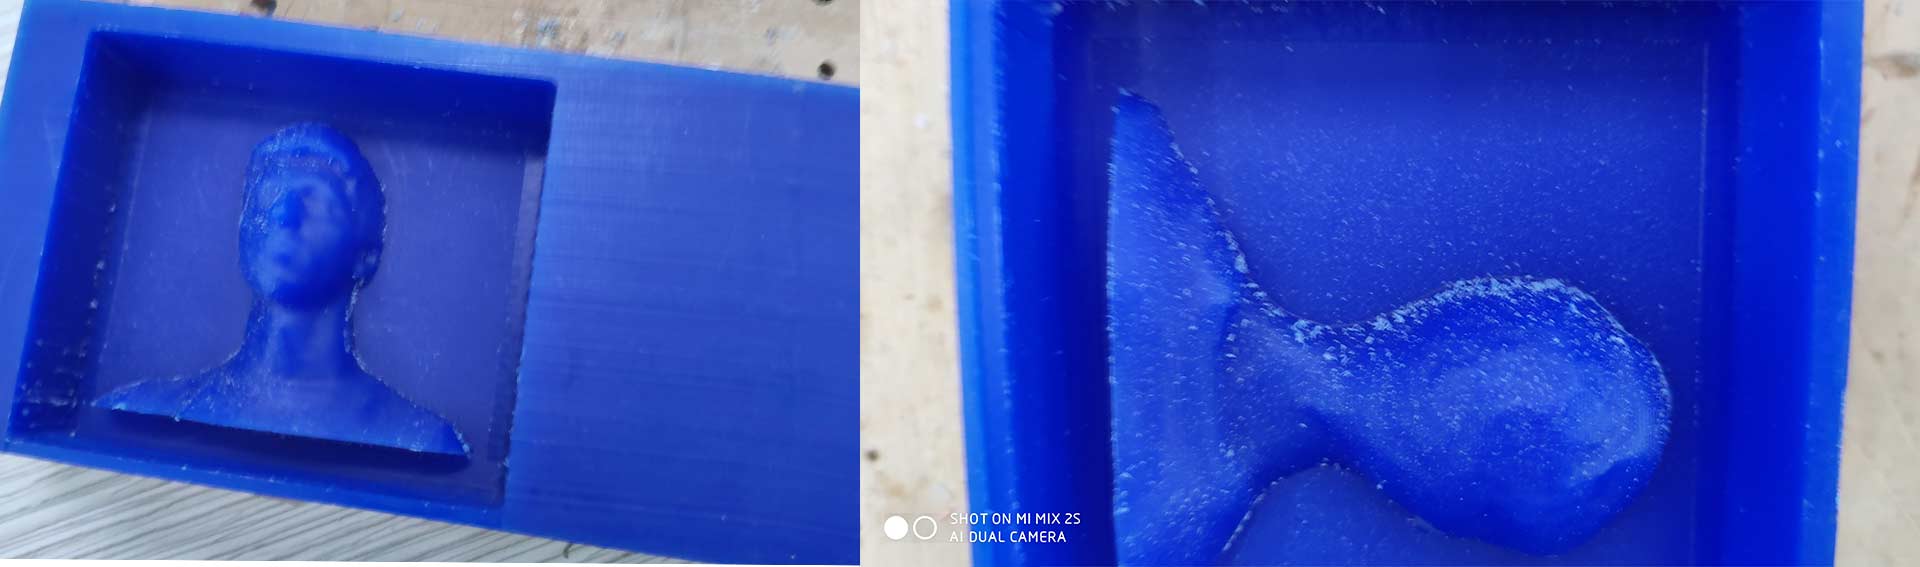
Step2.5) Make sure you have got everything for molding and casting.
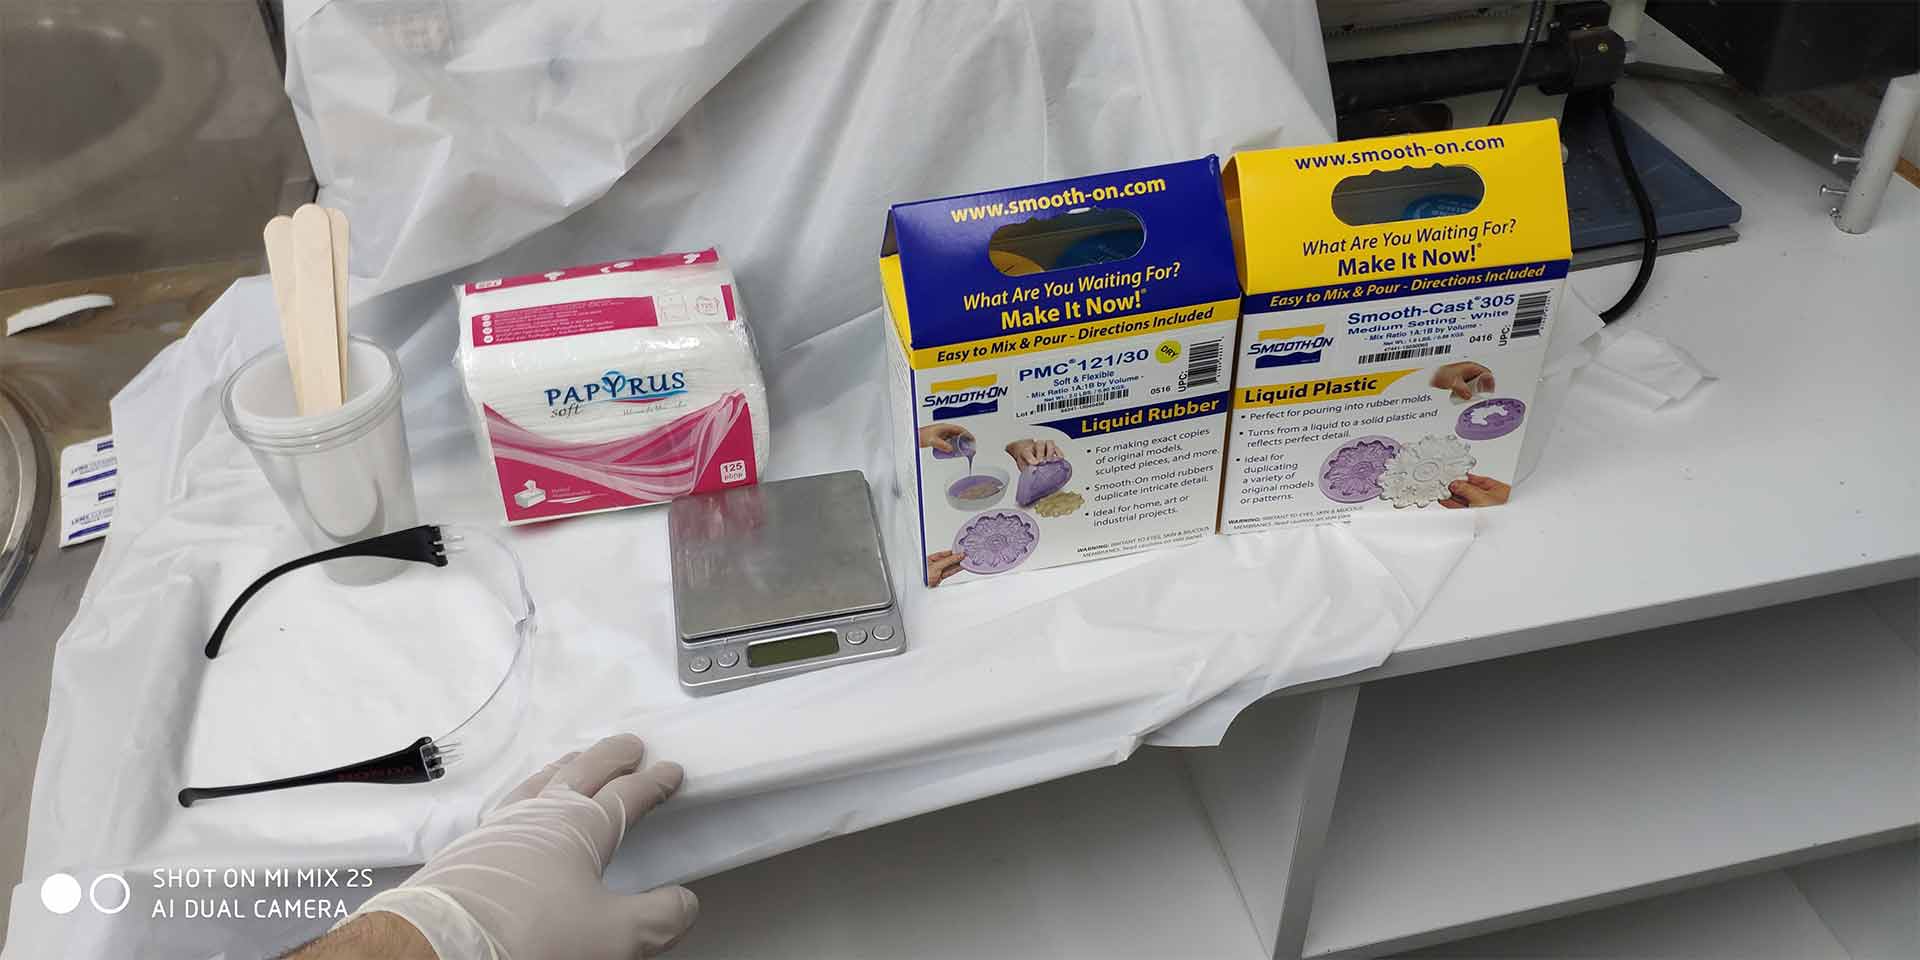
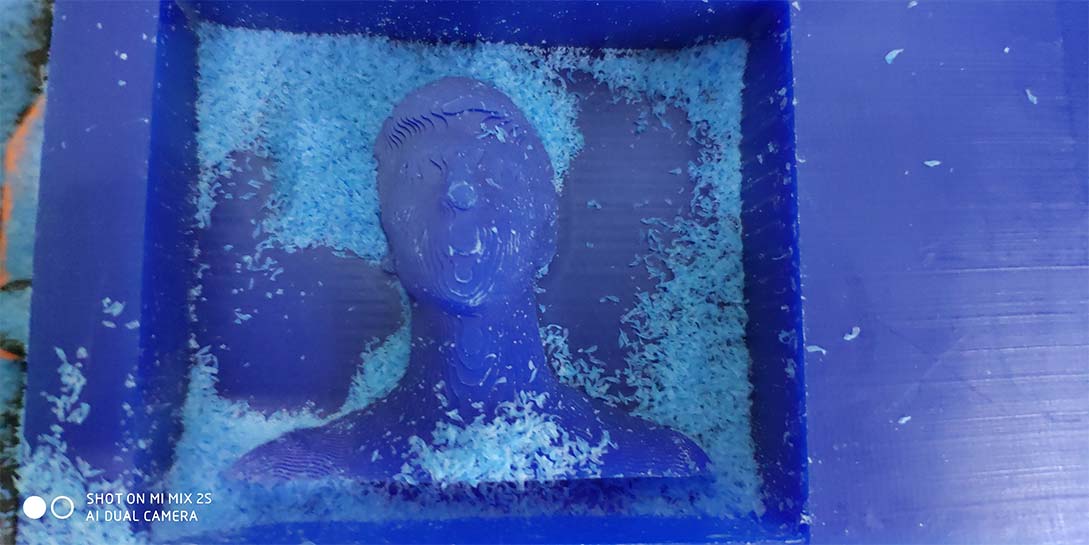
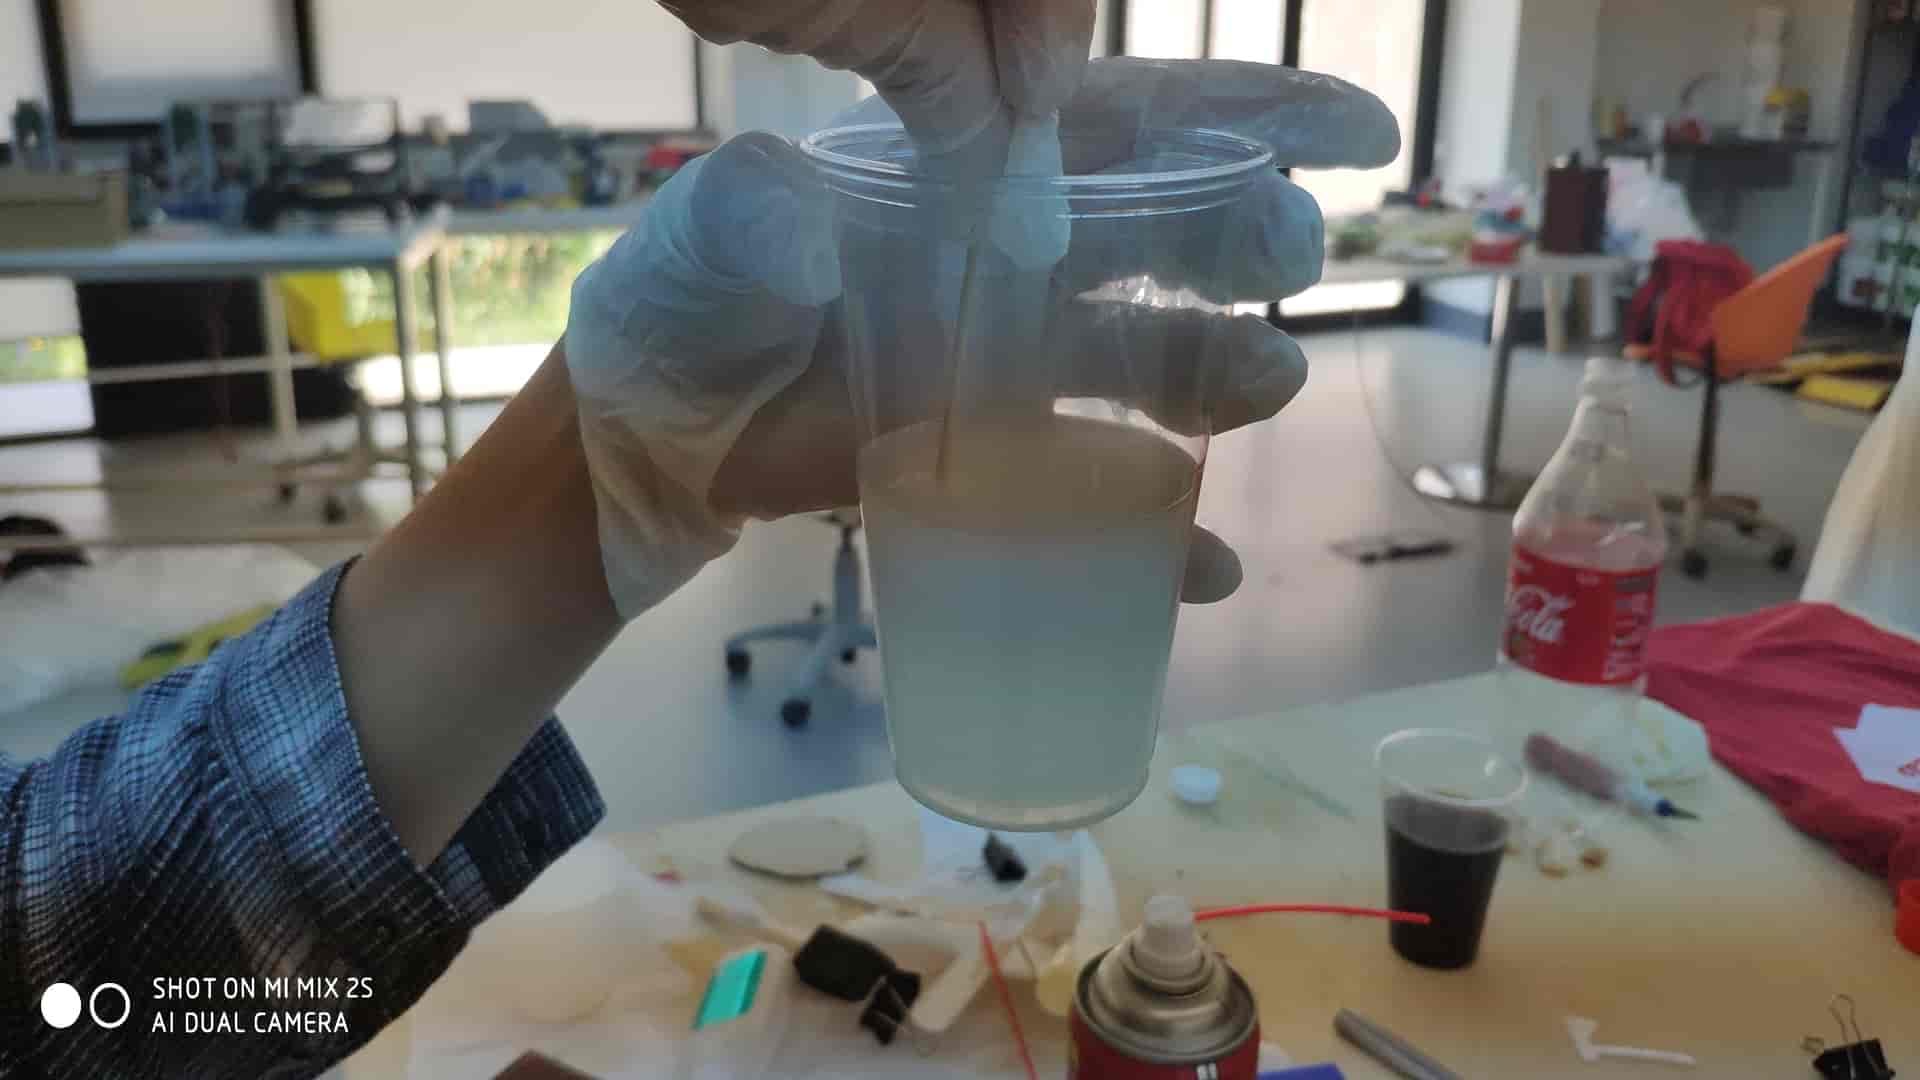
Step2.6) At first take Liquid Rubber and mix A and B 1:1 by volume (Be careful with mixing, because bubbles can appear ) fill it on the model starting at the bottom and wait 16 hours until it dry.
 .
.
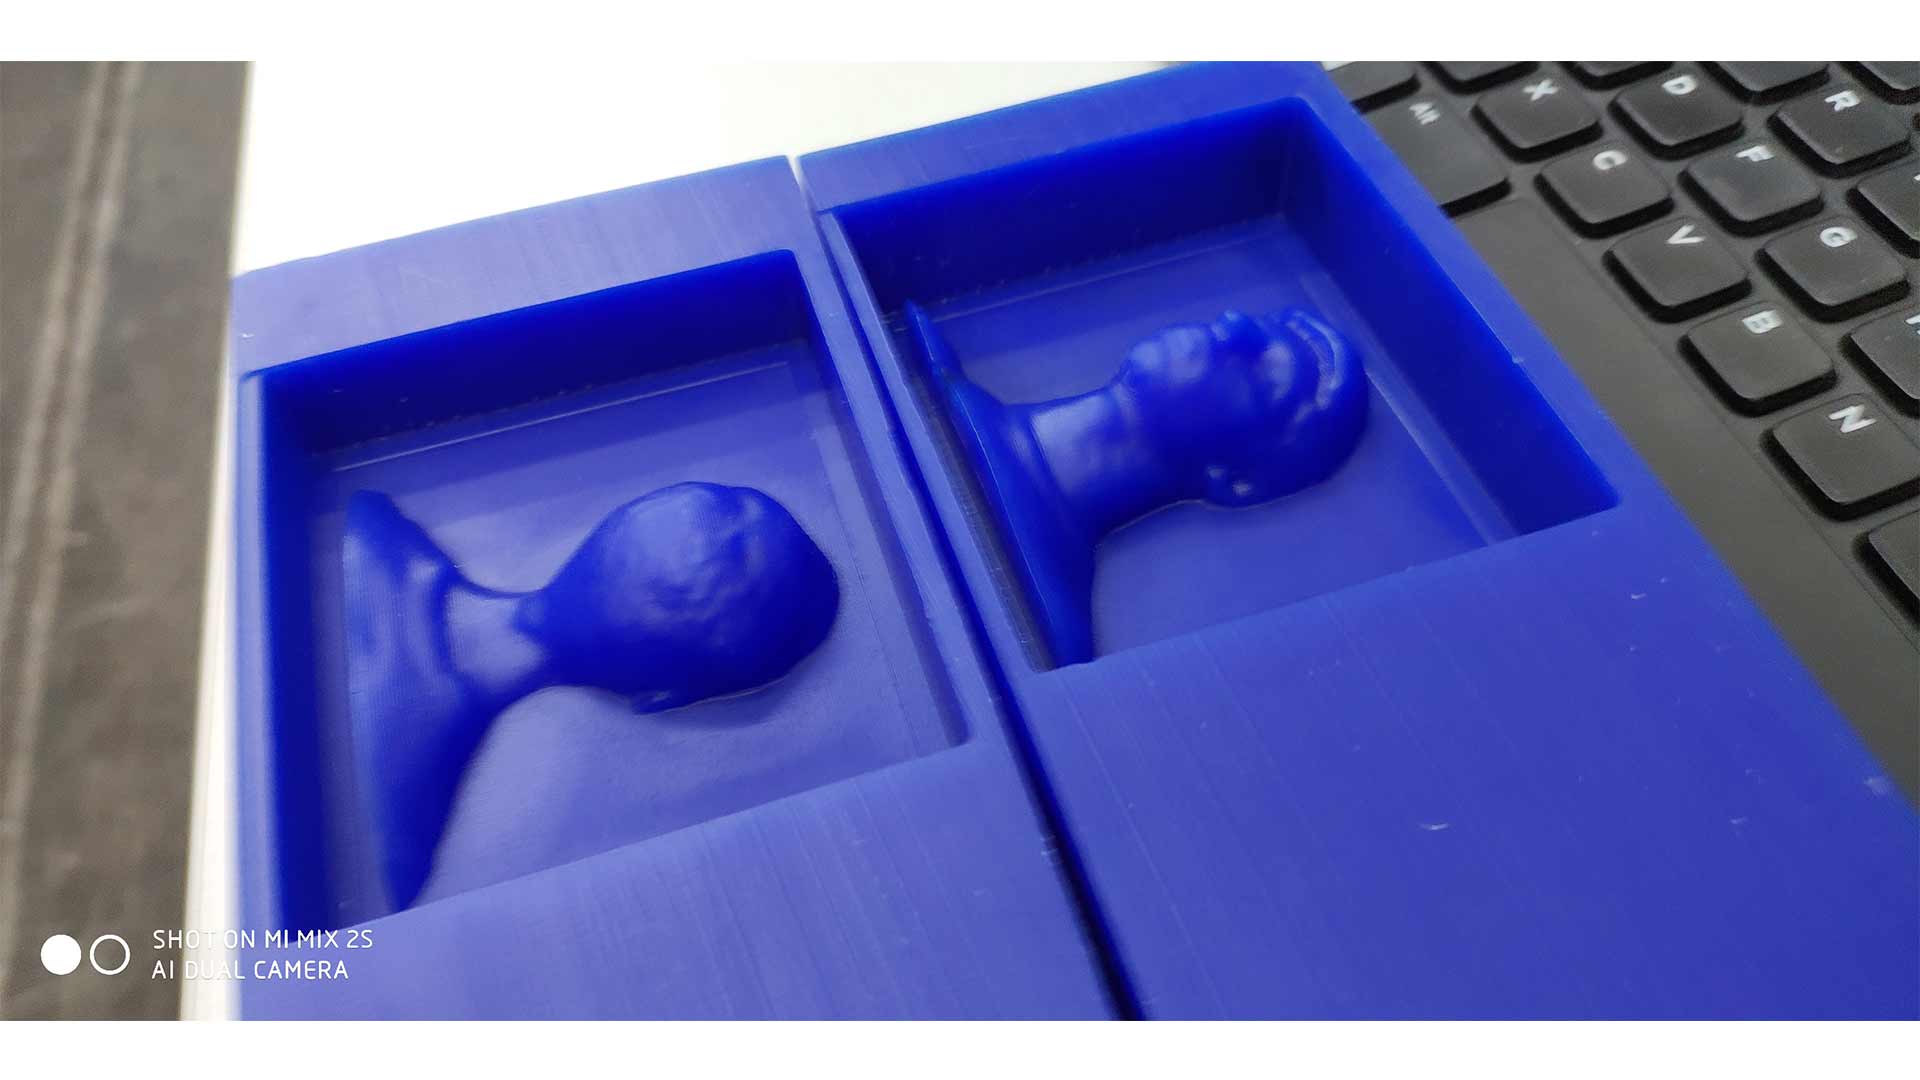
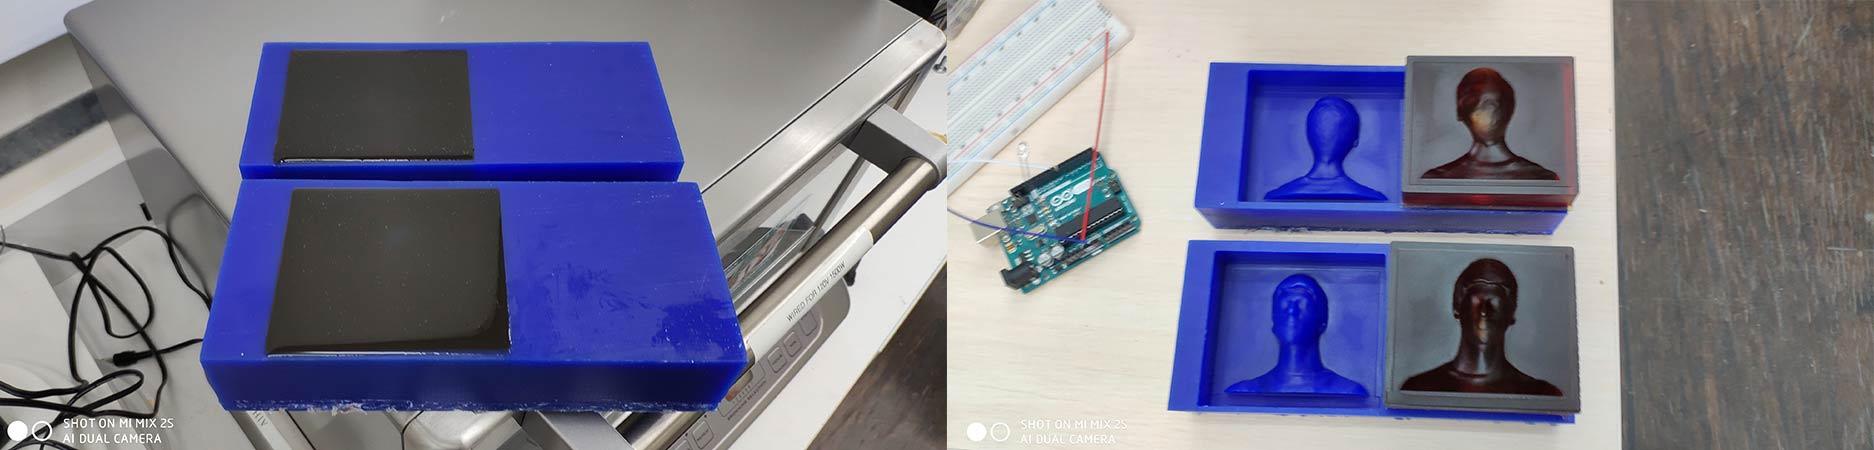
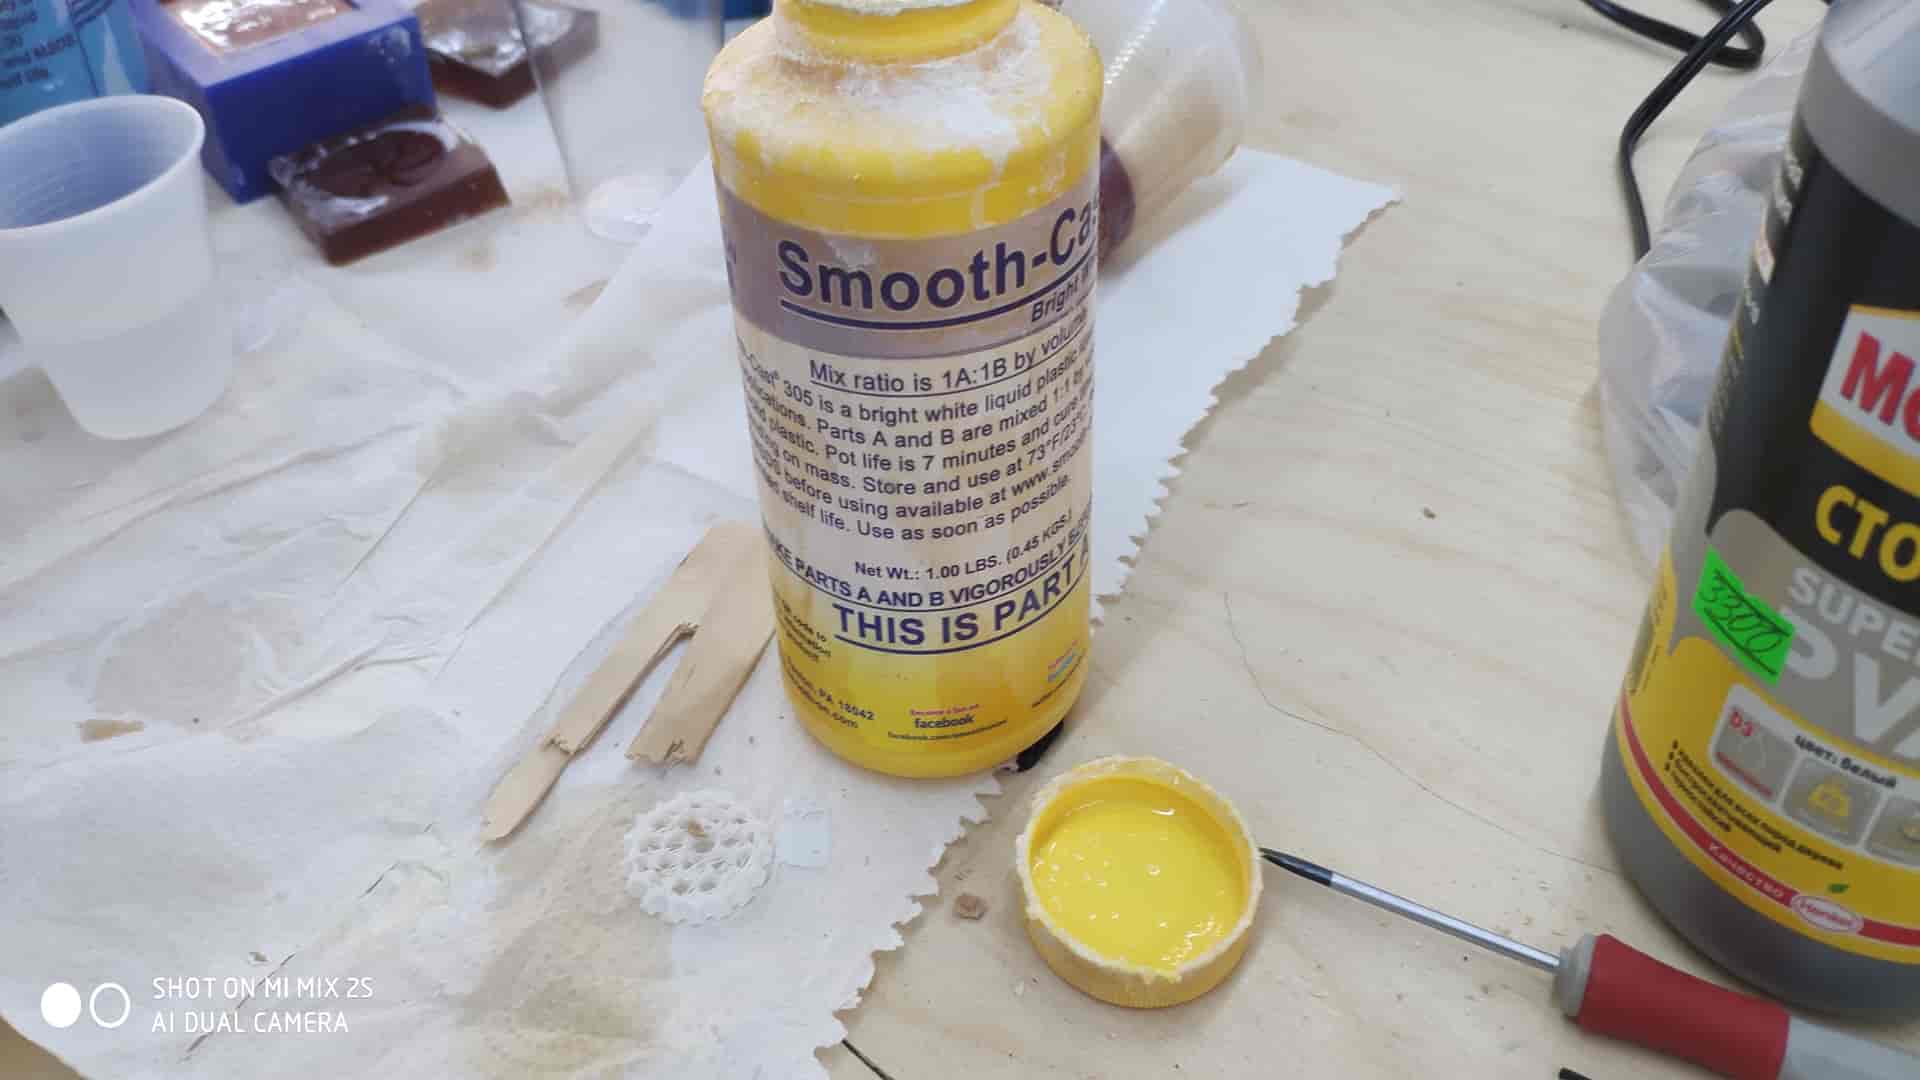
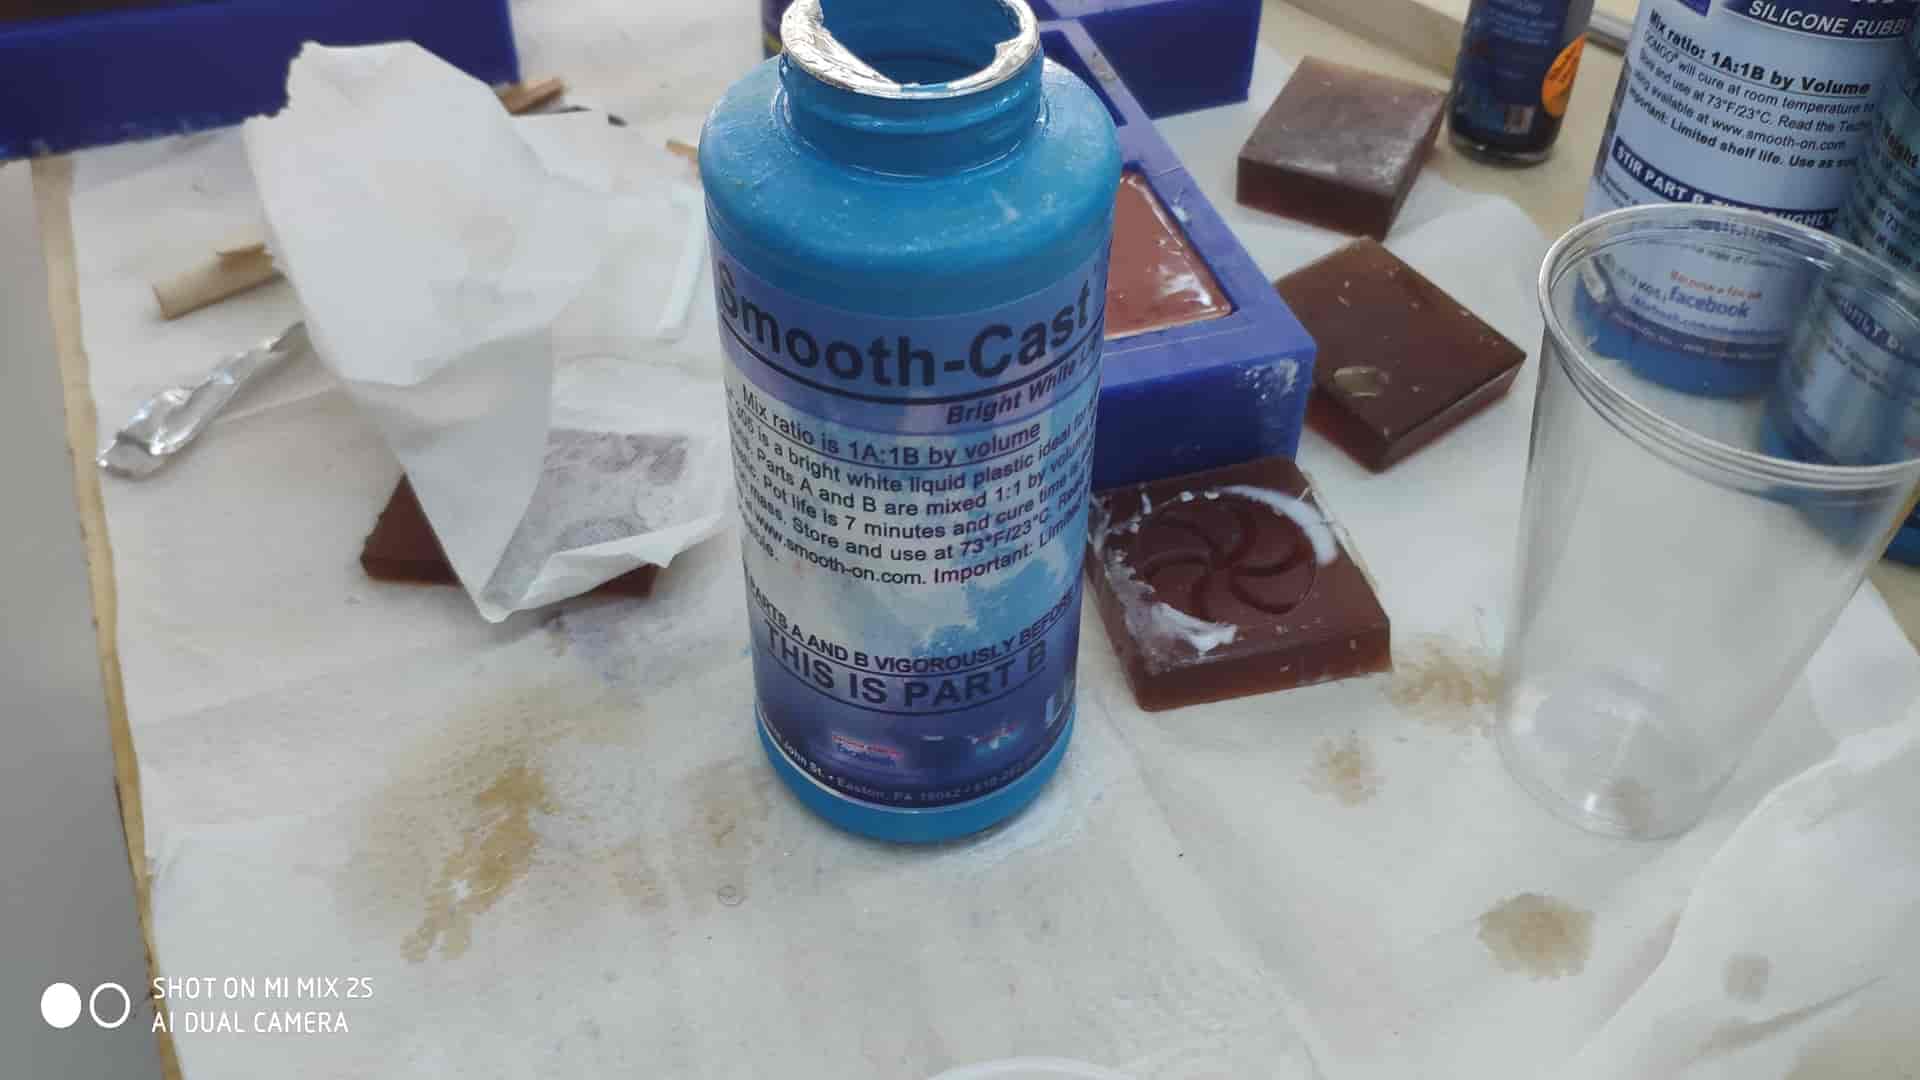
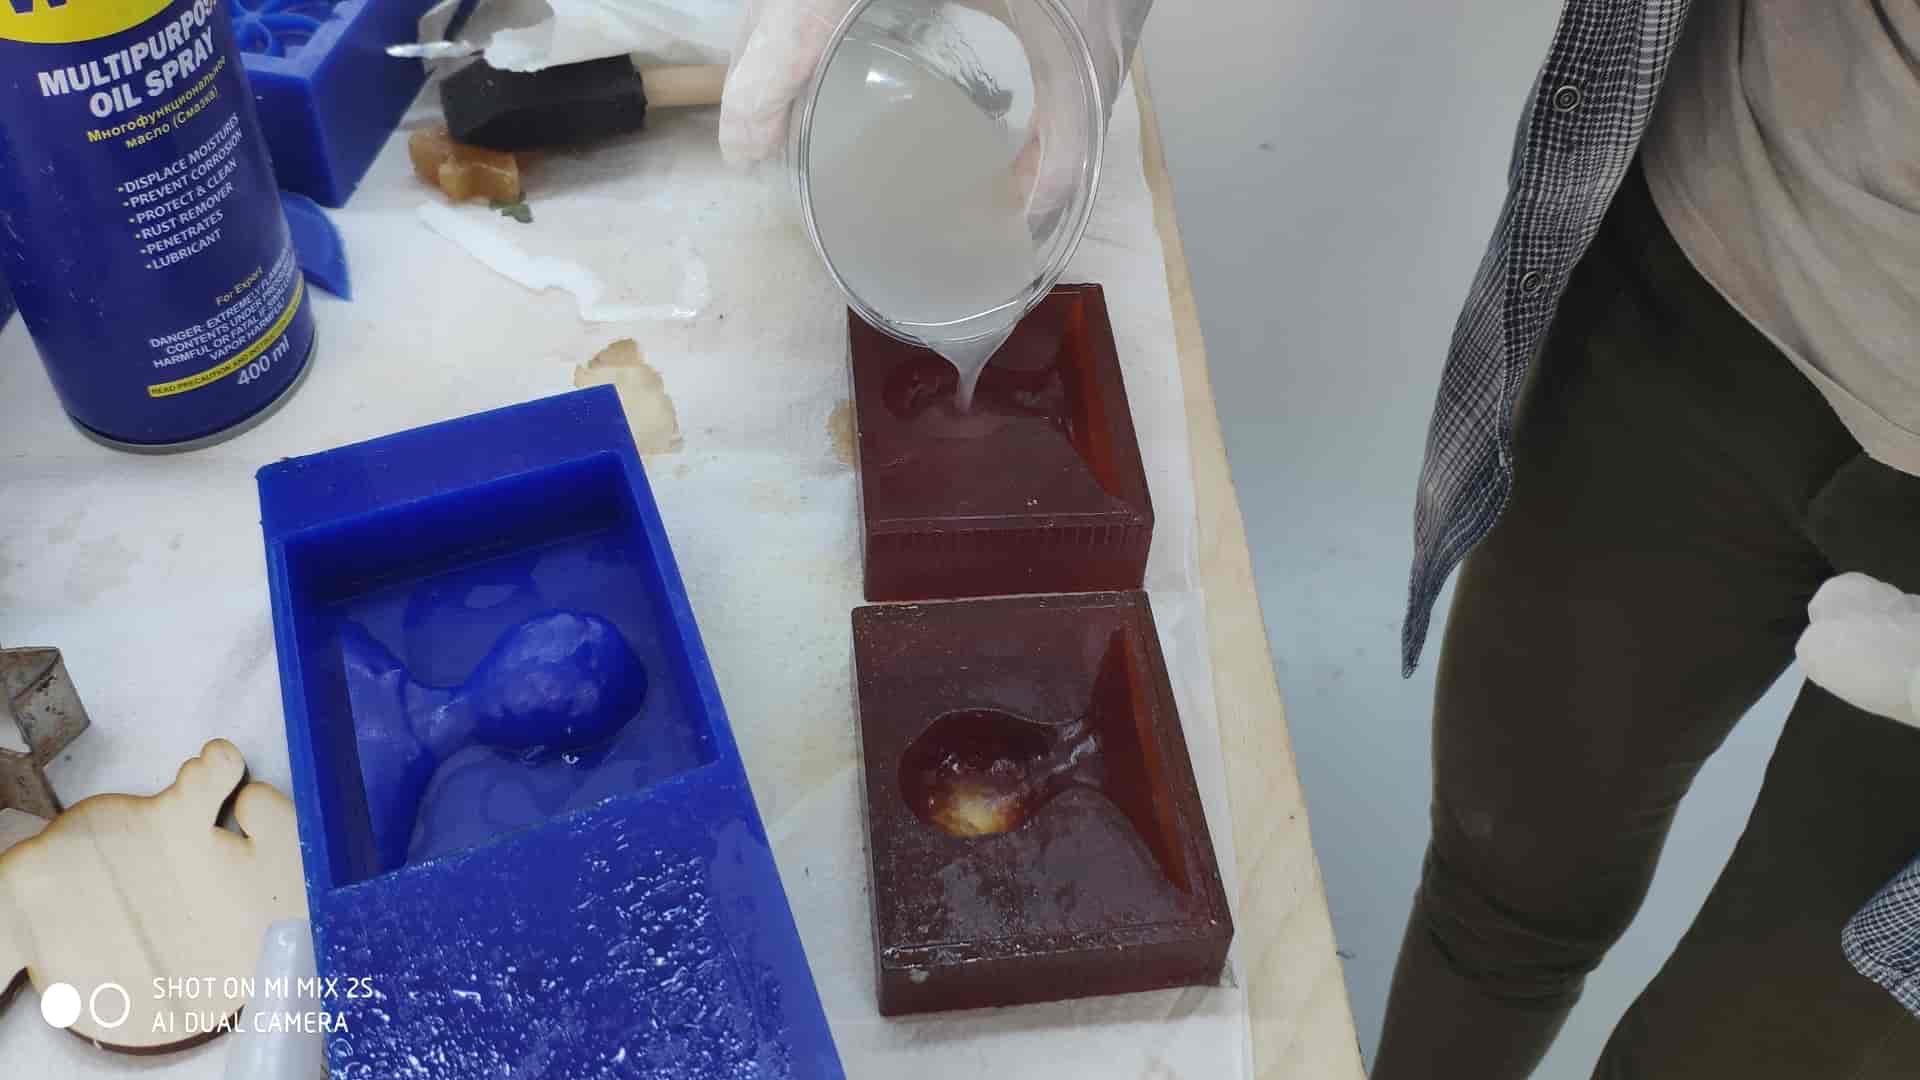
Step2.7) Take out the dried silicon(Liquid Rubber). Take Liquid Plastic and mix A and B 1:1 by volume(mix it really well because bubbles will not appear) fill it on the silicon(Liquid Rubber) and wait for 30 min(also oil the surface of silicon). I tried as a test to make plastic separate but I couldn't Bocuse Liquid Plastic doesn't dry, I tried to figure out why I think it is related on temperature. 1
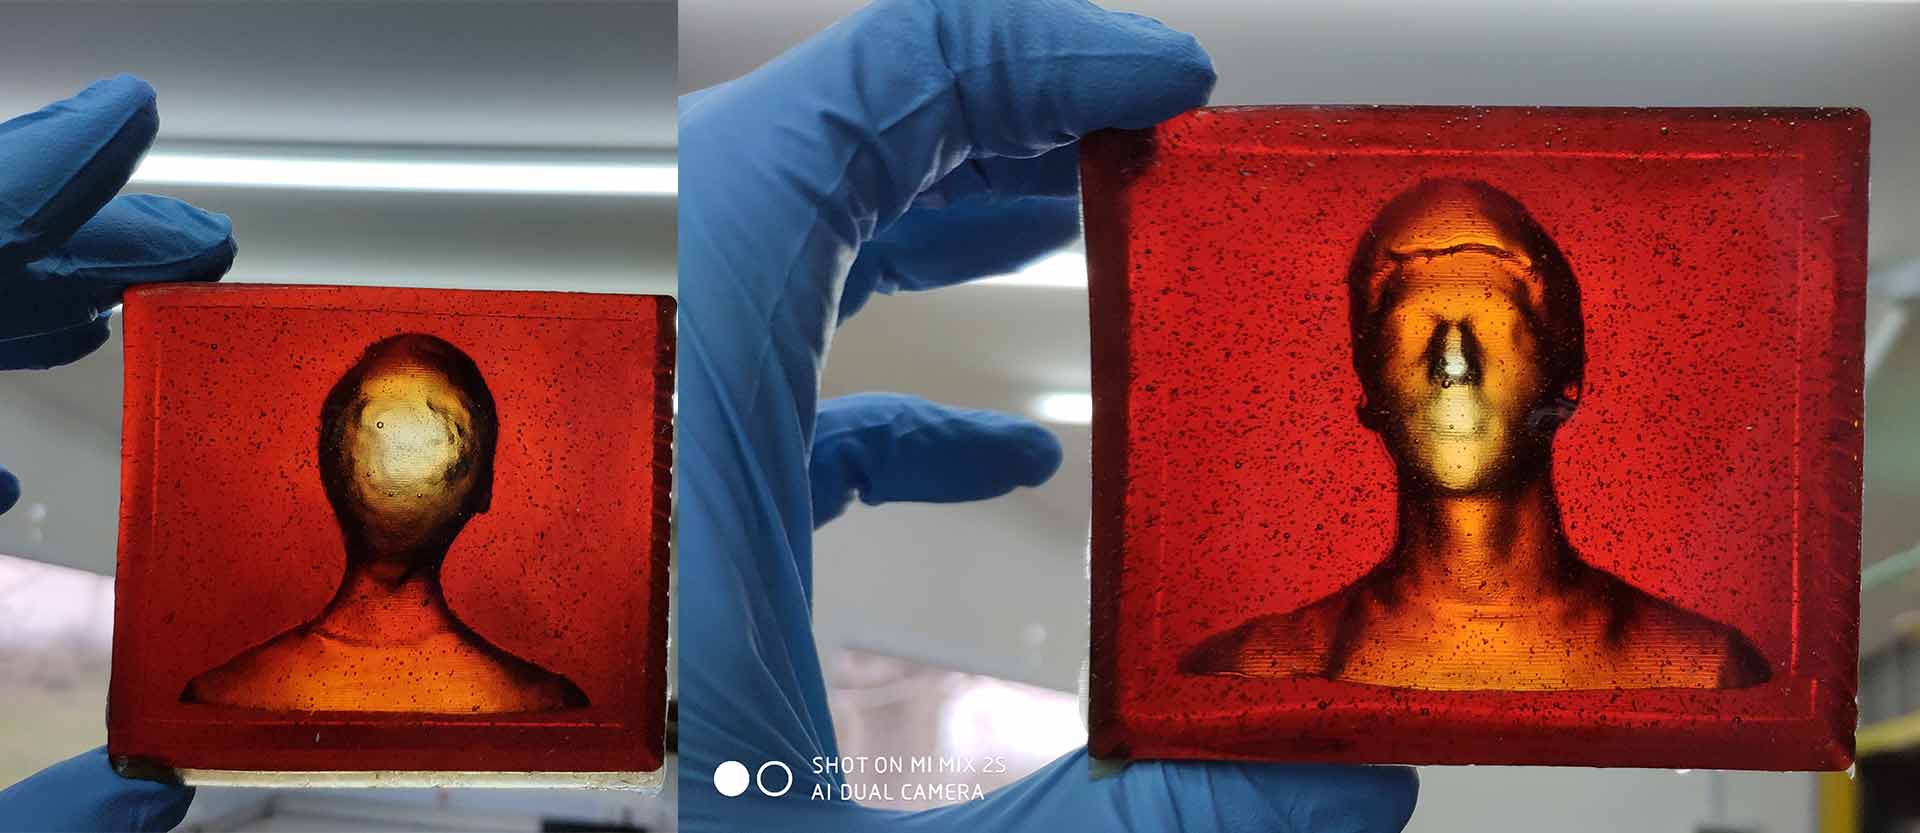
I tryed it again and it work well(I put the molds in the right connditions(temperature) )

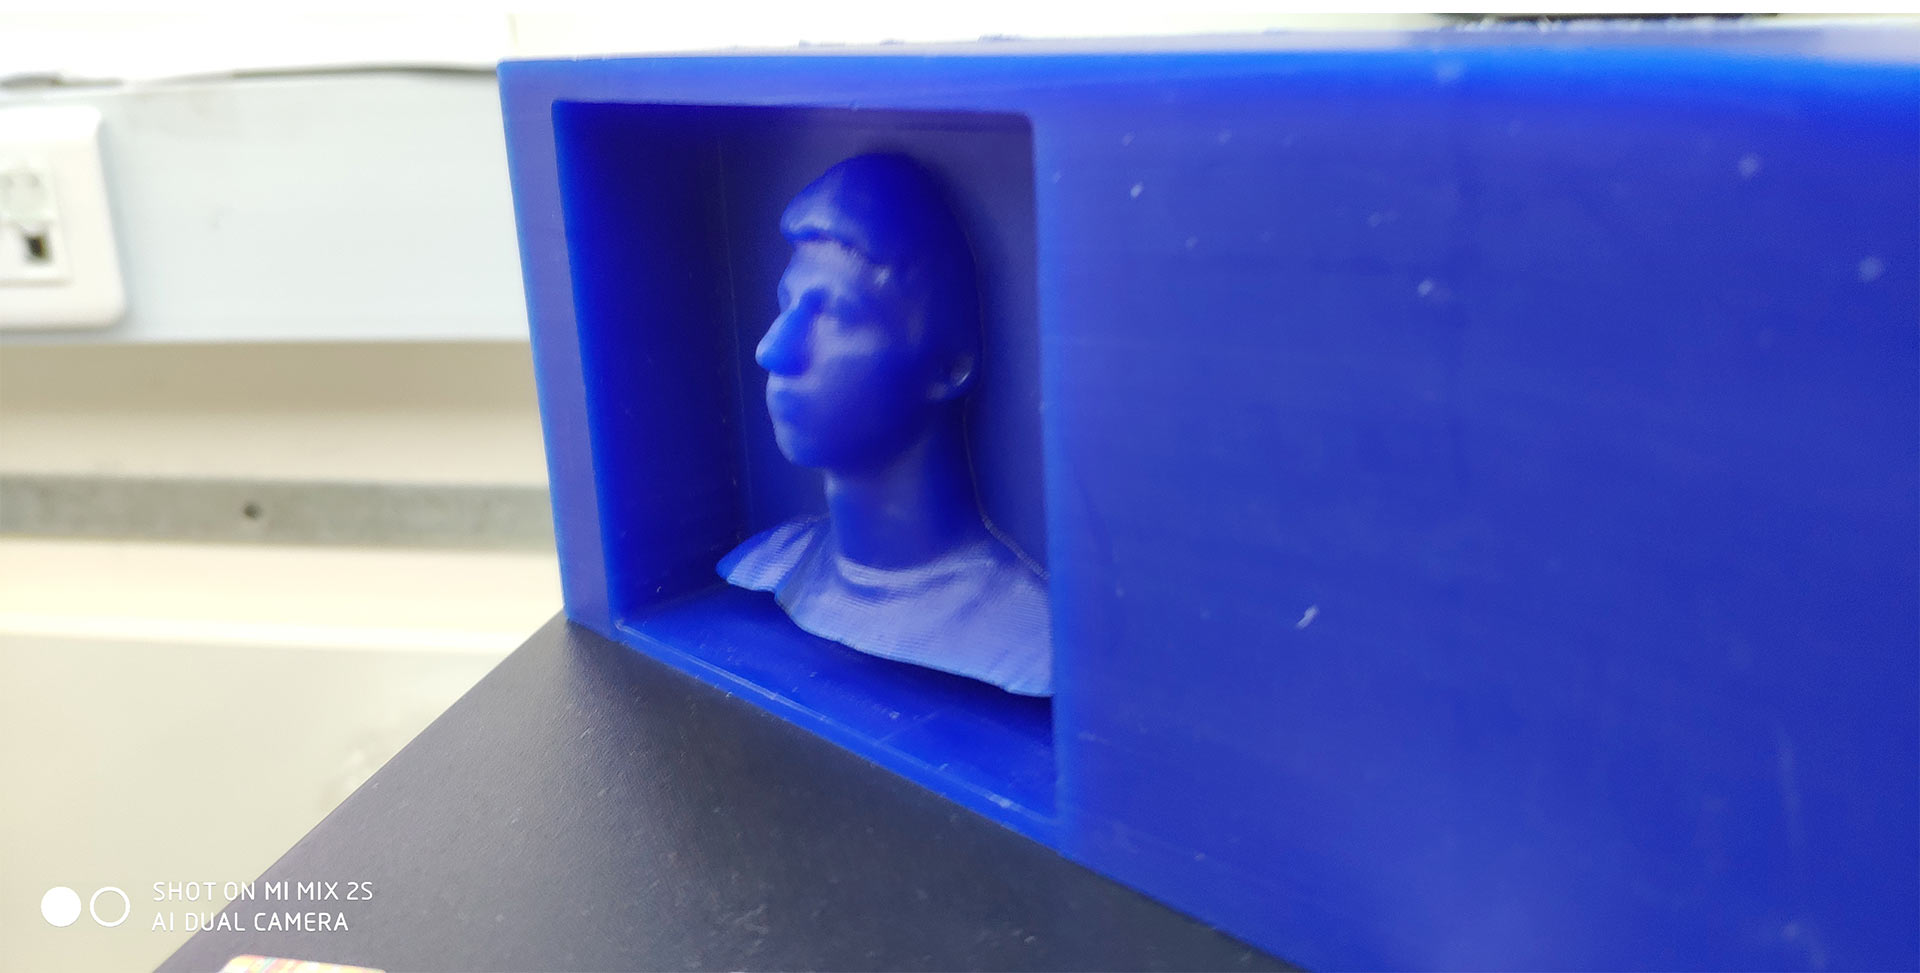
Conclusion
For Molding and casting week I have leared how to mill 3D molds using Rolland SRM-20 milling machine, and also work with different liquids and how to make casts out of molds. I have an issue with temperature stability, I couldn't make liquid plastic to dry, but after some experiments I have got good 3D model of me.