Molding and Casting
For molding and casting, I will make a mold for the legs of my desk. For this, I will first model the part I want. I start with a rectangle,
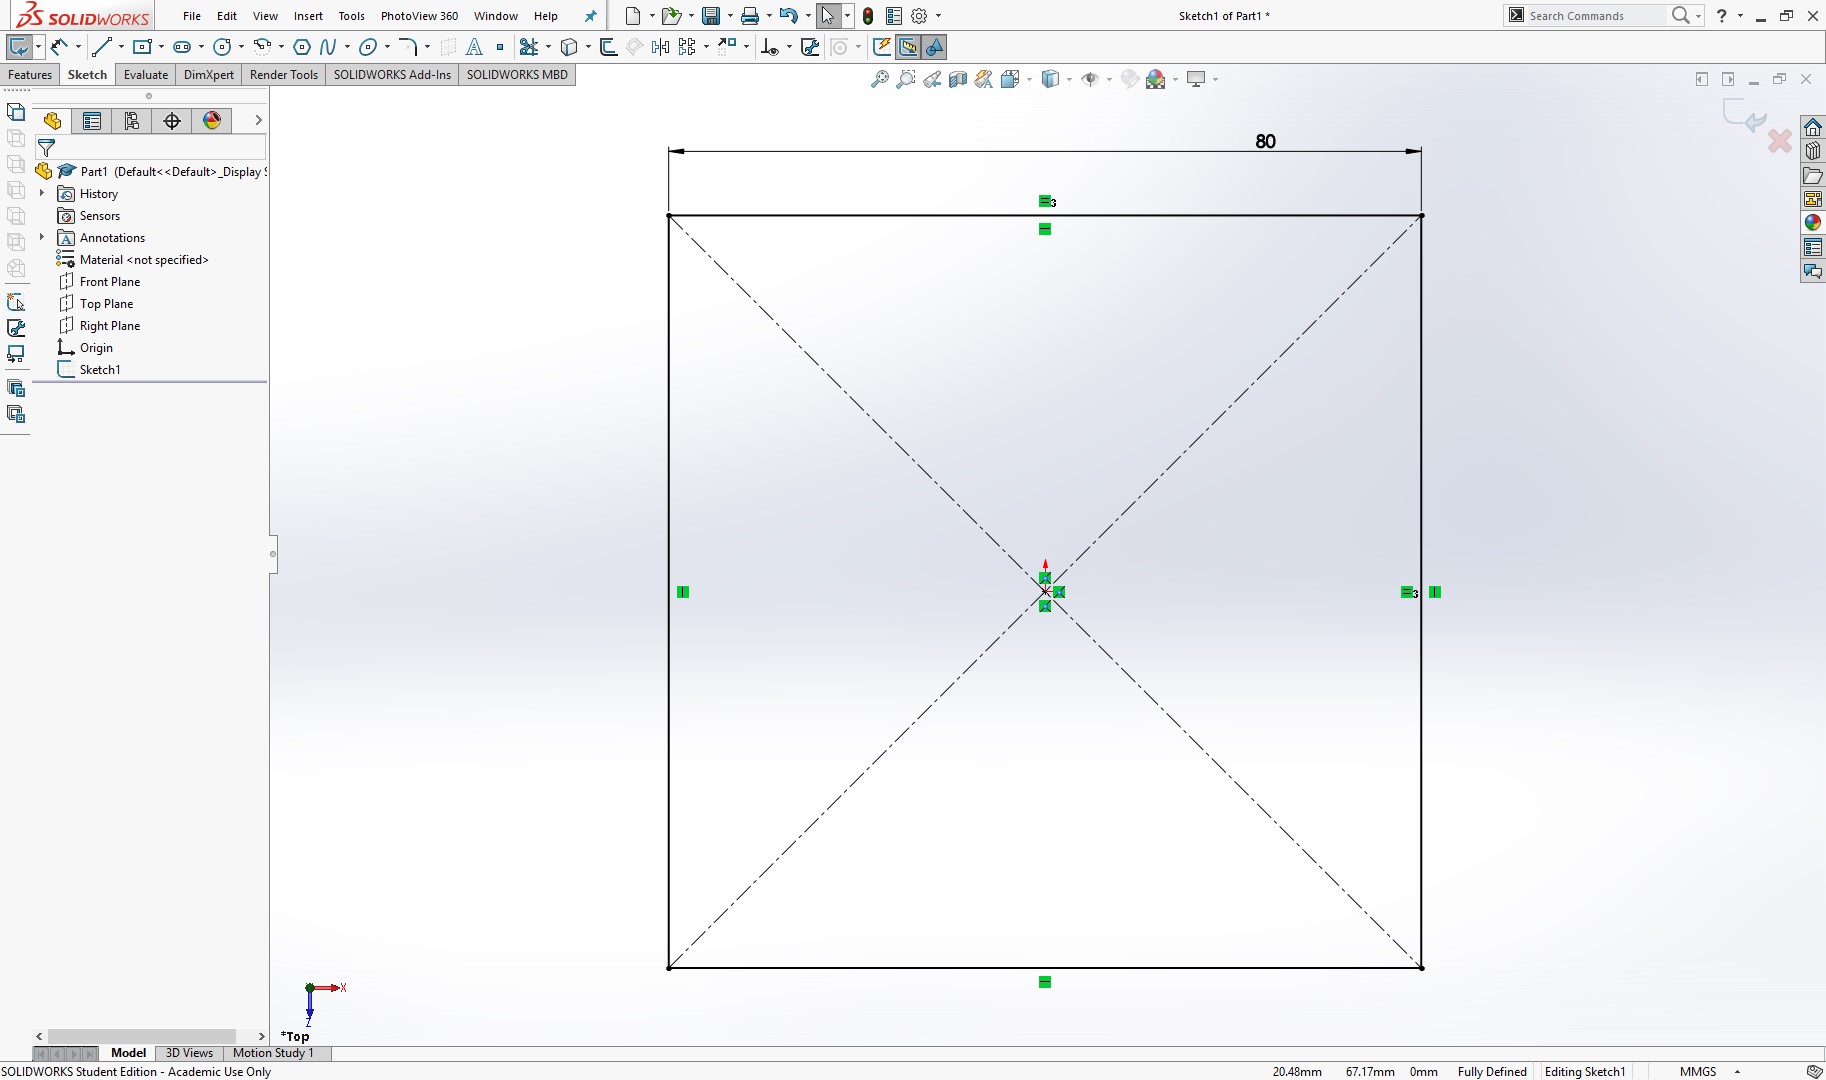
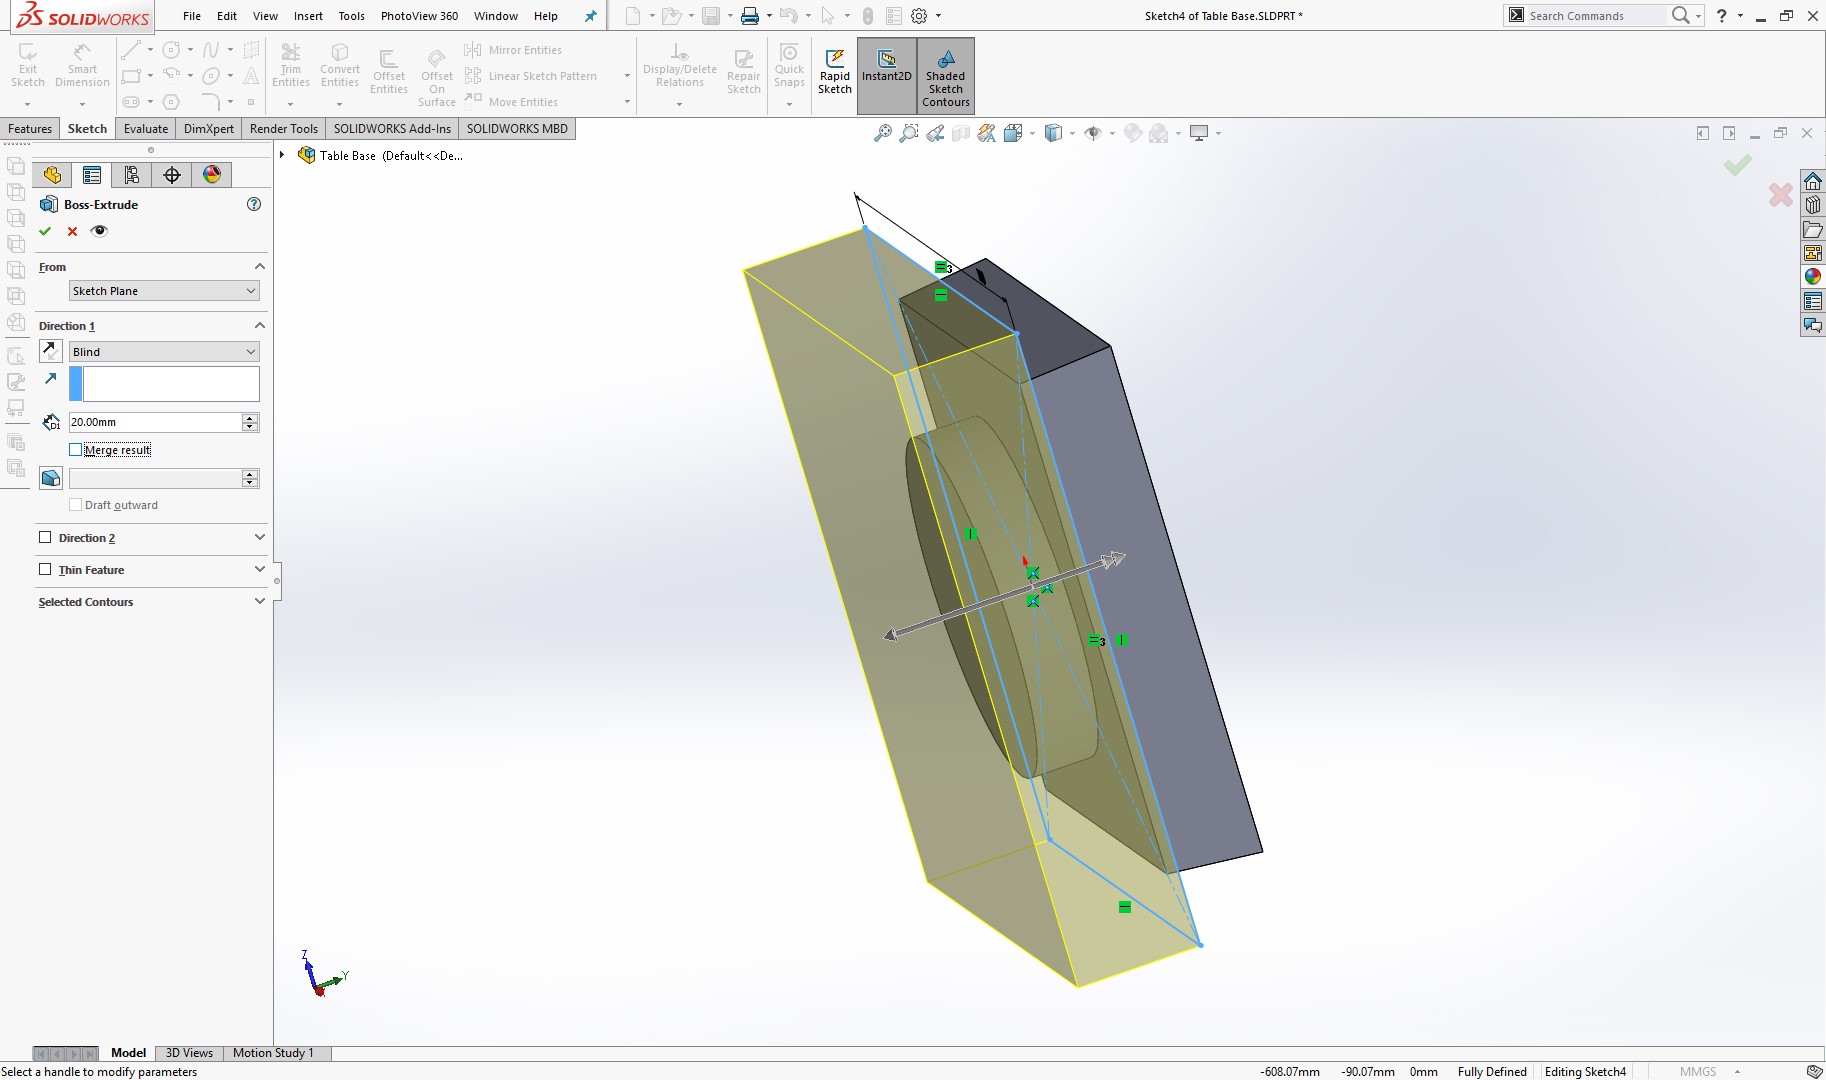
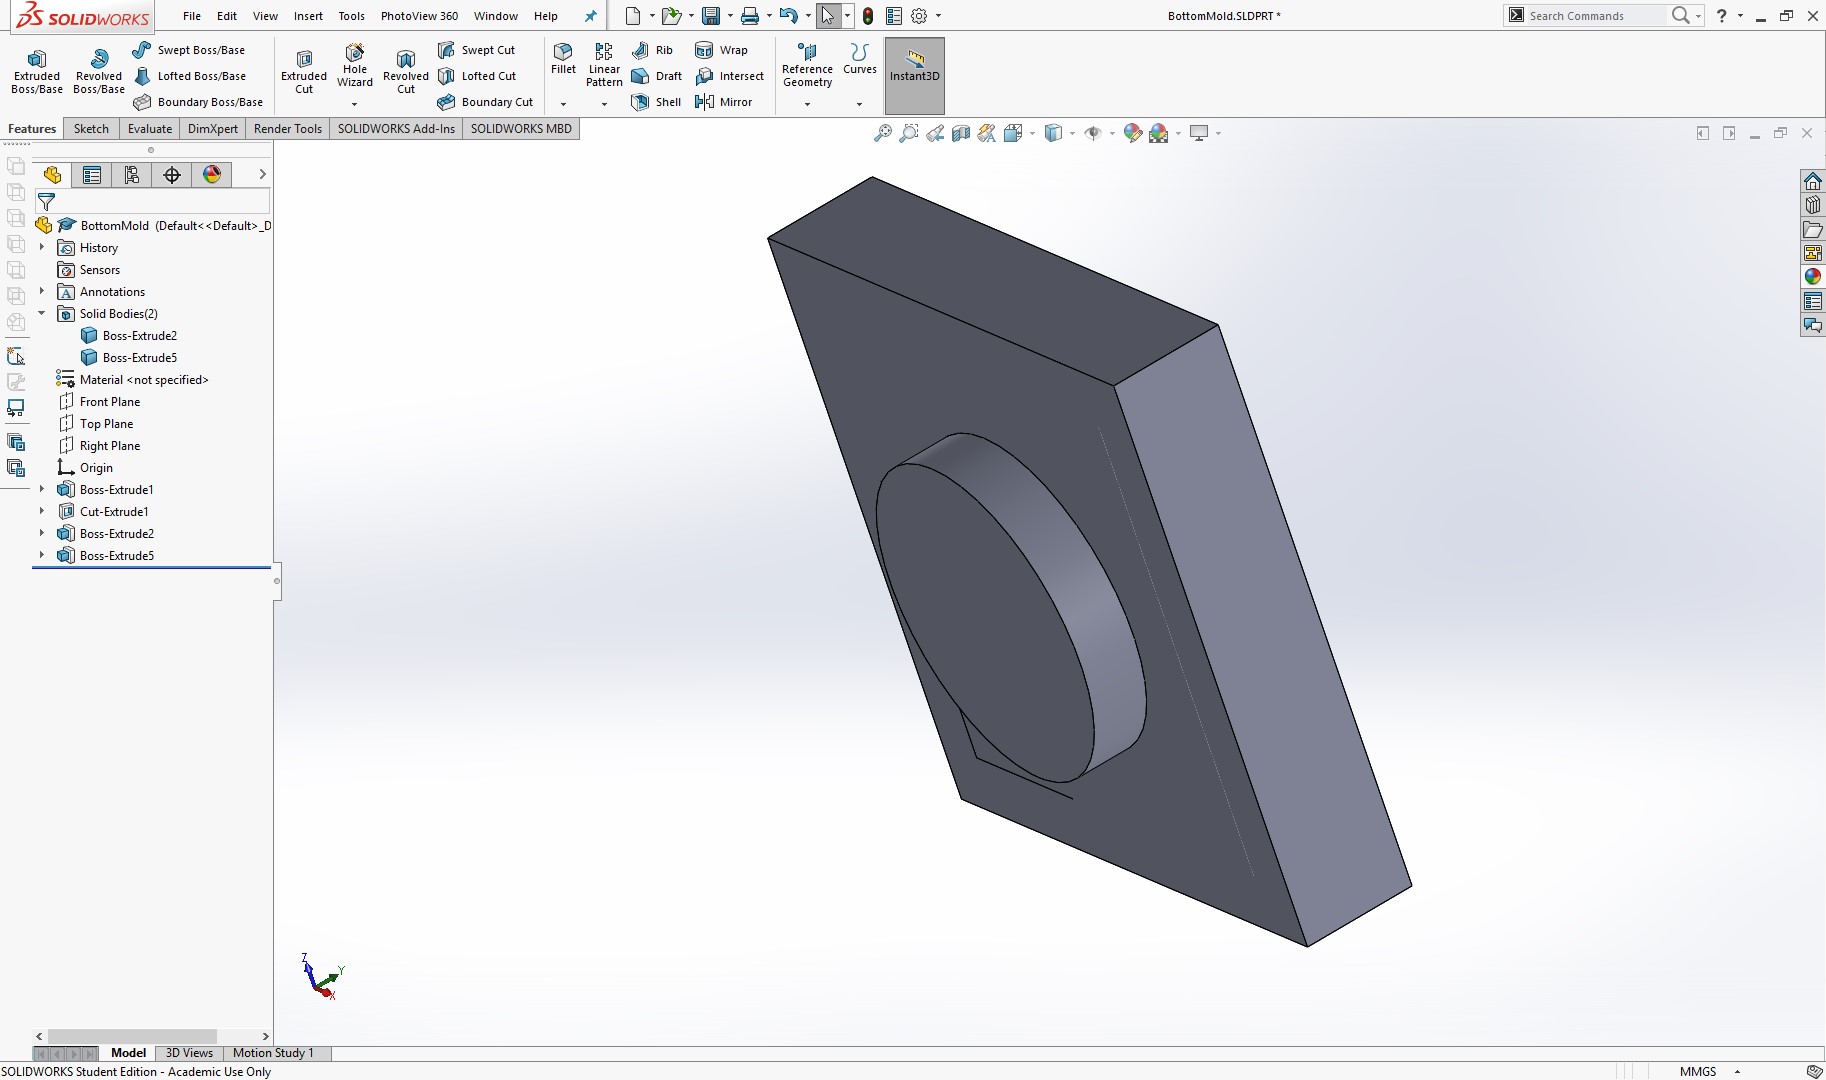
And because I want to cast it, I will extrude it with a 5 degree angle.

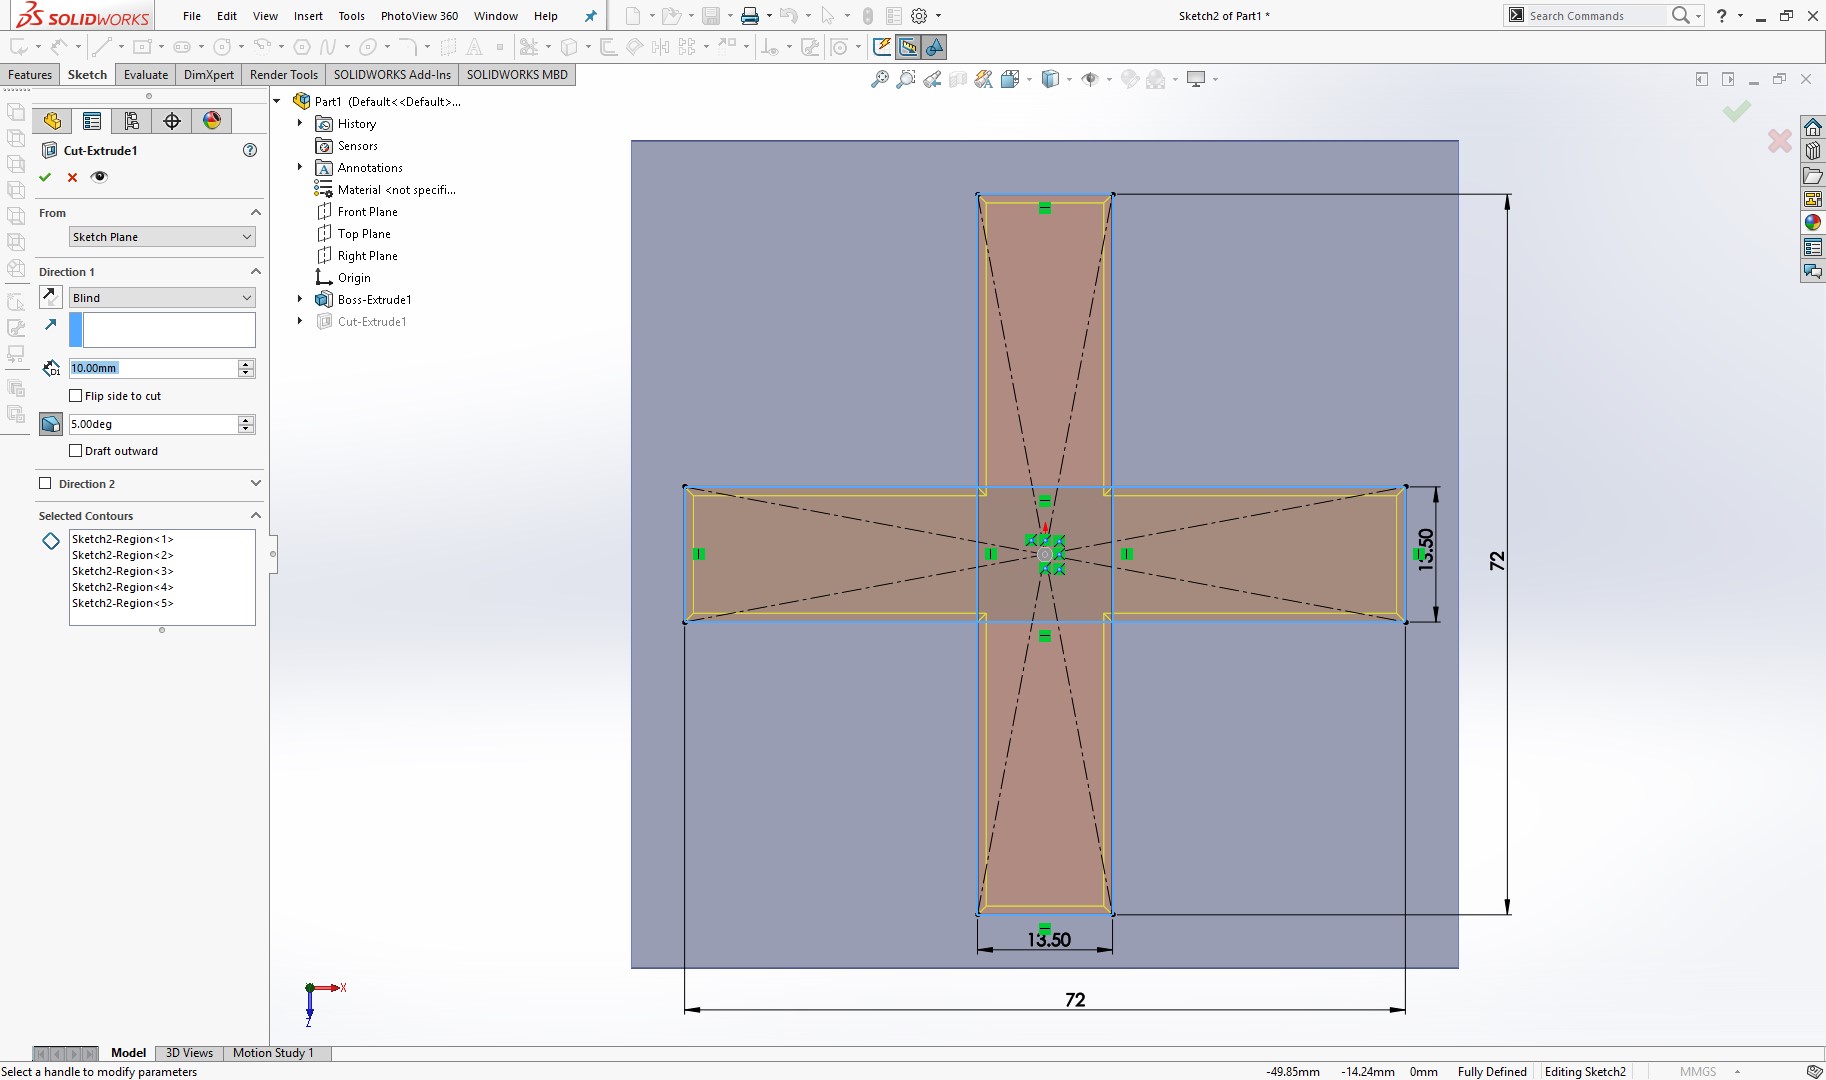
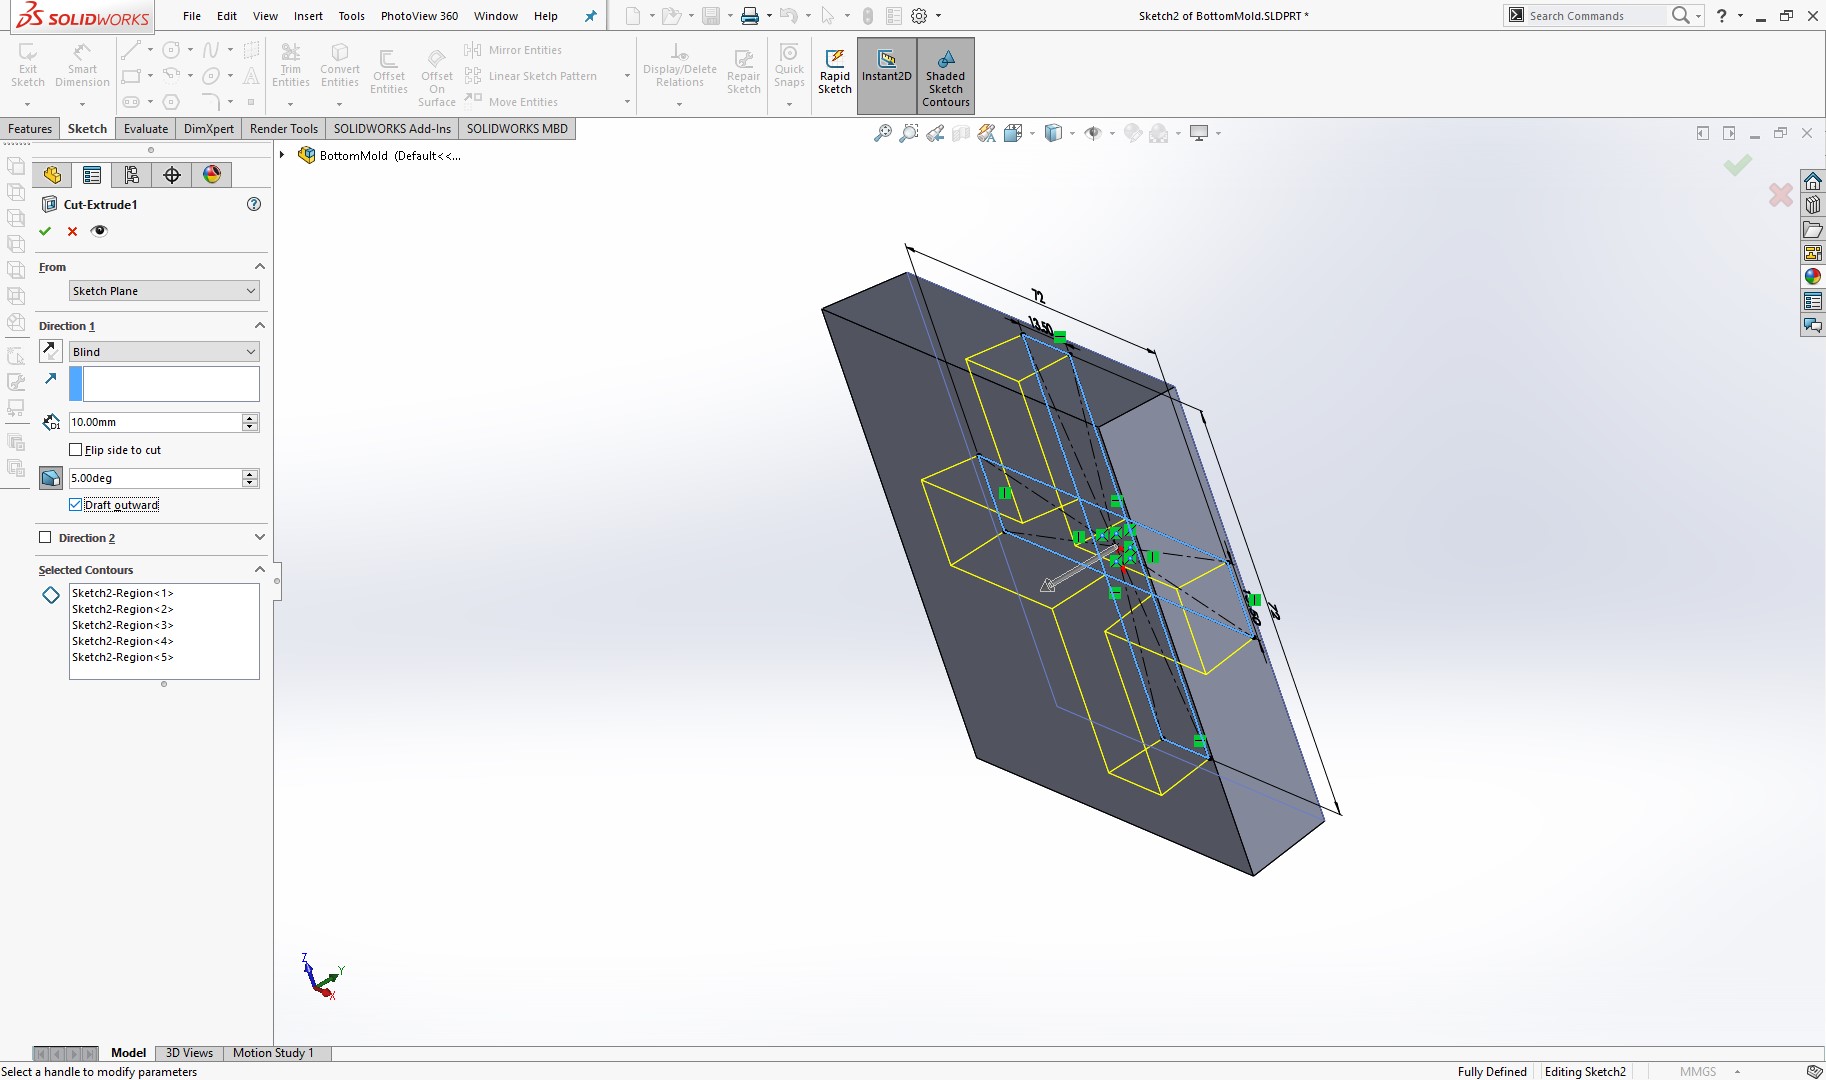
Now, I will add the features for the part to fit into my design.
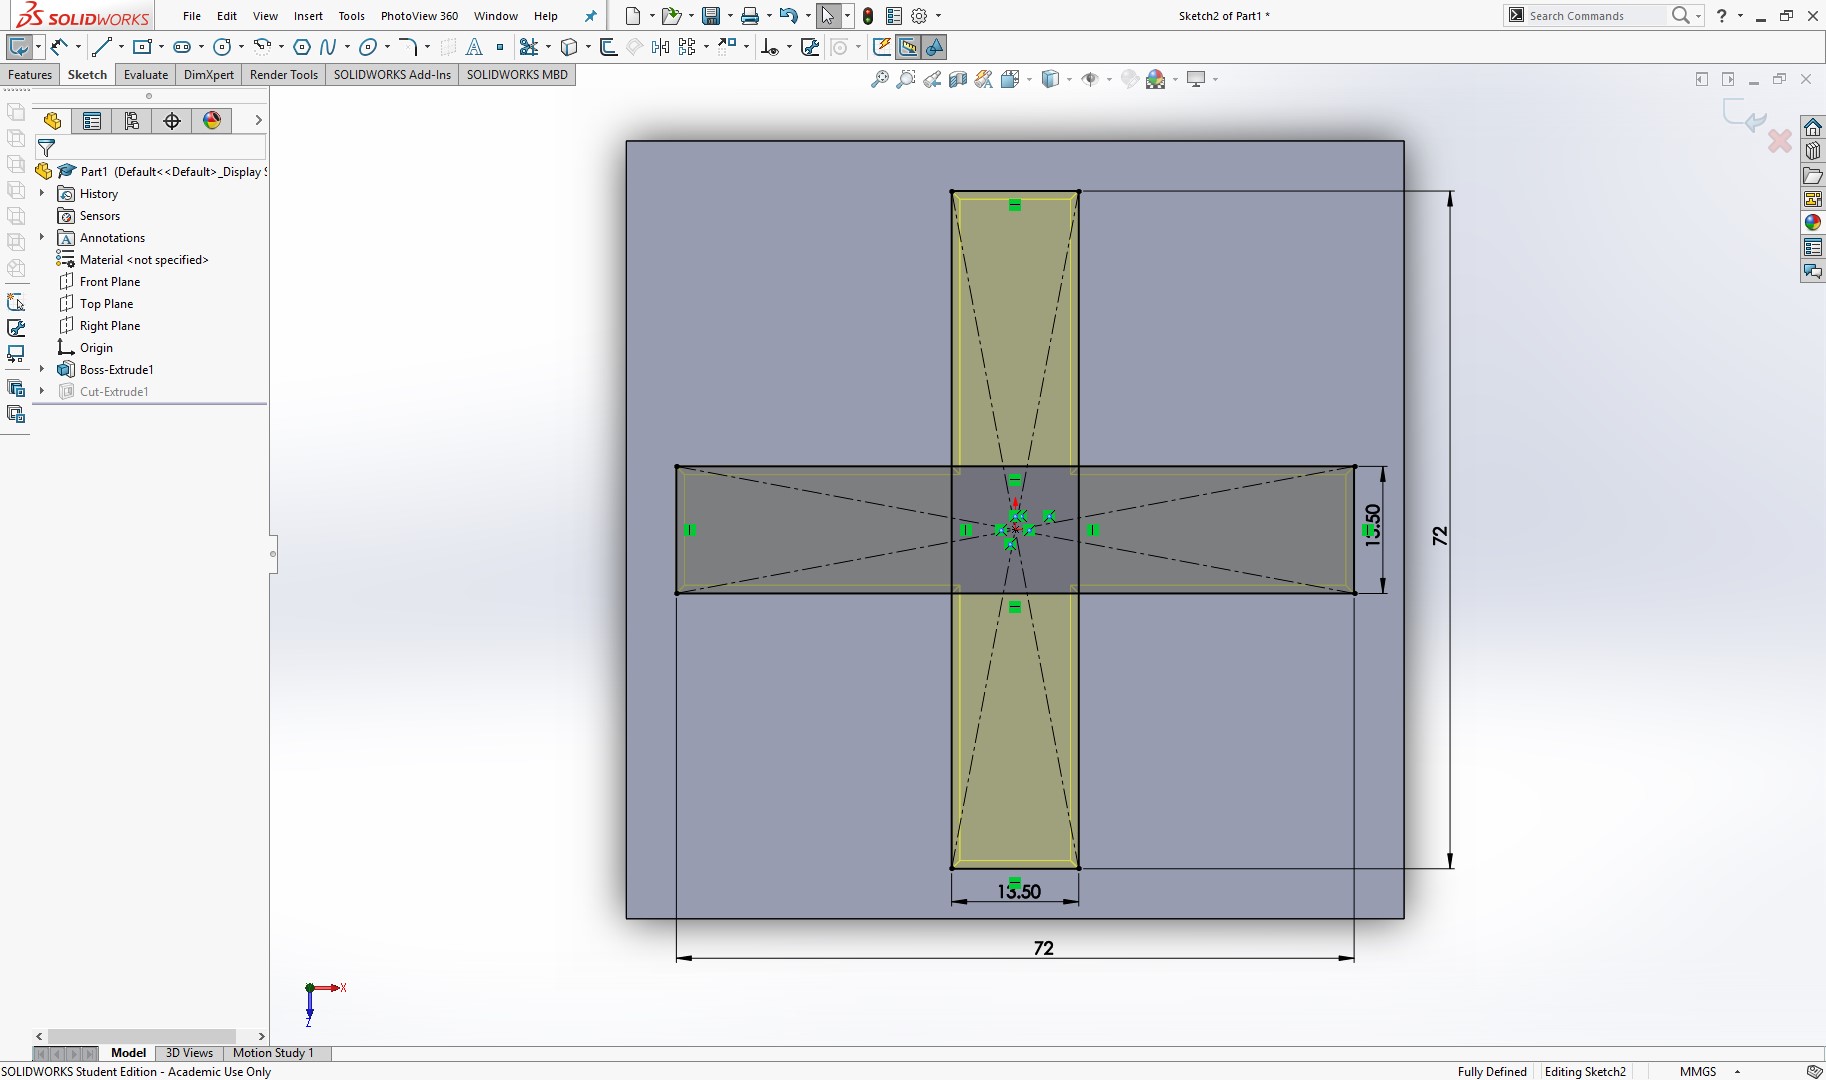
I made them a little bigger to have a tolerance taking into account the shrinking of the parts, and I also extrude with a draft angle.
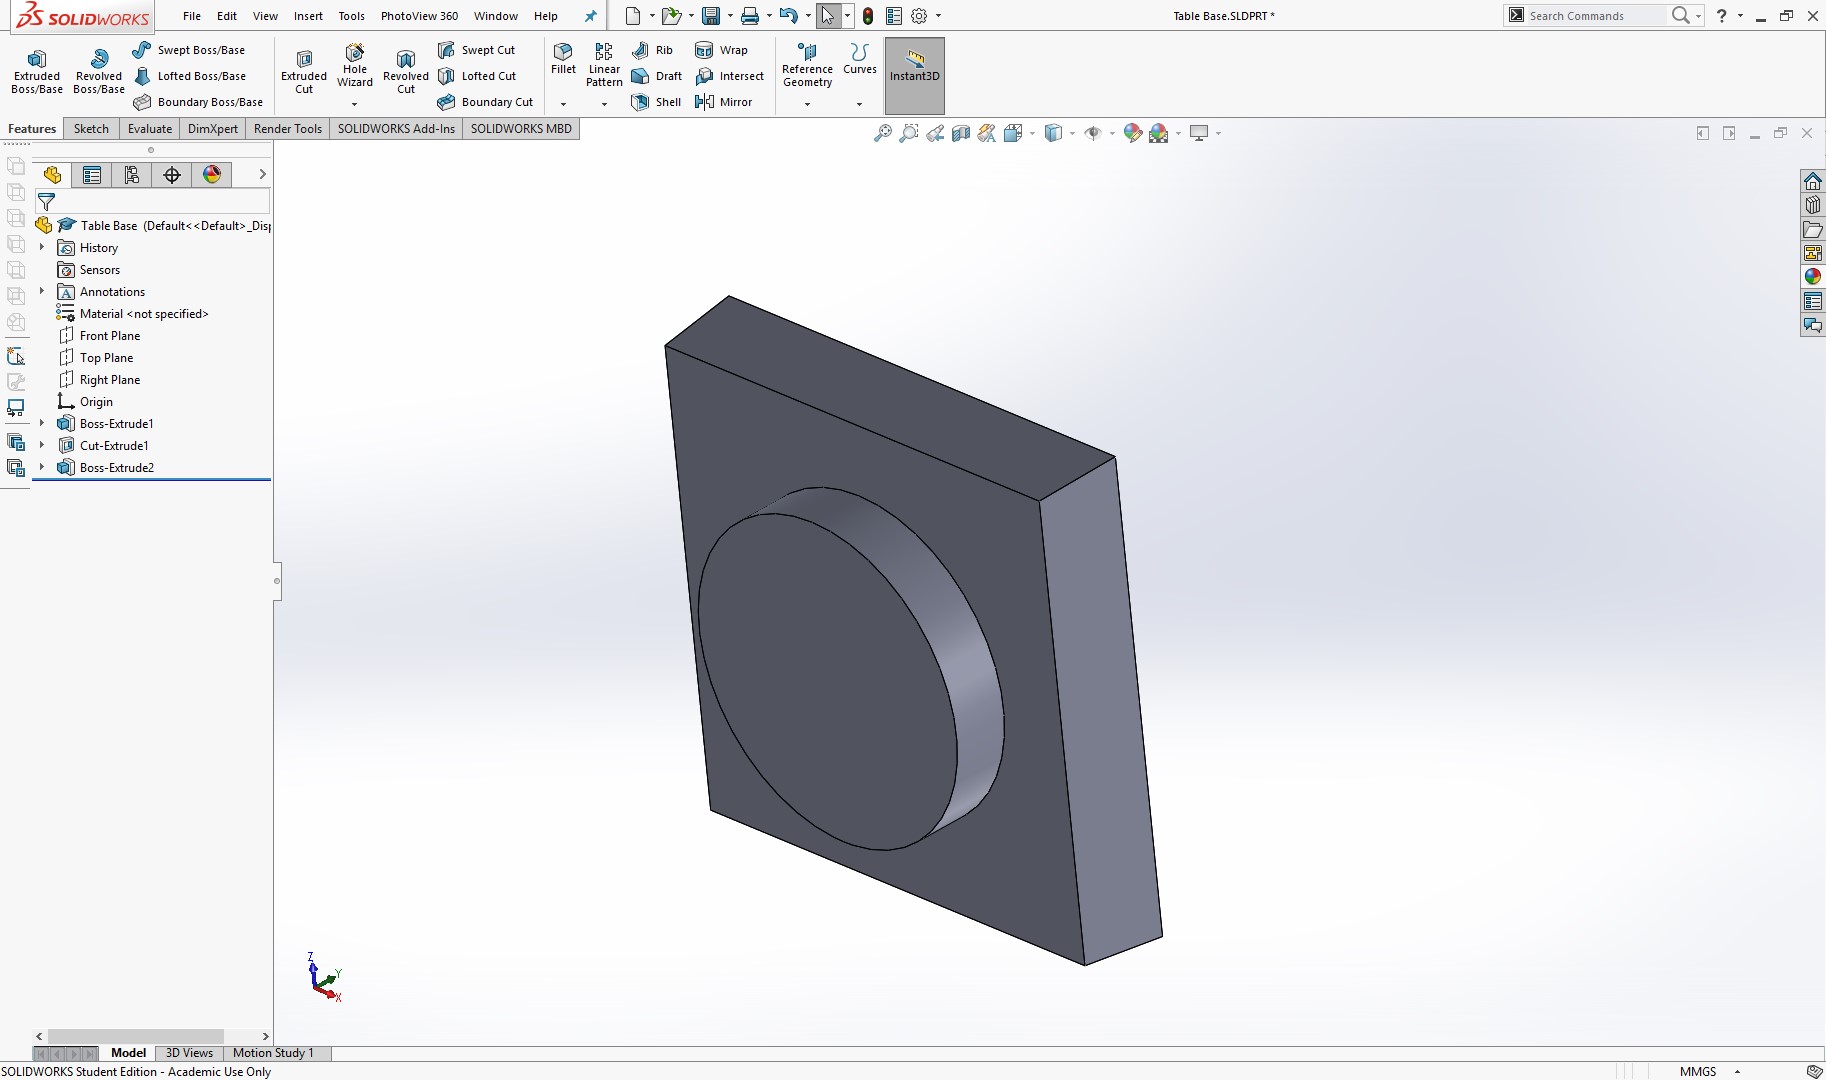
Because the mold has to be 3d, I will add a feature on the other side of the part.
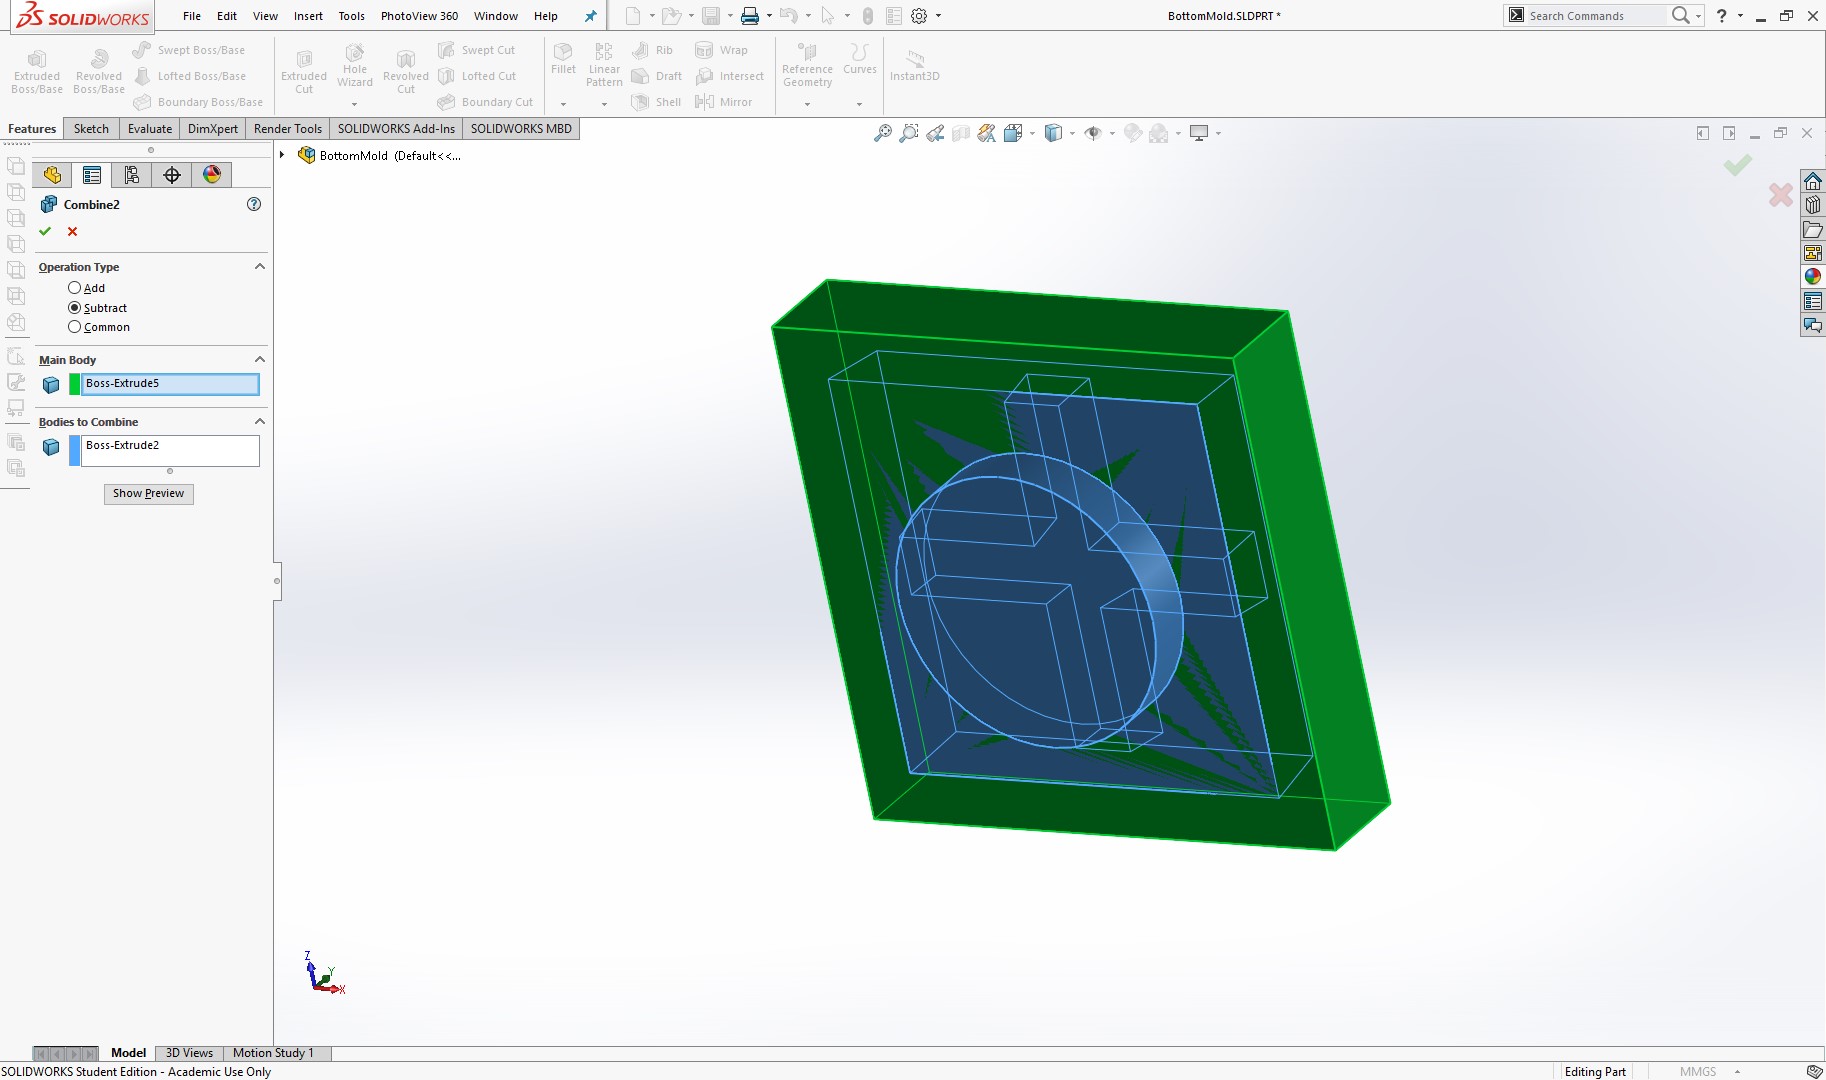
Now, to create the 2 part mould, I will create a new feature on the part, making sure to turn off the merge result box. This will create a feature as a separate part, and not fuse it with the original part.
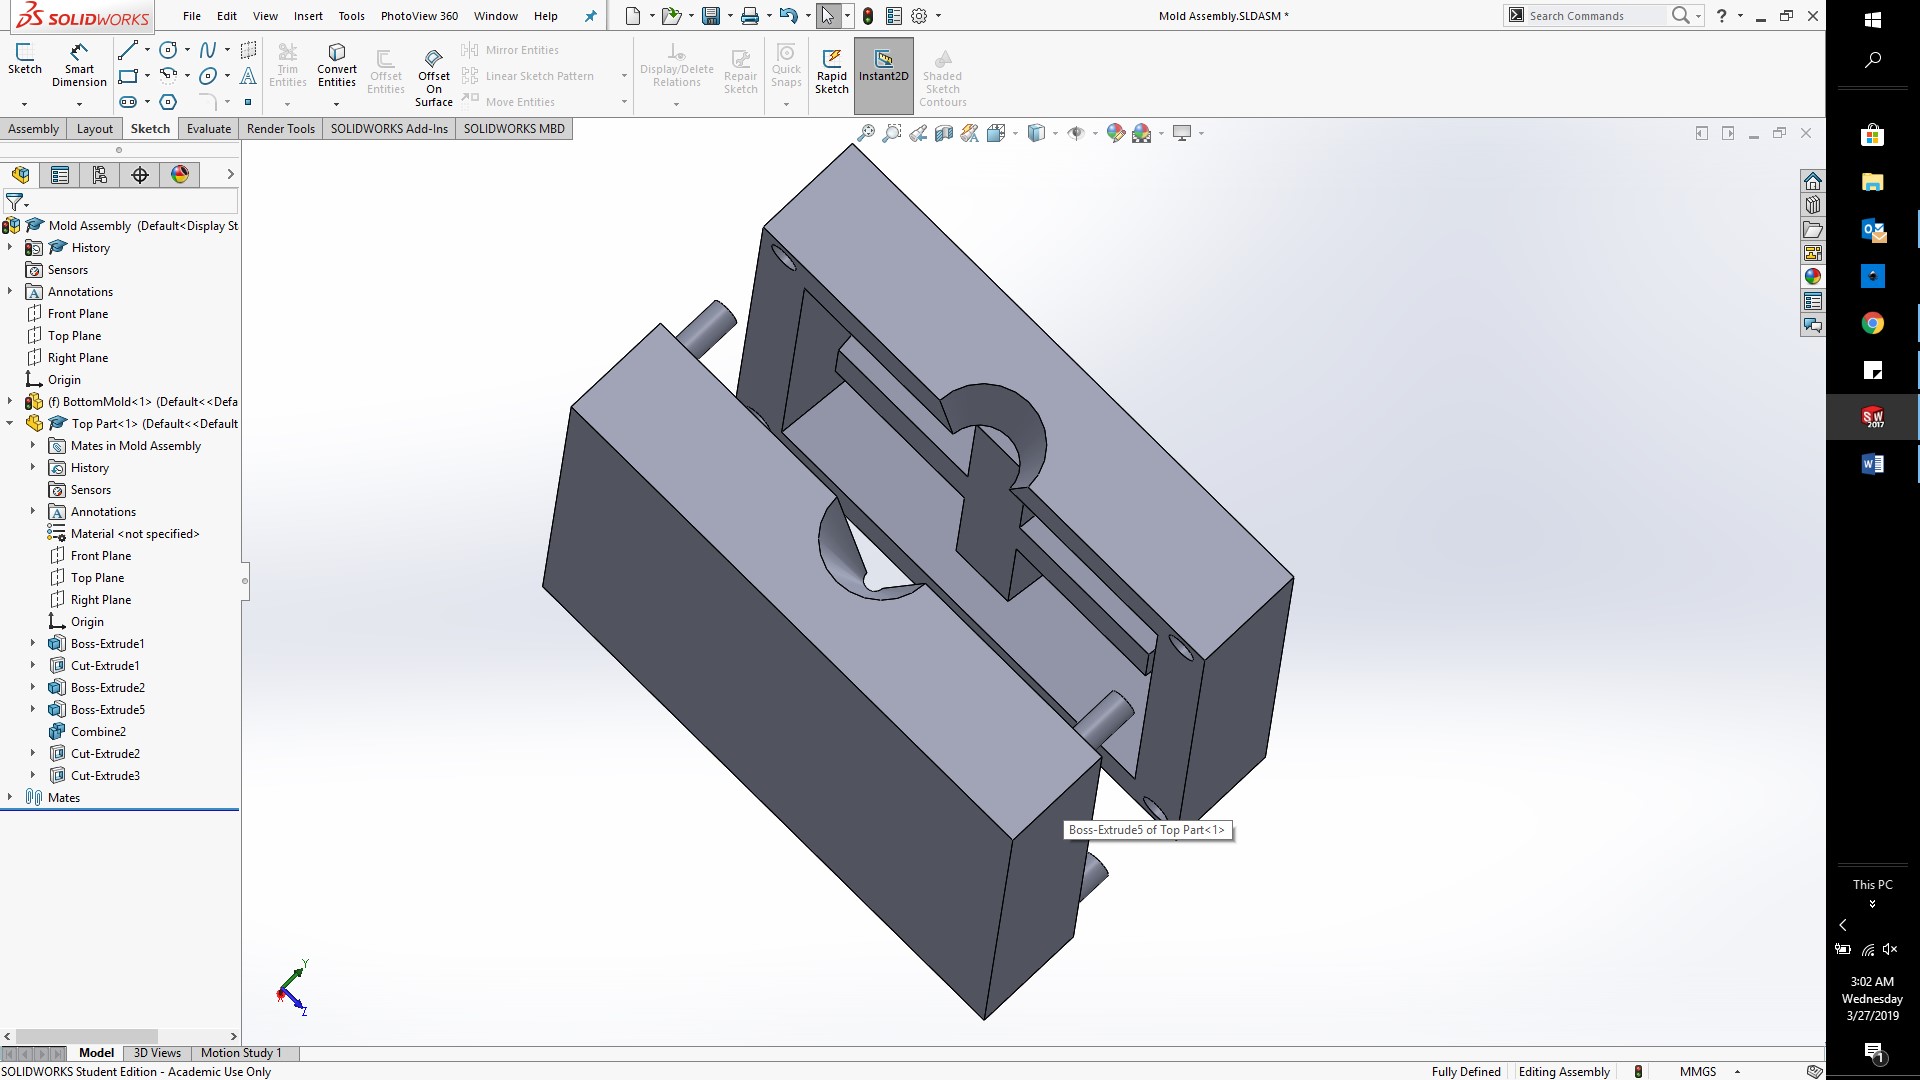
After creating the part, expand the solid bodies and you will find 2 different bodies in the folder as shown below. Using select or control on the keyboard, click on the 2 parts, and then right click and select combine.
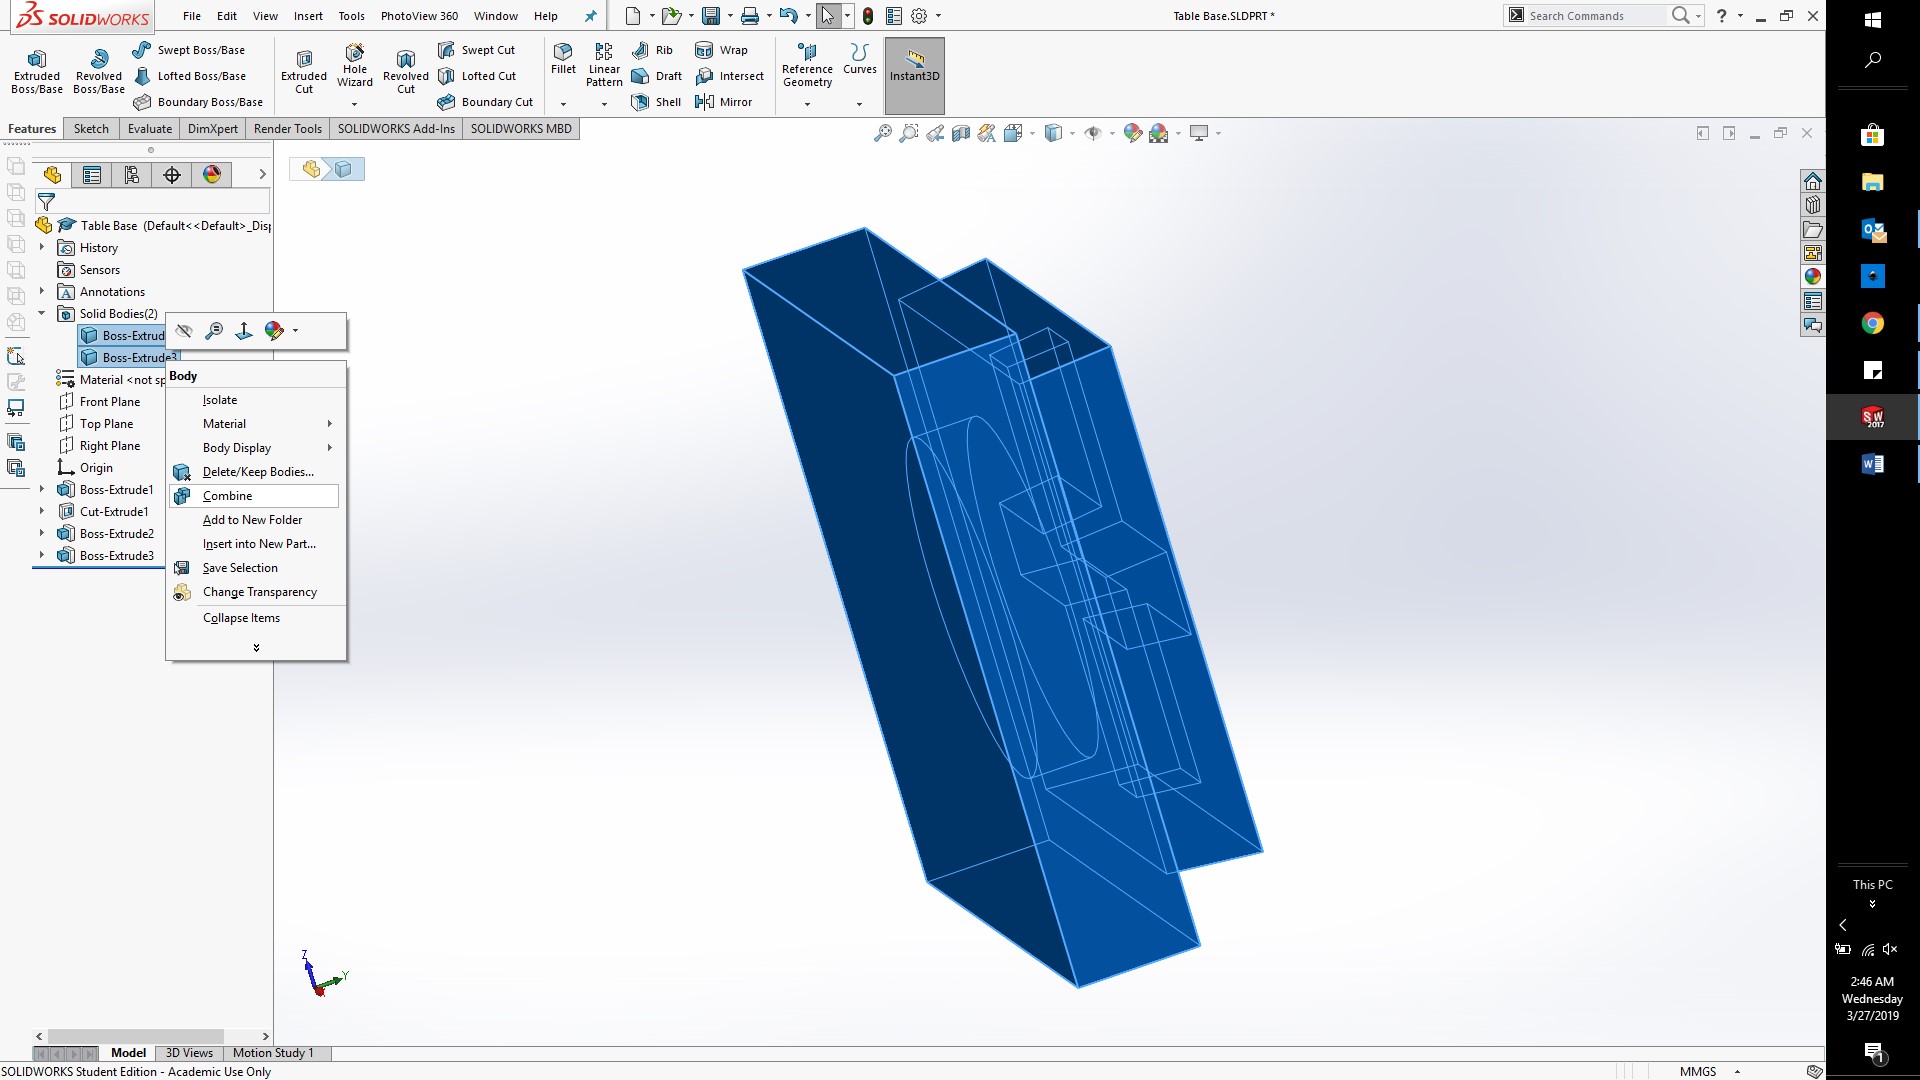
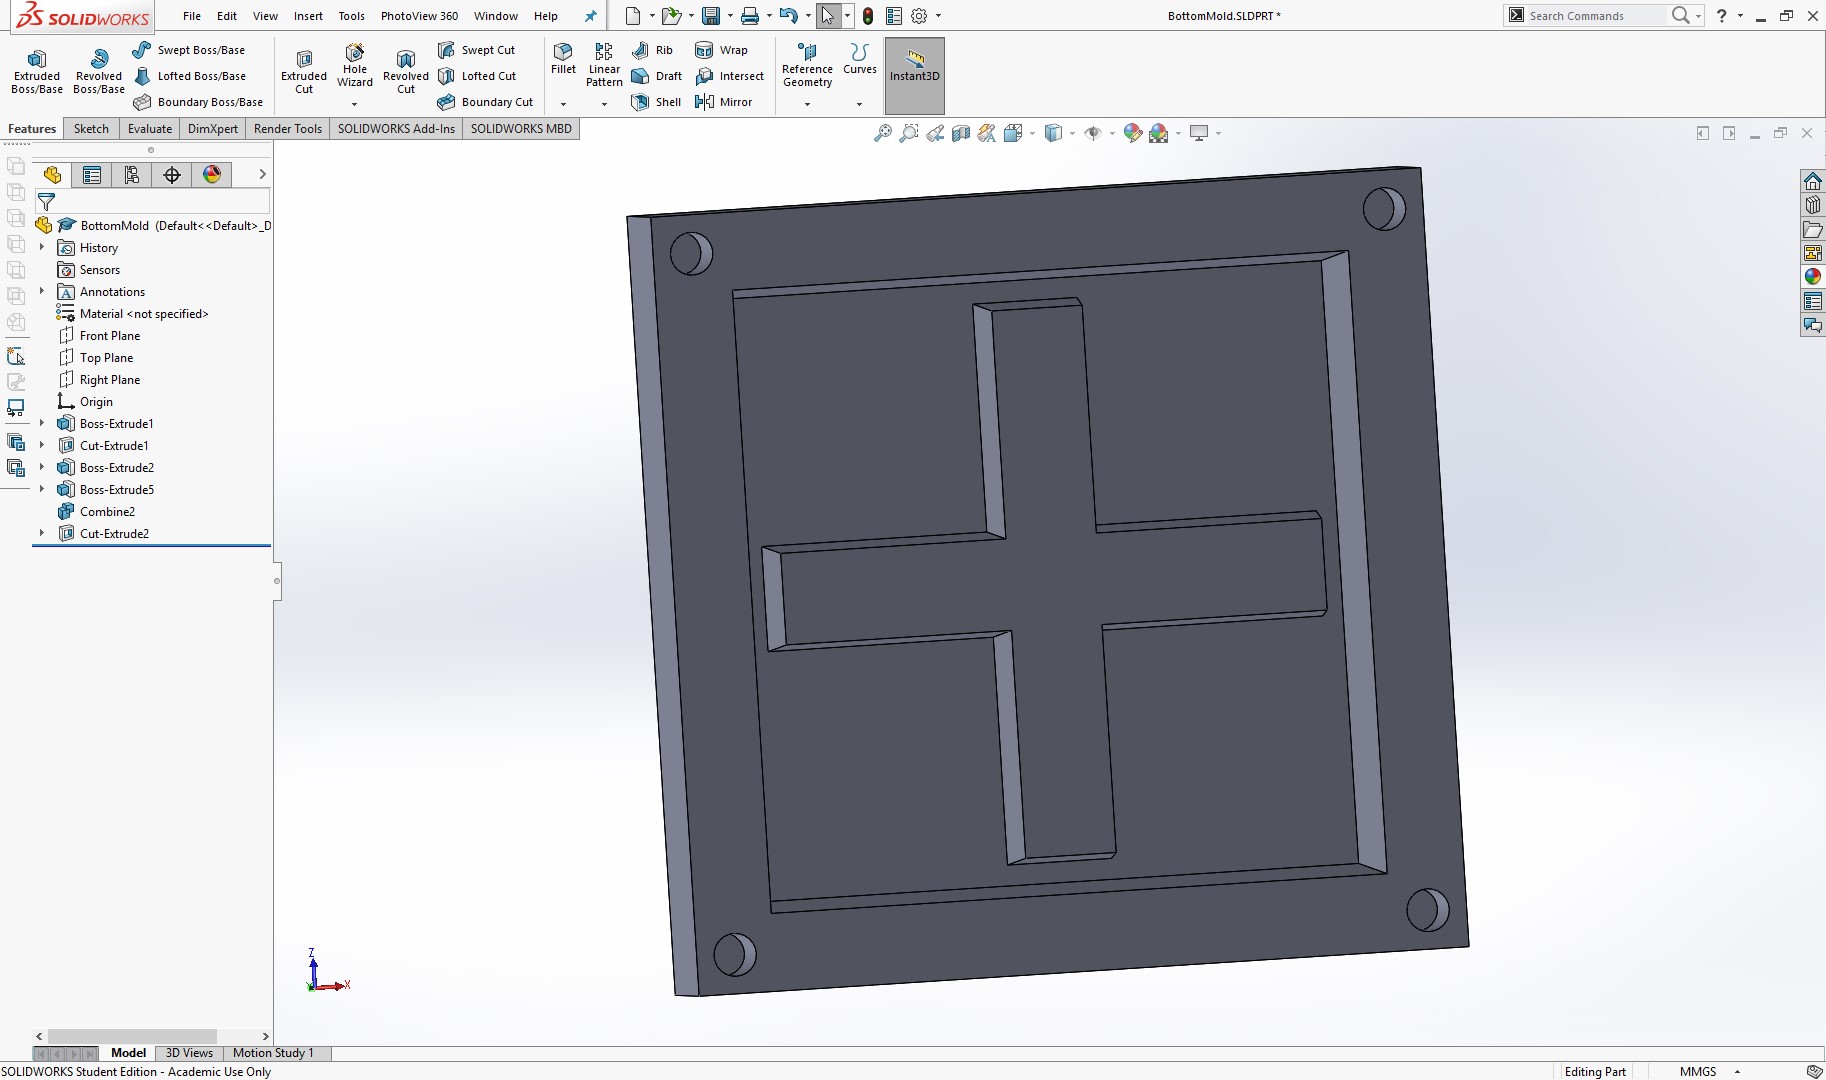
Make sure the main body is the last part you created, and then the body to subtract the part you did at the begginging. Accept the result, and now, lets create some male guides for this mold. Create a 5 diameter circle, 5mm from each border, and then extrude it 10 mm.
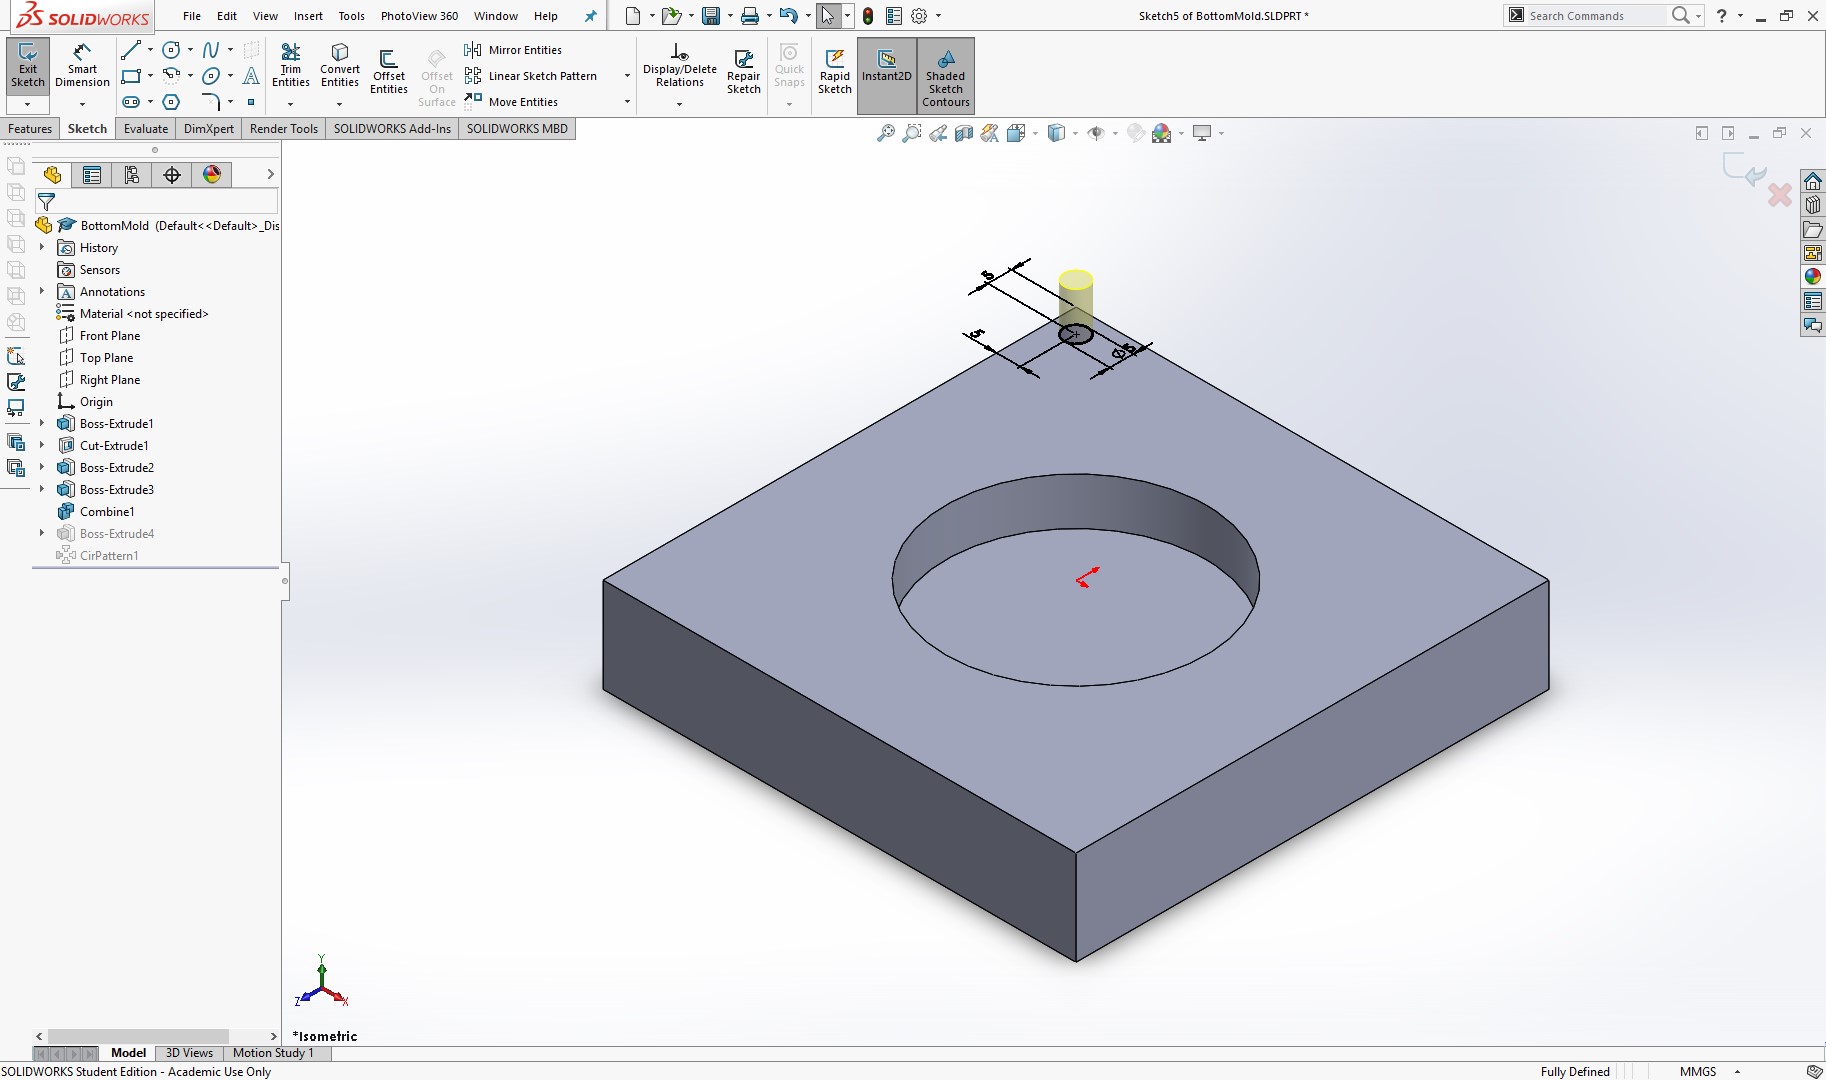
Use the circular array option to replicate the guide on the 4 corners, using the circular feature as the rotation axis.
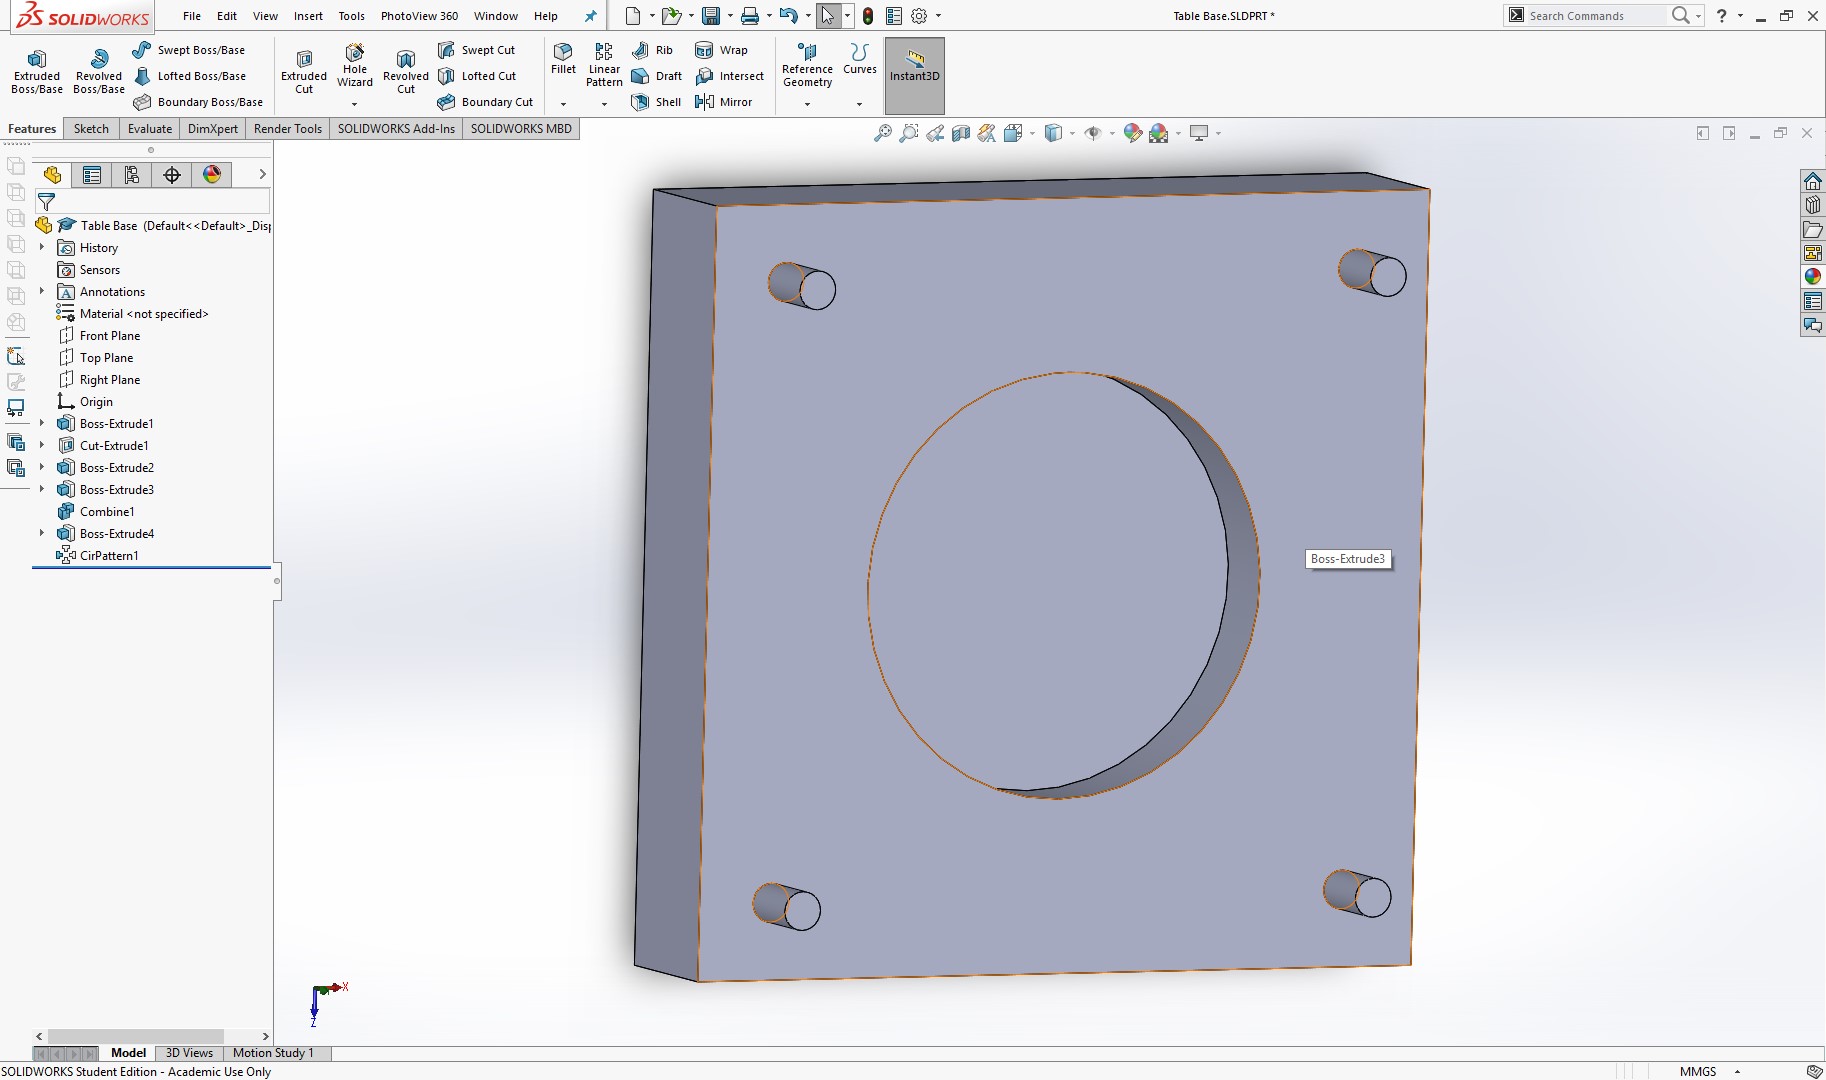
SAVE AS BOTTOM PART. Return until before combining using control Z, and now, extrude the rectangle but in the opposite direction.
Edit the part and toggle the drafting angle
Combine again, making sure the main body is the last part you extruded, and the bodies to combine are the first bodies you design.
Now, create the female guides on this part.
Now, Save the parts as top, and creta a new assembly and add both parts. and use the constrains to fix it in place.

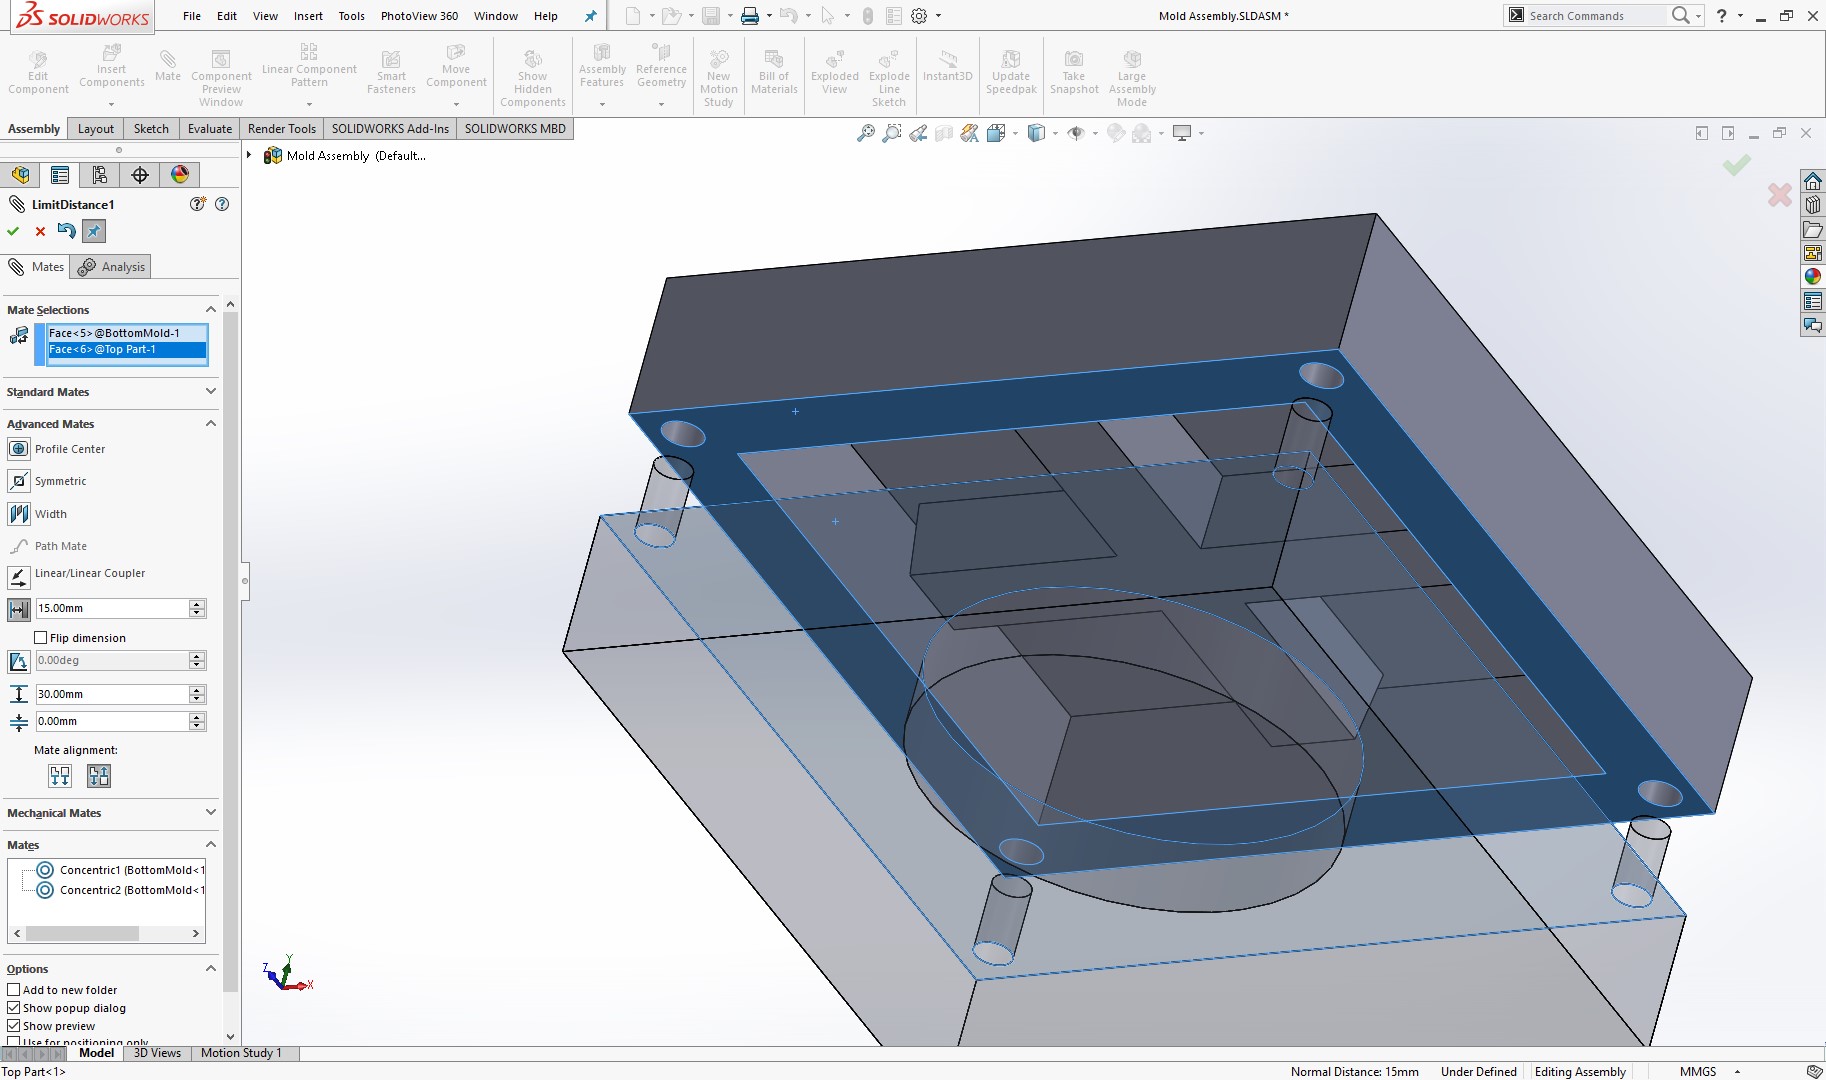
For creating the constrain between the faces of the mould, you can use an advanced constrain that lets you define a minimum and maximum separation between the faces.
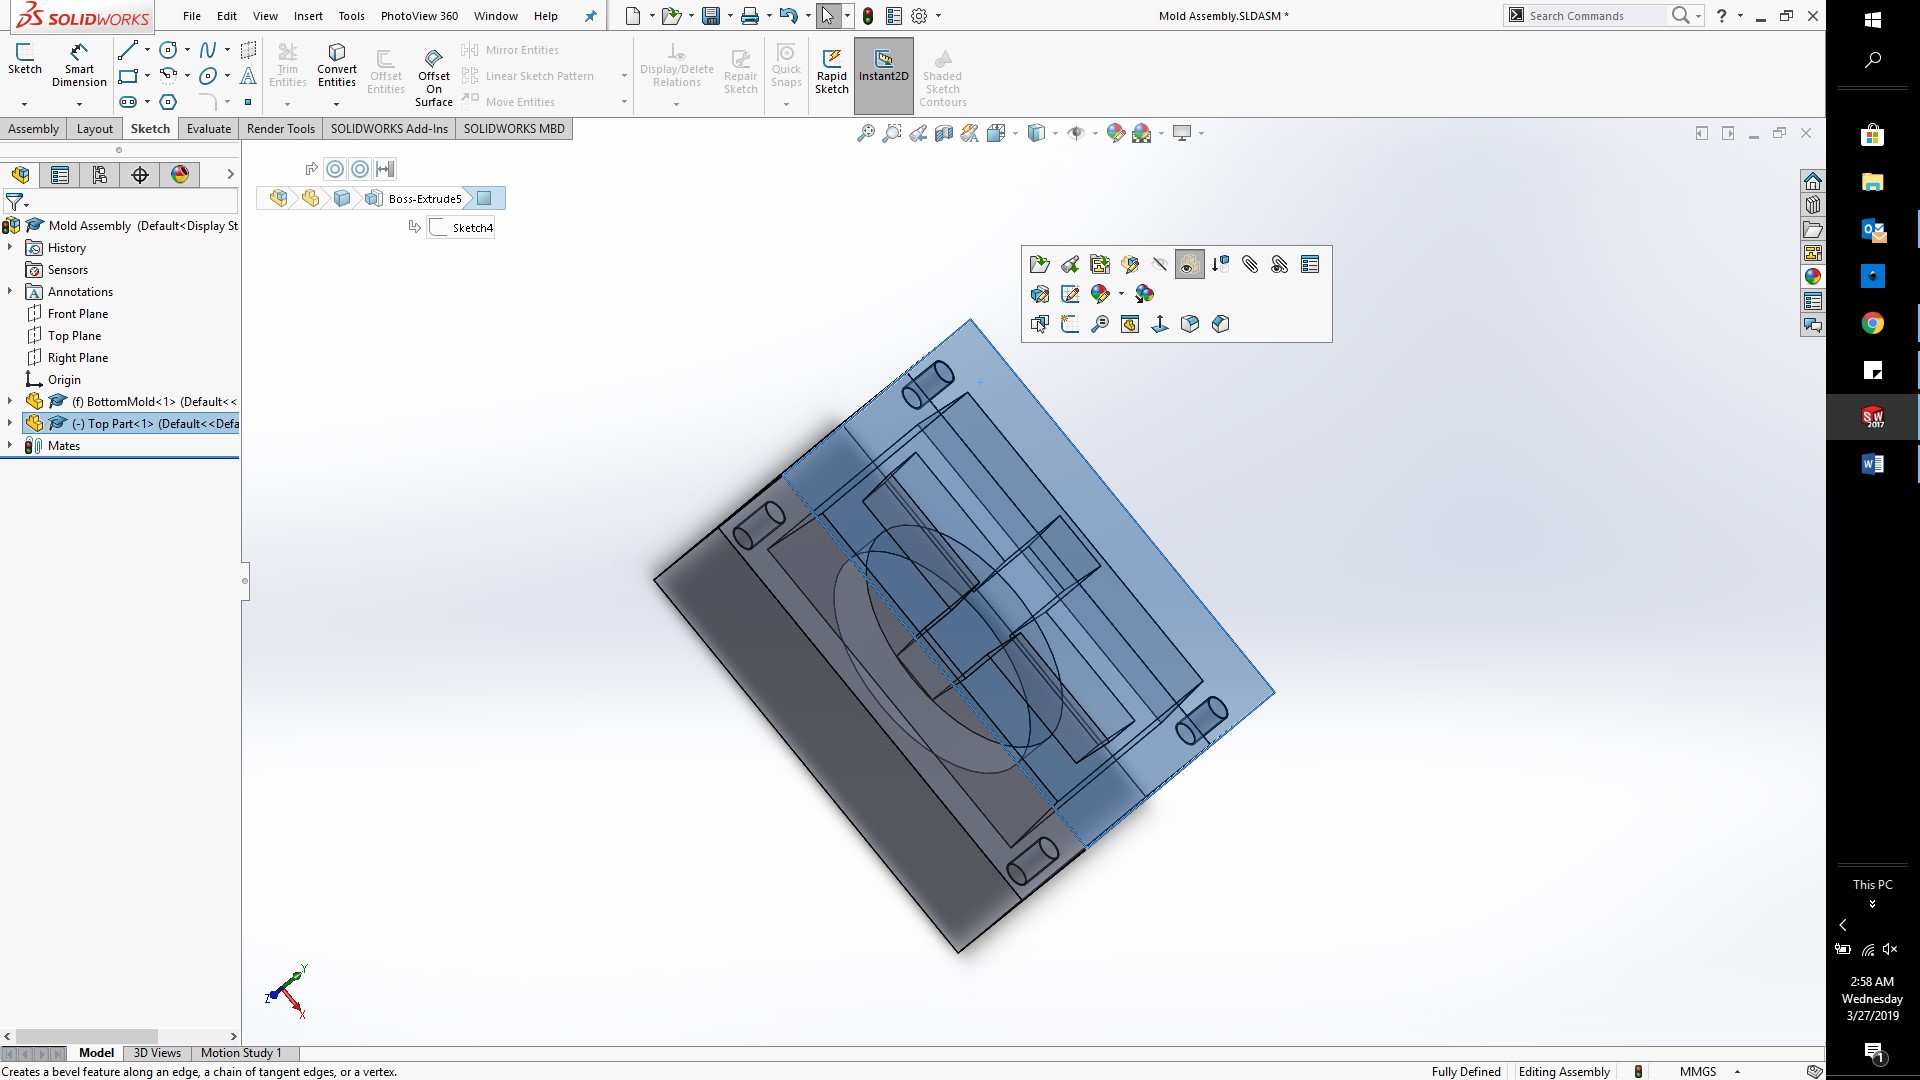
Change the visibility of the top part by using the transparent option.
We need to create a pouring whole to be able to cast the part. Draw a circle and then use the taper option to make it become smaller as it extrudes.
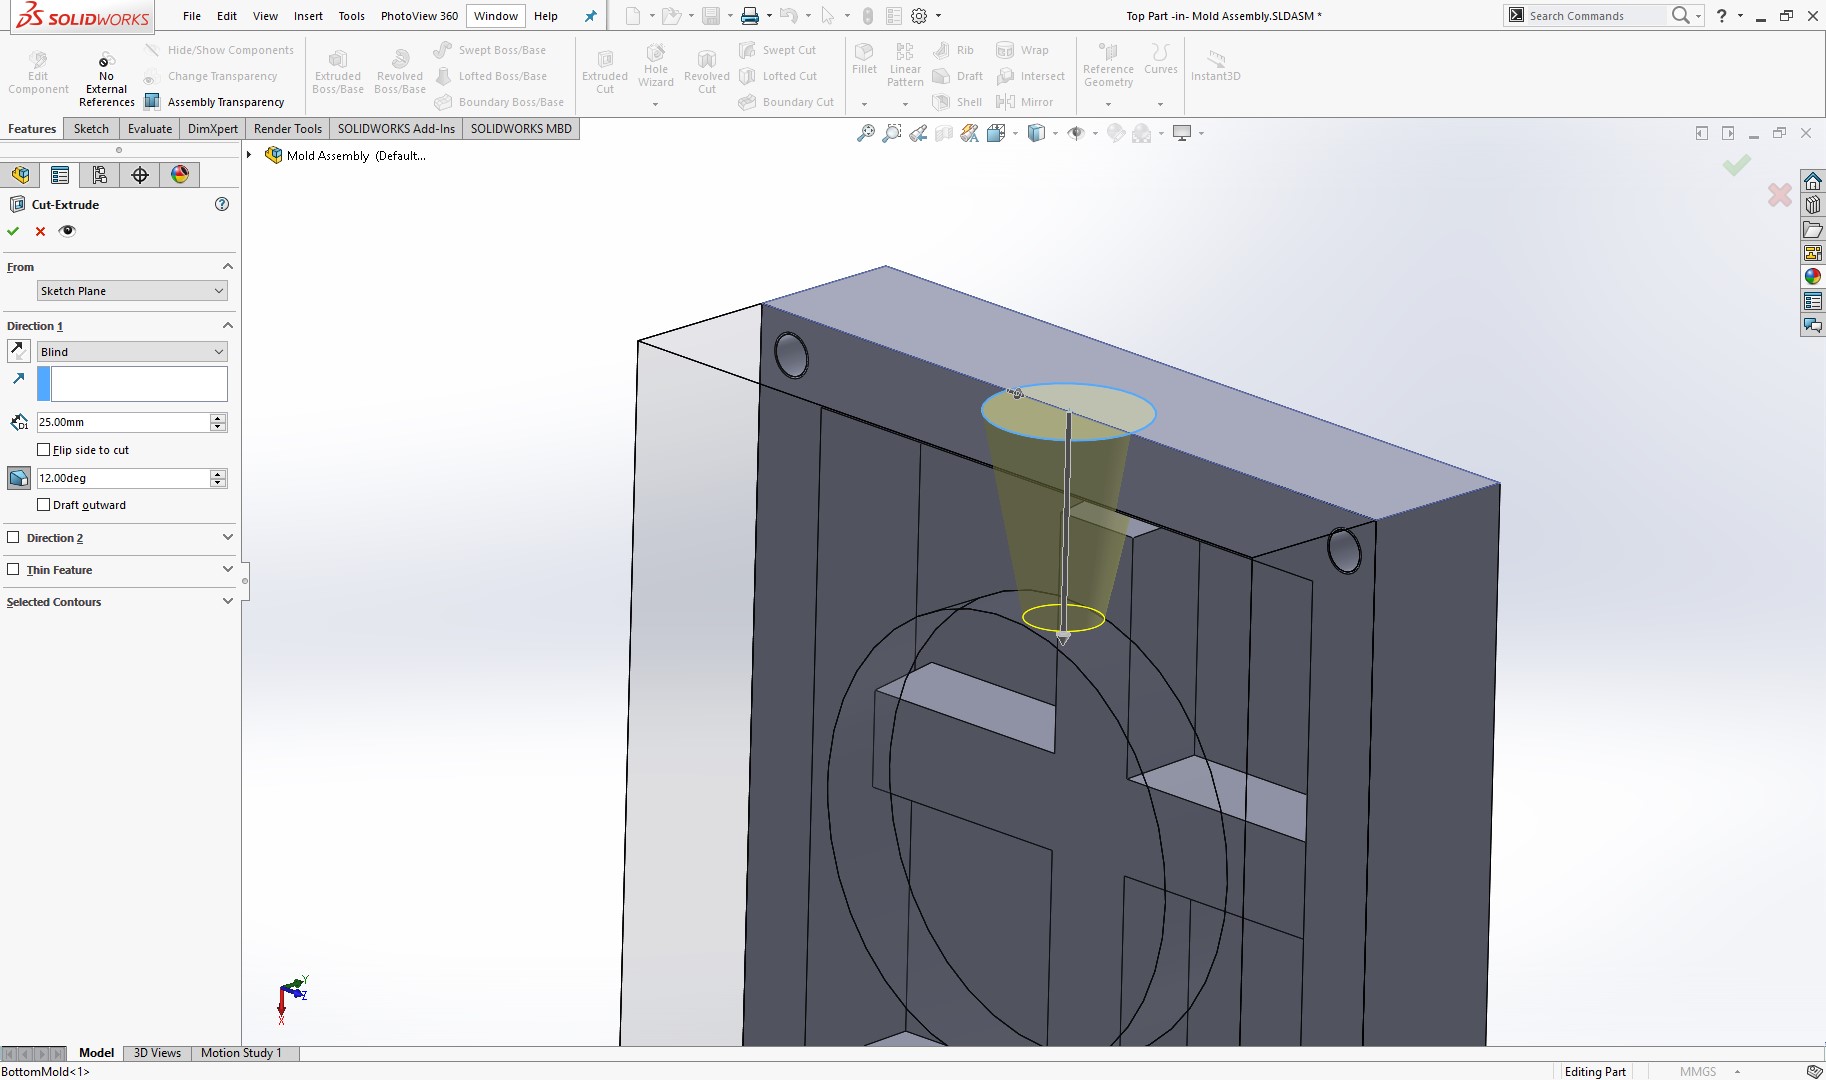
Repeat the same process on both parts, so that each half has its half cone.
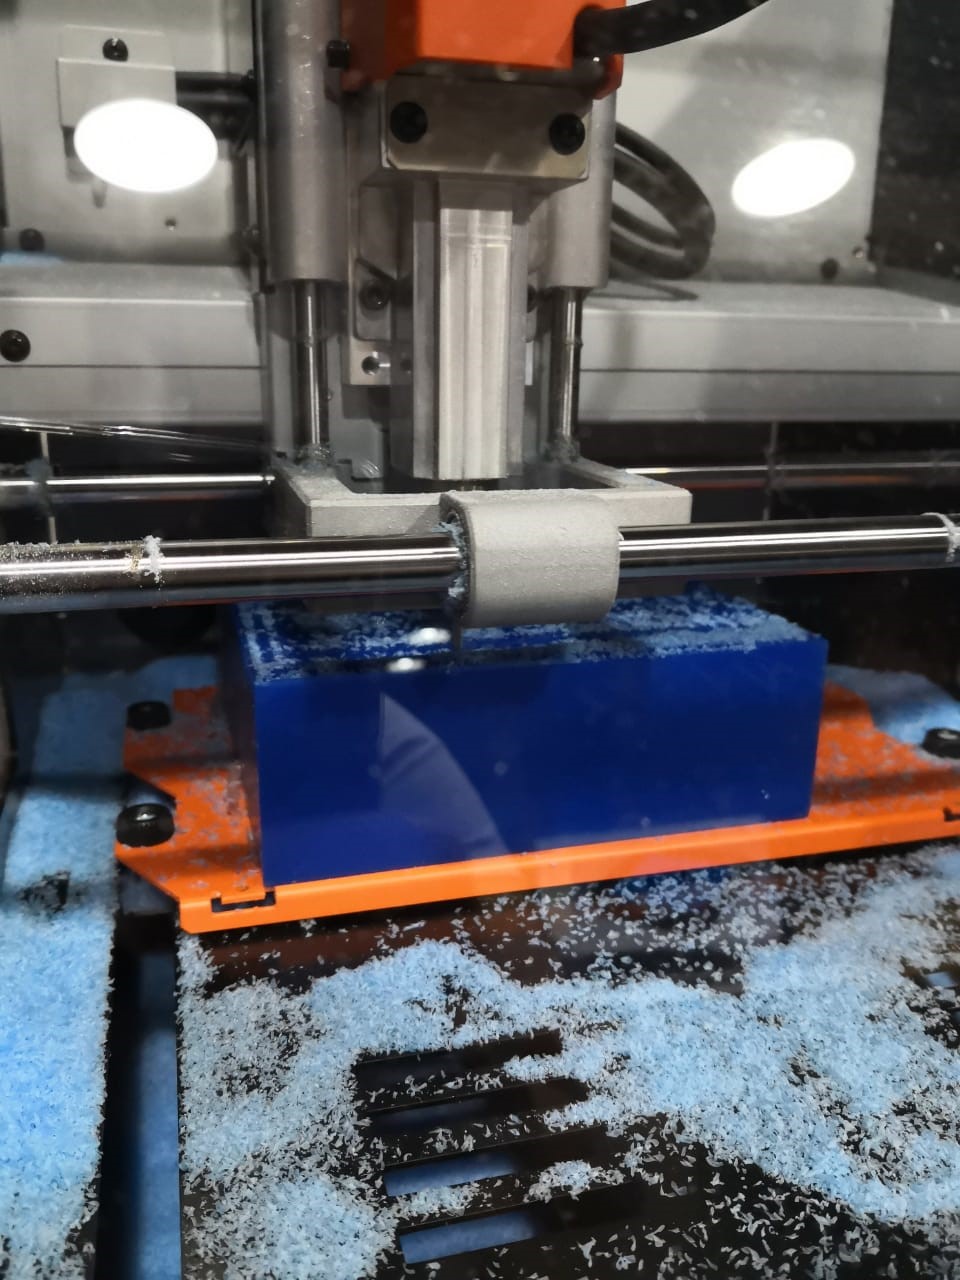
The 3d design is now ready. To fabricate, we can either 3d print or cnc the part. To learn, I did both. The following are the images of the cnc mold fabricated
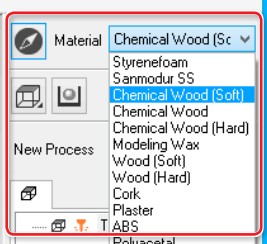
FOR Milling, I used the SRM 20 milling machine from Roland. This machines is very easy to use, as the software selects the best parameters for cutting depending on the machine you are going to use. In this case, I will use modeling wax.
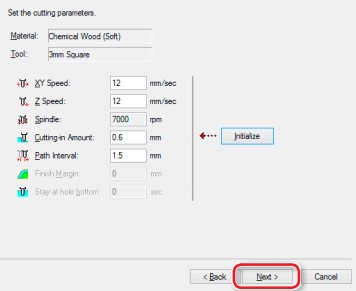
How ever, if I wanted to change the settings, I can enter and chane the feed rate (XY speed), the Plunge rate (Zspeed) and the spindle speed. For every operation, you can also select how much material to cut and the overlap of the tool in each step. In my case, because Im using a 3mm spindle, y used a path interval of 1.5 mm, which means an overlap of 50%. As the material im cutting is very soft, (wax), the speeds used where very simple
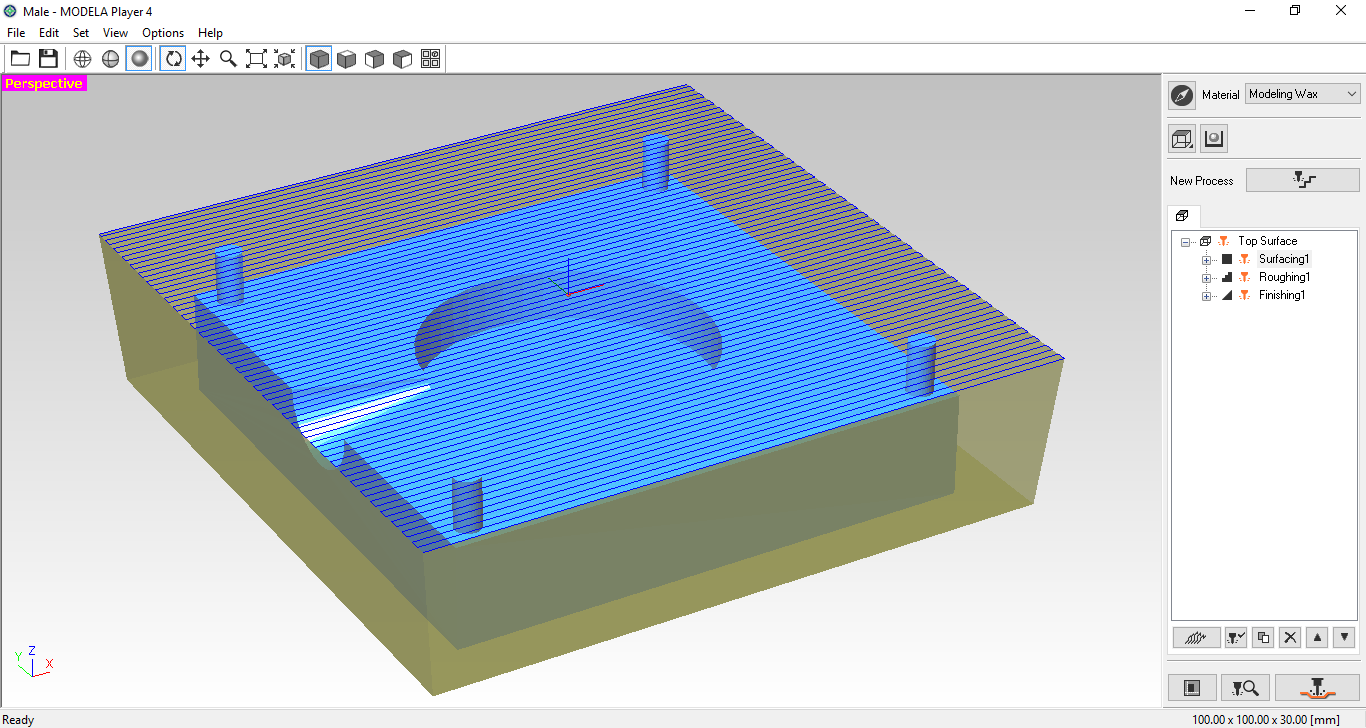
After selecting the material, I can import my model and select its orientation
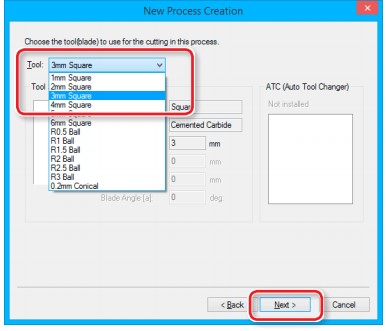
Then select the tool to use
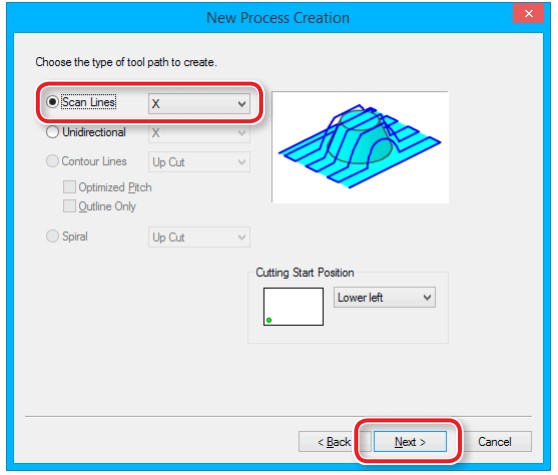
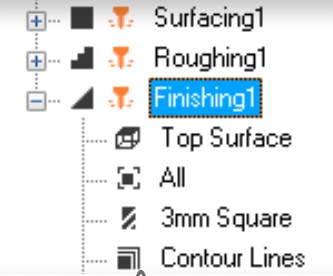
Select the type of tool path to create
And after accepting your cutting parameters, you will see the operation on the list
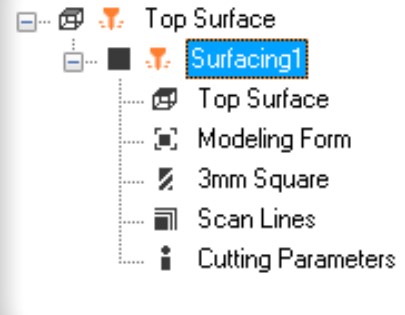
I will repeat the process 3 time, one surfacing, one roughing and one finishing
After this, I just export the code, and I can use the Vpanel to send it to the machine
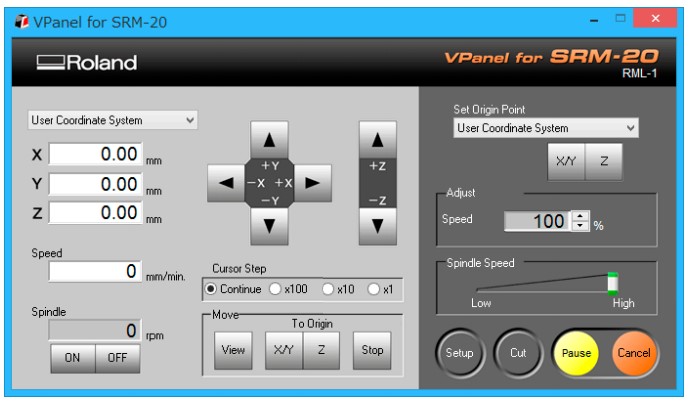
Now I want to check the zero position using media player

I load the material, set the machine cordinates to my starting point, load the code and start cutting. After this, you can see the result:


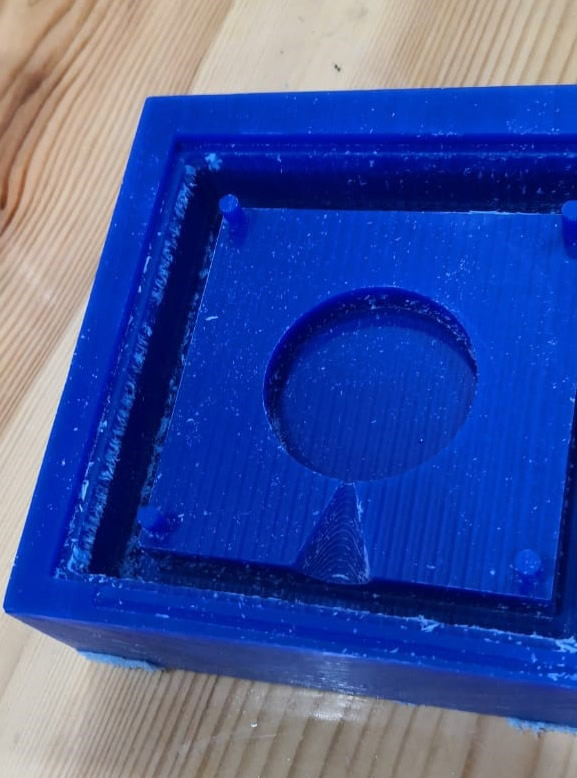
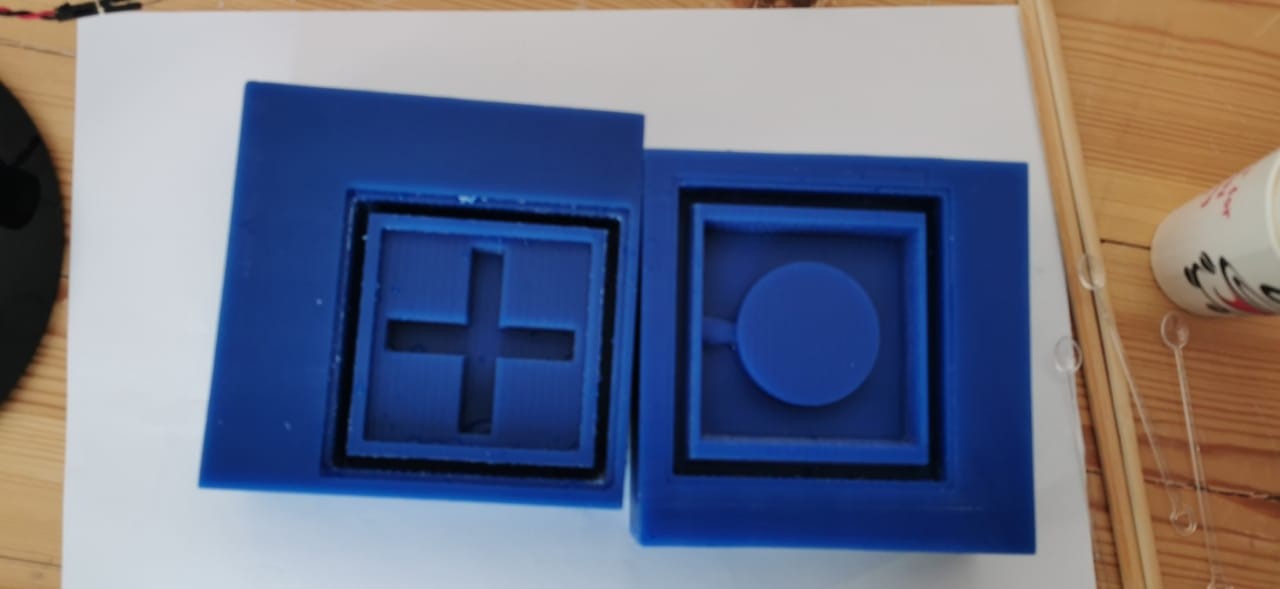
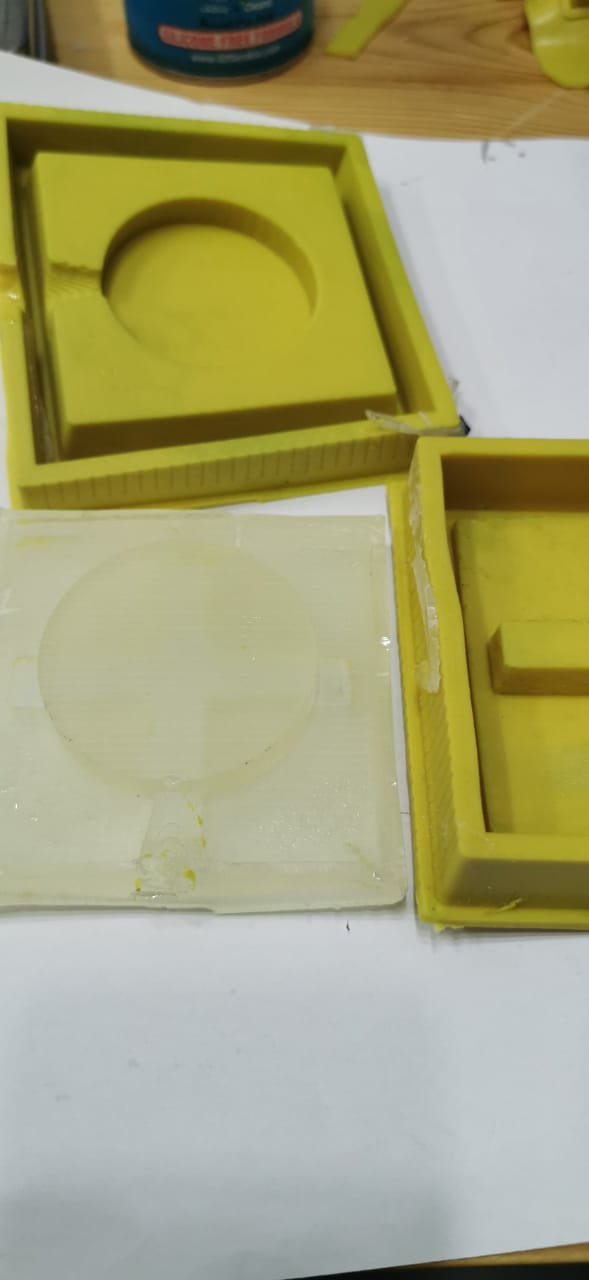
And this are the images of the 3d printed parts.
As shown in the pictures, the 3d printed mold was much more accurate, so I will continue with this one.
Now, we can prepare the mix to cast the parts. After following the instructions of the proportions and time, we mix the 2 parts, and then put them together in the mold and wait for the result.

As seen, the result was not the best, maybe because the resin used was a solid plastic, but I will try again with a flexible resin to see if we can get a better result. However, from this mistake, I can see that the mold design worked well, and now, and now its just a matter of experimenting with the casting materials in order to get a good design.
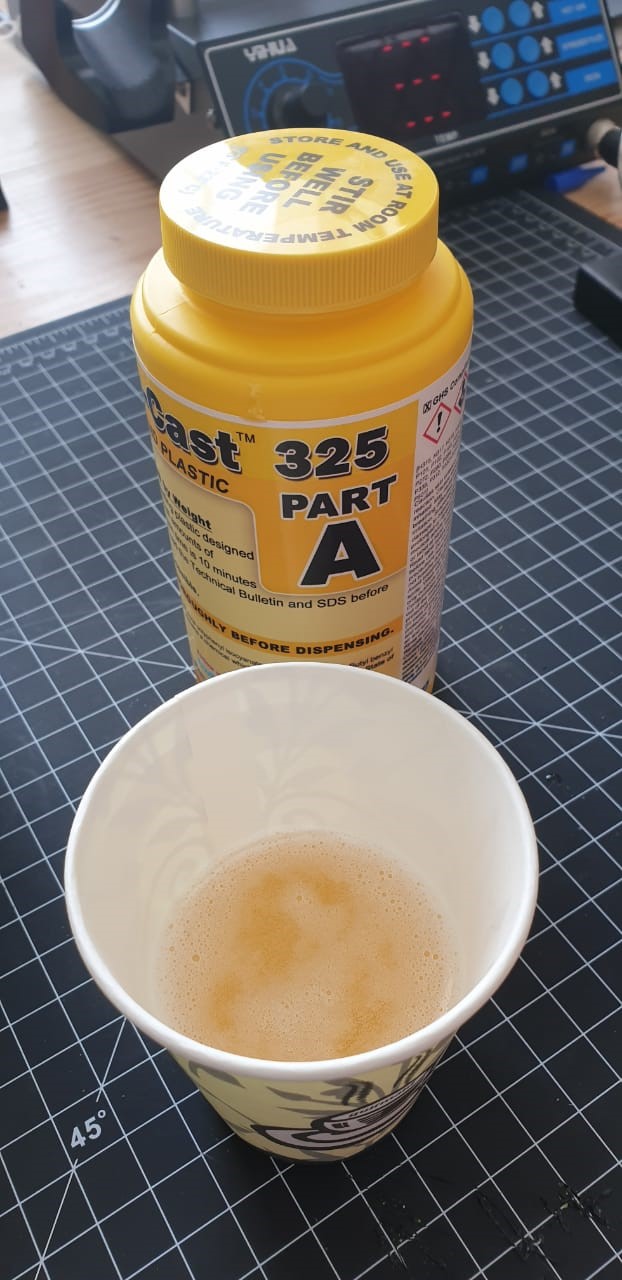
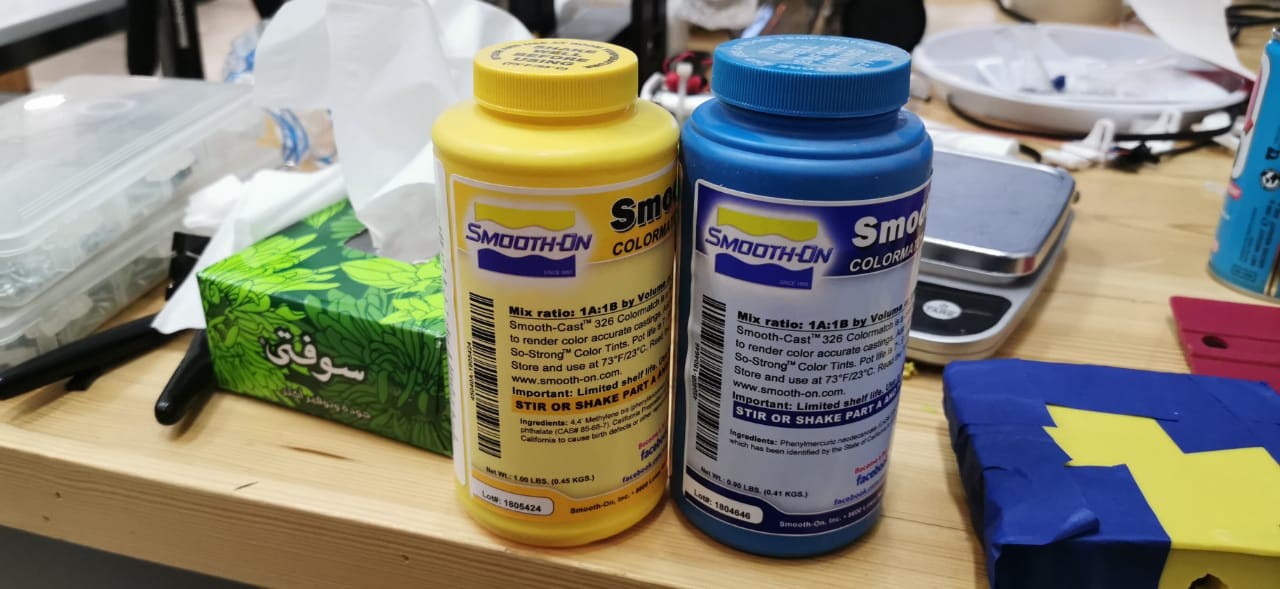
I will try casting with this liquid rubber, as the result I need must be flexible to put on the legs of my table. I will use the Poly 74-45 liquid rubber.
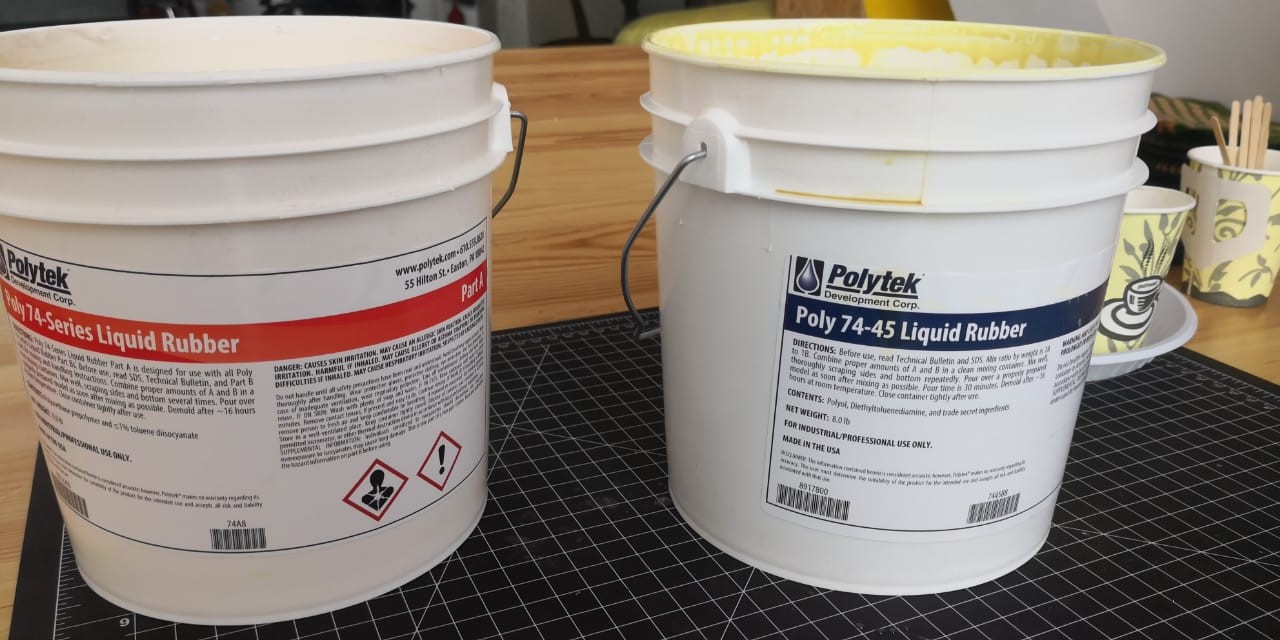
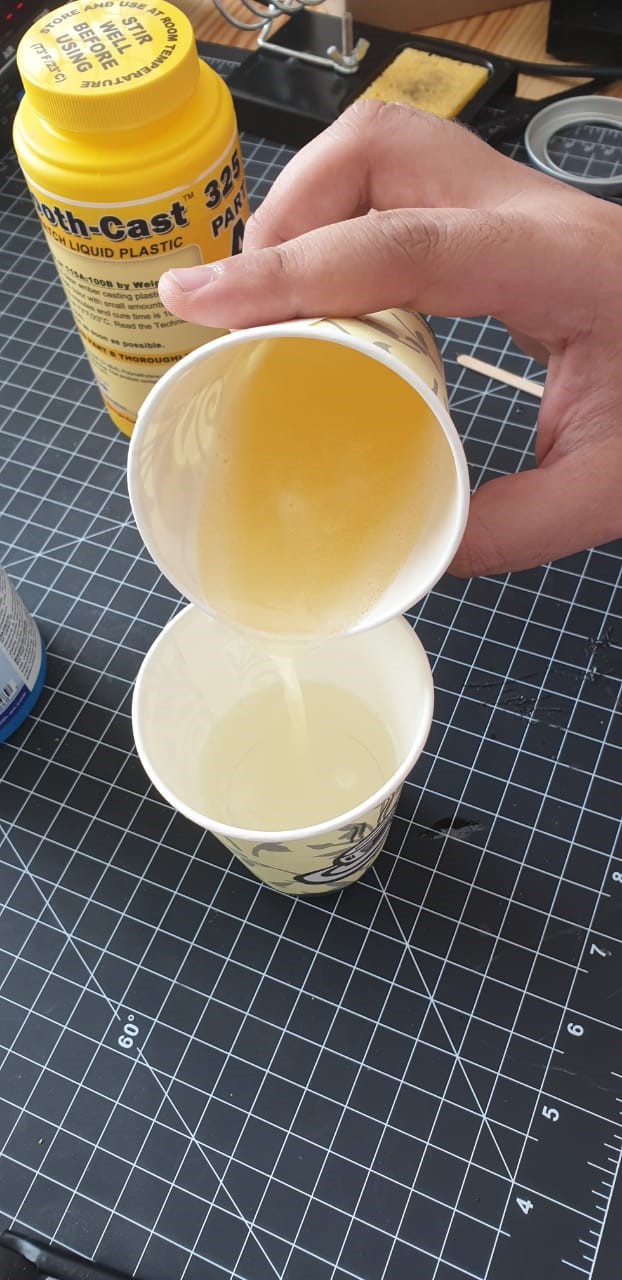
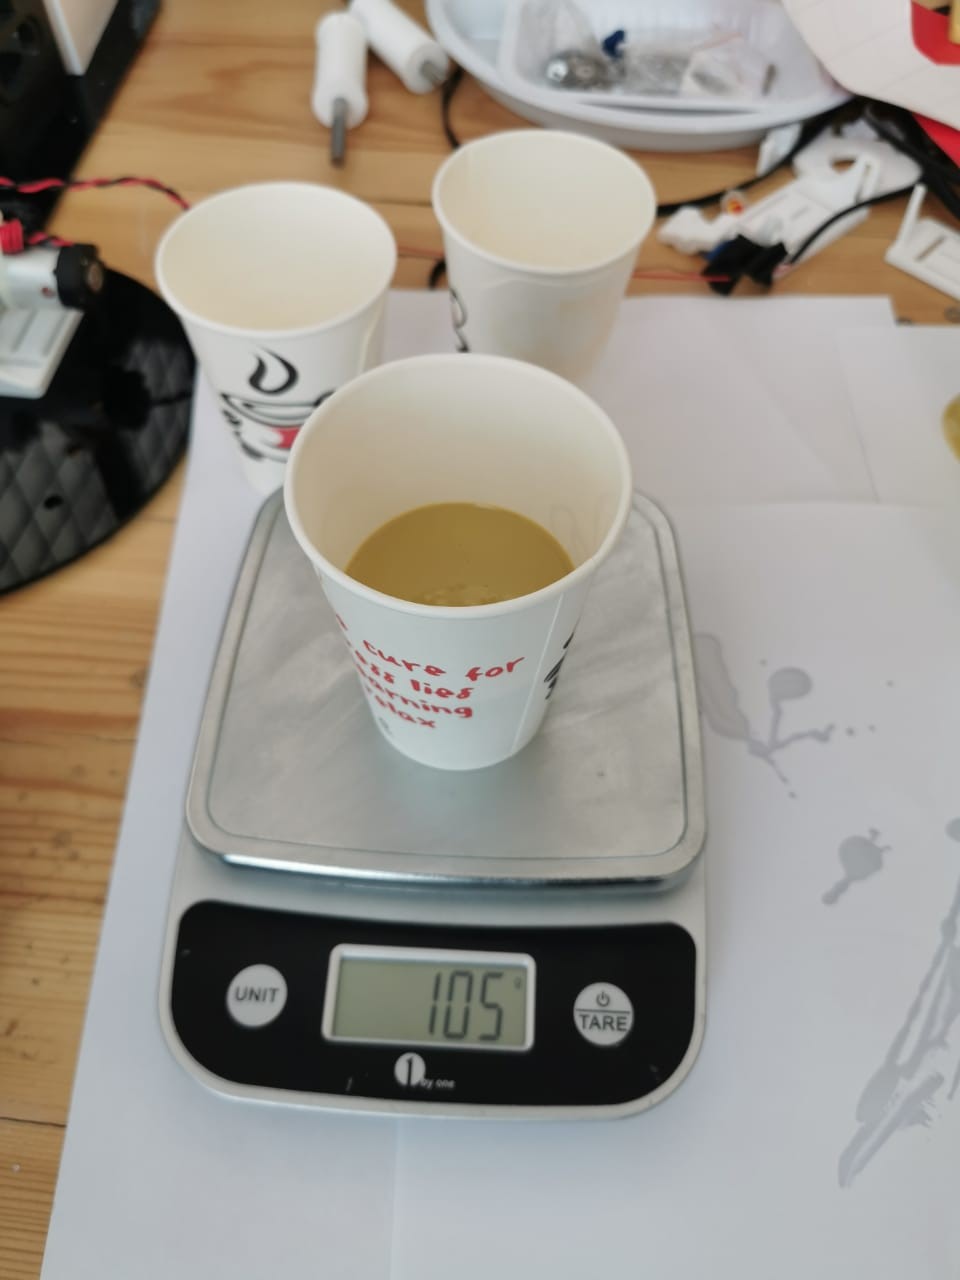
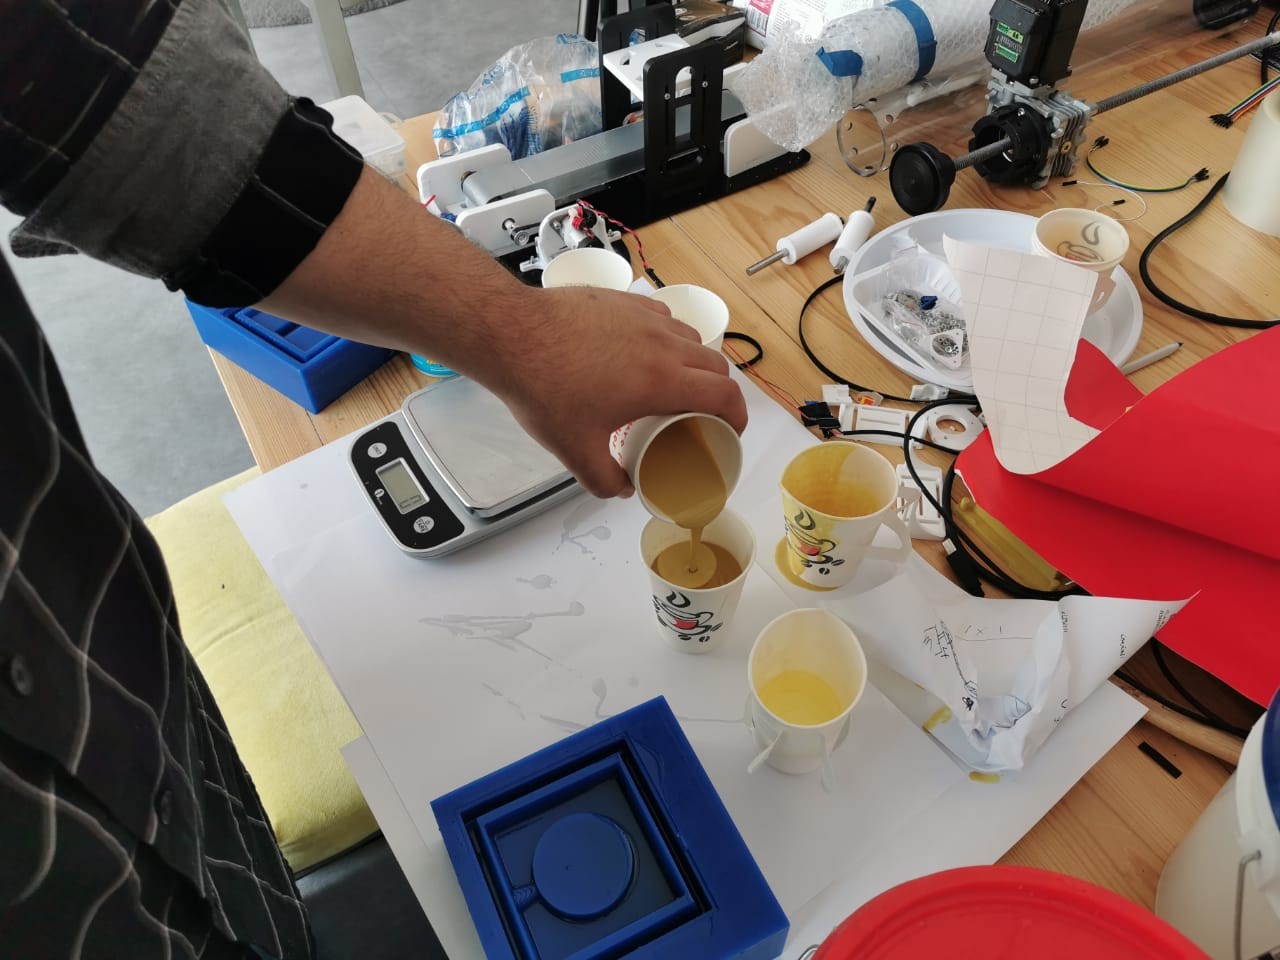
I begin by measuring equal parts of PART A and PART B
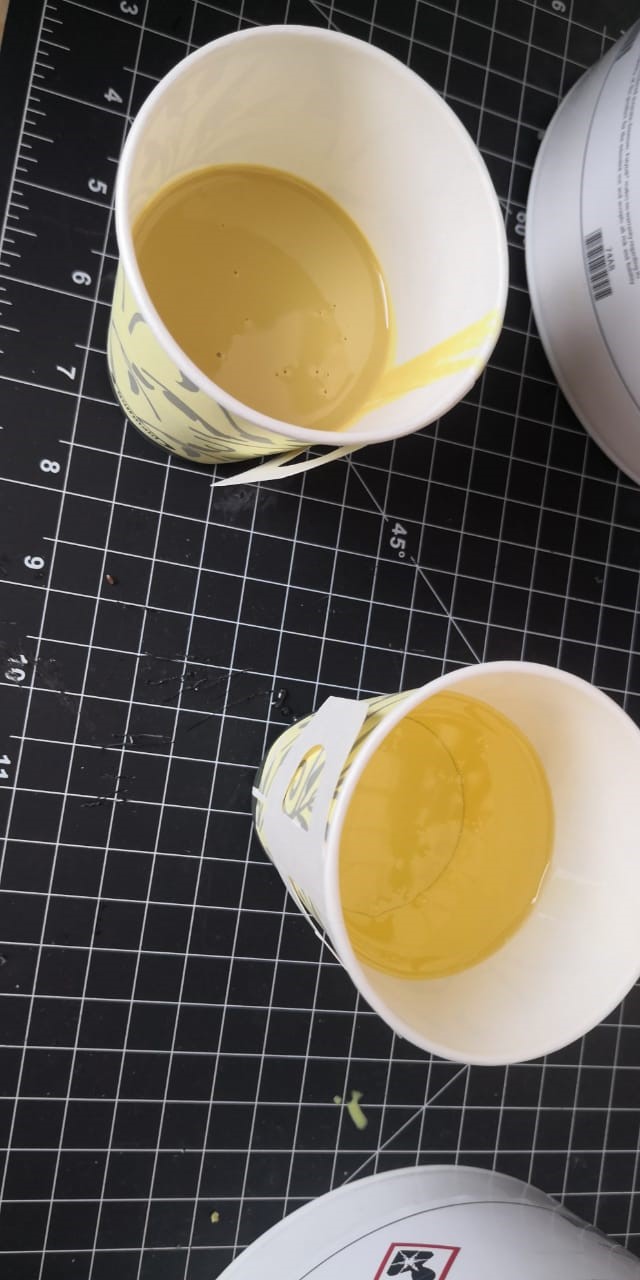
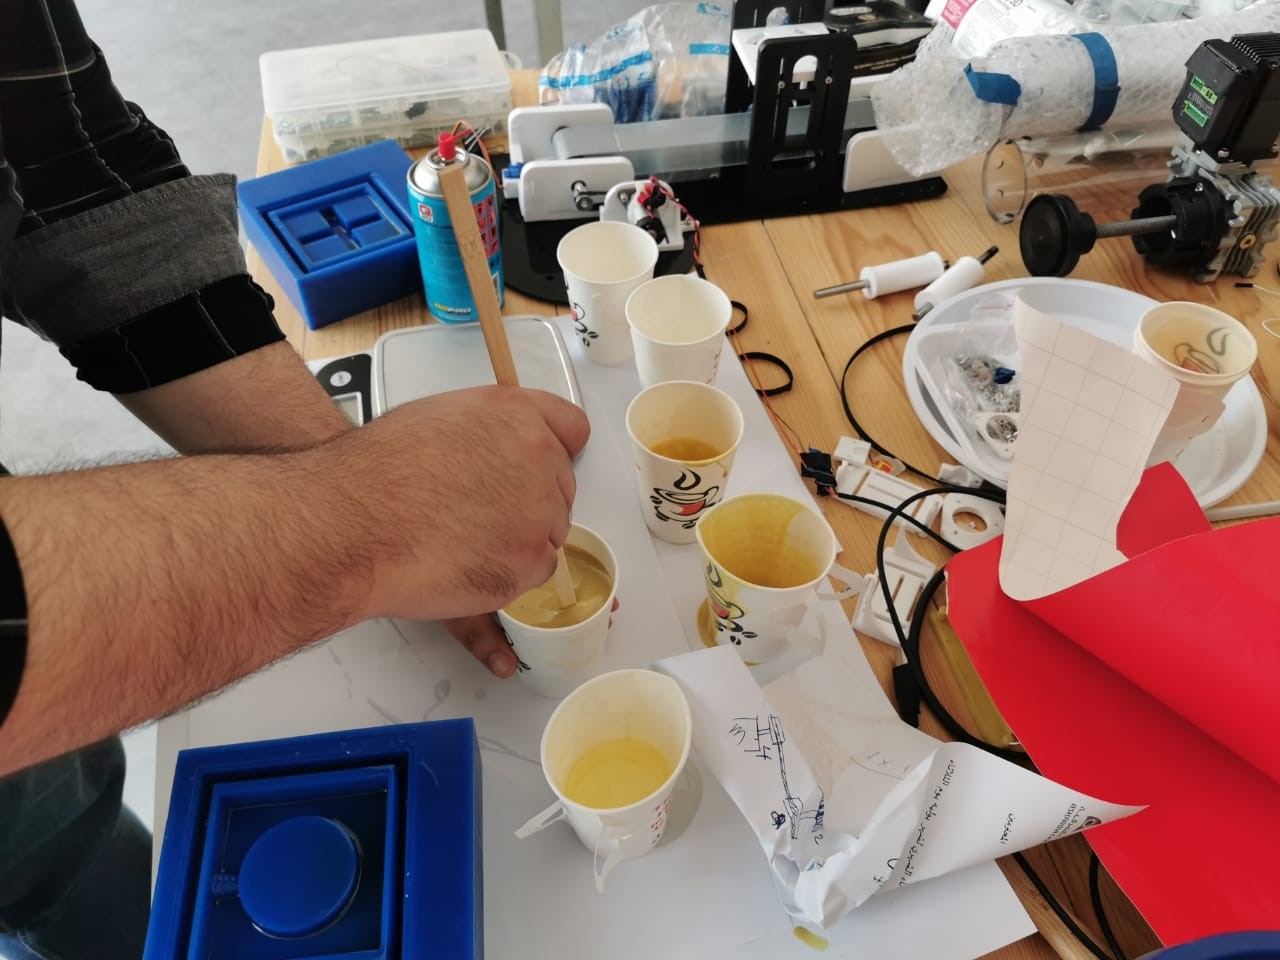
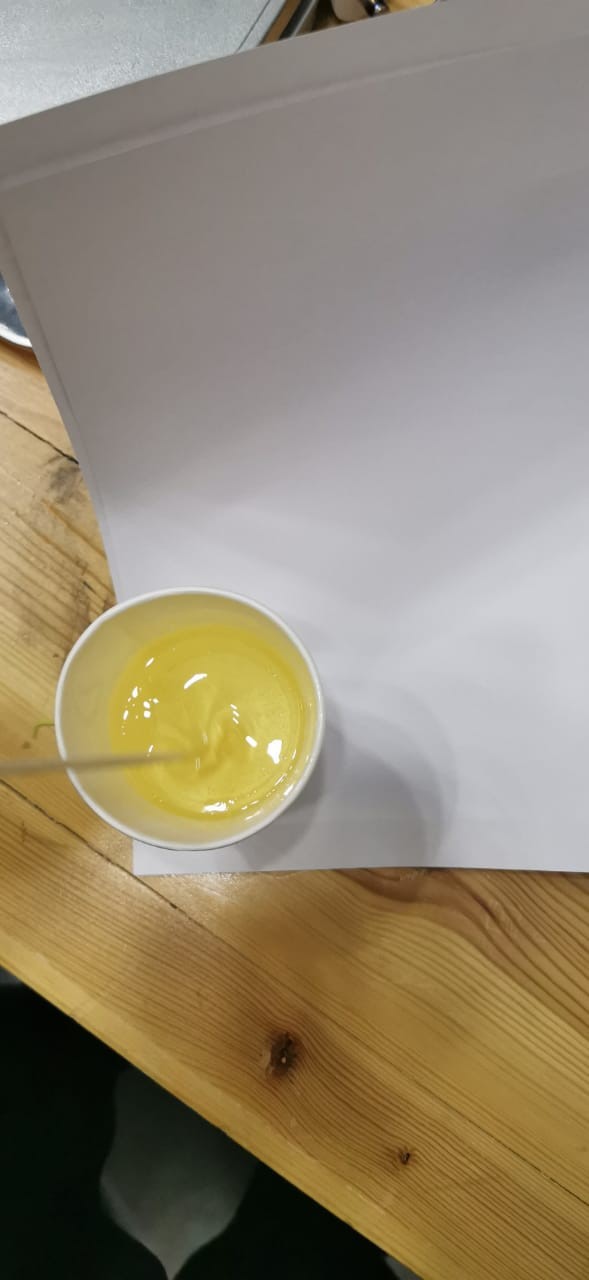
And then, mix together and stir very well until the mix is uniform.

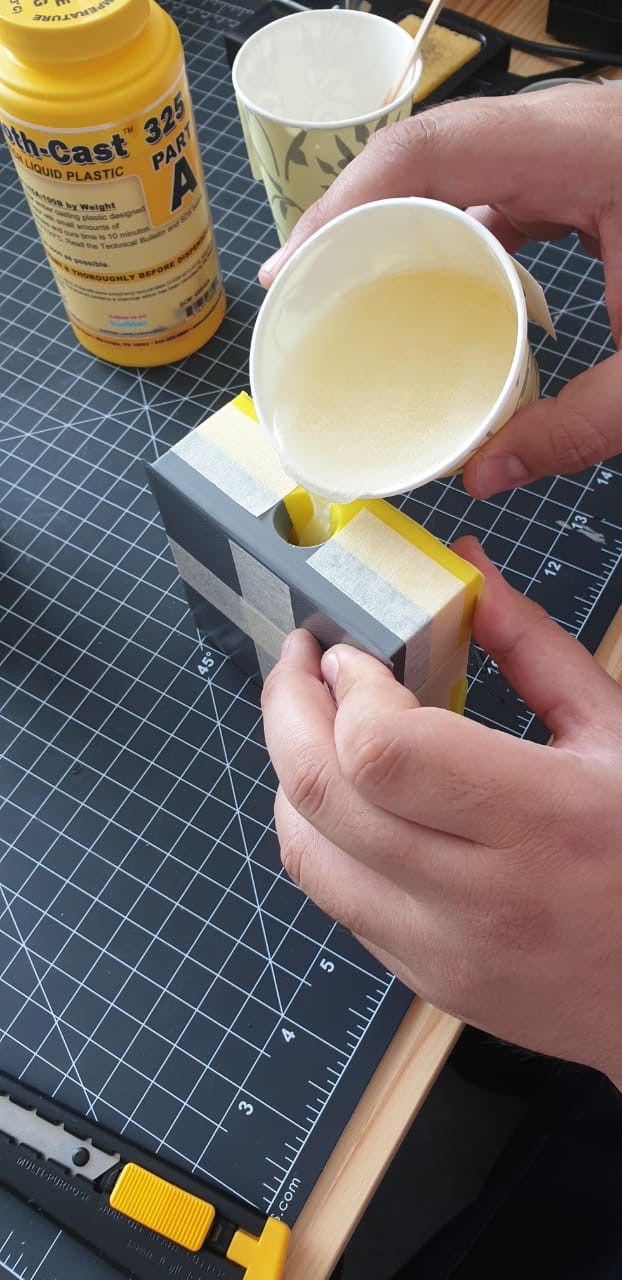
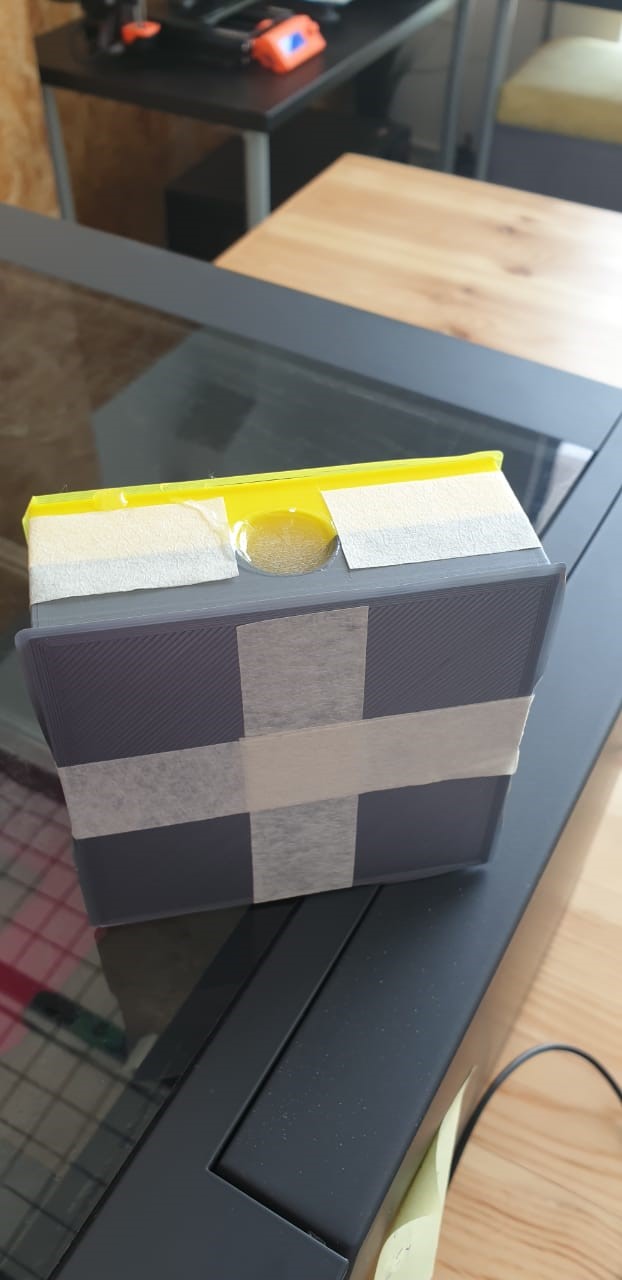
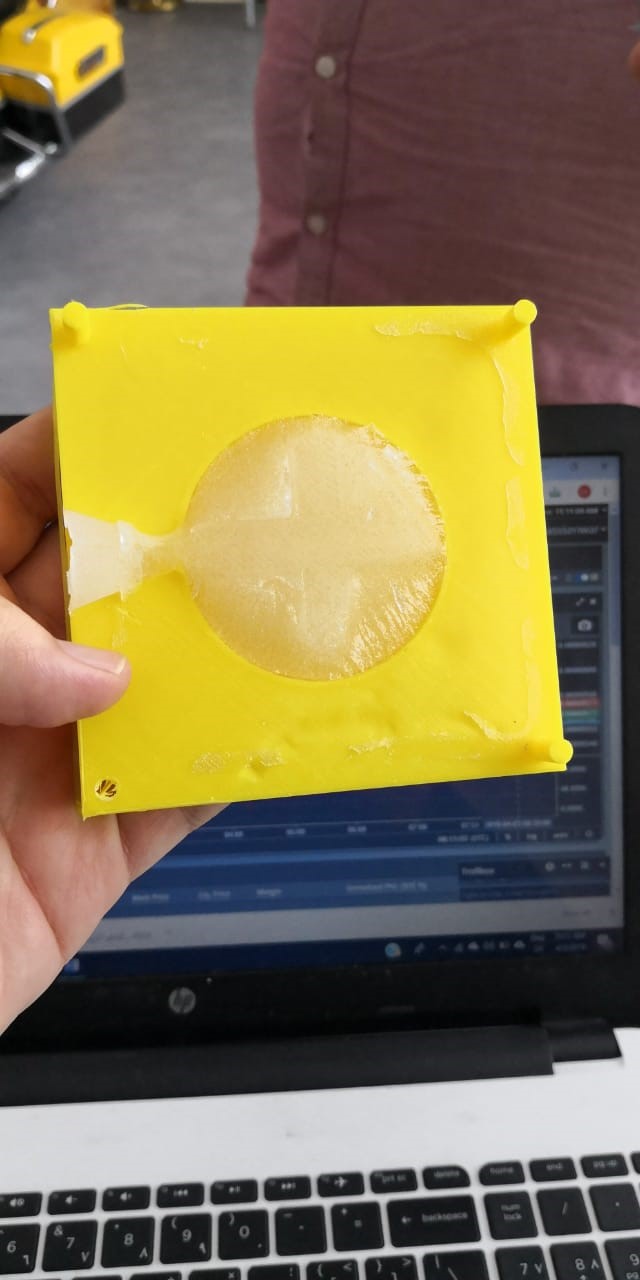
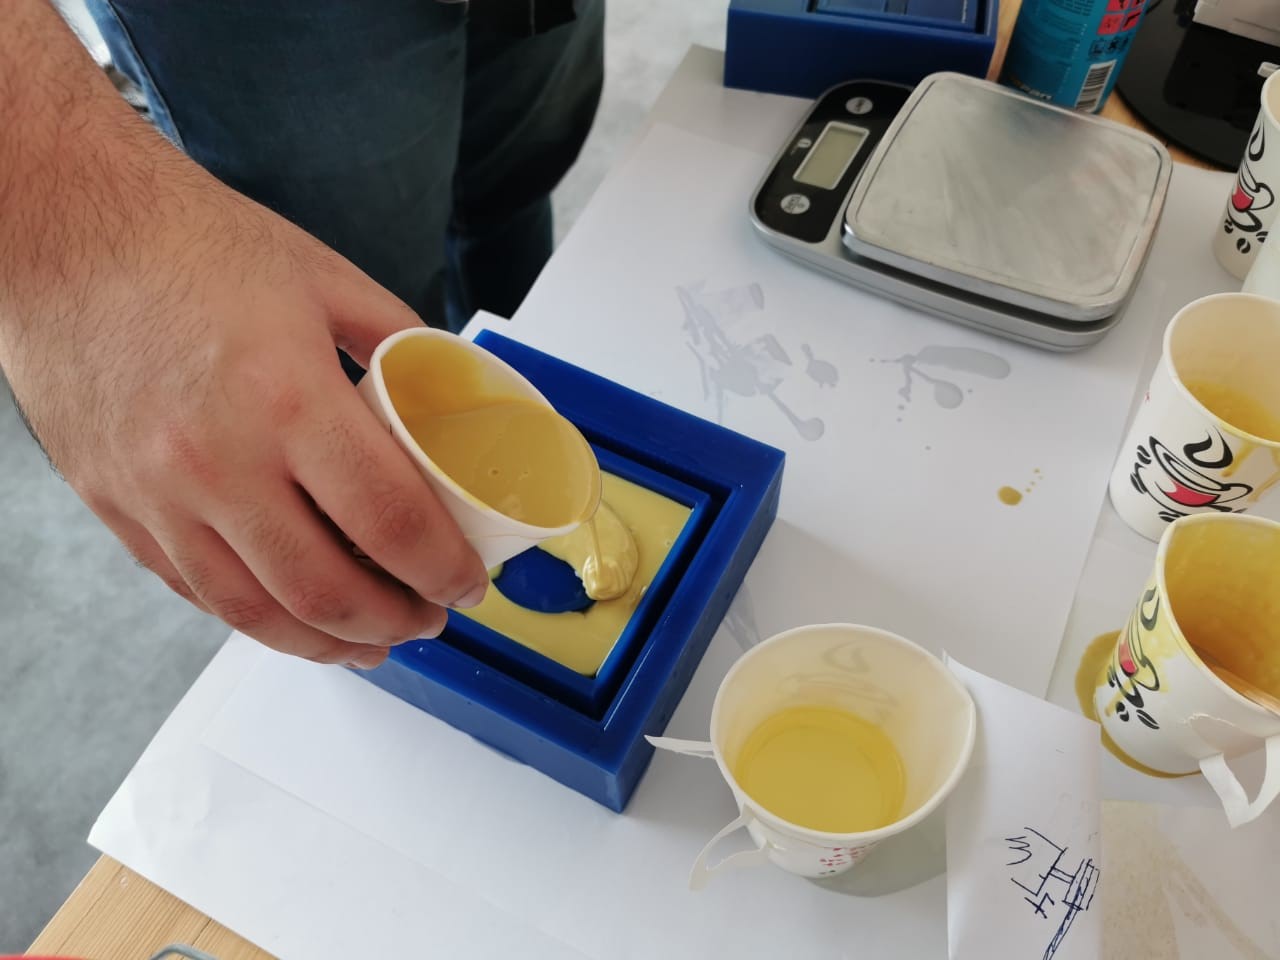
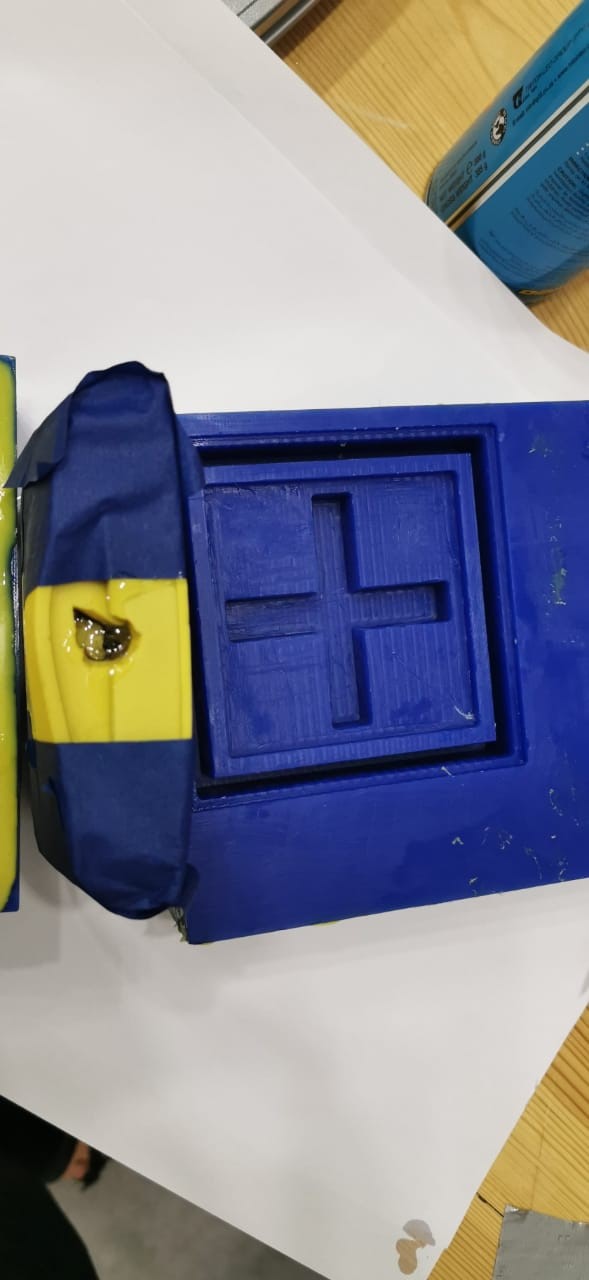
Previusly, I had prepared my mould, by closing it tightly and sealing the unions with tape, and create a small funnel with a piece of paper to make the pouring of the resing easier.
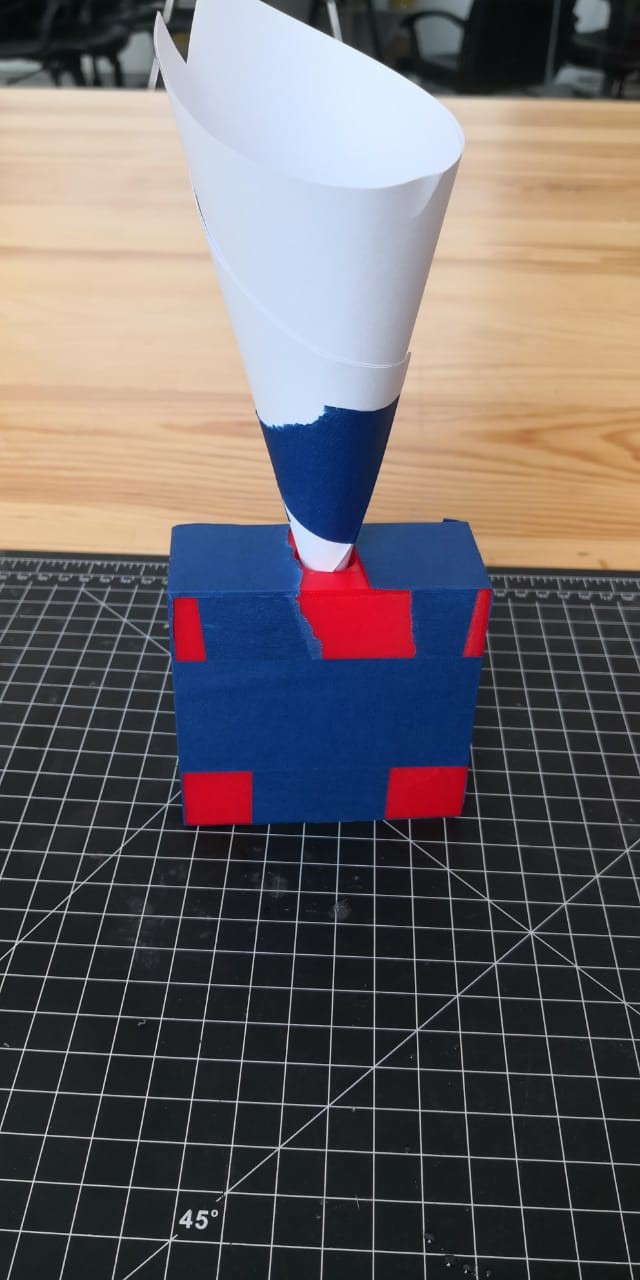
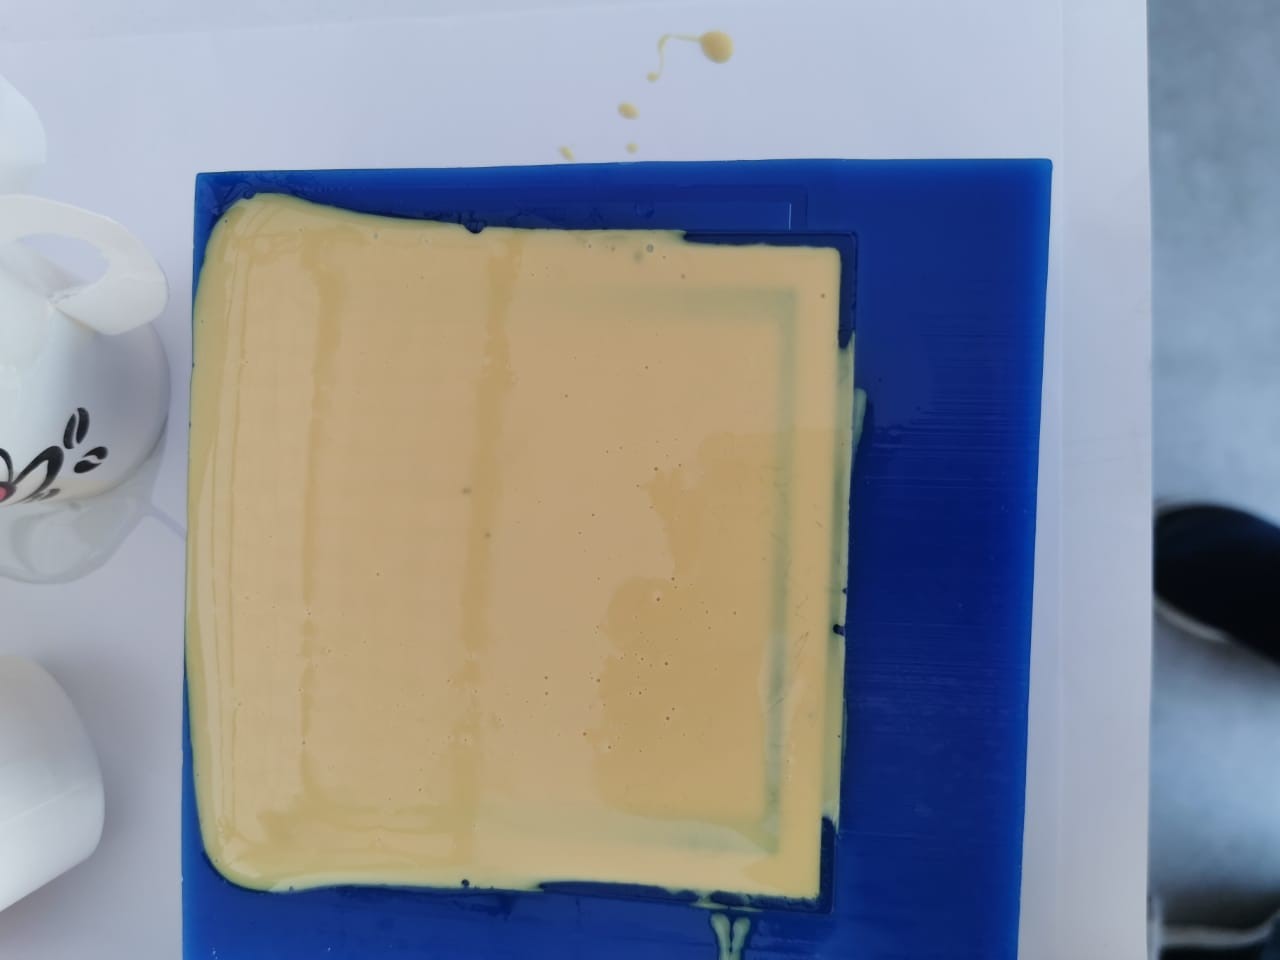
I added the mix carefully, trying to avoid bubbles and making sure the mix fills completely the mould. And after pouring, I let it rest for 24 hours. This time, the result was very good. This material is ideal for the purpose I had in mind, which was preventing the legs to damage the floor and act a soft cushion. The results where very good, and the mould worked as expected.
Always, when using a resin to cast, you should look at the safety sheet of the material:
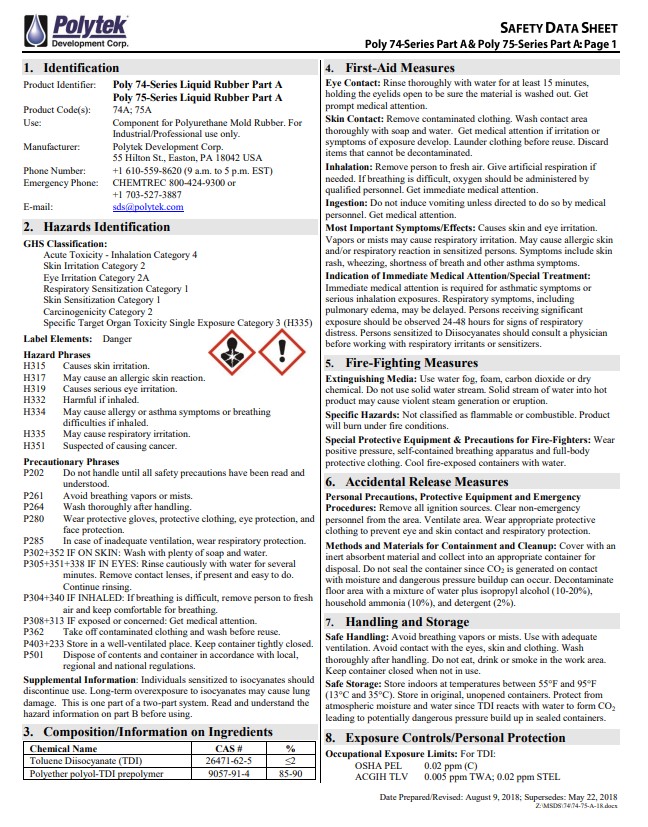
As seen, this material may cause skin irritation, allergic reactions, and it could cause respiratory irritation and even cancer. This means the best is to use it in an open space, where you avoid breathing vapors and try to never touch the material directly.
Also, the best suggestions are to use with adequate ventilation. Avoid contact with the eyes, skin and clothing. Wash thoroughly after handling. Do not eat, drink or smoke in the work area. Keep container closed when not in use.
And after using it, store indoors at temperatures below 120°F (49°C). Store in original containers. Avoid getting moisture into containers. Keep containers tightly closed.
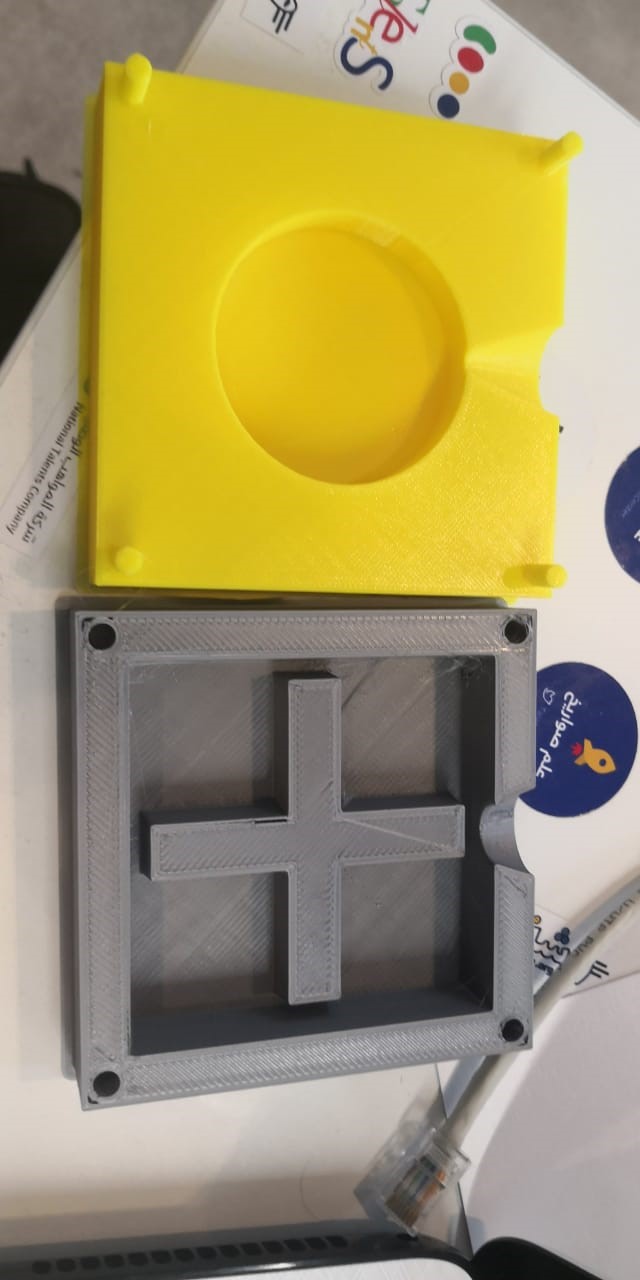
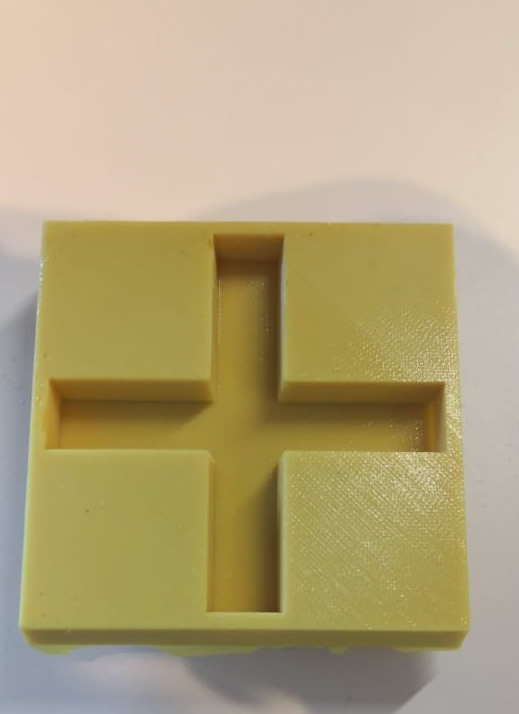
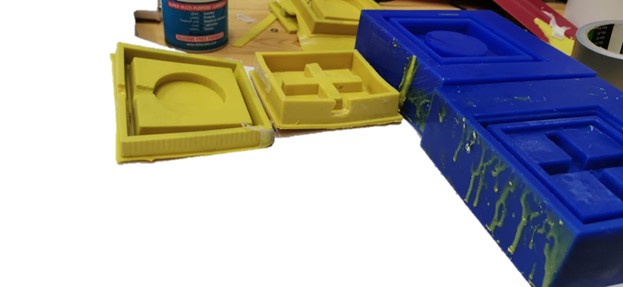
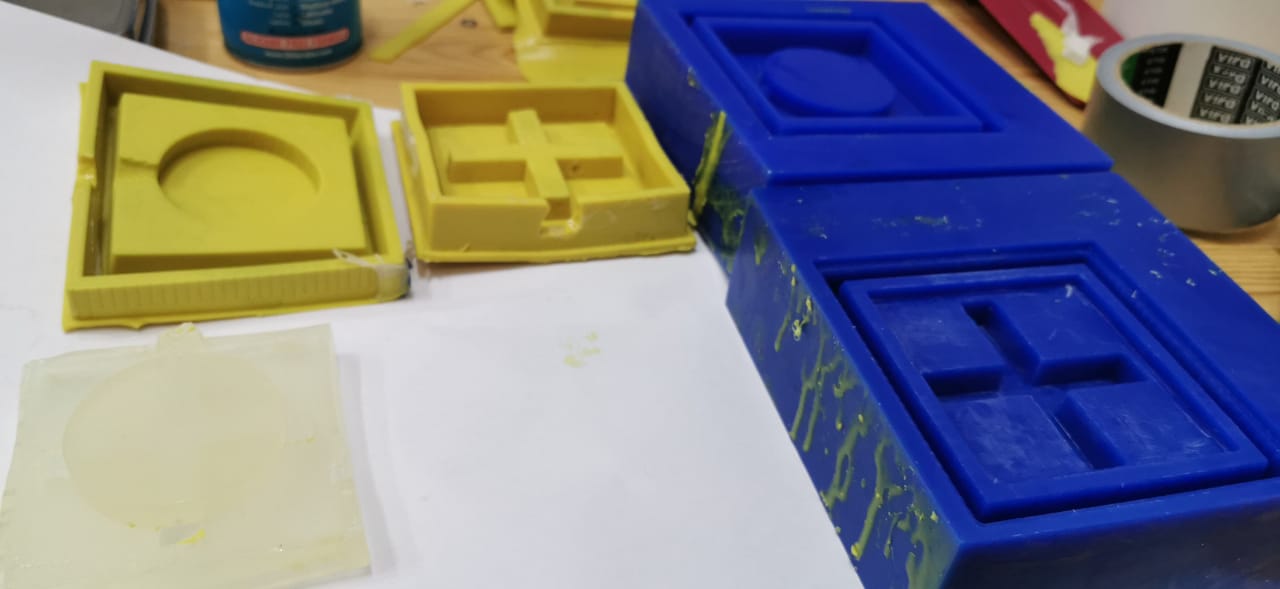
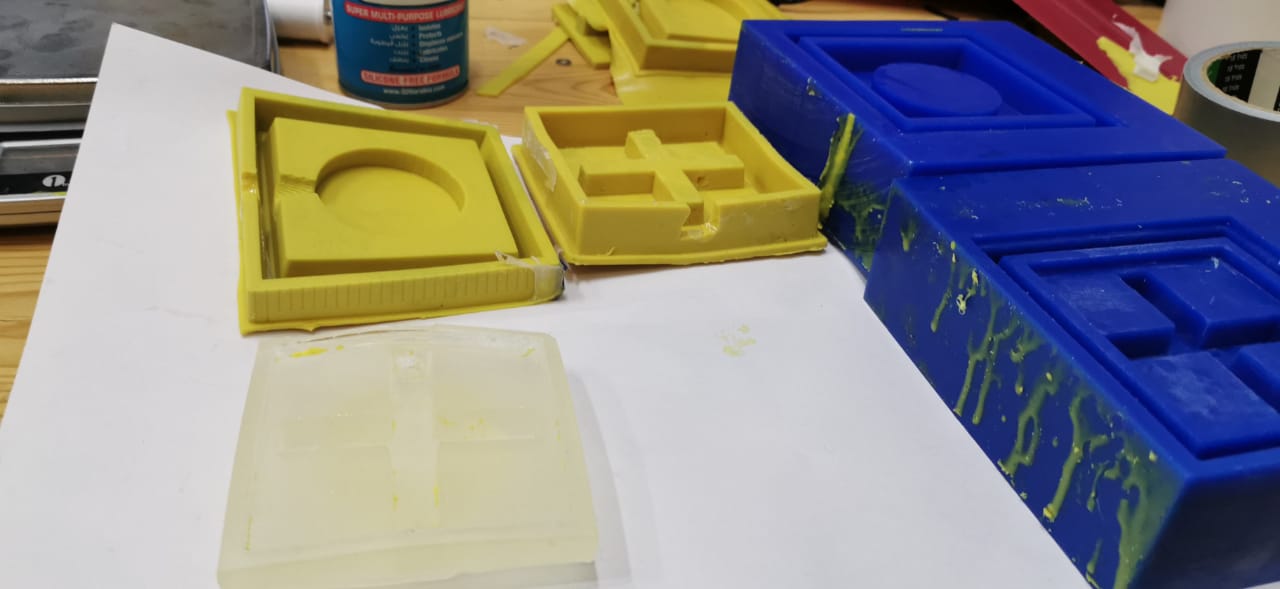
After reviewing this week requirements with my global evaluator, I understood I need to do the 3 step process with a CNC machined mould. This is why I routed again the following moulds:
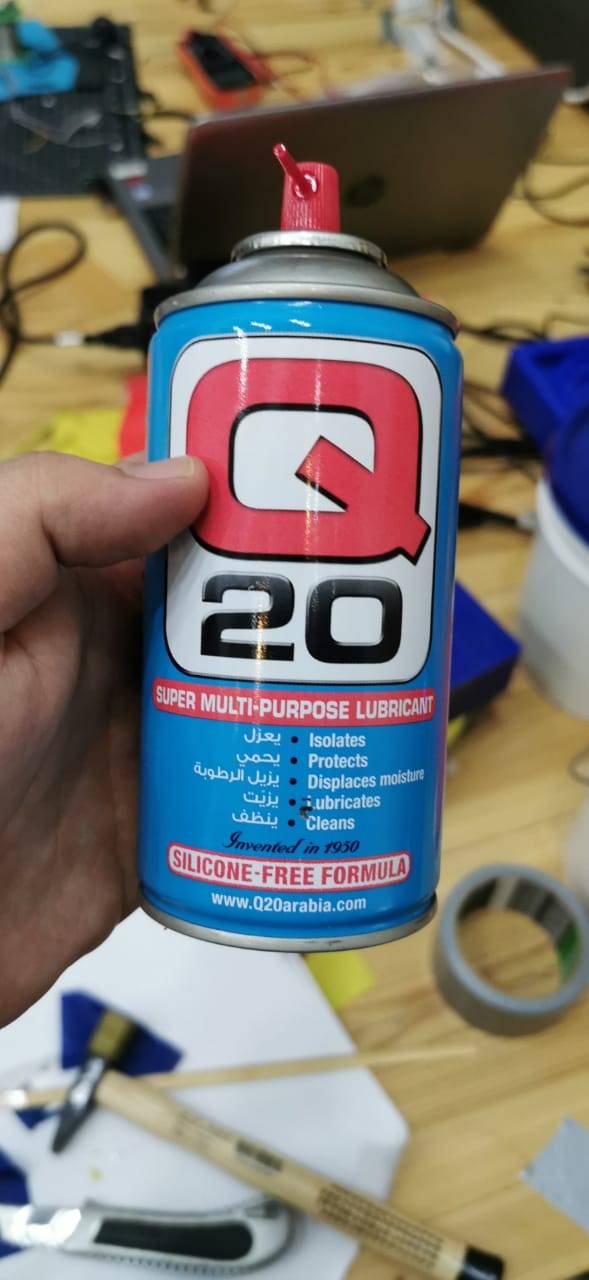
And sprayed them with lubricant to make sure to be able to unmold.
And cast them to obtain a negative mould, which then Im going to use to cast again my final part. So after spraying the mould with the lubricant, I prepared the mix using equal parts of A and B
And then put them together and mix very well.
And then I poured them in my cnc machined mould, and waited for it to cure.
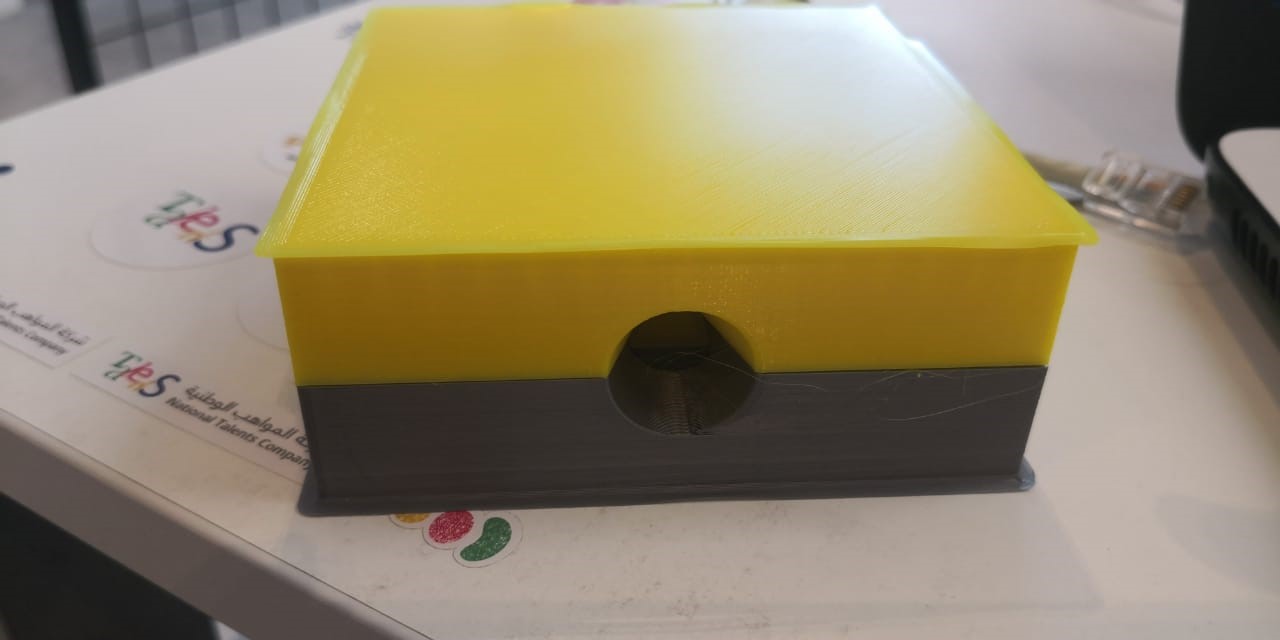
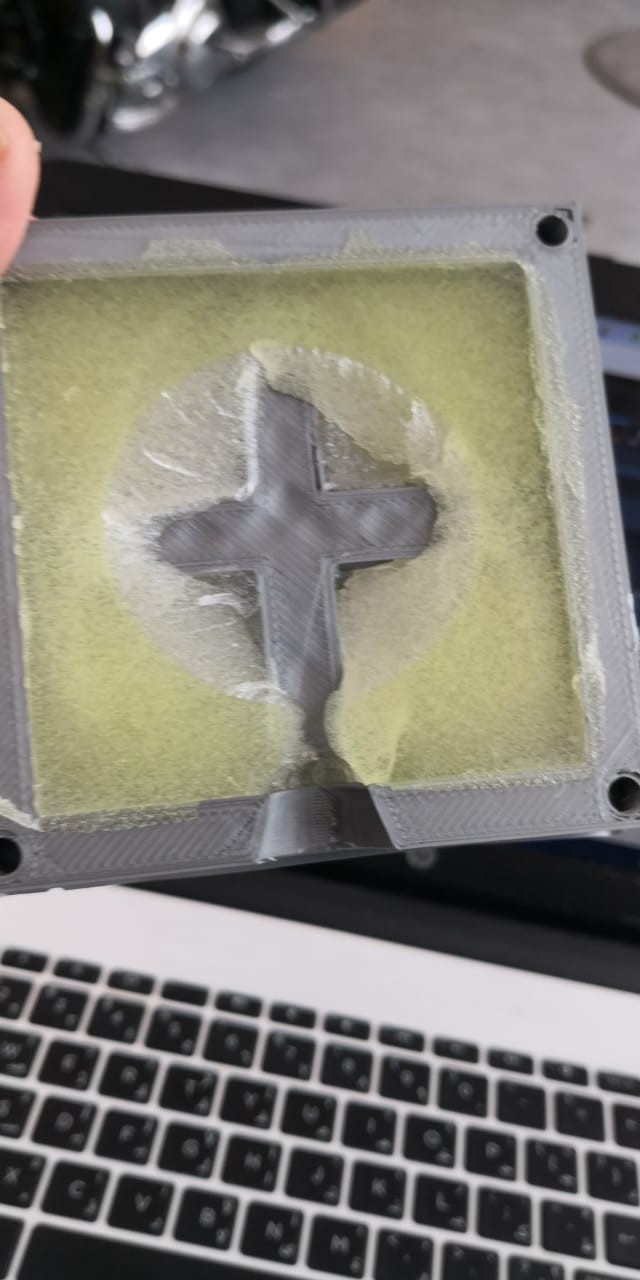
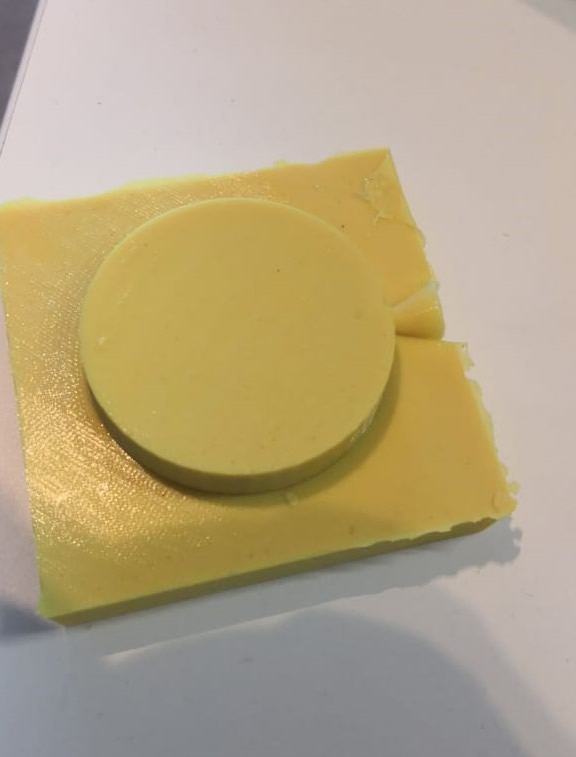
Once cured, i was able to unmould both halfs
And with this, I was ready to cast again my final part. I prepared a mix of this resin:

And then but my new mould together, hold them with tape, and cast the mix inside
After waiting for the new resin to cure, the results were amazing, the part worked just as expected.
Finally, I was done with my moulding and casting week.
Downloads:
Download File: Top Part.SLDPRT
Download File: Table Base.SLDPRT
Download File: BottomMold.SLDPRT
Download File: Mold Assembly.SLDASM
Download File: Table Base
Download File: Male Design
Download File: Female Design
Download File: Table Base.mpj