
Project management.
What is GIT?
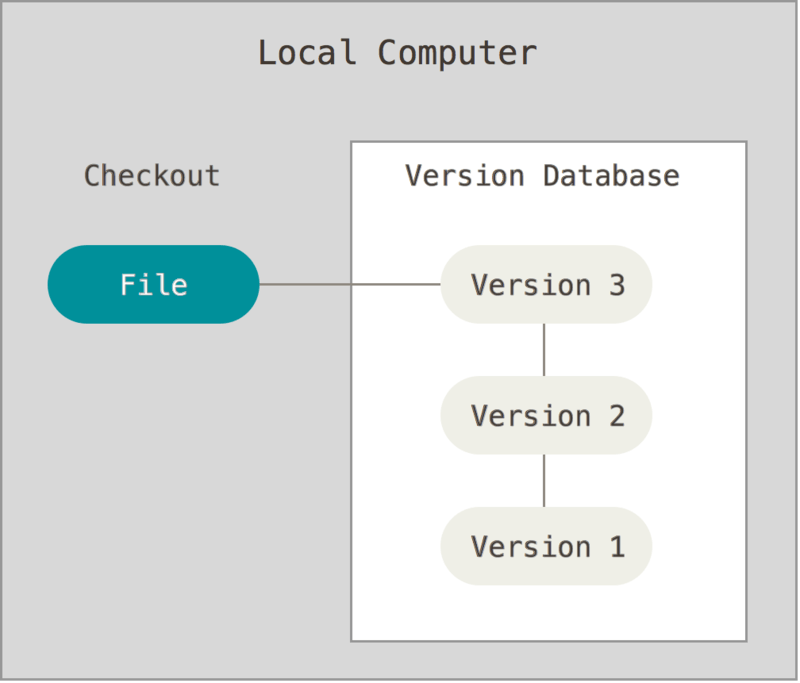
GIT is a Version control. That is a system that records changes to a file or set of files over time so that you can recall specific versions later. It allows you to revert selected files back to a previous state, revert the entire project back to a previous state, compare changes over time, see who last modified something that might be causing a problem, who introduced an issue and when, and more.The control system used is locally because it is a very simple way, to avoid problems of overwriting files and losing the original files, names and key dates will be placed when uploading the files.
Source: https://git-scm.com/book/en/v2/Getting-Started-About-Version-Control
For the FabAcademy we use the fabcloud server to put our files and repository. I used the tutorial from Eduardo Chamorro to do this assignment. Before making the configuration, read the GIT book to understand the principles of the commands to carry out future work.GIT configuration
For this assignment, the first thing is enter the git lab of the fabcloud with our username and password, then we must download the GIT for windows. Now it's time to configure the GIT using the web tutorial as an example using the following commands:git config –-global user.name “mealvare” (user name)
git config -–global user.email “mymail@gmail.com”
cat ~/.ssh/id_rsa.pub (check my SSH key)
ssh-keygen -t rsa -C "$mymail@gmail.com"
cat ~/.ssh/id_rsa.pubClone Repository
The next step is creating a folder to be able to clone our repository and upload new contributions. For them I create a folder in my PC (desktop), right click of the mouse and select GIT Bash Here to be able to link the folder to our GIT repository and we write the following command for the cloning:git clone git@gitlab.fabcloud.org:academany/fabacademy/2019/labs/cit/students/edwin-valdivia.git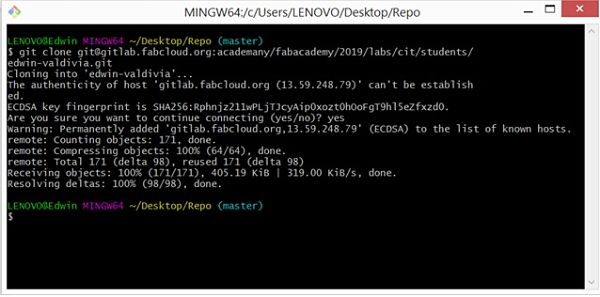
Web development
For this assignment I created a web page and use some software’s to make it.
The first software I tried to install was the Eclipse, but the installer was confusing and asked to install additional software.
I researched more and realized that the software has a lot of potential to just use it as a text editor.
The next software that I installed was the Sublime.
A disadvantage that I found was the preview of the html, since I did not find that option to be able to work in a comfortable way, besides that the software uses a small visualizer of the code and that is uncomfortable for me.
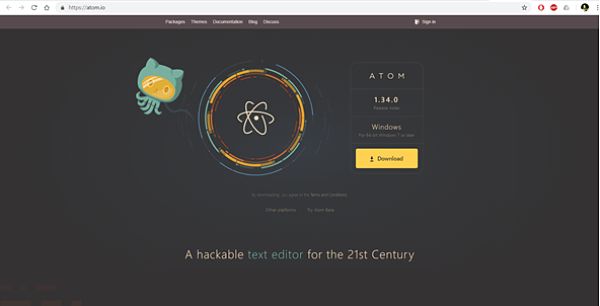
The next software used is the Atom, in this software I can install the HTML preview, it has a very intuitive menu and it has a direct connection with the GIT.
I still can not link this option and it will be a topic for future research. Finally I only use Atom.
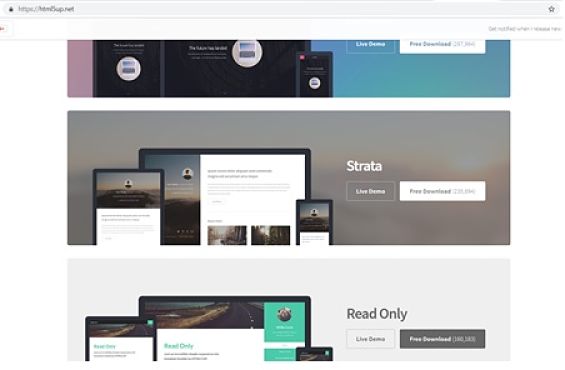
I read some tutorials from the webpage of fabacademy about html5 and CSS. I use a template of my web from this site and choose the Strata template
The advantage of using atom software is that it is not only an editor of html and css, but it is a very powerful tool for code editing and open source, as well as being able to integrate GIT.
The advantage of using an HTML template is to speed up the creation of a website, but you must have a minimum knowledge to understand the source code and how to edit it.
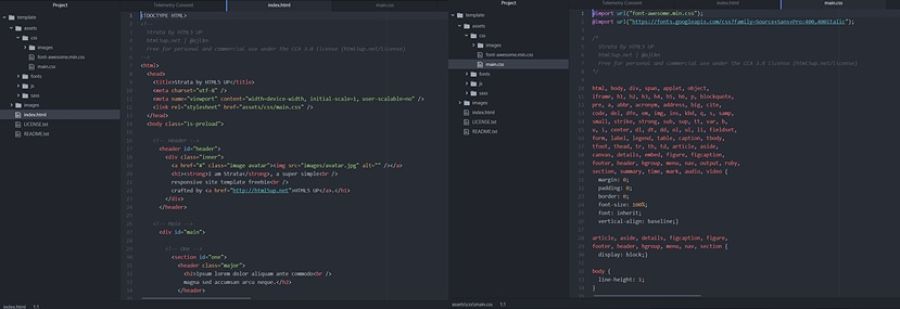
In my case, I modified two aspects of the CSS. The first is the width of the left window of the header and then the centering of the images in the body of the web page
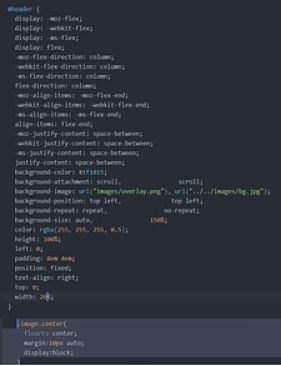
Image resize
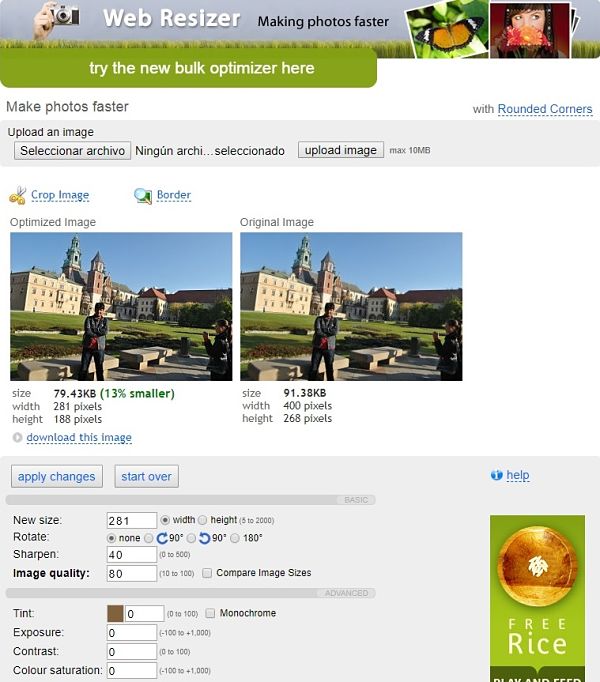
Having a storage capacity limit, I used a web to reduce the resolution and take up less space in my repository. I use the online web resizer tool.The website is very easy to use, we just must upload the image, define the new dimensions, apply the changes and download the new image with lower resolution and size.
Now, it's time to make my website
PUSH REPOSITORY
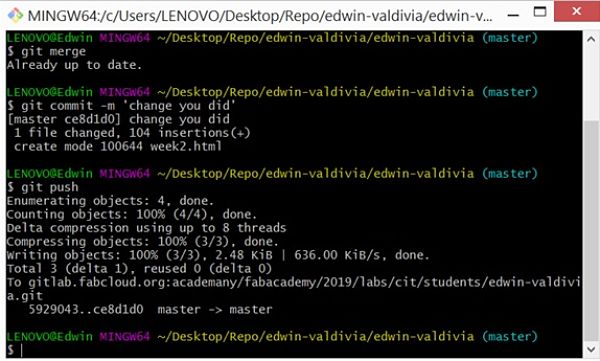
Once the repository is cloned, I put all files of my webpage in my clone folder to upload all of them to my online GIT repository. Then I perform the push of all my files with the following commands:- Add the new files you added to git
git add . - Download the last copy from the repository and have a copy of your repo.
git pull - Name your update, so you know what you changed with this push, for example "change you did"
git commit -m ‘change you did’ - Upload to the Repository.
git push
Problems
At the end of the PUSH, I saw that my web page is not created, but another website that was by default for all students of the faculty academy of 2019 is upload as you can see in the picture: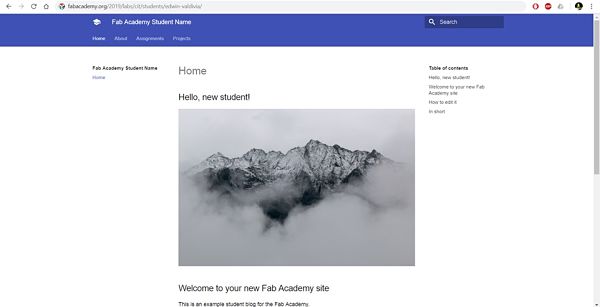
On Monday 28 a conference was held in which the theme was GIT, in which the creation of the .gitlab-ci.yml file with the html format was explained, as shown in the picture:
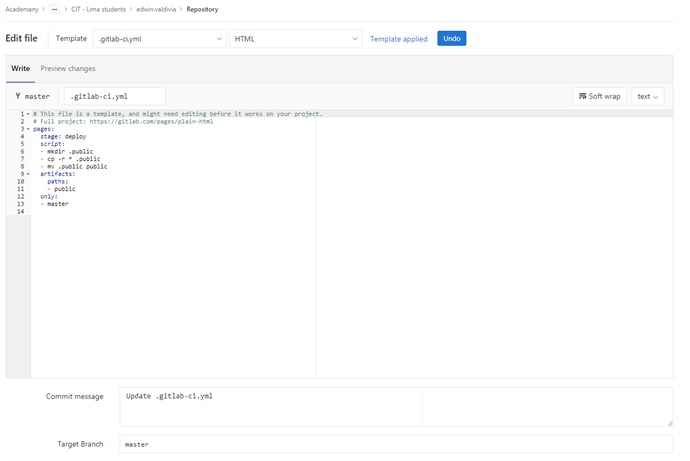
Once the file has been modified and make push on more time, we obtain our web already published.
Student Agreement
Finally, you can see my Student Agreement.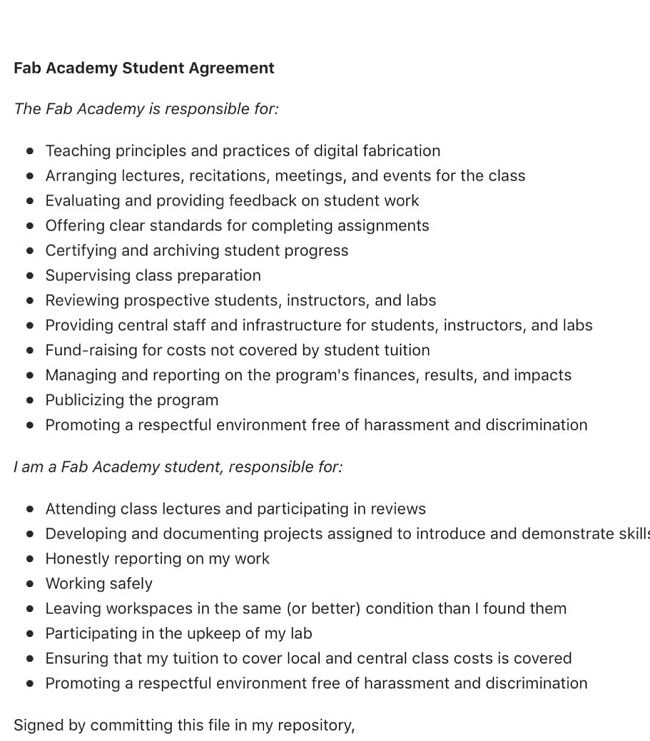
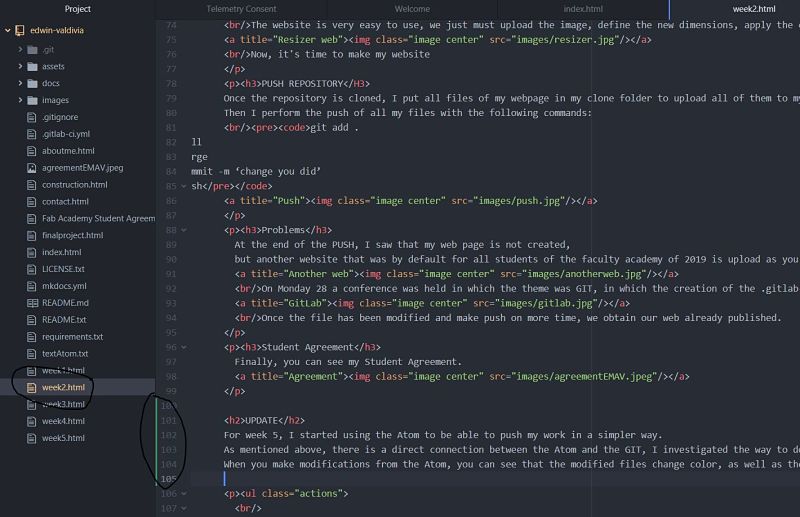
UPDATE
For week 5, I started using the Atom to be able to push my work in a simpler way. As mentioned above, there is a direct connection between the Atom and the GIT, I investigated the way to do everything from the same software and I got it.When you make modifications from the Atom, you can see that the modified files change color, as well as the lines where they are modified, as seen in the picture.
 From the Atom welcome guide, we can open the GIT panel and see the files to update, as seen in the picture.
 When we see the files to perform the push, we must click on stage all to upload all the files at once, otherwise we would have to right click and perform the stage file by file.
Once this is done, the files will appear in the staged changes box.
When we see the files to perform the push, we must click on stage all to upload all the files at once, otherwise we would have to right click and perform the stage file by file.
Once this is done, the files will appear in the staged changes box.
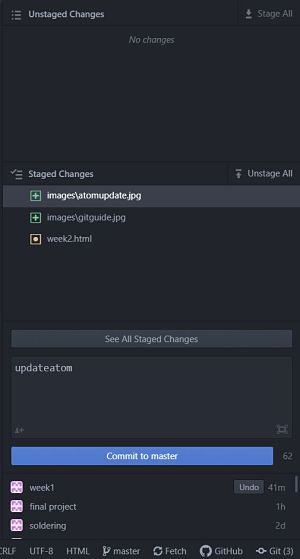 It is very important to write the commit message, otherwise it would not let us perform the push.
Once the message is written, click on the commit to master option. Once this is done we will see that there are files to perform a push.
Finally, the push action that we must perform, as shown in the picture, will appear at the bottom.
It is very important to write the commit message, otherwise it would not let us perform the push.
Once the message is written, click on the commit to master option. Once this is done we will see that there are files to perform a push.
Finally, the push action that we must perform, as shown in the picture, will appear at the bottom.
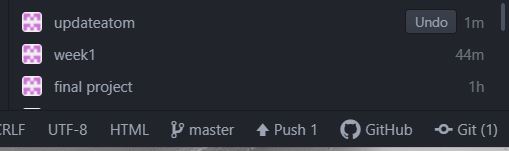 By clicking on push, the push action is performed. In some tutorial videos they ask to enter the user name and password of the GIT, but after having made several previous push, in my case they did not ask for the username and password.
In this way I have managed to do the push in a simple and faster way.
By clicking on push, the push action is performed. In some tutorial videos they ask to enter the user name and password of the GIT, but after having made several previous push, in my case they did not ask for the username and password.
In this way I have managed to do the push in a simple and faster way.