Machine Design
Group Assignment
- actuate and automate your machine
- document the group project and your individual contribution
The Plan
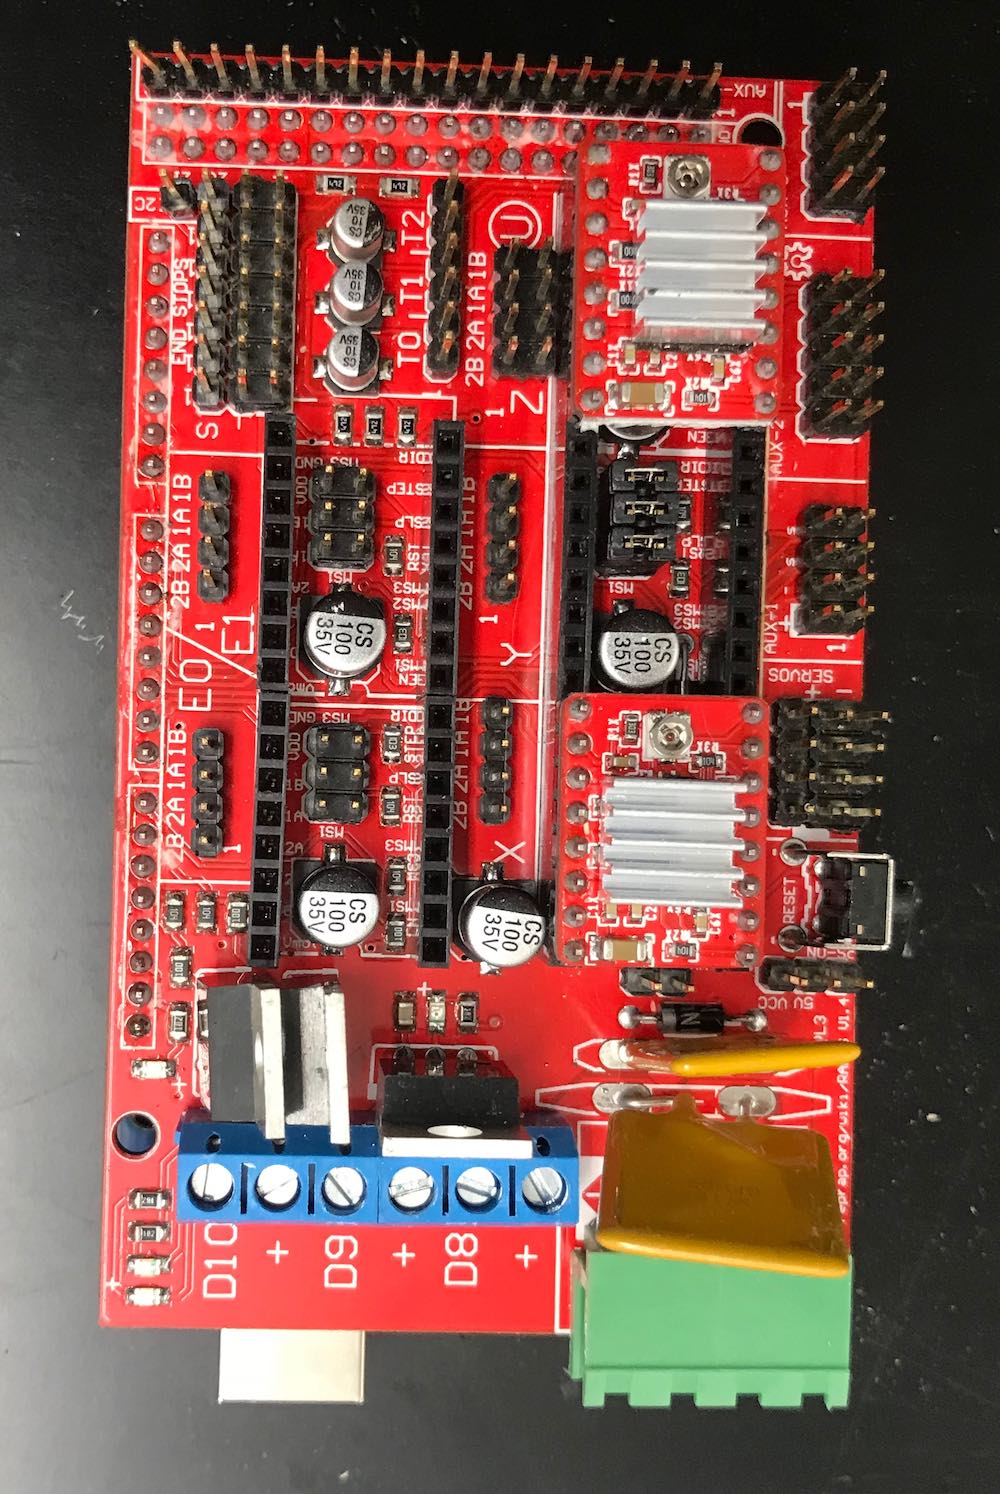
So we're sticking with the on hand materials plan and using the Arduino Mega with a Ramps 1.4 shield, included with the 3D printer kit, to control our steppers. The spindle motor driver has been salvaged and rewired from an old treadmill.
So the ramps board is really just an interface for attaching polulu stepper drivers to a microcontroller and the necessary power in a nice tidy package witha few extras like breakout for limit switches and a heated bed (this was for a 3D printer). From looking through the online forums, it looks like the heated bed power could be used to drive a 12/24v motor (maybe replace the spindle with something a little smaller/faster)

The polulu drivers that came with the kit are _________. Pretty amazing that those tiny little things deal with that much power
So the software (firmware?) that is supposed to be loaded onto this board per the 3D printer kit is Marlin, which seems to really be for 3D printing specificlly. We wanted a more general control platform, ideally something that used G-code, since we have already been using that on the Shopbot and Othermill. Unfortunately, we couldn't readily find any purpose made CNC lathe G-code interpreter projects, but GRBL seemed to be the most approachable option. There is some interesting talk in the online forums about adding spindle synchronization so that threading and more interesting lathe operations could be performed.
Now getting GRBL flashed onto the Arduino Mega and working with the Ramps shield was a bit of a task. In retrospect, it wasn't too bad, but there are a lot of files in GRBL, and when you don't know exactly what you're looking for, navigating those files to change the appropriate settings can be overwhelming. If the settings aren't correct, things don't work. Actually flashing it to the Arduino through the IDE was quite easy, the process is laid out on the Github page nicely.
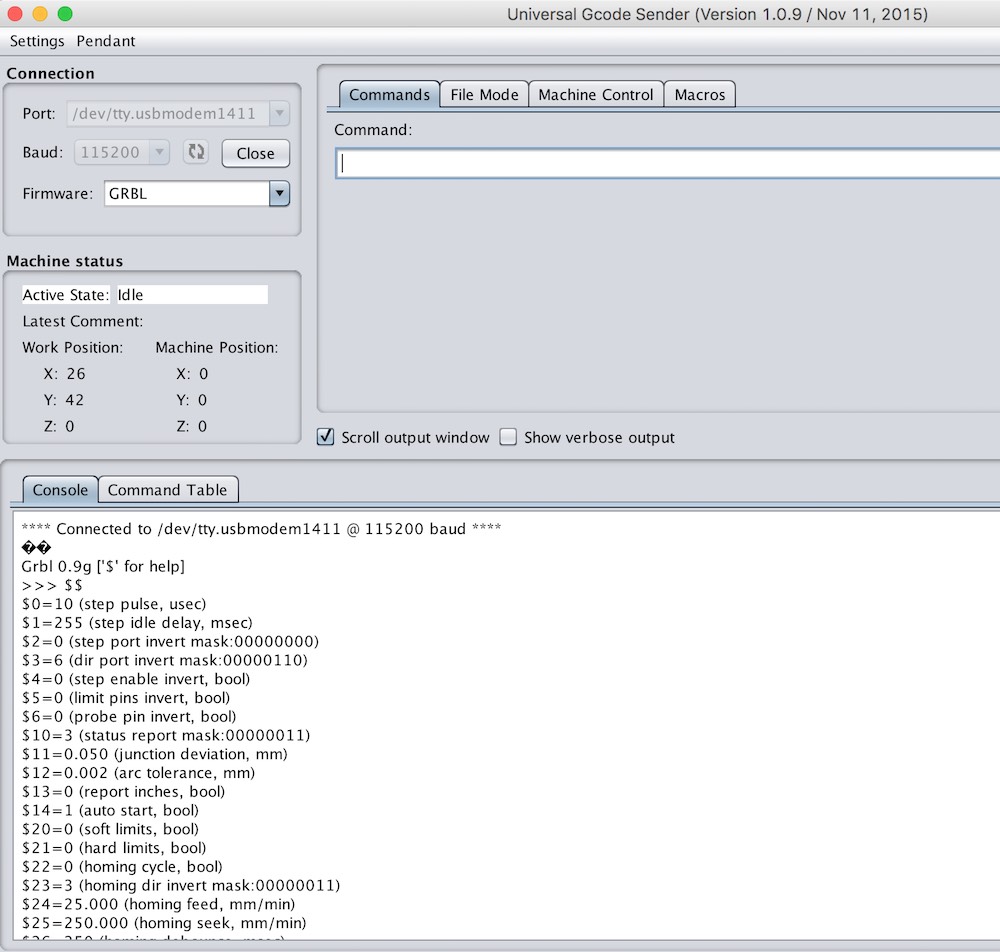
That being said, it did take a few attempts before we got it to flash properly. Once we finally got the flashing process to work, when we tried to communicate with the Arduino from UGS, we got a message saying GRBL failed to load. So we did enough to get an error message, that's something. Finally, after trying a version of GRBL for the Arduino Mega, we could connect to GRBL through UGS (after wasting some time trying to get chilipepper to work). We did't seem to be getting any output from out motors though :(
Much time was spent trying different versions of GRBL, changing settings, reading/watching RAMPS tutorials. There are a lot of 3D printer tutorials for setting up these shields, but those don't usually use straight GRBL. And we couldn't get anything to work.
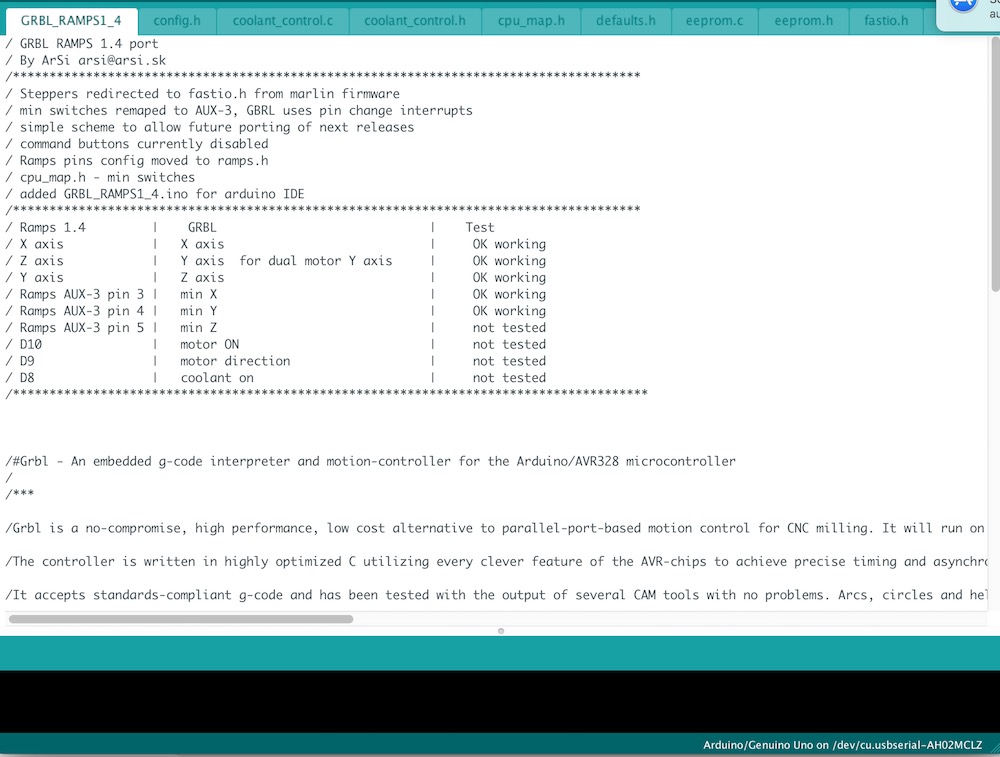
Later, while exploring the files in GRBL I found the one that shows where the cpu pins are mapped, and realized that the default is for the Arduino Uno. We actually downloaded a version of GRBL that was specific to the Mega, thats the one that communicated, but didn't move any motors. I looked at the cpu pin map and traced the connections through the RAMPS shield to the polulu driver boards and saw that they definitely did not match up. Which makes sense, that mapping was made for the mega, not the mega with the ramps shield.
So now I could make a new pin mapping for the RAMPS board, or try diving online once more to see if anyone else has already solved this problem. I refined my search a little bit more and finally, in a Shapoko forum, I found someone who posted a version of GRBL adapted for use with the Arduino Mega and the RAMPS 1.4 shield. Woo :)

I downloaded it, looked at the pin mapping, and it matched the few pins that I had traced out earlier! Uploaded it to the Mega, connected through UGS and it moved the motors! Or at least one of them...
Couldn't figure out why only one would move. Turns out the Y and Z axes were switched. Wasted a lot of time moving jumper pins and scratching my head about why the Y axis wouldnt work. Makes sense for making a milling machine, normally Z axis on ramps has 2 outputs, but its nice to have to Y outputs for driving a gantry.
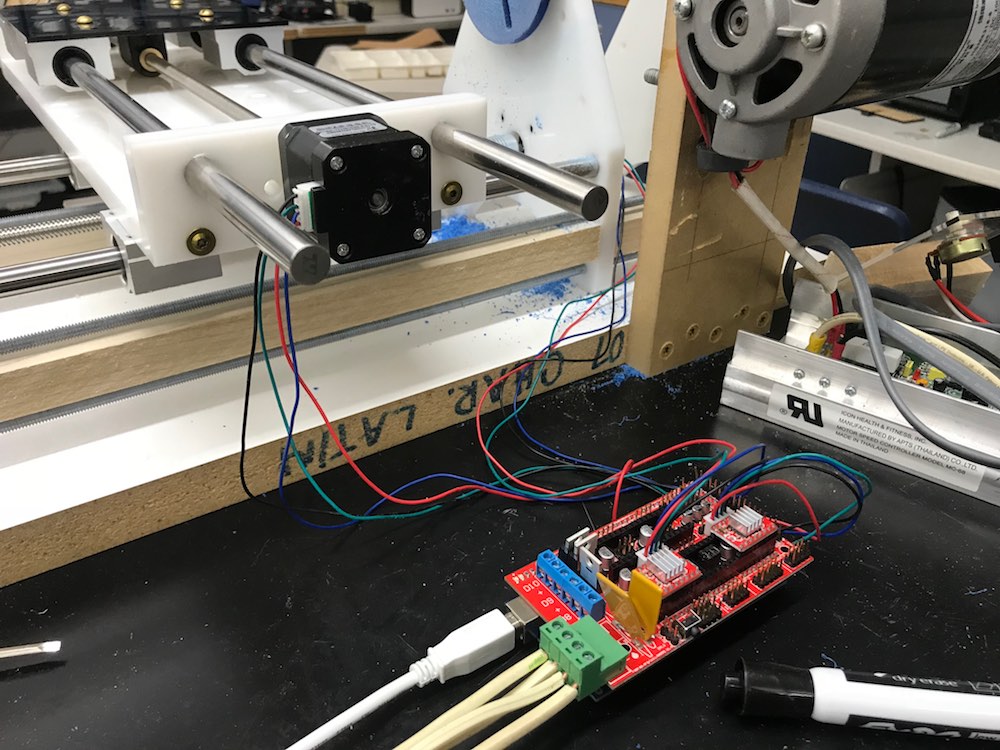
Now we just need to plug in the stepper motors on the machine and get going with some G-Code in GRBL! Going to start with something simple, doing a light facing pass on our faceplate to true up the surface and test everything out. After of course just moving the machine around a bunch through UGS to get used to the interface


To download my files click here: