Computed-Aided Design
Assignment
model (raster, vector, 2D, 3D, render, animate, simulate, ...) a possible final project
2-D Design
I dowloaded GIMP and used it to clean up the initial scan of my final project sketch. I am not much one for paint applications, so for me, GIMP will be primarily useful for downsizing and touching up photos before uploading to my class page.
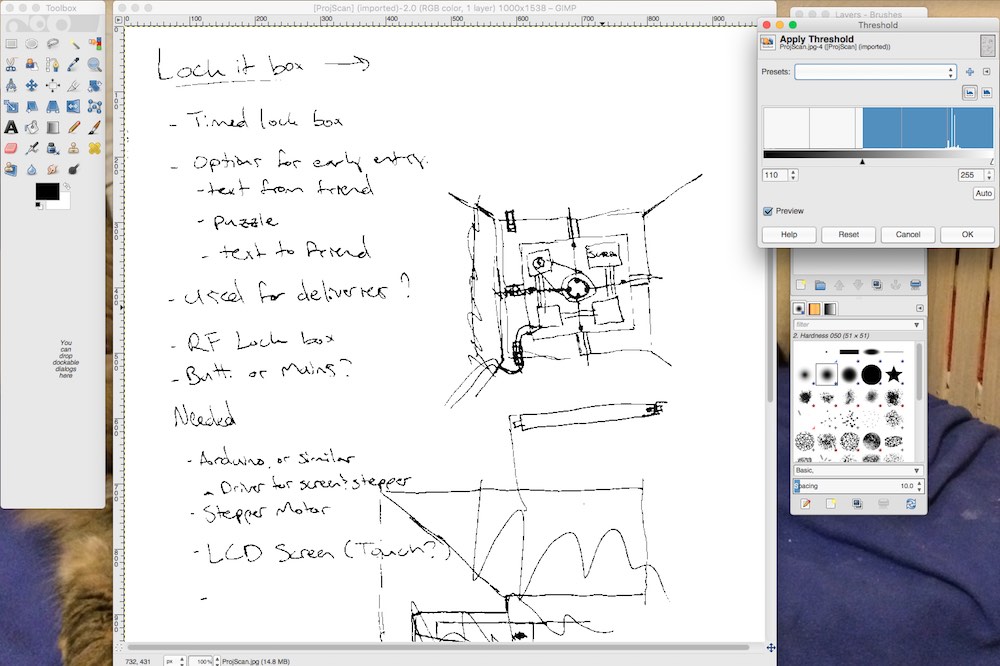
The sketch for the actual locking part of the safe provides the necessary idea of what to make, but is not worth using for proportions, tracing, etc.
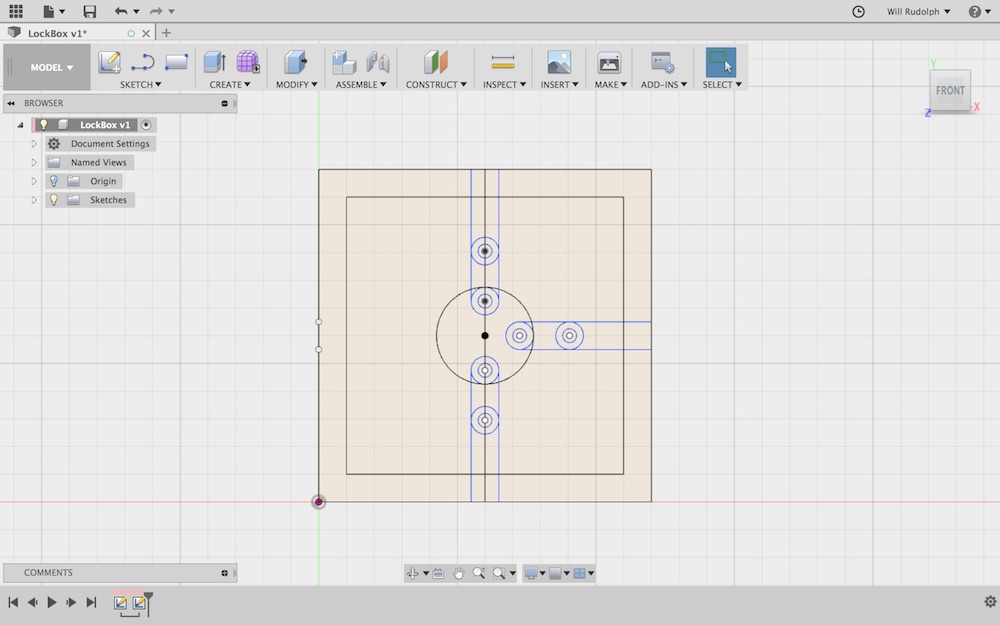
I drew the the top down view of how I envisioned the mechanism in both Rhino and Fusion 360.
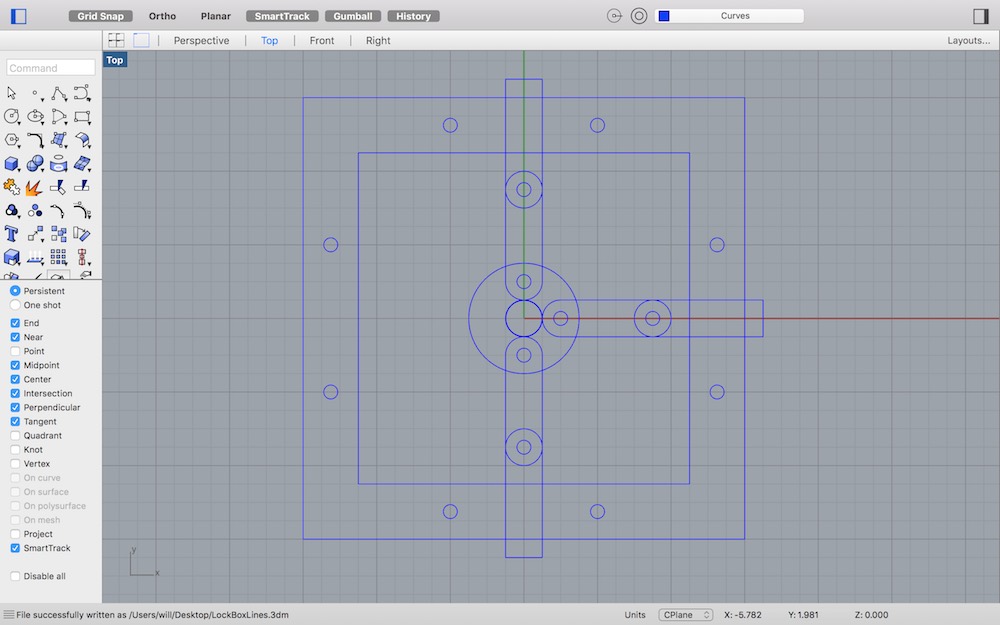
Both programs were pretty straight forward and easy to use. The interface in Rhino felt more pleasant and easily navigable than in Fusion 360. Though Rhino lacks some of the parametric features of Fusion, much of that functionality is preserved with the use of the History command.
I also started making the drawing in Grasshopper for Rhino, but ended up having more fun exploring it's components and made a program (script, grasshopper file, parametric design, not sure what the best thing to call it is) that makes abstract squiggle sketches.
3-D Design
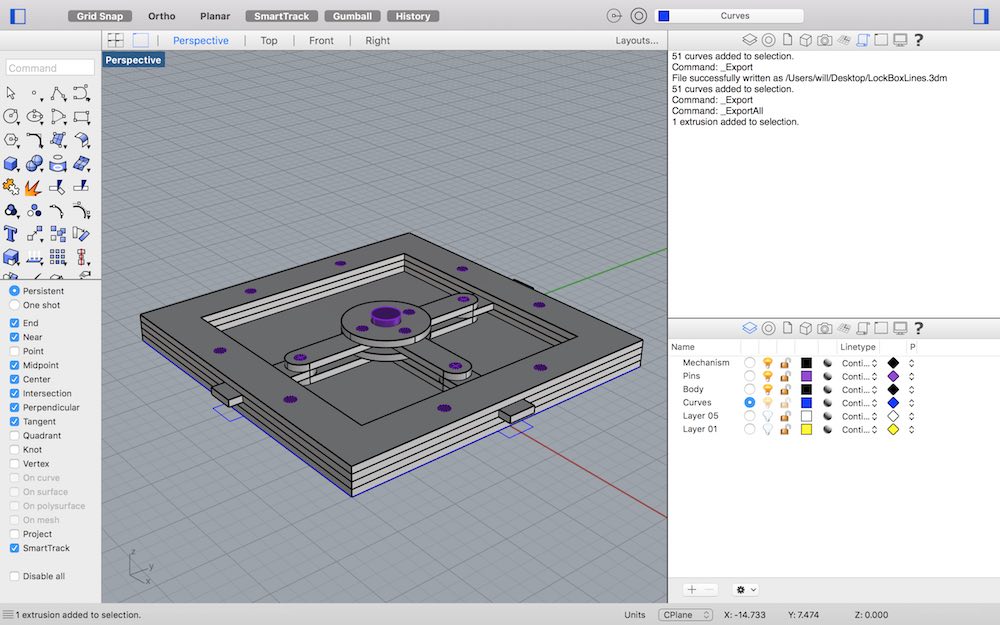
I decided to continue modeling in both Rhino and Fusion for the transition to 3D, since I already had 2d drawings generated. I extruded "solids" from the profile curves and did some copying and moving to make all the joints work in real life.
Simulation
I learned and failed a lot while attempting to get the mechanism to work properly in Fusion 360. It's a simple mechanism, and I'm certain it will move as expected in the real world. The lesson I learned through my struggles with joints in Fusion (and modeling/drawing this week) is to be rigorous, understand your constraints and your environment, but also take time to play in and explore that environment.
To download my files click here: