3D SCANNING AND PRINTING
6.WEEK
This is my favourite assignment for now, because I'm big 3D printing enthusiast and I always love to experiment with printers and their softwares. For this assignment I also worked from my FabLab in Zagreb. There we are using 3D printers from Ultimaker and Formlabs. The difference betwene those printer is not only in name, they are also different type of printers.
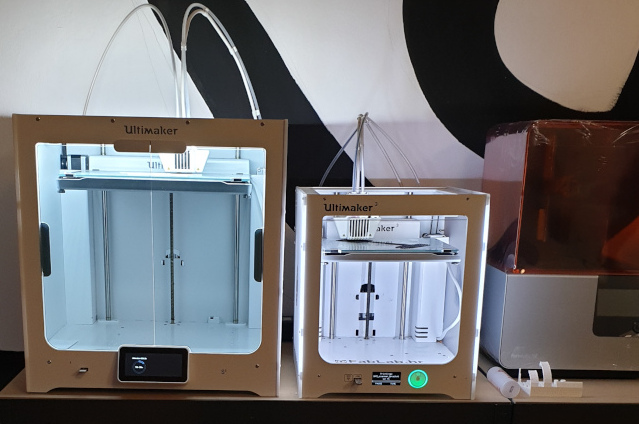
Ultimaker is FDM (Fused Deposition Modeling) printer, that's the 3D printing process that uses a continuous filament of thermoplastic material. Large spool of filament is placed behind the printer where is also placed extruder motor which is pushing filament to the head of the printer where filament melts and extruding trough the nozzle on the builtplate or model.
Ultimaker 3 (right) is in dimensions like standard Ultimaker printers 215mm x 215mm x 200mm, but this is the first generation of Ultimaker where you can easily change princores for different types of materials, also has the camera so the printong progres can be tracked live.
Ultimaker S5 (left) is as it can be seen, bigger then UM3, with dimensions of 330mm x 240mm x 300mm. It is also the firs Ultimaker with touch LCD monitor and front glass dors for better printing with ABS.
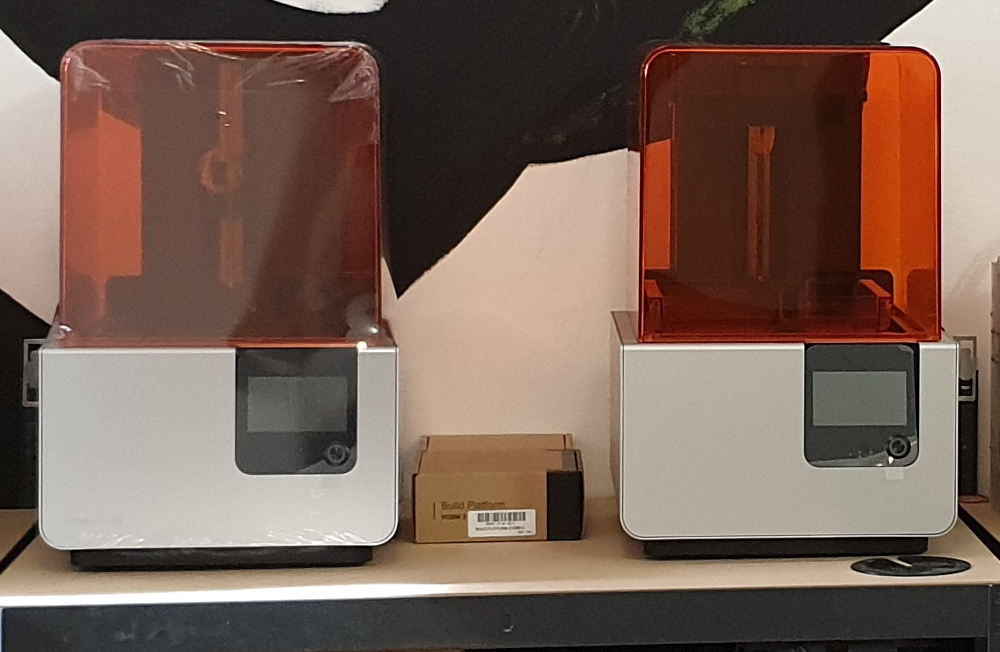
On the other hand Formlabs developed SLA (Stereolithography) printer that uses a laser to cure solid isotropic parts from a liquid photopolymer resin. And this type of printers are also very popular in dental medicin jewlery prototyping.
GROUP ASSIGNMENT
For this group assignment I need to test setings for my 3D printer, so I decided to download some files from Thingiverse and for this one I think that can show many advantages and disadvantages of printer. Test model was printed on two machines Ultimaker 3 and Ultimaker S5, I knew that the results will be similar because those two machines are very similar.
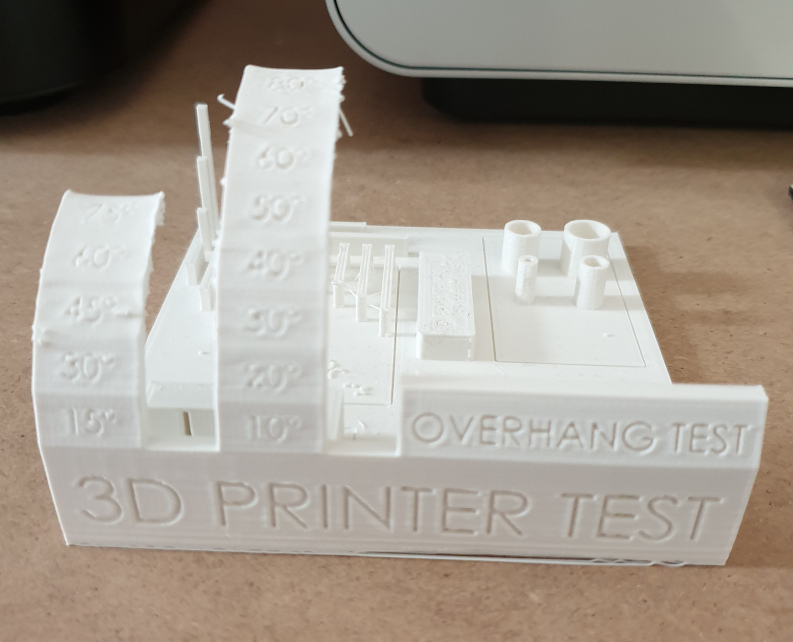
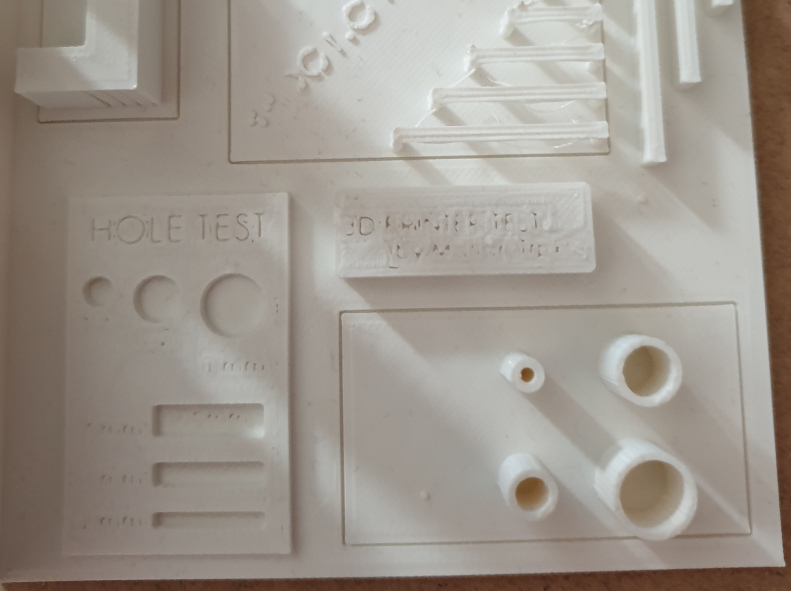
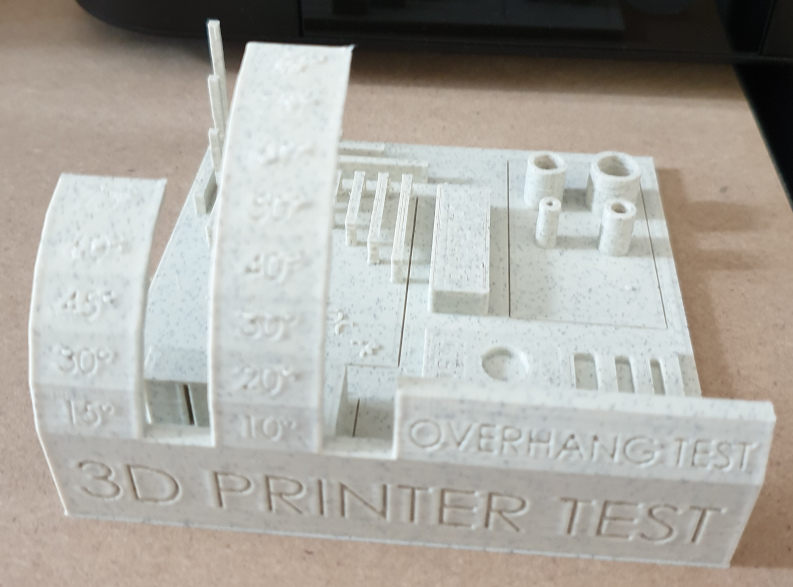
First 3D printed test model is printed on UM3. It can be seen that he done ammazing job despite some challanges. Main problem for printer was test on overhang where the model starts to colaps and changing his original look and that starts to happenening from 40° and above. In those situations when we print big overhangs usualy we put support so the model dont colaps, but for this purpose I remove the comand for support. Printer also did a great job with holes and gaps. On picture the printed text don't looks so nice, that's because the downloaded .stl file had some uncoarctable mistakes whic I noticed after the model was finished. Usualy Ultimakers printers are dealing great with any kind of text.
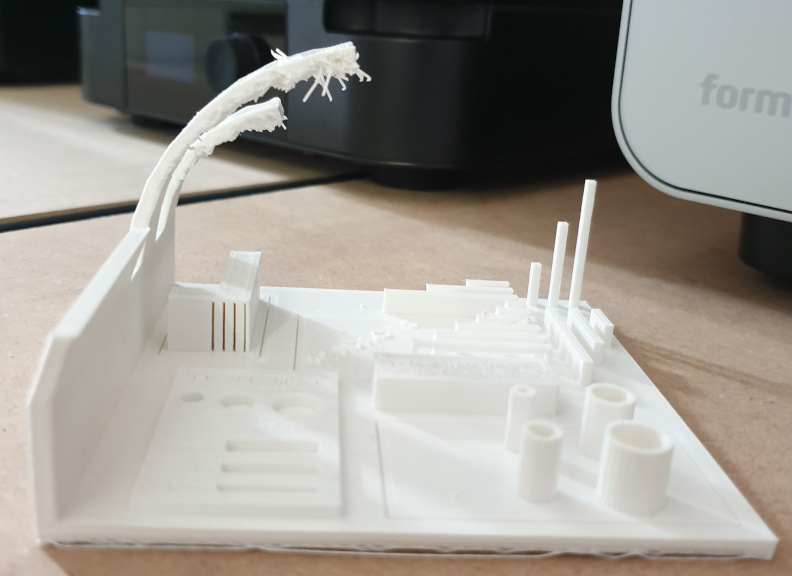
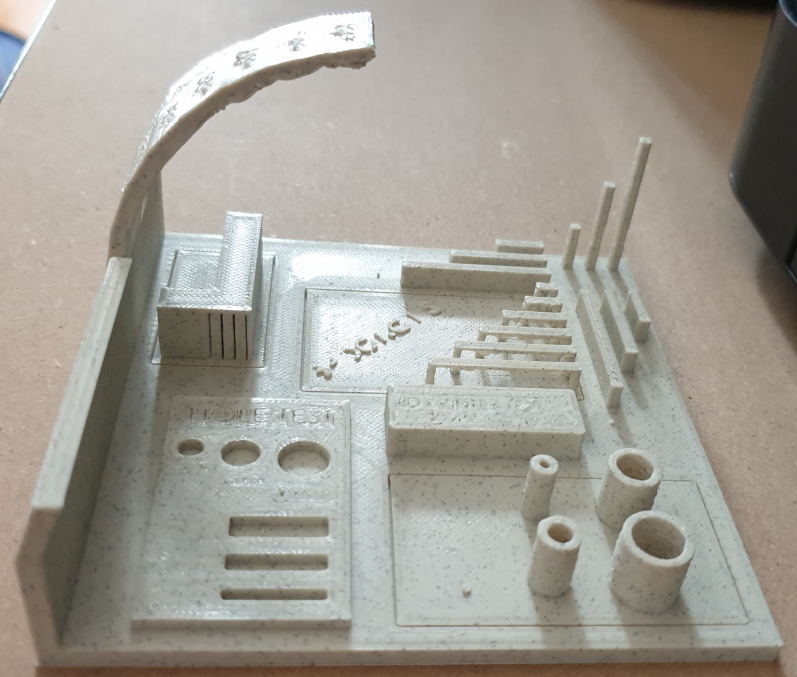
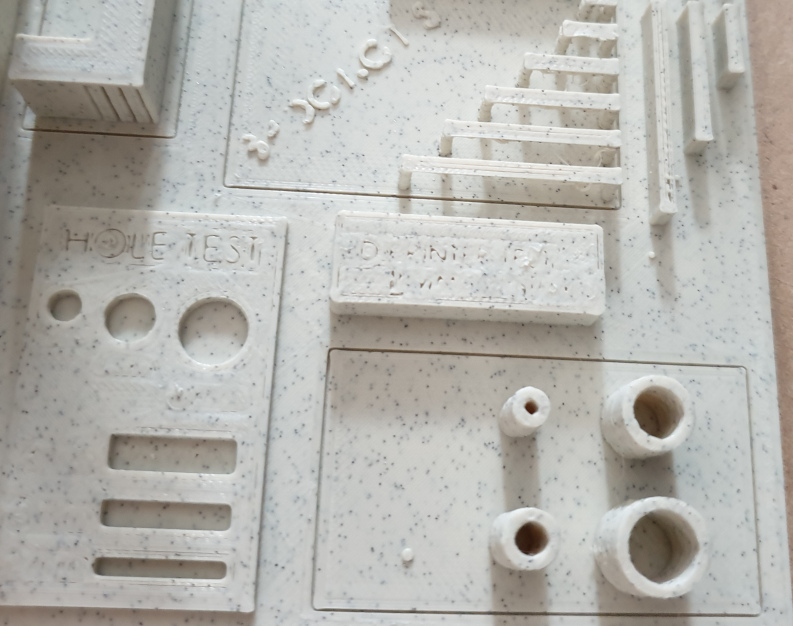
Second test was made on UMS5 and the differance is not so big. Only that the UMS5 dealed with the overhangs little better, the model didn't colap so much as he was on UM3. All other test secvences was the same. The conclusion is that newer printer is going with slight advance over UM3 and Ultimaker S5 is my favourite from first day when he was published.
INDIVIDUAL ASSIGNMENT
3D object that can't be made subtractively
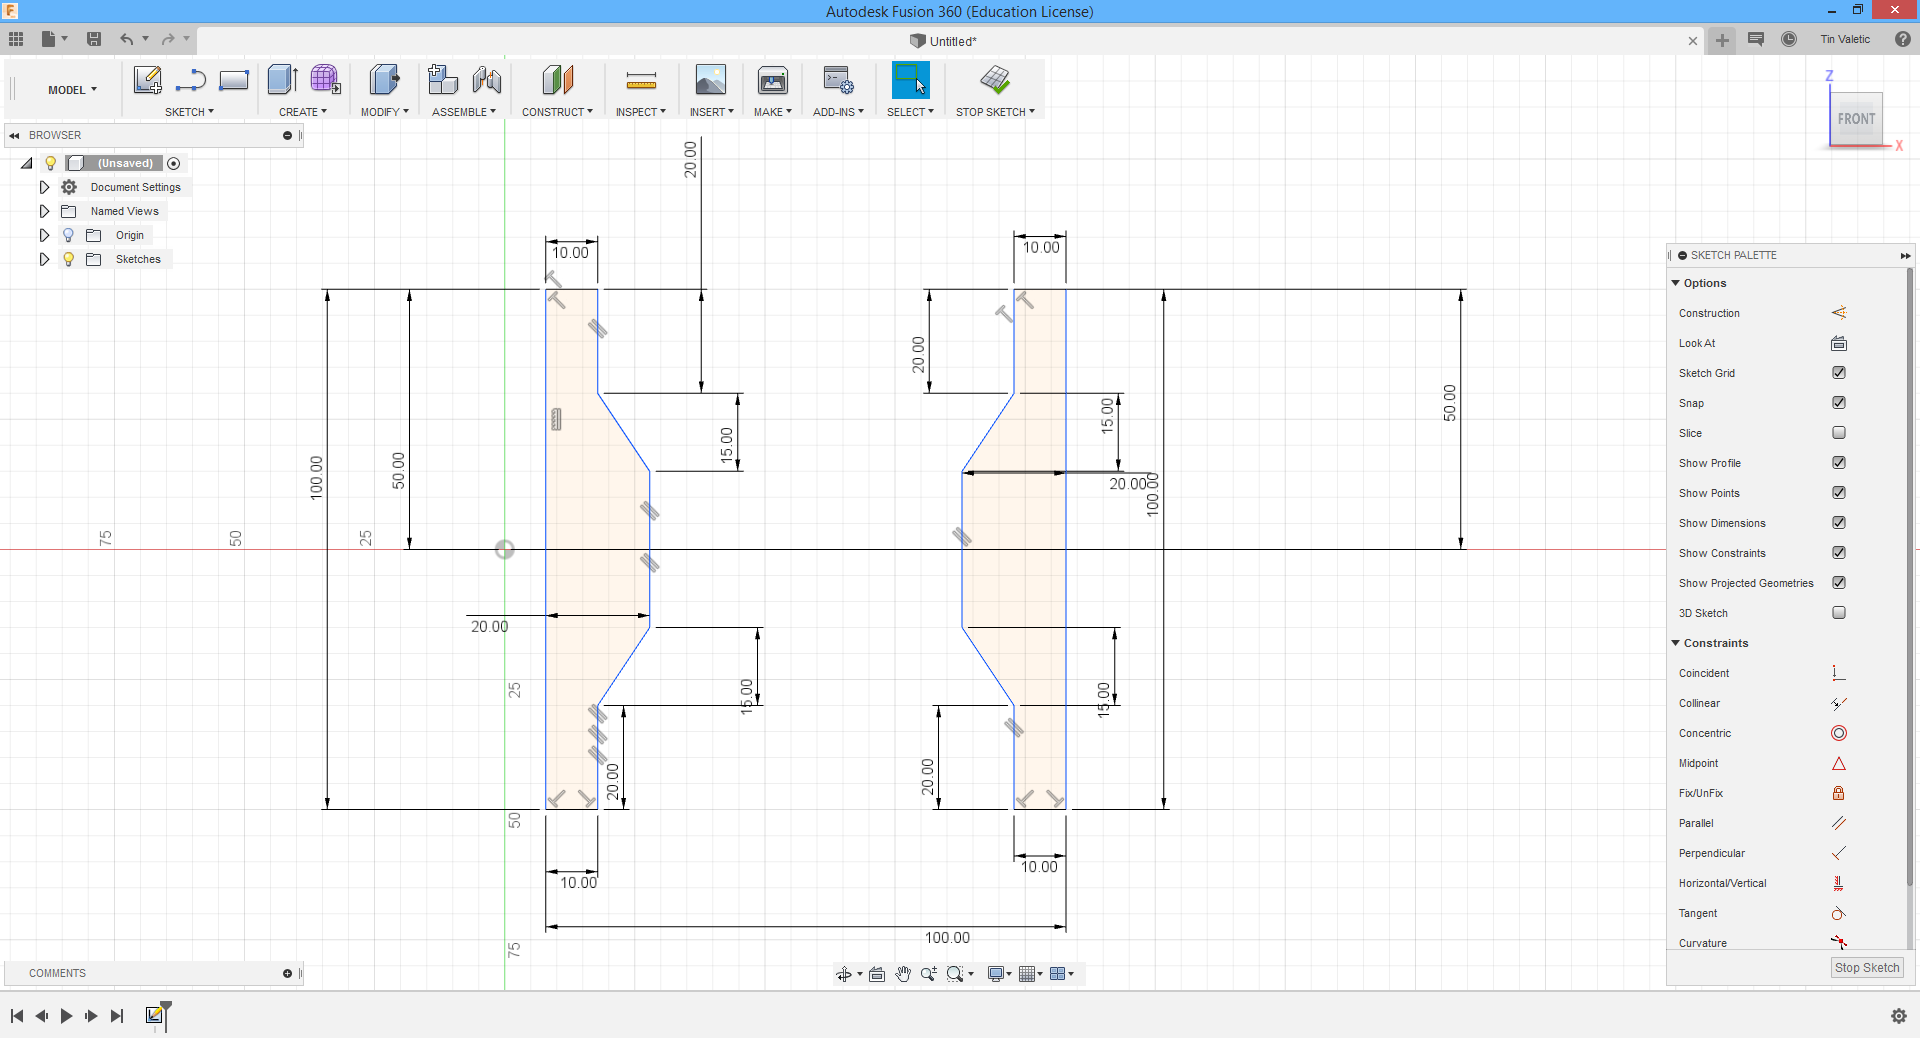
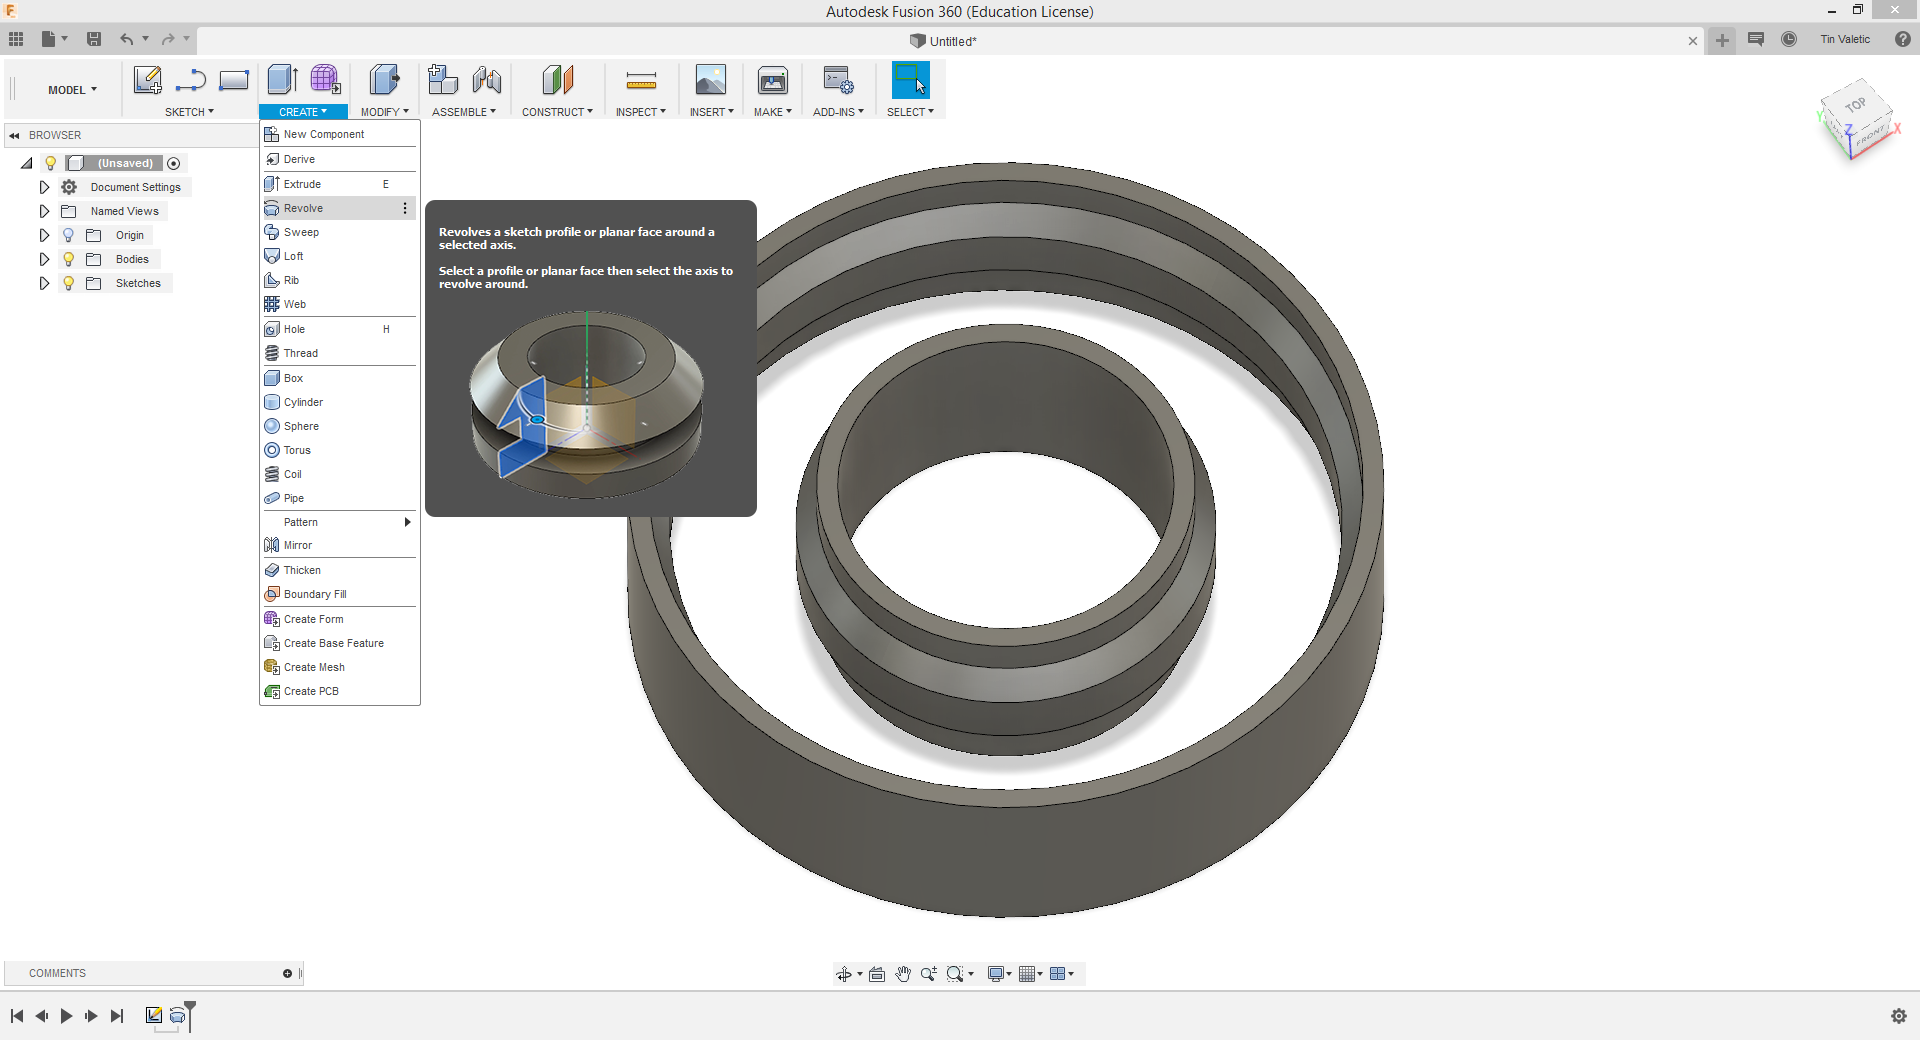
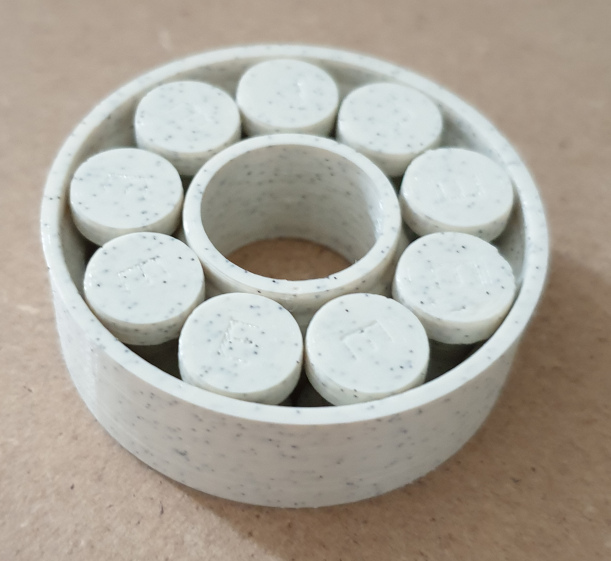
For this part of assignment I also used Thingiverse, but only the idea, not the downloaded files. First step to redraw that model is to open Fusion 360 that I was using in my week 3 (Computer-aided design), after that open new project. Sketch is first thing to do, so Sketch is in 2D and command can be found at th etop left corner, first icon under toolbar "Sketch", select axis on which do you want to draw it. Below you can see my example, I draw two same shapes but with different orientations, that's because I need to revolv it after, so to make two almoust same models. Second picture shows how does it looks when you put command "Revolve" and it is located under toolbar "Create", Command is simple to use, select faces that you want to revolve and type degree or drag it to the point that you want to.
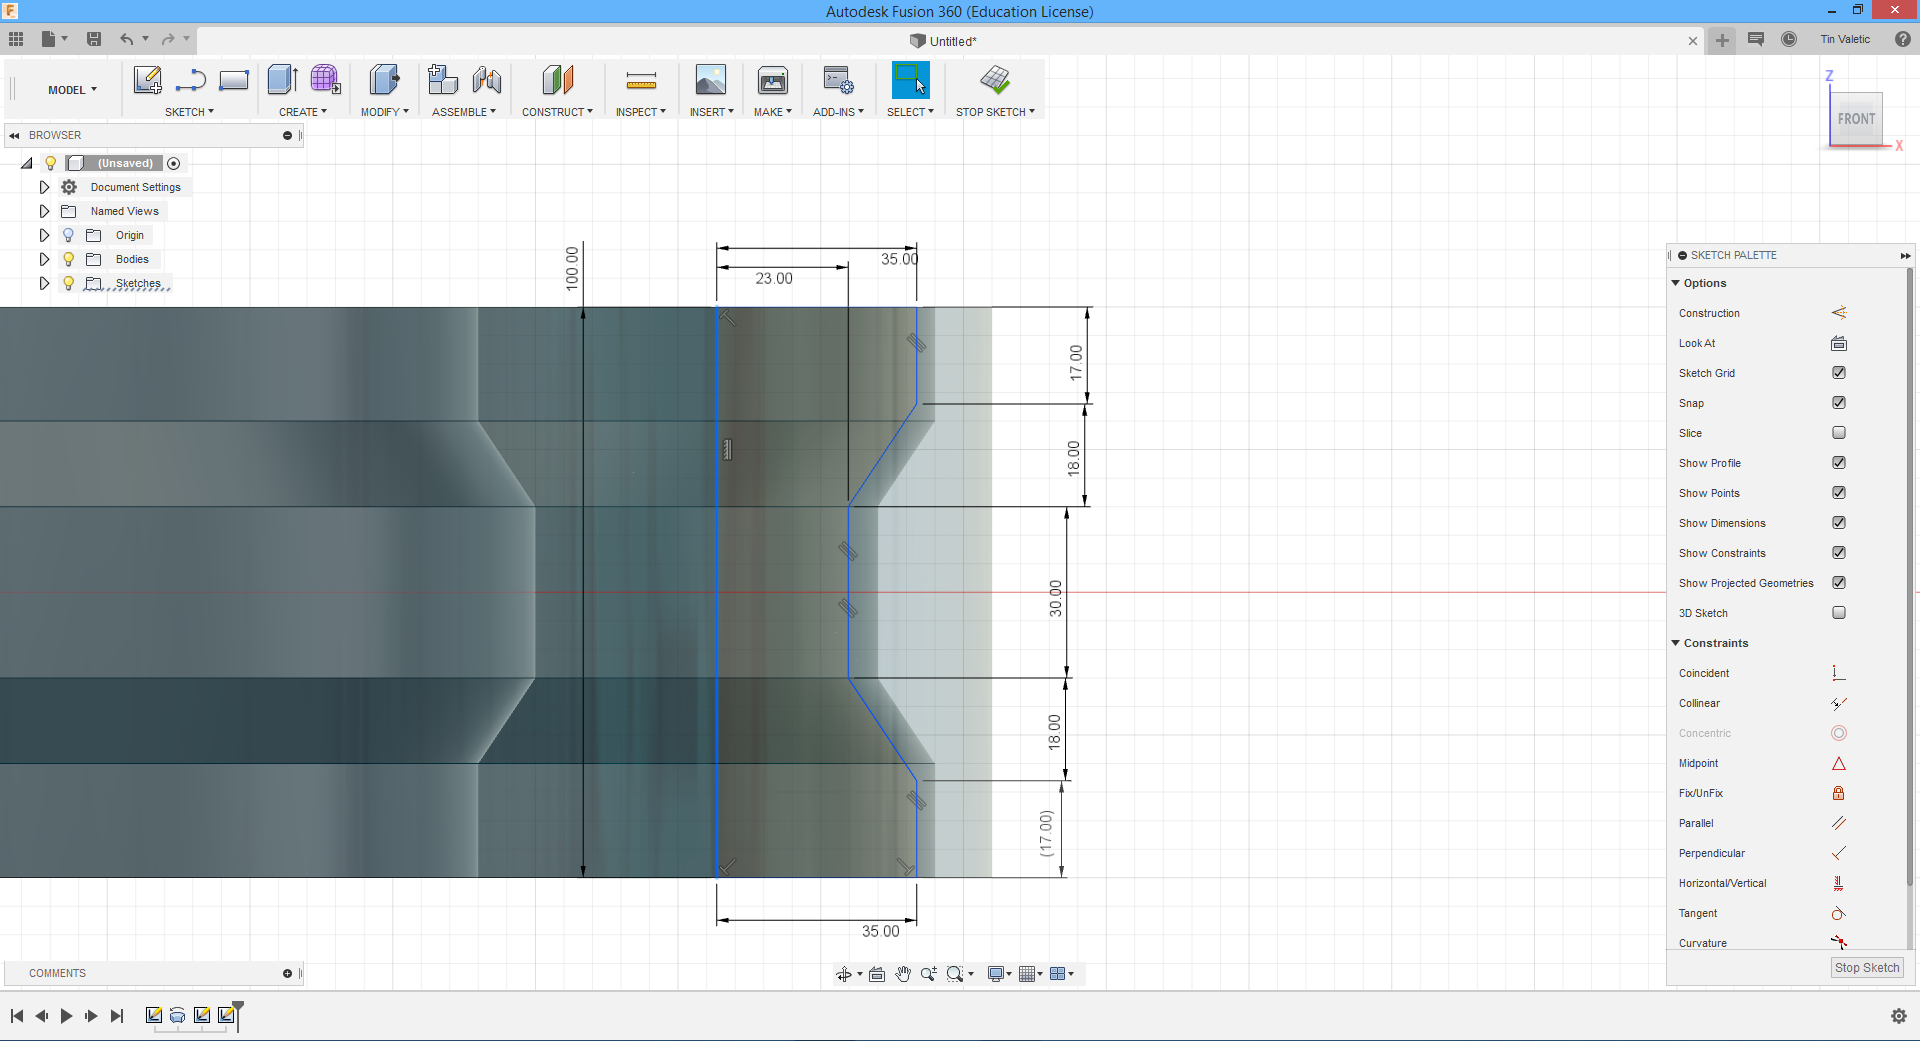
After making inner and outer models, turn is to make joints between them(forgot how they are called), but to make them I need to make one, just like it's shown below on pictures. Like I said before this is redrowing of already existing model, so I redrow it and you can se dimensions, I'm making only one side because I'll use revolv once more. One thing you have to have on your mind when you want to revolve is that your curves needs to be closed, also like on picture. Secon picture shows how it loooks after command revolve, it looks really good. Now lets go to next step.
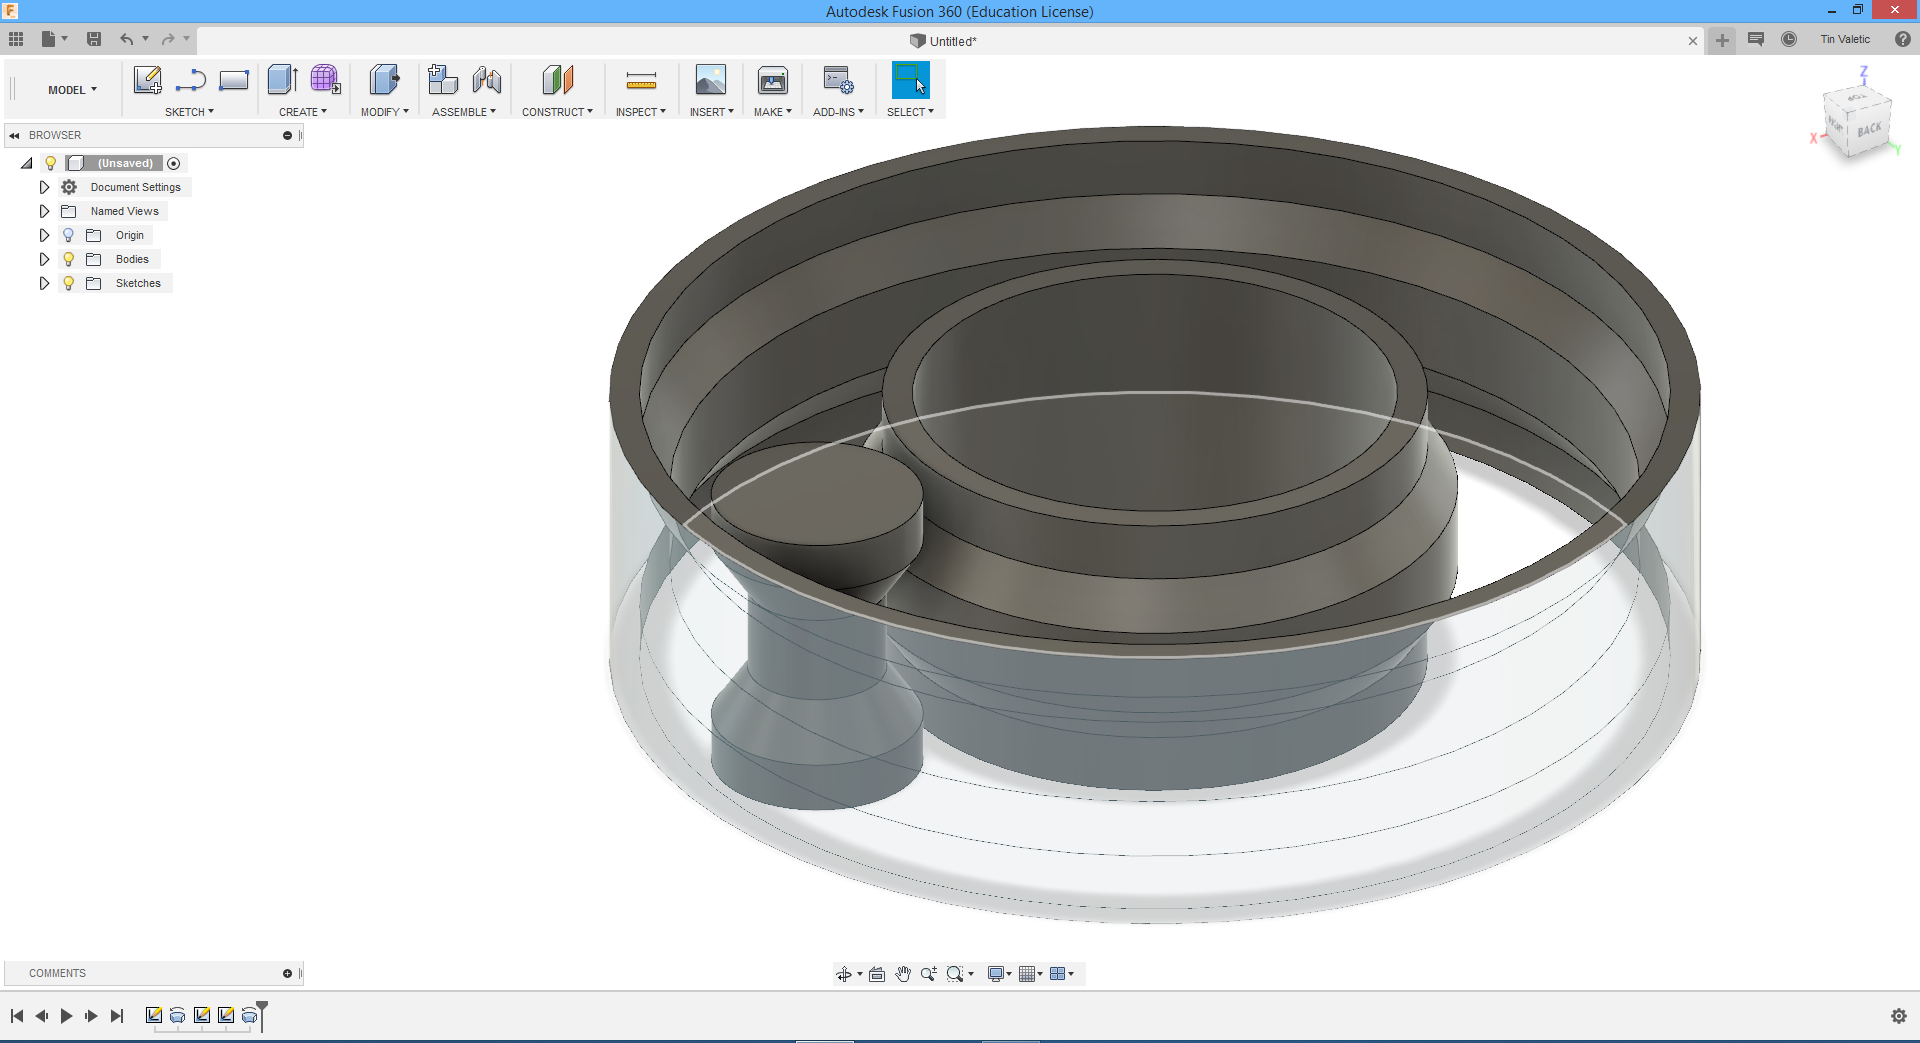
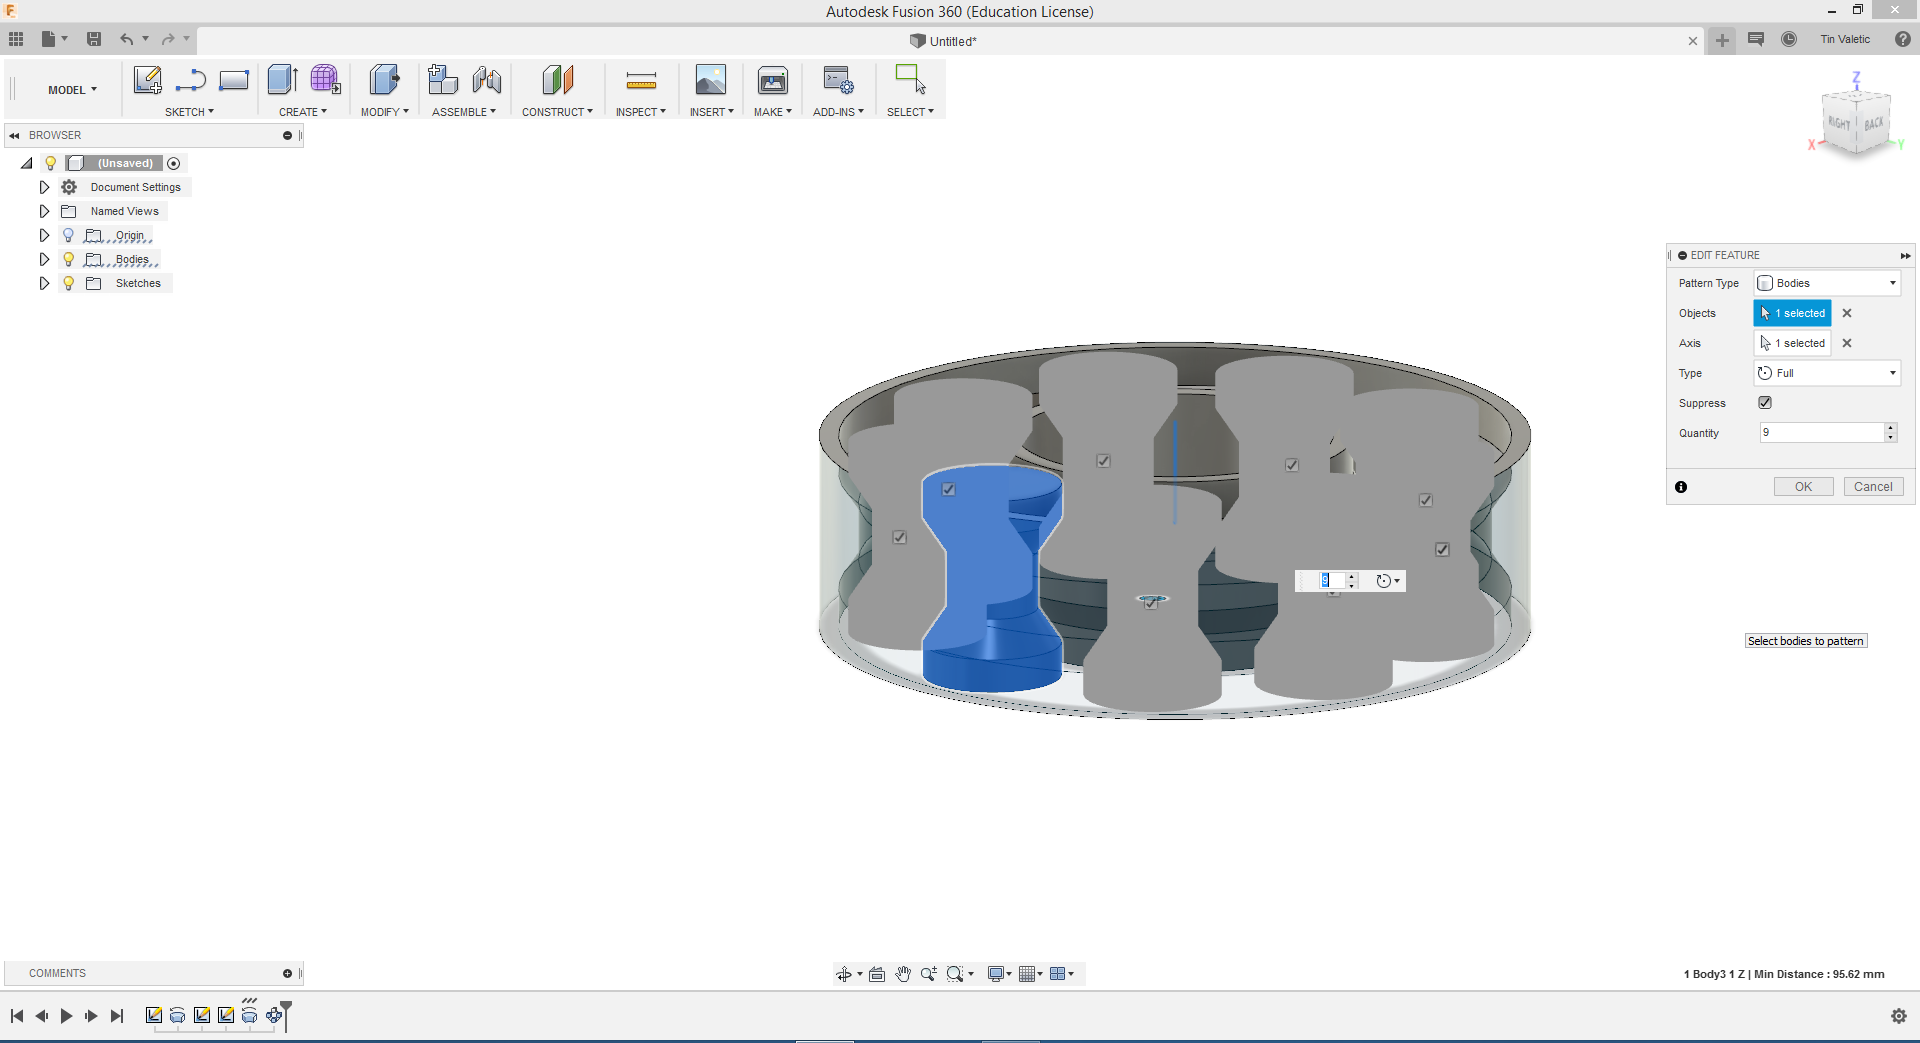
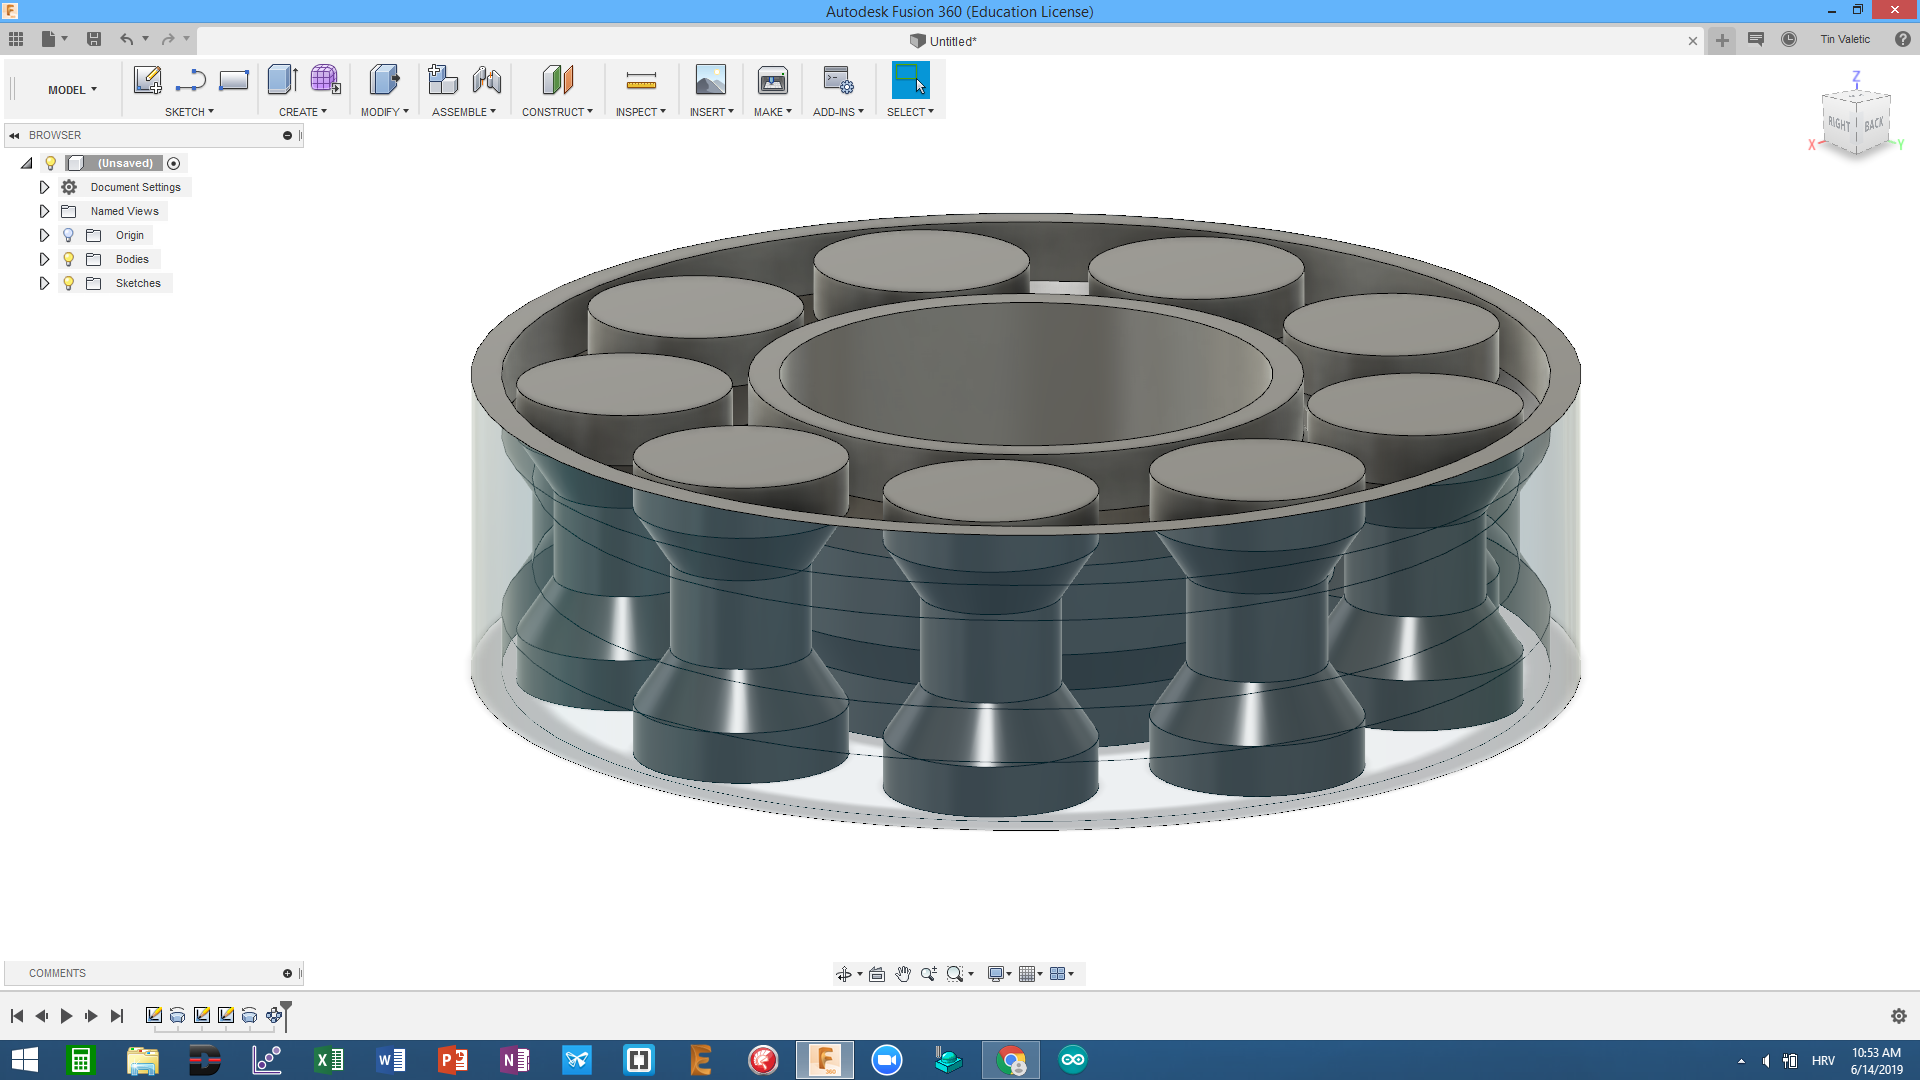
To multiply created joint I need to go to "Create>Pattern>Circular patern", select model that I made and window gets oppen on right side where I can set degree angle in which those models are going to be and also how many of them. As you can see I selected 360degree and 9 of them. Then is just turn to press OK and I'm done.
From now on is simple, for those who know how to use Cura, software for Ultimaker 3D printers. To make this model usable in Cura I need to export it to .stl file, in Fusion that is very simple, go to "Make>3D print" and I can select printer that I want to use or deselect printer and he is going to export my job as .stl which is supported by Cura.
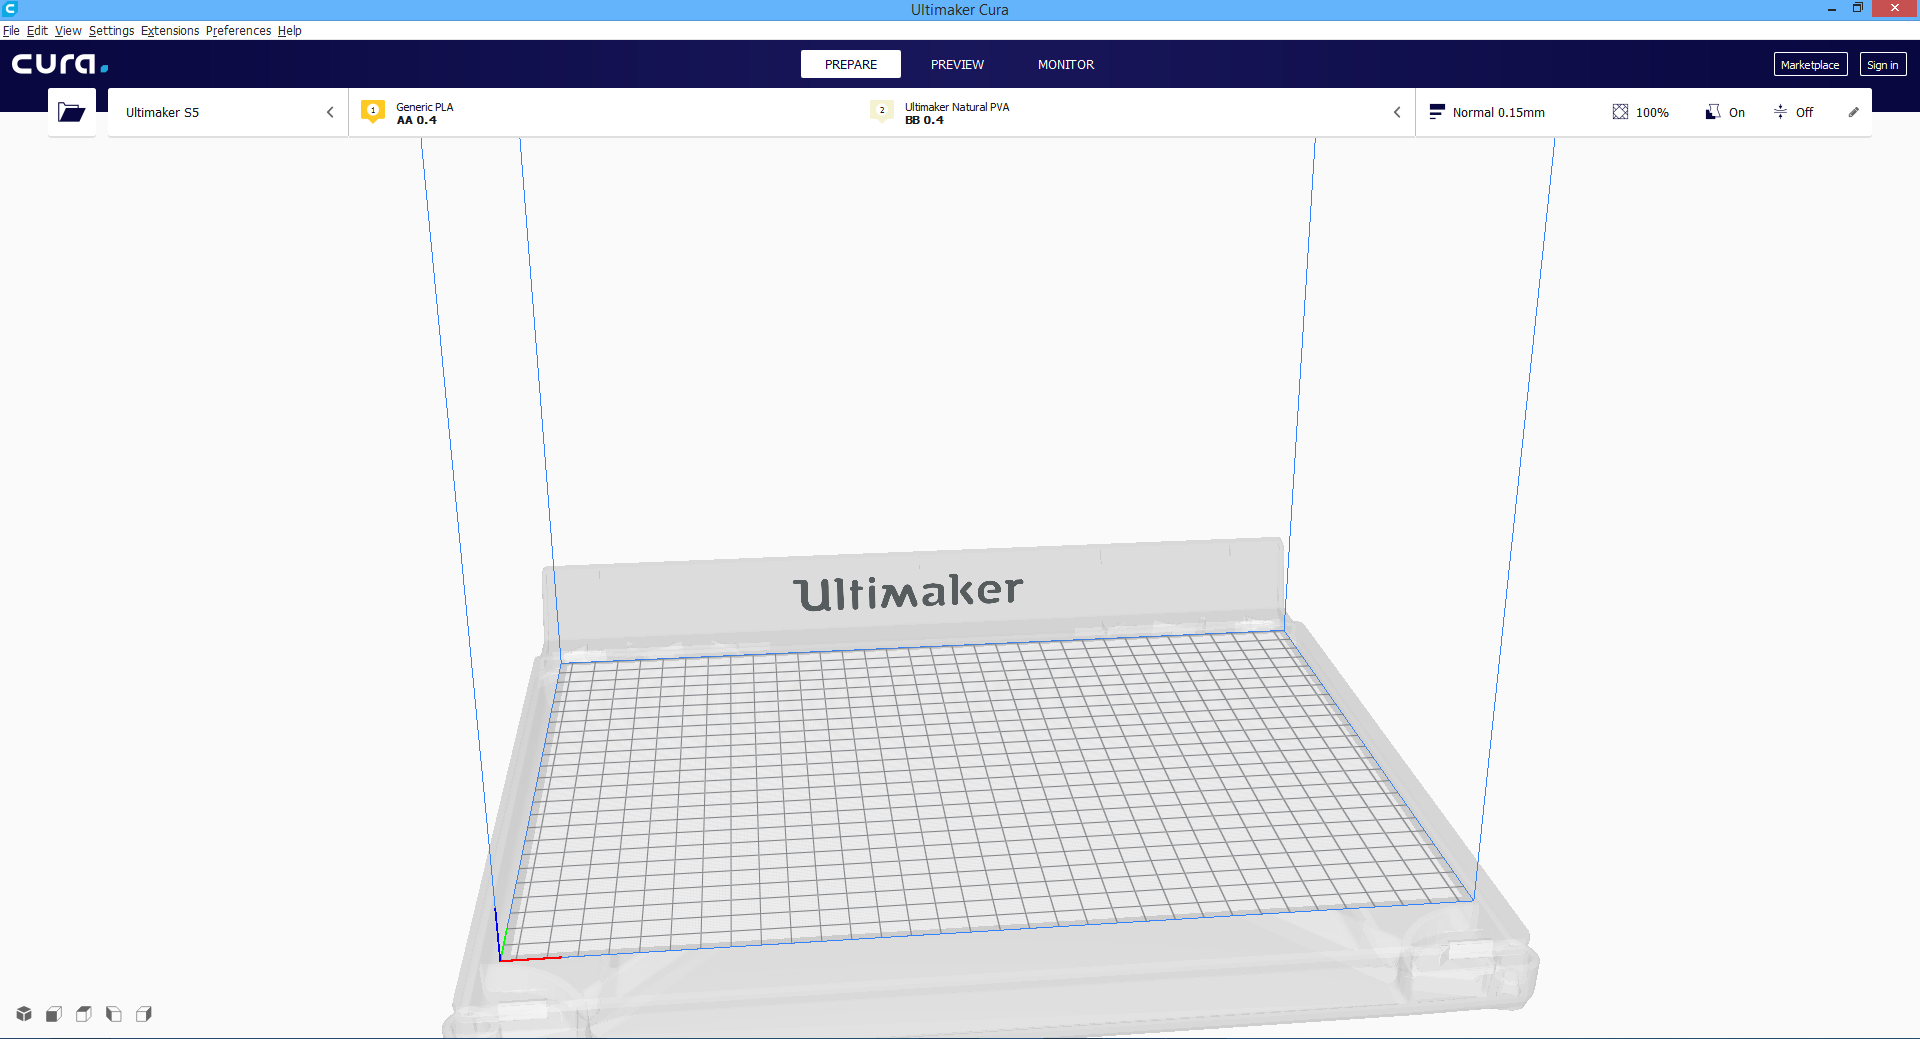
Now when .stl file is prepared, I opened Cura and drag and drop file I wanted to print. At first model was to big for builtplate, so I used command on left side of window for scaling and lower it to the size that you see on the picture.
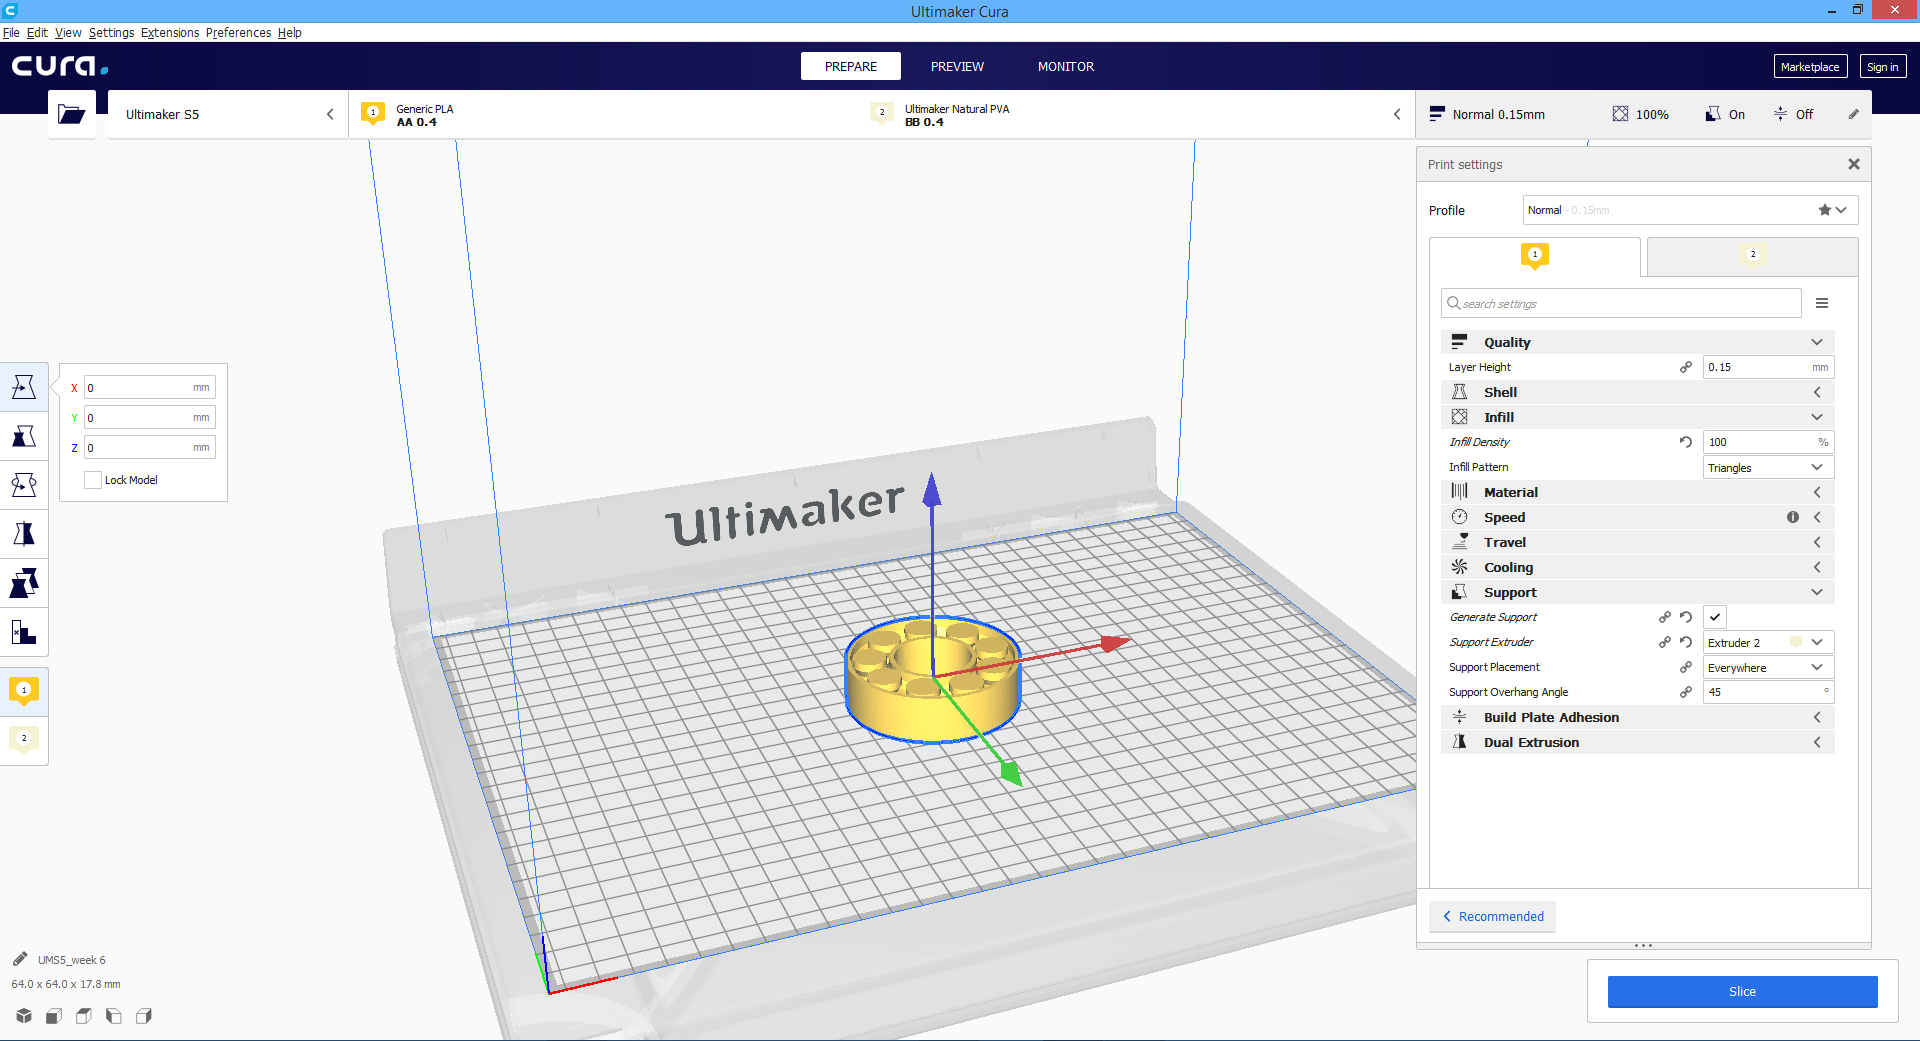
Last step and realy important one is to set all parameters to wanted one, that you can find on right side of the window. On picture is newest Cura and this toolbar can be removed for beter priview of model, but on older versions you got that toolbar as default. In there you can set layer high (quality), infill precanteg, support type, builtplate adhesion, etc. I typed now one of most used settings, ofcourse there are a lot more of them.
When is all set, I first want to check how my model will look and are all layers good positoned, so I click on "Preview" that is located on top of the toolbar in newer version, on older versions is located on right side next to the main toolbar. So in preview I can see layer by layer and notice if something is not as I want to be.
That's checked, now in right bottom corner is "Slice" command, that alows us to see optimal time for print job and usage of material in meters and gramms. To start the job I saved file to my USB, because my printer is not connected to my computer over Cura connect, but you can set that up and have a live priview of your print job.
After all this is how my model looks like after printing, I can tell you that I'm very happy how it turned out. Ultimaker S5 just made ammazing job, without any flaws.
3D SCANNING
This part of task was a lot of fun for me, we have 3D scanners in our fablab but I never used one for real. So for the first time I chuse Structure Sensor. Unfortunately for mobile devices it works only with IOS devices. So I took my IPHONE and instal "Structure sensor" app. For better precision it is recomanded to use holder for it, but in lab we got only holder for IPAD, so I need to improvized. I was holding my Structure sensor all de time stadiest as I could. After all results werent that bad, there is only one part missing but as I know that could be fixed in CAD software.
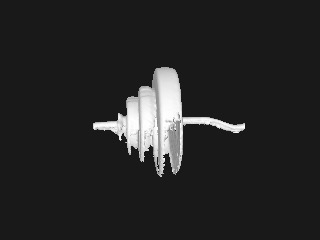
As you can se on this picture is scanned barbell with weights (think that's the name) and also the gaps in scanned preview, that was my fault because that part I was scanning to quick. Note is that scanning should be done in peacfule way, without hurrying up so that every millimiter is scanned.
After checking is all good wih your scanned model, you can procede to next step and that is to transport scanned object to CAD software. For this one I used Rhino only for priview so you can see how is it looks in CAD.
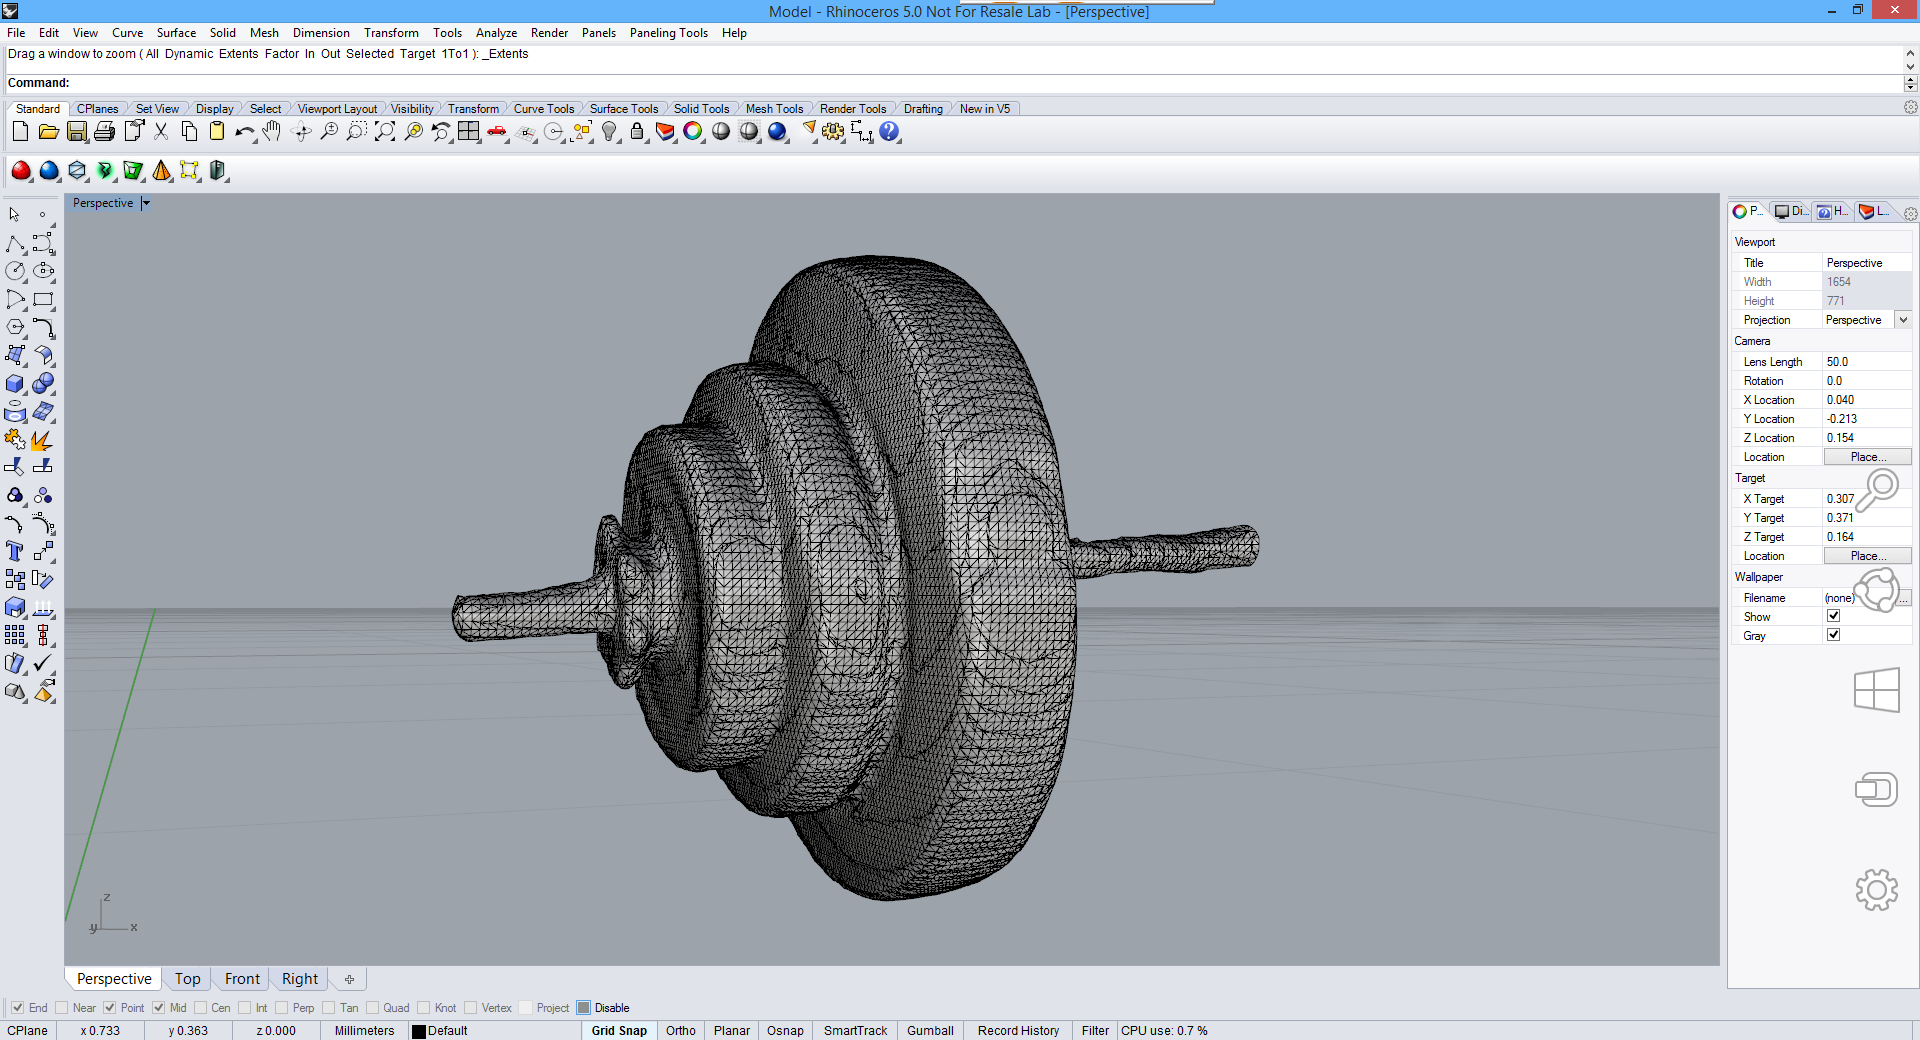
As you can see model in Rhino looks great. It has all the grids because those are actual scanned dots that you can move each one of them. After checking and fixing model in CAD sofware, I can save it and if I want, I can 3D print one.
STRUCTURE SENSOR
Structure sensor is not only 3D scanner, he is a lot more. As you know he can be used for scanning objects and people, but also for 3D maps of interior spaces and mmixed reality experiences where fantasy becomes impossible to tell from reality.
BRIDGE HEADSET-is a revolutionary device that brings both positionally tracked virtual reality and mixed reality to a mobile headset.
CANVAS-new power tool for home improvement. Canvas creates a scale-accurate 3D model of a home in minutes — all on an iPad. You can measure, review, or share your model instantly, or convert it into simplified CAD format for programs like SketchUp, AutoCAD, or Revit.
When used as a 3D scanner, Structure Sensor allows you to capture dense geometry in real-time. This enables you to simulate real world physics and create high-fidelity 3D models with high-resolution textures in seconds. The possibilities are incredible.
After getting deeper into Structure sensor and it's possibilities I decided that I'll use him more often. Also tried it with Bridge headset and VR experience is ammazing deweloped by OCCIPITAL.