WILDCARD WEEK
18.WEEK
This week we can chose what we want to make, but it has to be something that we didn't do in any other assignments. Also to document requirements, processes from bottom to top, failures and success.
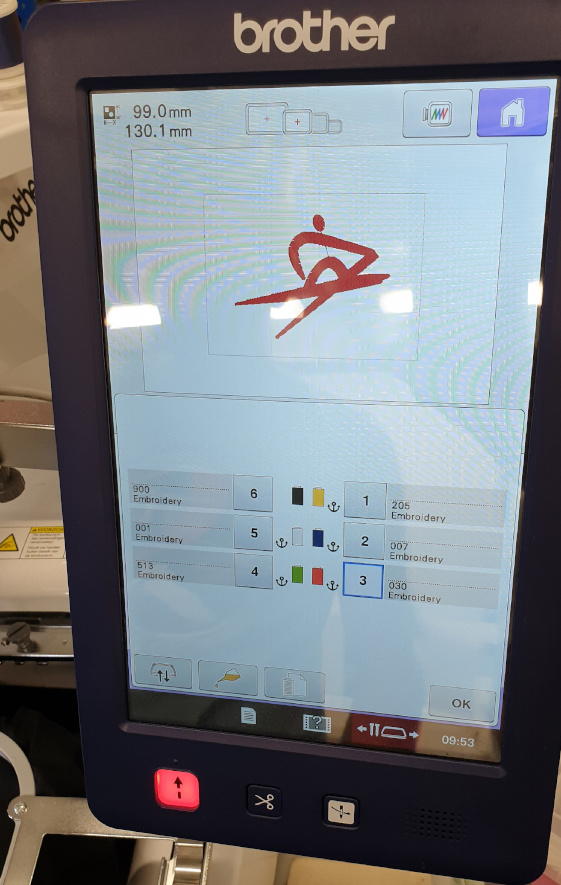
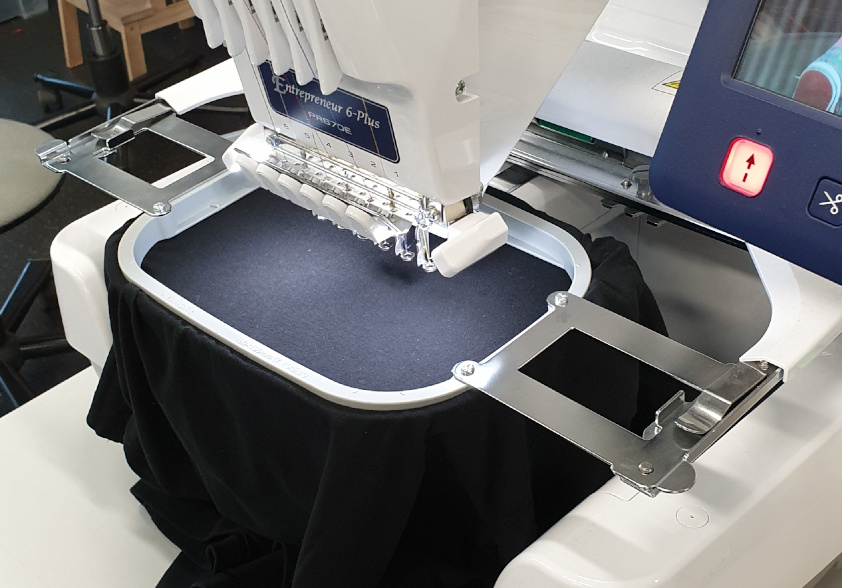
In our FabLab Bottrop is one not so ordinary machine, but so cool and after this assignment I want one for our FabLab.hr . It is stitching machine from company called Brother(link), to be correct it is the Brother PR670E embroidery machine.
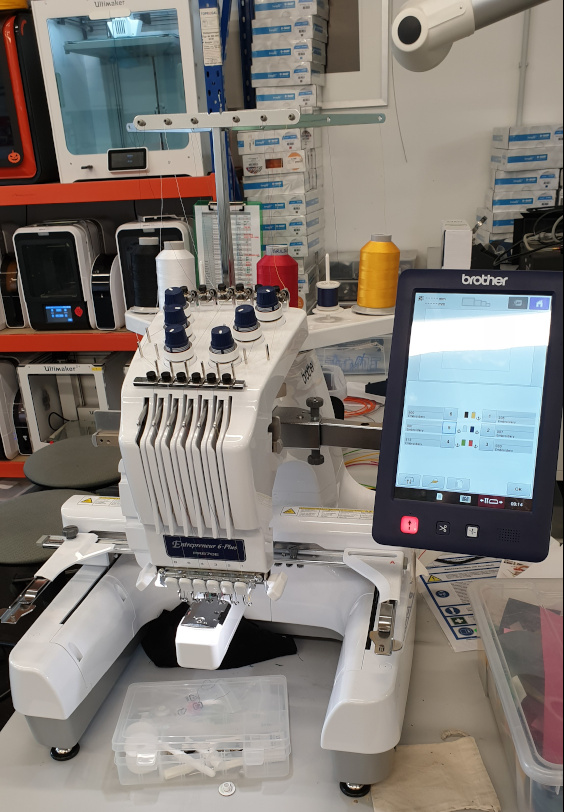
I asked my instructor Lukas to help me with it a little bit, to tell me what software is best to use, as what format I need to save it, what to keep in mind when I’m using the machine and so on.
First I need software to prepare files with my design. For this I asked my colleague Patrick to suggest me, because he was familiar with the machine and he recommended INKSCAPE, but that’s not enough, also need to install INK/STITCH, that’s like extension for embroidering.
To make those two work as one, as followed needs to be done.
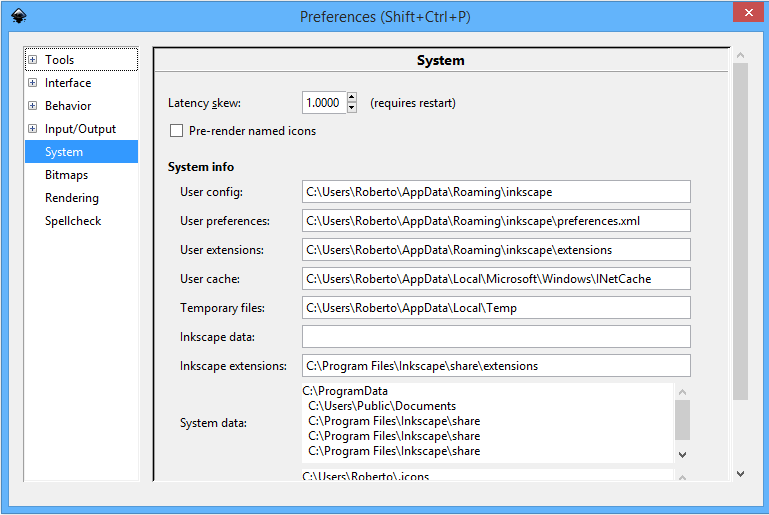
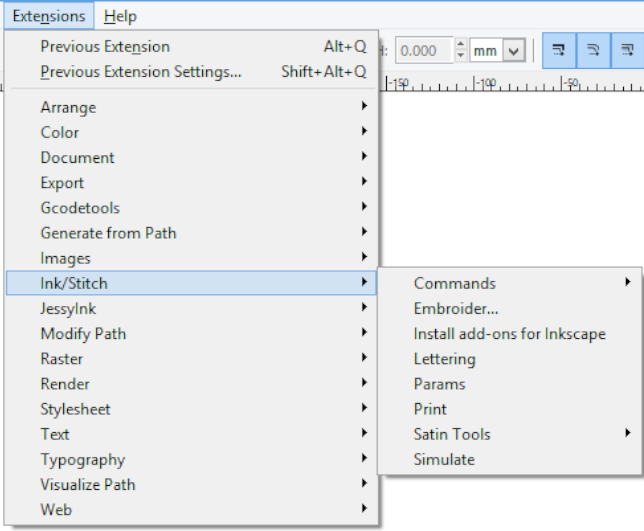
1. Open Inkscape-go to “edit>preferences”-there is directory under “System-User extensions” so go to that folder-unzip downloaded .zip files there. Than exit Inkscape and open it again. Under “extensions” should be Ink/Stitch
Now we are prepared to make or load some design.
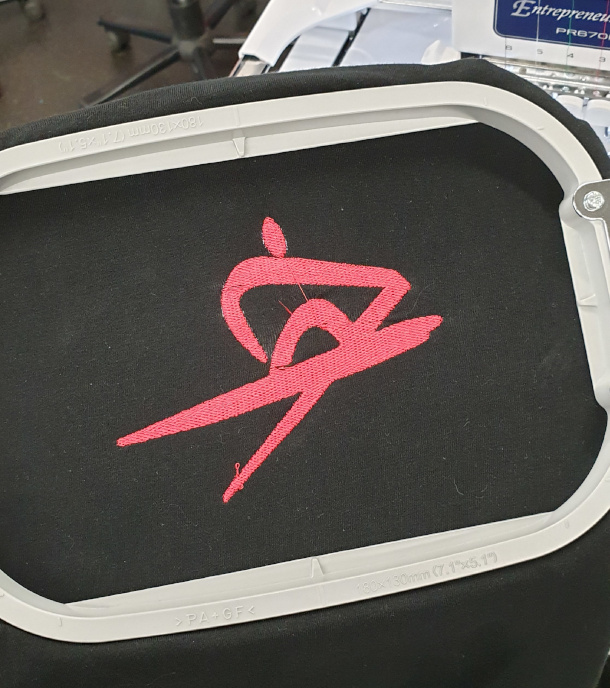
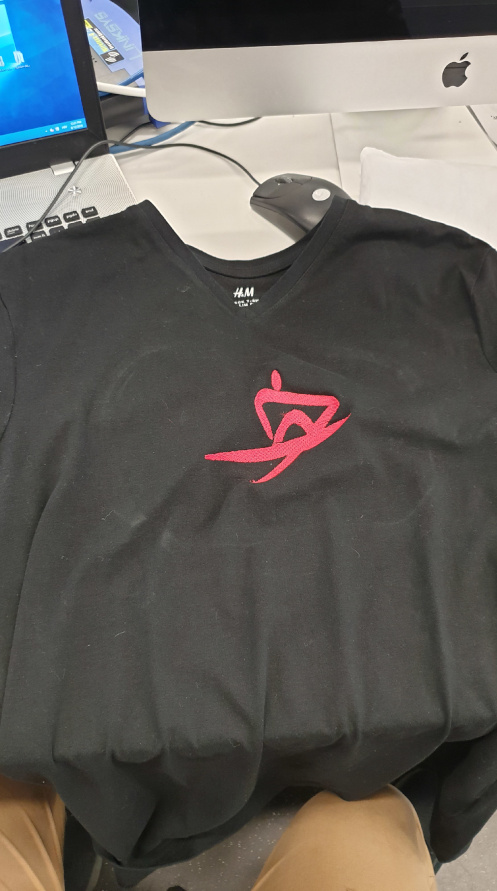
Before even starting with the task I knew what I want to make, it is logo from my rowing club in Zagreb. Already had it on computer so I just import it in Inkscape.
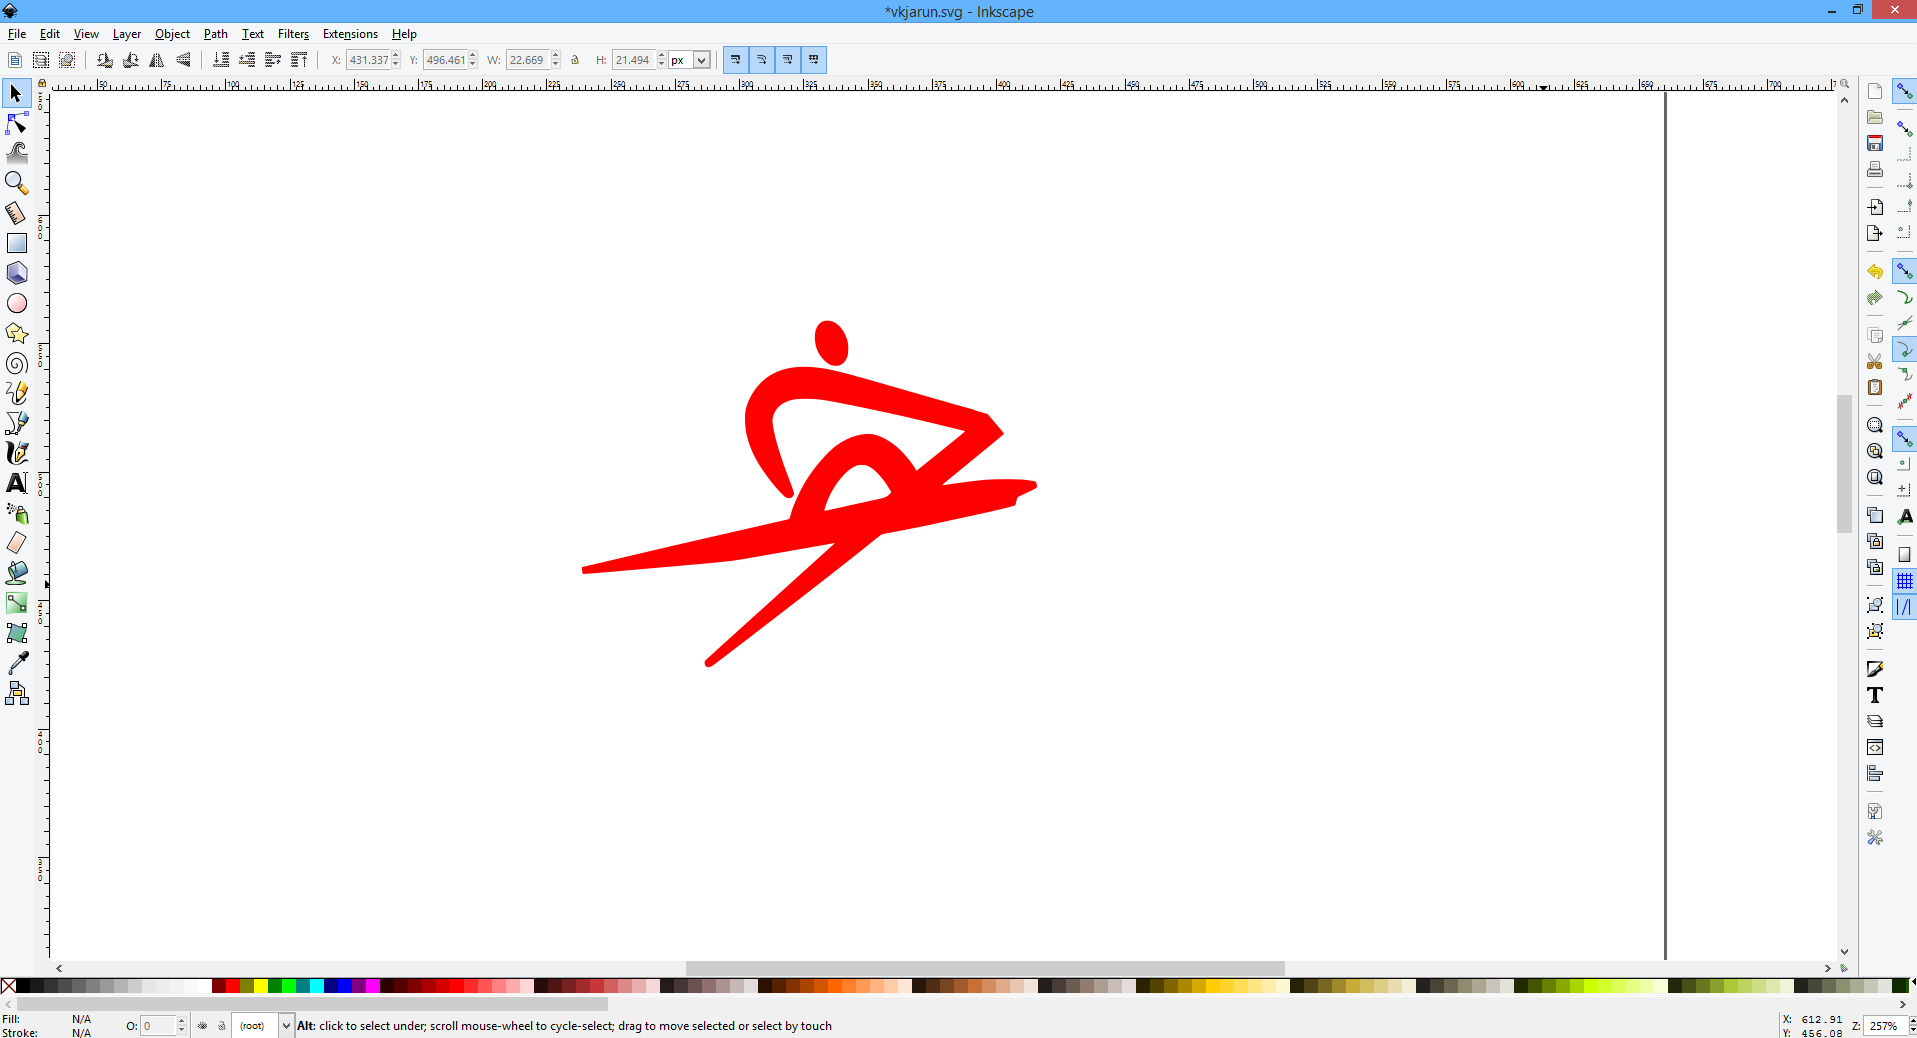
Note: because I use that logo in the past, I have it like vector. But if you are downloading regular picture than you need to convert it to vectors. Now I’ll show how to do that.
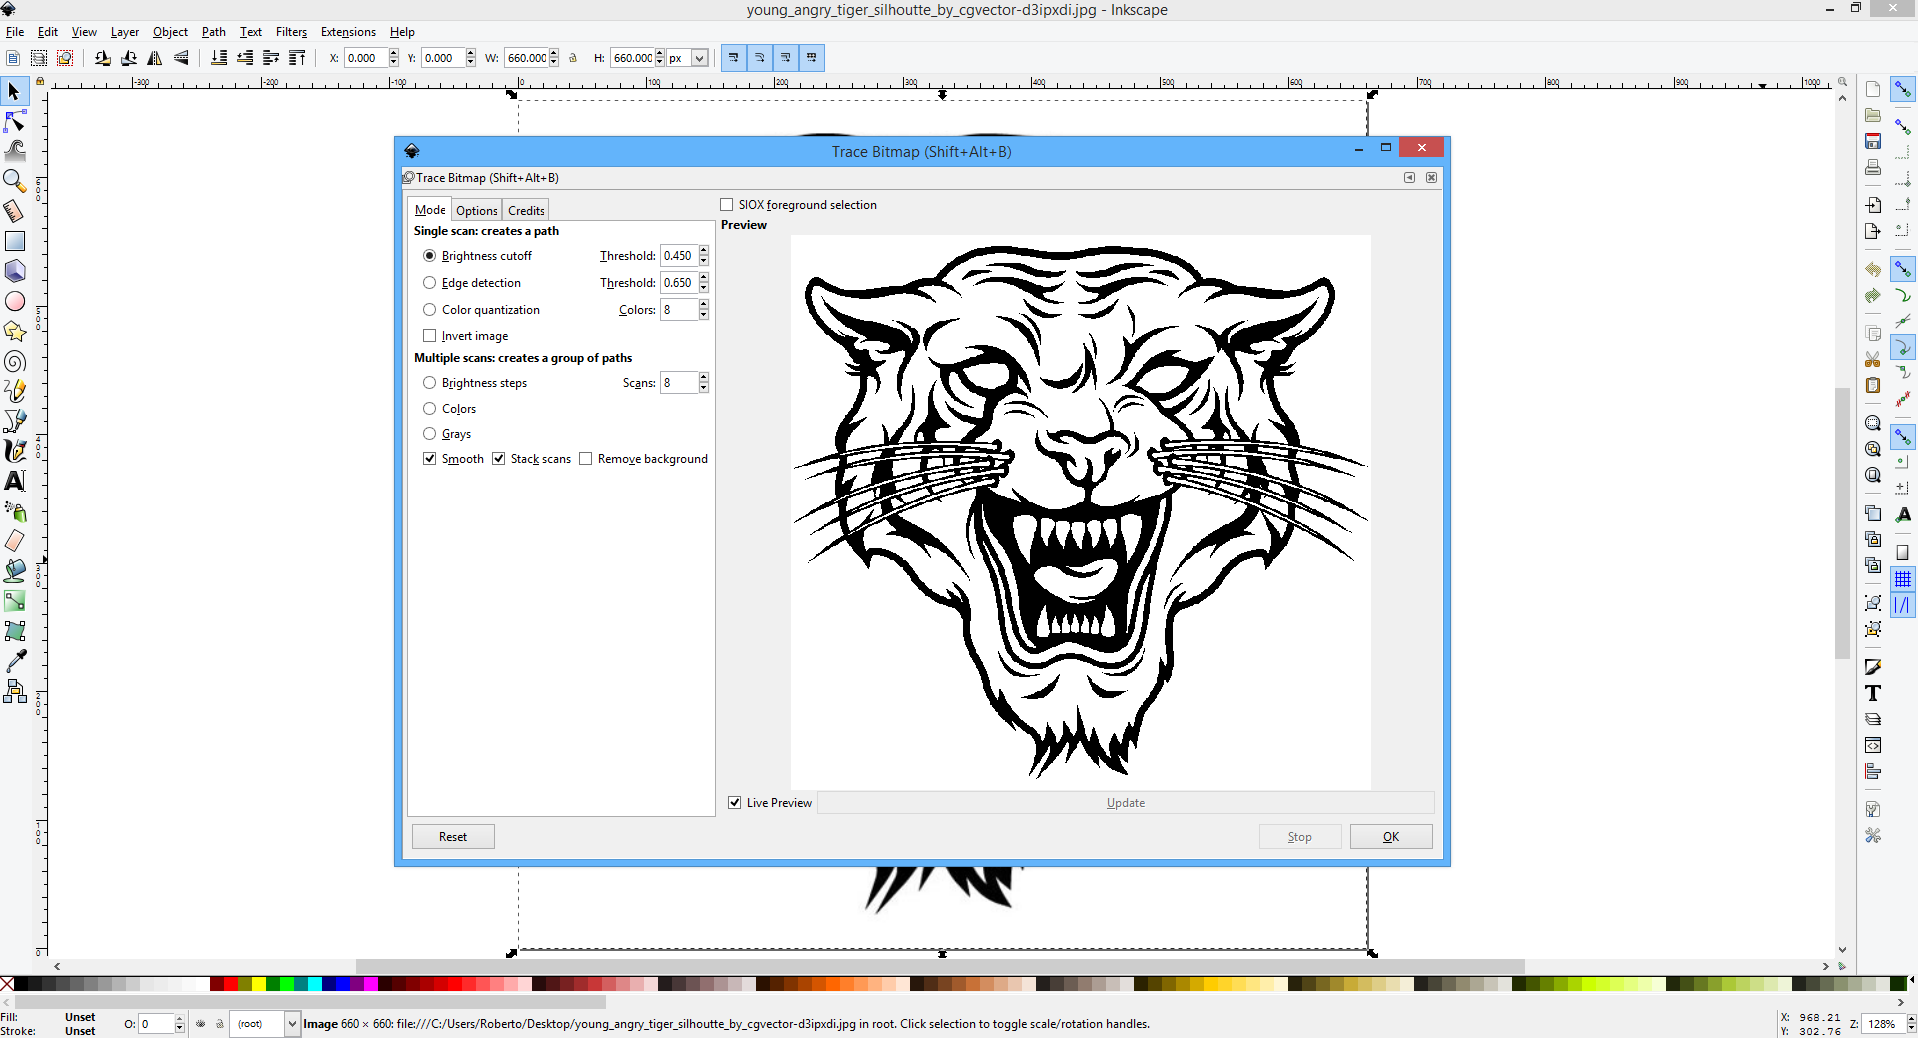
Select picture-“path>trace bitmap”, now the new windows opens in which you can press on bottom “Live Preview” to see directly all your changes. On left side by “Mode” you can play with parameters and when you are satisfied just press “OK” and now you can see your design in vectors. BUT DON’T FORGET TO DELET ORIGINAL PICTURE, IT’S RIGHT BELOW THE NEW ONE.
For final steps need to go to “path>object to path” than “extensions>Ink/Stitch>Embroider” and select Output file format, for me it’s Brother Embroidery Format (PEC). Now to preview simulation of stitching job, press “extensions>Ink/Stitch>Simulate”.
Now is time to save it to USB, but for this machine is really important that the format is “PAS” and “PEC”. When saving is done, don’t forget to save remove your USB 😉