Computer-Controlled Machining
Assignment
This week's assignment is to "Make something big"
Files
Sideboard for vinyl records (21 mm plywood)
Four different boxes with different moods
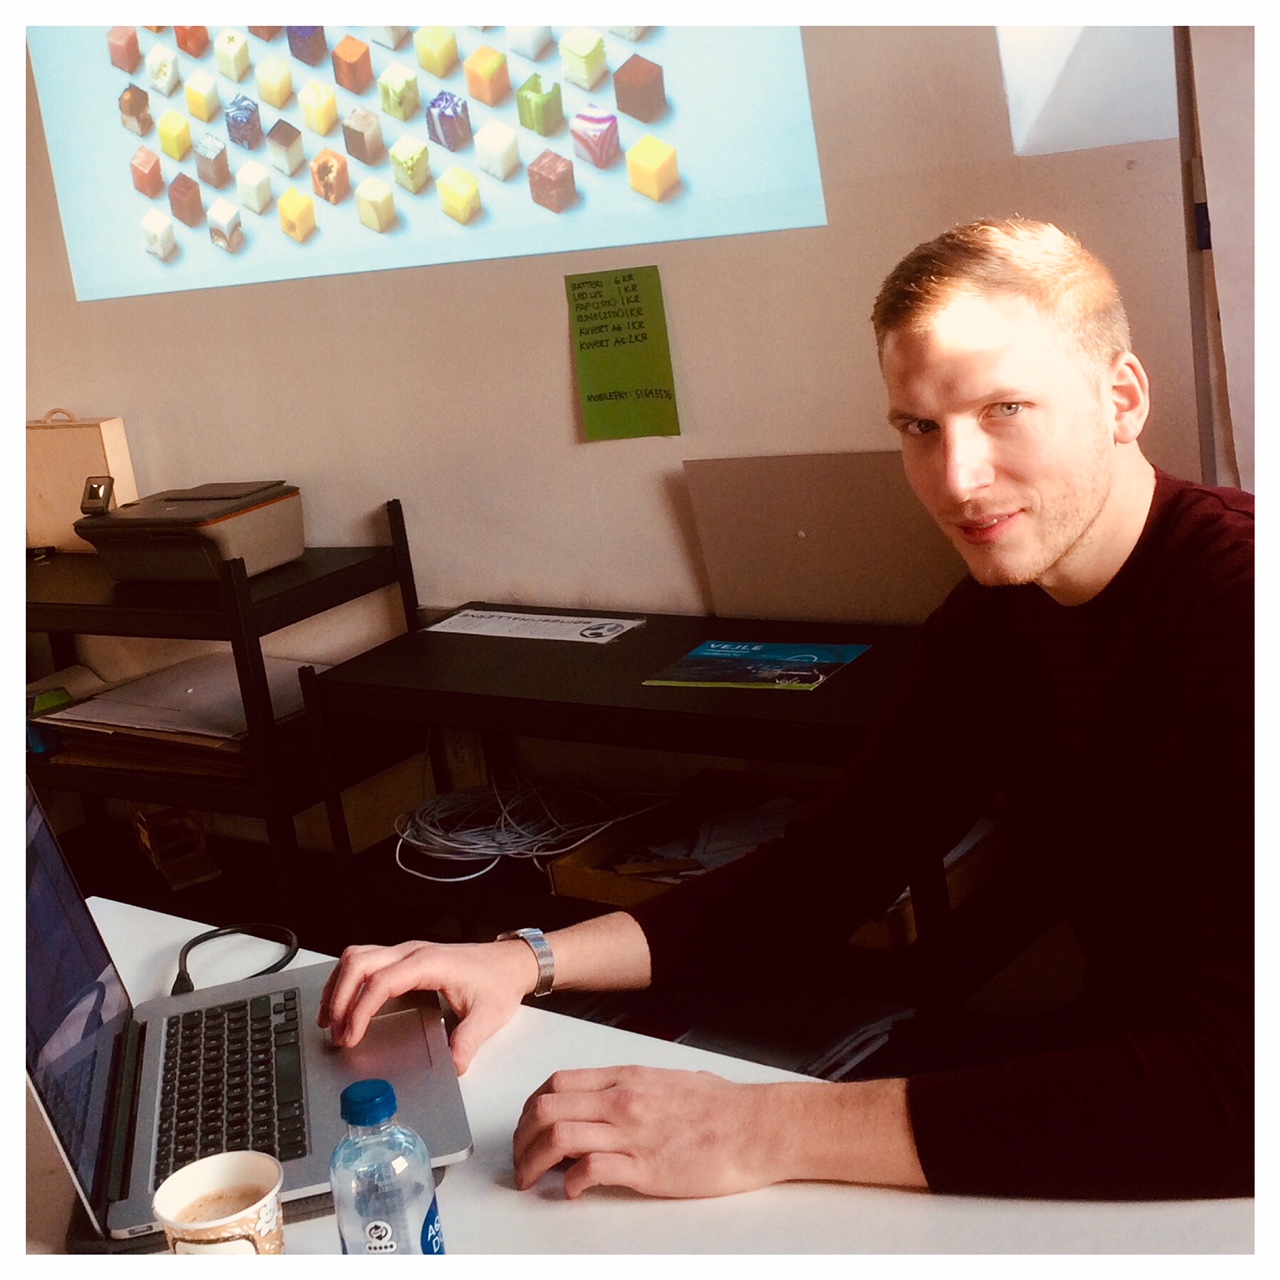
I had some different thoughts about what I wanted to make this week. With the opportunity to use our ShopBot CNC to make something big like real size furnitures. But then again I am a new user to the ShopBot so I had to get familier with the maschine at first. Therefor I joined a certification course with the Fablab advisor Ola Mirecka. I was really excited to get the opportunity to make something big and learn to prepare and use a CNC router. I found CNC to be a very useful and powerful machine, and I would like to explore more of its advantages, where it can cut thicker materials than a laser cutter, as well as mill rounded surfaces. As a woodshop teacher there is for sure something very alluring to this beast.

We also had a visit at the lab from Michael Steiner from Opendesk in London, showing some really cool designs, material and fittings, where we milled a small foot stool all together. It was a really great experience to see how a company works opensource and together with the makers around the world. They don’t have a factory or a warehouse. Instead they use a global network of local makers. Designed specifically to be distributed as a digital file, Opendesk furniture is emailed and cut out using CNC machines in carpentry workshops around the world.
My first idea for the milling process is to make some funny storage boxes for my two girls playroom. I am thinking if the boxes are funny maybe they will clean up there "Play Lab" more often.
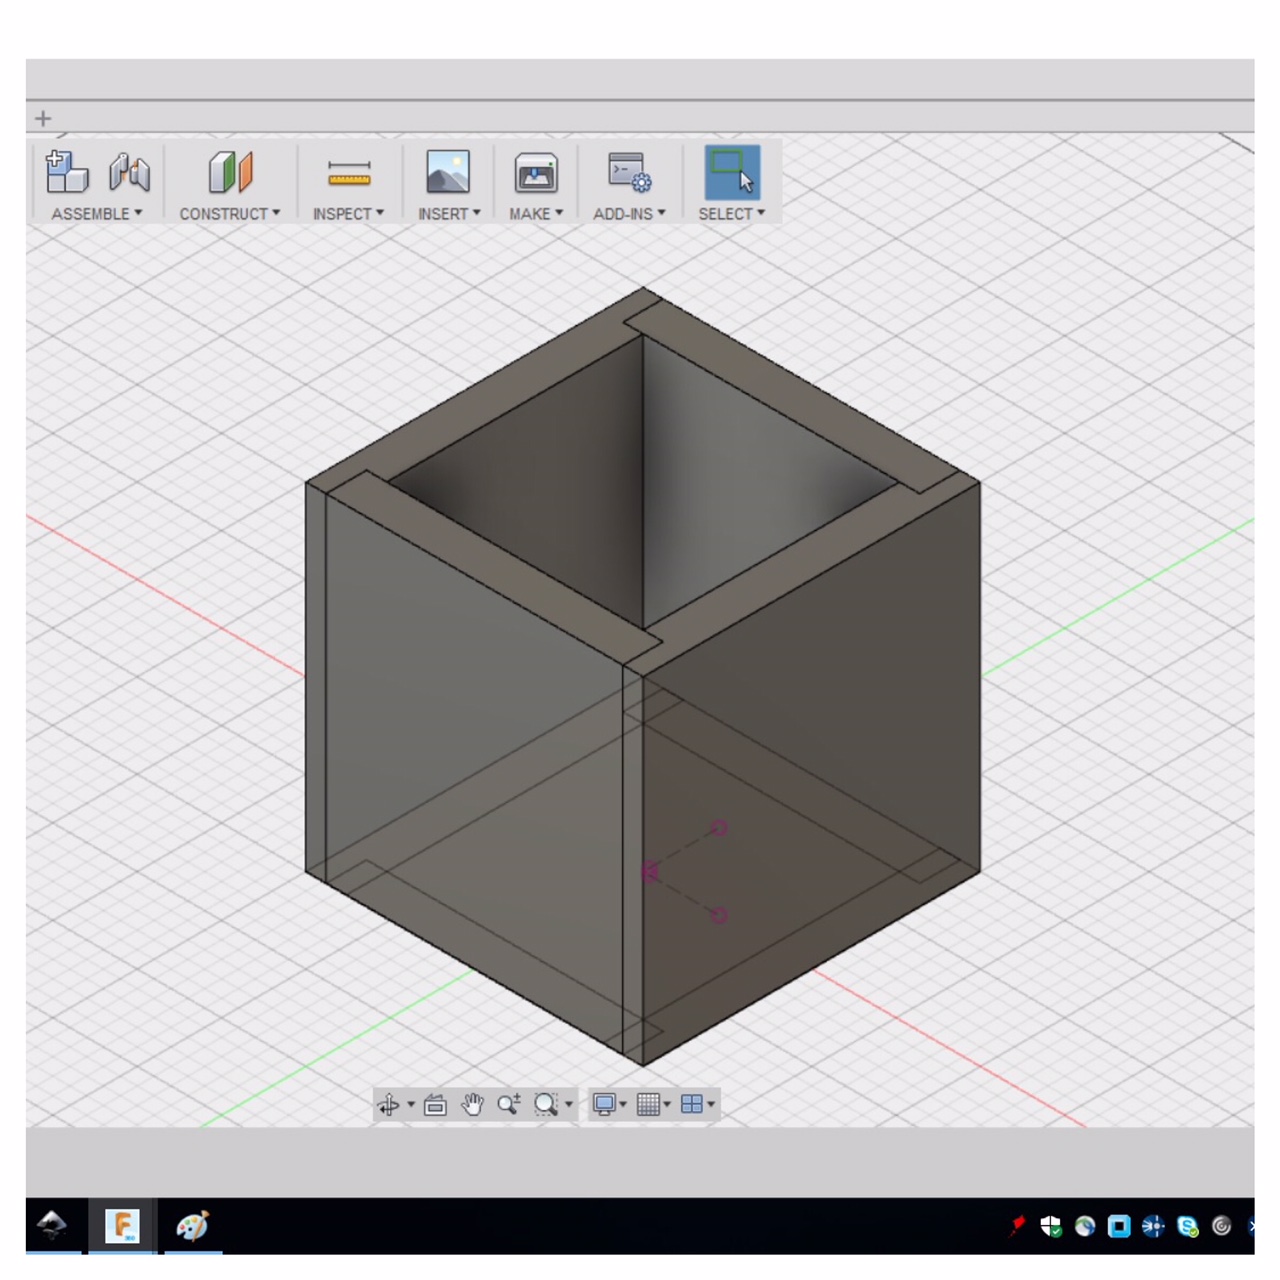
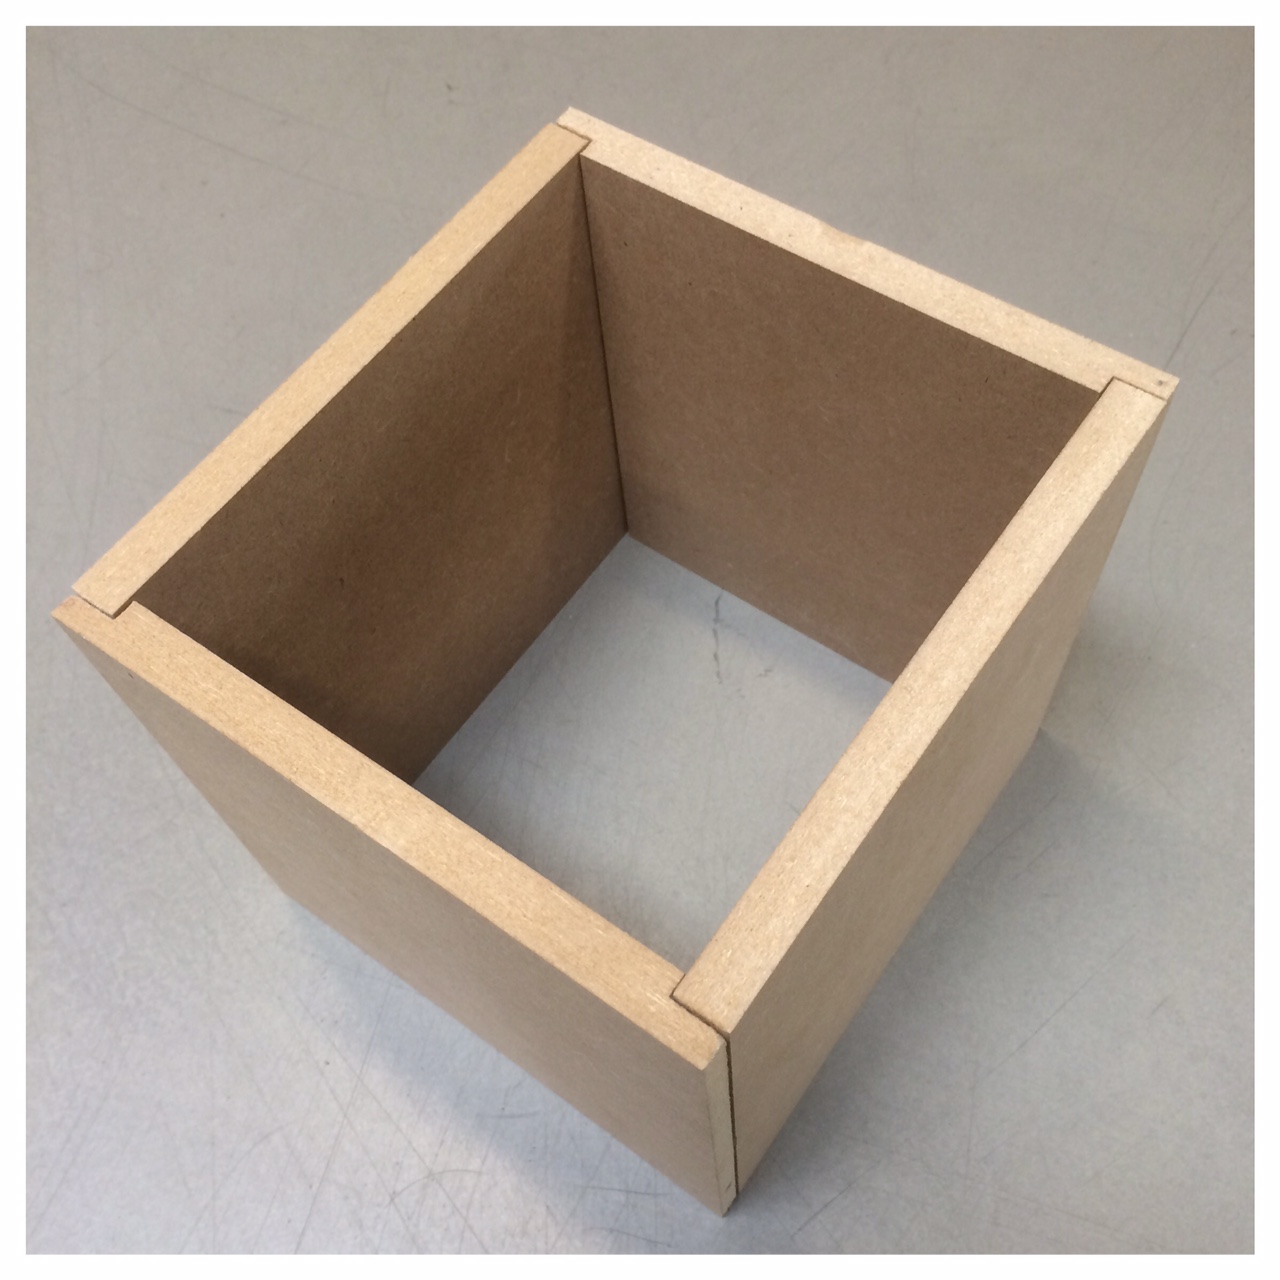
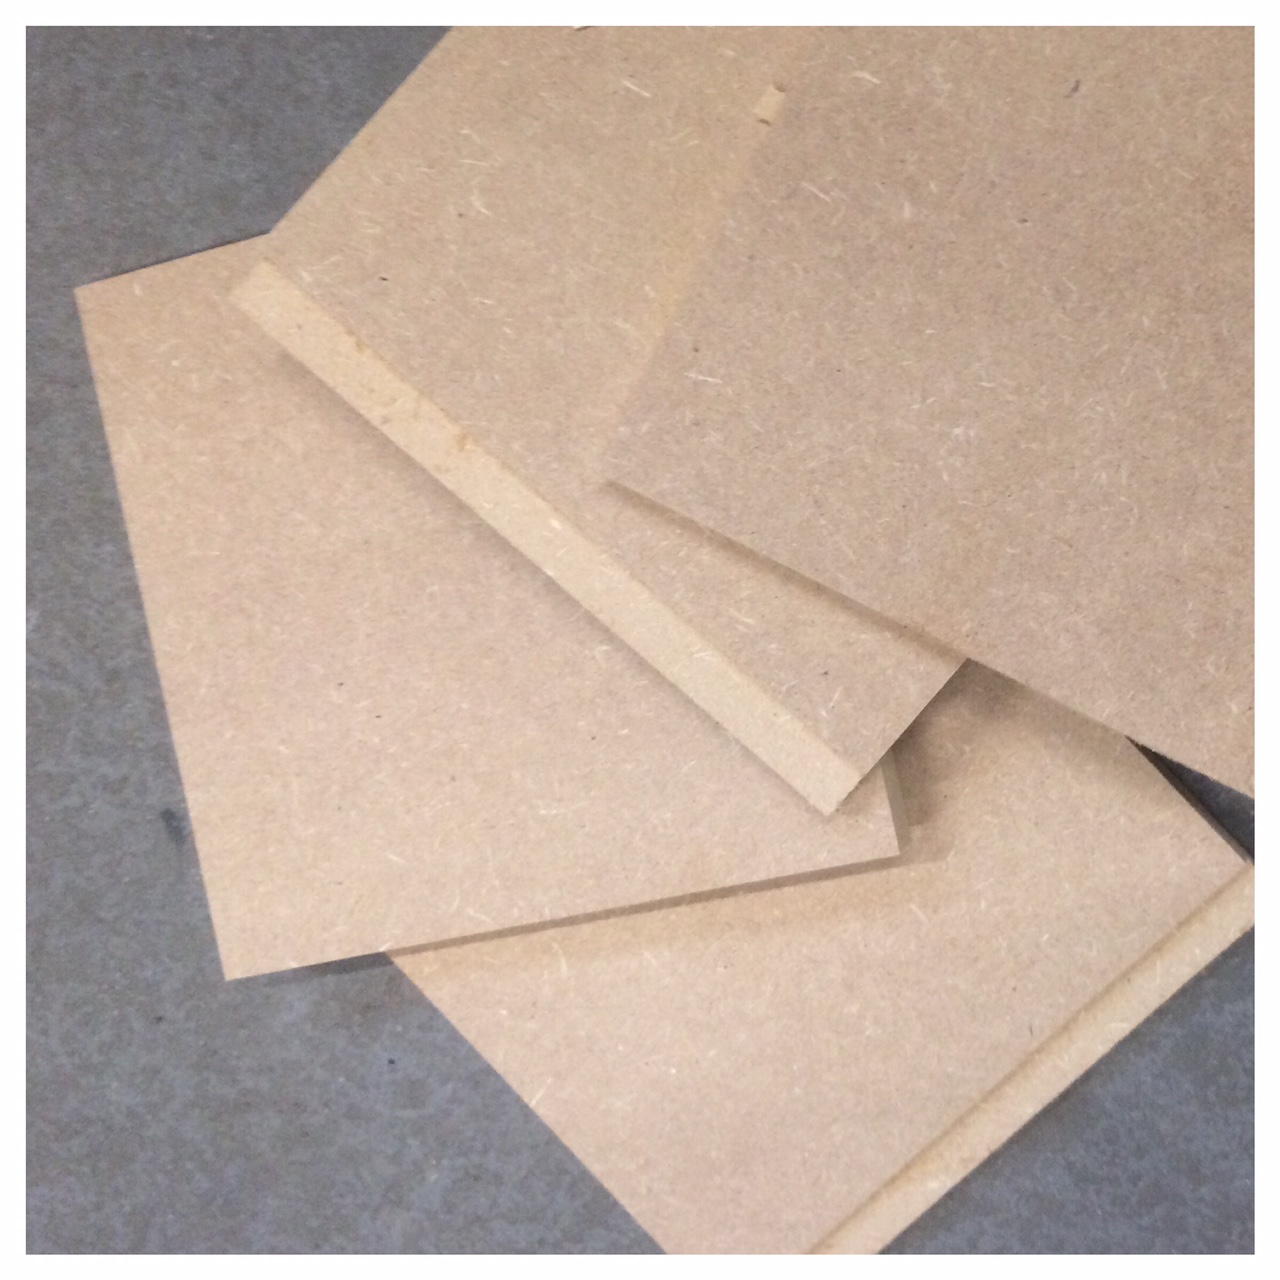
At first I been working with some different box designs i Fusion 360, but also in Inkscape. I had the idea to mill different faces in the side or front of the boxes, that also could be used as handles. I milled a little sample of a box in 12 mm MDF, just to learn a little more about the VCarve-softeware that we use for the ShopBot in the lab.
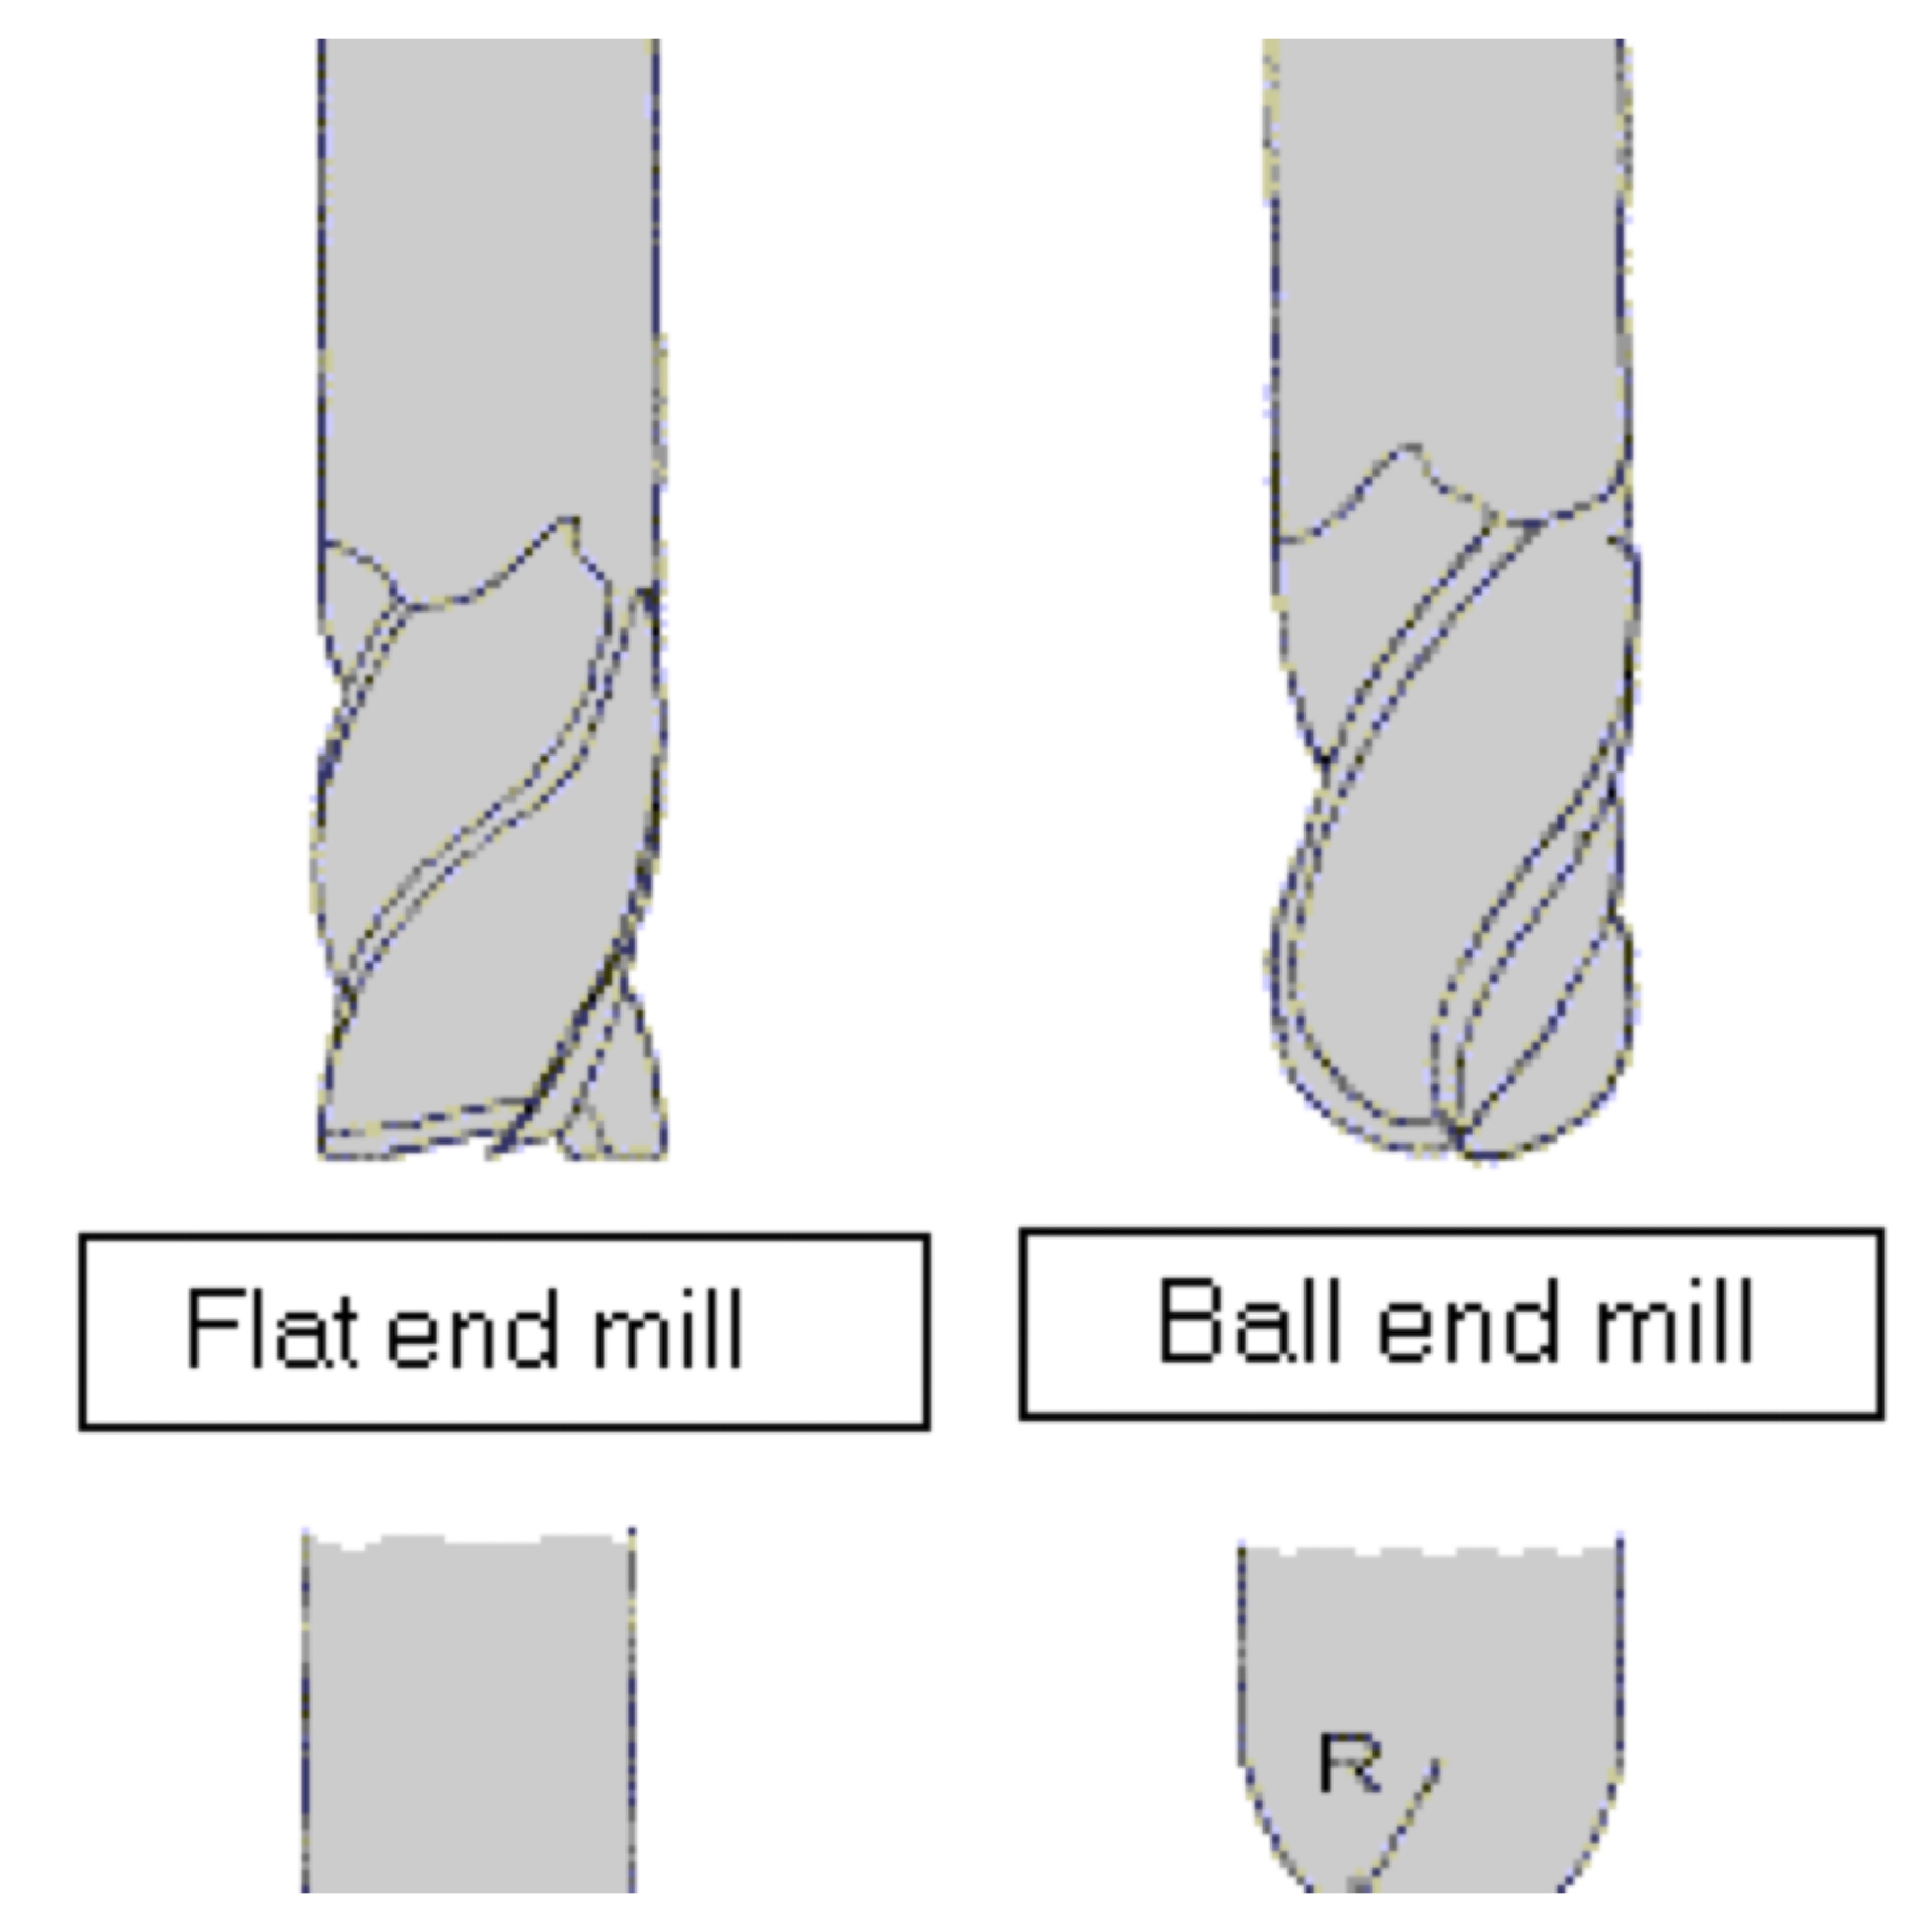
First I had to learn about toolpath and the different milling bits that comes with such a machine. I started out trying to get as much knolledge about the tools as possible, especially for me being a first time user. I needed to know which tools there was available. In this case our Fab Lab has its own tool library set up by our Lab-manager Michael Hvid. When I was creating the Pockets, I selected 'Tool', where I had to define which library and tool I wanted to use.
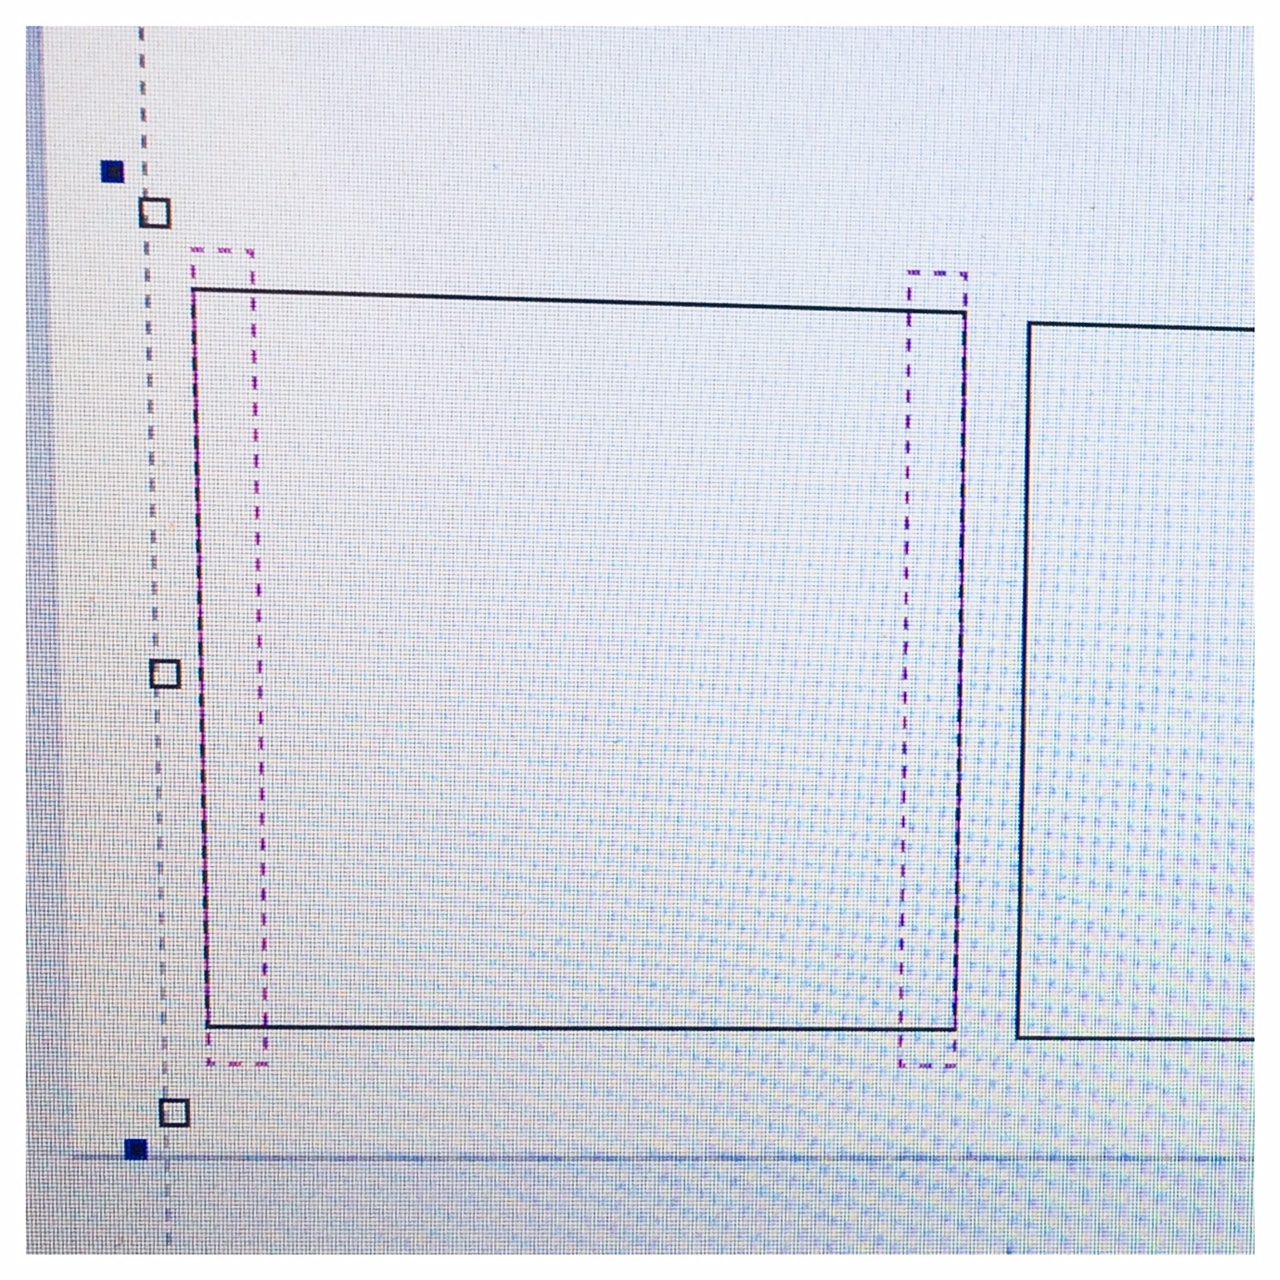
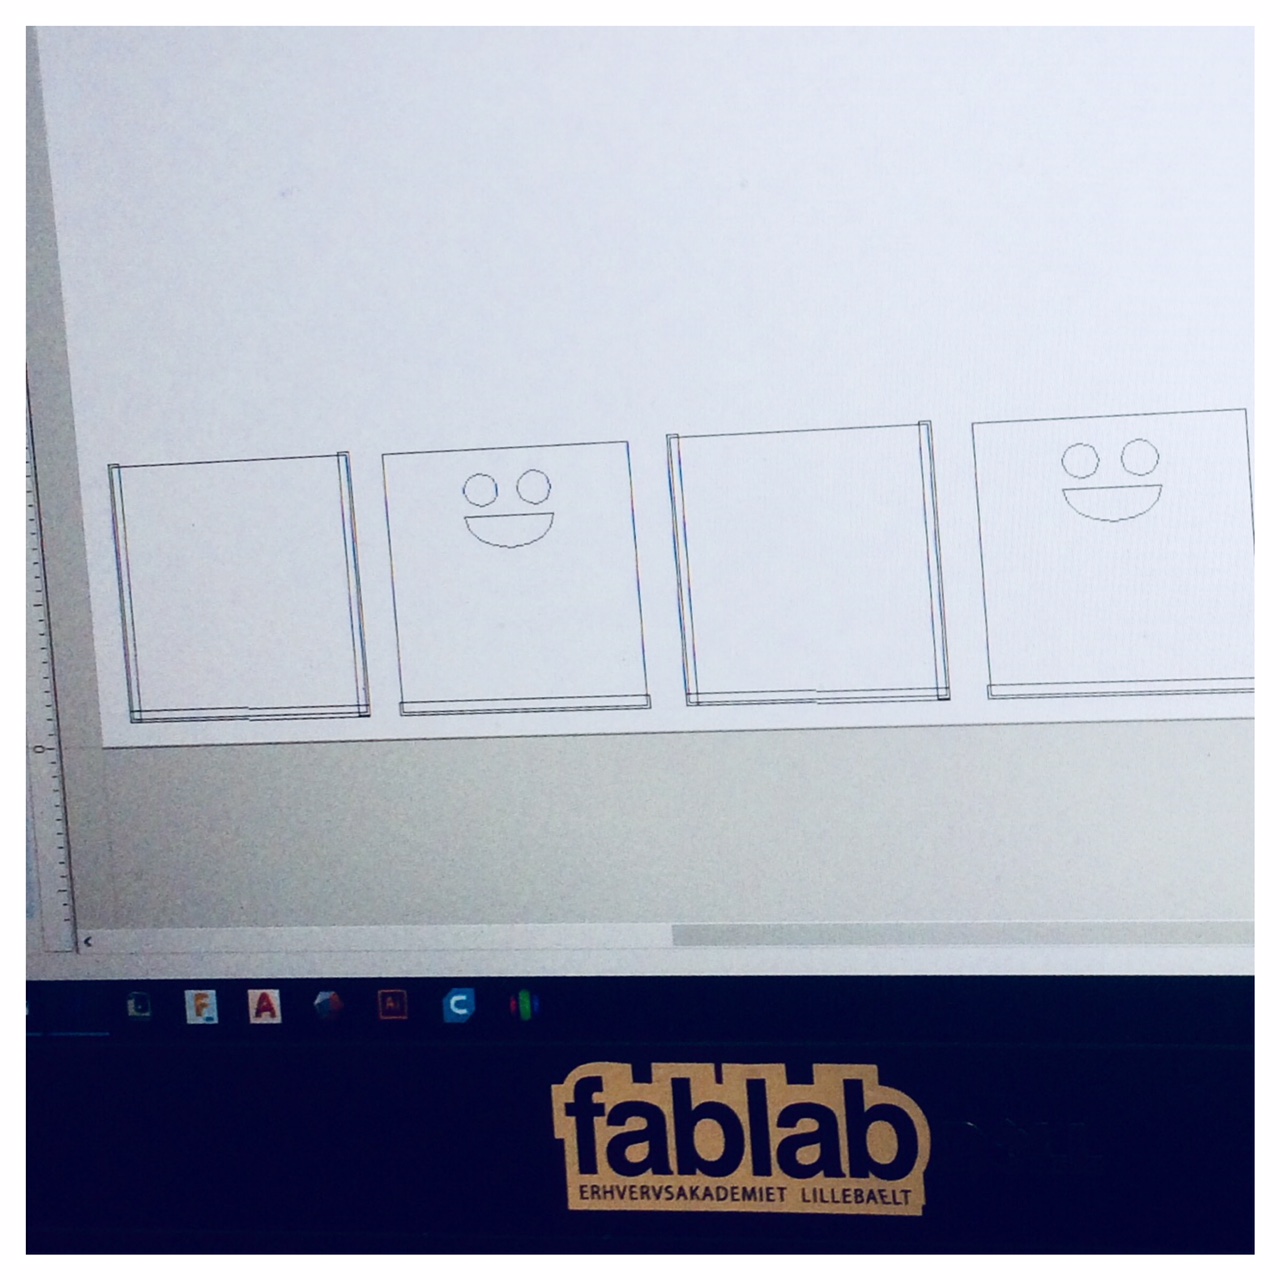
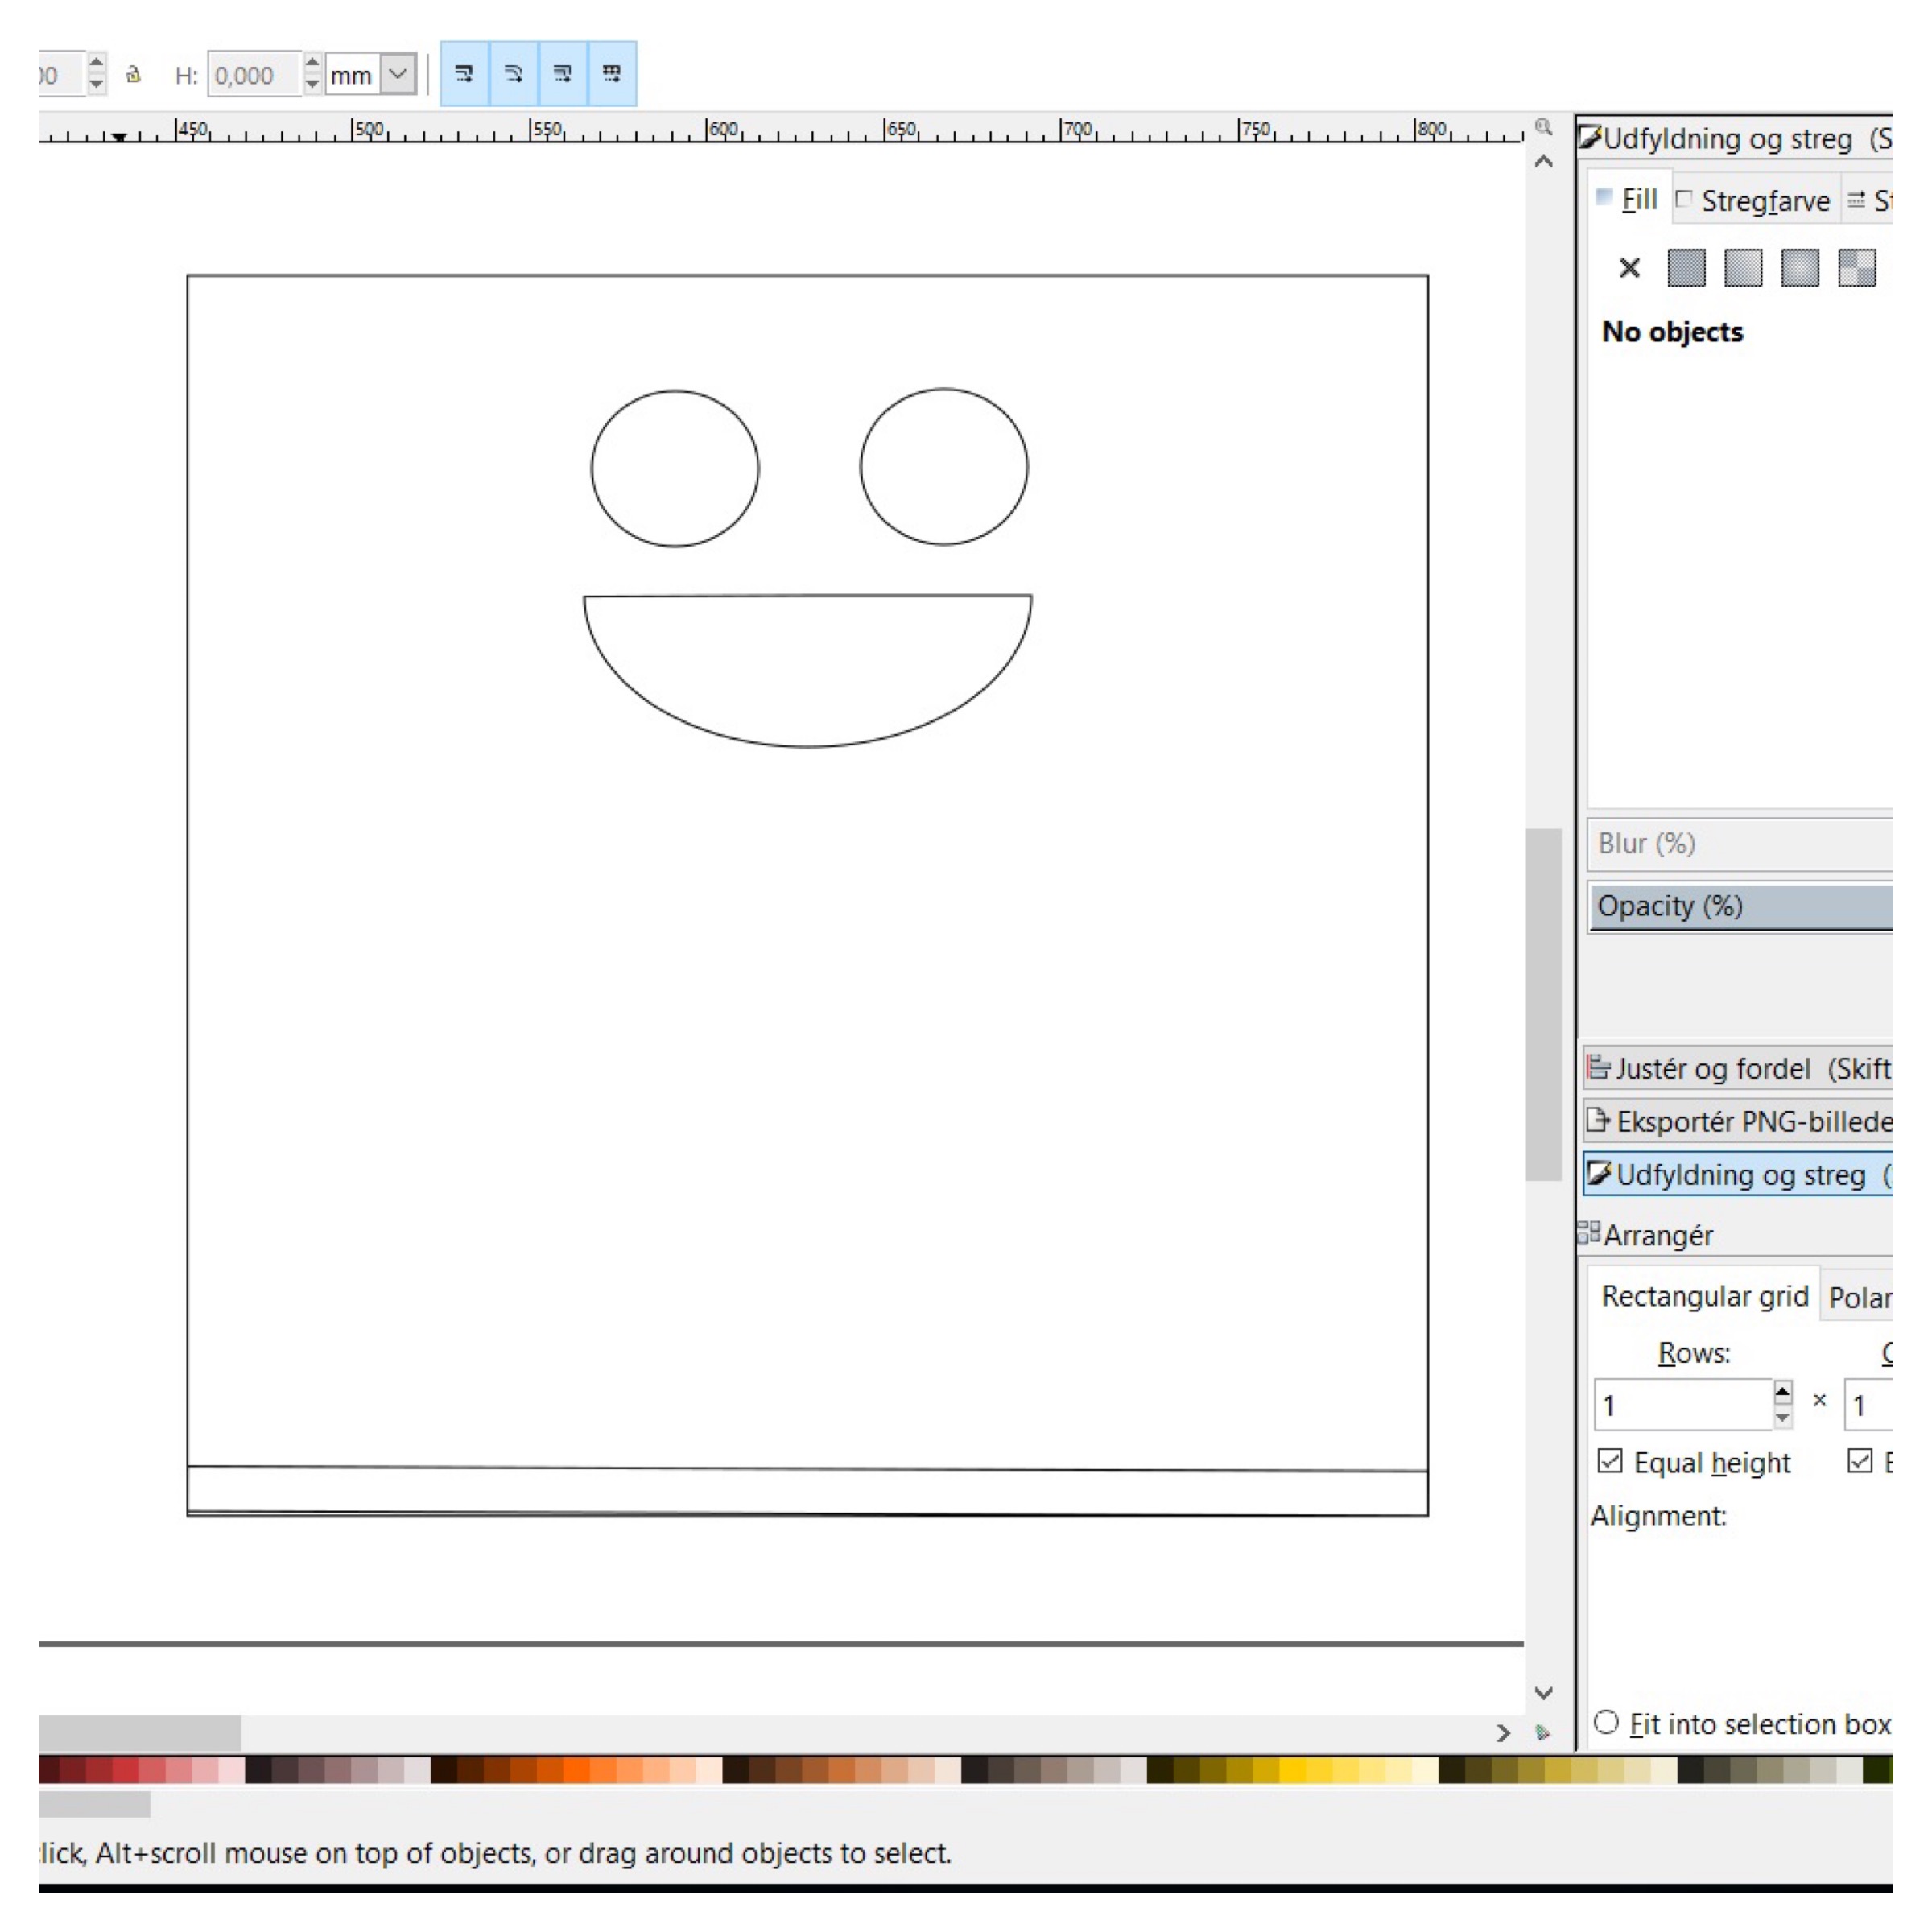
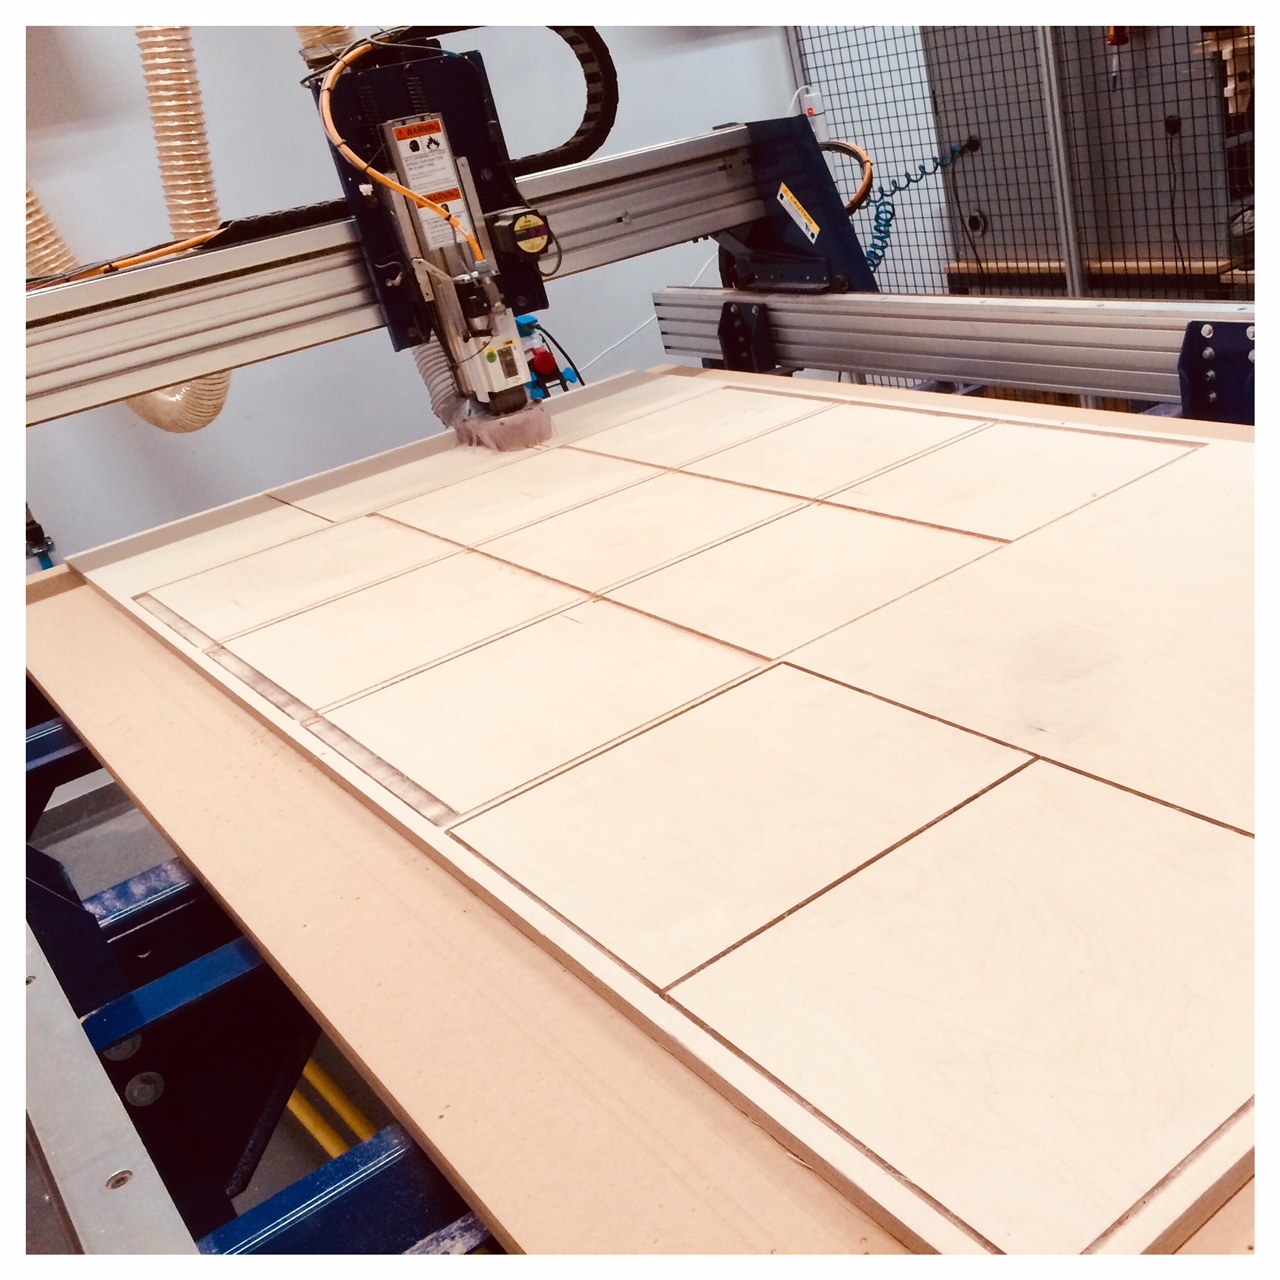
As the milling tools are round, the ends of the milling track will end out round as well. I therefore had to let my toolpath go beyond the edges of the squares to the box (see the picture below), so I would not end up with round ends at the end of my paths'. Because the box has to be glued together as tongue and groove (a good method of fitting similar objects together edge to edge), I had to mill the track all the way through.
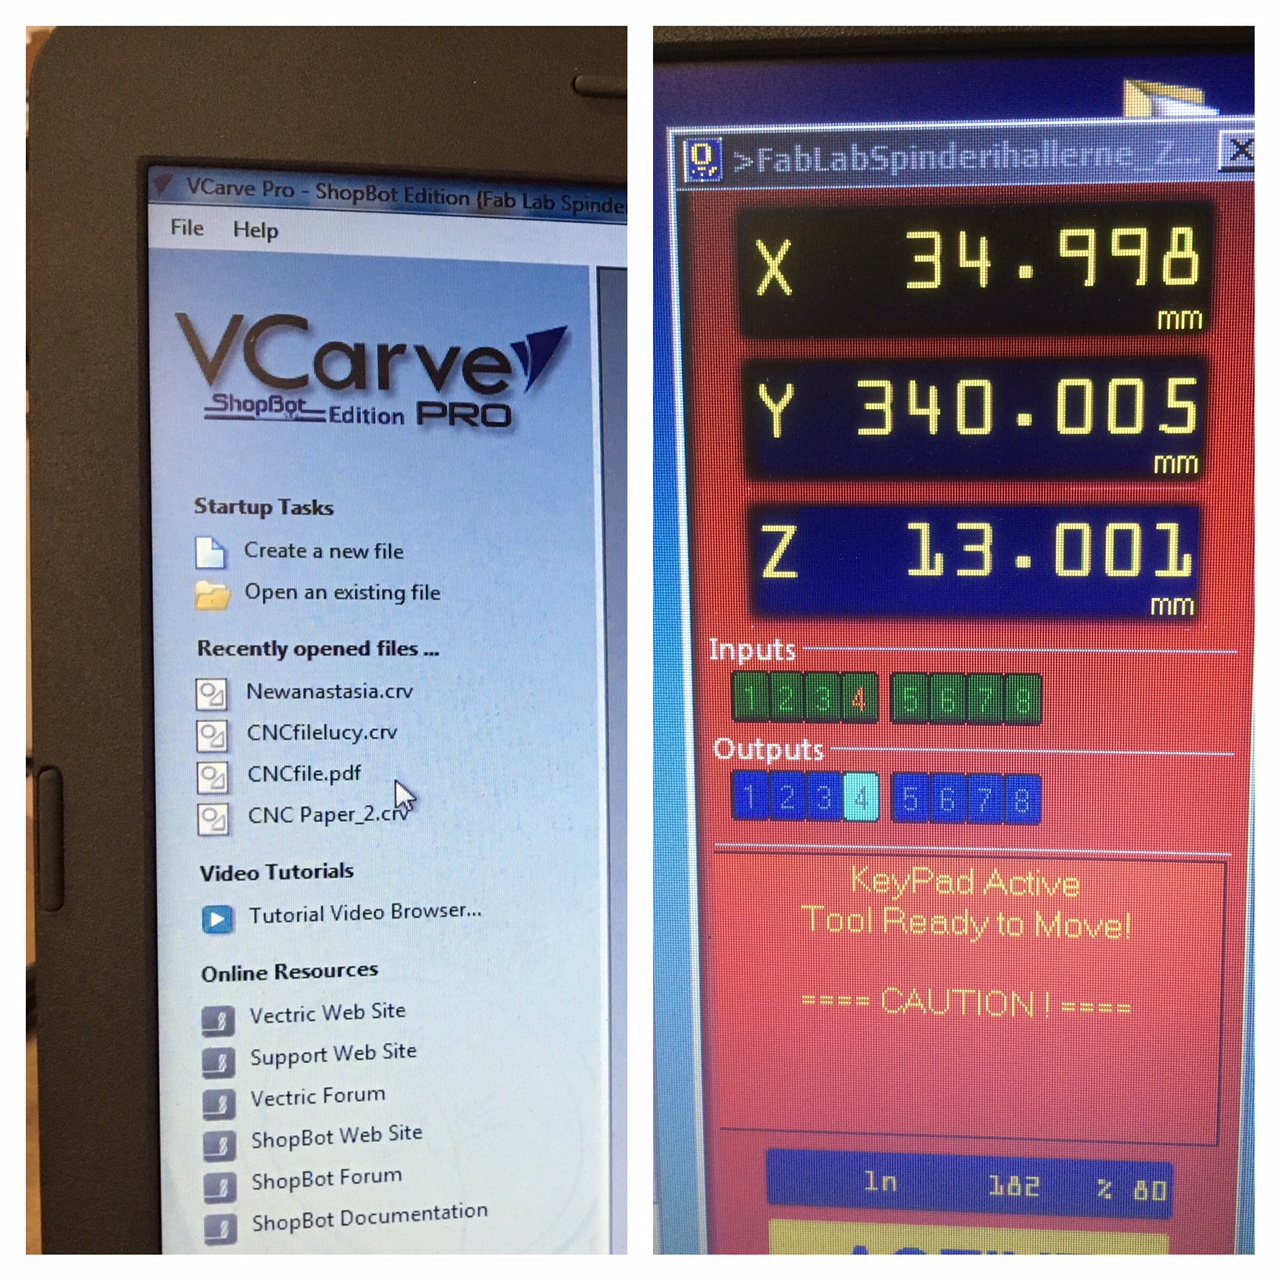
As mentioned earlier, my first attempt of milling with the shopbot was a small demo box, just to get to know the machine a little. I used a simple design created InkScape - which I exported as a .pdf-file. I then completed the following steps in the VCarve software. I started up with creating a new file. Then I setup the material (Size, Z-zero, X/Y-datum). The next step was to import and arrange my little design-files in this case a pdf-file (You can also work with these mentioned files .crv, .dxf, .dwg, .esp, .ai, .pdf). After arranging the file I had to add fillets using the toolbar to modify my InkScape design. Now it was time for working on the toolpath. I selected and setup my desired toolpath type and looked it through and then saving my toolpaths af a .sbp-file. At last I placed the toolpaths on the computer in the Lab attached to the milling machine.
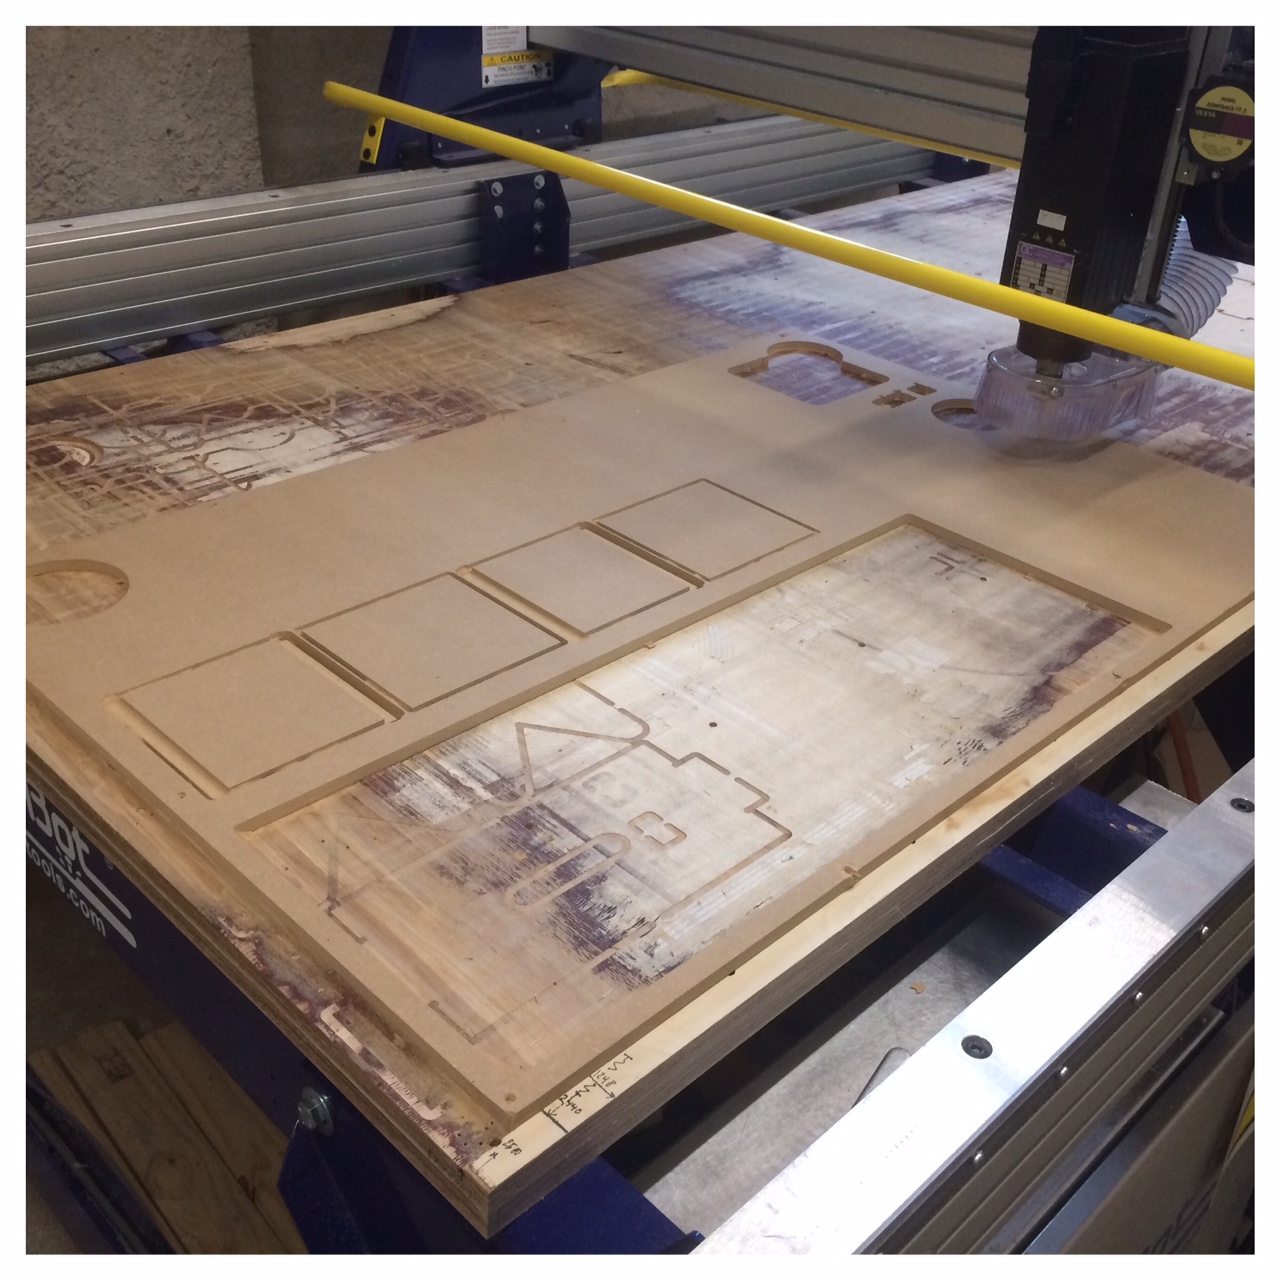
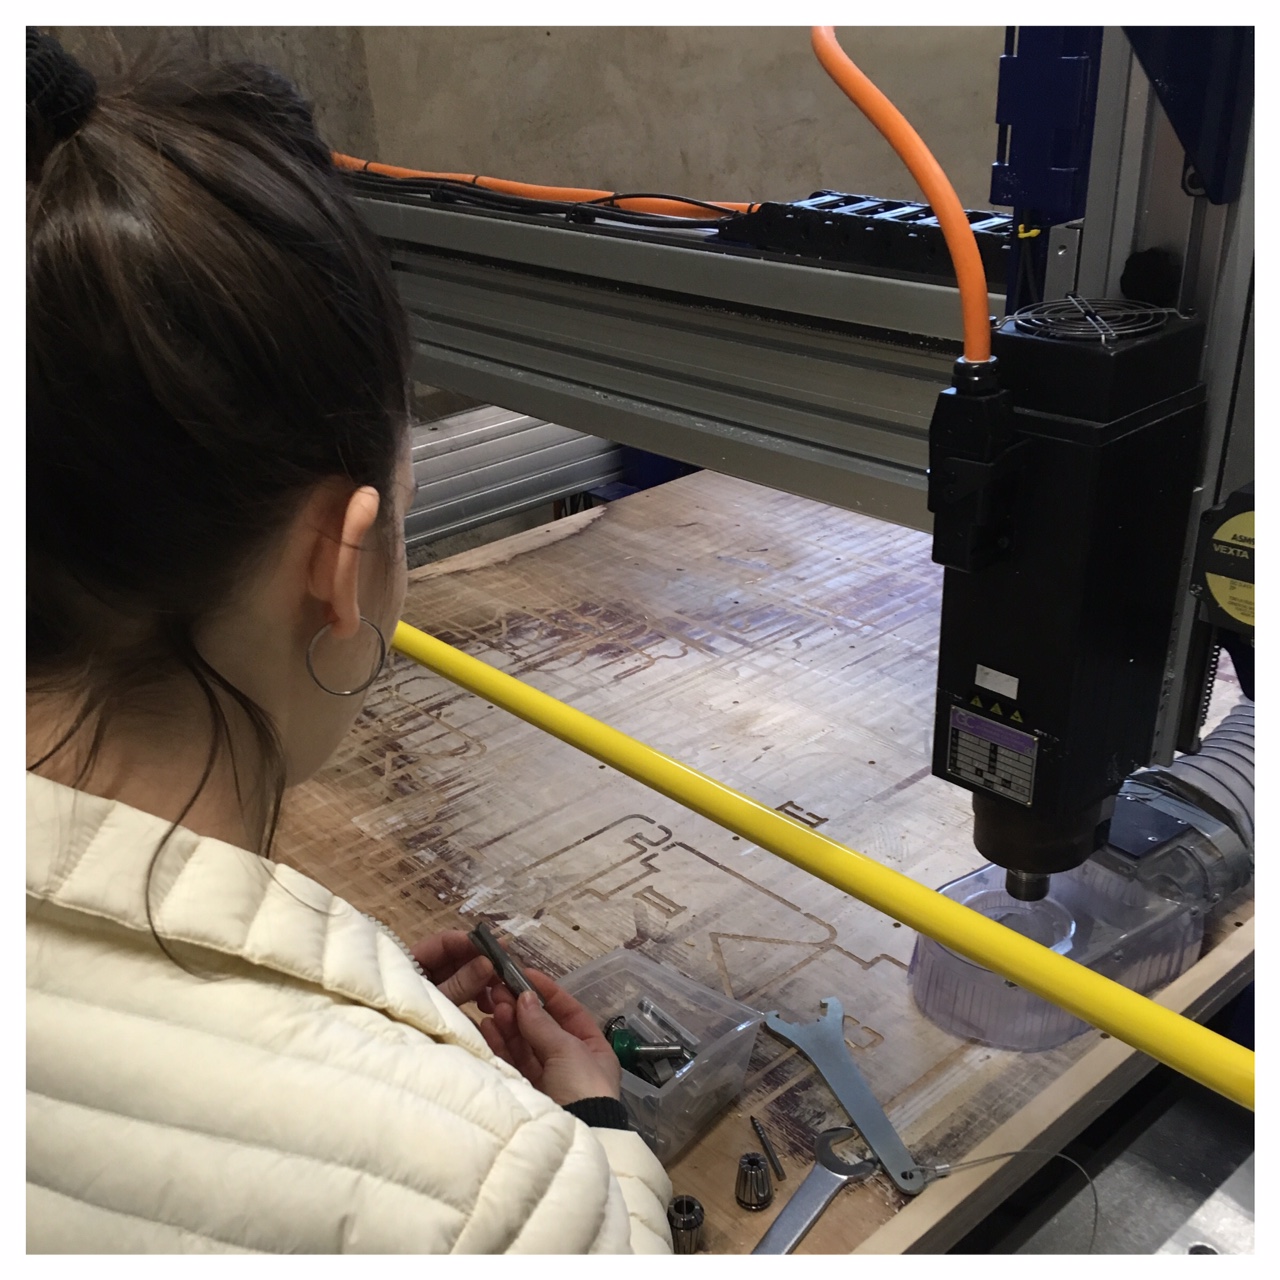
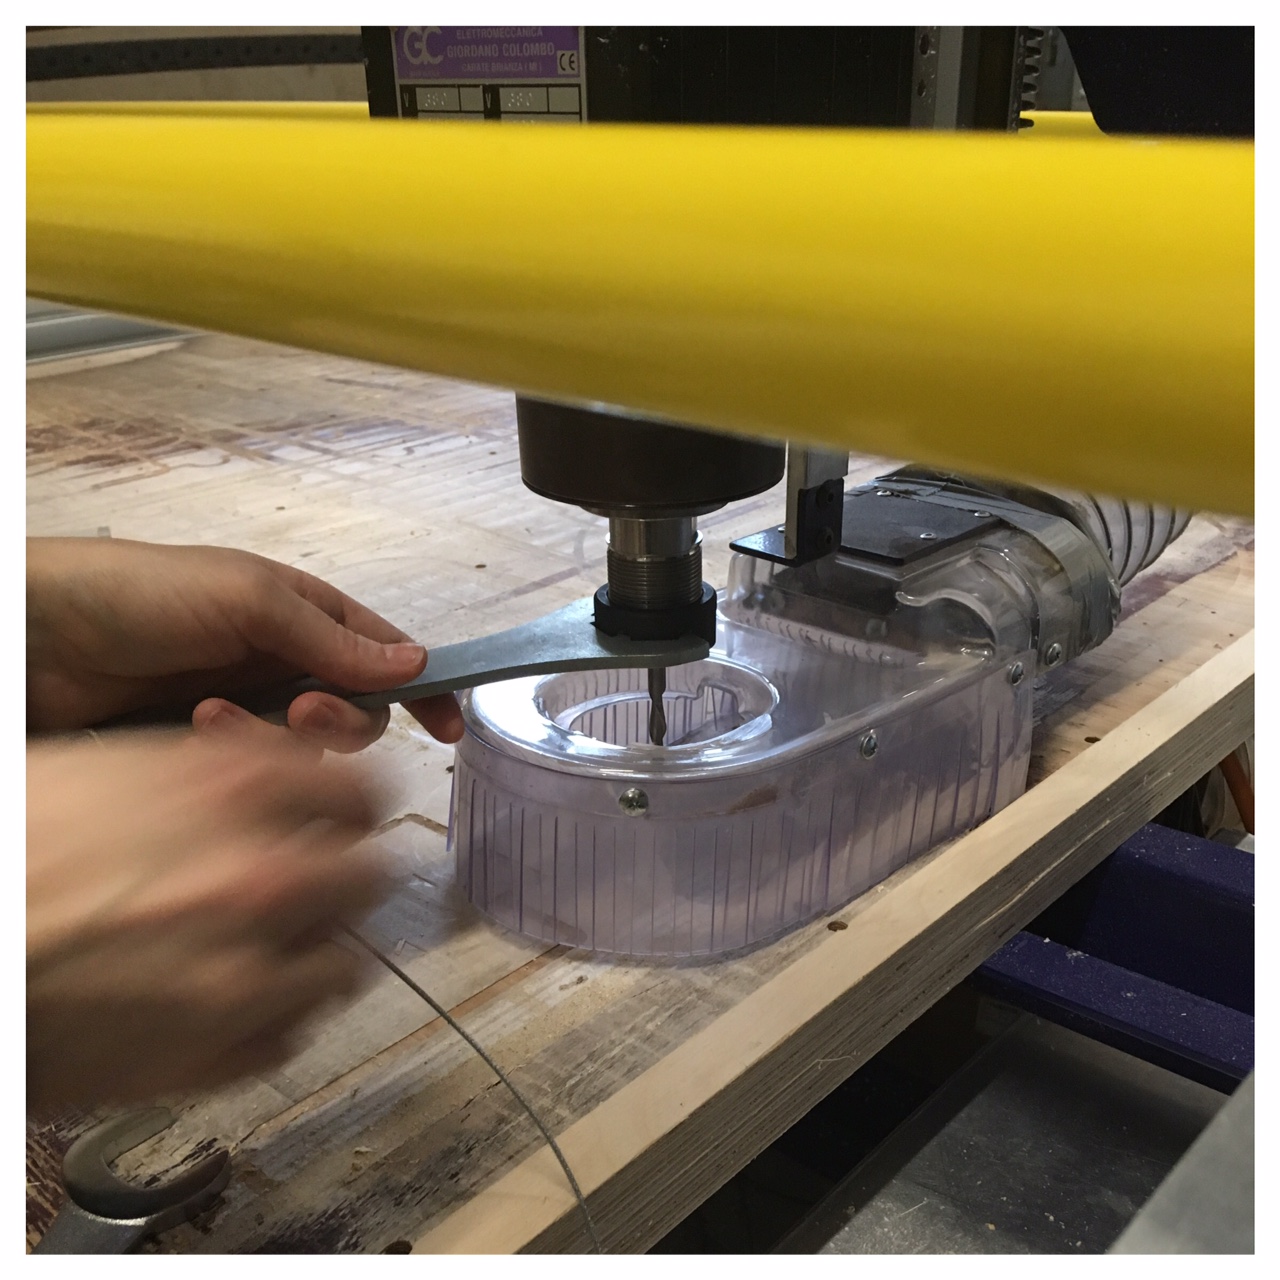
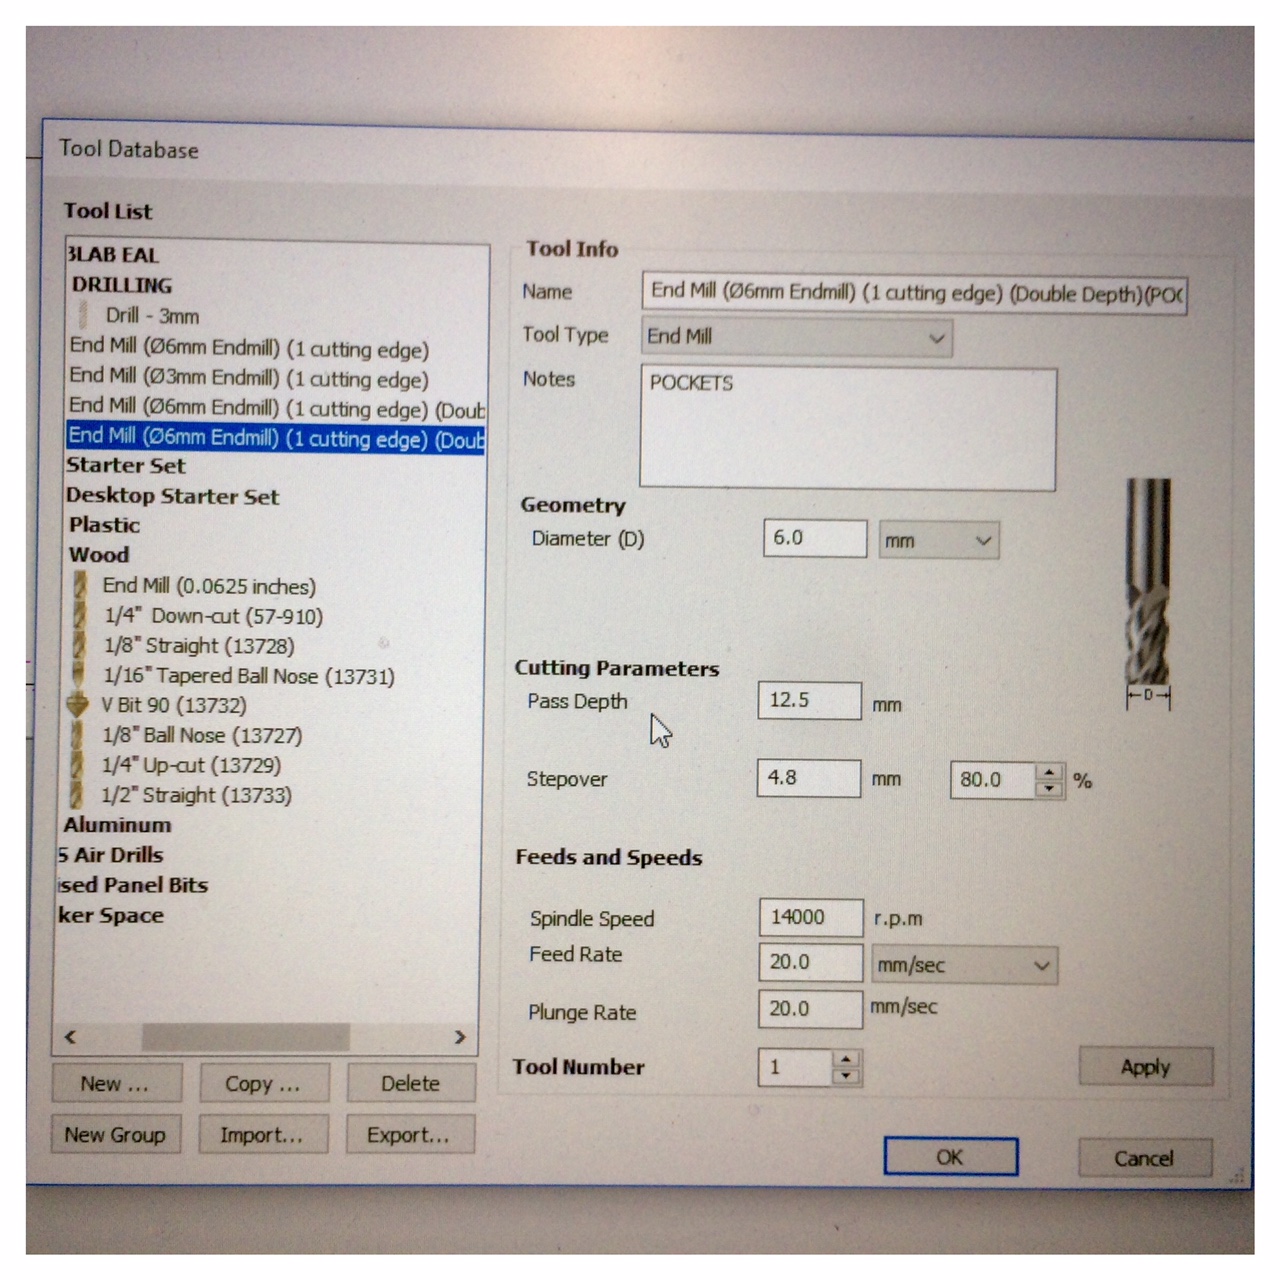
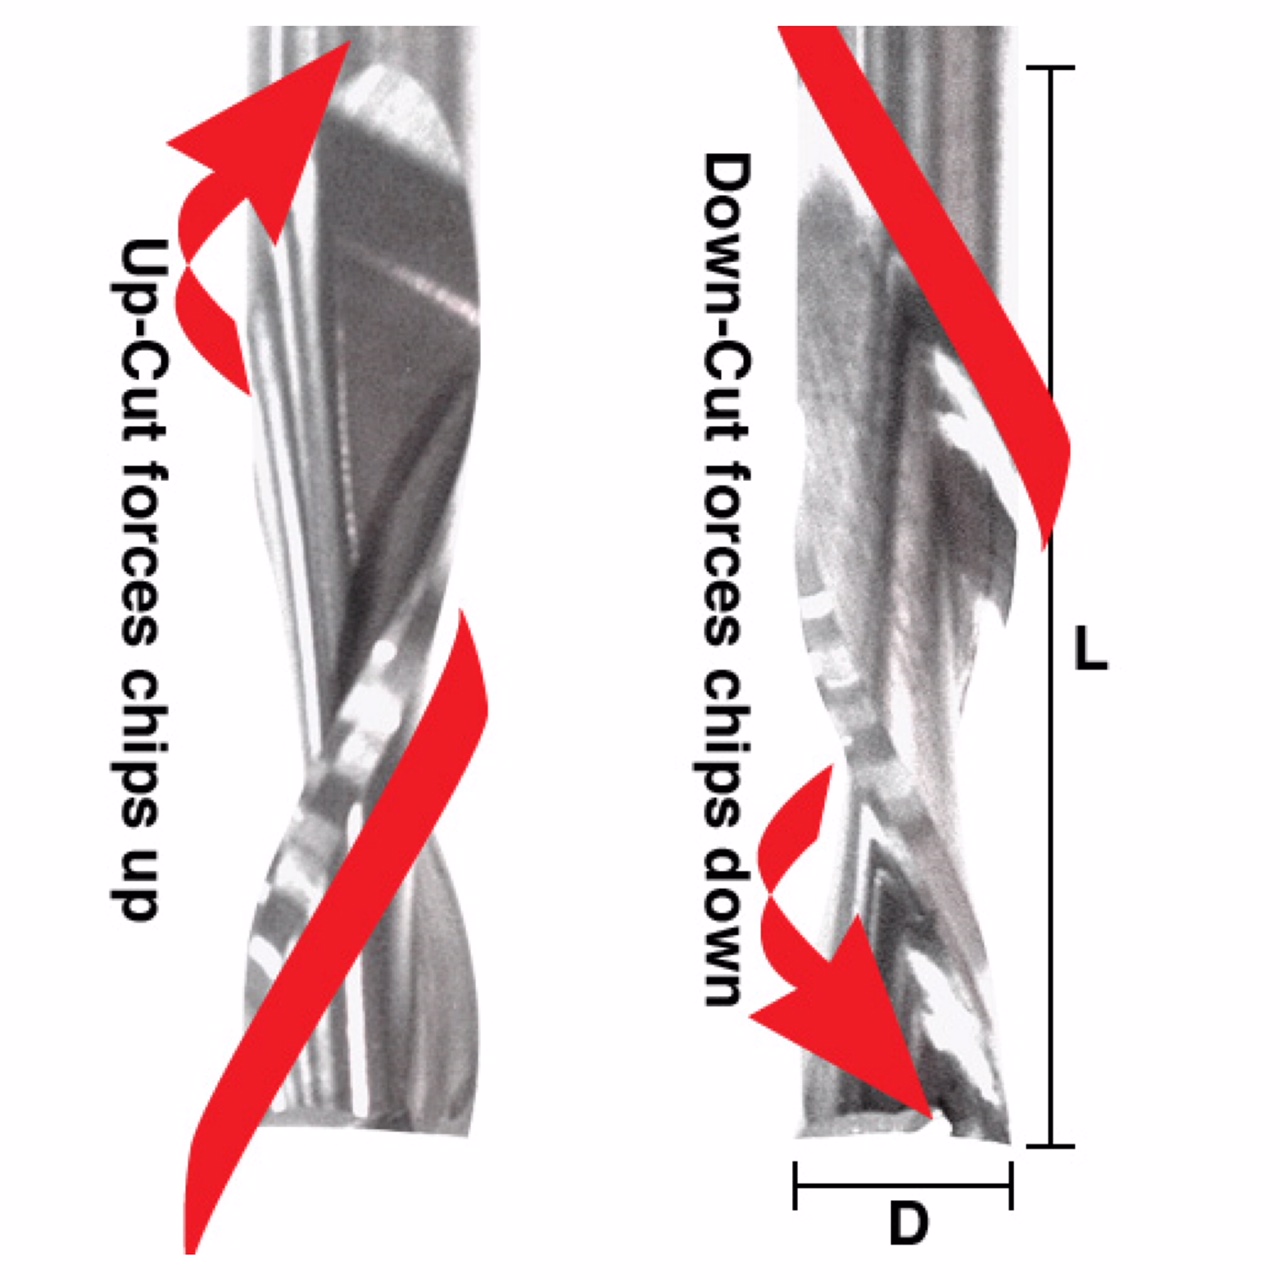
For milling the different boxes with the different faces cut through I used a 6mm End Mill (as you can see on the picture). It ran with a spindle speed on 1400 r.p.m. Feed rate 20.0 mm/sec. Plunge Rate 20.0 mm/sec. The stepover was set to 4,8 mm (80%). It was a upcut milling bit which mean that it would pull up the sawdust instead of compressing it into the trace or pocket. The upcut bit is good for my project because I needed clean pockets.

Before milling the ShopBot comes with a warning saying that the "Tool will cut through material" and in to the underneath layer. This warning is ofcourse important to notice and especially how long the cutting depth go under the top layer. My material thickness was 12.00 mm and the maximum tool depth was 12.30. This was aproved by the Lab-manager and assured us that I would cut all the way through the material.
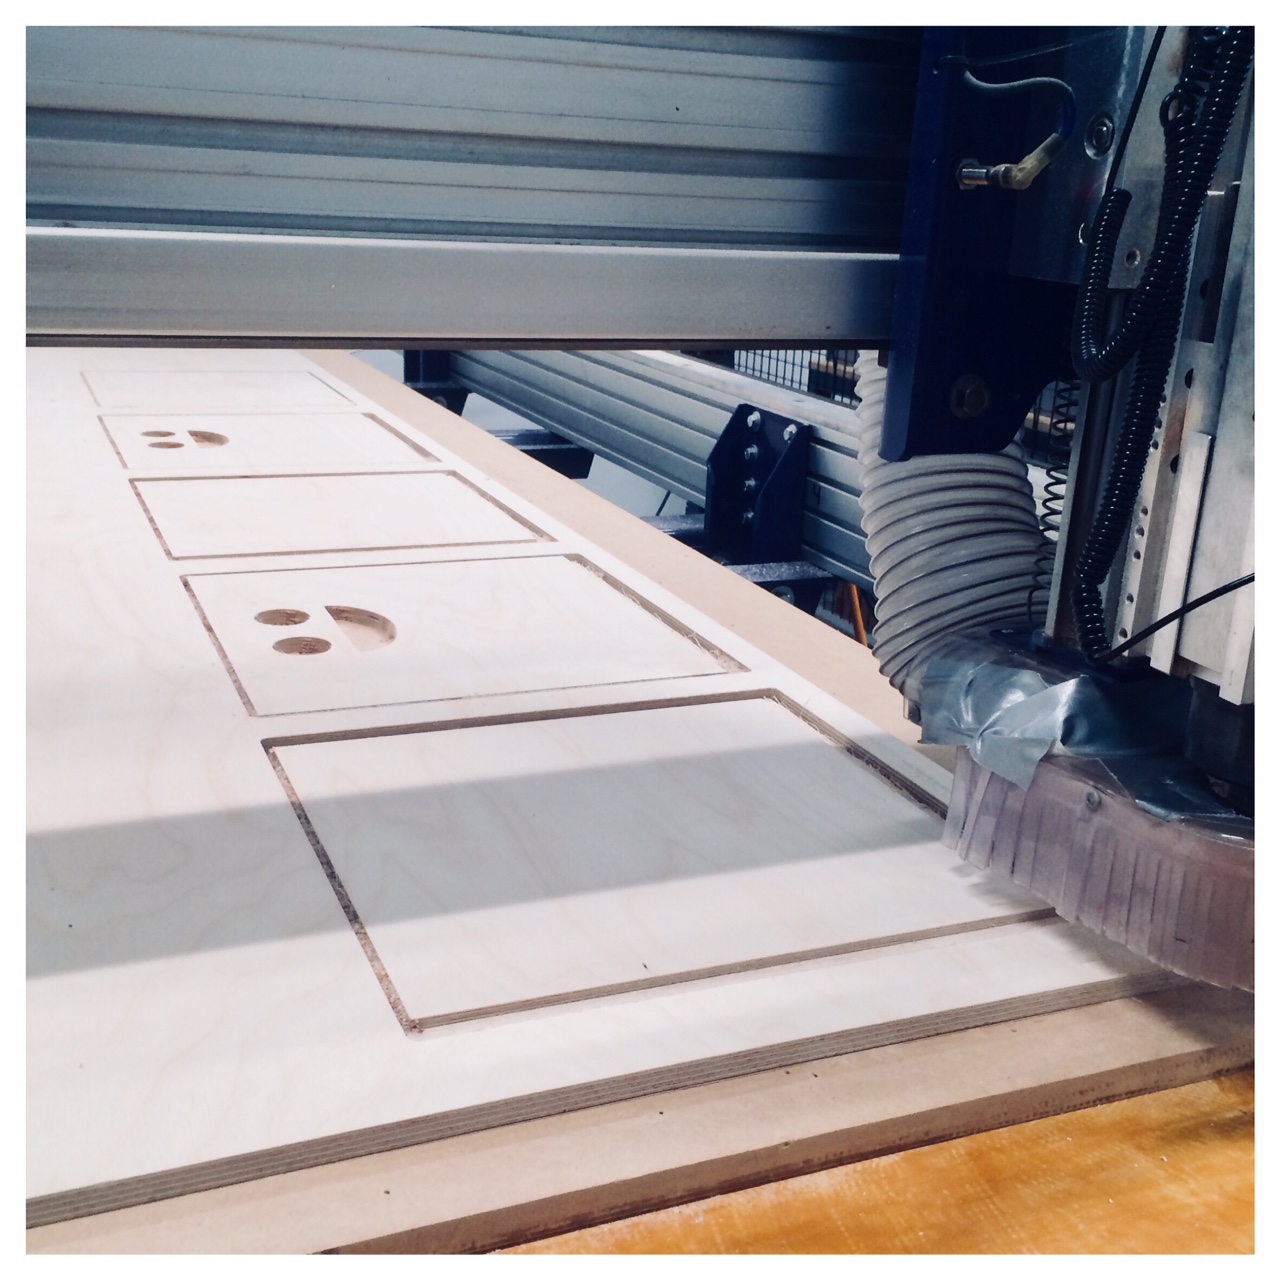
Due to a fire we could not use the ShopBot at Spinderihallerne in Vejle. So we went on a little roadtrip all together to Odense to visit a Fablab located there. Here I worked on my files in VCarve to make the paths and pockets for the milling process and milled one of the boxes with a happy face as handles and a sideboard for my turntable and vinyl record collection.

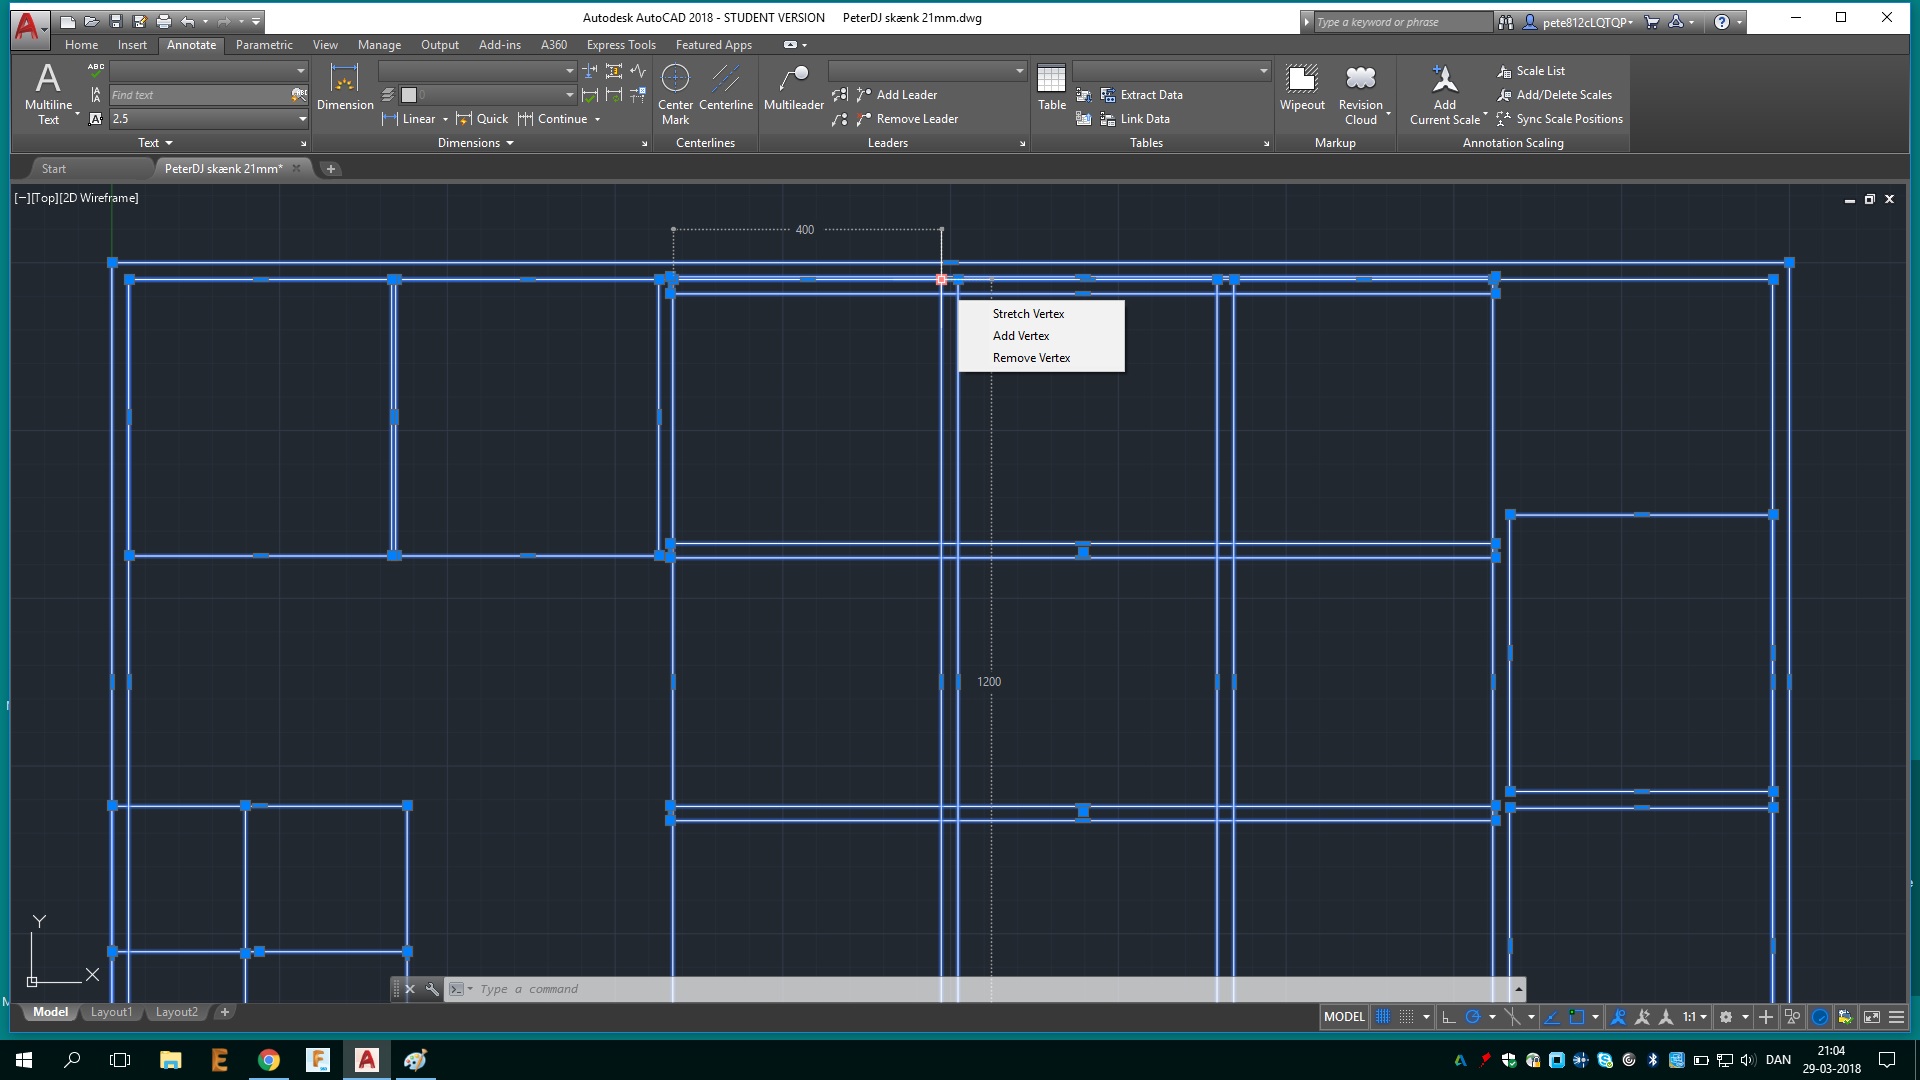
I drew the sideboard in AutoCad and created the paths and pockets in the VCarve software. I have never tried AutoCad before, but have been quite pleased with AutoDesk's software. I have downloaded a free version for educators where I have a trial period.
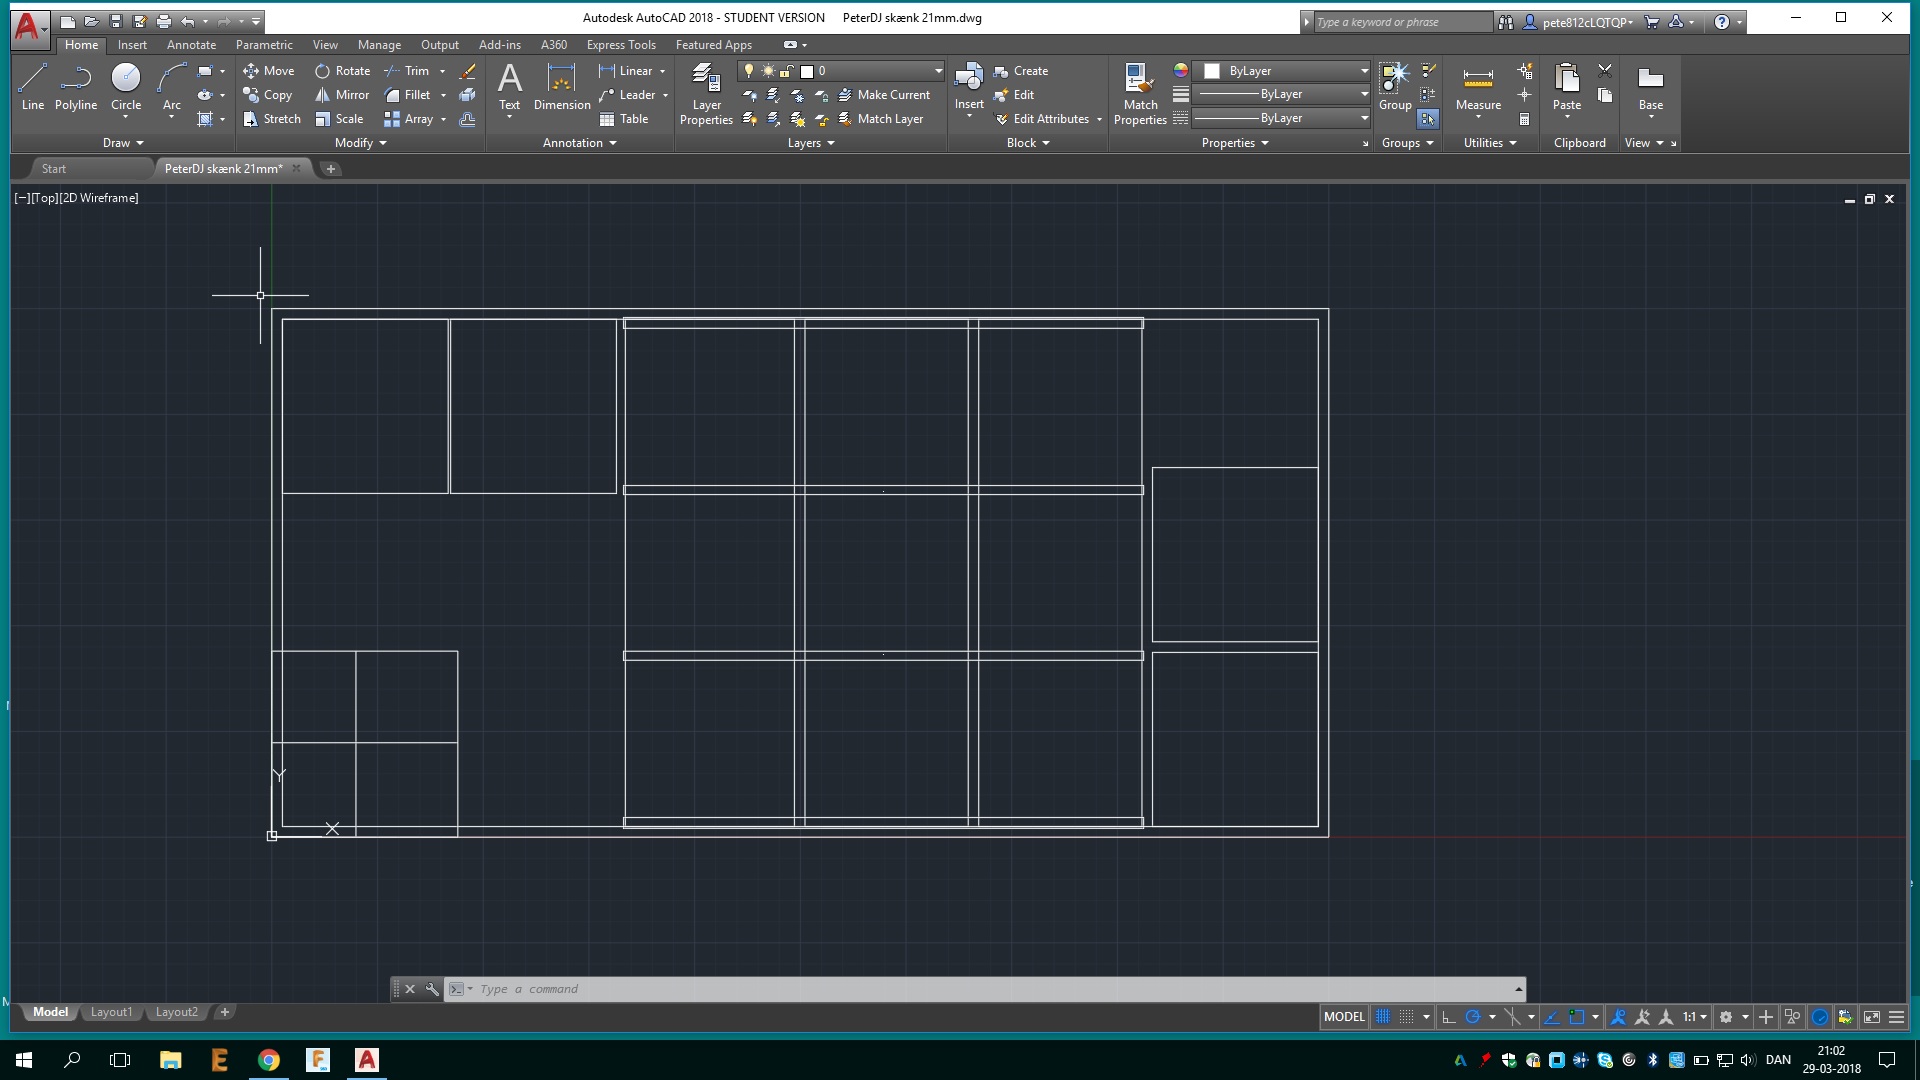
The squares in the left side of the AutoCad files are a markup where a piece of the plywood was used and therefor missing. So in order to place my design correctly in relation to space, this square was included in the file. My idea about the sideboard is to paint it, but to let the ends of the plywood be visible to show the many layers.
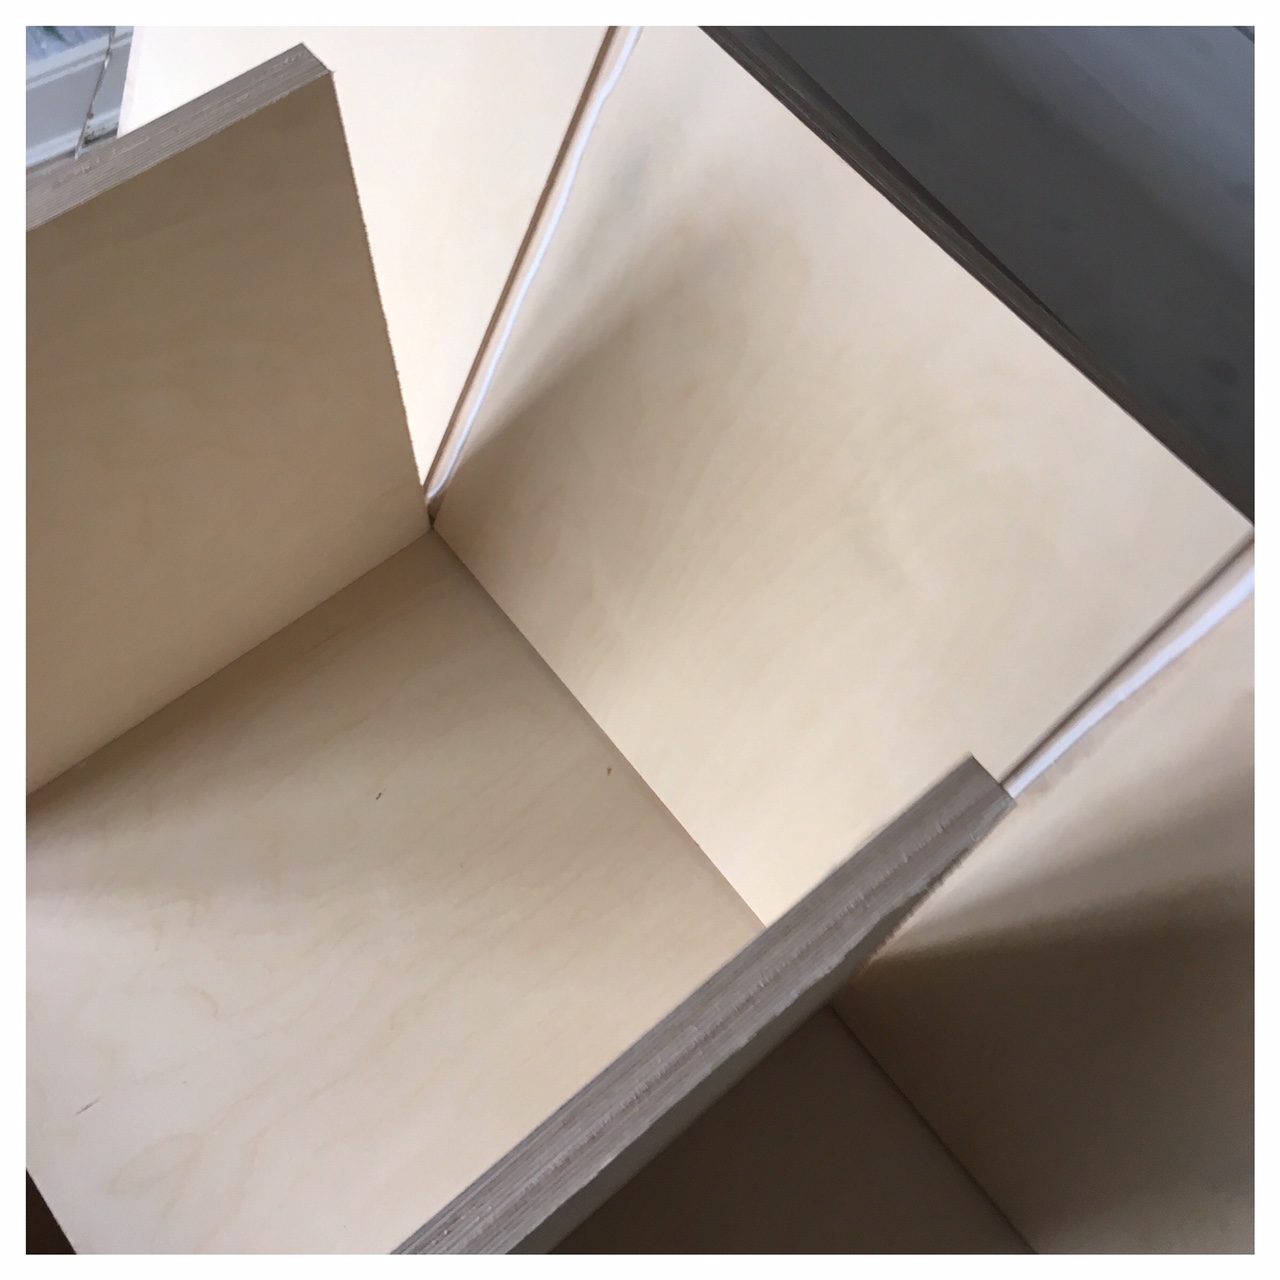
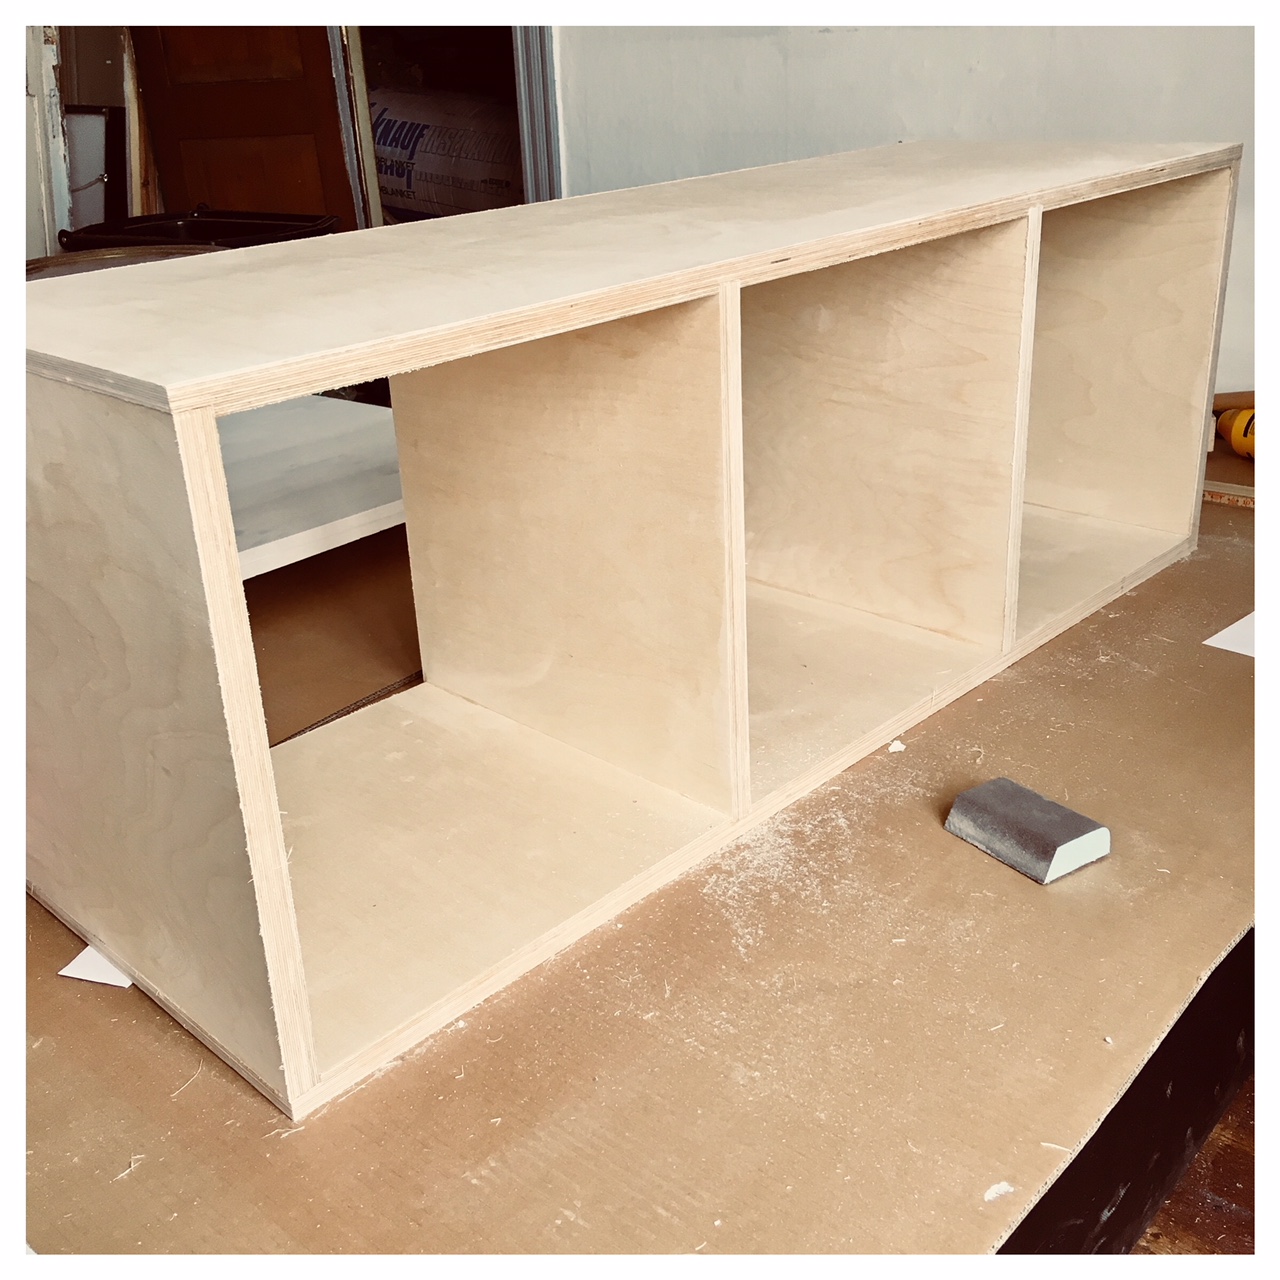
So now the sideboard is collected and glued. I have sanded it with sandpaper (grain 120) and it is ready to get black steel legs. It's so awesome that you can CNC mill so precisely, each joint had a real tight fit.

About milling blue machineble wax
For more about Computer-Controlled Machining check also my "Molding & Casting" week out Week10 where I uses the ShopBot CNC for milling blue machineble wax.