Molding & Casting
Assignment
-Design a 3D mold around the stock and tooling that you'll be using, machine it, and use it to cast parts.
Files
Machinable wax toollibrary.tools
The video below is a little footage from when I made the mold on the ShopBot in blue machinable wax.
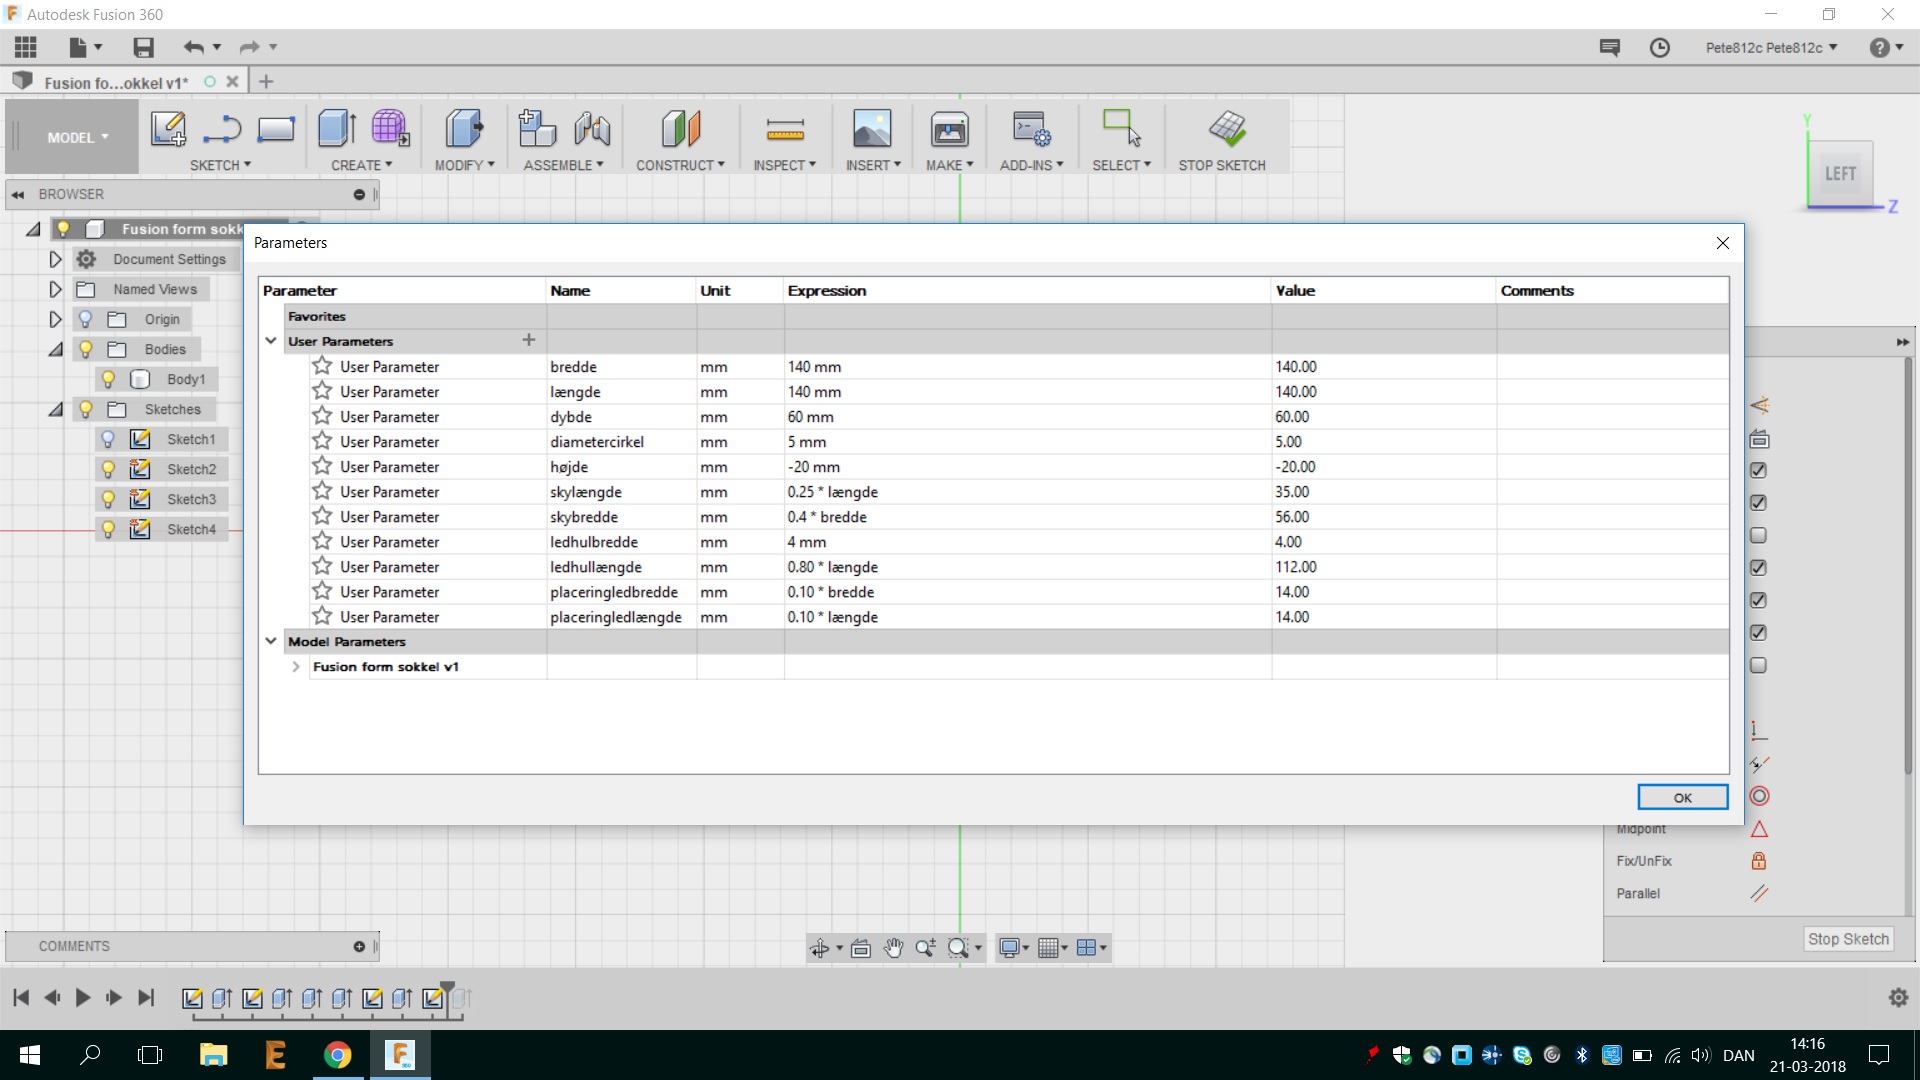
Parametric design
For this assignment I had two ideas for molding and casting. The first one was a socket or base for the final project. One that was big enough to accommodate all my different cloud formations both the engraved acrylic and the 3D-printed clouds. So I wanted to create a mold for micro concrete. I started out creating a parametric design in Fusion 360 from the dimensions of my former prototypes.
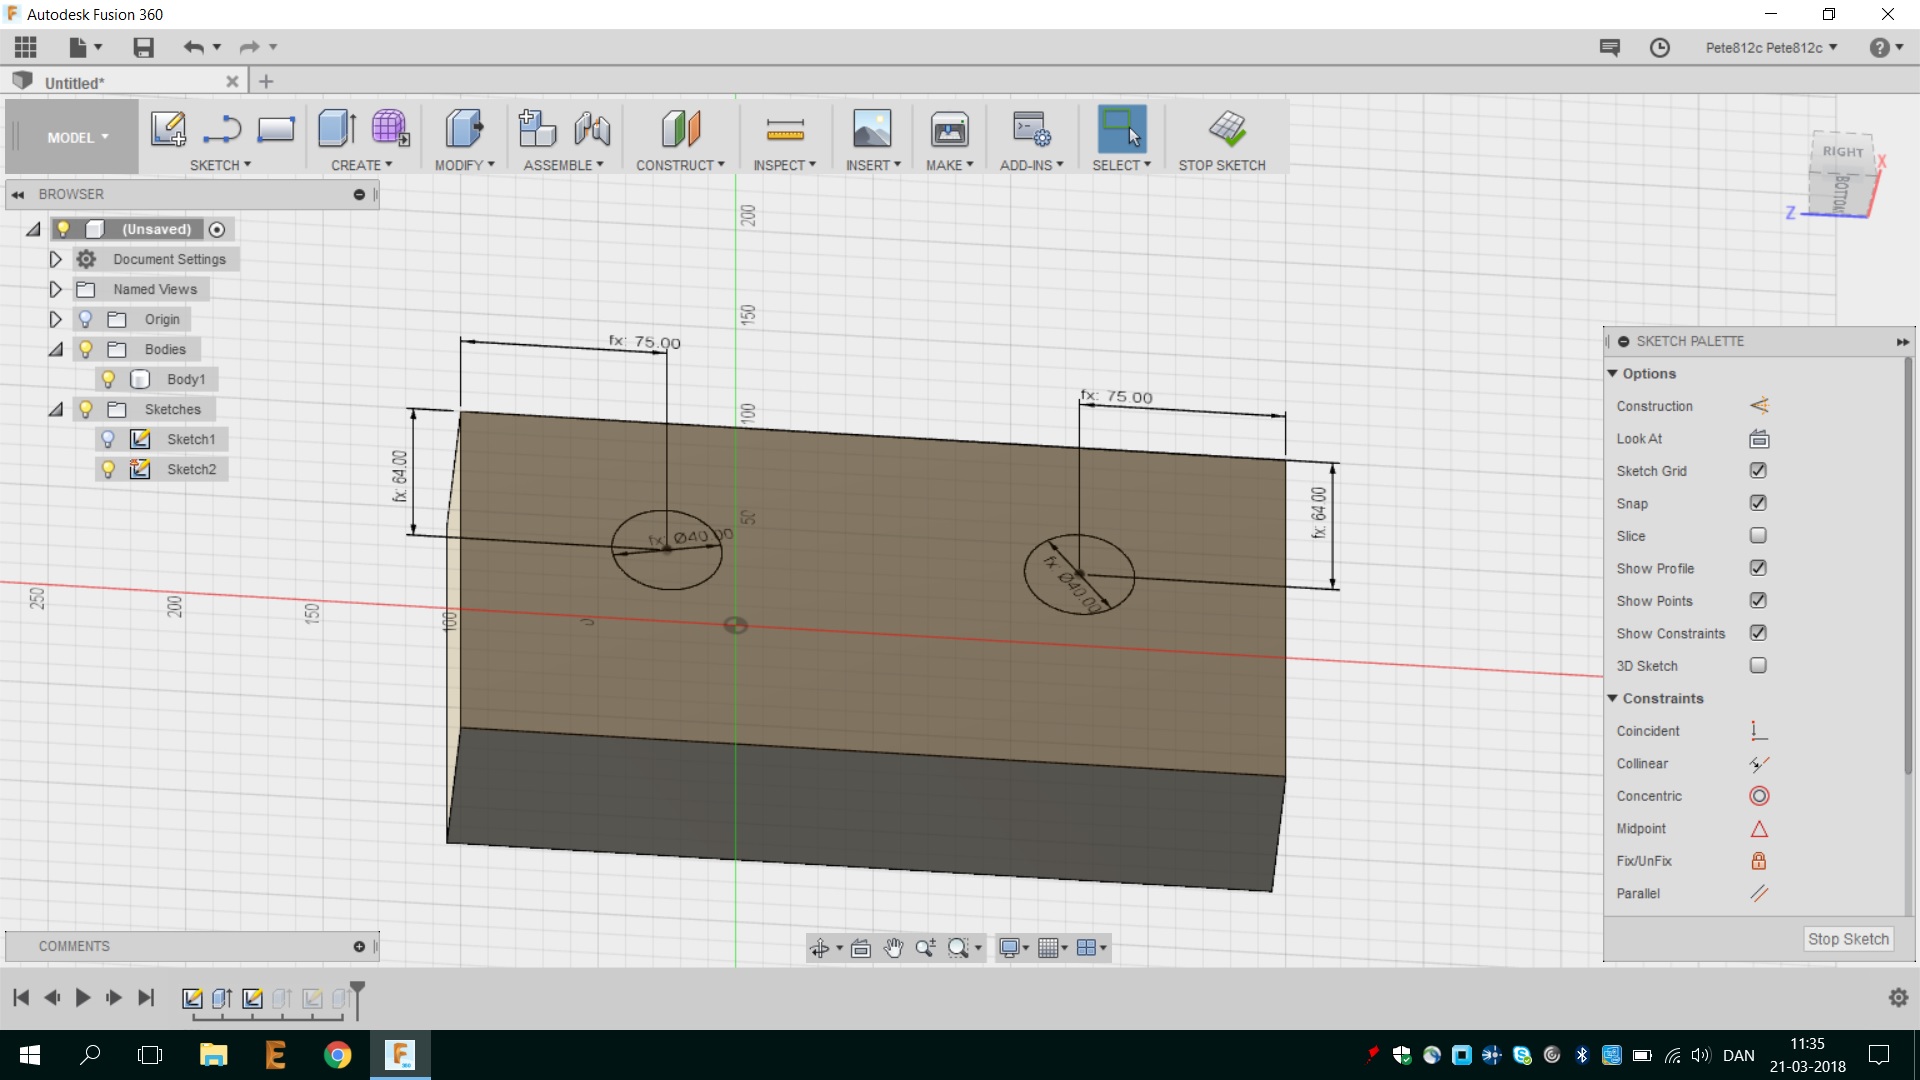
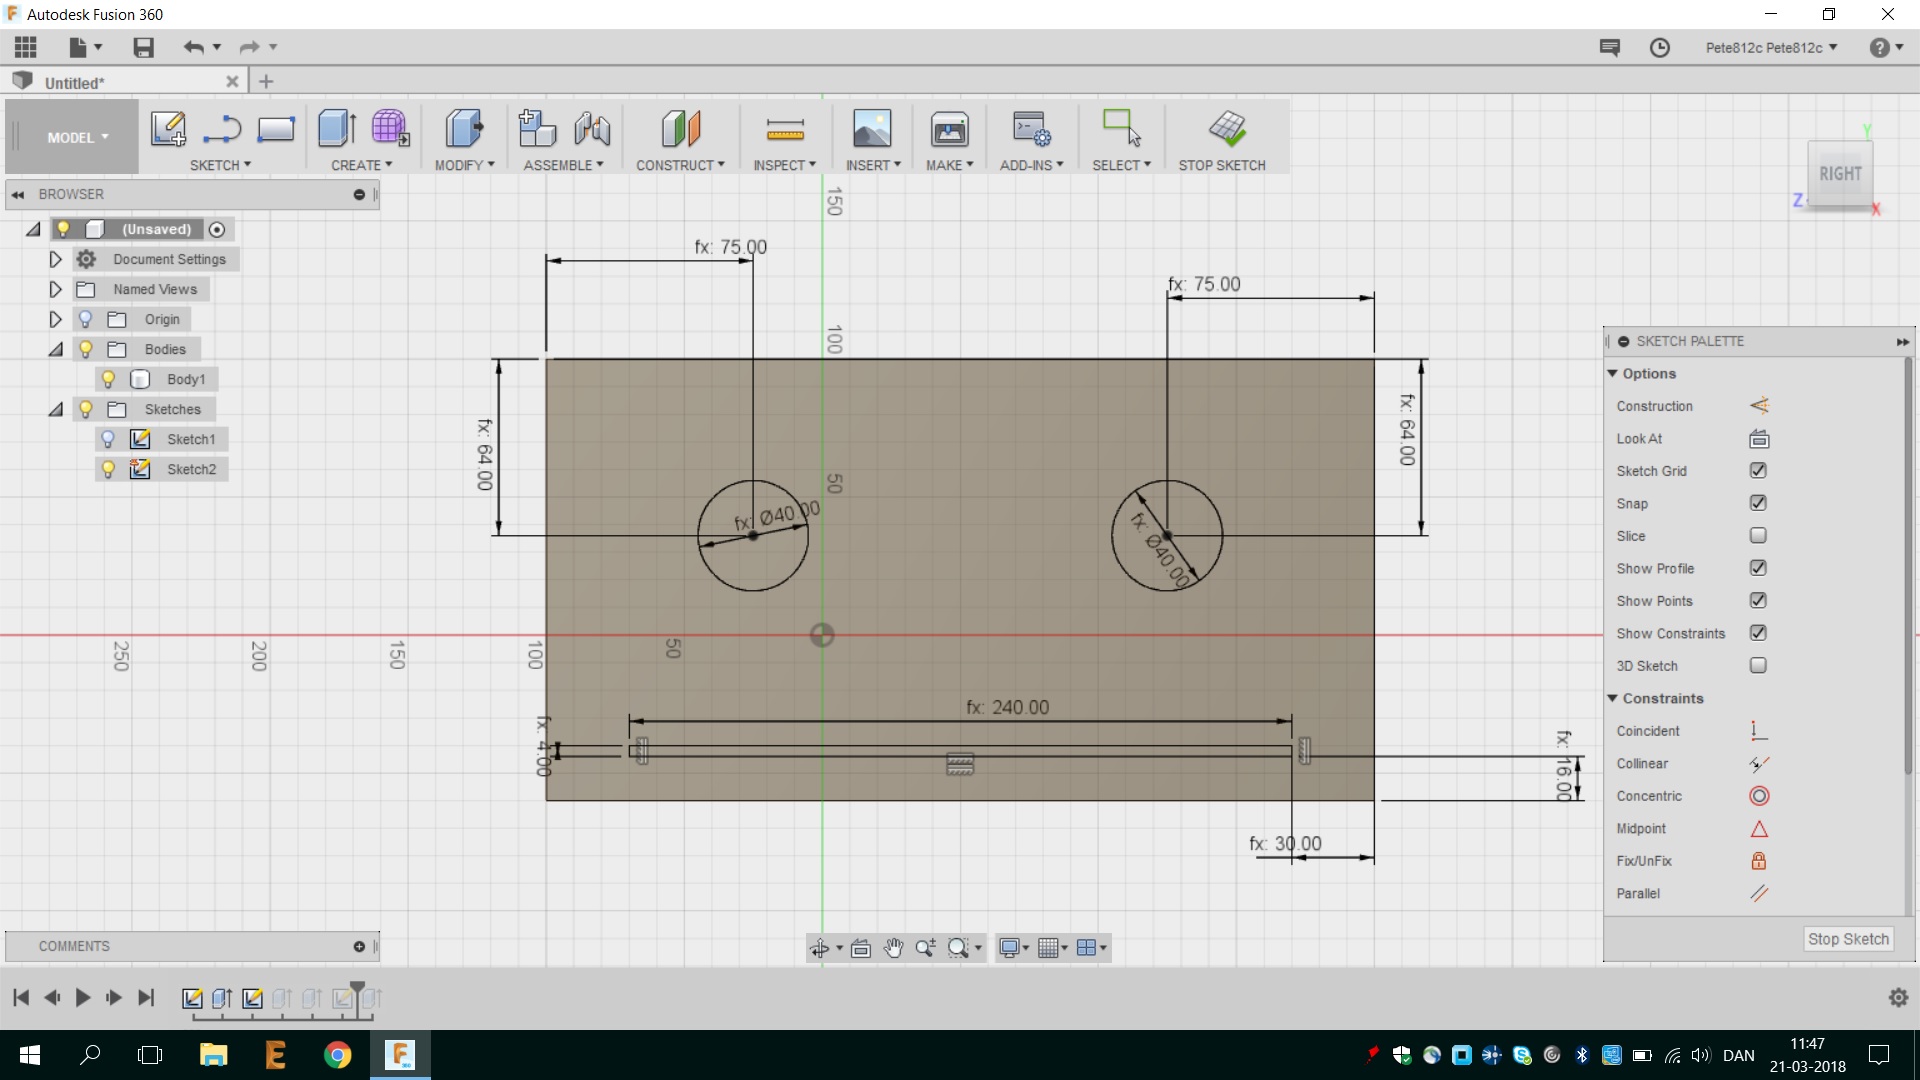
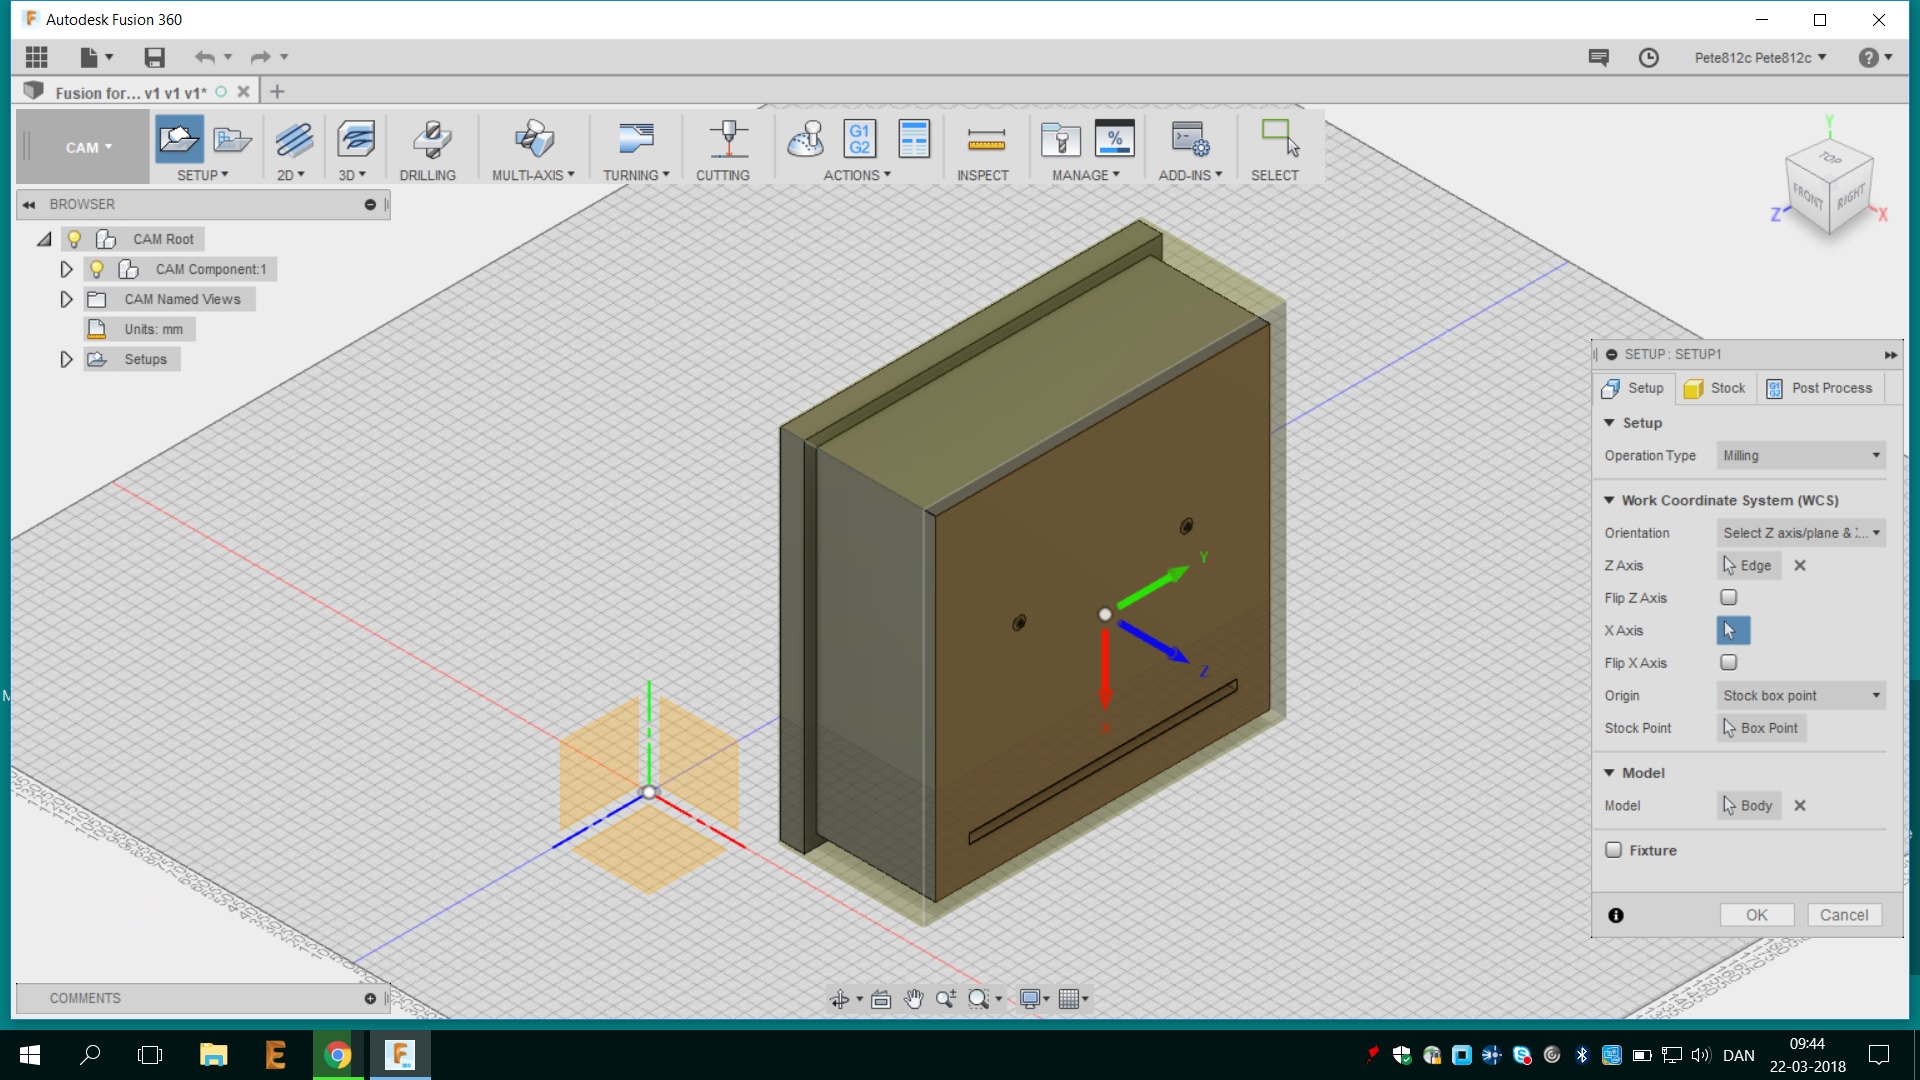
I created my cast for the inside of my base, so it would create a cavity for the electronic parts and leaving only two holes and one rim on the top of the base. The two holes is for the LED to the two 3D-printed clouds and the rim is fitted for the end og the acrylic cloud with the LED strip underneath. The LED strip would cast light through the engraved acrylic creating a beautiful light effect .
Due to the size of my CNC project and the wax we had available, I only had enough wax for the shape of the cavity itself. I therefore made a box on the laser cutter in scrap acrylic to mold the actual extent of the base in.
Tool library in Fusion 360
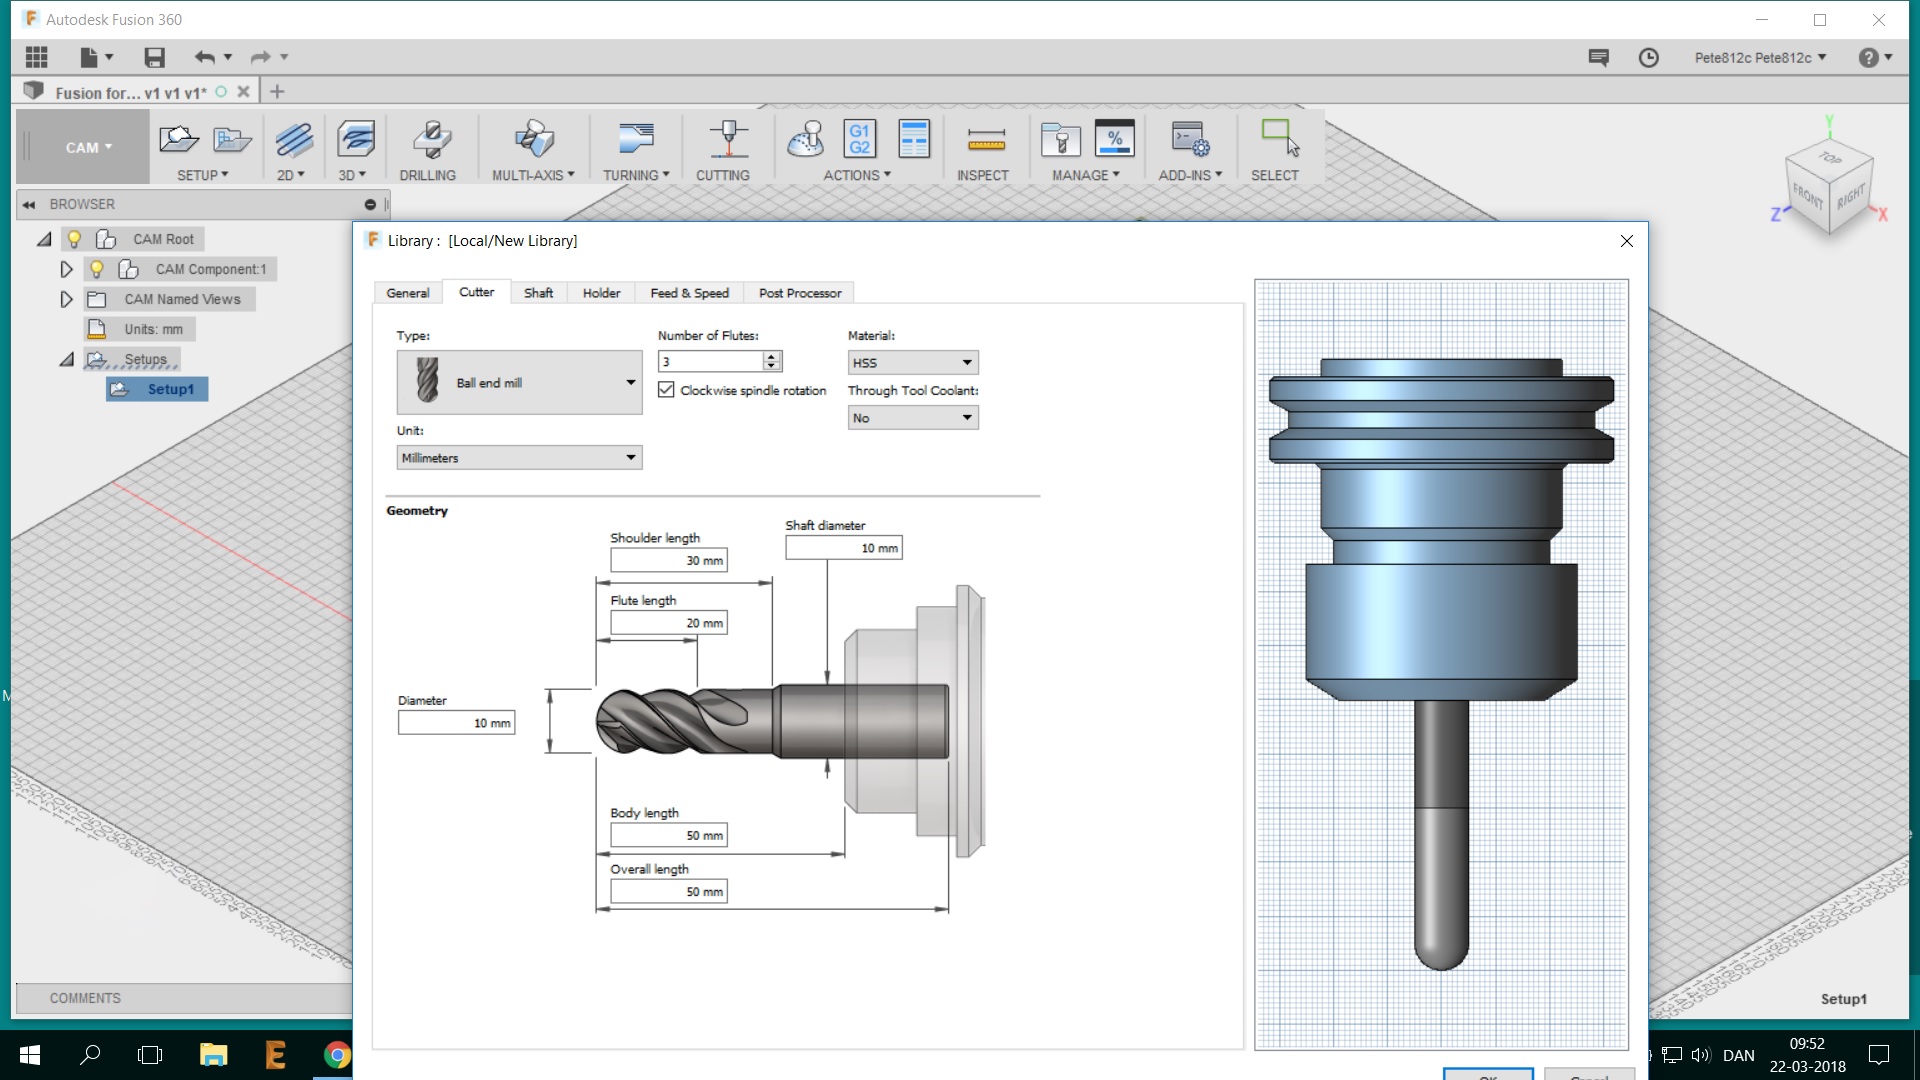
Together with the Lableader Mads in Odense we started up creating a new tool Library in Fusion 360 for all of our CNC-jobs. The library is based on the most likely CNC bits we were going to use to create our molds. Mads showed us the following steps for creating the library.
-Select Tool library
-Right click on local folder to create a new local library
-Browse samples to find generic tools similar to your actual tools
-Copy and past generic tools to your newly created library
-Modify parameters to reflect the actual tool
-Setup speed and feedrates - and check the chip load
CNC, Wax and the ShopBot
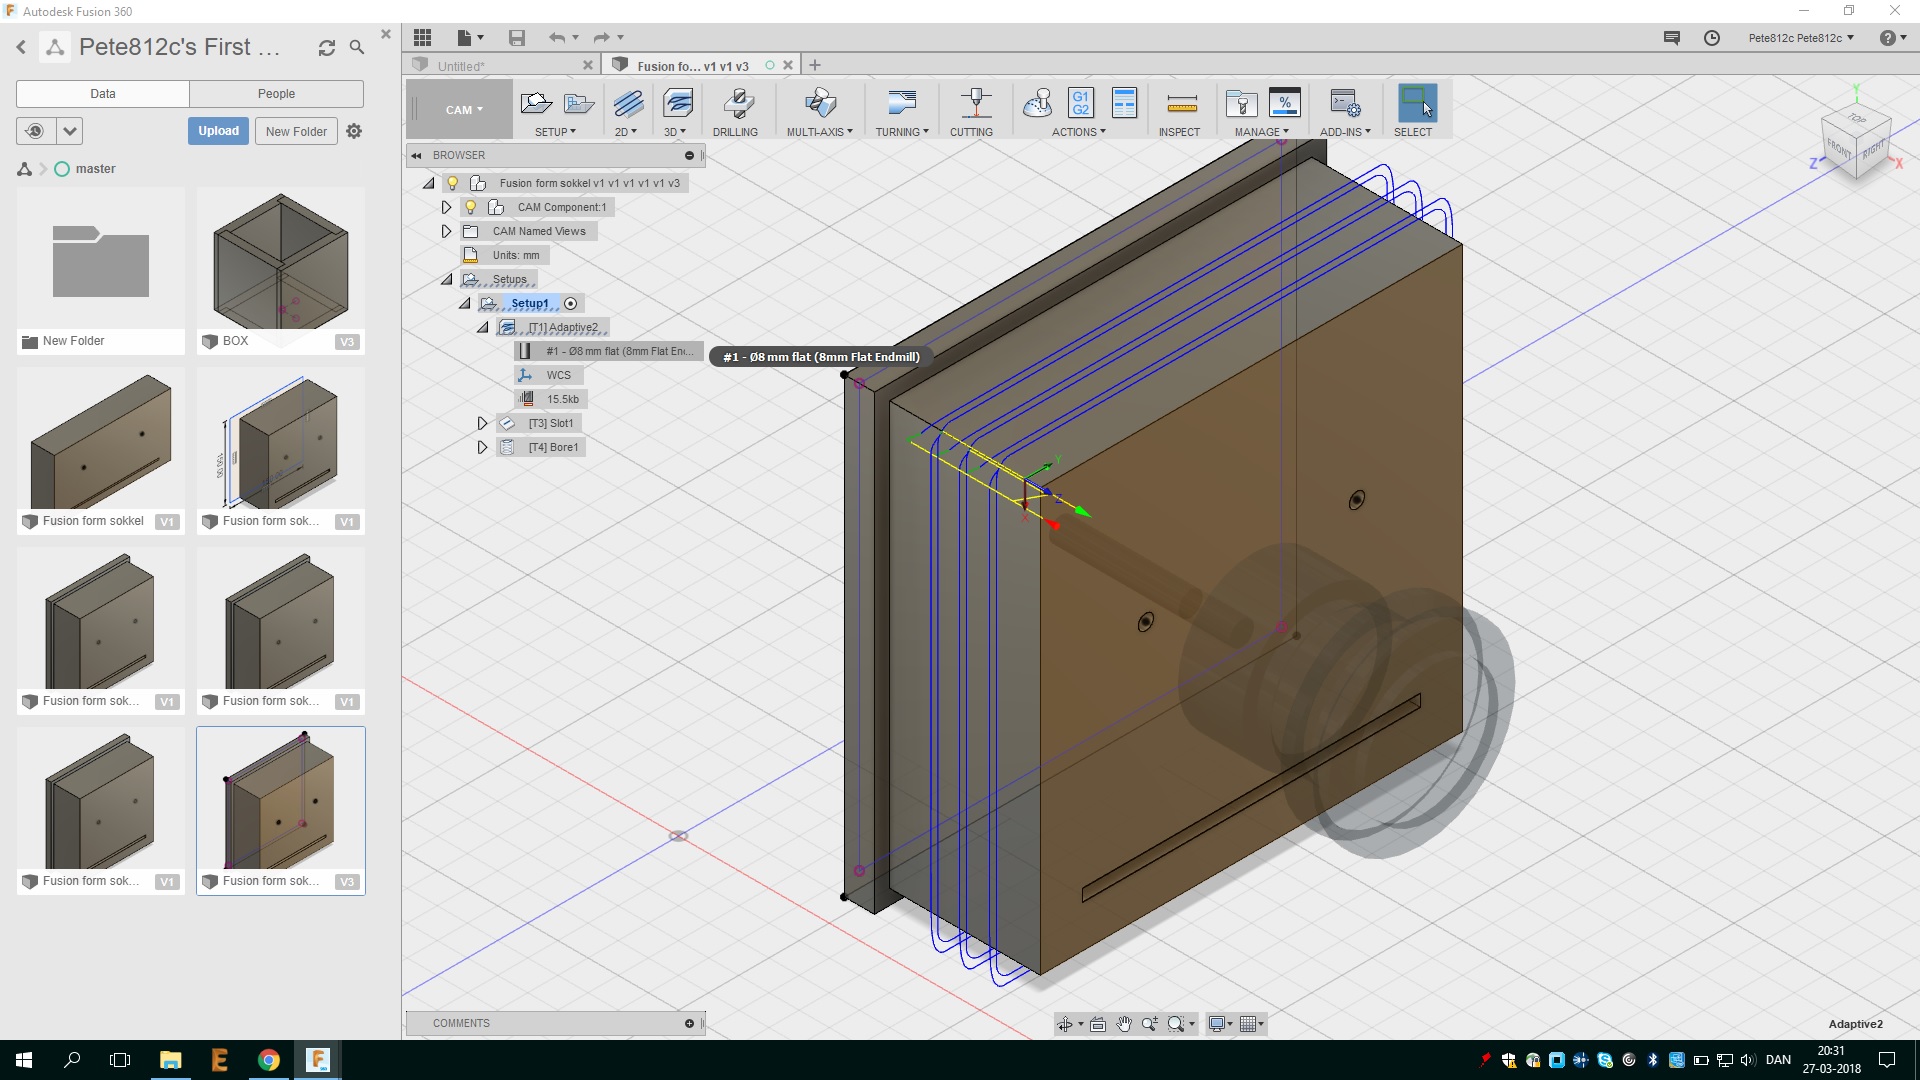
Again we went on a road trip to Odense to borrow their ShopBot, so that we could CNC the wax. This time we spent more time on the different toolbits and learned to import a new CNC libery in Fusion 360. Last time we made a CNC-job we used the software VCarve but this time we tried using Fusion 360 with the cam software.
For the mold I worked with machineble wax and for the cast I used Smooth-On Sorta-Clear rubber smooth-on.com which is a water white translucent silicone rubber where you have to mix the two components together one to one. About safety I read the product datasheet smooth-on datasheet about processing recommendations and safety. When working with these products it's important to work in properly ventilated areas. To wear safety glasses, long sleeves and rubber gloves to minimize contamination risk and only wear vinyl gloves not latex. The datasheet tells that latex gloves will inhibit the cure of the rubber. At first I had to stir each of the two components for 7 minutes and then slowly mix them together trying to stir gently in order to avoid air bubbles. This is really hard and did not work entirely for me. This certainly requires some exercise. At last I poured the liquid mass into the mold. For the Smooth-On Sorta-Clear I had to waith for 4 hours before removing my cast from the mold. I have strengthened the thin and long pieces by reinforcing them with some plastic strips I had lying around, so they do not bend or break when the cast is removed from the mold.
From inside to outside
Now I am the proud owner of a mold for the indside of my lamps that hopefully will create a cavity for the electronic parts, two holes and one rim on the top of the base for the different LED's. I would like to mold the base for the lamp in concrete, which must also be reinforced to get strong. So now I have to laser cut a box for the outer shell of my base where my inner shape fits in creating the cavity.
To reinforcing my concrete casting I have put in some nylon fibers to tie the casting together. I had some nylon string that I have stringed up in smaler pieces and then laid them down into the casting evenly distributed.
I bought a bag of fine grained concrete in the local construction market and read the small edition of the data sheet on the back of the bag. When I got home I looked a little closer on the data sheet on the product webpage, see the link here: Scan concrete data-sheet
The concrete base took a long time drying because I dryed it under a piece of plastic so the shape does not get any cracks. I dried it slowly for three days. The rubber cast for the inside cavity came easily out and created the necessary room for electronics. I still need to refine the casting, but there is not a lot to be done. The casting has become very even and smooth on the upper side due to the acrylic box. Inside it has some irregularities due to air that has not been able to escape properly.
Check also my molding & casting out in "Wild Card Week"
Press the link "Wild Card Week" for files and more information
The mold in machinable wax
The mold I created in Fusion 360 (to grow to mycelium in) I have milled on the Roland CNC in blue machinable wax. I created the mesh (.stl) and the two pathes in Fabmodules. One "wax rough cut (1/8)" and the other a "wax finish cut (1/8)" using a flat head CNC cutting tool for the rough path and a ball head for the finish cut.
I had some trouble with the ratio between milimeters and inches under the unit settings. My mold came exported from Fusion 360 as a STL-file measured in milimeters. So I had to change the settings "Units/in" to 25,4 and now my dimensions where more precise: 90.000 x 40.000 x 10.000 mm.
Refelction for further work
As my mold design is not the most complexe 3D object, I would really like to make a mold for a little tranparent cloud, maybe cast a little diode inside, as a kind of a lightbulb. Right now time is crucial but maybe further on, I can make a new mold. To make the design “Design appropriate objects within the limitations of 3 axis machining” I really want to try making a double-sided mold for getting all the curves of the cloud also the upper curves.
For making this kind of mold I know it's important to make air channels going through the mold, so that the material fills the mold completely. If the mold don't have these air channels, the air can be stucked inside the mold and cause the material to not completely fit into all curves og my cloud. I also have to remember to make a molding channel and funnel-shaped, where I can pour my material down into the mold. This channel can also be where i insert or place the little diode.
In Fablab Spinderhallerne we have this mold laying around. It is milled on our Roland SRM-20 in wood-composite and I think this form is very inspiring and for my next mold I am going to make something in the style that one. It will certainly be my next molding & casting project to make a dubble-sided mold.
Importing my cloud into Tinkercad and making it solid. Then I made a sort of a box for the cloud or a frame aroud it, so that I can mill it on the Roland SRM-20.
Then I imported the file to Fabmodules to prepare the file for the milling machine, using the same settings as described earlier.
Then I found a piece of machinable blue vax that matched the size of my cloud mold and milled it on the Roland using two different milling bits and two different paths.
For the mold I worked with machineble wax and for the cast I used Smooth-On Sorta-Clear rubber smooth-on.com which is a water white translucent silicone rubber where you have to mix the two components together one to one. About safety I read the product datasheet smooth-on datasheet about processing recommendations and safety. When working with these products it's important to work in properly ventilated areas. To wear safety glasses, long sleeves and rubber gloves to minimize contamination risk and only wear vinyl gloves not latex. The datasheet tells that latex gloves will inhibit the cure of the rubber. At first I had to stir each of the two components for 7 minutes and then slowly mix them together trying to stir gently in order to avoid air bubbles. This is really hard and did not work entirely for me. This certainly requires some exercise. At last I poured the liquid mass into the mold. For the Smooth-On Sorta-Clear I had to waith for 4 hours before removing my cast from the mold. I have strengthened the thin and long pieces by reinforcing them with some plastic strips I had lying around, so they do not bend or break when the cast is removed from the mold.
So in our Lab we did not have any tranparent plastic to cast from, so I decided to cast a little concrete cloud from my new mold. Maybe a little cloud to hold a paper stack or just being decorative.
Again I experienced that it's really important to make air channels going through the mold, so that the material fills the mold completely. If the mold don't have these air channels, the air can be stucked inside the mold and cause the material to not completely fit into all curves og my cloud. I also have to remember to make a molding channel and funnel-shaped, where I can pour my material down into the mold. In the end, I spent several minutes carefully punching my shape down the table to minimize air bubbles and make them float to the surface and go away. We do not have a vaccum makine in our Fablab, but such a machine would be good to make sure that the form is fully filled.