Fab Academy 2018 - Thierry Dassé

Week 11 : Input devices

Weigh board

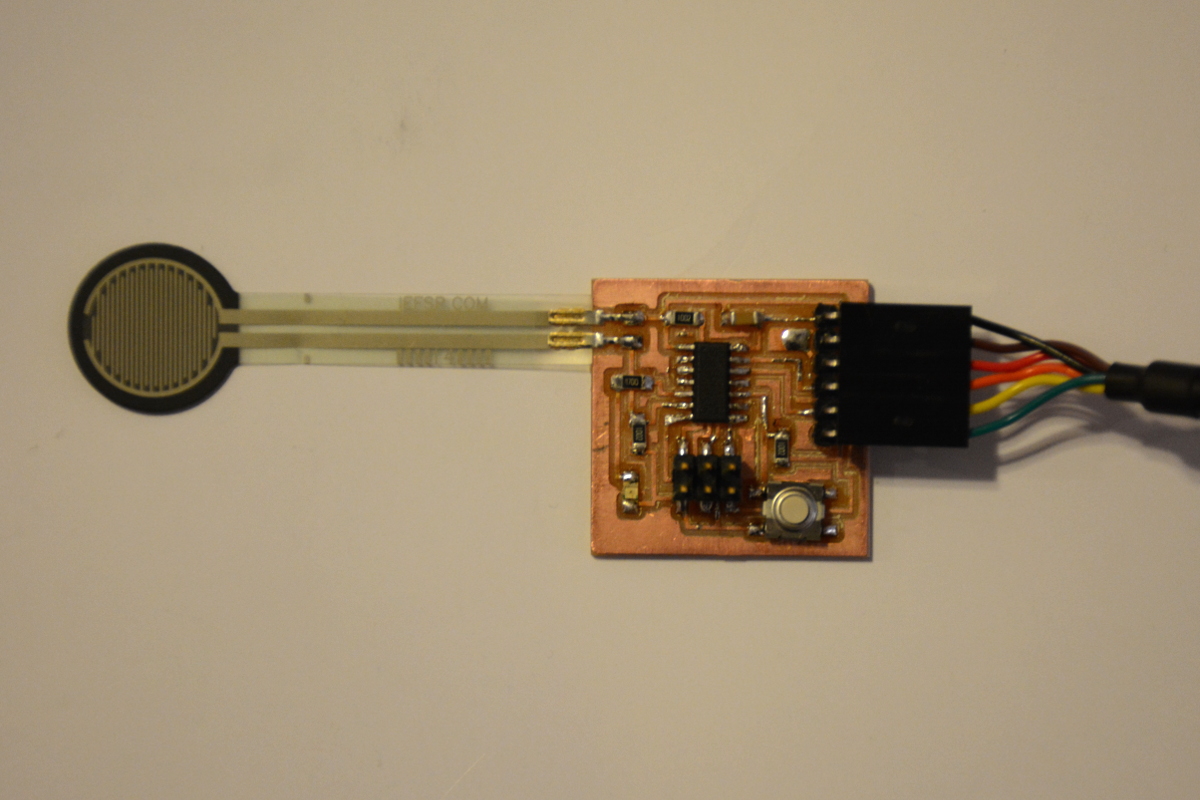
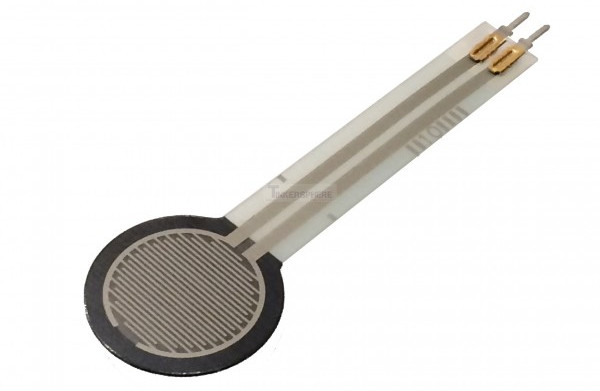
I have chosen to make a board with a force-sensing resistor. Resistance value of this sensor depends of pressure or weight.
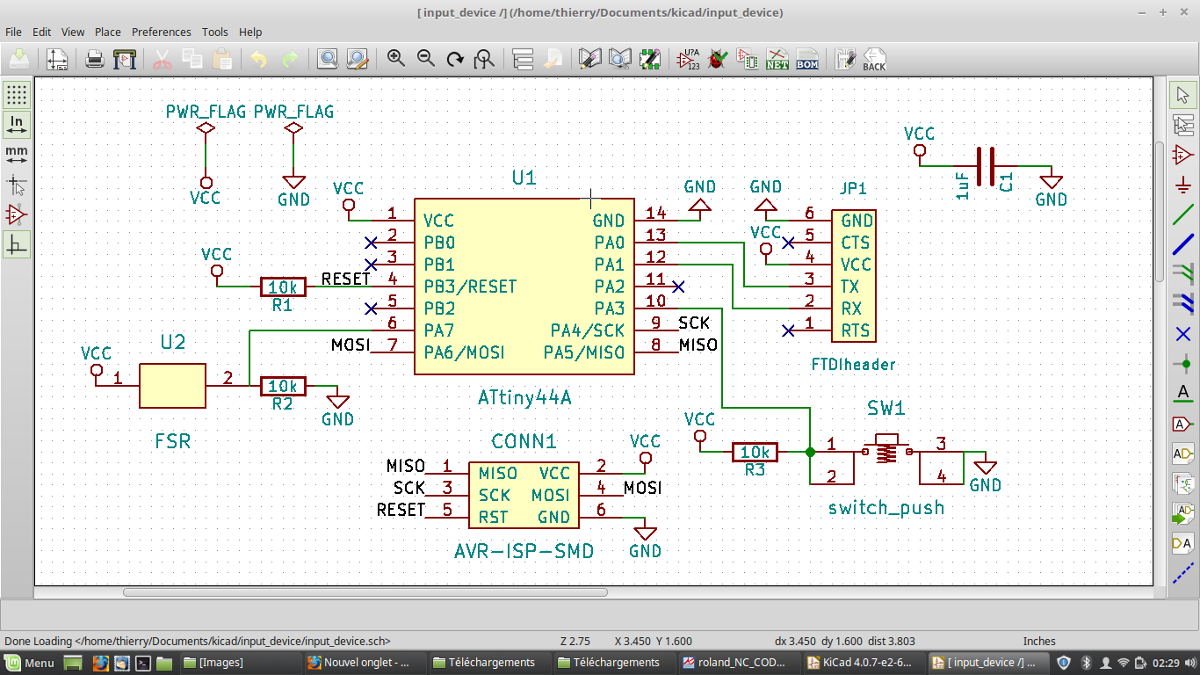
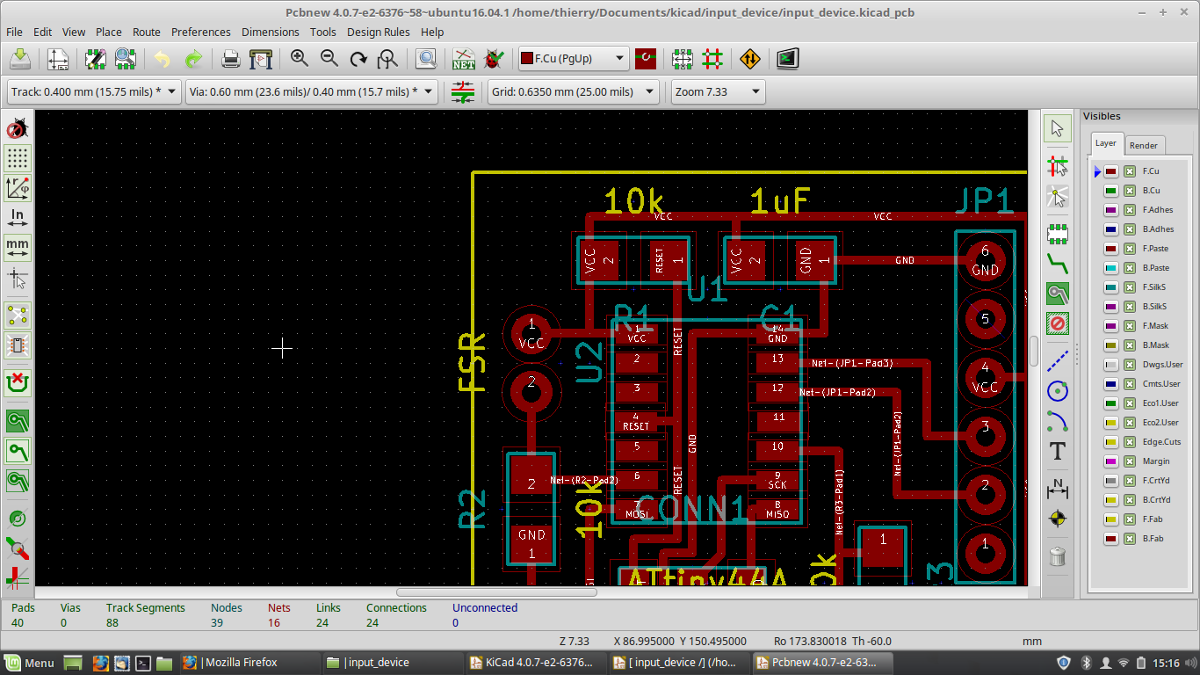
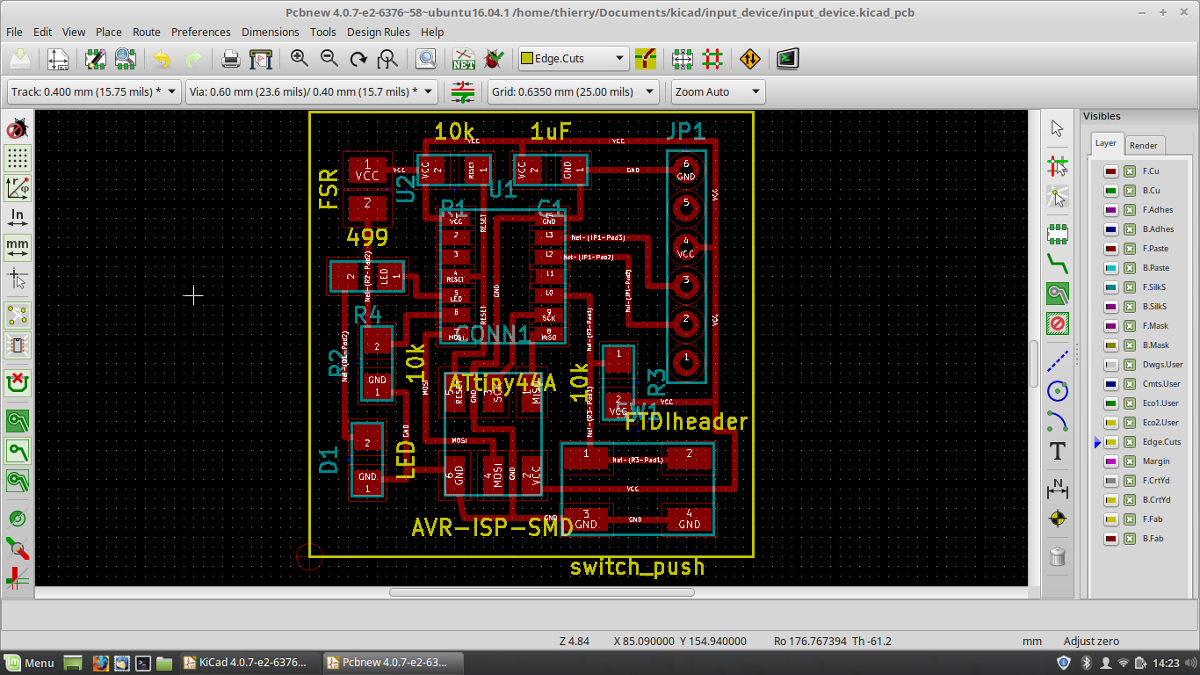
I designed a board on kicad, with two inputs : a FSR sensor and a switch button wich can be usae to turn the device on and off or to calibrate the sensor.
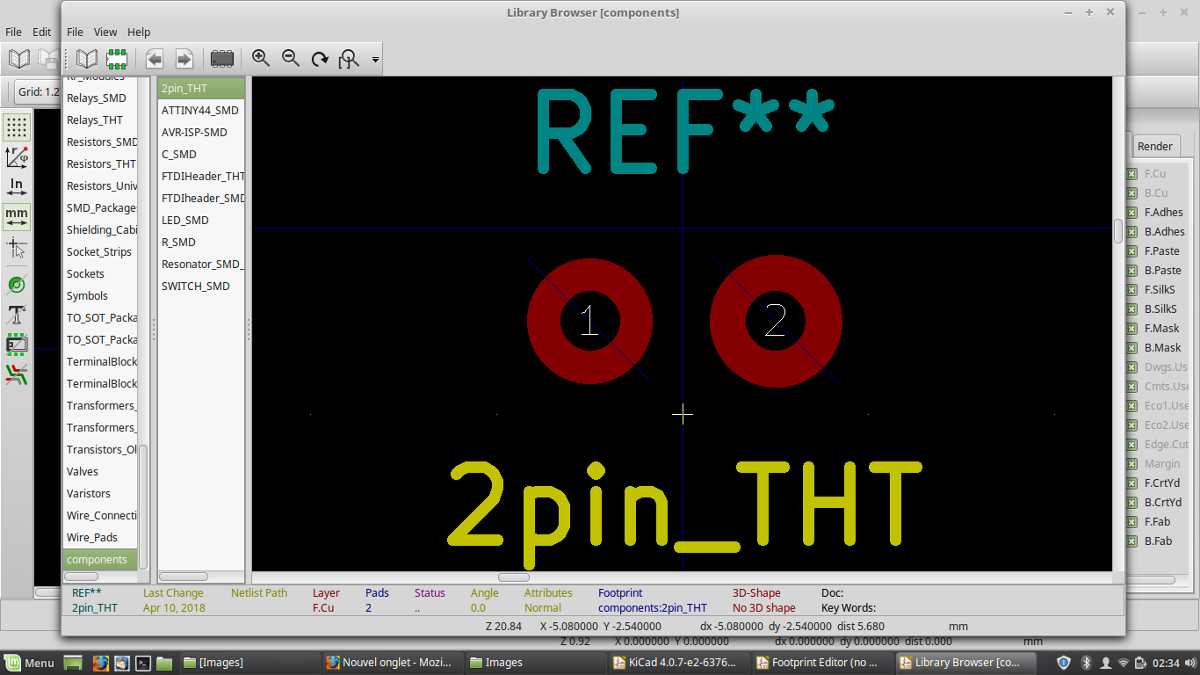
As FSR sensor is a through hole component, I made a through hole footprint but with engraved copper on the front layer. So, I won't need a double side board. I'll try to sold it on the front.
On my hello board, my ftdi header is a bit weeak. So, I also decided to make a through hole footprint to it.

FSR sensor Kicad Kicad Kicad Kicad

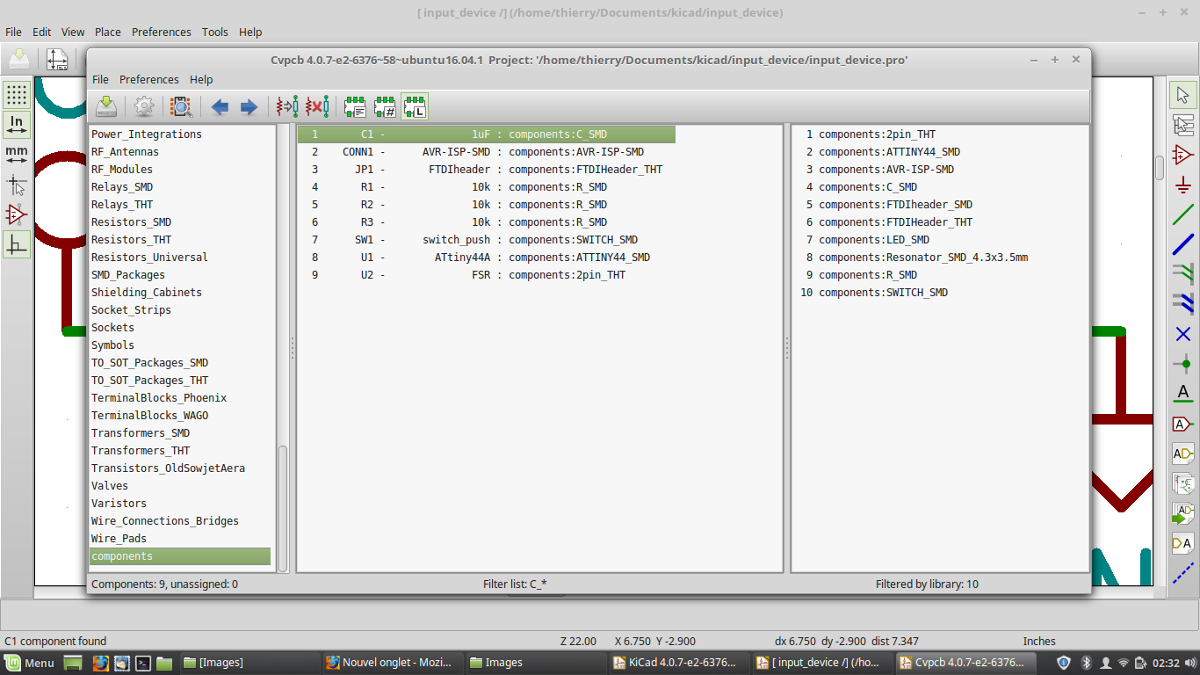
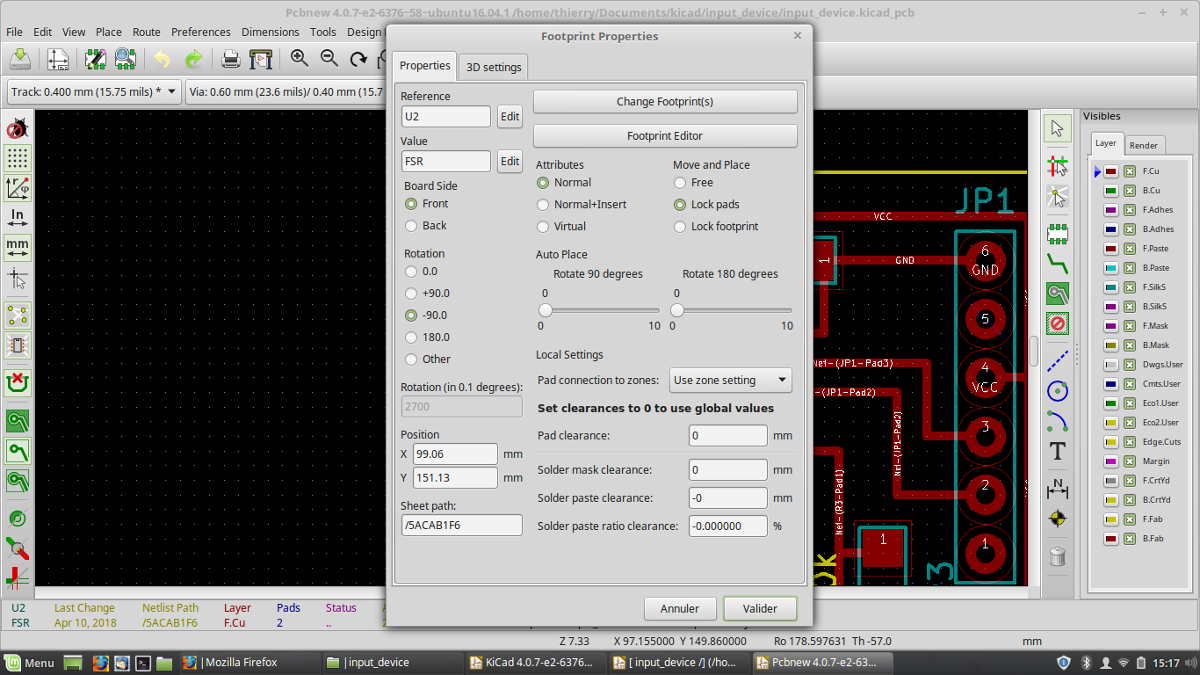
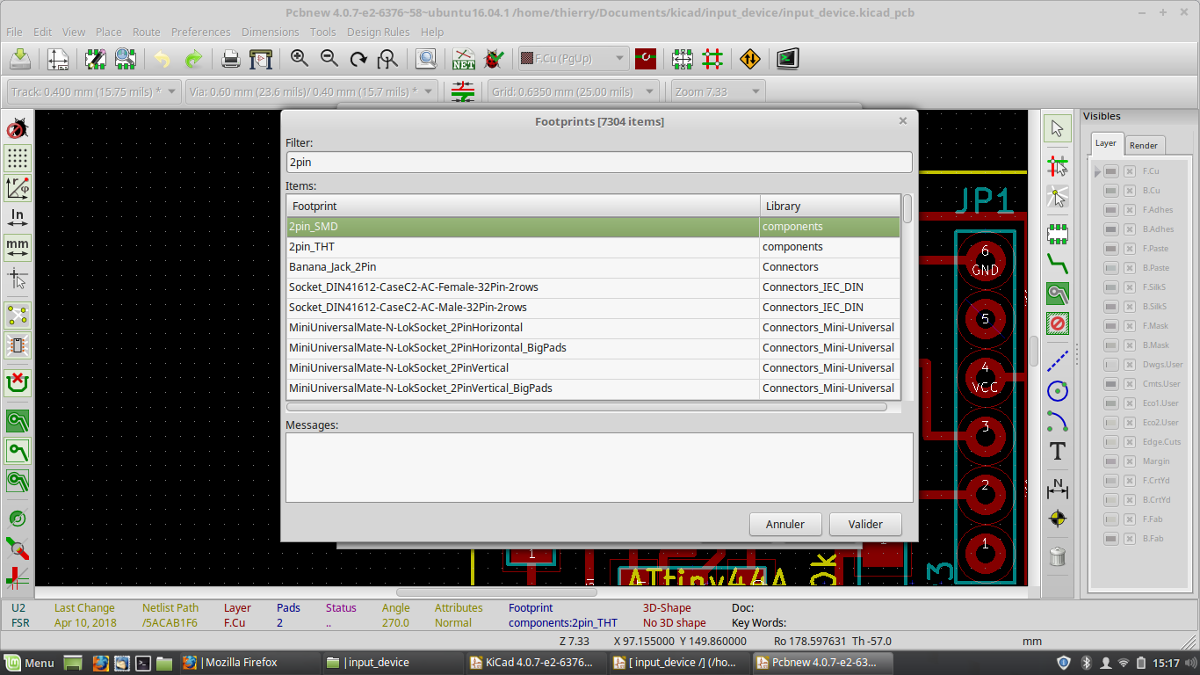
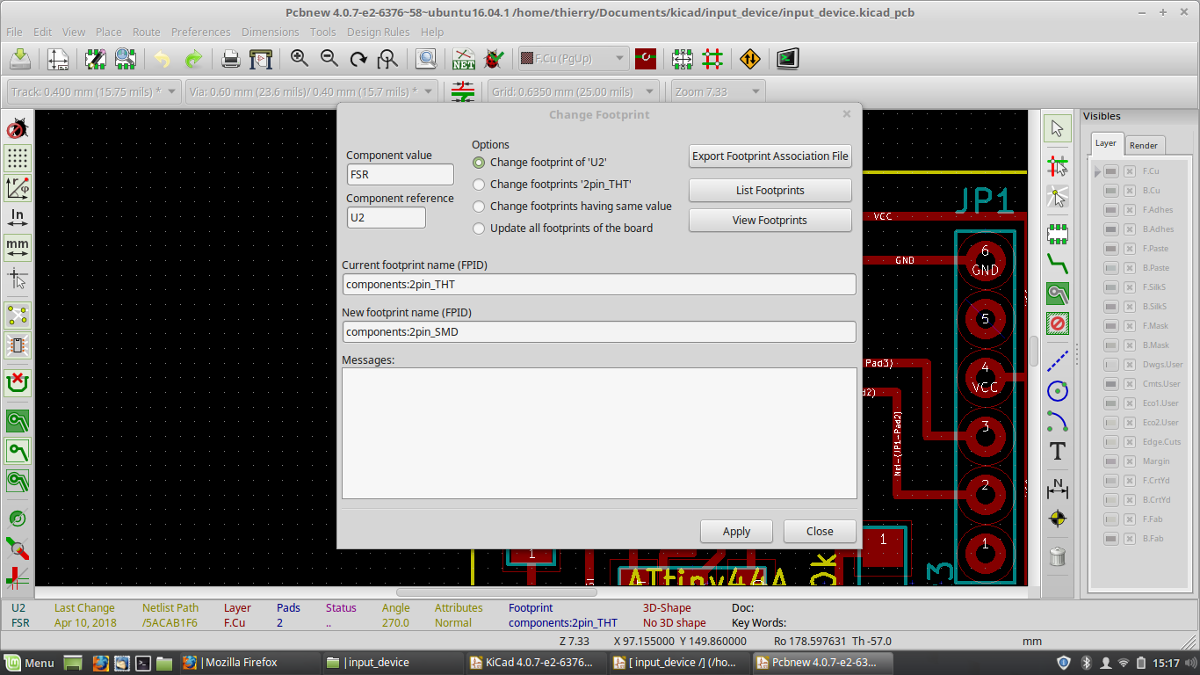
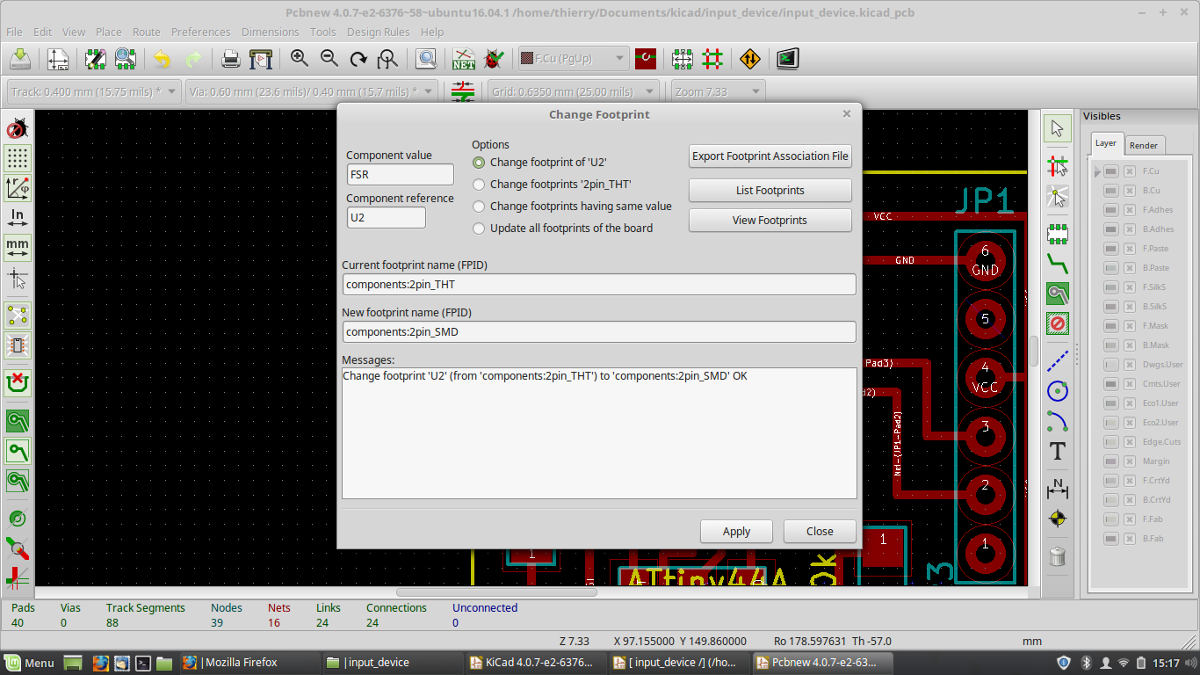
THT to SMD

Emma explained me that FSR pin are flat, so I will be able to sold it on a SMD pad and don't need holes.
So, I wanted to modify my board witout redoing all. On Kicad, you can do it by :

After, I decided to add a green led on the board on pin 5 (PB2). It can be useful to blink when events occurs in debugging session.

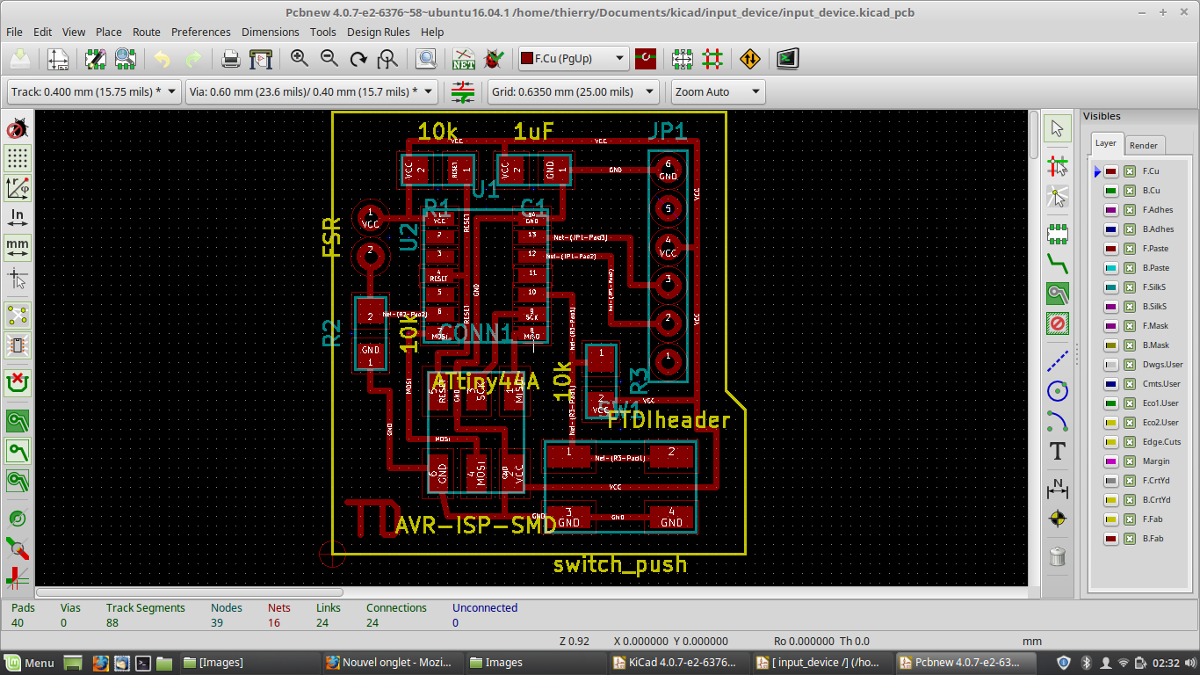
Complete kicad files and standard gcode for milling

Kicad Kicad Kicad Kicad Kicad Kicad

Trying Flatcam

I heard about FlatCam and wanted to try it to generate gcode for my board.

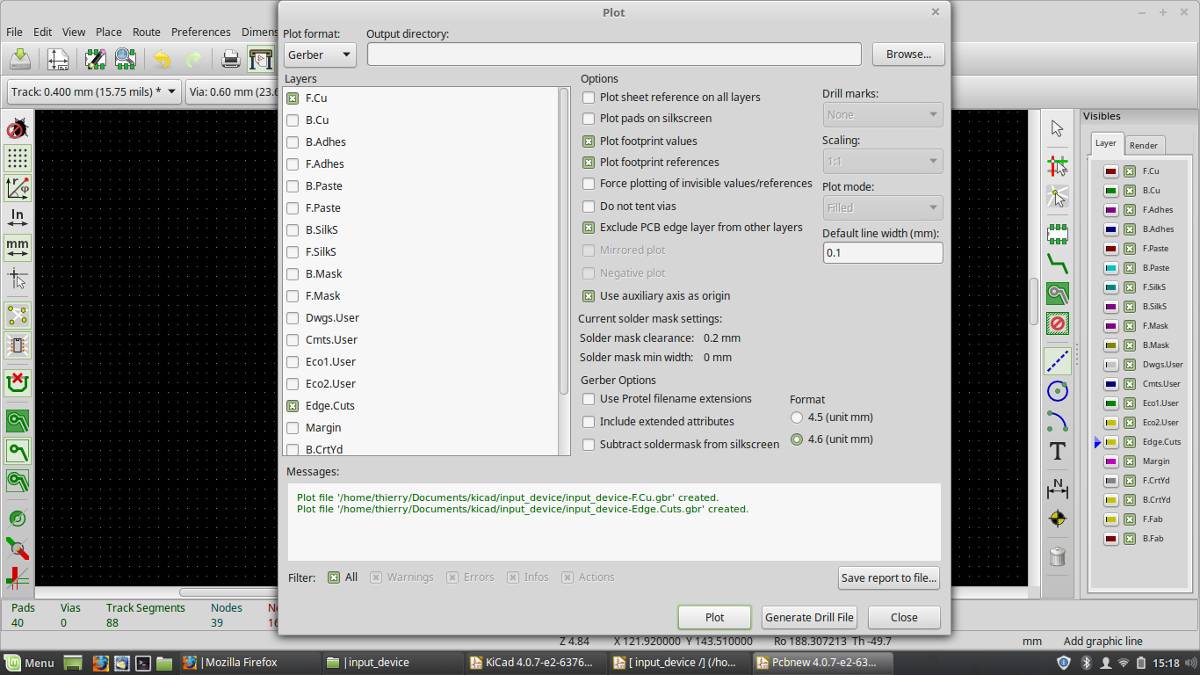
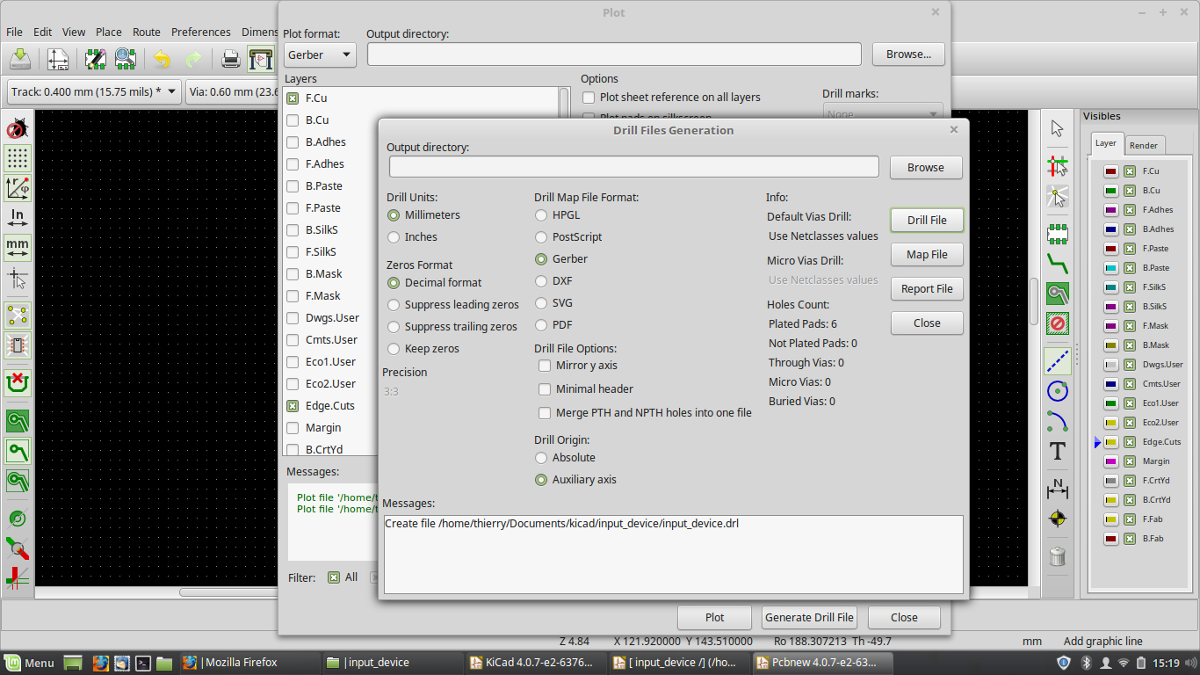
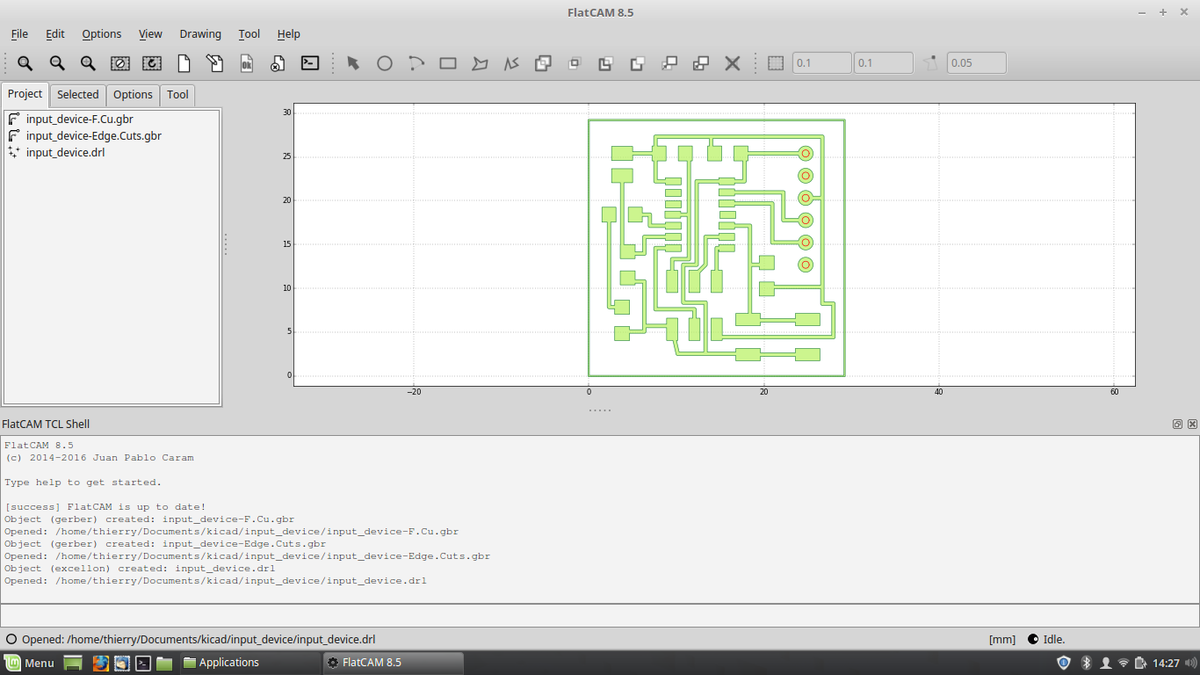
First, in Kicad, I plot my board (F.Cu and Edges.Cuts layers) in gerber format after placing a Drill and Place Offset. I also generate a drill file.

On FlatCam, I open F.Cu.gbr and Edge.Cuts.gbr gerber files and .drl drill file.
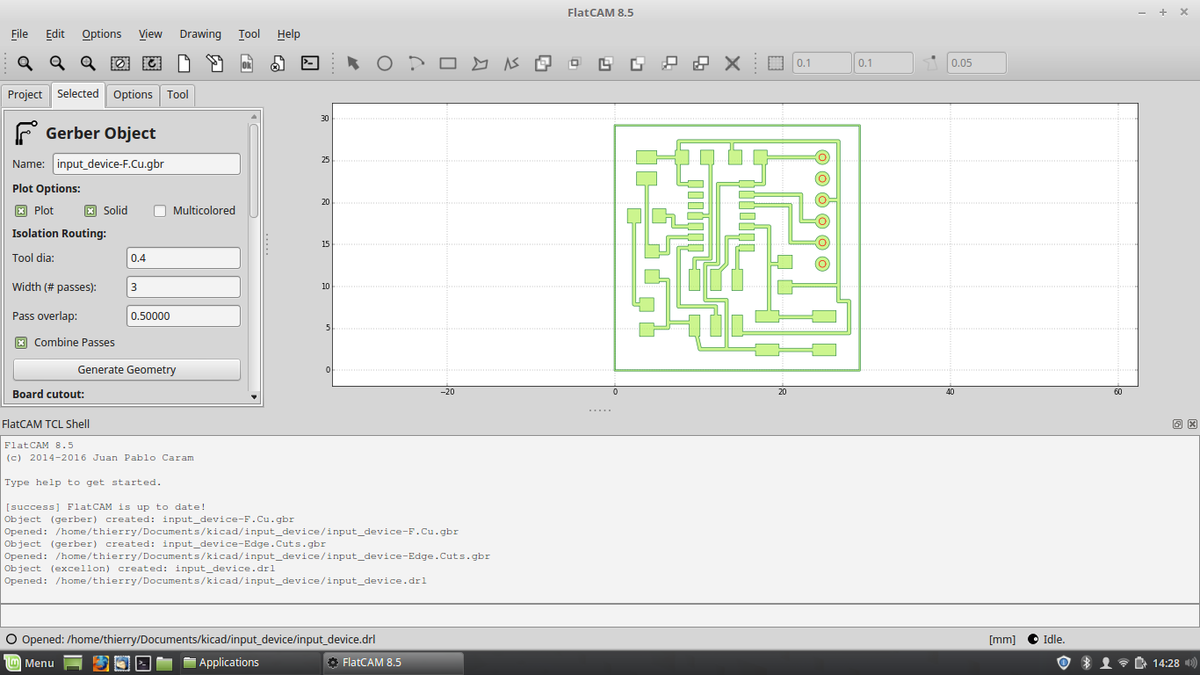
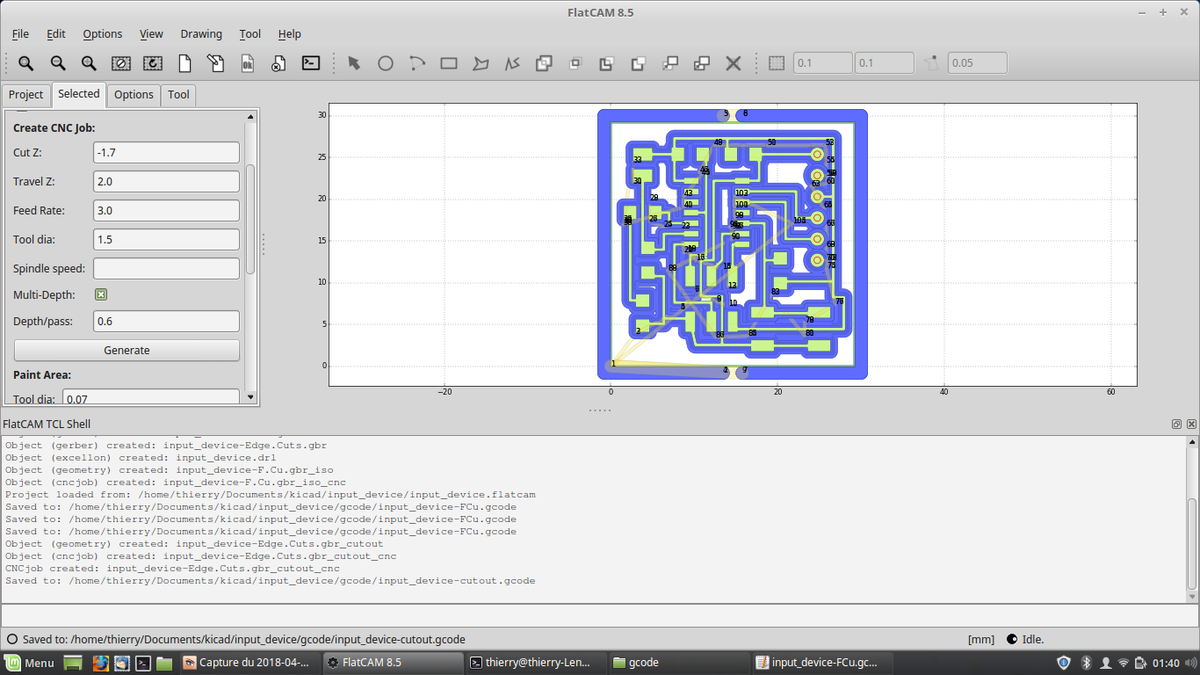
After double click on F.Cu or go to selected tab, I set parameters (in mm):

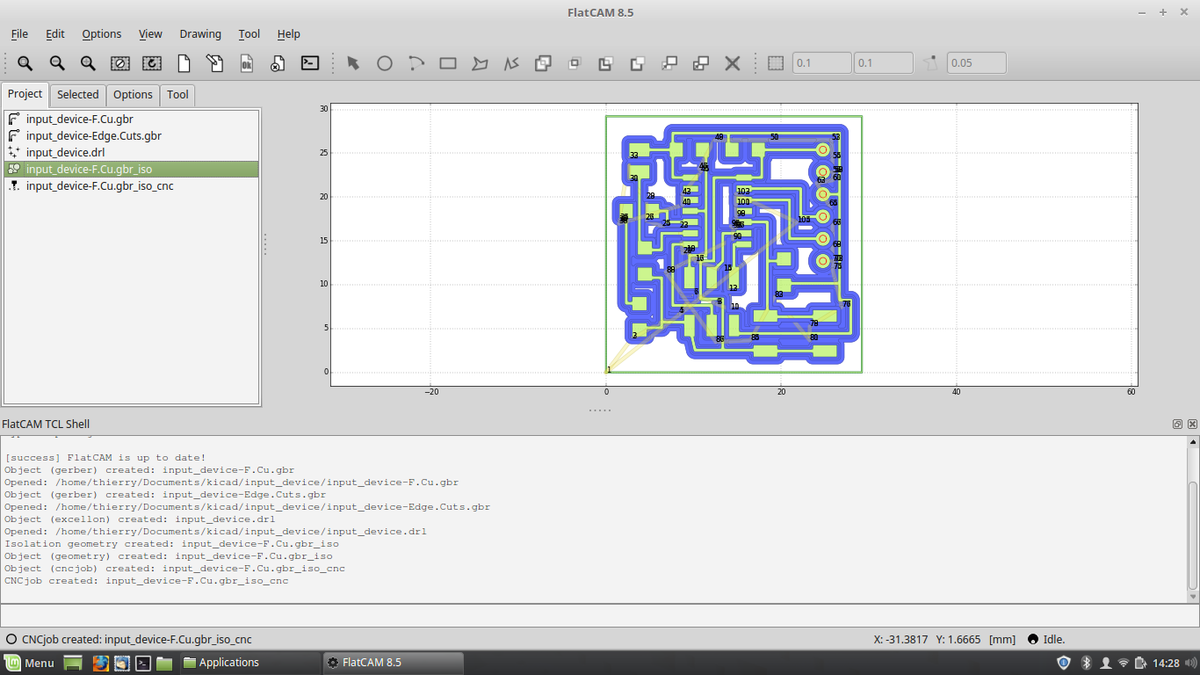
Then, click on generate. It creates a .gbr_iso file with wich you can export a gcode file.

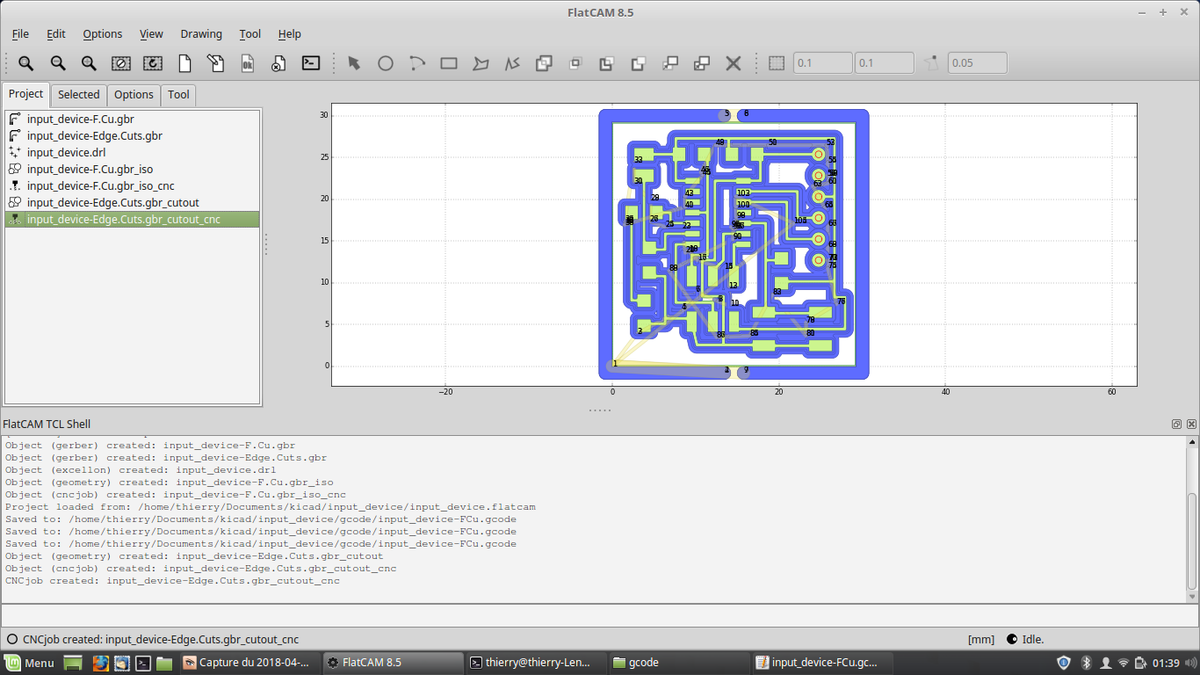
For Edge cuts, parameters are:

Then, click on generate Geometry. It creates a .gbr_cutout file in wich you have to set other parameters :

Then you can export a gcode file.

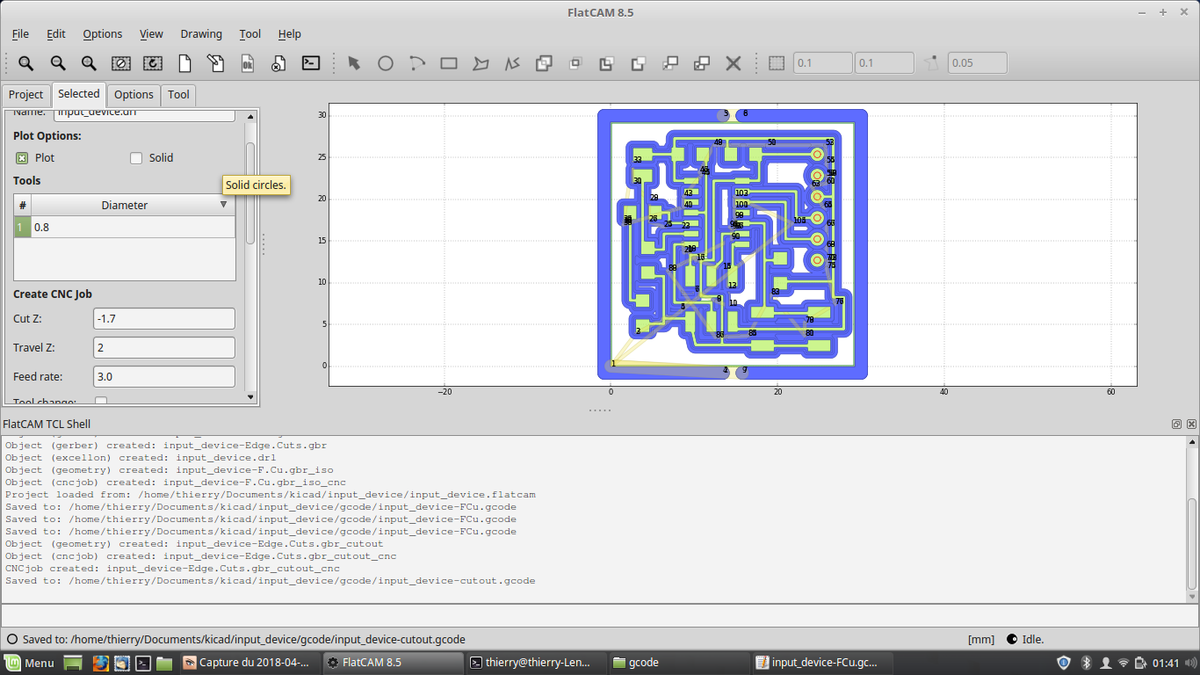
I did the same for drill file setting depth to -1.7mm.

Kicad Kicad FlatCam FlatCam FlatCam FlatCam FlatCam FlatCam

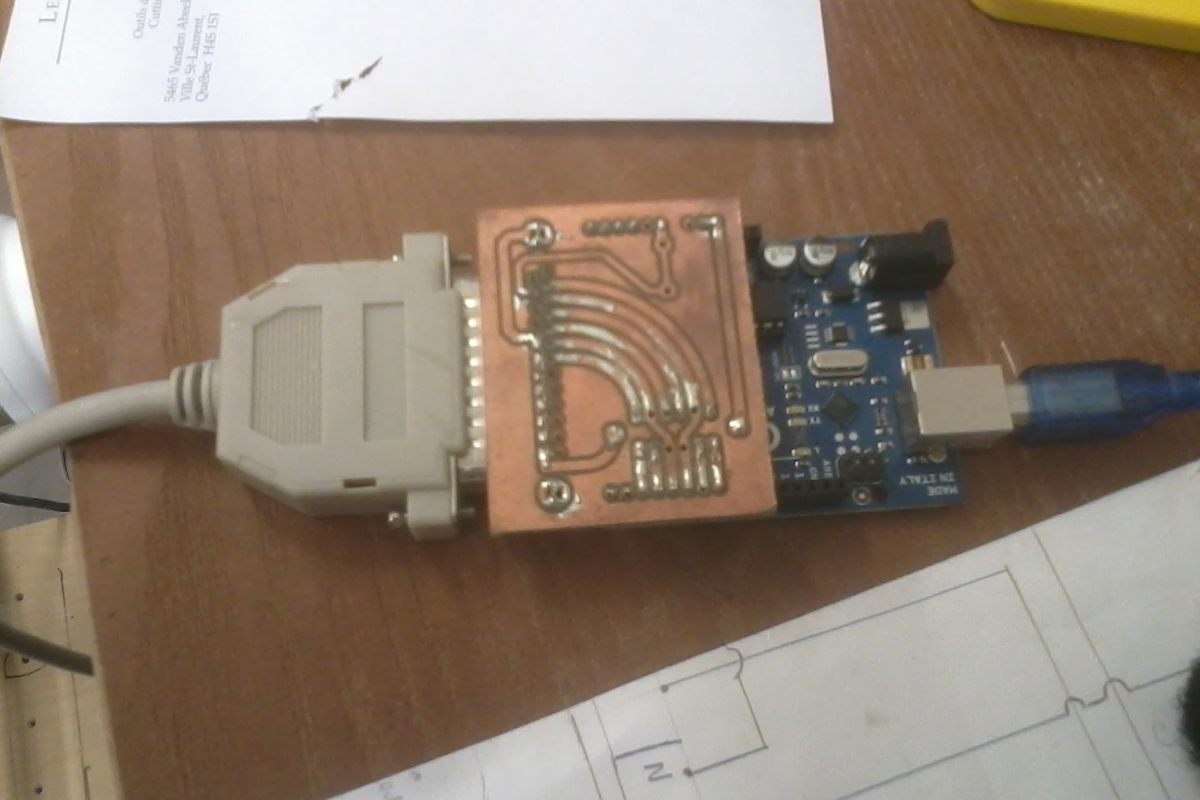
Milling and solding my board

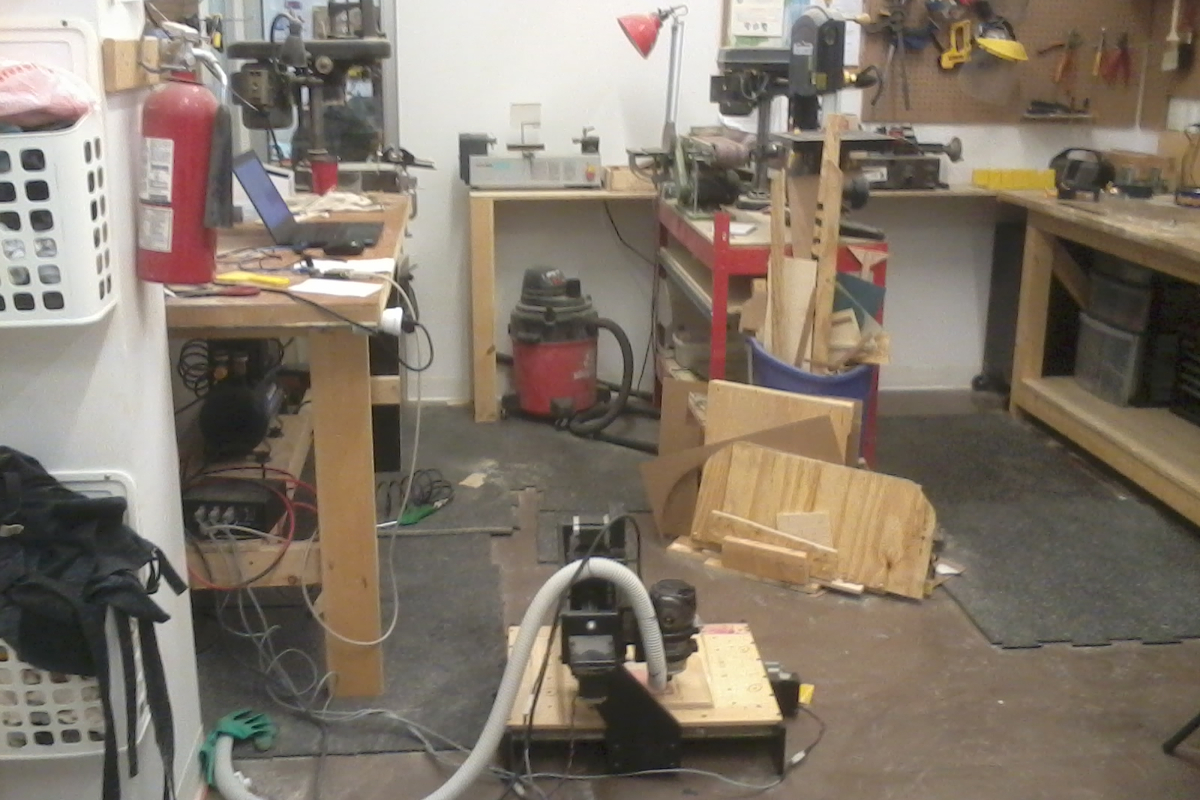
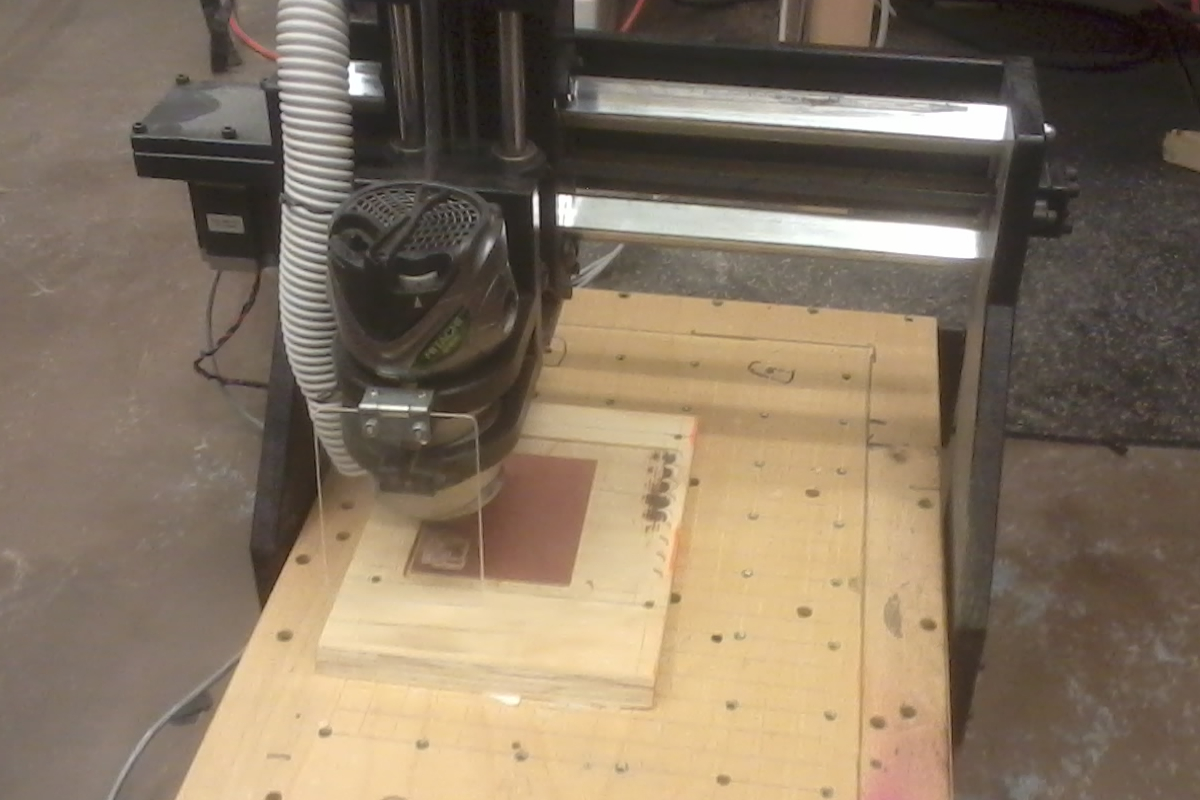
I am in EchoFab (Montreal) this week and will engrave my board on a different CNC I usually use.

First, I had a look at gcode to see how it's written.
gcode header is:

G21
G90
G94
F3.00
G00 Z2.0000
M03
G4 P1

F3.00 is linear speed when mill is milling. As I didn't know thix CNC unit system, so I tried in the air. Moving were too slow, so I change the value until it seems to be good.final value I keep is 80.0

M03 is to start spindle. As spindle has to be start by hand, I simplified the gcode header in:

G21 (coordinates are in mm)
G90 (commands are in absolute coodinates)
F80.00 (linear speed)
G00 Z2.0000 (goto z=2 mm)

DIY CNC DIY CNC DIY CNC Input device Board

Programs on input device board

Because, I am not in Paris, I didn't have an easy access to multimeter or other control devices.
So, I made different programs to control my board and see if all work right before making my final program.

Led test

/*
 * input device
 * led test : just blink twice a second
*/


const int ledPin = 8;

void setup() {
  pinMode(ledPin, OUTPUT);
}

void loop() {
  digitalWrite(ledPin, HIGH);
  delay(500);
  digitalWrite(ledPin, LOW);
  delay(500);
}

Switch test

/*
 * input device
 * Switch test : turn the led on when switch button is pressed.
*/


const int ledPin = 8;
const int switchPin = 3;
int switchState = 0;

void setup() {
  pinMode(ledPin, OUTPUT);
  pinMode(switchPin,INPUT);
}

void loop() {
  switchState = digitalRead(switchPin);
  if (switchState) {
    digitalWrite(ledPin, LOW);
  } else {
    digitalWrite(ledPin, HIGH);
  }
}

FSR test

/*
 * input device
 * fsr test : make the led blink faster when you press the FSR sensor.
*/


const int ledPin = 8;
const int fsrPin = 7;

void setup() {
  pinMode(ledPin, OUTPUT);
}

void loop() {
  int value = analogRead(fsrPin);
  if (value==0) {
    digitalWrite(ledPin,LOW);
  } else {
    value = map(value,0,1023,500,20);
    digitalWrite(ledPin,HIGH);
    delay(value);
    digitalWrite(ledPin,LOW);
    delay(value);
  }
}
First Programs on input device board

/*
 * FSR 1.0
 * send a value twice a second
*/

 
#include <SoftwareSerial.h>
#define rxPin 0
#define txPin 1
 
const int ledPin = 8;
const int fsrPin = 7;

SoftwareSerial serial(rxPin,txPin);
 
void setup() {
  pinMode(ledPin, OUTPUT);
  serial.begin(9600); //open serial communication
}
 
void loop() {
  int value = analogRead(fsrPin);
  serial.println(value);
  digitalWrite(ledPin,HIGH); // make a flashlight when sending a datastrong>
  delay(20);
  digitalWrite(ledPin,LOW);
  delay(980);
}

/*
 * FSR 2.0
 * turn off and on with the switch button
 * if on, send a value twice a second
*/

 
#include <SoftwareSerial.h>
#define rxPin 0
#define txPin 1
 
const int ledPin = 8;
const int fsrPin = 7;
const int switchPin = 3;
int switchPrevious = 1;
int switchState = 0;
int isOn = 1;

SoftwareSerial serial(rxPin,txPin);
 
void setup() {
  pinMode(ledPin, OUTPUT);
  pinMode(switchPin,INPUT);
  switchPrevious = digitalRead(switchPin);
  serial.begin(9600);
}
 
void loop() {
  switchState = digitalRead(switchPin);
  if ((switchState == 0) && (switchPrevious == 1)){
    isOn = 1 - isOn;
  }
  if (isOn) {
    int value = analogRead(fsrPin);
    serial.println(value);
    digitalWrite(ledPin,HIGH);
    delay(20);
    digitalWrite(ledPin,LOW);
    delay(480);
  } else {
    delay(20);
  }
  switchPrevious = switchState;
}

In the third version, the program answer serial commands from the computer instead of switch button states

/*
 * FSR 3.0
 * answer to serial command:
 * R : read return fsr value
 * L : listen return fsr value twice a second
 * S : stop listening
*/

 
#include <SoftwareSerial.h>
#define rxPin 0
#define txPin 1
 
const int ledPin = 8;
const int fsrPin = 7;
int isOn = 0;

SoftwareSerial serial(rxPin,txPin);

void fsrSend() {
  int value = analogRead(fsrPin);
  serial.println(value);
  digitalWrite(ledPin,HIGH);
  delay(10);
  digitalWrite(ledPin,LOW);
  delay(10);
}
 
void setup() {
  pinMode(ledPin, OUTPUT);
  serial.begin(9600);
}
 
void loop() {
  if (serial.available()) {
    char inChar = (char)serial.read();
    switch (inChar) {
      case 'R':
        fsrSend();
        break;
      case 'L':
        isOn = 1;
        break;
      case 'S':
        isOn = 0;
        break;
      default:
        serial.println("error");
    }
  }
  if (isOn) {
    fsrSend();
    delay(480);
  }
}

Final Program

On the final version, I also had a calibration command.
You just need to put a weight on your sensor and use 'C' command or press the switch button and current weight is scale to 1,000 units until you don't recalibrate.

/*
 * FSR 4.0
 * answer to serial command:
 * R : read return fsr value
 * L : listen return fsr value twice a second
 * S : stop listening
 * C : calibrate
*/

 
#include<SoftwareSerial.h>
#define rxPin 0
#define txPin 1
 
const int ledPin = 8;
const int fsrPin = 7;
const int switchPin = 3;
int switchPrevious = 1;
int isOn = 0;
int calib = 1000;

SoftwareSerial serial(rxPin,txPin);

void fsrSend() {
  int value = analogRead(fsrPin);
  serial.println(map(value,0,calib,0,1000));
  digitalWrite(ledPin,HIGH);
  delay(10);
  digitalWrite(ledPin,LOW);
  delay(10);
}

void fsrCalibrate() {
  int value = analogRead(fsrPin);
  if (value >0) {
    calib = value;
  }
}
 
void setup() {
  pinMode(ledPin, OUTPUT);
  pinMode(switchPin,INPUT);
  switchPrevious = digitalRead(switchPin);
  serial.begin(9600);
}
 
void loop() {
  if (serial.available()) {
    char inChar = (char)serial.read();
    switch (inChar) {
      case 'R':
        fsrSend();
        break;
      case 'L':
        isOn = 1;
        break;
      case 'S':
        isOn = 0;
        break;
      case 'C':
        fsrCalibrate();
        break;
    }
  }
  int switchState = digitalRead(switchPin);
  if ((switchState == 0) && (switchPrevious == 1)){
    fsrCalibrate();
    
  }

  if (isOn) {
    fsrSend();
    delay(480);
  }
}

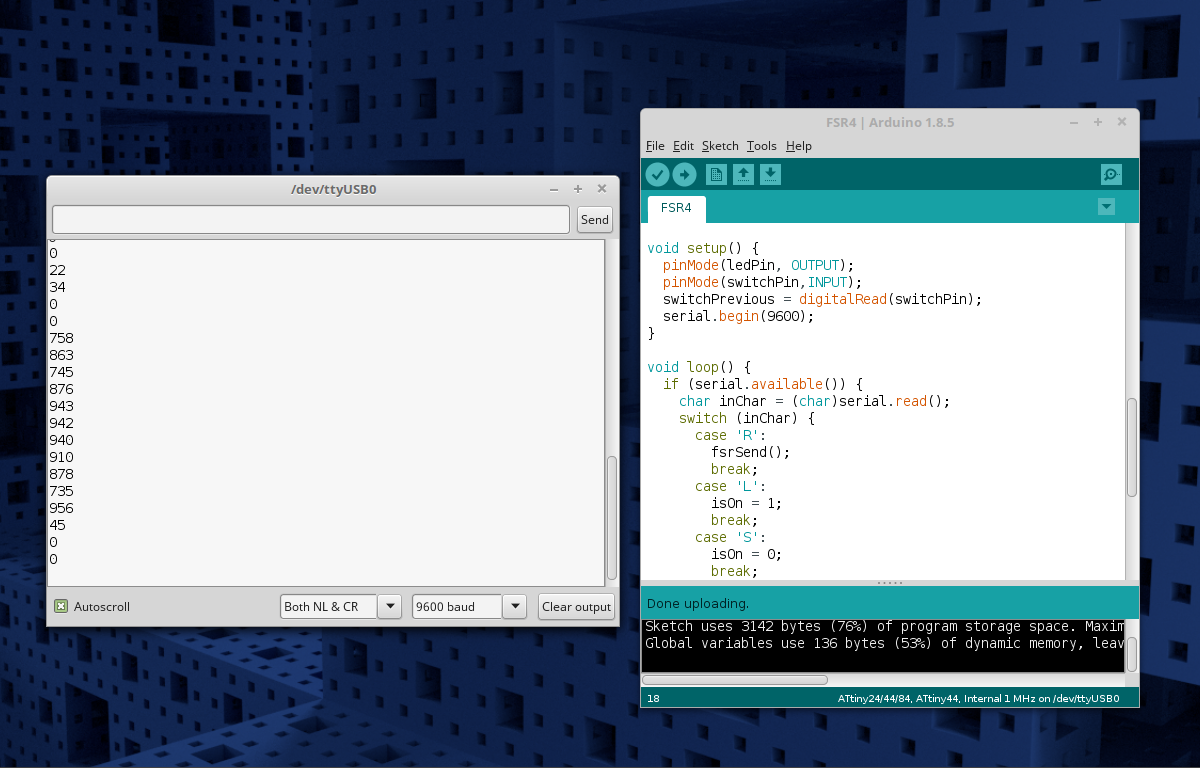
FSR4 program