Week 3: Computer-aided design
Assignment:
Model (raster, vector, 2D, 3D, render, animate, simulate, ...) a possible final project, and post it on your class page.
Raster. I've tried and used photoshp and gimp before, and lately I've been using paint.net for image editing. So I decided to take a look at Krita. At first sight, it looked like every other image editing software, toolbar on the left etc, so I randomly grapped a tool and tried out what it does. It became clear, that Krita is a tool for an artist. Problems started when I tried copy and paste. I made an selection, copied and pasted it. Now I had another layer, with pasted area on it. So instead of making a box, copying it, pasting it few times for a collection of boxes, I had one box, in multiple layers on the same spot. I went and took a look at basic concepts to see what I'm actually dealing with. I didnt find anything that would help me to make a simple copy, so I abandoned Krita before it could drive me into madness.
Vector. I decided to draw out my flying trays top deck. I've used Inkscape briefly before, when I was exploring fab lab for the first time. It was a simple picture, with cutting line around it to see how laser cutter worked. That in mind, I drew a circle. Quickly testing out I found that holding Ctrl while dragging makes perfect circle. I made line thickness 0.02mm because if memory serves that would be the cutting thickness.
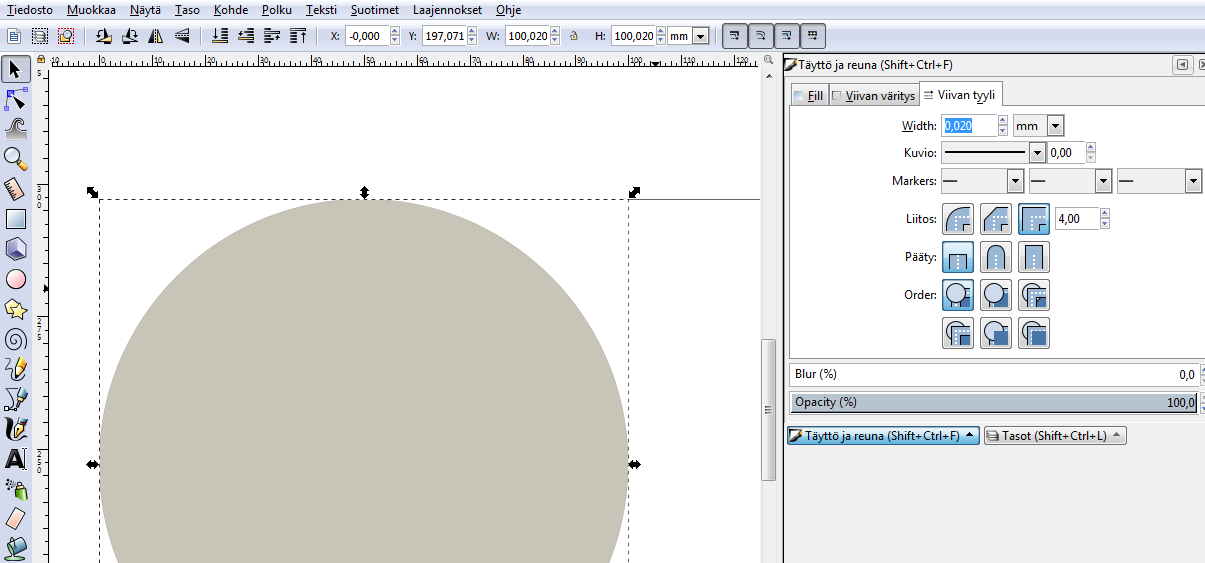
Next I made a new layer for air holes, so I wouldnt accidentally grab the bigger circle. Once again, holding ctrl down, I drew first one. Checking fill and line thickness was ok, I then proceeded copying and pasting the circles, moving them a bit for layout and I was done.
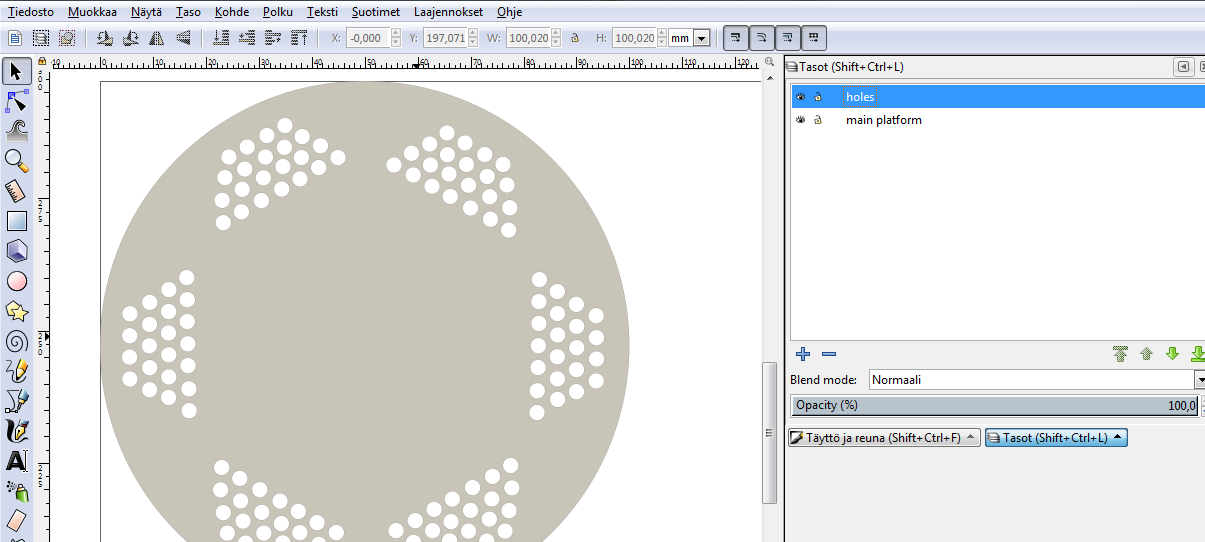
If it is going under lasercutter, fills need to removed. And to adjust scaling a bit. Using Inkscape feels very intuitive, mostly everything is where you presume it is and quessed keybinds most often hits right.deck.svg
3D, render. I used Blender as I was somewhat familiar with it. Plan was to model model my flying tray and render it. As Blender can import svg images, I took my Inkscape project and used it for starting point. Had to remove fills so it only displayed lines(deck_nofill.svg).
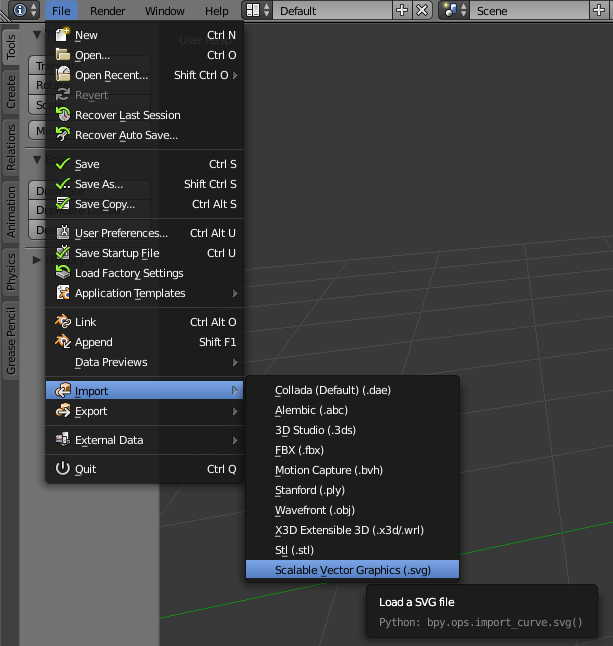
Next I wanted to join the pieces together, so hitting 'b' key and selecting all, then ctrl + j. Or you could go though menus.
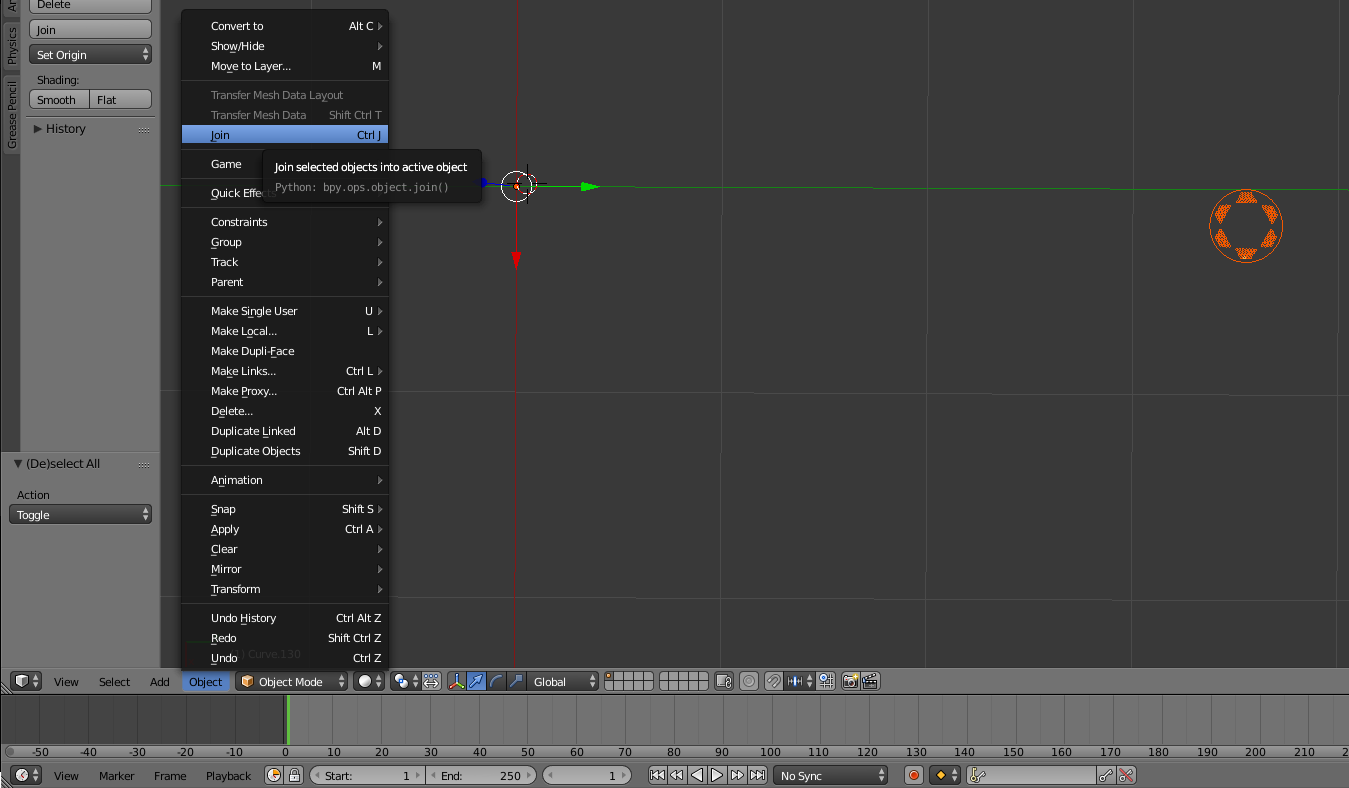
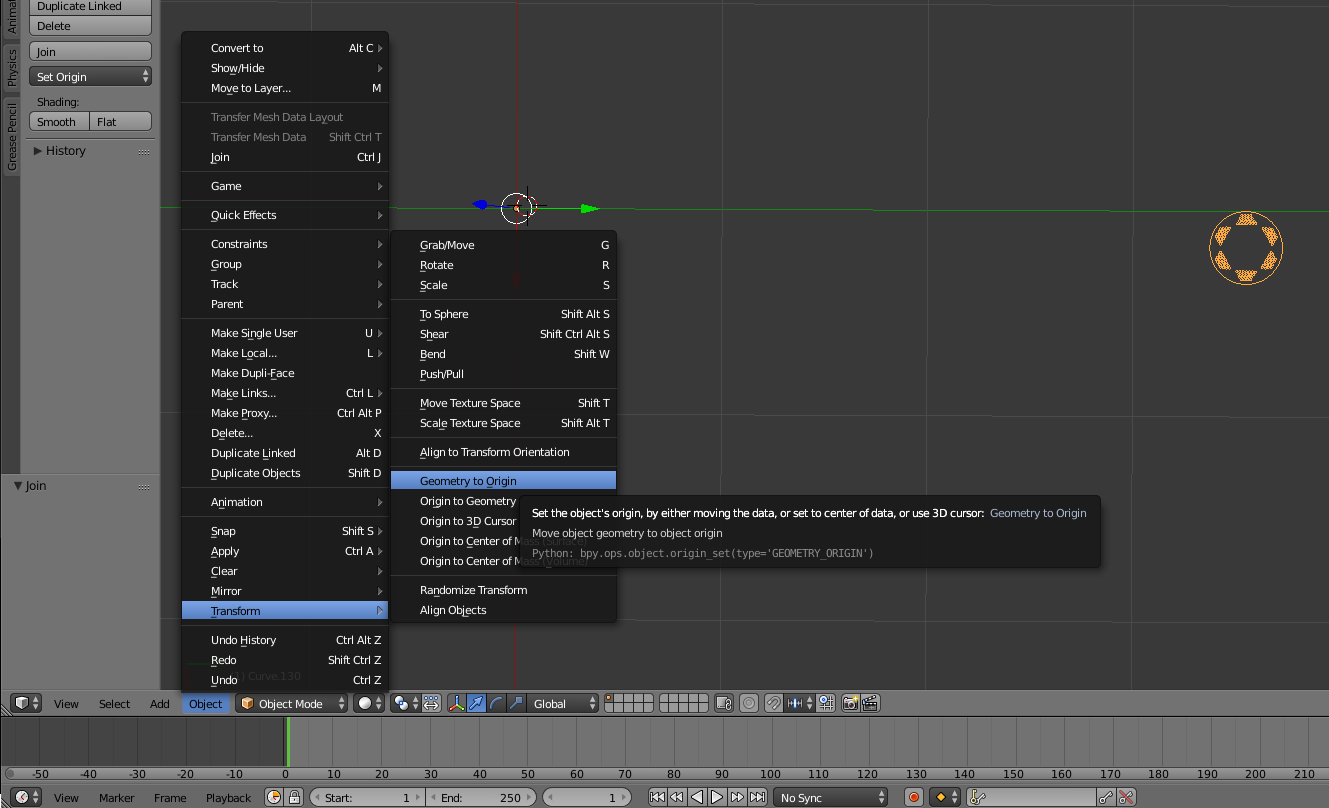
I noticed that origin point is way off, which makes scaling and operating frustrating, I moved geometry to origin point.
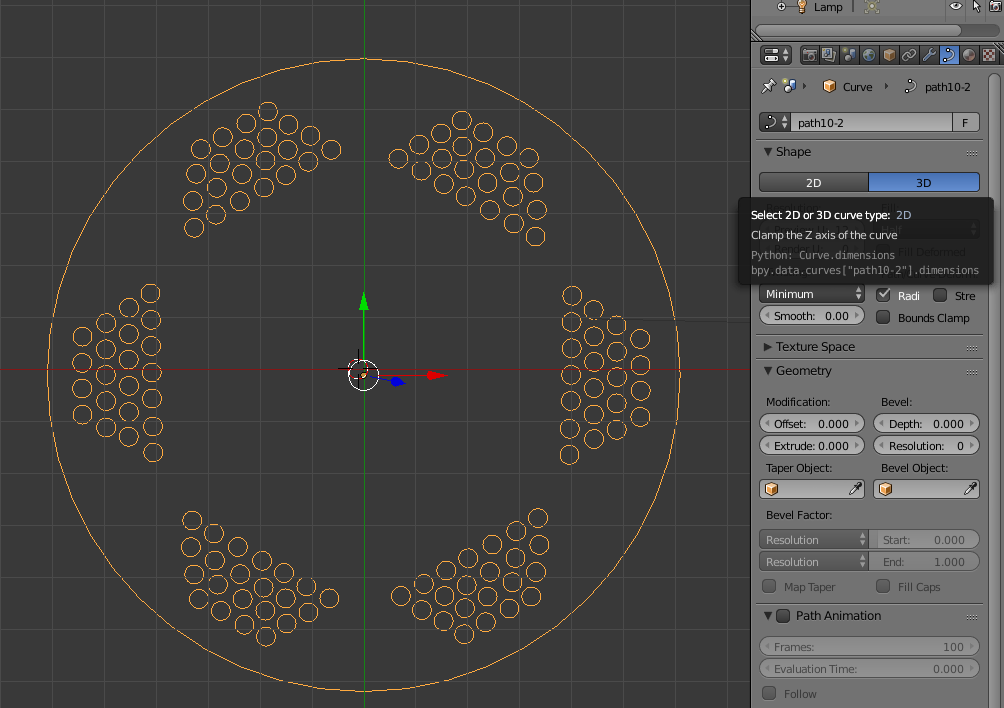
Next I scaled up the image a bit, and then selected data menu, which allows to extrude curves. Select 2D under shape.
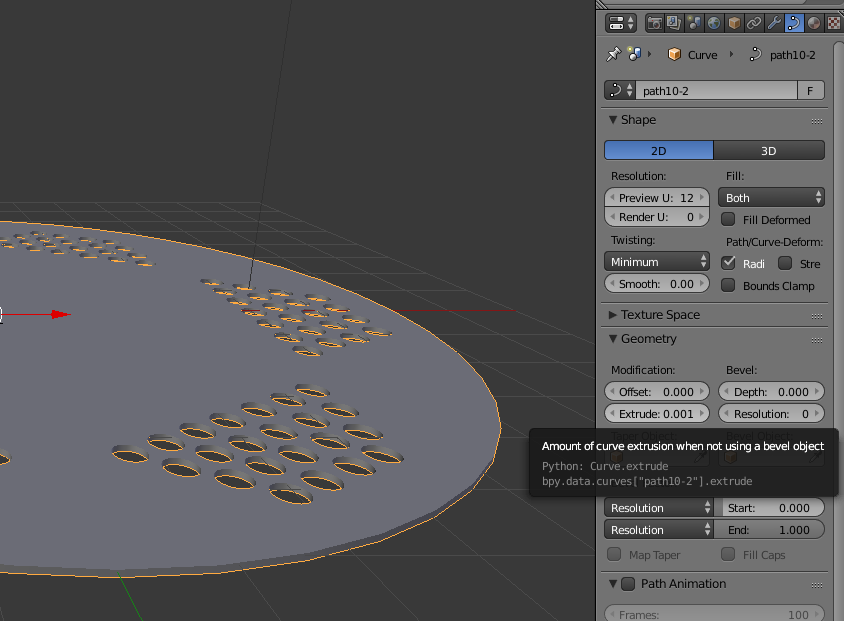
And then up extrude with one point.
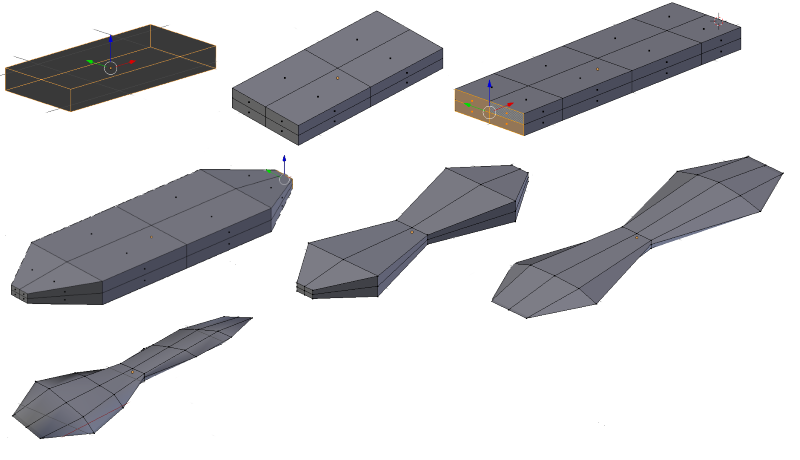
Modeling propellers was very basic. Create a cube and do some scaling, dividing and extruding, drag vertexes here and there and finally rotate a bit. I might go with commercial propellers, since I dont actually know what they should be like and what material.
Legs were done the same way. Start with a box and build your way down.
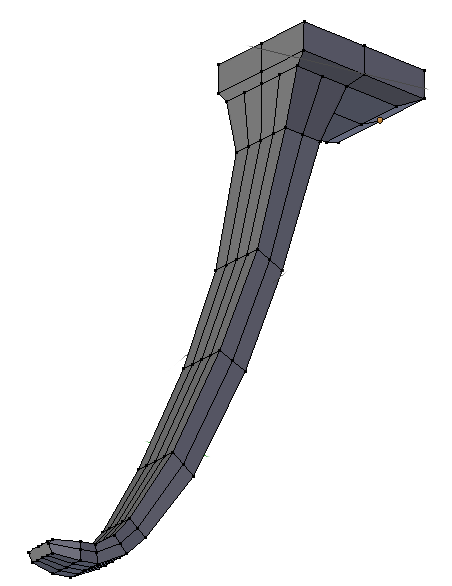
The central frame is ideally a box which holds circuit board, electronics and battery. The "spider legs" are propeller engine holders and protection for wiring. Again, the whole thing started as a simple box and was edited from there. Engines themselves were just plain cylinder primitives(shown in final image).

And finally, rendered image:

The use of Blender is perhaps not the most easiest of tasks, but it rarely is with 3D modeling softwares. The amount of keybinds you need to learn for smooth editing is quite a lot. I knew the most basic ones to start with, and it still took me a good while to make this happen.
Animate. Used Unity 3D and imported my blender project. Made script for propeller engine to just rotate around. Picture wont make it justice but here it is anyways.
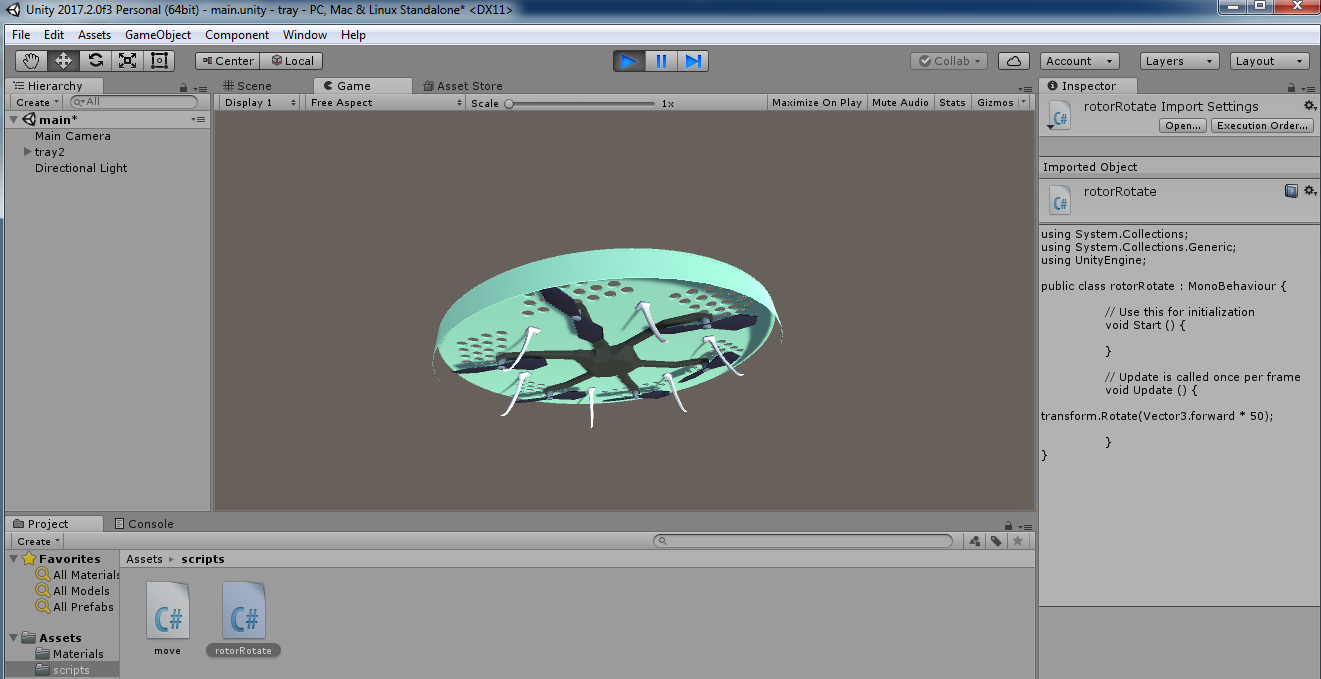
And added a quickly shot video too.
Files
deck.svgdeck.dxf
deck_nofill.svg
deck_nofill.dxf
FlyingTray.blend
FlyingTray.stl
Unity scene
Rotator script

