Groupwork
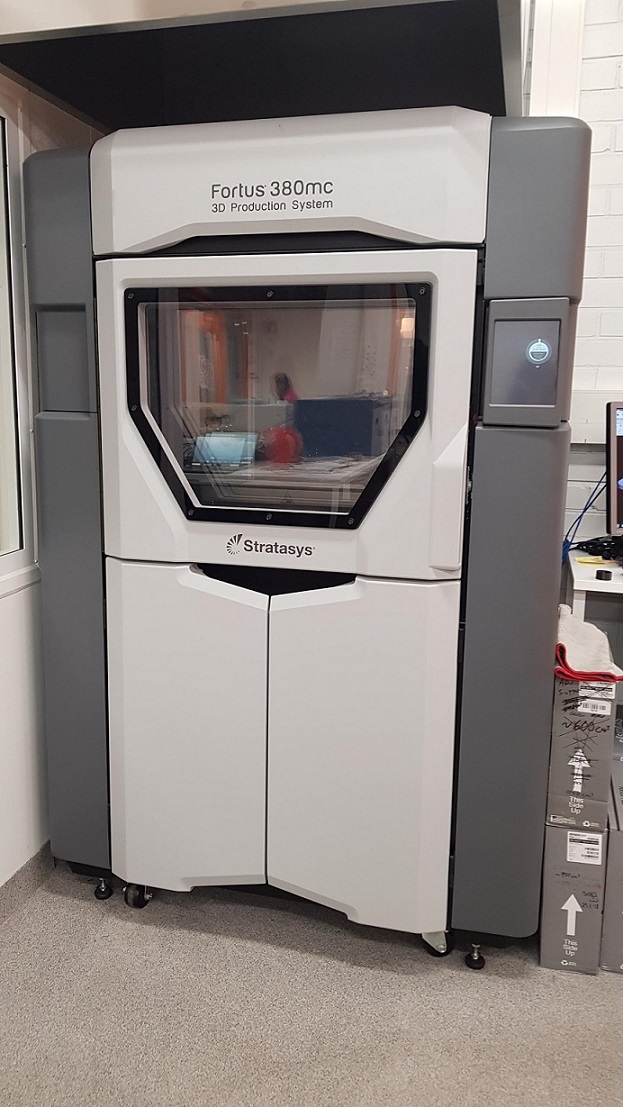
This weeks group work documentation concerning testing the design rules of the 3D printers at can be found under The FabLab Oulu Fabacademy site. I worked together with Marta, Peetu and Jari to test 3 printers: 1) Stratasys Fortus 380mc 3D that uses ABS (Acrylonitrile butadiene styrene) to print the models, 2) Sindoh 3D Vox that uses PLA (Polylactic acid) to print the models, and 3) FormLabs that uses stereolithography (SLA) to form the models from resin.
3D design
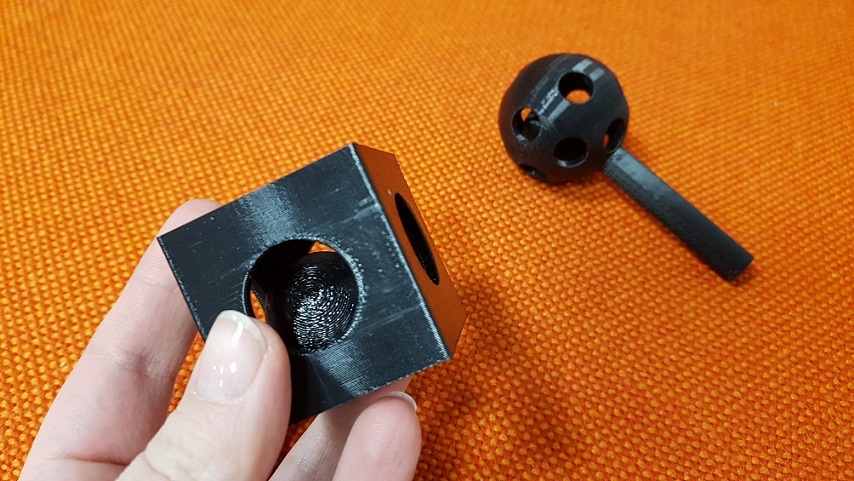
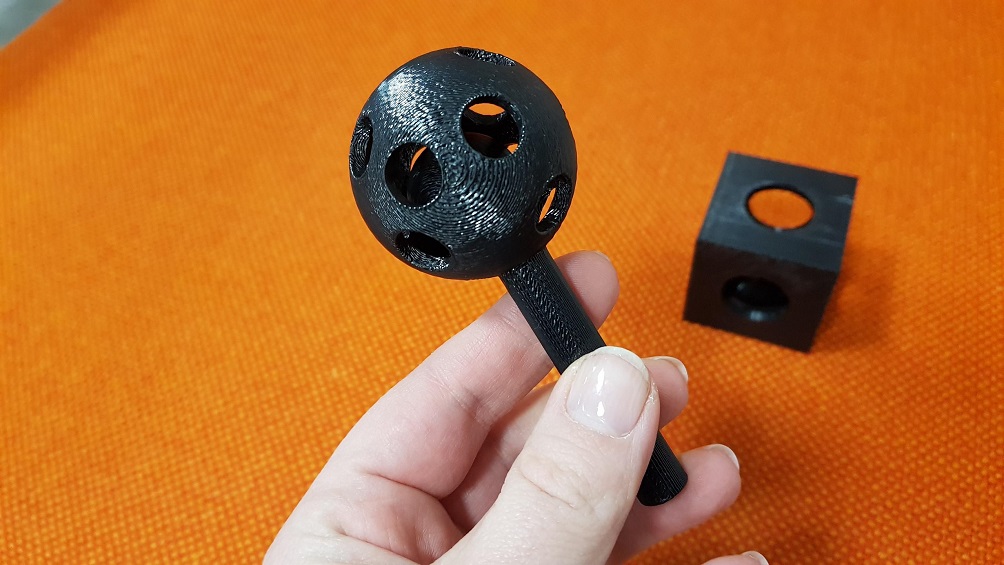
As I understood it, a design that can not be made subtractively, means creating a design that you cannot easily mill on a CNC mill or similar. I was further explained by local instructors that it means an item that can't be fabricated with 3 axis limitations or even if it could, it would be too complicated. I started out with a rather simple idea to print out a box with round holes on each side, and inside of it, a ball that is slightly larger than any of the holes. A simple rattle. I think that it can not be made subtractively as the drill bit could not "bend" to cut the insides of the box that consists of just one piece, and it could not bend to cut the the ball that is larger than the holes on the side.
I decided to do the design in Fusion360, and perhaps learn a little more in the process.
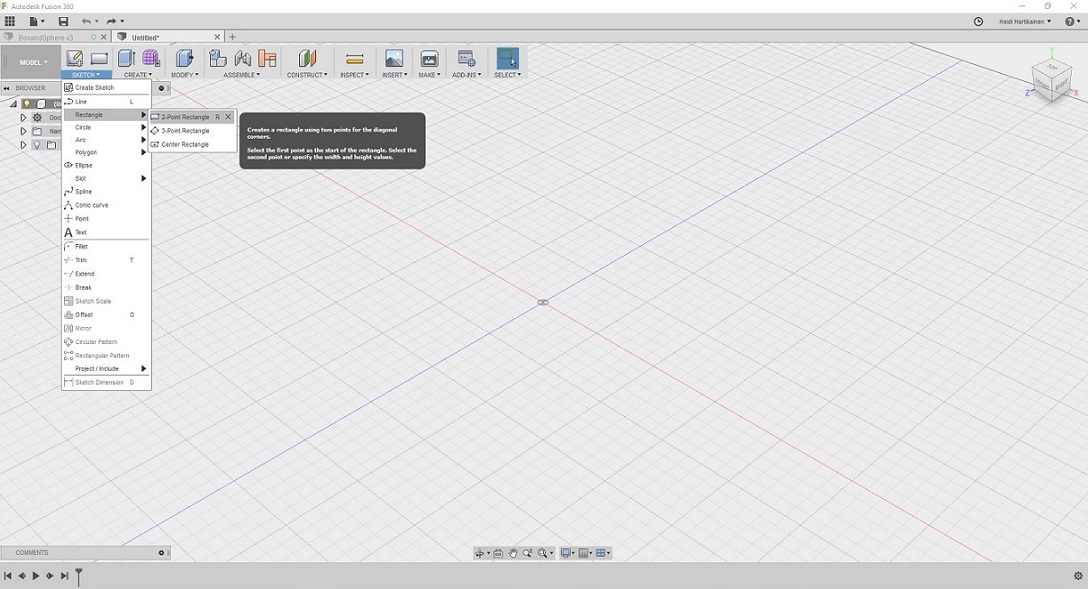
1. The first thing I did was open fusion 360, select sketch --> rectangle, and choose a plane where I wanted to place it.
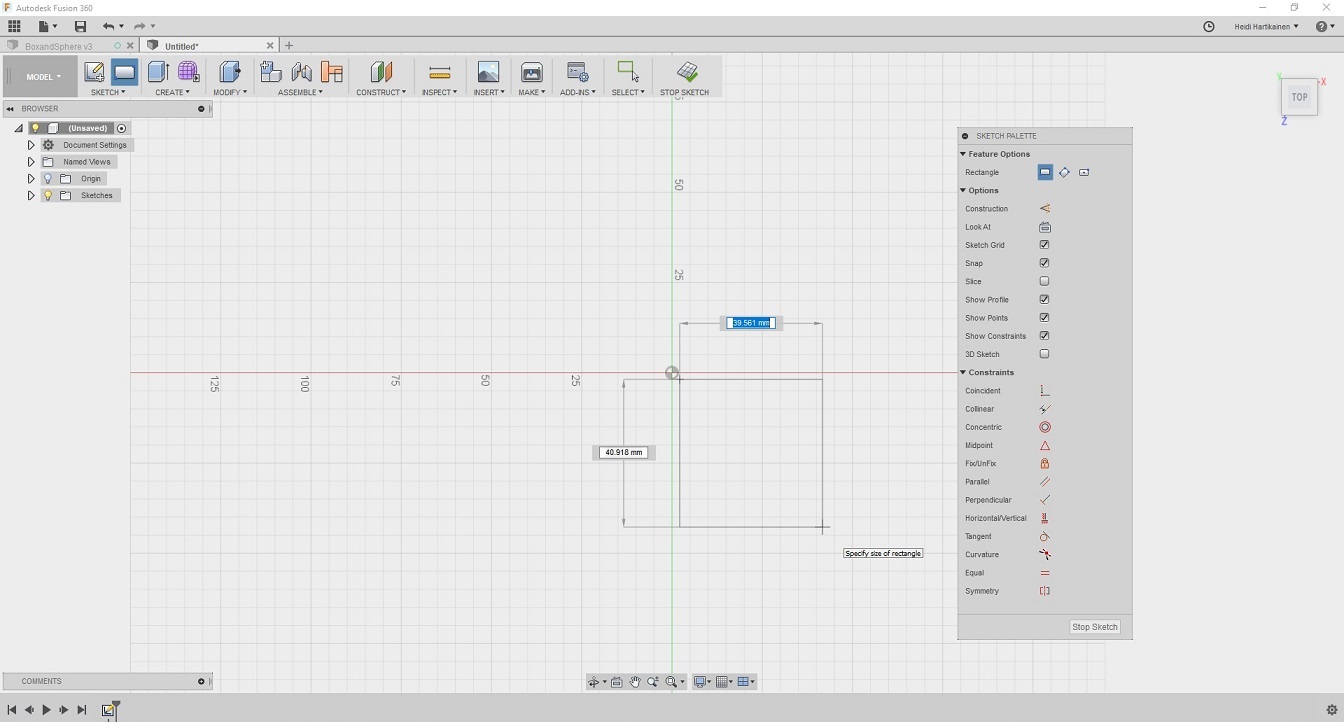
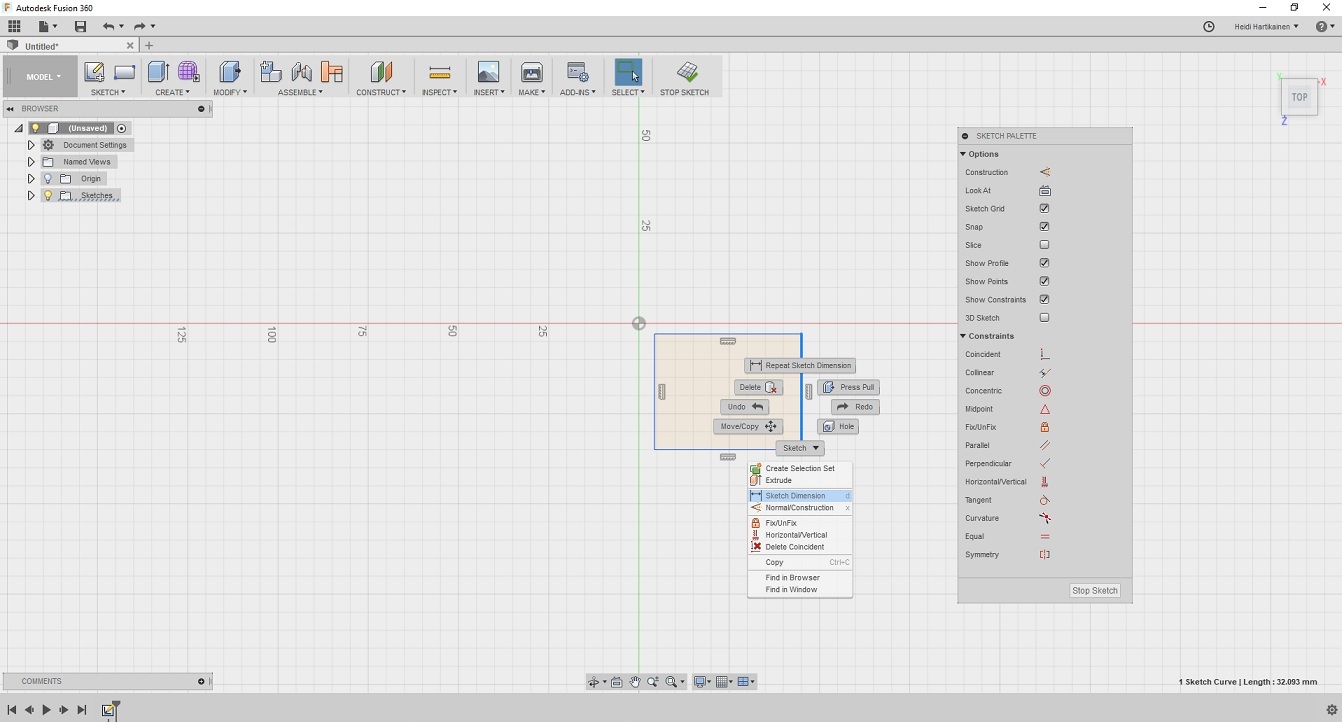
2. After the rectangle was in place, I defined that I wanted the sides to be 40mm. This is done by selecting the side you want to edit, and then right clicking you have the menu --> Skech dimension.
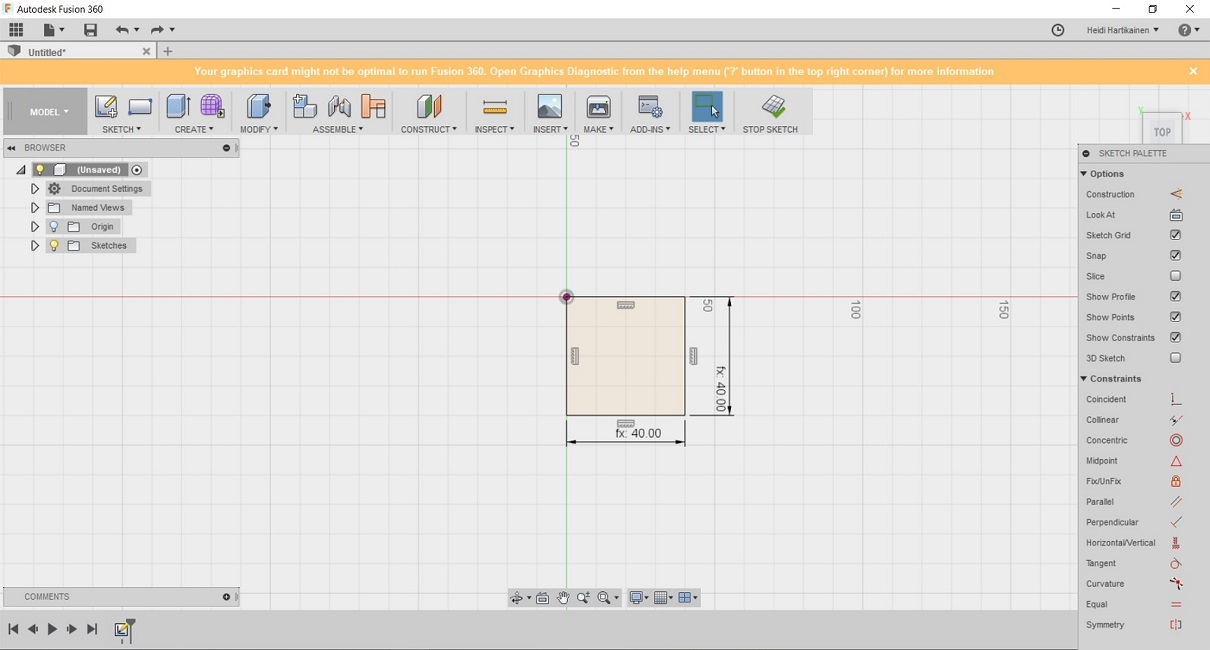
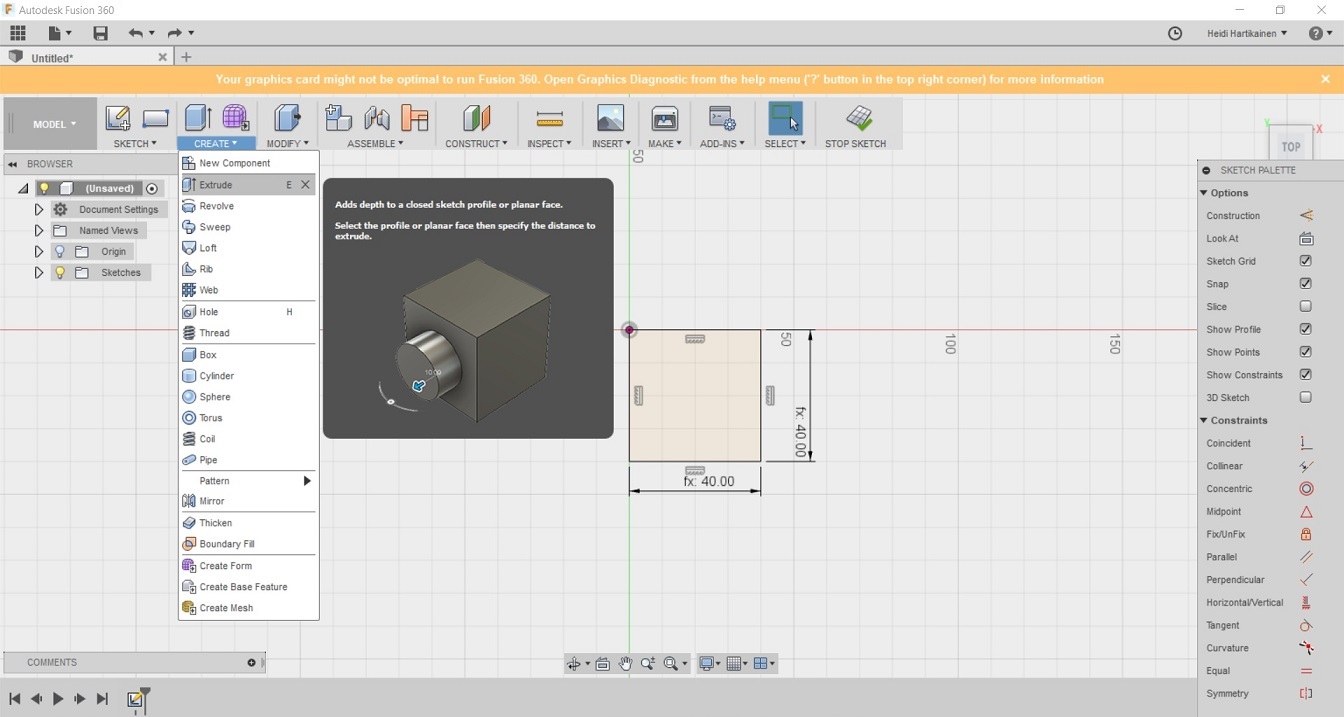
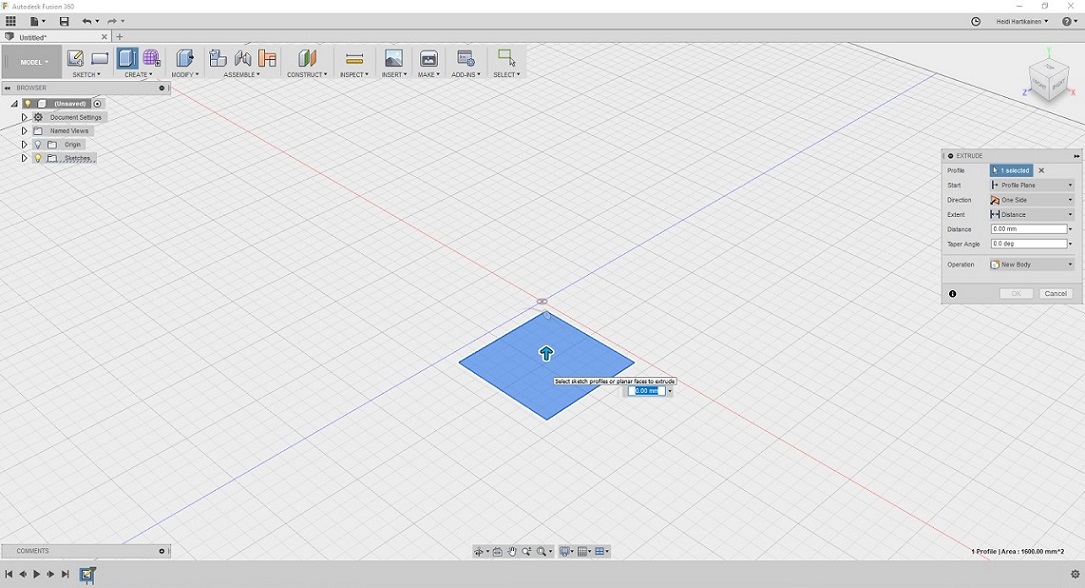
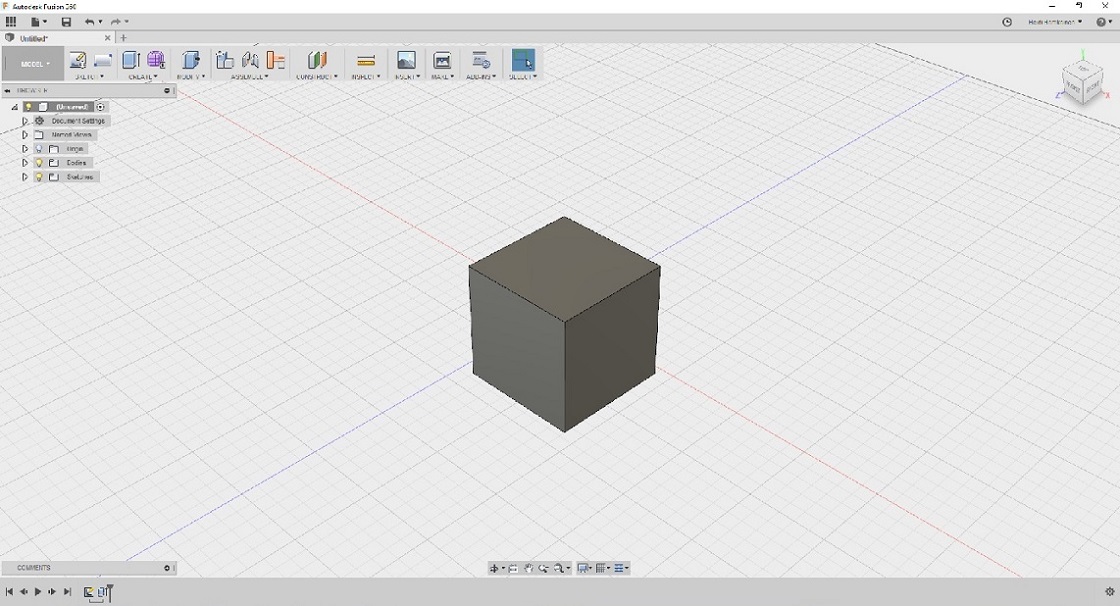
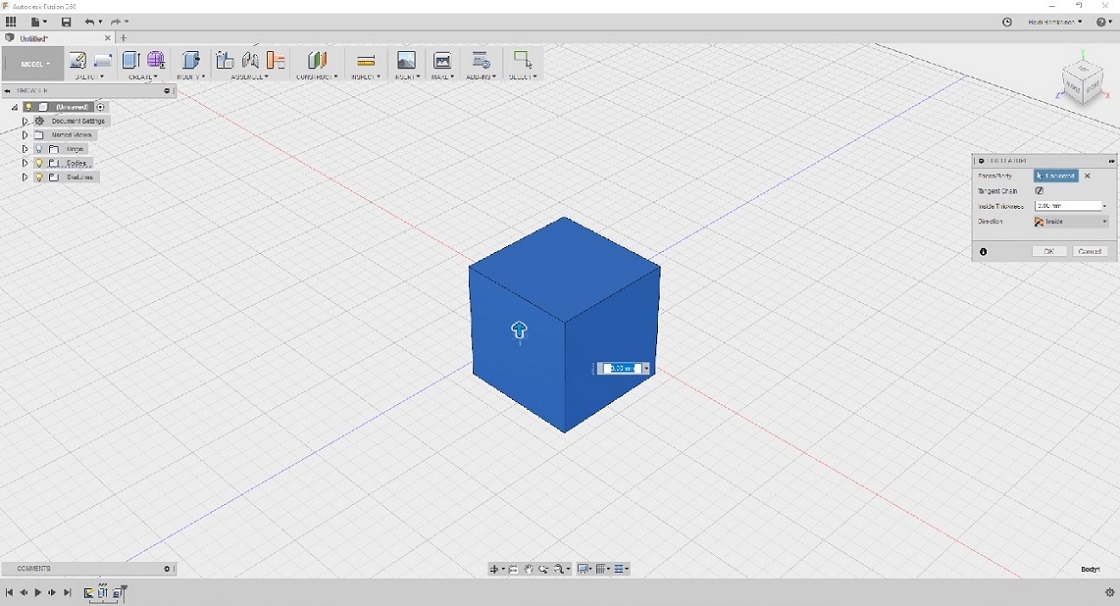
3. In order to turn the rectangle into a box, I used the extrude tool. I extruded the box the height of 40mm so all sides were now even.
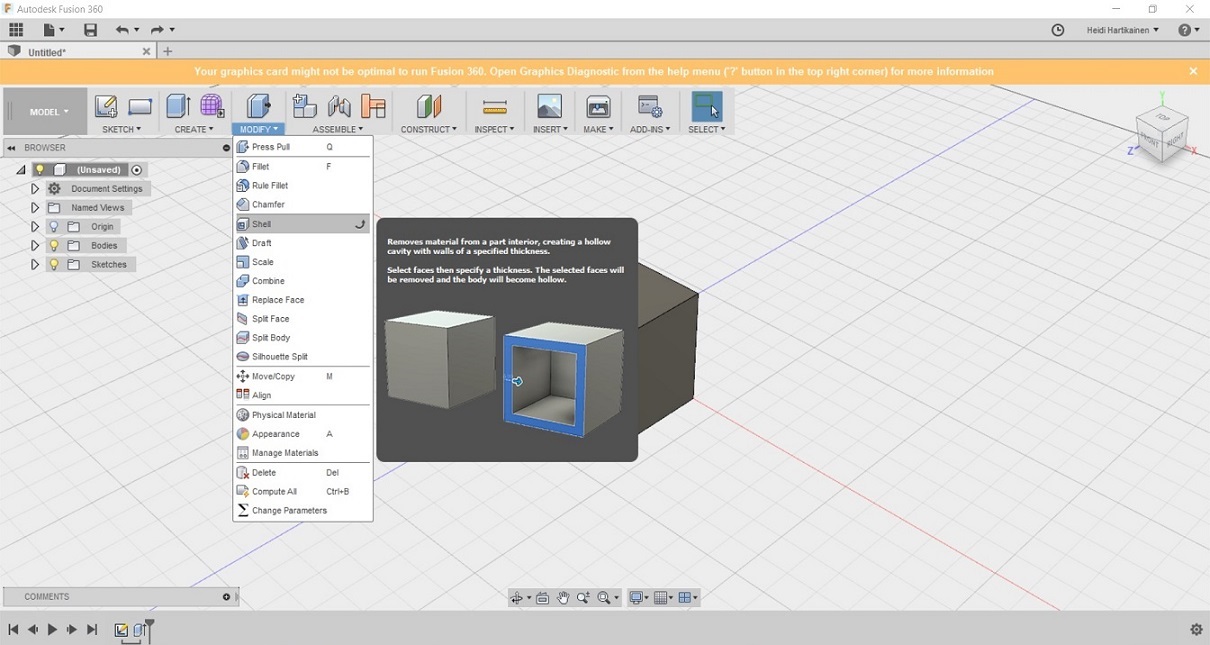
4. Next I wanted to make the box hollow. For this, I used the modify --> shell funtion. I selected the whole box, and then specified that I want the box to have a shell that is 3mm thick.
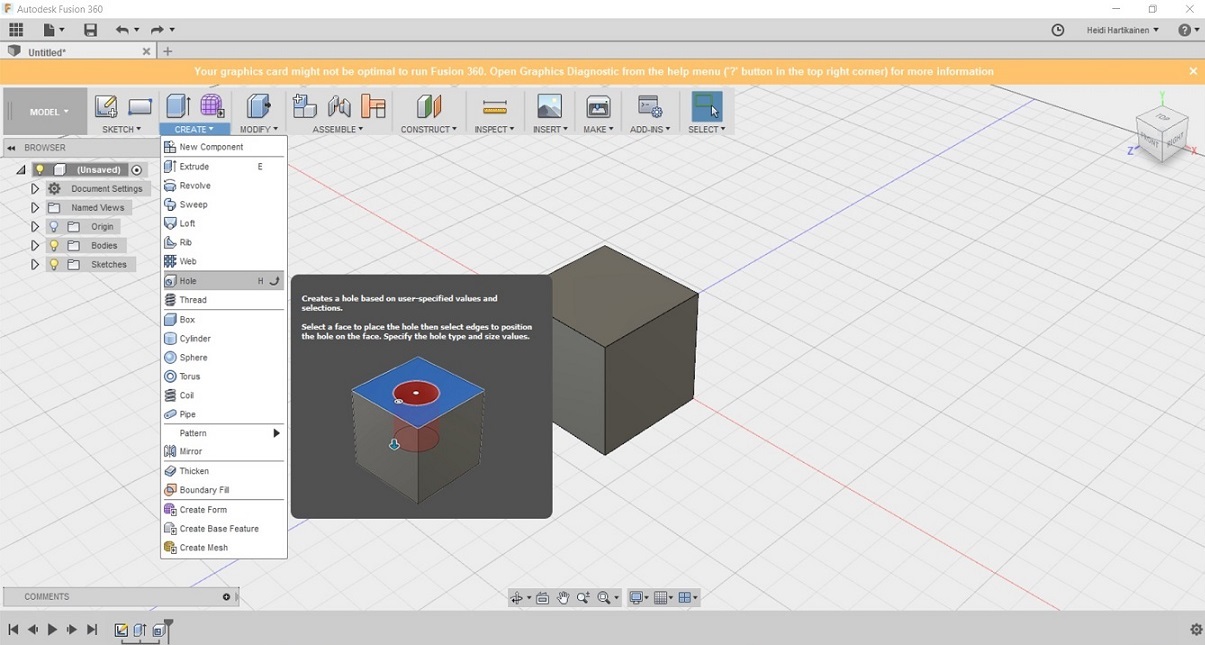
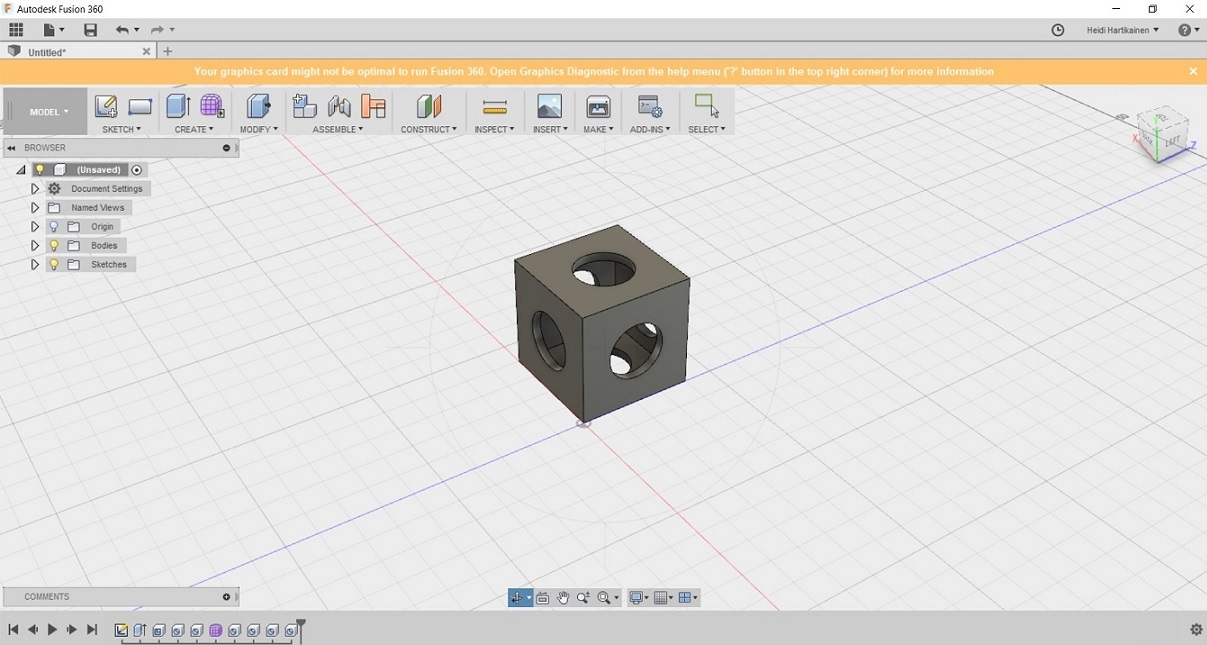
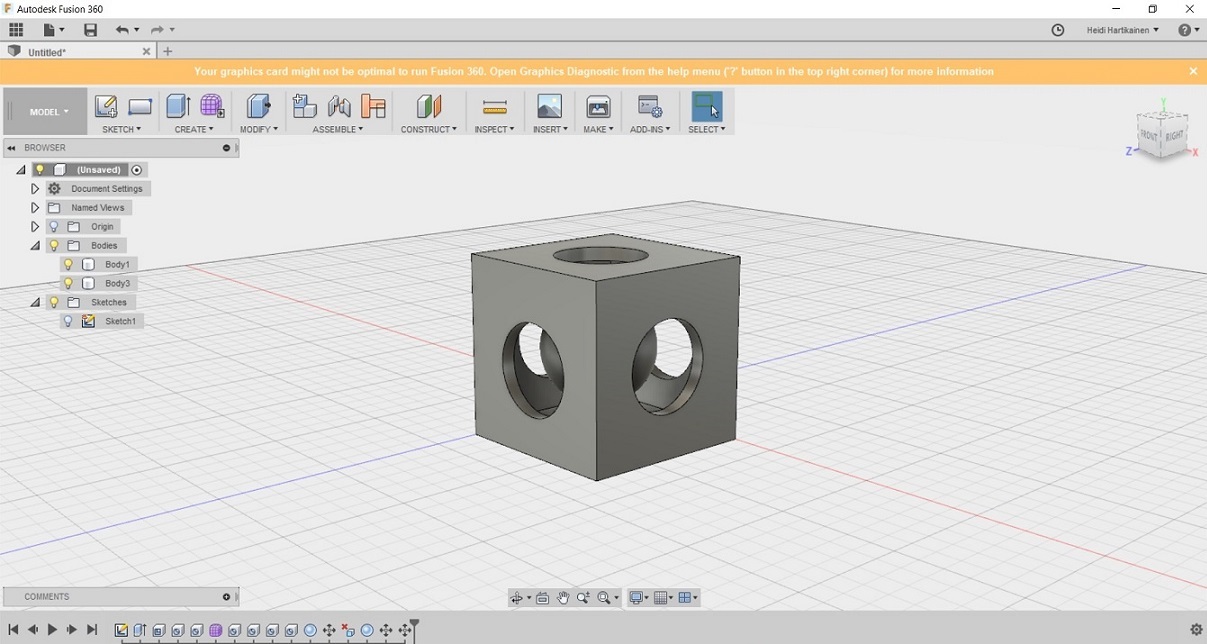
5. Then I wanted to do the round holes in each side of the box. This could be done with the create --> Hole function. I just turned the cube from one side to another, and stamped a hole on each side, specifying that the diameter of the hole should be 20mm.
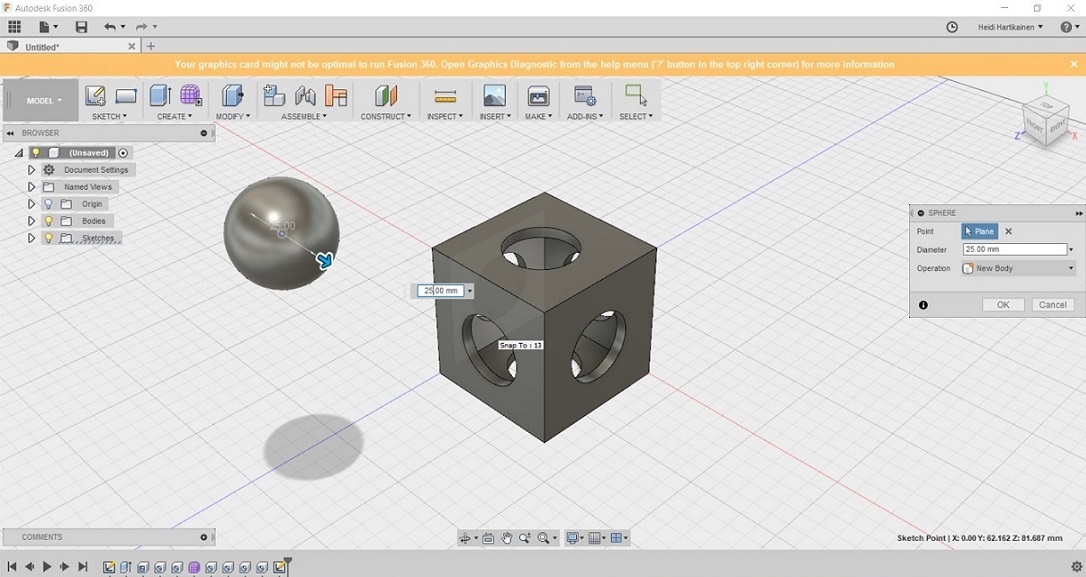
6. Then it was time to create the ball that goes inside the box. This was done by using the create --> Sphere function. I placed the sphere next to the box, and made sure the diameter of it was larger than that of the holes. I spefied it to be 25mm.

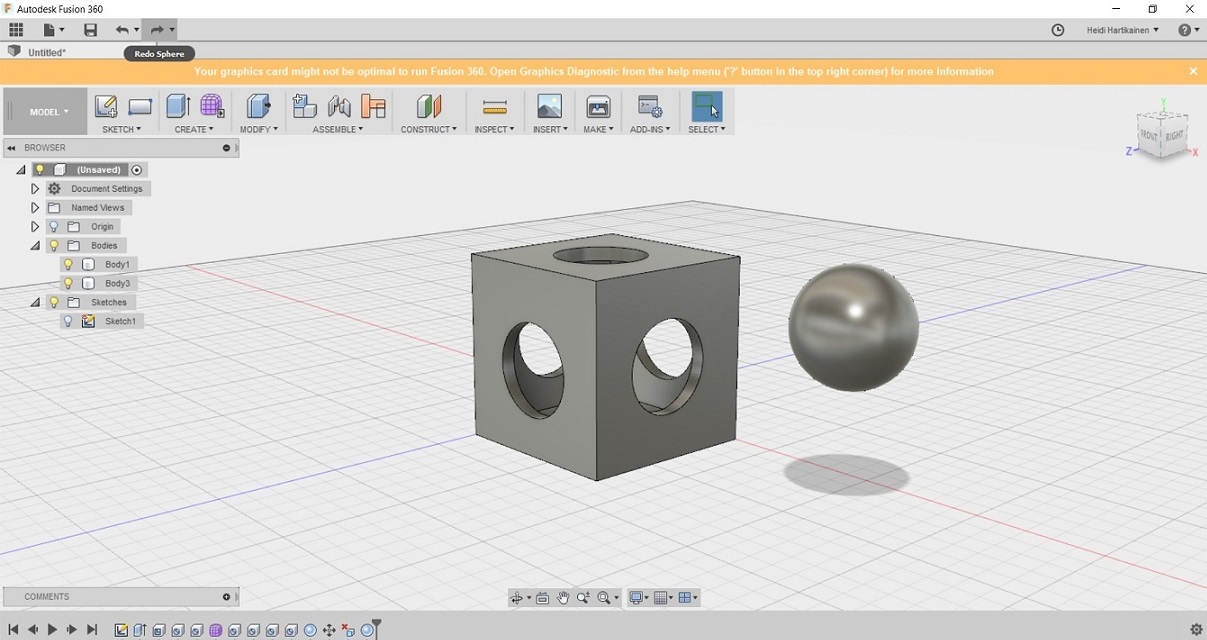
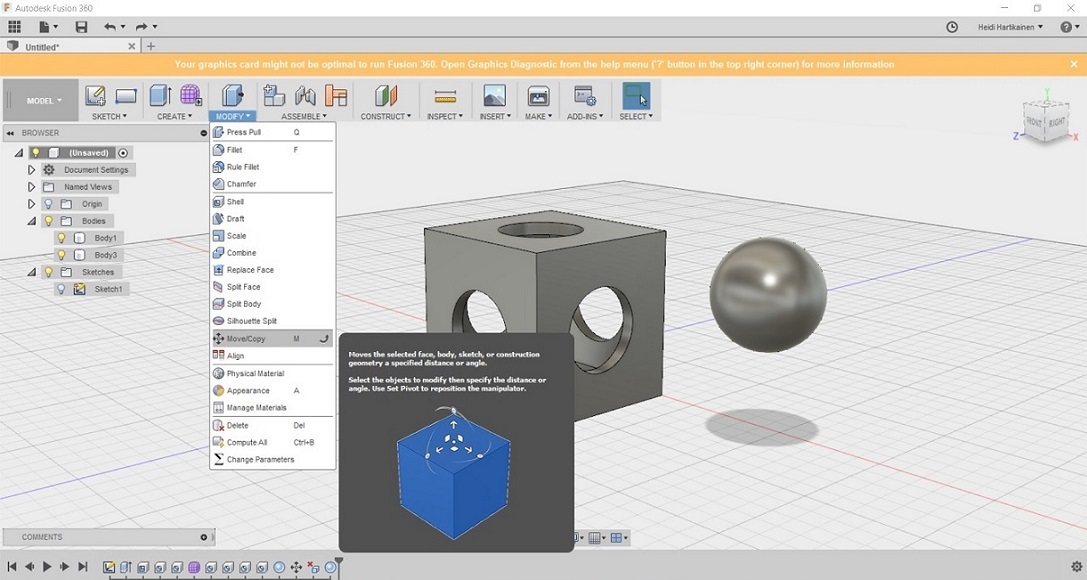
7. Next I moved the ball inside the box, by using create --> move/copy command. I selected the sphere, and just dragged in the good position, making sure it does not touch any of the sides.
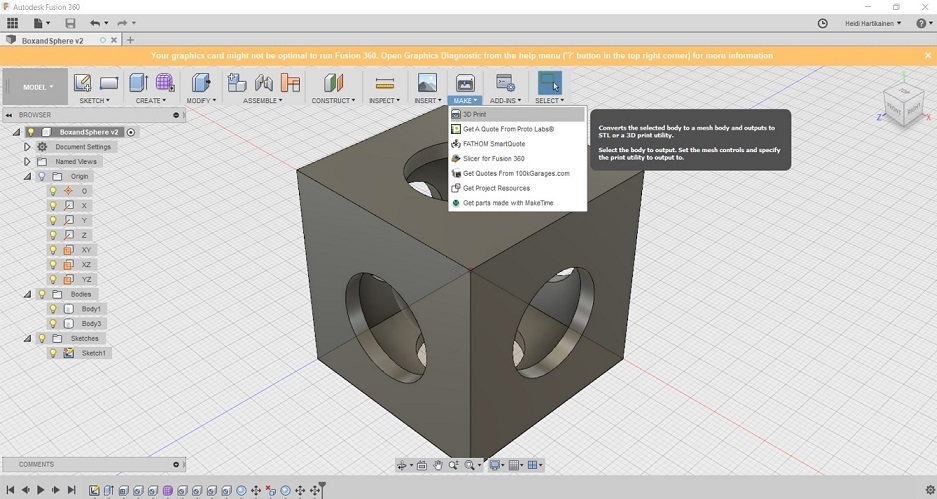
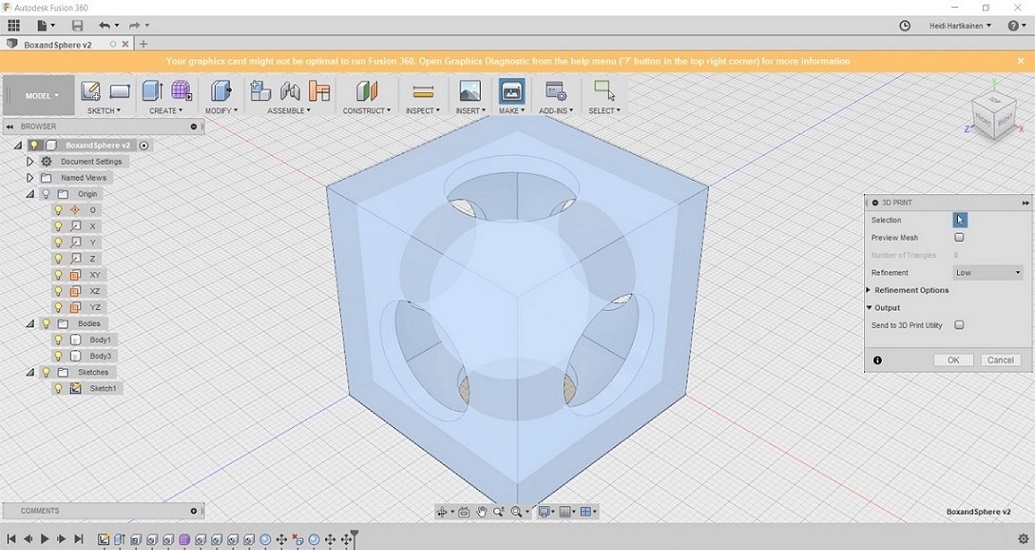
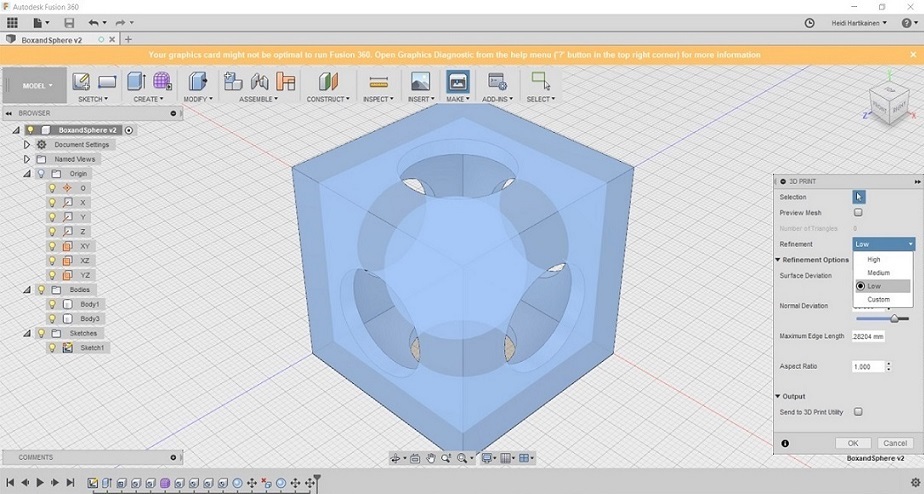
8. Once the design was ready, it was time to save it as an .stl file, so that I could use a 3D printer to print it.

When waiting for the printer to free up, I was able to create another model, a small rattle, which I also decided to try and print out.
Files
The box (f3d)
The rattle (f3d)
The box (stl)
The rattle (stl)
3D printing
When it was time for printing, it was already friday afternoon, and FabLab was about to close. So all of us students who had our models ready collected them together. We used the Fortus 280MC printer, which was left on for the weekend as printing all of those items would take a long time. The finished models were collected next Monday.
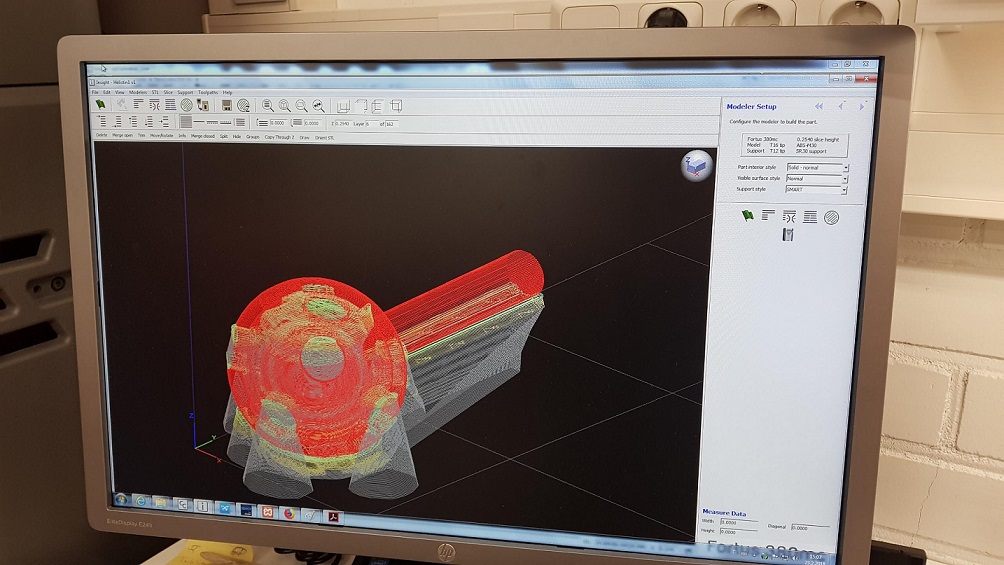
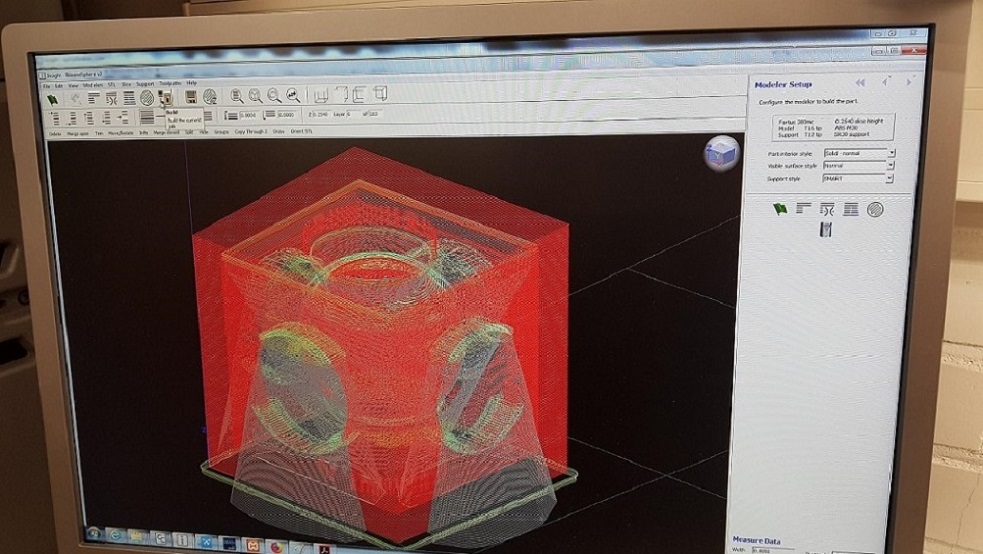
The 3D printing is controlled from a computer next to the printer, from a software called Insights. So basically you import your stl file, change some settings if need be, and press build.
The printing process was quite straightforward. We used all default settings to set up the printing. Part interior style was "solid-normal", surface style was "normal", and support style was smart. Then we clicked Finish, which does all of the remaining processing.
Next we moved the parts to be printed next to each other on a clean surface in the printer control panel, and sent them to the printer queue.
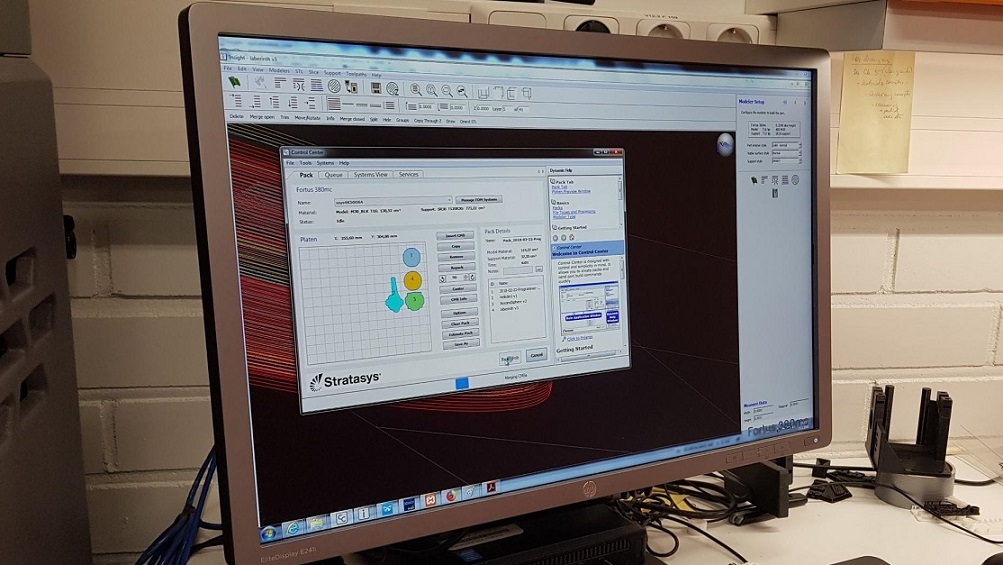
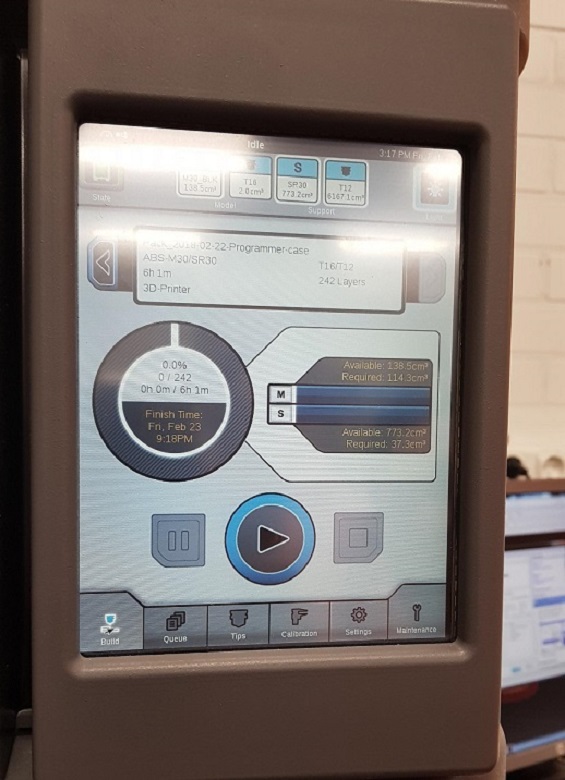
When you have inserted the base to print on, you select your print from the printing queue visible in the control panel of the machine. You can see the actual printing time before proceeding, and check if there is enough material available to succesfully complete the printing
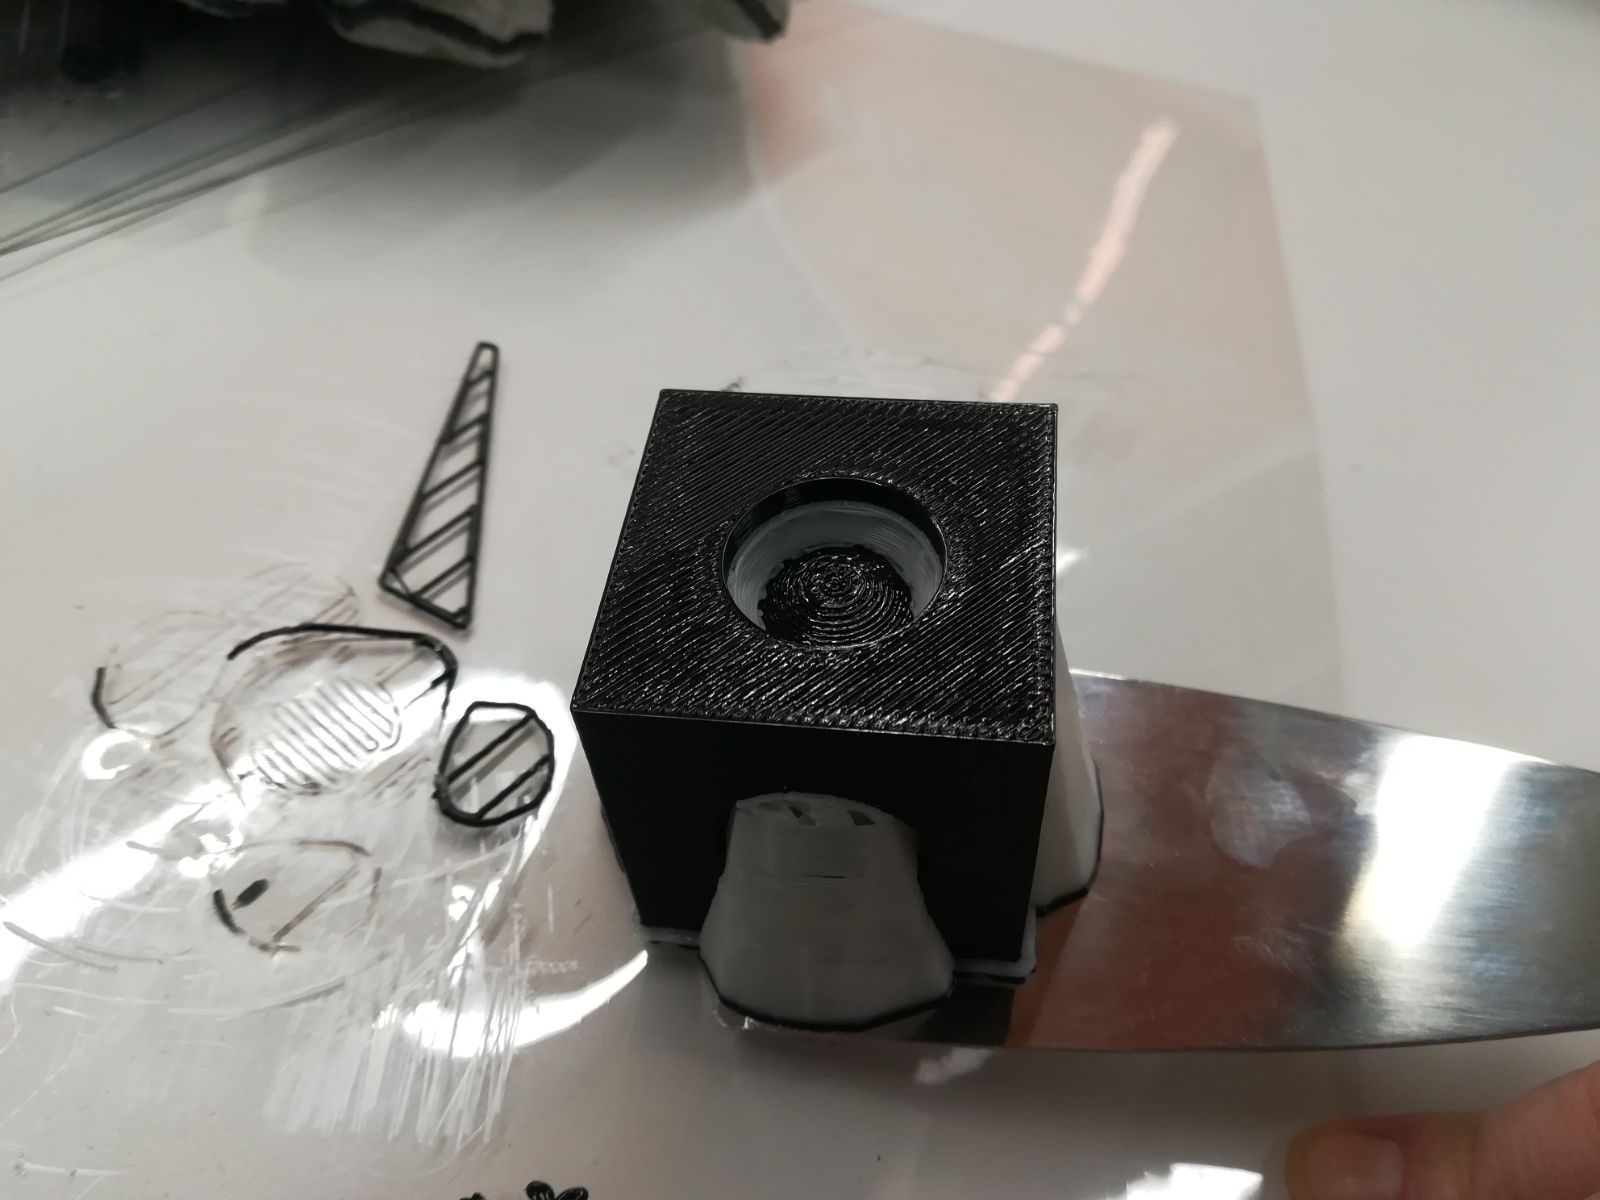
This is what the parts looked on monday when they came out of the printing.
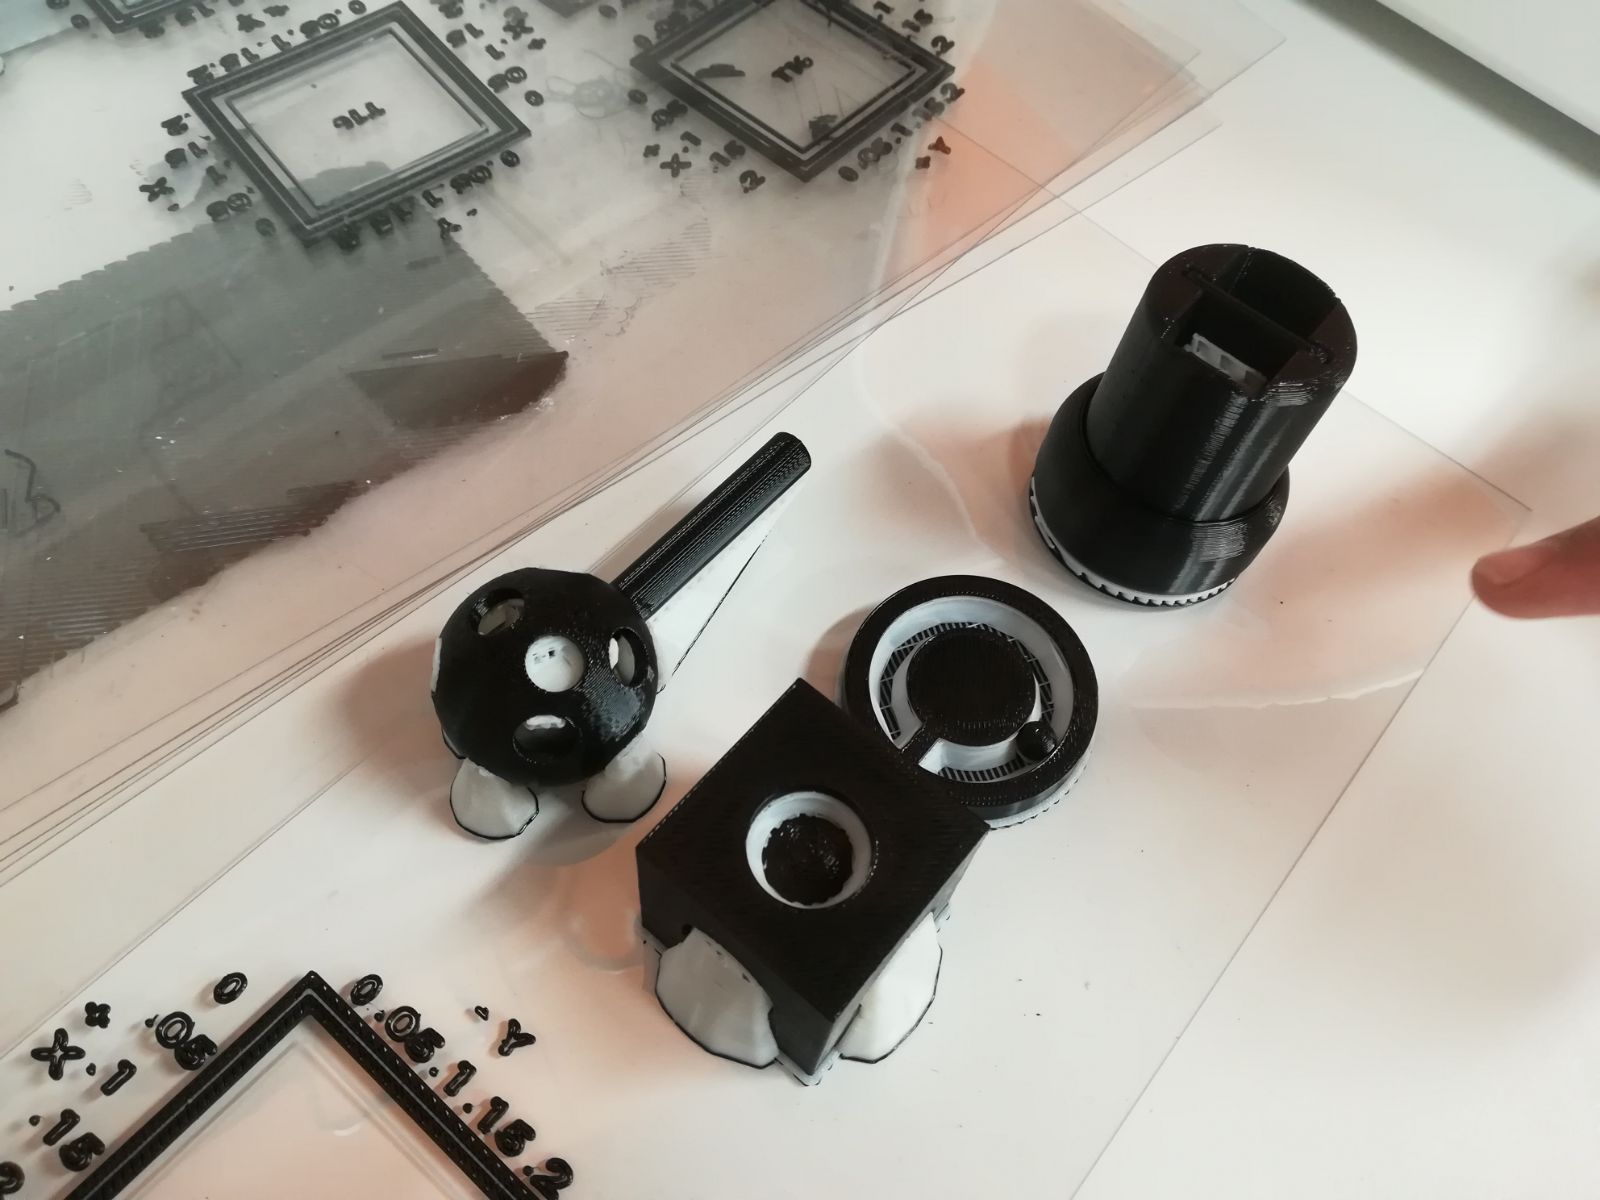
They needed to be lifted from the clear base. The white stuff that the printer leaves in the model is support material. For example in my cube there was a ball inside, which could not have been printed without it.
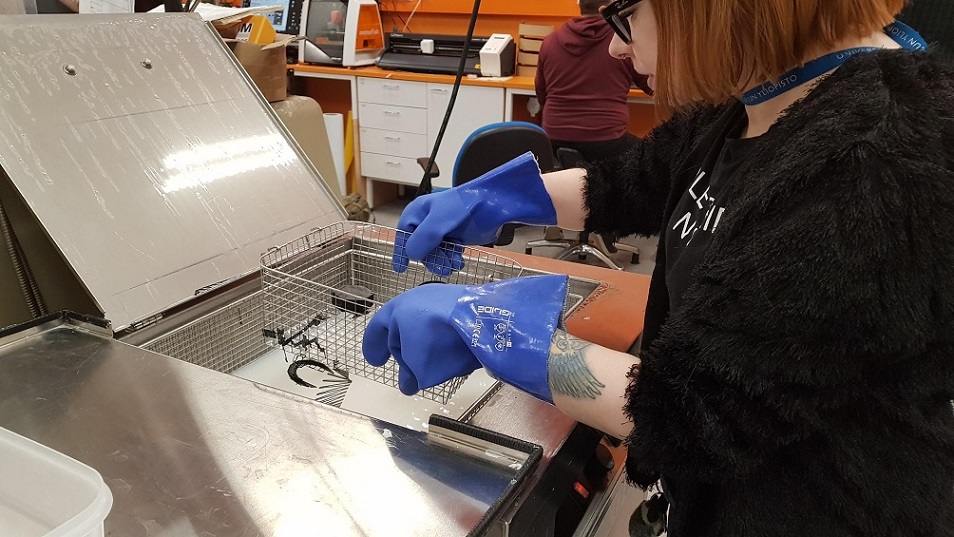
While some of the support material could be removed from the model by hand, some were left that needed a more through cleaning.

For that we used this tank here, inside of which was lye to dissolve.
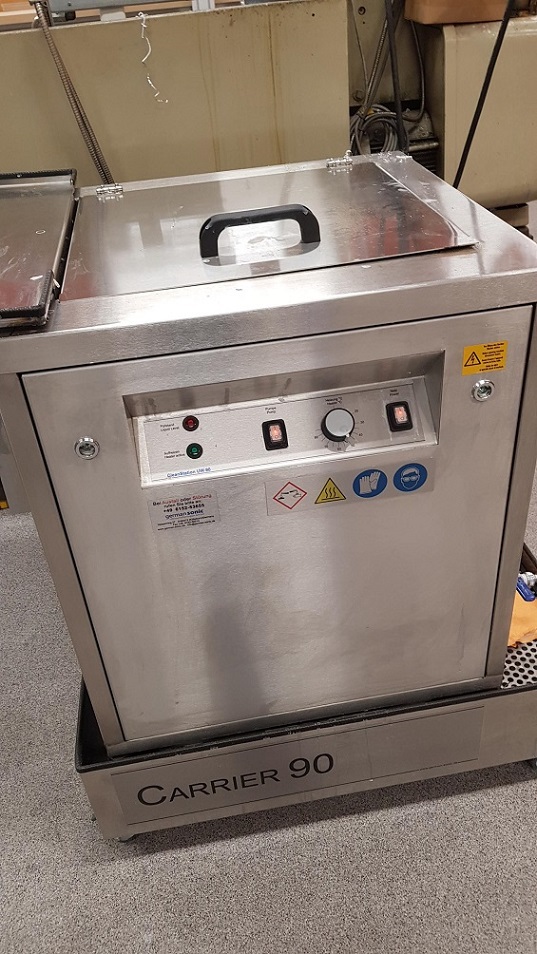
So there was a need to be super careful again, both when putting the models to soak, and when removing them. Lye is corrosive, and it can cause burns and damage to your eyes or skin if you are not careful. According to the mighty Wikipedia protective gear like safety glasses, chemical-resistant gloves, and good ventilation are a must in order to safely handle lyes.
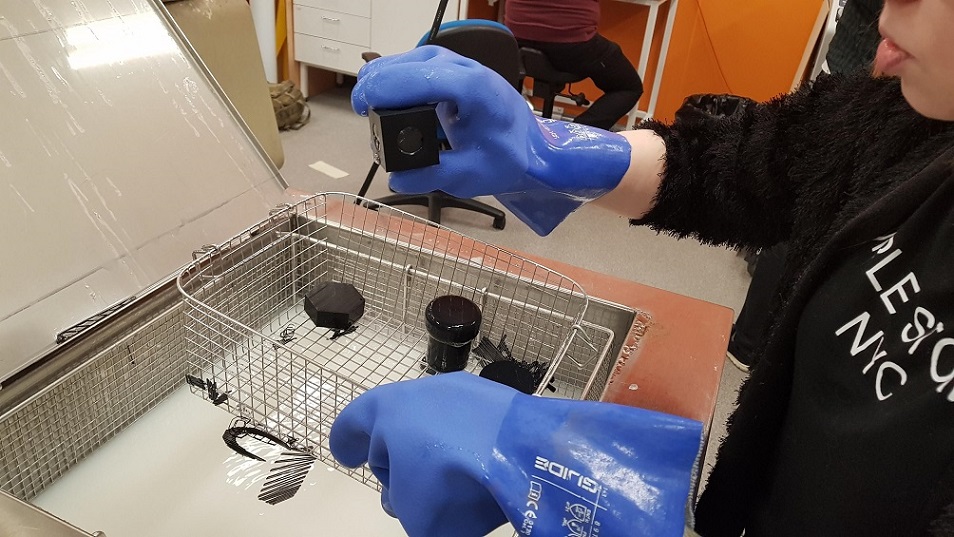
After removing the parts from Lye, they needed a through rinsing before handling
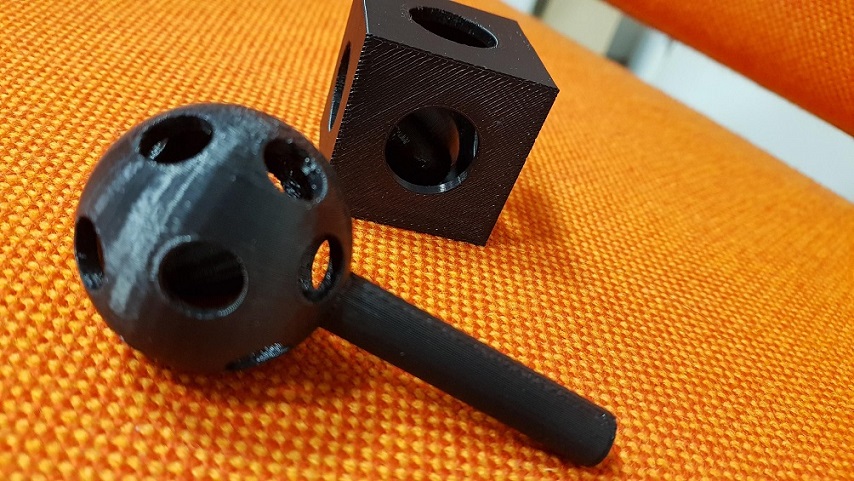
Here are my finished prints!
3D scanning
experimenting with fancy equipment
I started experimenting with 3D scanning together with Marta when our groupworks were finished and our parts were printing. FabLab Oulu has a handheld scanning device called Sense which I thought looked really handy. Basically you plug it into a computer that has has the Sense software installed, and you can start and stop the scan from the software, and save the file atleast as .obj or .stl file.
Marta had brought with her a small figure to scan so we experimented with that
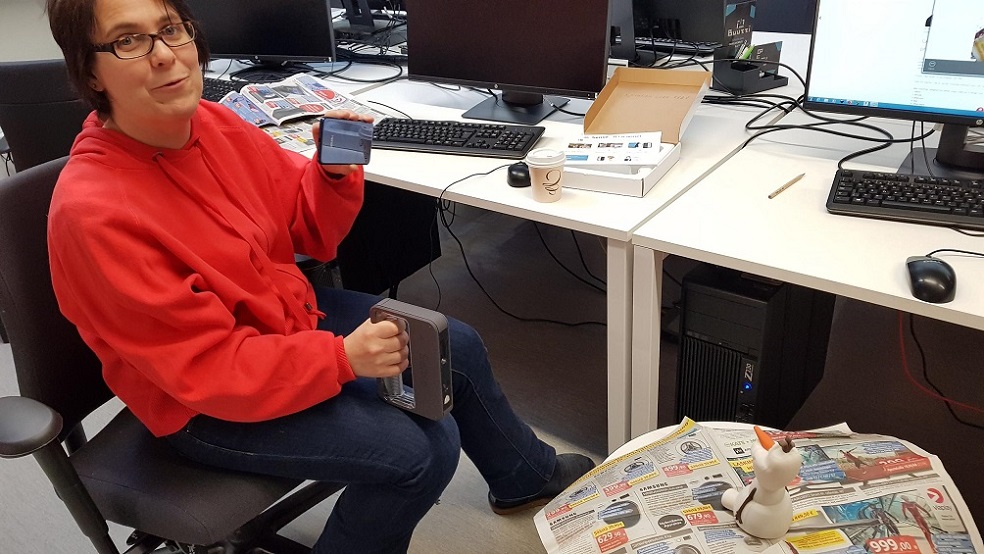
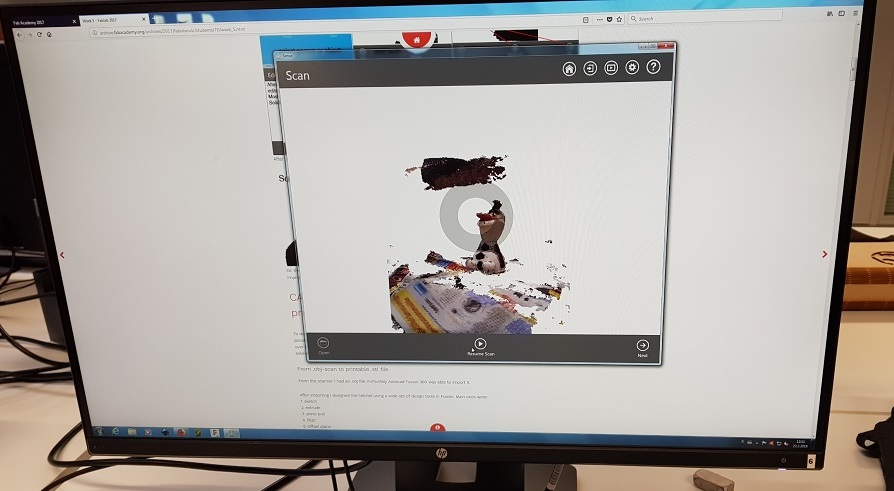
As the first attempts seemed a little unsuccesful, we moved to a bigger object, me.
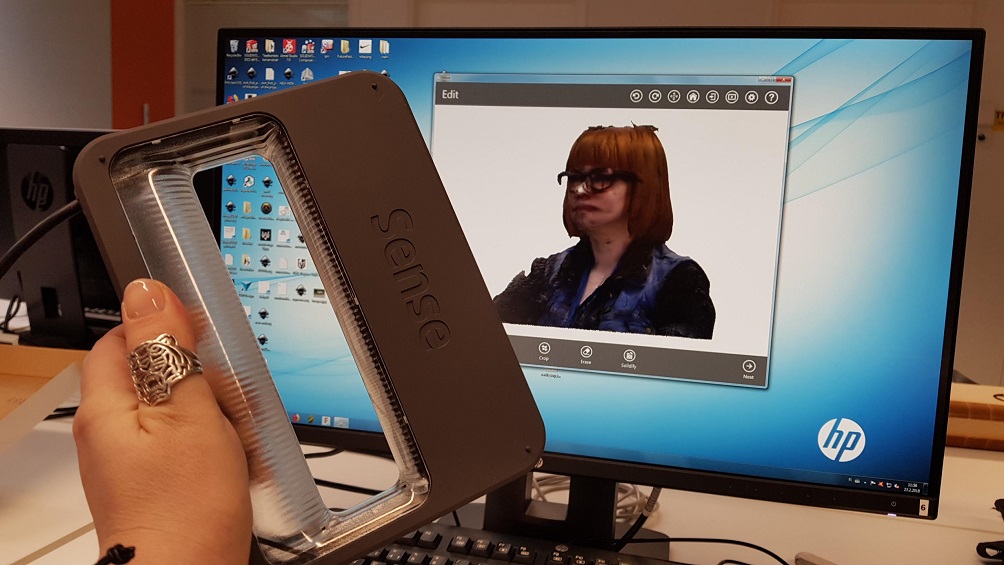
The result was not at all the stuff of nightmares, I think we nailed it. Next profile picture?
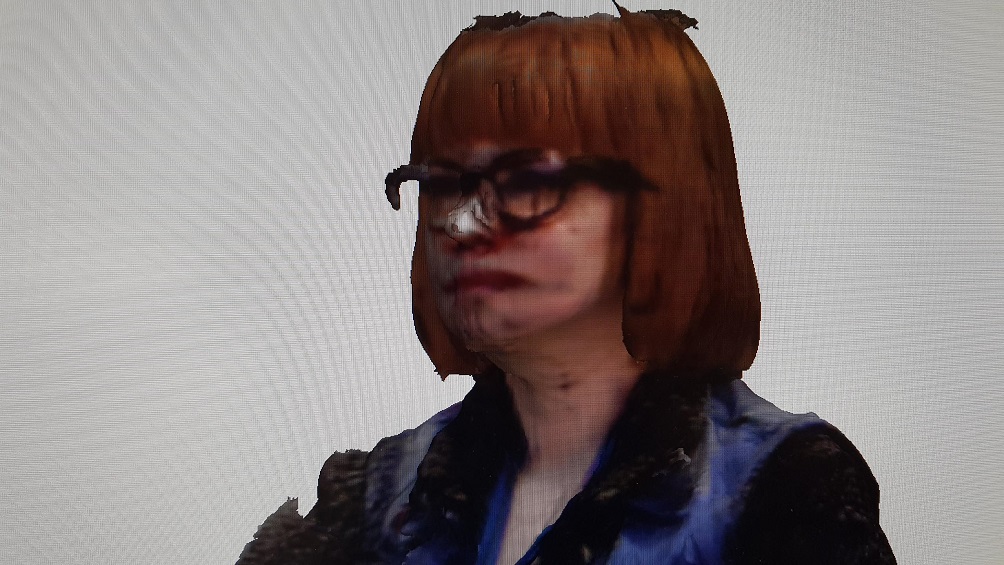
Sadly the software bombed on us, and we could not save these great initial models at all. Screenshots had to do.
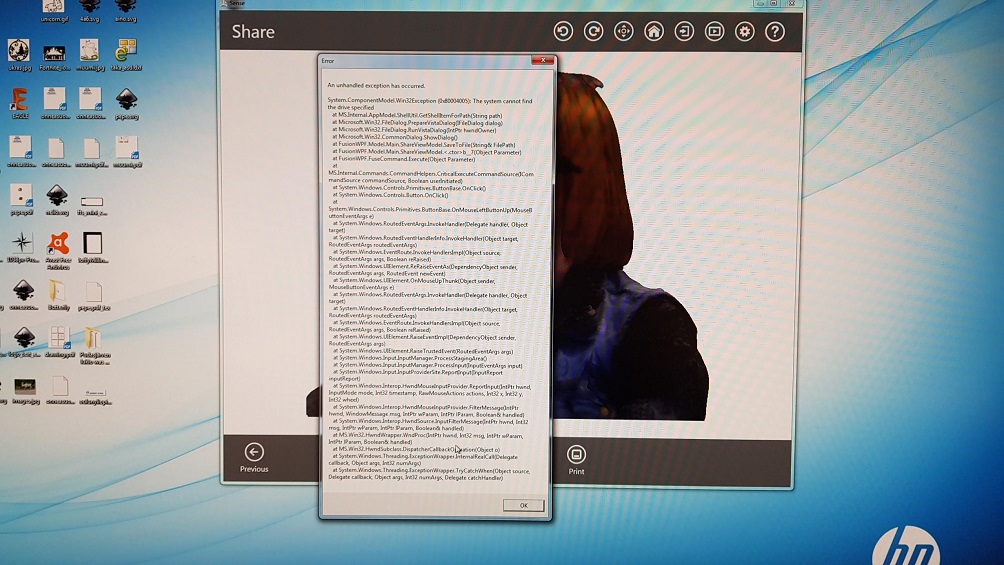
Looks just as easy as on the Sense techspecs page, rigth? We got the feedback from some others as well, that this Sense equipment is perhaps better in 3D modelling larger items.

Moving on to apps
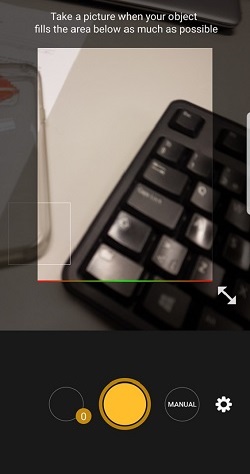
As it was the weekend, and I couldn't experiment with the Sense equipment no more, I thought that there must be an app for that. And there was. I browsed Google Play store for a while, and found some alternatives. I picked Scann3D as it seemed pretty straightforward and easy to use
It also provided the user with a lot of helpful hints when getting started, which I appreciated.
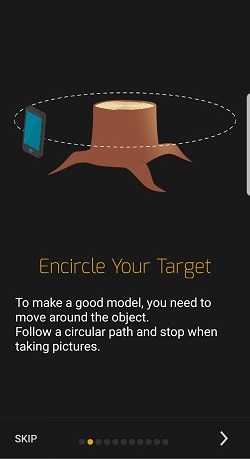
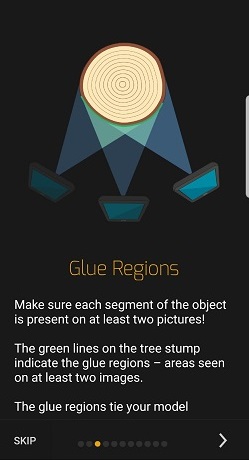
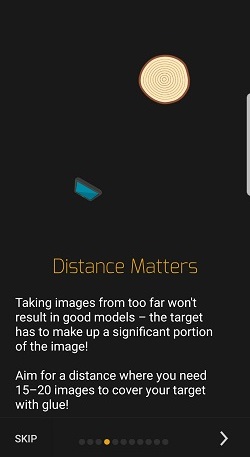
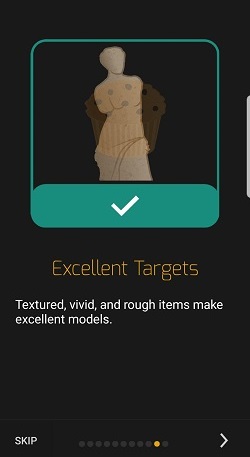
Basically you start snapping away photos, moving a bit every time. A minimum of 20 photos was suggested. The photos you take are also saved to your gallery, and you can remove some photos later on if they are fuzzy or something

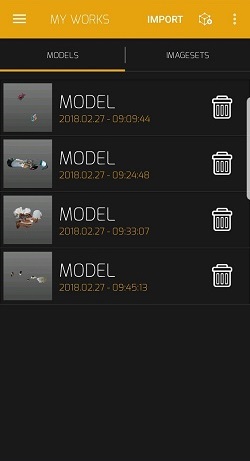
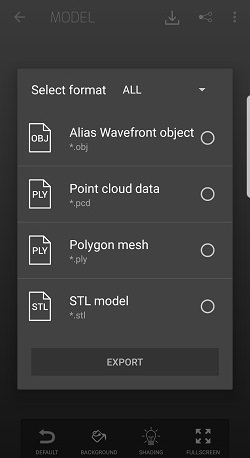
You can save your models on your phone, or import them in different formats
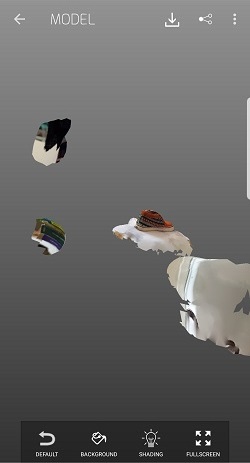
This is a closeup of my first model.It had a lot of crap circling it that I would have liked to remove from the model before saving, but the app didn't offer that functionality. I figured I could do it once I saved the file to my computer
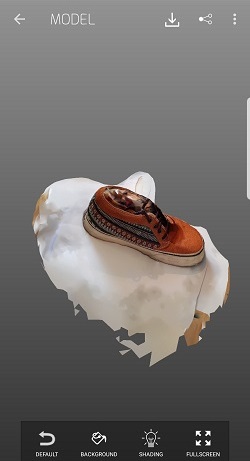
To clean up the mess in the model, I opened up the file in fusion 360. I was advised by my classmates that there is a function called mesh where you can remove the scraps. You just select the faces you want to delete, and remove them one by one. I managed to clear out most of the crap that way, but sadly, I did not find a way to remove the chair from under the shoe, so in the model they still kind of melt together.


Click below to download the original model, and the cleaned up model in .stl or f3d format
Download the original model here
Download the somewhat cleaned model here
Cleaned model (f3d)
Problems had, lessons learned, questions that remain
- 3D scanning: This is hard. Really hard. All the models I tried to scan this week (5 of them) looked really weird. Based on my experiences, I would say that the technologies available for consumers for 3D scanning are not very precise or easy to use yet. To be able to use them takes some serious skills. I never thought I would say this, but I think that designing an object with fusion360 is easier, atleast now that we are still beginners, and trying to create quite simple objects. The outcome is much cleaner and more precise
- 3D desing: I am getting a hang of 3D modelling, or so I think. No big worries here. Managed to design the test parts in 30 minutes or so and was really proud of myself. I noticed that some parts are easier to combine and to work with when you turn them into components.
- 3D printing: Just a surface scartch here. What I did notice was that anything is either poisonous or very hot so we need to be extra careful with the printers and while cleaning the models. When 3D printing, an object is made my adding layers upon layers of material in such a way that they eventually form the desired shape. Because of this
there is no limitations regarding the orientation of the tool like in technologies such as CNC machining - CNC machining is a substractive process where you are are making 3d objects by cutting away (or substracting) pieces of material from a bigger block of material to form a desired shape. In substractive technologies you therefore have to consider the limitations of the reach of the milling bit --> So with objects that can not be made substractively, 3D printing is definitely the way to go. However, when working later on with the CNC machine for example on the make something big"-week and wildcard week I would have to say that it has it's advantages over the 3D printer. I think that with the CNC the quality of the outcome is somehow better/smoother and more precise. My experiences are that CNC machining is also a faster process in general.
- Reflecting back on the 3D printing technologies used both in the groupwork and in my personal projects, I would say that in the future I will stick to the Sindoh printer. It is small, and easy to use and I liked the end result better than with the big Stratasys printer. I did like the FormLabs end results more though, they had a nice and smooth look and feel and even though our testparts were a bit murky in colour, apparently it would be possible to polish up the model a bit to look "glassier" and more see through. But even with all of its good qualities, Formlabs loses to the Sinhoh in my eyes, because it is so much more of a hassle: The Formlabs printer uses resin for the models, and when working with it (and the isopropyl alcohol used for cleaning) you have to take much more precautions with safety, and take extra care of cleaning the tank and the tools to come up with good quality end result. With the compact sindoh, it is pretty much print and go.
Copyright © Heidi Hartikainen 2018
Template copyright ©Blackrock Digital LLC 2013-2018

This work is licensed under a Creative Commons Attribution-NonCommercial-ShareAlike 4.0 International License.