Assignment 11: Input devices
Assignment:
Group assignment:
- Measure the analog levels and digital signals in an input device
Individual assignment:
- Measure something: add a sensor to a microcontroller board that you have designed and read it
Group assignment
We worked with Jari's light sensor to measure the analog levels and digital signals. We used oscilloscope to measure analog level from the sensor and digital signals from the FTDI cable. More about the group work is in the Input devices group page.
Designing board for my final project
I started to create board similar to Arduino Uno (microcontroller ATmega328p), because I need a lot of pins for my final project.
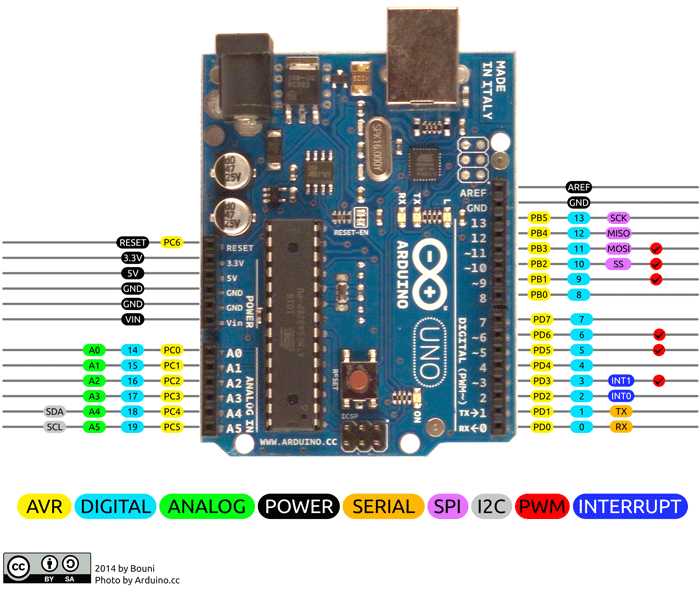
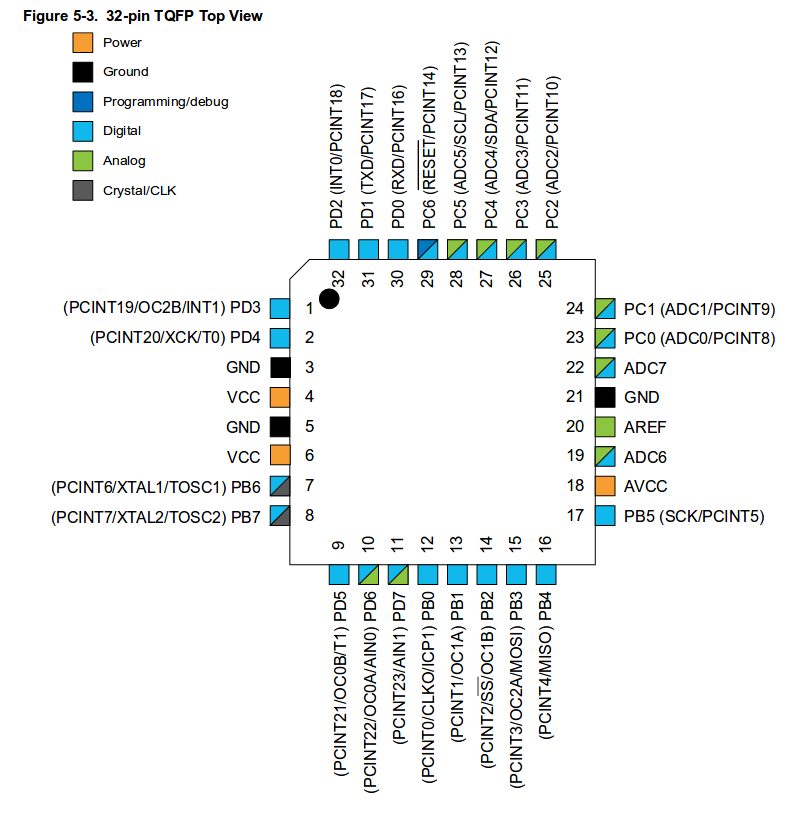
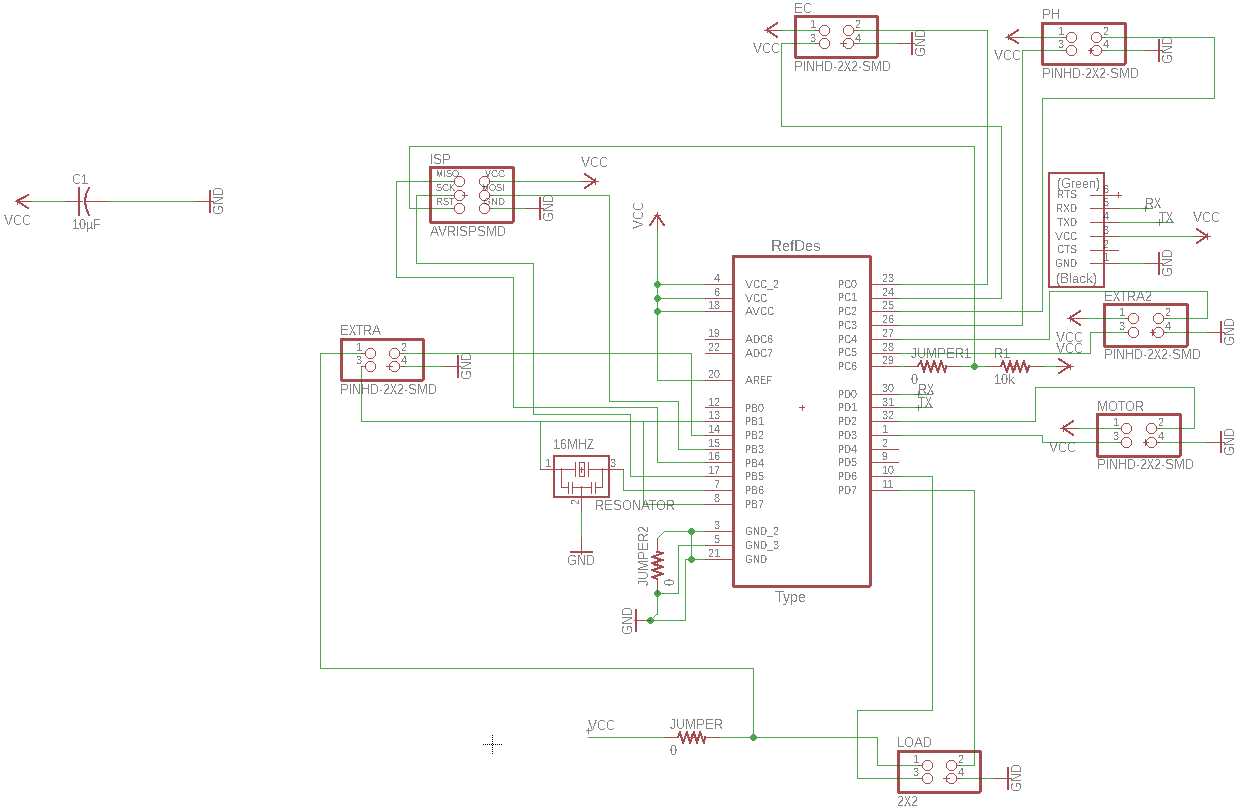
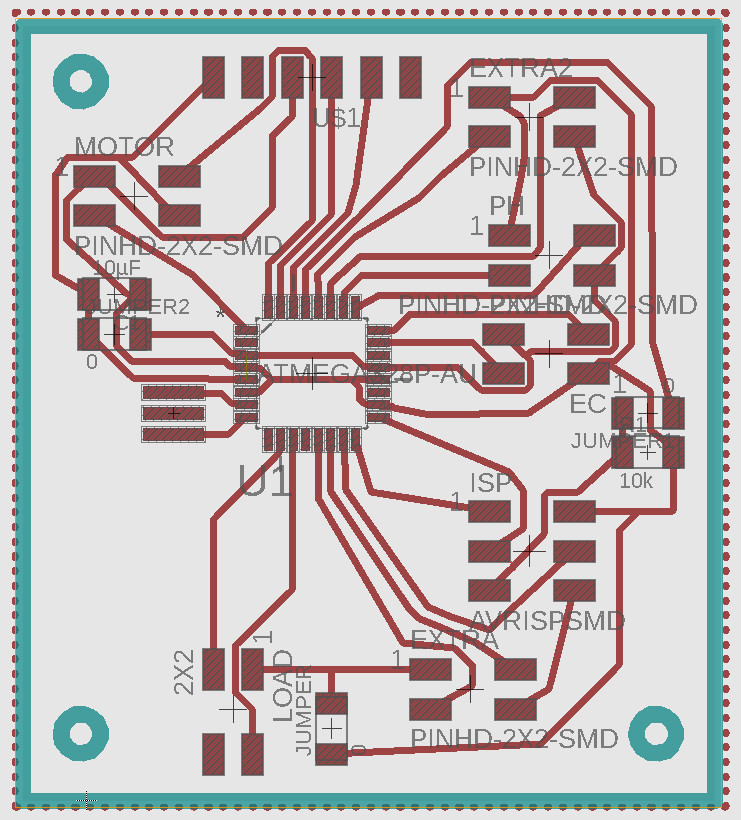
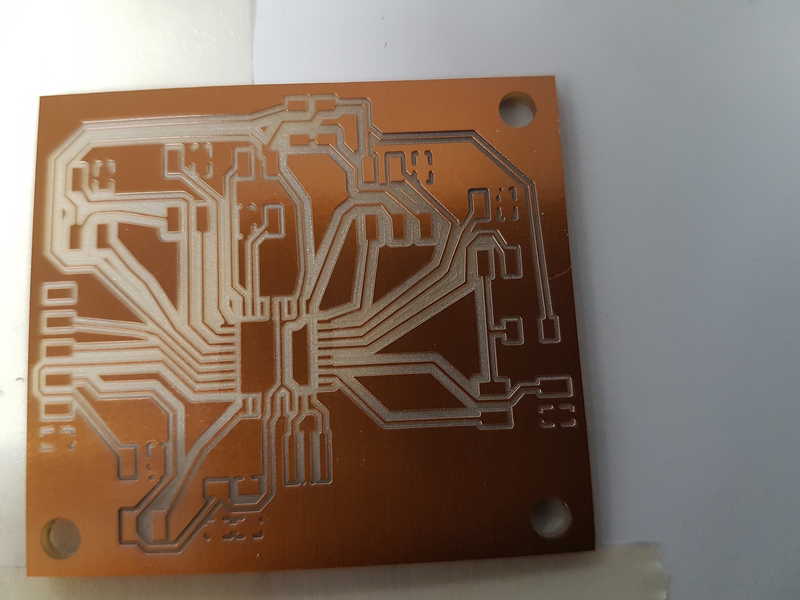
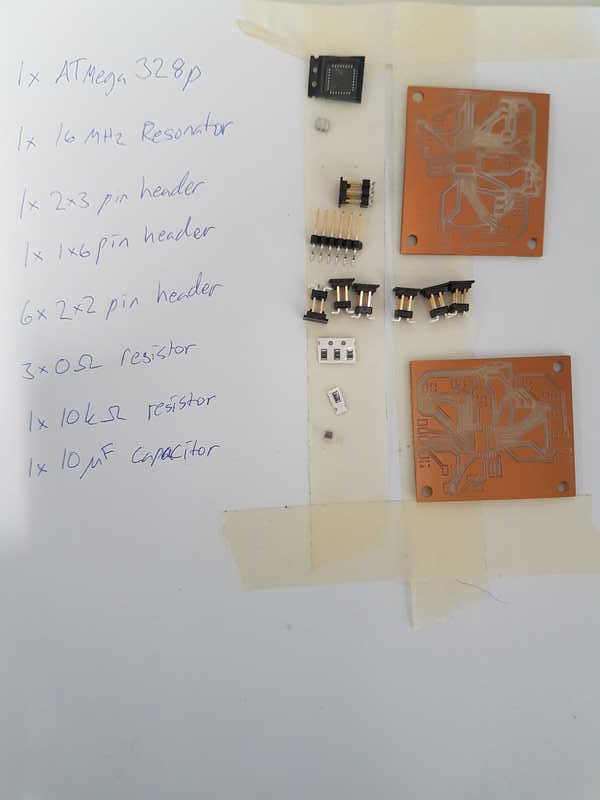
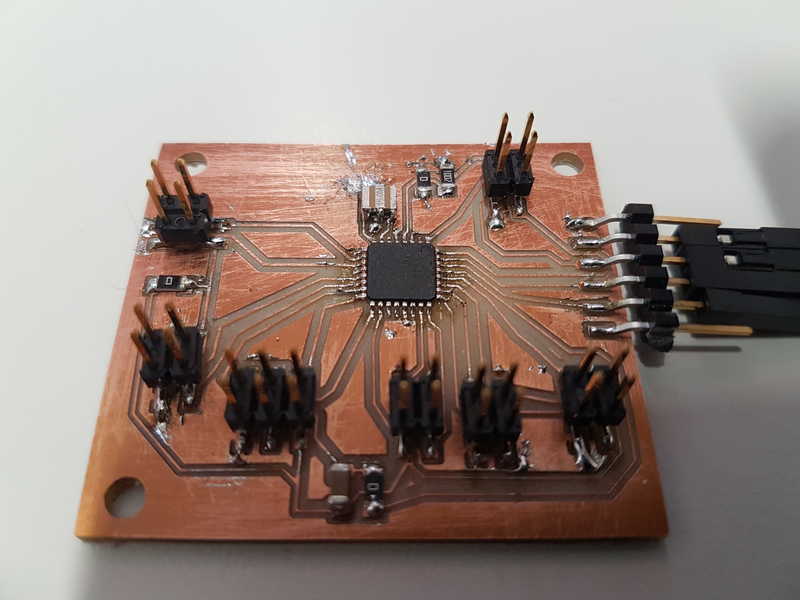
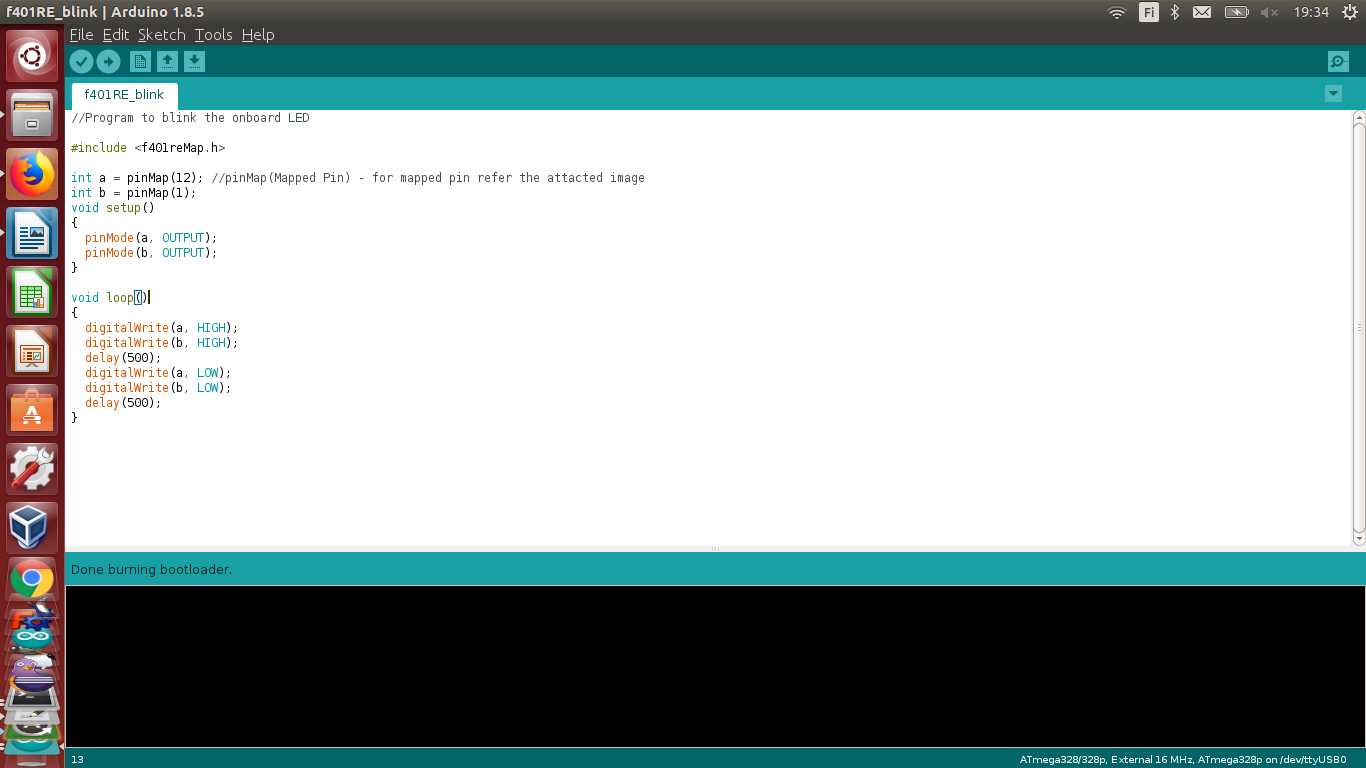
Burning the bootloader
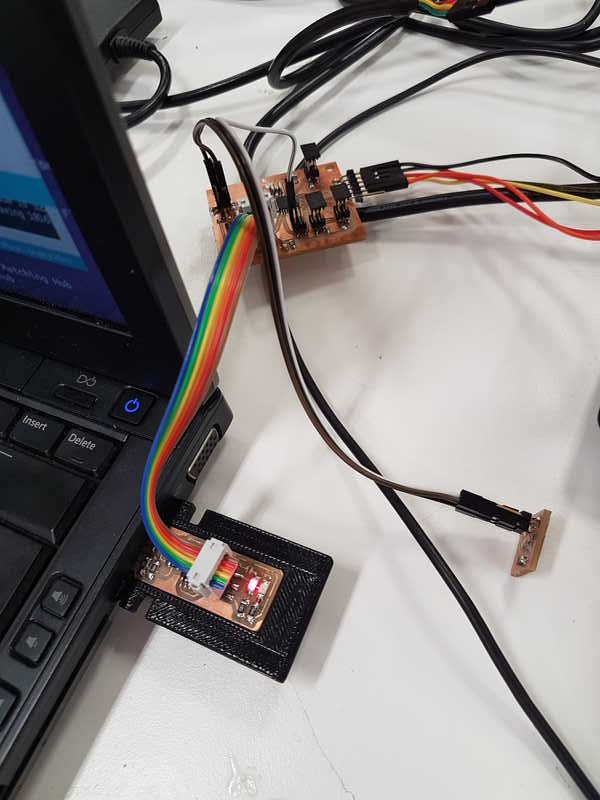
I programmed the PCB with Arduino IDE. It has all the necessary tools for the programming in it for ATmega328p microcontrollers, which makes the programming straight forward process. I used my own FabISP to make the programming.
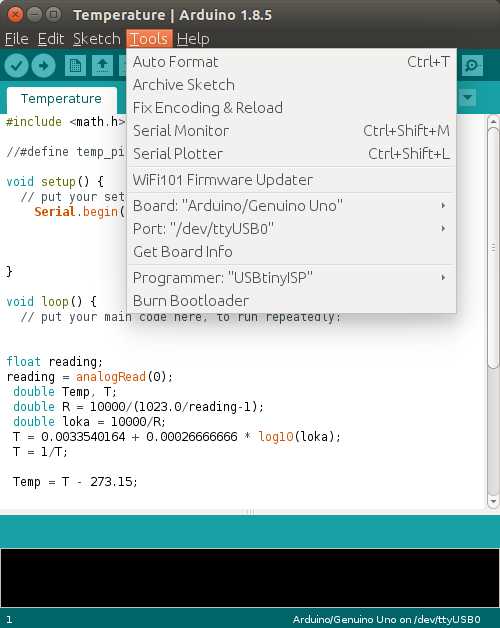
Temperature sensor
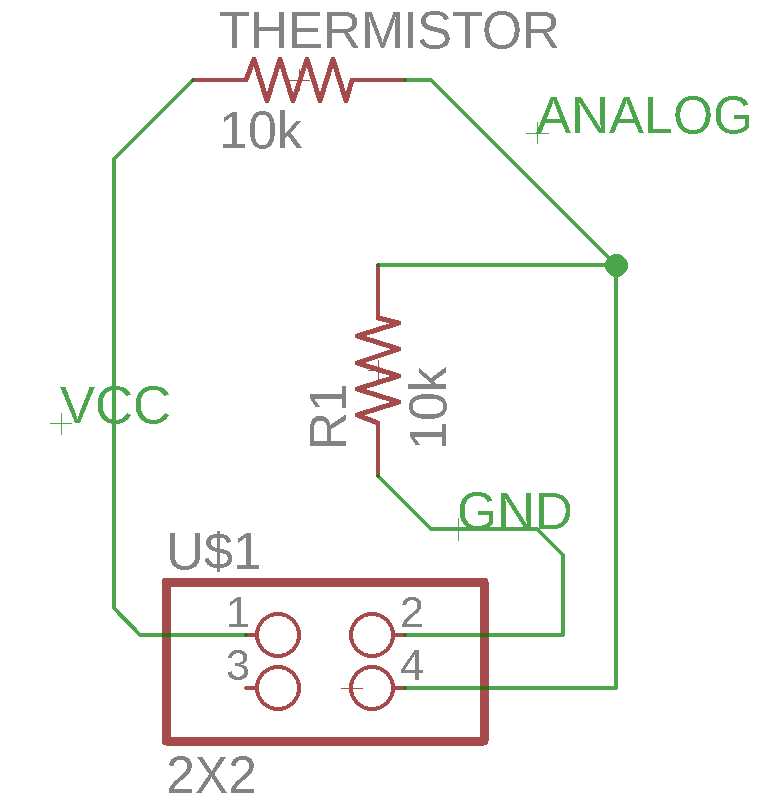
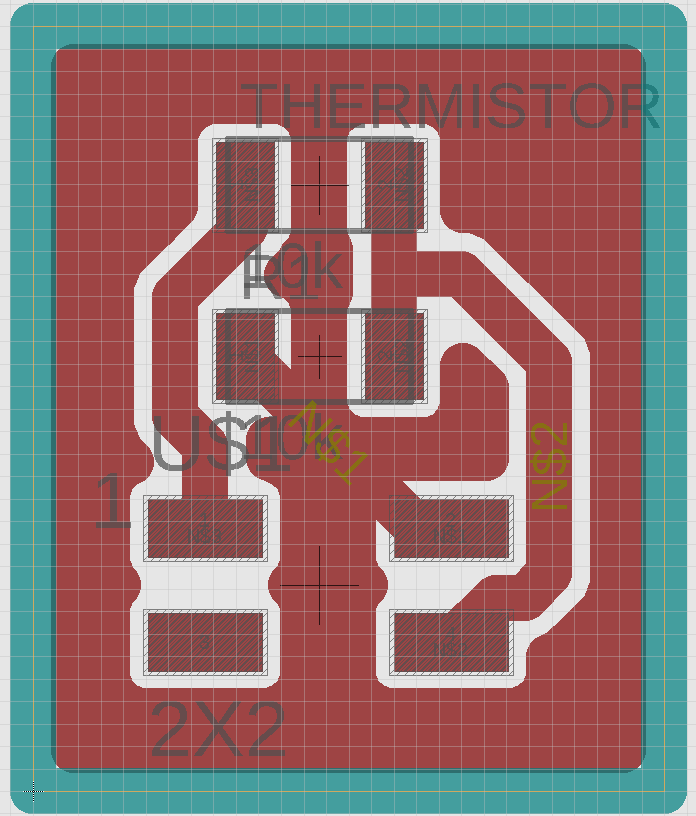
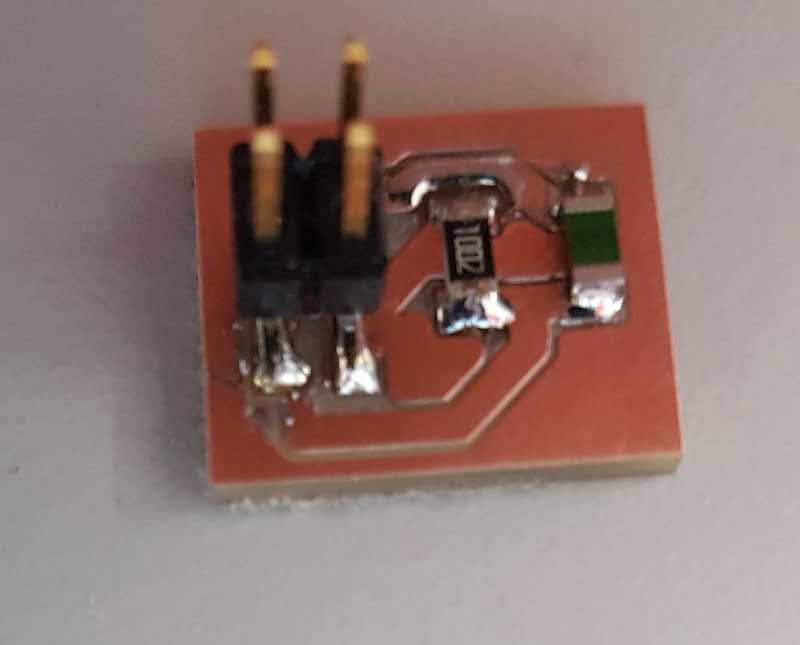
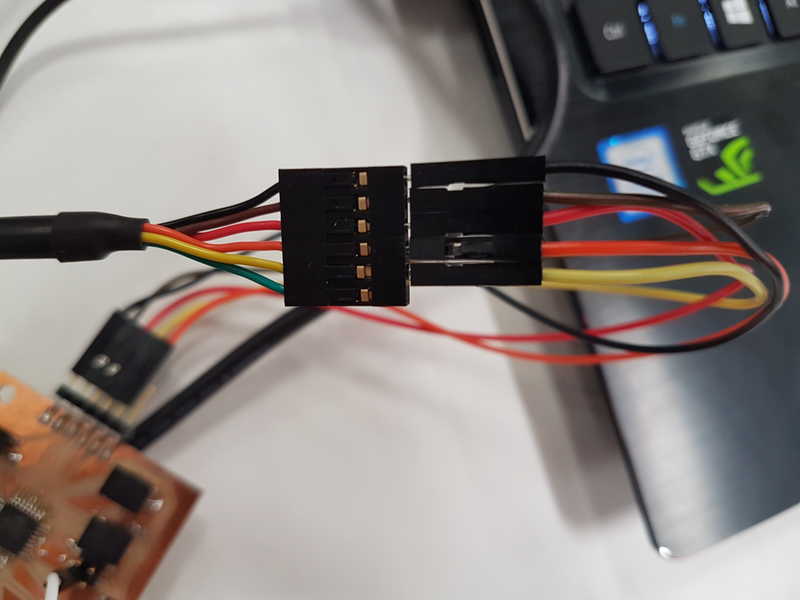
I used NTC thermistor to measure temperature. It is quite simple system and to make it work with ATmega328p, the sensor cannot be connected to Wheatstone bridge, because there are no differential analog pins in the ATmega328p. I used a single 10k resistor and 10k thermistor with 2x2 pin header to make the temperature sensor.
Measuring the temperature
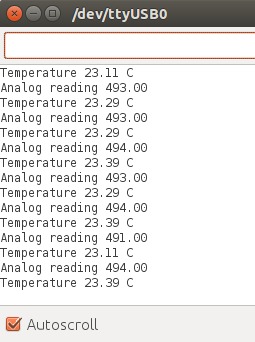
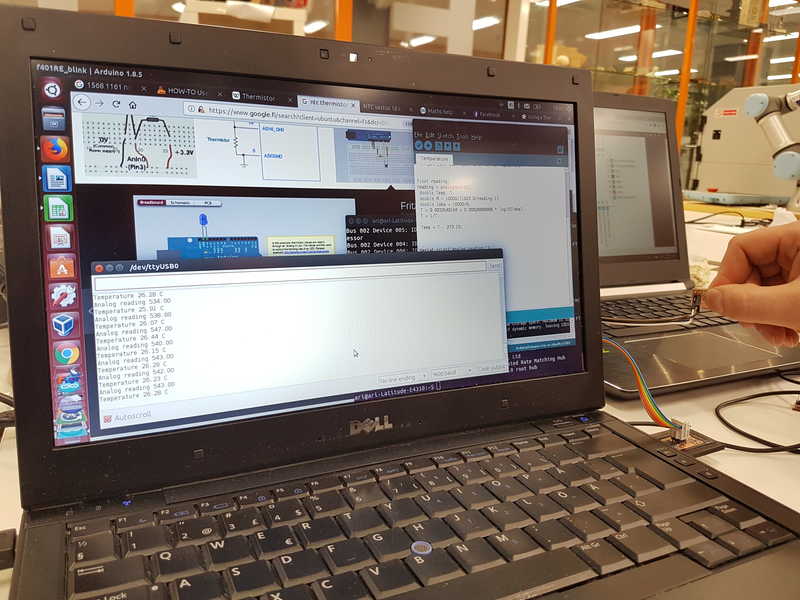
I had made a temperature meter for Arduino in the past and I reused the code for this task, but changed the pin for a different position PD6. The code itself is very simple. It solves the first two termes of the Steinhart-Hart equation (third is so much smaller that it can be dismissed) and changes it to temperature in Celcius degrees. ATmega 328P has 10-bit analog to digital converter, therefore the input voltages between 0 and 5 V are changed to integer values between 0 and 1023. The resolution is 5 V / 1024. The temperature is then printed to serial monitor.


Reflection on this weeks assignment
I really enjoyed this weeks assignment. There was plenty of learning and I understand a lot more about electronics design and signals. I had done some temperature measurements earlier with Arduino Uno, but that background didn't help me much with the assignment. Now I understand that my Ariduino board is not as useful as I hoped it would be, because I can only use few analog signals from the microcontroller. Basically I have to make sensors with Attinys on them to read signals and collect them in Ariduino as digital signals and use it to control other boards.
The files used in the assignment are shared below:
Ariduino board
Ariduino schematics
Ariduino traces
Ariduino traces milling rml file
Ariduino_outline
Ariduino outline milling rml file
Temperature sensor board
Temperature sensor schematics
Temperature sensor traces
Temperature sensor traces milling rml file
Temperature sensor outline
Temperature sensor outline milling rml file
Temperature sensor programming file
References
Atmel Corporation (2018) ATmega328/P datasheet, Retrieved from http://ww1.microchip.com/downloads/en/DeviceDoc/Atmel-42735-8-bit-AVR-Microcontroller-ATmega328-328P_Datasheet.pdf , cited 23 May, 2018.