Composites
Introduction
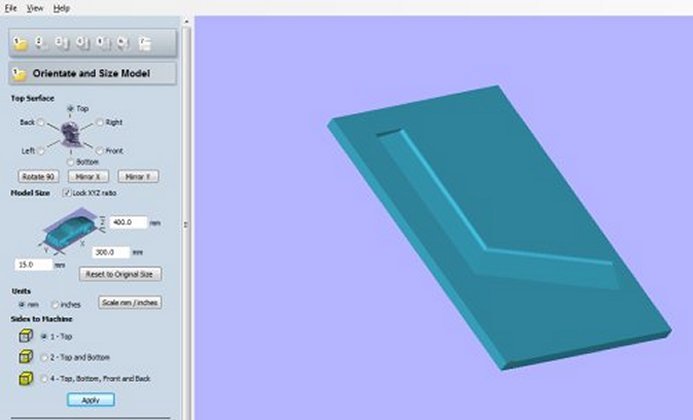
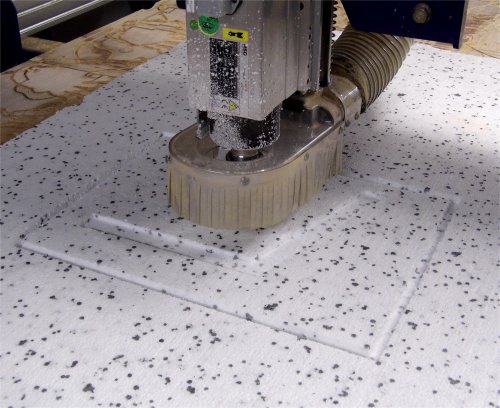
This assignment involved designing a 3D part. A mould would be made of this part and then using resin and fibre a composite part would be moulded. For the 3D part I designed a boomerang mould in Solid works. This was then saved as an stl file which was loaded into Shopbot Vcarve Pro software where it was converted into a cam file for controlling the Shotbot milling machine. The mould was then carved out of a polystyrene block.

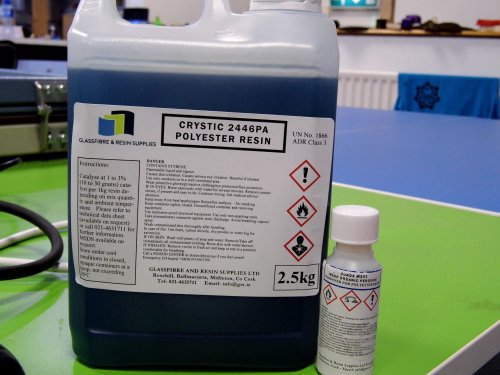
The only resin we could get was Crystic 2446PA Polyester Resin. The materials safety data sheet (MSDS) and the technical data sheet (TDS) for this was studied to understand first of all the health and safety issues with this material and also, how to use it. This material is very dangerous and has to be handled with care. The MSDS and TDS are available for download at the bottom of this page. The hardener for this resin is Curox M303 and the MSDS and TDS are also available in the downloads section.
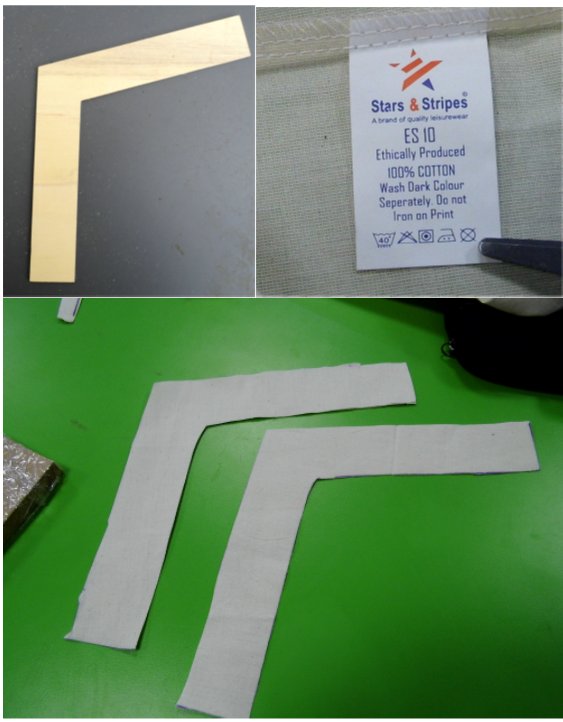
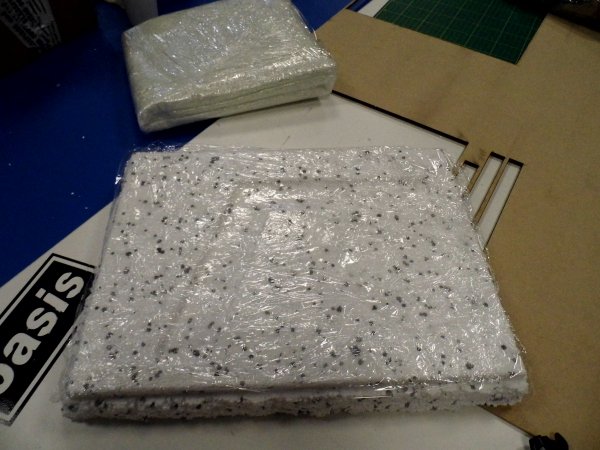
For the fibre part of this composite part I decided to use cotton as this was the nearest suitable material to hand. Along with the mould a seperate wooden part was cut out which would act as the mould press. Finally boomerang shape cotton strips were cut out and these would be placed into the mould. The cotton material, mould press and 2 of the cut cotton strips are shown below.
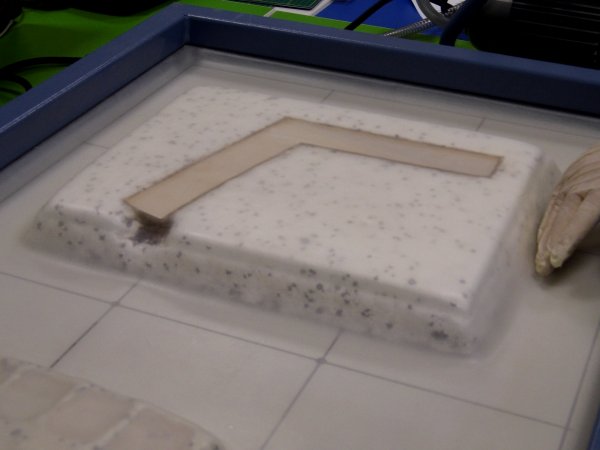
The mould, resin and fibre material were taken outside for ventilation. The mould was covered in 2 layers of cling film as this would stop the resin from sticking to the mould. The resin was mixed with the hardener as per the instructions and a thin film was applied to the base of the mould. A layer of cotton material was placed into the mould and this was painted with a thin film of the resin. This was repeated for the remaing 4 layers of material. Finally the wooden mould press was covered in cling film and placed on top of the mould prior to using the vacuum forming machined to press the whole lot together.
However with the cotton fibre in the mould and pressed with the wooden clamping piece it was noticed that the resin was dissolving the polystyrene mould.
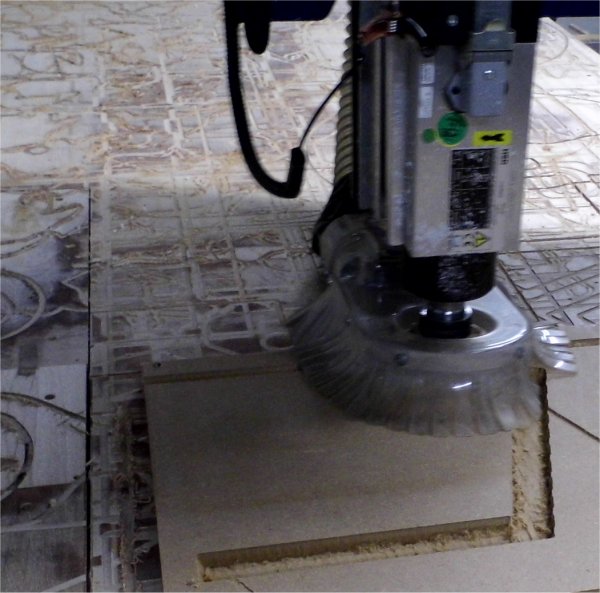
So it was back to the Shopbot and a new mould created out of MDF
I went through the process for making the composite part as before:
- Cut the fibre material (cotton) into the shape of the moulded part.
- Place Two layers of cling film into the mould to prevent part sticking to mould.
- Apply resin to cotton fibre shapes and place in mould.
- Repeat step 3 above until all the fibre layers have been placed. Number of layers will determine part thickness, weight and strength.
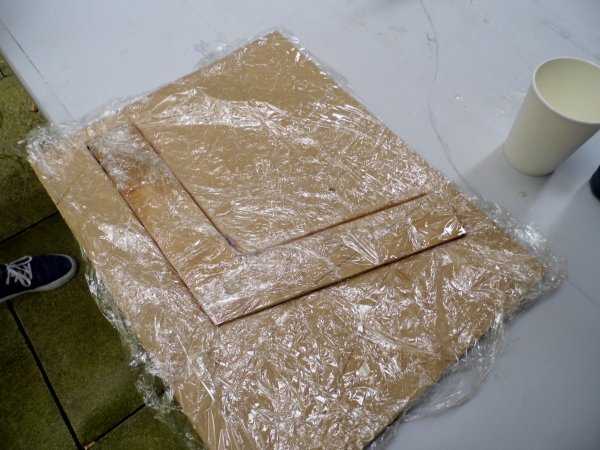
- Wrap clamping piece in cling file and place into mould so that it presses down on fibre layers.
- Apply pressure either vacuum forming, weights or clamps.
- Wait until resin has cured and remove part.
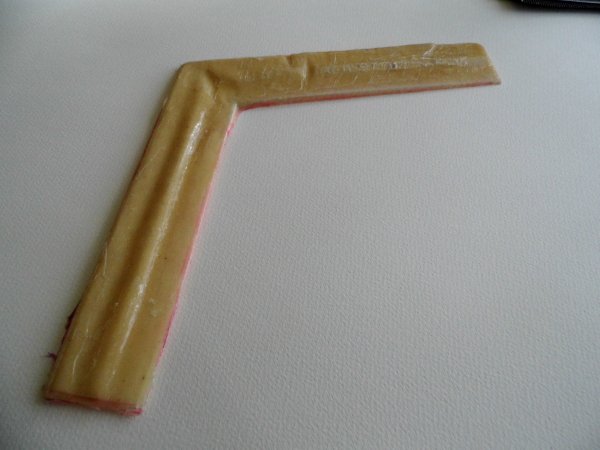
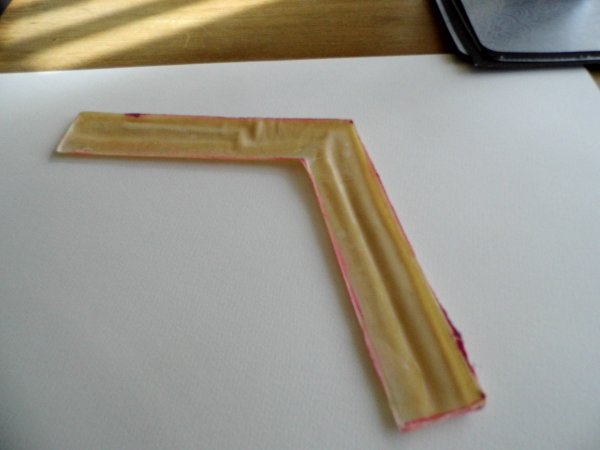
The photo below shows the completed part. It is obvious from this that the MDF mould didn't turn out correctly. This as I found out later was due to the routing bit slipping in the Shopbot collet so that as the routing process went on the router went deeper than it should have. This was a problem with the Shopbot collet and couldn't be fixed when the mould was being made. Another issue is I should have used more layers so that the bottom of the bottom of the boomerang was moulded flat by the clamping piece. Instead it took the shape of the mould.
Downloads
- Boomerang mould stl file
- Boomerang Solid Works file
- Crystic 2446 MSDS
- Crystic 2446 TDS
- Curox M303 MSDS
- Curox M303 TDS