Identify and explain processes involved in using the vinyl cutting machine
Design and create an object
Have you:
Explained how you drew your files
Shown how you made your vinyl project
Included your design files and photos of your finished project.
For this week's project, I wanted to make a custom design for a t-shirt. I didn't want to make something simple anyone could do, but something eye-catching and unlike anything I've seen anyone wear before.
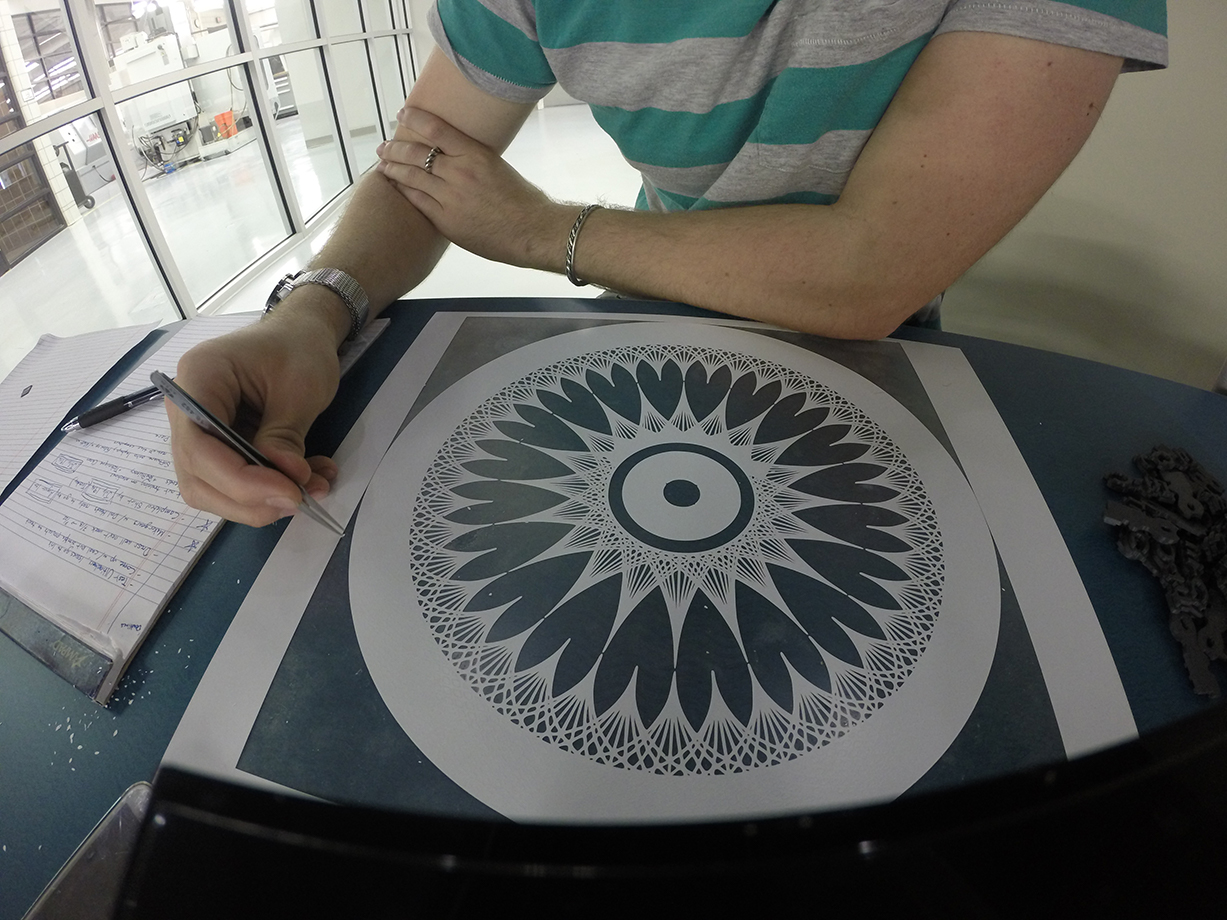
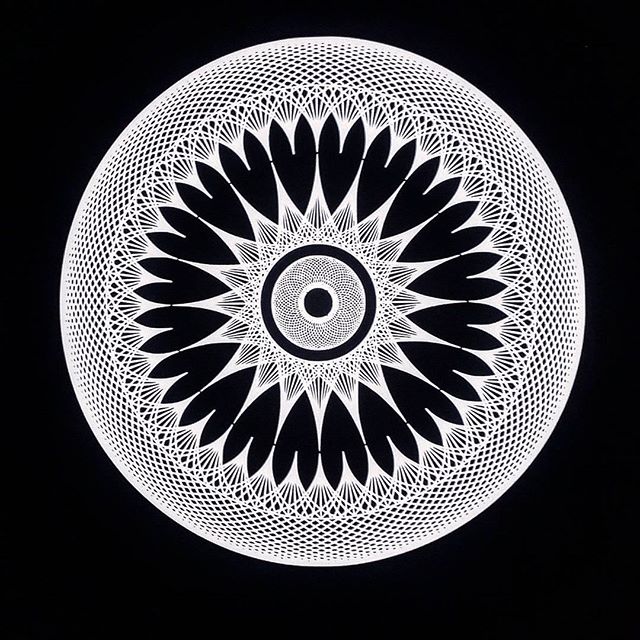
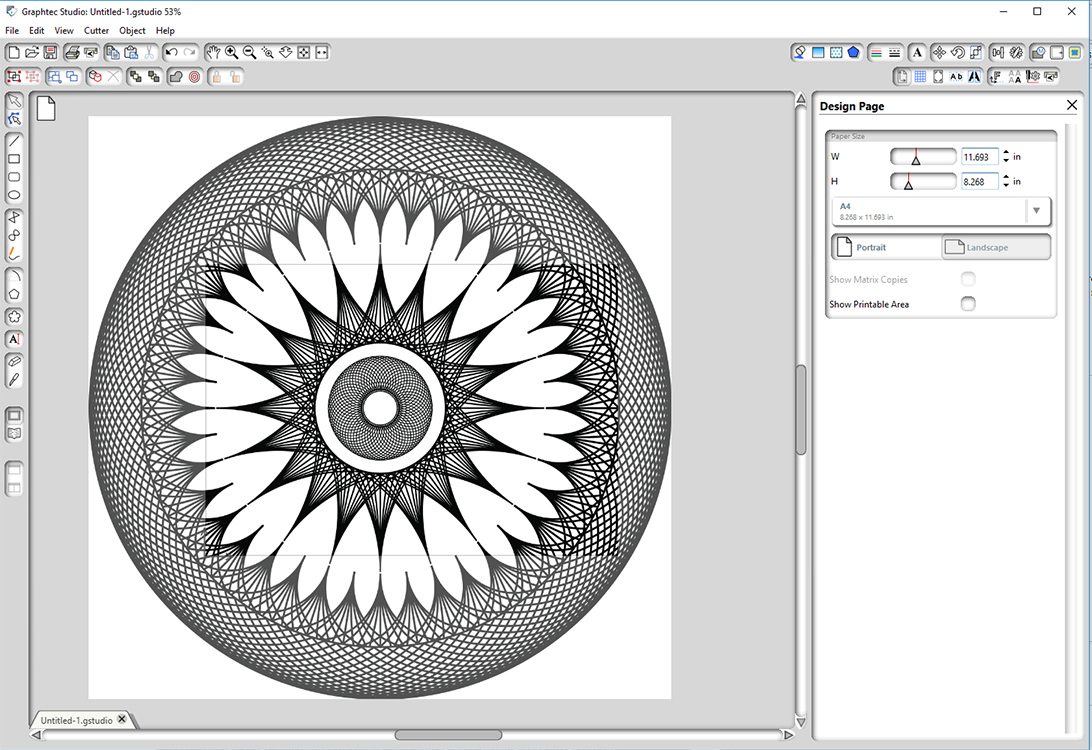
I began drawing some curves in AutoCAD, and then arraying them all around a central point. building layers, having arrays at varrying distances from the central point, I deveopled a mandala illustration.
Once I have the shape made, I imported it into CorelDRAW. Once in the program, I gave the different sections more line weight (some more than others) to achieve the Aesthetic I wanted.
Make sure it's aligned properly so it doesn't twist when cutting.
Set the pinch rollers in the correct positions (in the different white marks depending on the material size.
Once you have done this, you pull up on the loading lever.
Flip the ON switch and allow the boot up procedure to run its course
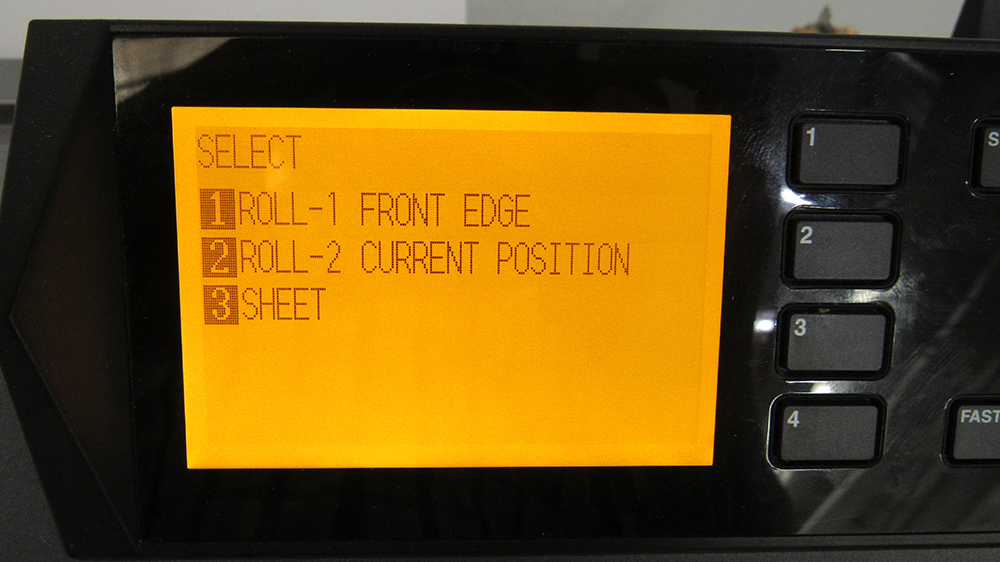
Finally, when it asks what form of material is loaded, select the appropriate function (roll-front edge)
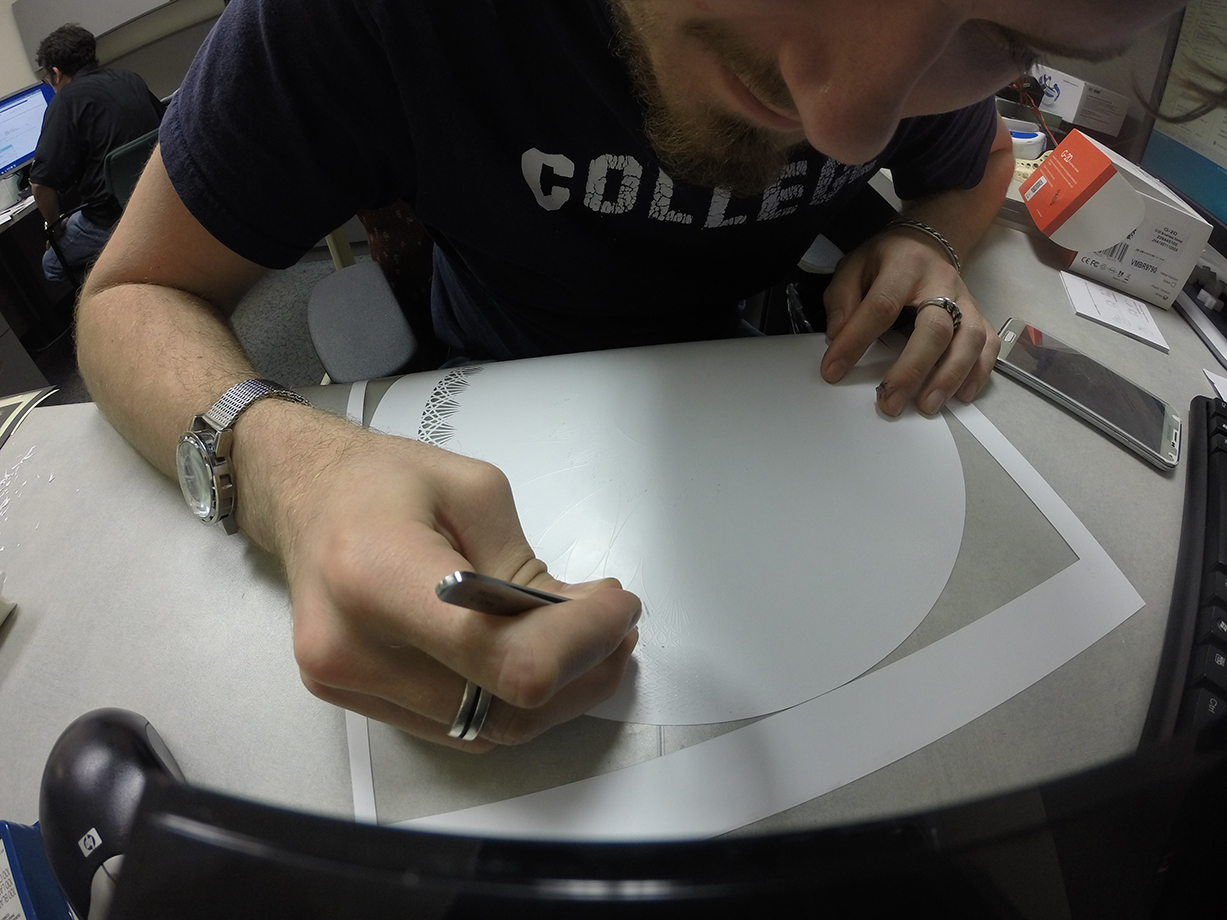
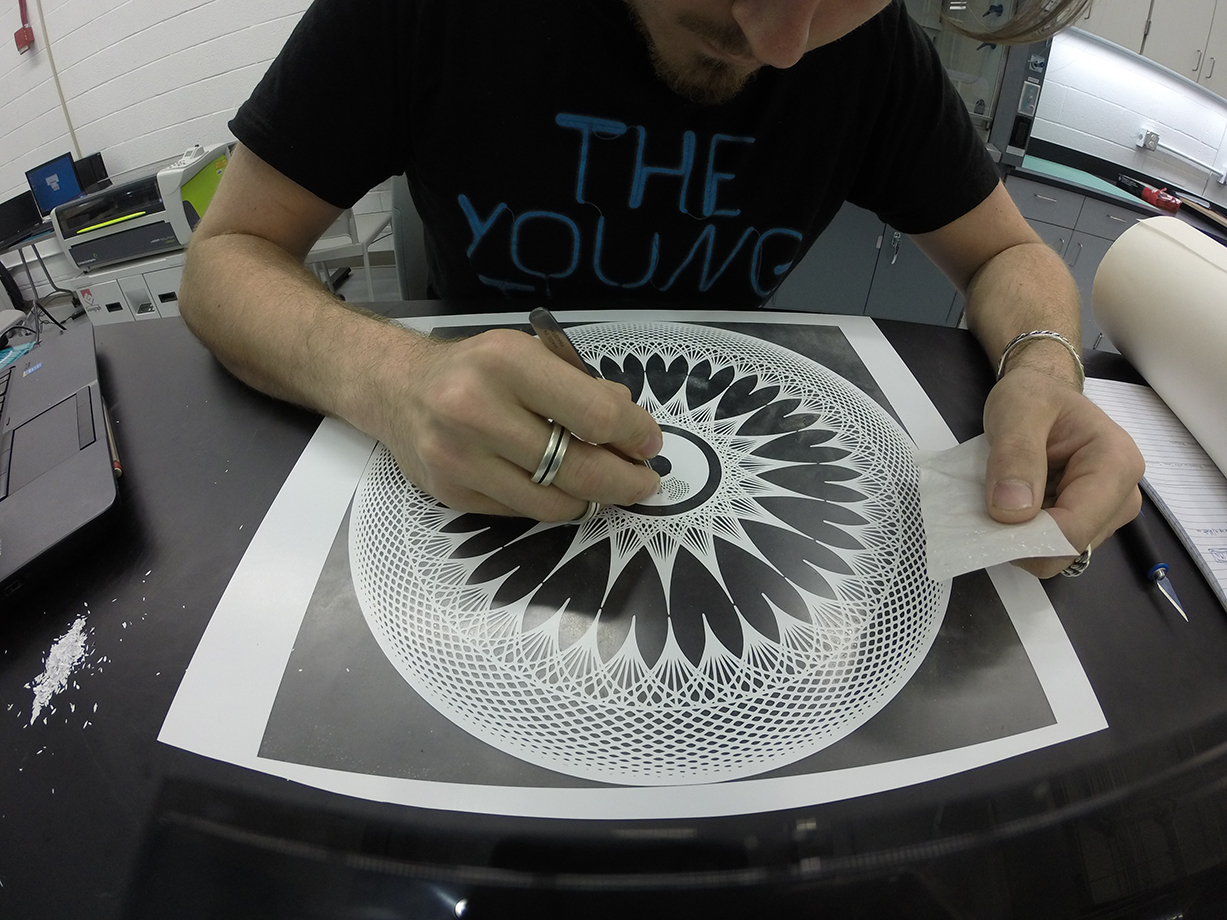
Now that the machine is all set up, loaded, and ready, we send the cut job to the cutter. Once it has finished cutting, cut the job off the roll. We now need to remove all the unwanted material that we do not want to have transfer over. I started by peeling off the larger sections and
then moving on to the smaller ones.
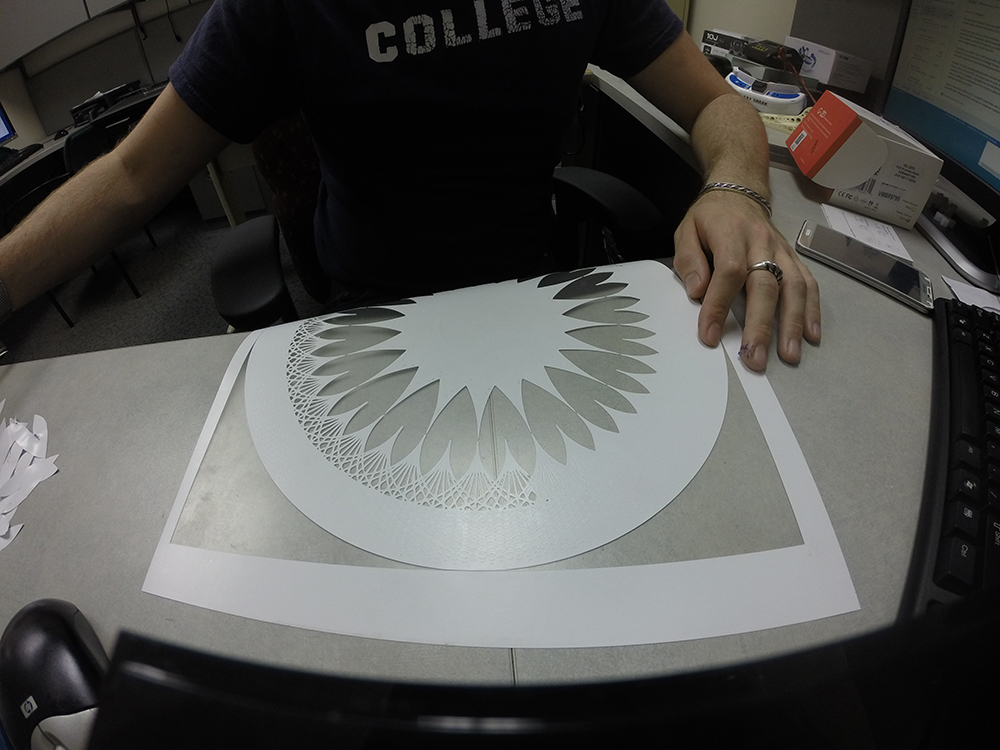
Finally, after I finished removing all the negative space (~18hrs), I was ready to press it.
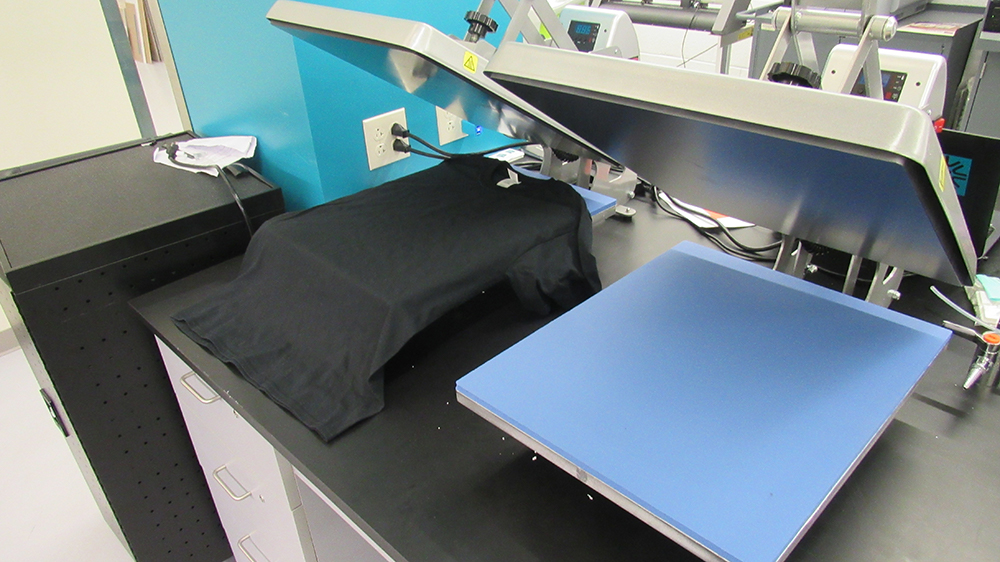
I set my heat press to the recommended temperature (330 F). Once it has warmed up I placed my shirt on the press table, set my design ontop of my shirt, and clamped it.
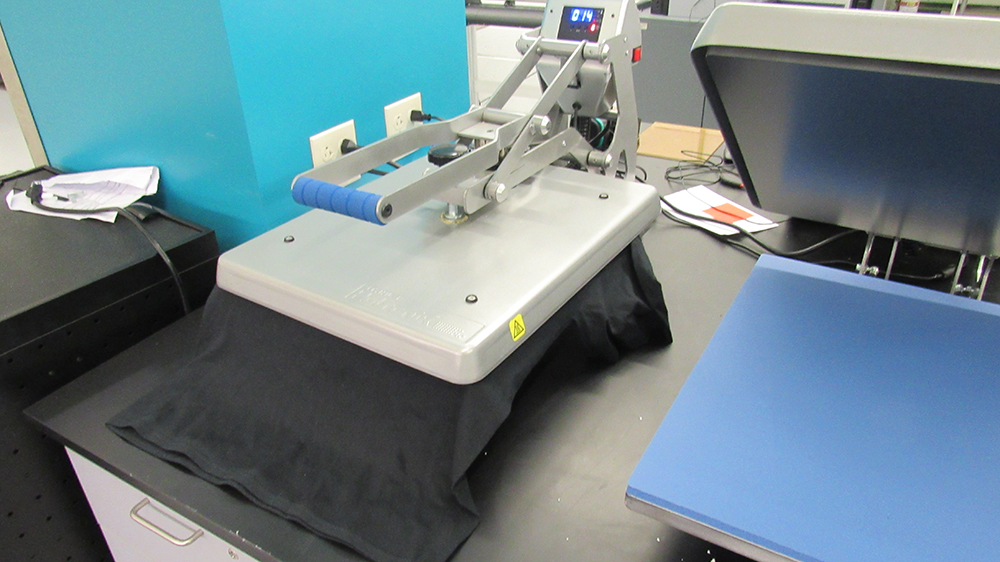
After 20 seconds, the press automatically releases and lifts to reveal the finished shirt. I gave it about another 30 seconds to cool off before removing the plastic utop the design. Once removed, it was all finished!
Laser Cutting
Group assignment:
Characterize your laser cutter, making laser cutter test part(s), making test part(s) that vary cutting settings and dimensions(group project).
Individual assignment
Design, make, and document a parametric press-fit construction kit, accounting for the laser cutter kerf, which can be assembled in multiple ways.
Learning outcomes:
Demonstrate and describe parametric 2D modelling processes.
Identify and explain processes involved in using the laser cutter
Develop, evaluate and construct the final prototype.
Have you:
Explained how you parametrically designed your files.
Shown how you made your press-fit kit.
Included your design files and photos of your finished project.
Characterizing The Laser Cutter
The machine we have at our shop that I will primarily be using is a 60W Epilog Fusion. This machine is a workhorse and has needed very little maintence in the 2 years we have had it.
.png)
.png)