- cut something on the vinylcutter
- design, lasercut, and document a parametric press-fit construction kit,
Vinyl Cutting

A vinyl cutter is a uses a computer-controlled blade to cut out shapes designed using vector graphics.
Machine Details
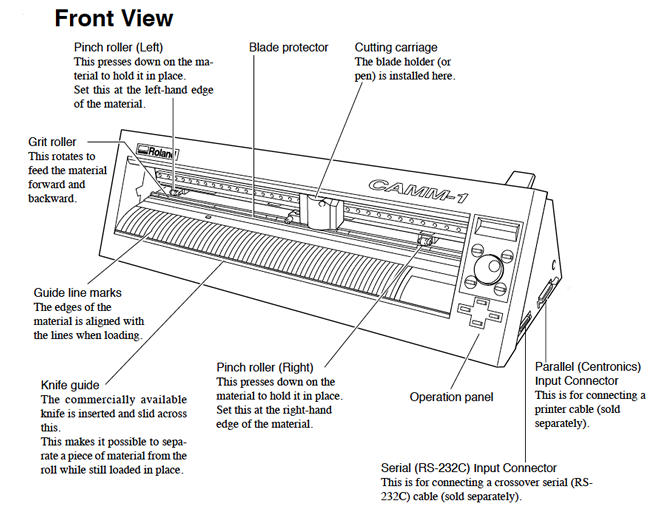
In our lab,we have the Roland CAMM-1 Servo desktop vinyl cutter. It has a knife which is mounted on a CNC arrangement for linear motion. The knife can rotate on its axis and the bed has rollers for moving the sheet back and forth. The sheet is cut by moving knife over it. We can set the cutting velocity and cutting force depending on the material of the sheet we are cutting.
Setting the Machine
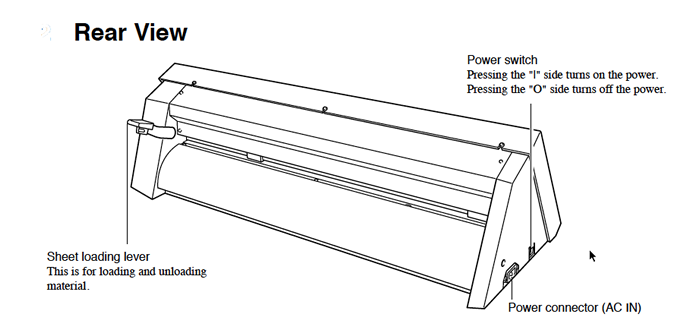
- First we need to release the pressure plate by pressing the handle on the left side. for inserting the sheet and Load the sheet from the back.
- Slide the pressure rollers to where the sheet is placed, making sure that the rollers stay inside the white lines.Pull up the pressure plate handle to lock the sheet in place.
- Turn on the machine, the tool head will move to the home position.
- Select the type of sheet (Roll or Peice), click enter
- The machine will automatically move the tool head to the left position of the roller, and give you the width and height of the sheet that is loaded.


Let's cut it
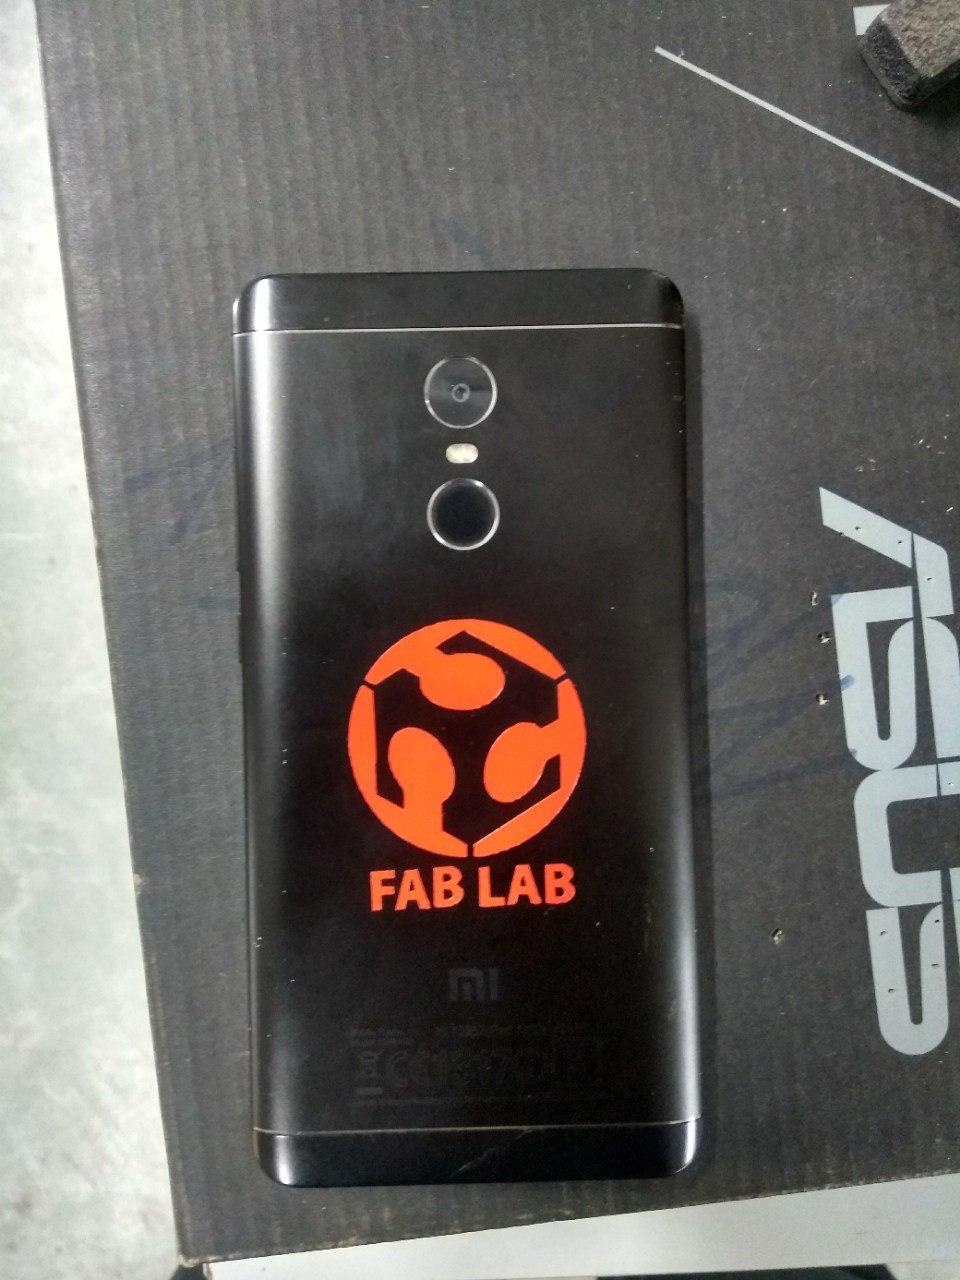
There is no space for new sticker's in my laptop so i now print for my phone.

I download the fab logo from our website, but image is raster so we need to make it vector . i used illustrator to make it vector by using iamge trace tool
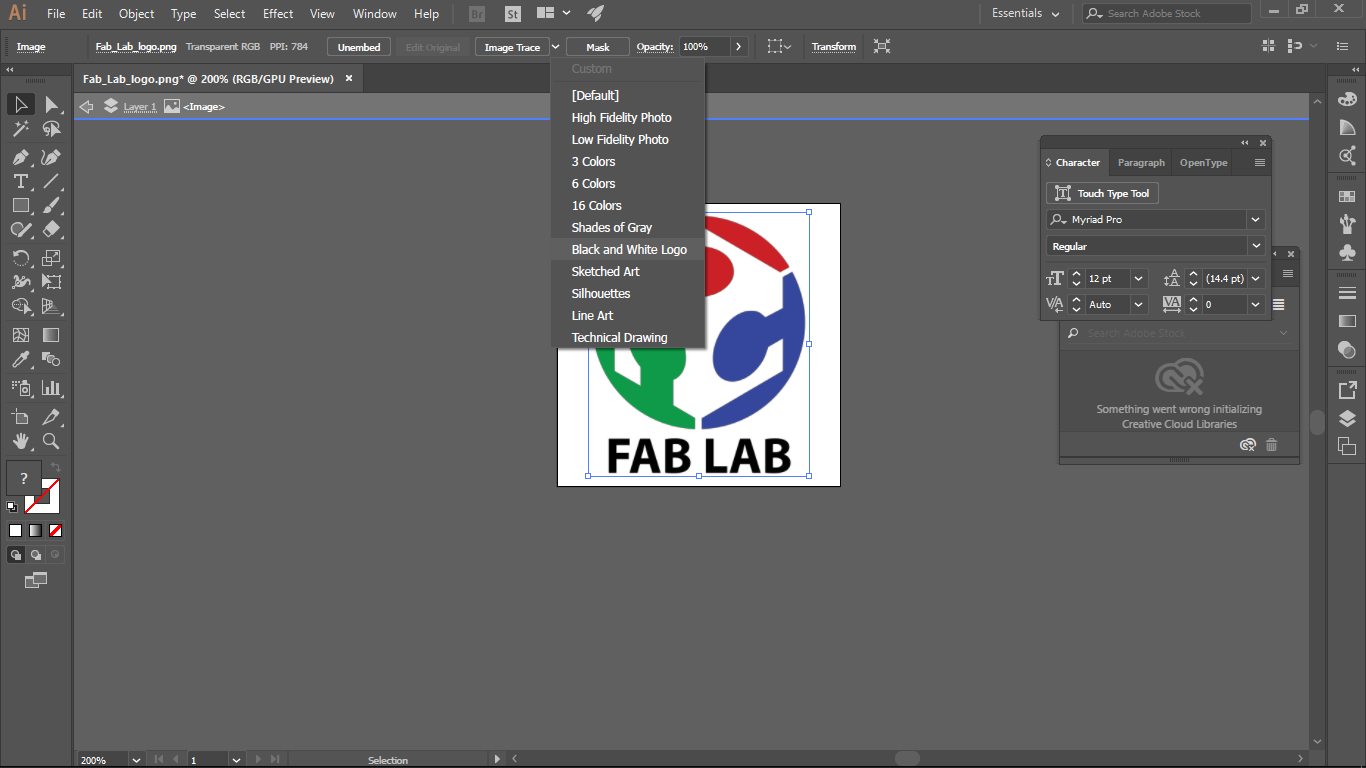
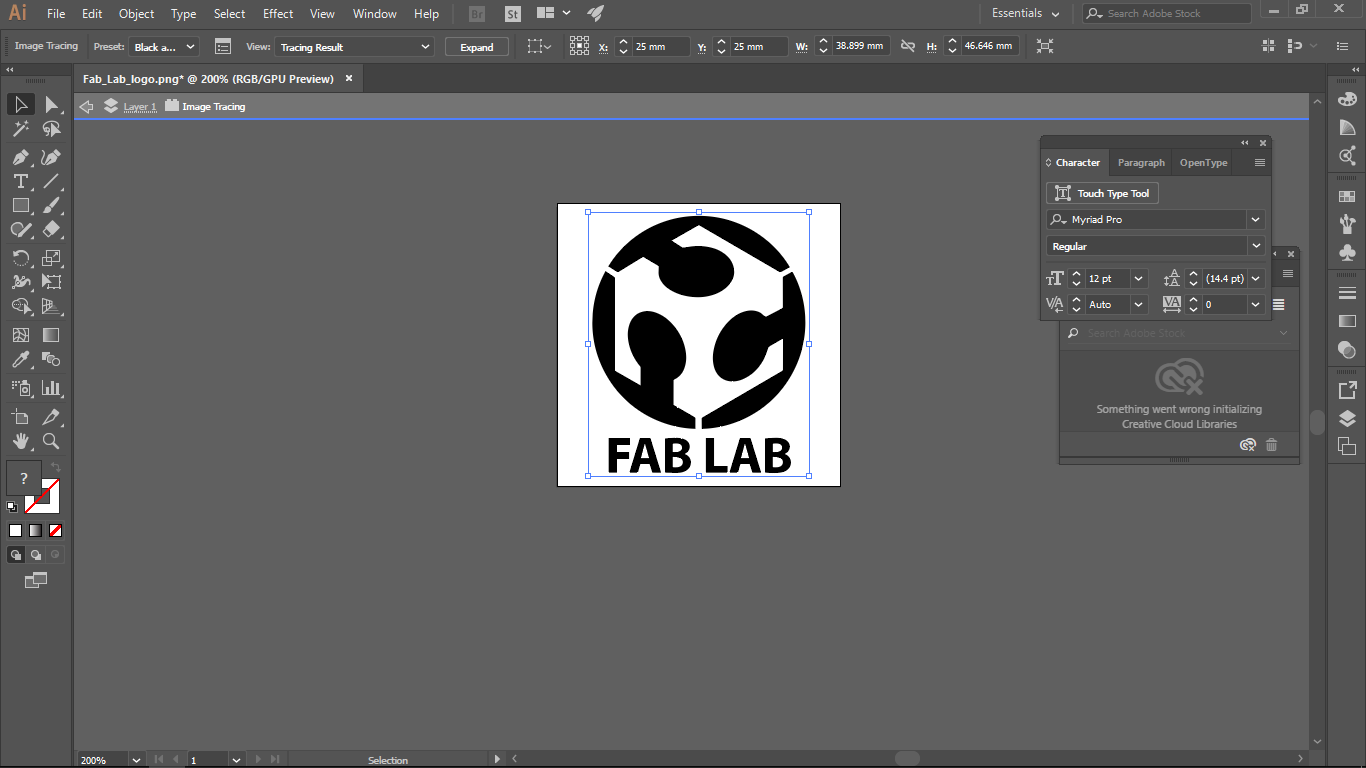
now we have single color vector image
Here you can Download the Illustrator Design File
After that i used FAB cam Module for creating CAM Path for our Cutter
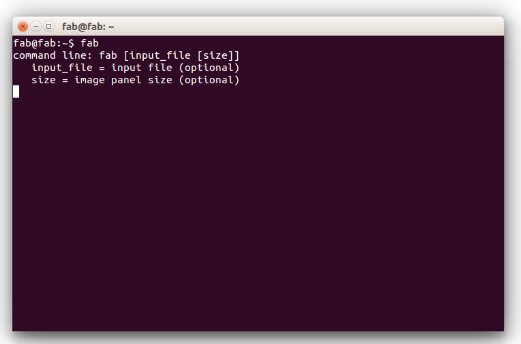
I used our lab computer for this and it's also installed with FAB modules so just type fab in terminal to open fab module

in the following i selected input format as image(.png) and output process as Roland Vinlycutter and click make_png_camm to get CAMM
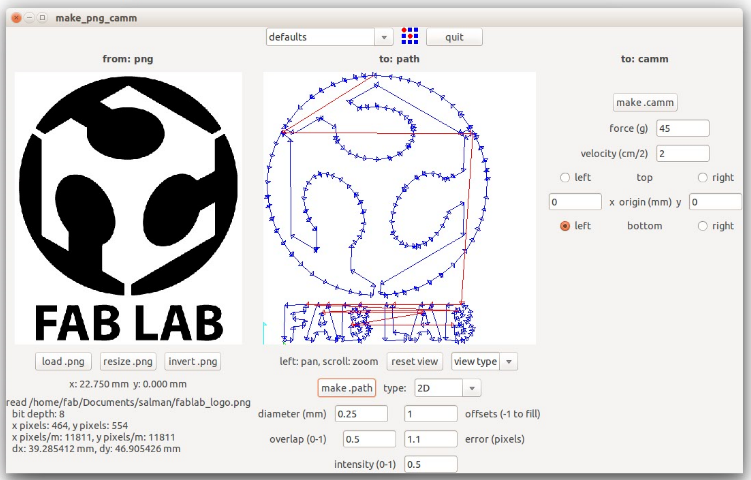
First click make.path for genarating Path , now we can see the path for cutting our sticker, after that click make.camm.to send the data to machine click Send.
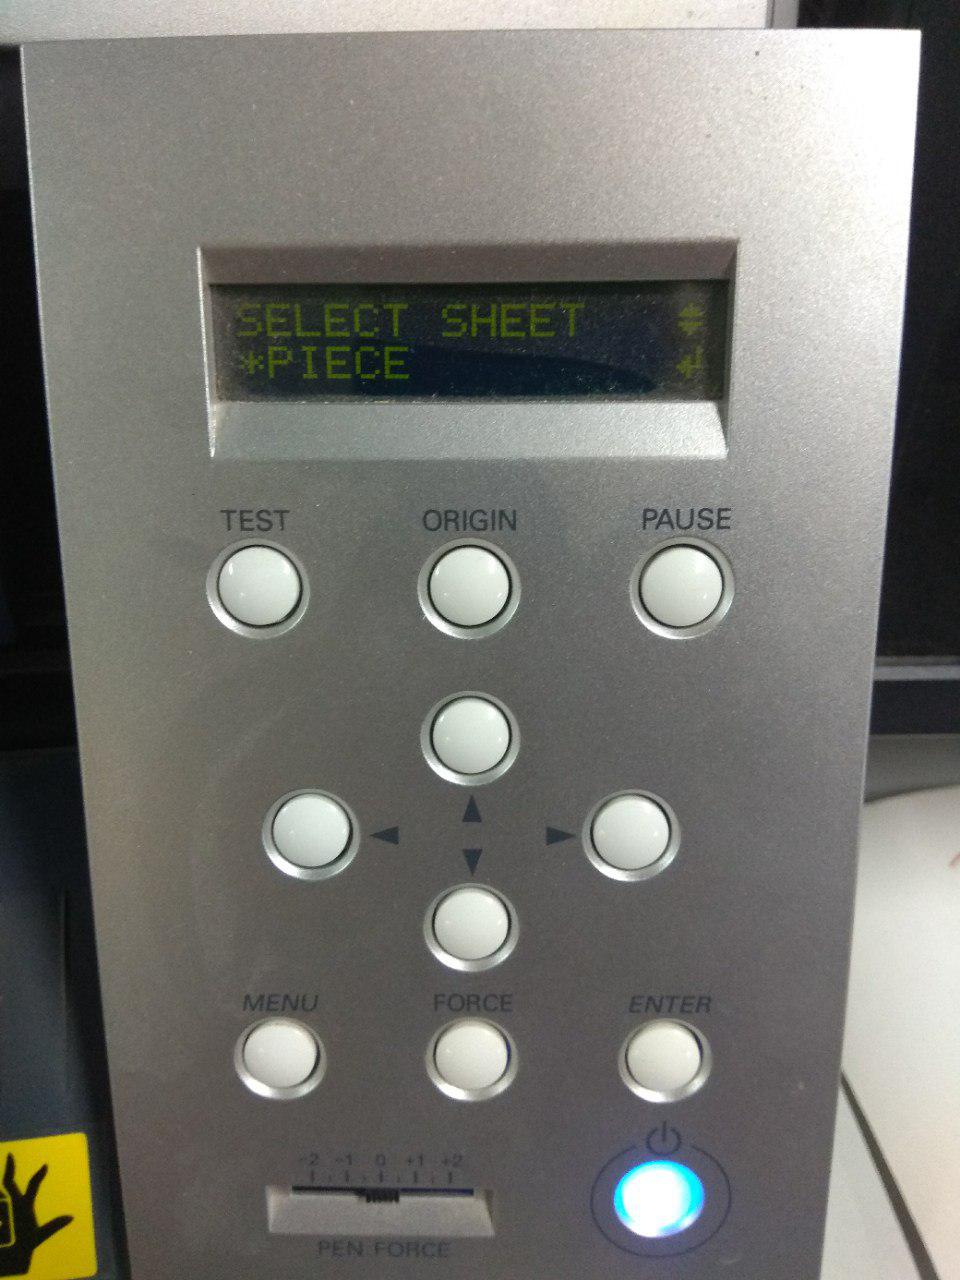
in here i used single piece of vinyl sticker so i selected Piece from the Roland Menu
Roland will automatically scale the sheet.
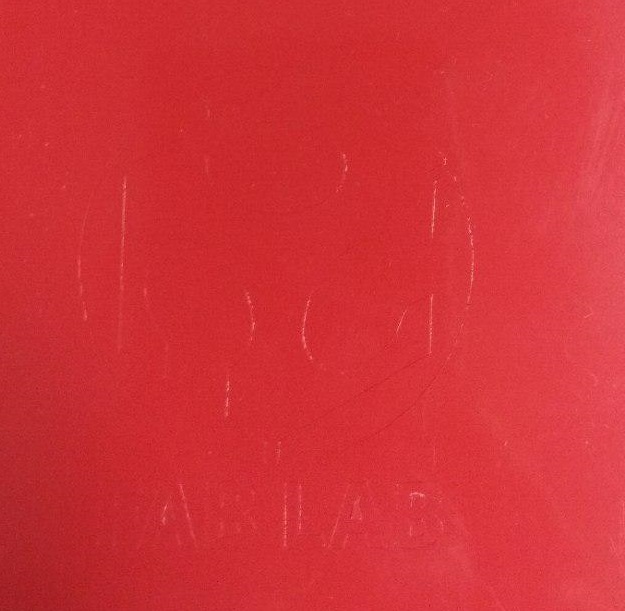
we can see the slice and we need to remove the un-wanted portion from the sheet
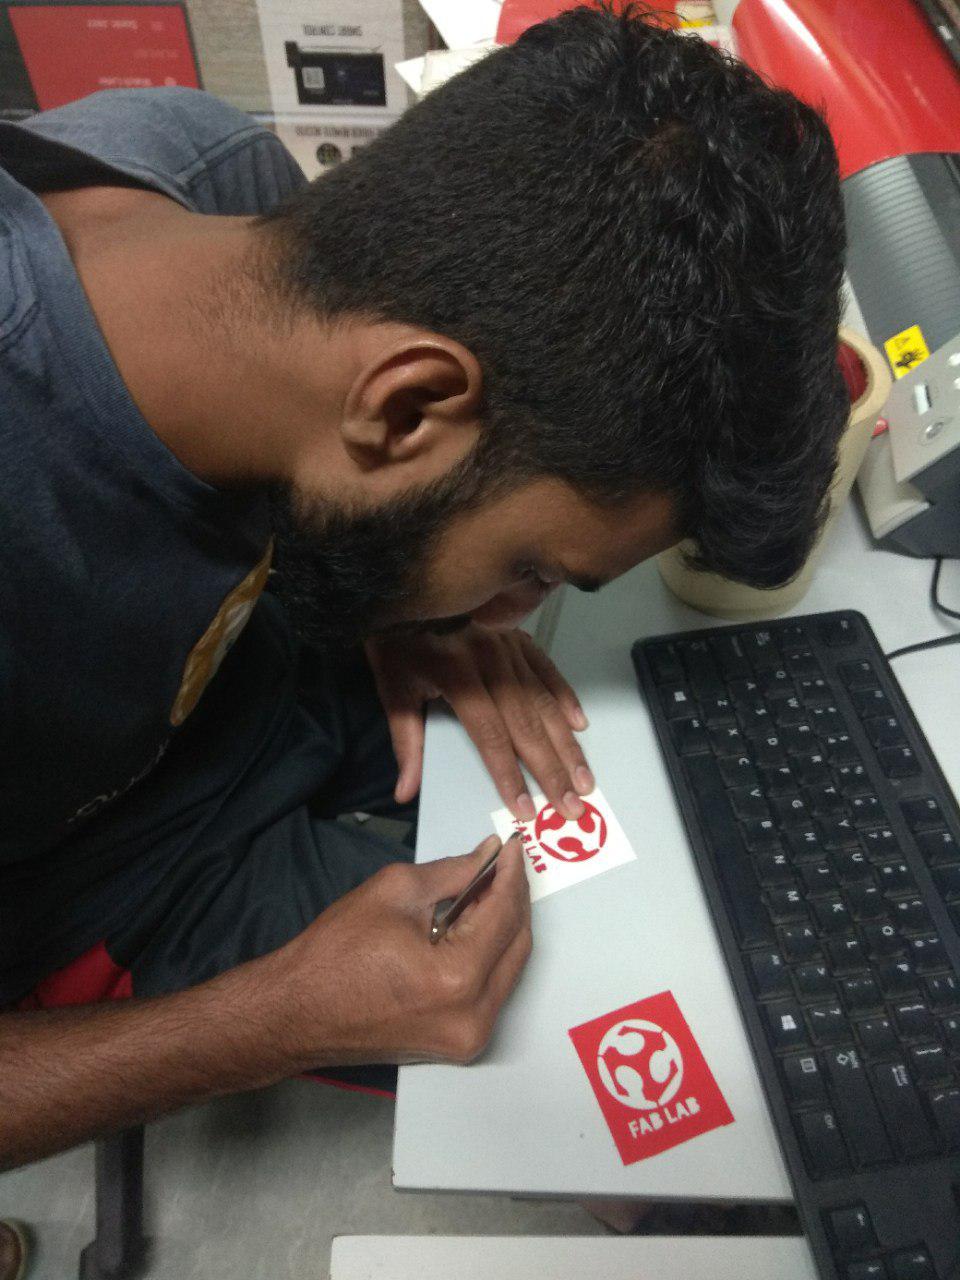
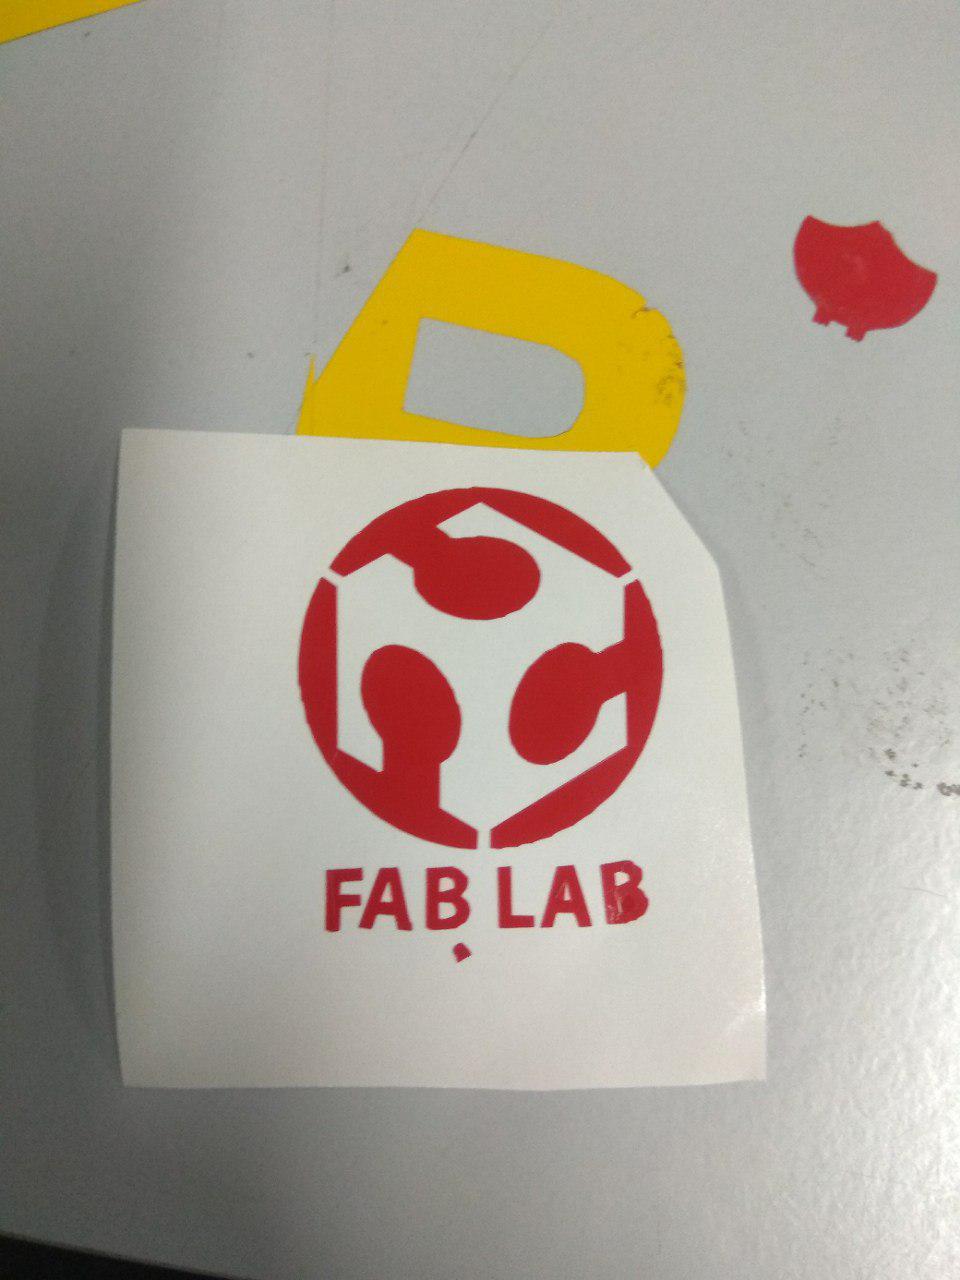
Now we got the part's only we need , so next we need to get the sticker from base plastice, for this we are using masking tape
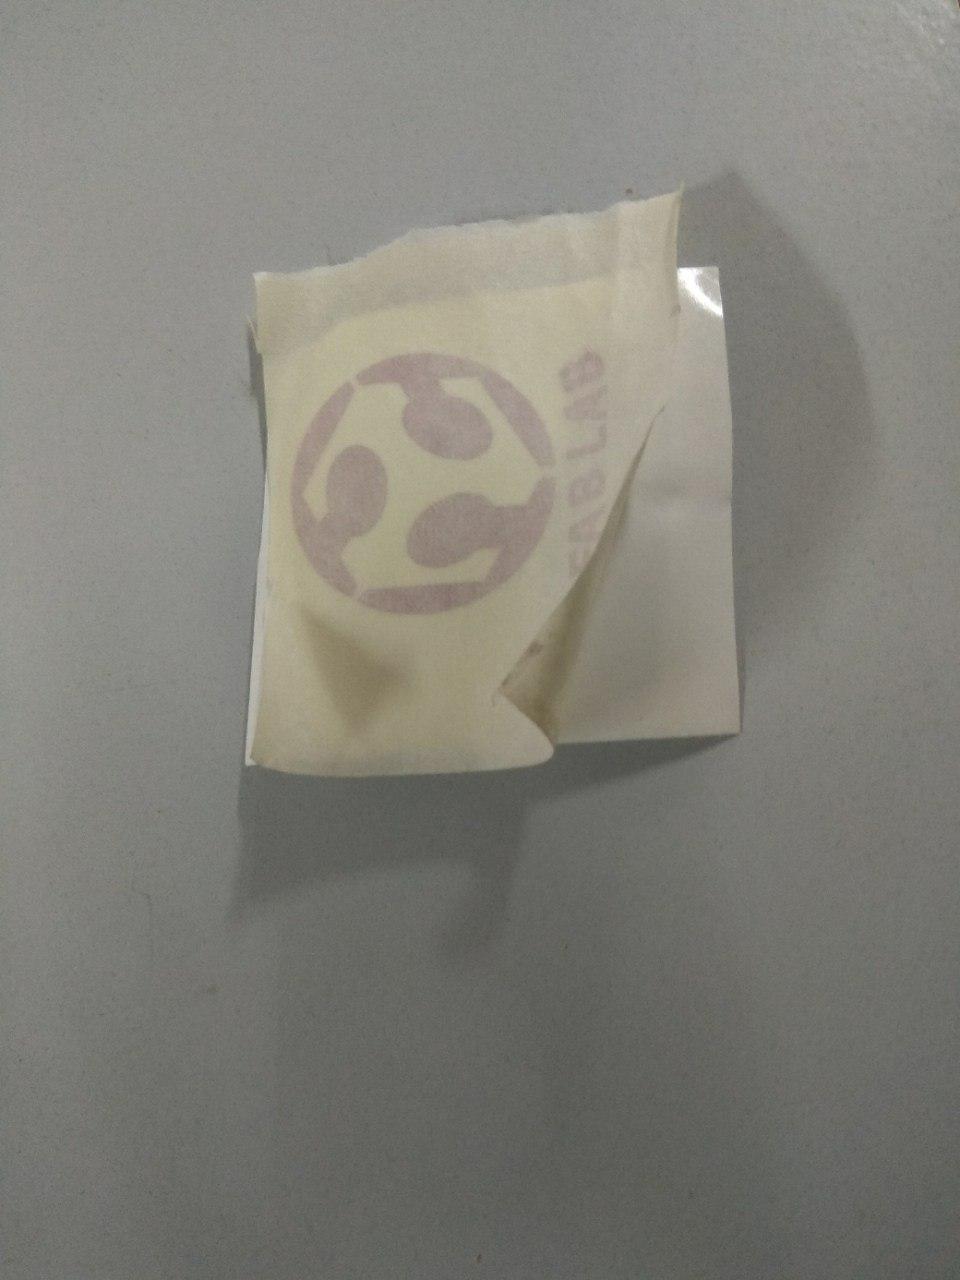
when we remove the masking tape we will aslo remove the sticker from base plastic and we got this.
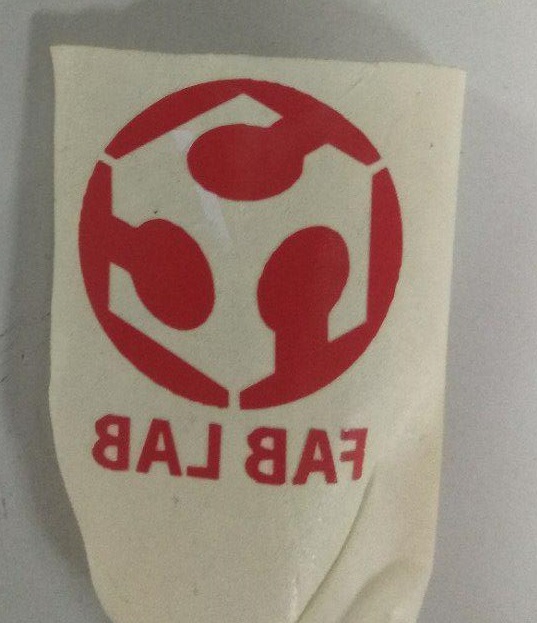
Next, we place the sticker .
Fab module settings for Vinyl Cutting
- Diameter(mm) = 0.20
- Overlap = 0.5
- Offsets = 1
- Error(pixels) = 1.1
- Intensity = 0.5
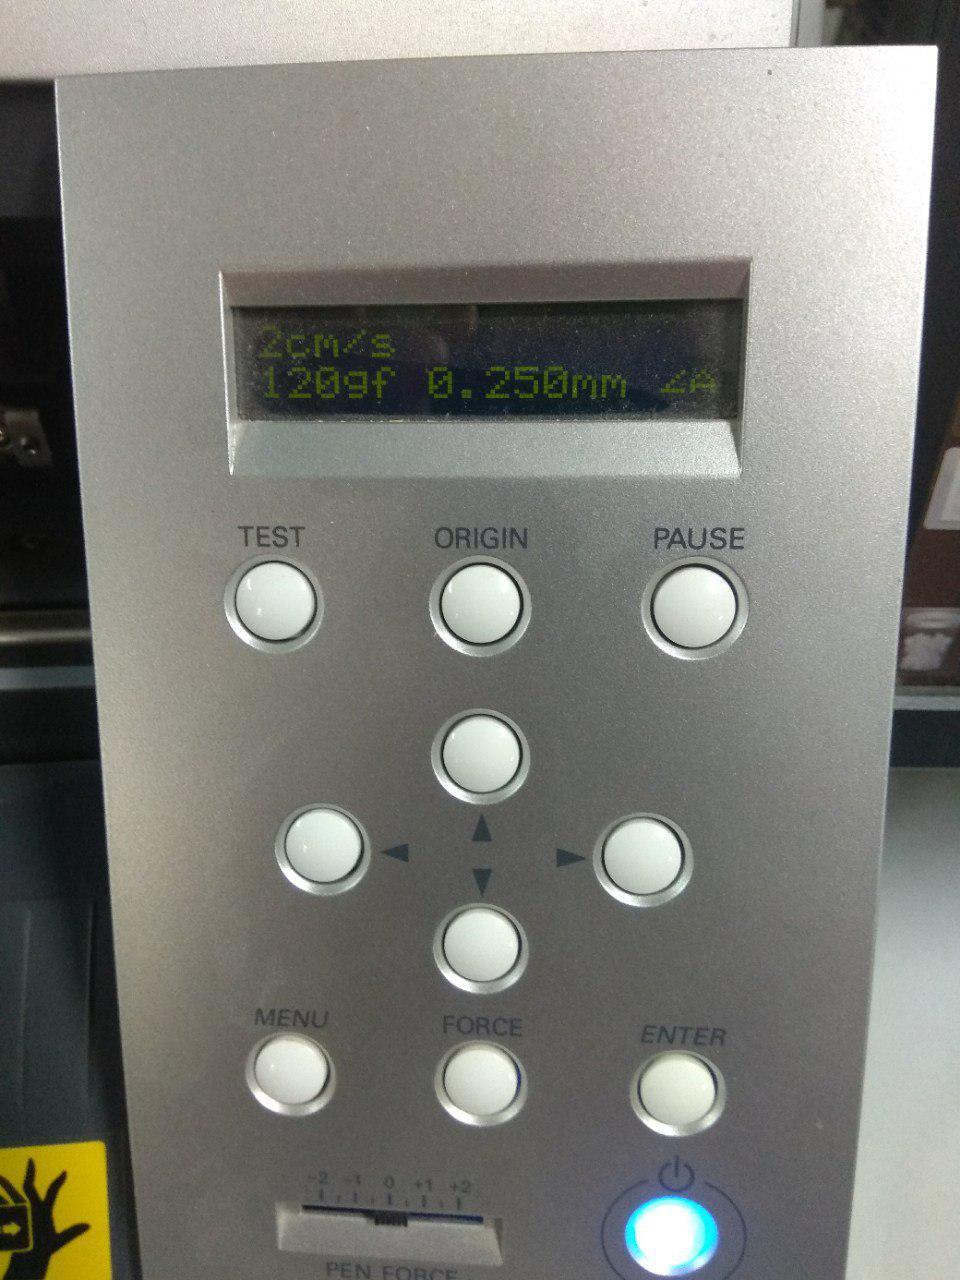
- Force = 120gf
- Velocity = 5
Laser cutting
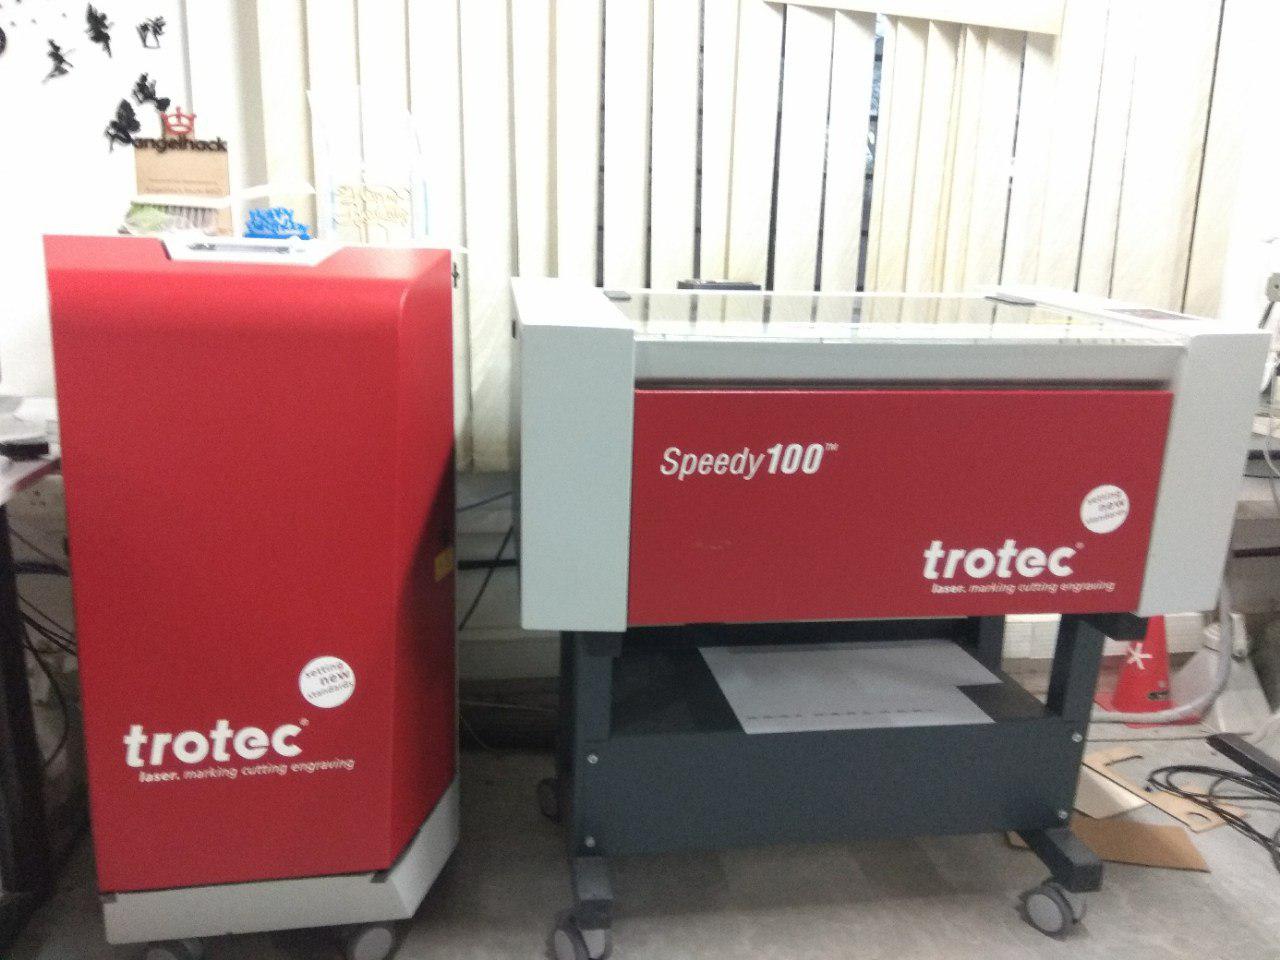
The laser cutter works by focusing a high energy beam of light in a small area to vaporize the material there.
In our lab, we use the Trotec speedy 100, it uses a Carbon dioxide(CO2 ) laser for generating the high energy beam. The laser beam is generated at the back of the machine, which is then diverted by a system of prisms.
The beam is then focused and moved using a CNC arrangement that allows for rapid 2D motion
MACHINE DETAILS
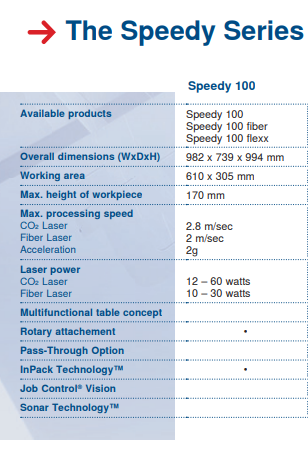
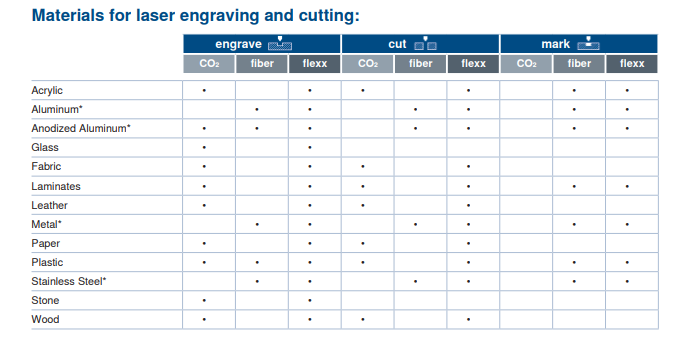
The Speedy laser engraving and cutting systems are the perfect choice both for entry level users as well as professional engravers. „Speedy“ – the fastest and most productive laser machines in the market: By processing at maximum speed of 3.55 m/sec and acceleration of 5g the Speedy is designed to increase your production efficiency. Thanks to the closed construction, essential components are protected from dirt and dust. This is why you can operate without virtually any maintenance and cleaning requirements. This results in higher up-time and lowest cost of ownership. All platform sizes from 610 x 305 mm up to 1000 x 610 mm are available with a CO₂, a fiber or even both laser sources in one laser system. The patented flexx function enables endless application possibilities. Use both laser sources in one job without having to change the laser source, the lenses or the focus manually (Source :- < a href="https://www.troteclaser.com/fileadmin/content/images/Laser_Machines/Speedy_Series/laser-engraver-speedy-brochure.pdf")>https://www.troteclaser.com/fileadmin/content/images/Laser_Machines/Speedy_Series/laser-engraver-speedy-brochure.pdf
SETTING THE MACHINE
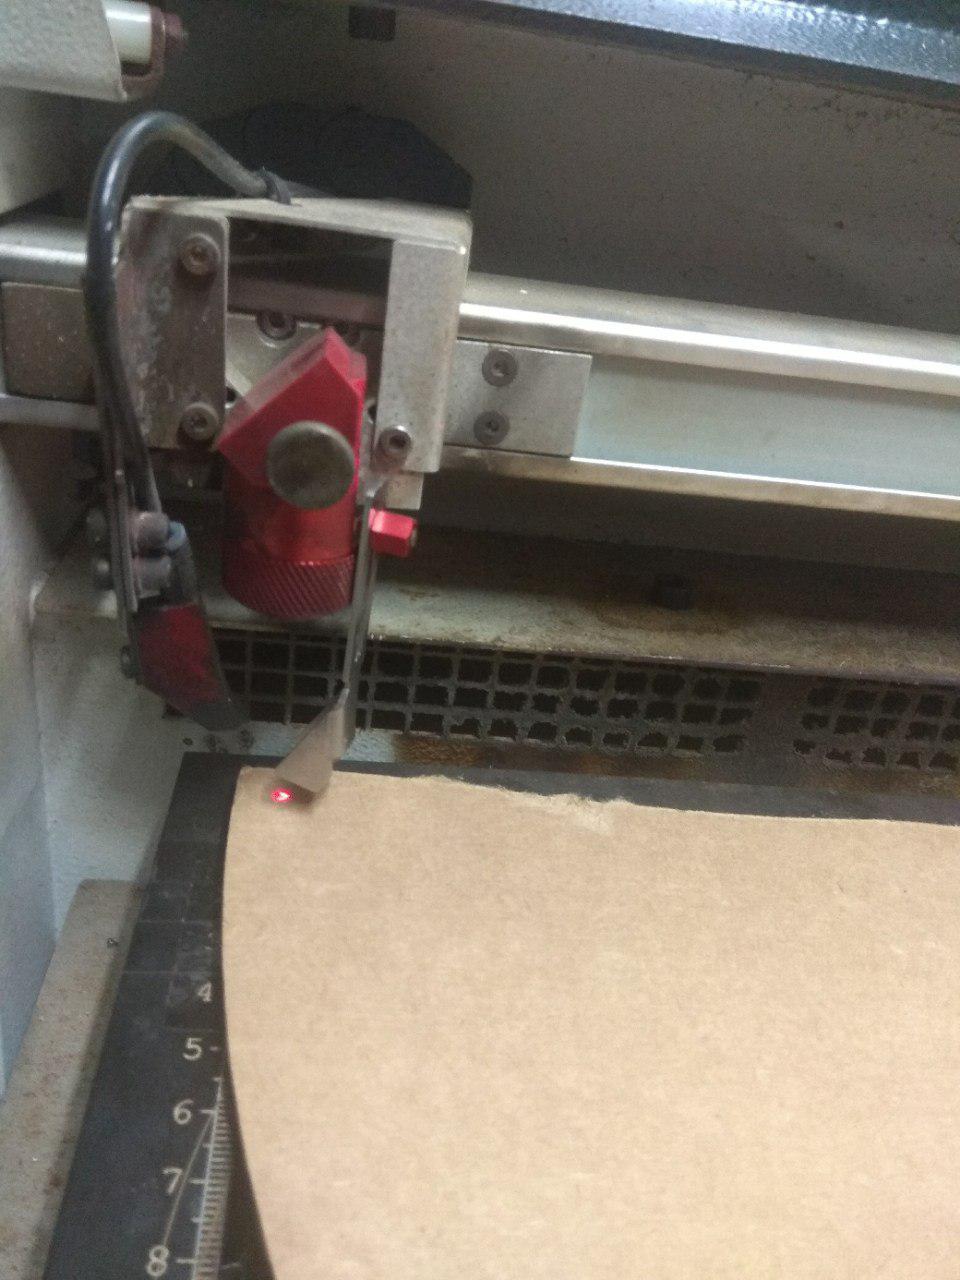
First we need to Focus the laser
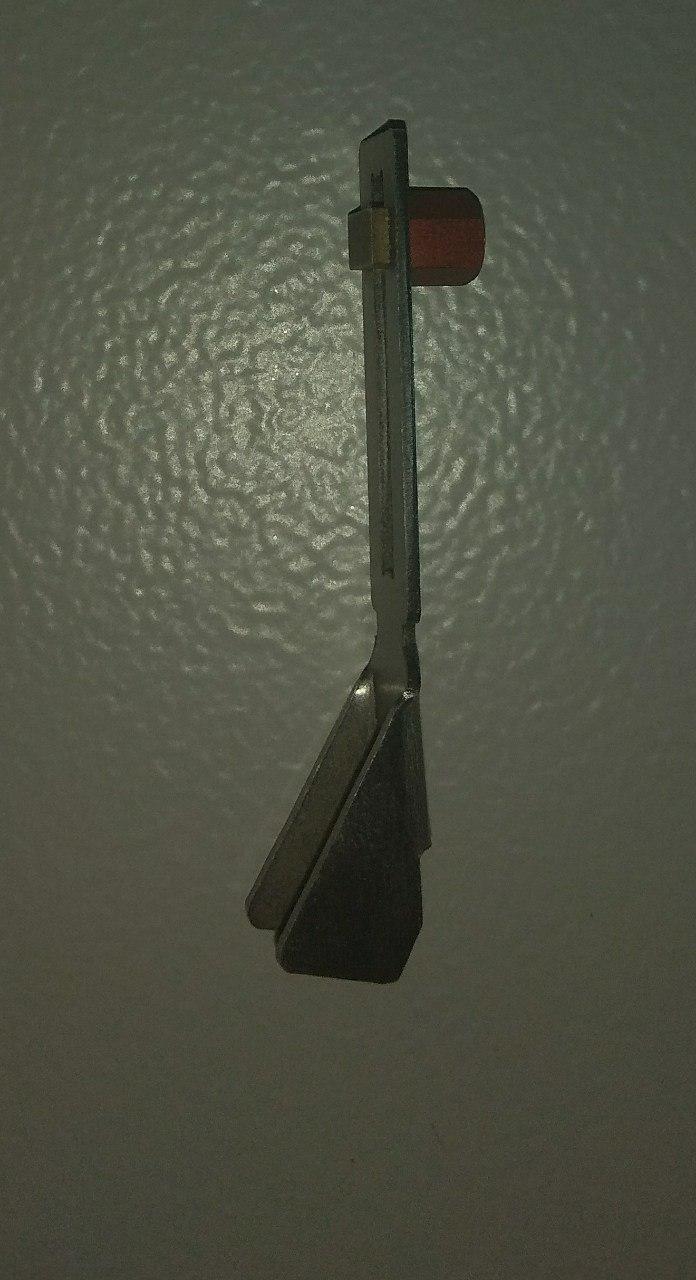
We are using a prob to focus the laser
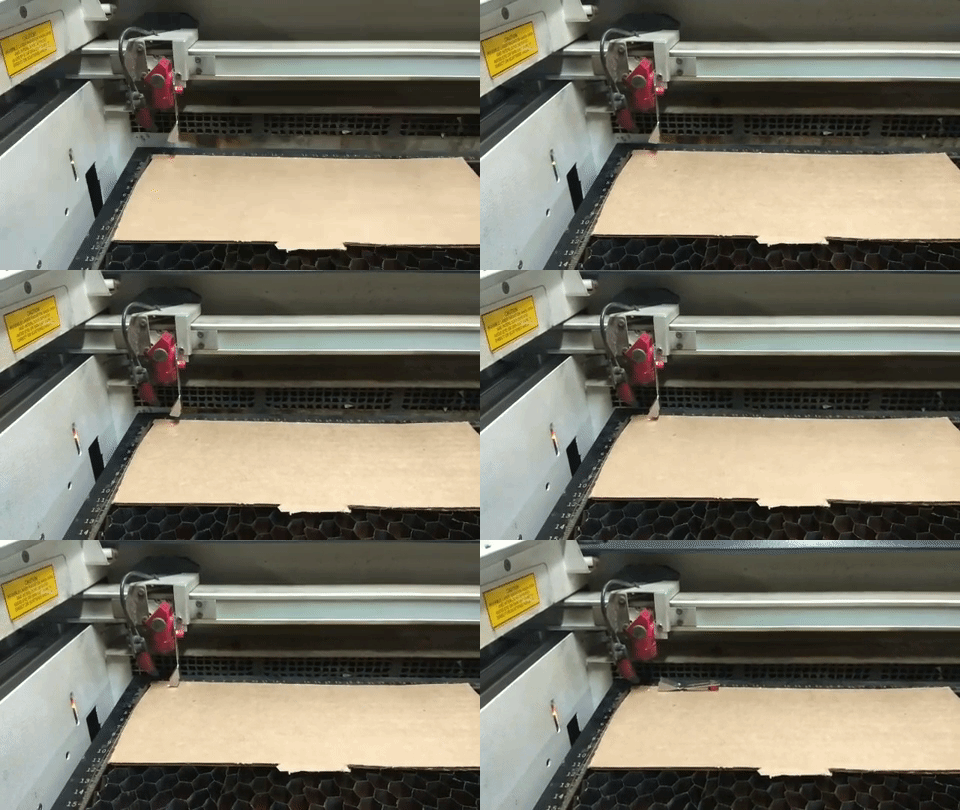
Setting Y Axis by using ControlPad
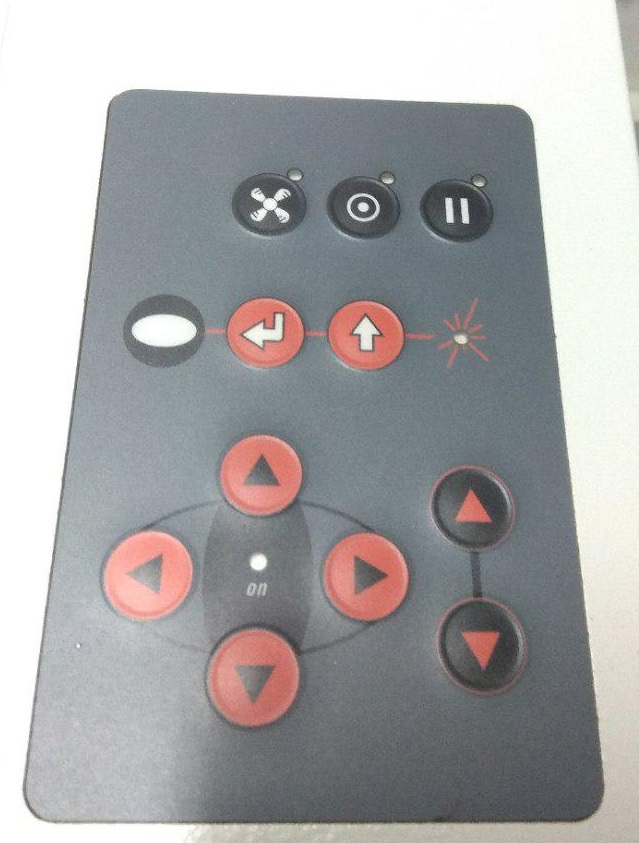
Once the Axis is set then it will start doing from there
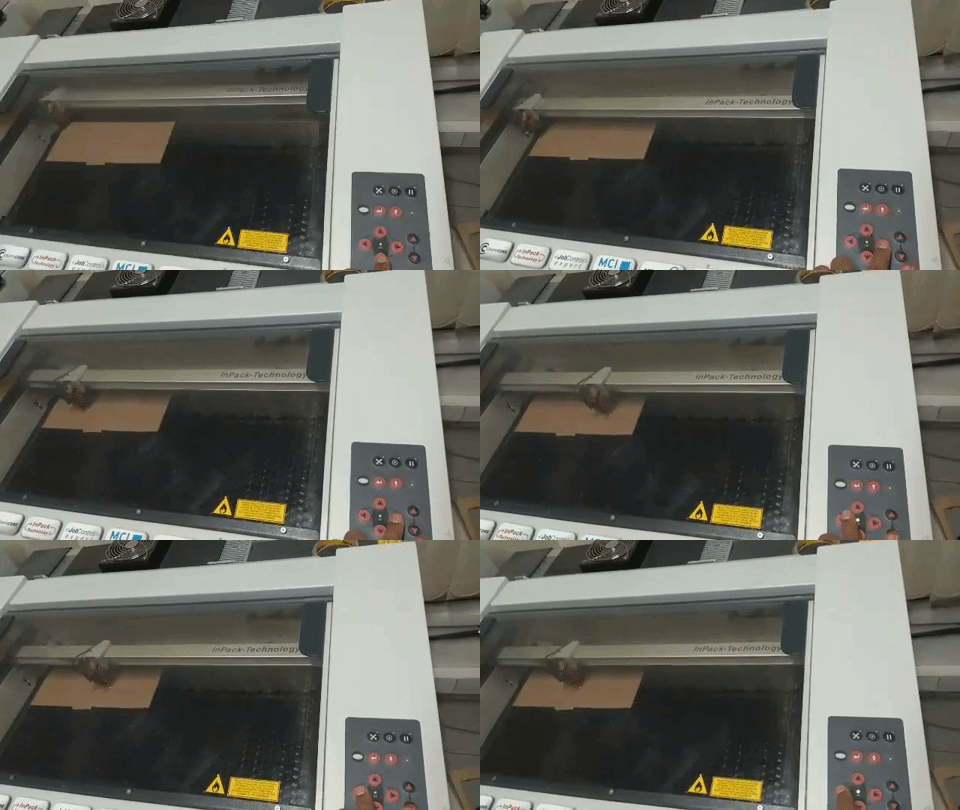
Let's Laser
I designed a badge for me by using Inkscape
Here you can Download the Inkscape Design File
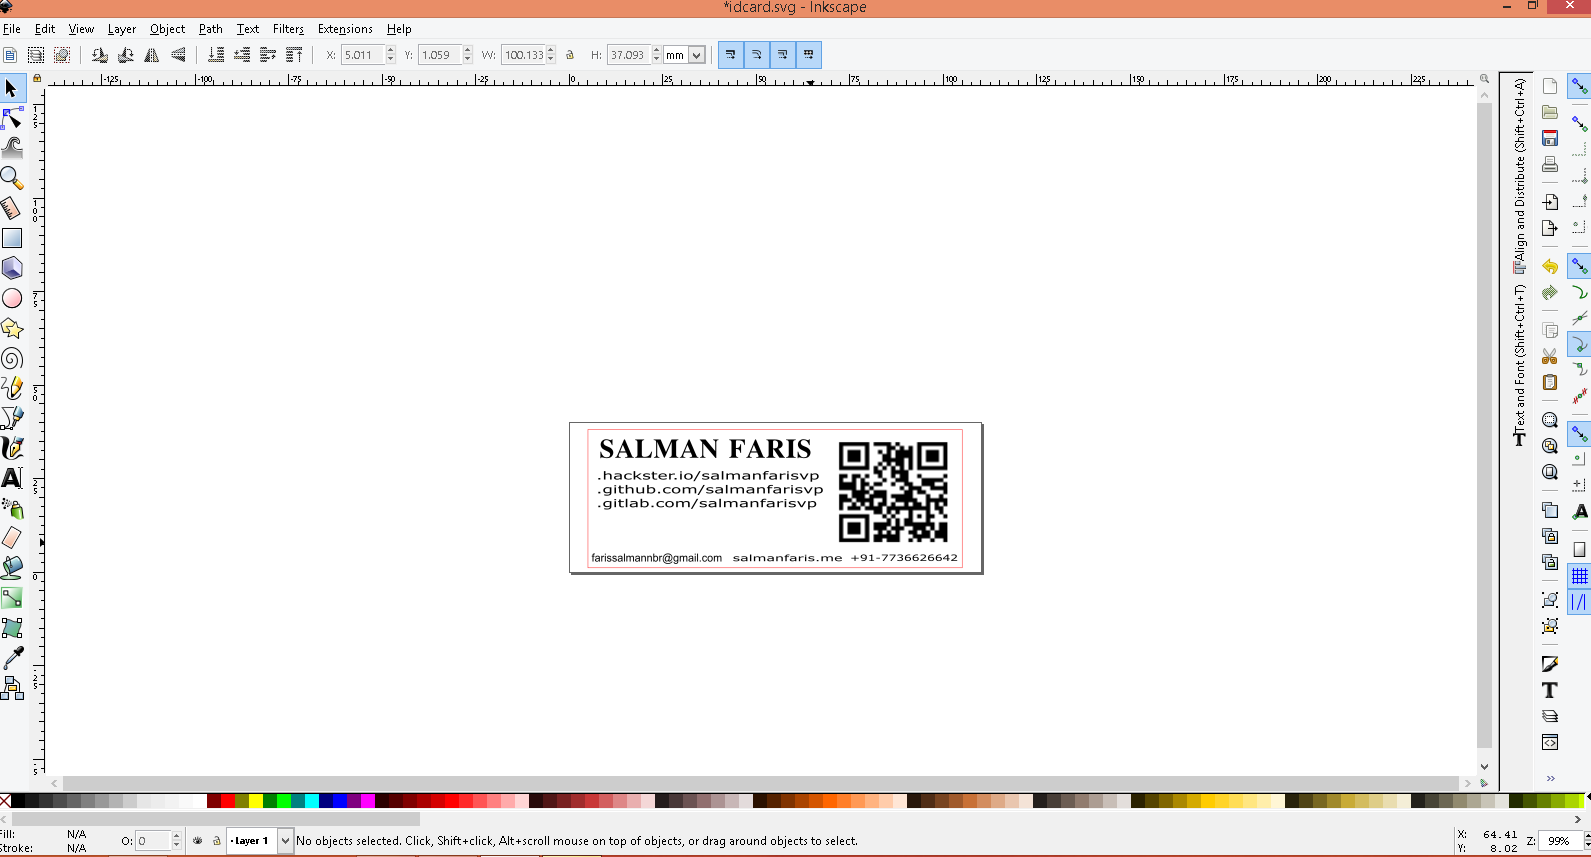
For Priting press Ctrl + P , and set the laser parameters .
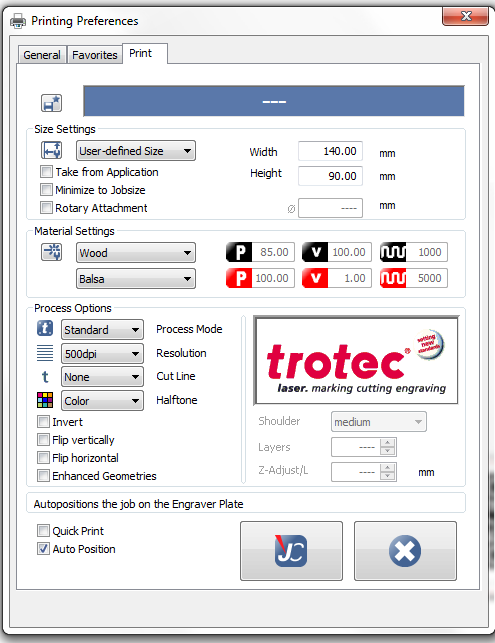
Engraving Parameter
- Power - 85
- Velocity - 100
- Freq - 1000
Cutting Parameter
- Power - 100
- Velocity - 1
- Freq - 5000
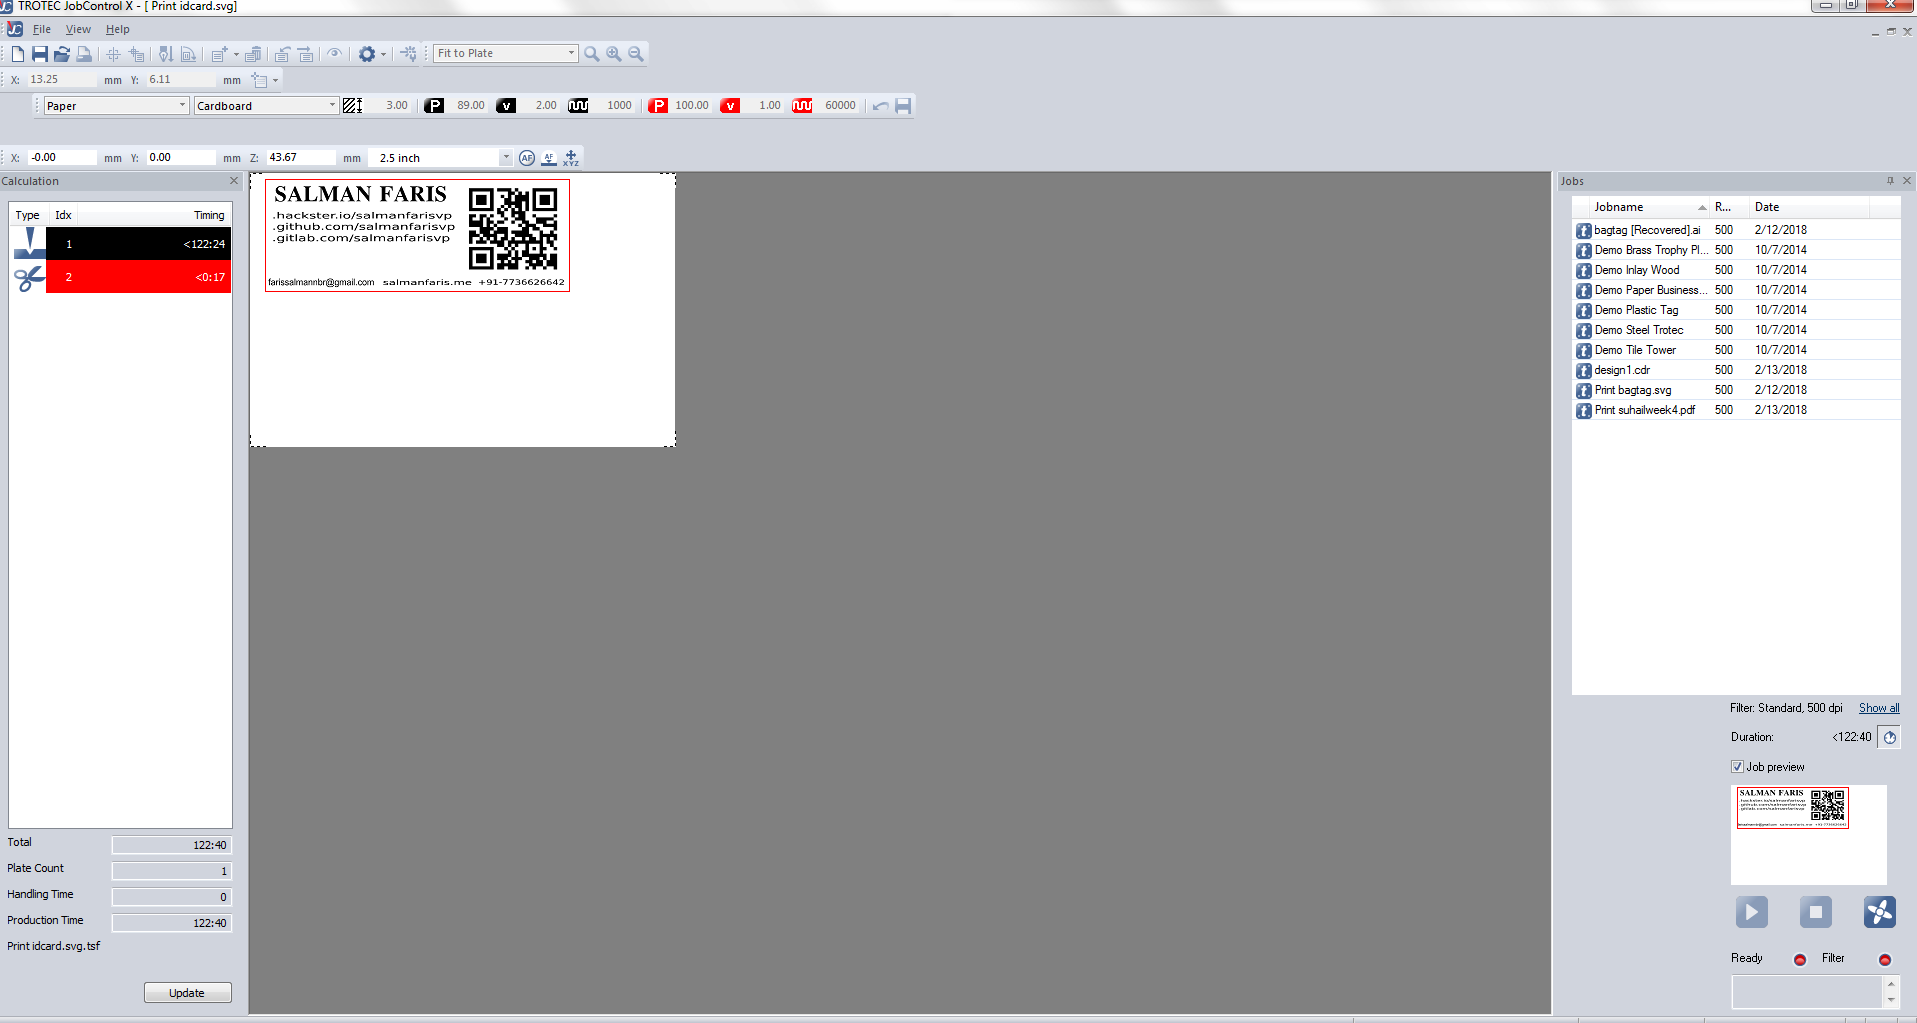
Let's Cut
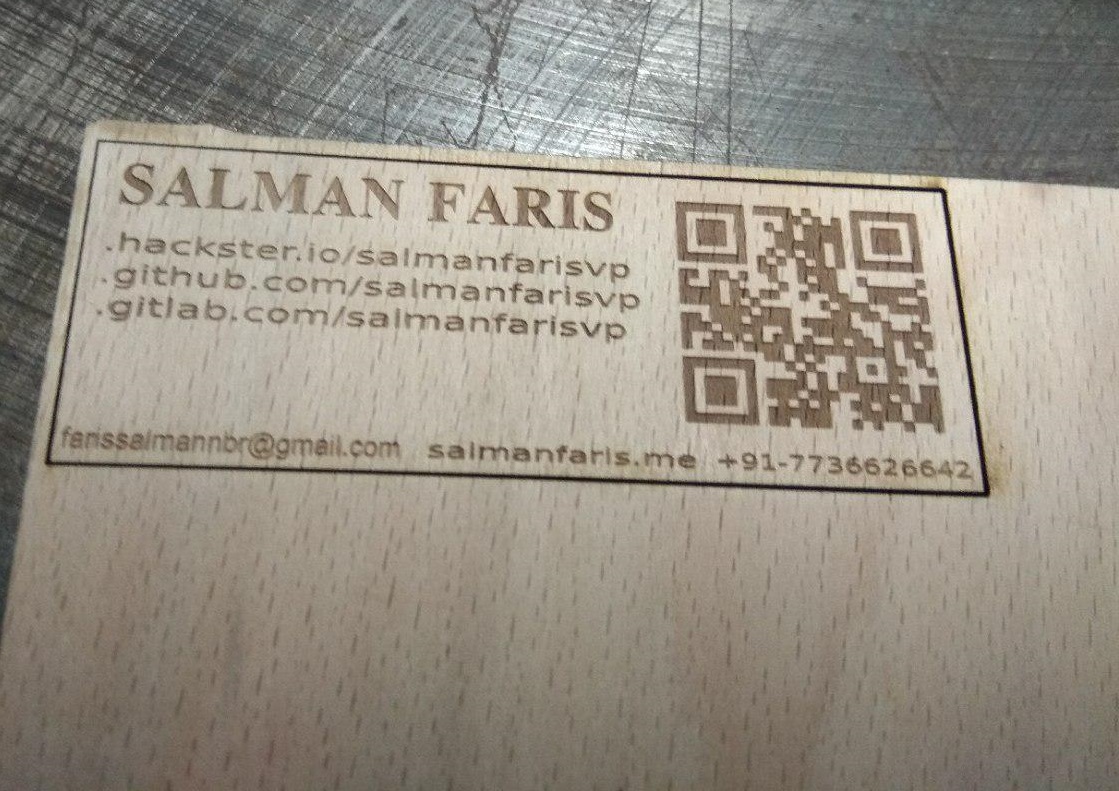
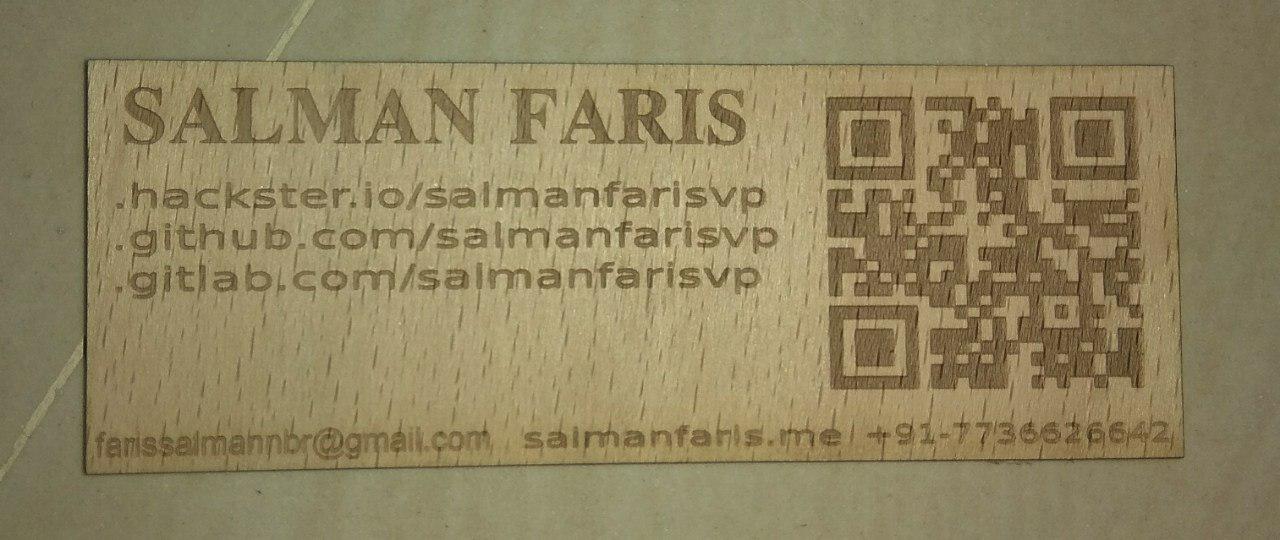
take apart from the base .
kerf scale
Kerf means width of material that is removed by a cutting process. here the laser beam burns a negligibly small portion of material when it cuts the material this is known as " Laser Kerf ". The ranges of laser kerf from 0.08mm to 0.45mm, it is depending on the type of material and other conditional factor .this is was our Group Assignment
slot width = ( material thickness ) - ( laser kerf of material )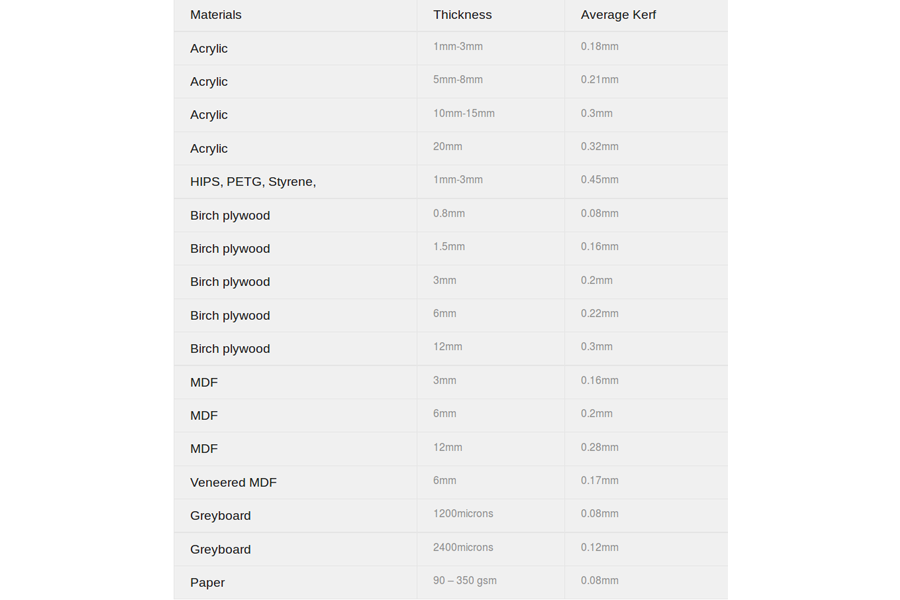
source from http://www.cutlasercut.com/resources/tips-and-advice/what-is-laser-kerf
So , I designing a Kerf Scale for 3mm Acrelic .I first designed sketch on Rhino
Here you can Download the logo Rhino Design File
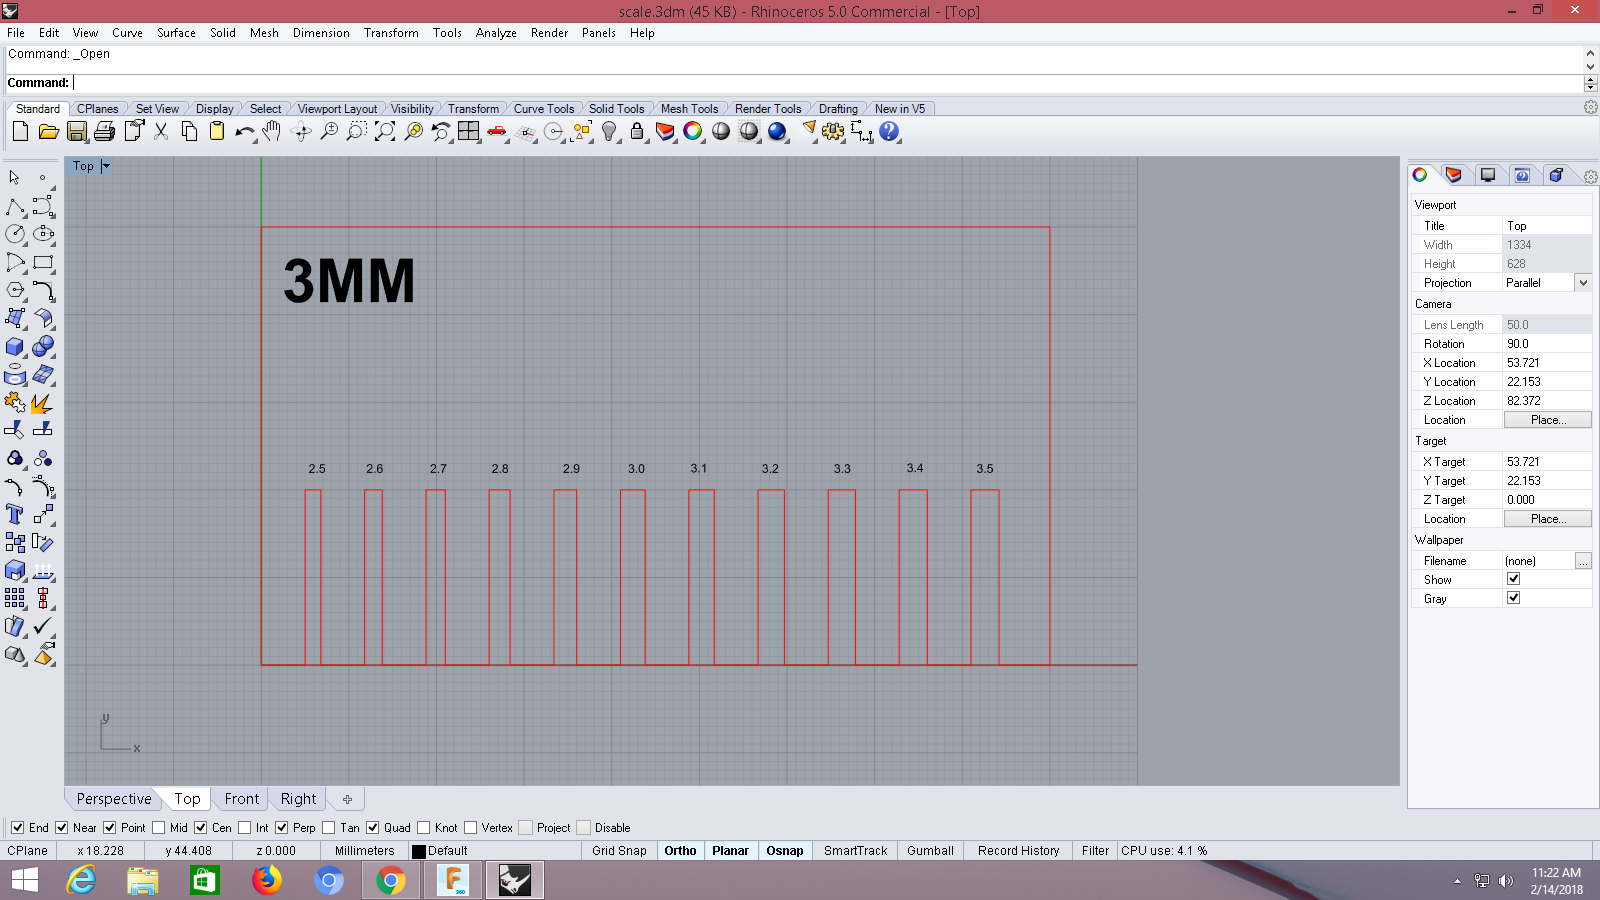
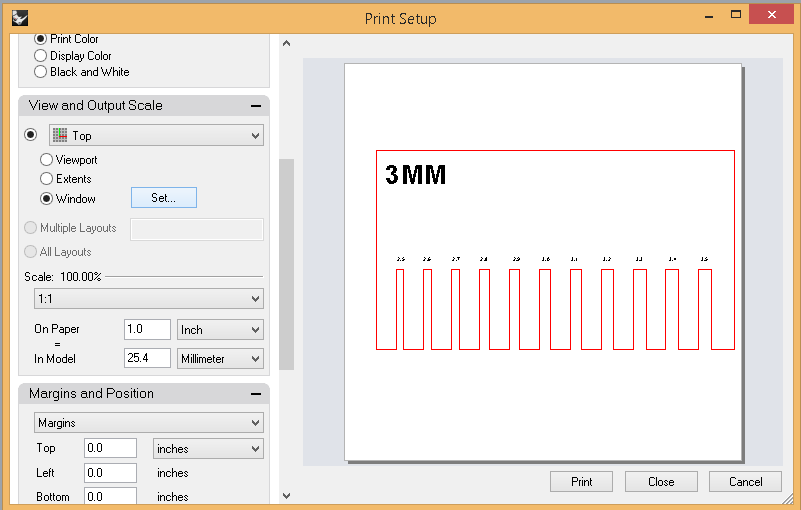
we need scale the ratio 1:1 and make the window set in the sketch
Next set the Laser Powers for Acrylic
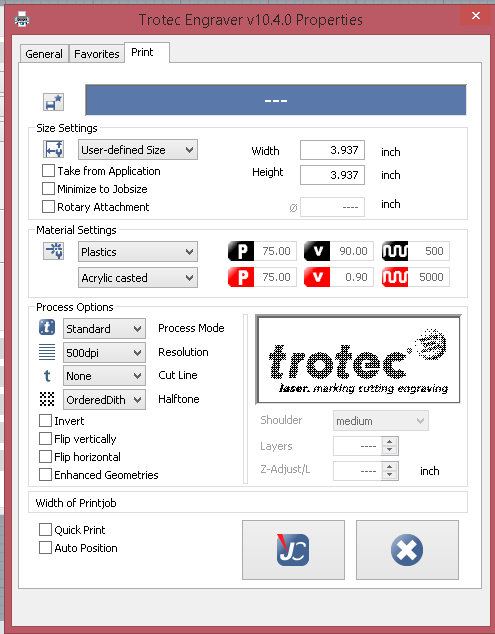
Engraving Parameter
- Power - 75
- Velocity - 90.00
- Freq - 500
Cutting Parameter
- Power - 75
- Velocity - 0.90
- Freq - 5000
Next set the Laser Focus and 'Y' Axis
Setting Y Axis by using ControlPad

Once the Axis is set then it will start doing from there

OK ,Done.laser is now callibrated we can now cut and engrave.
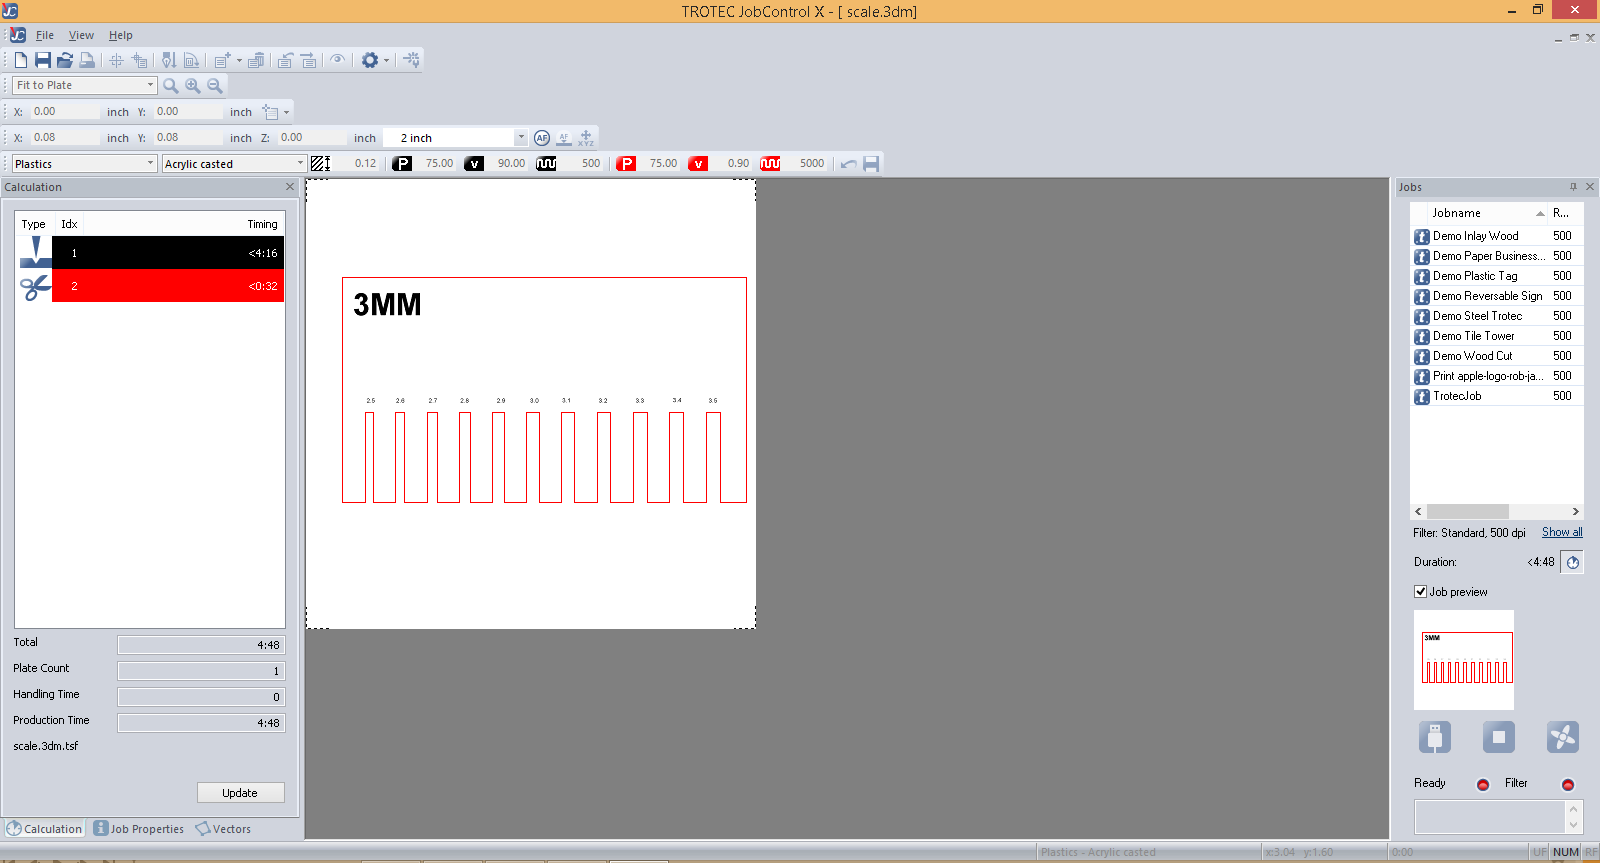
we successfully cuted our kerf-scale
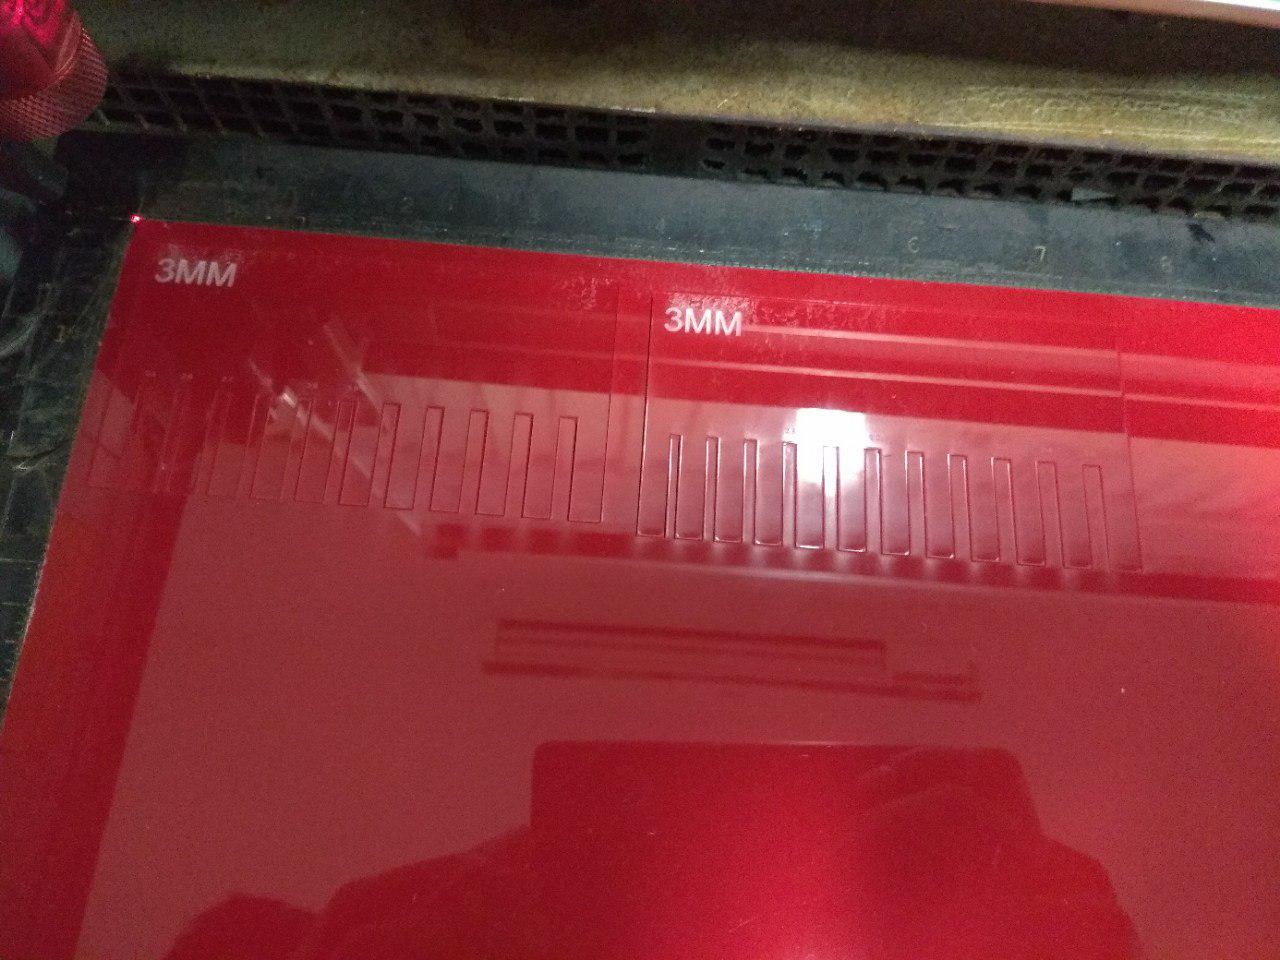
There we go, in our lab we seted black for engraving and red for cutting.

We got Kerf 0.20 mm.
press-fit construction kit
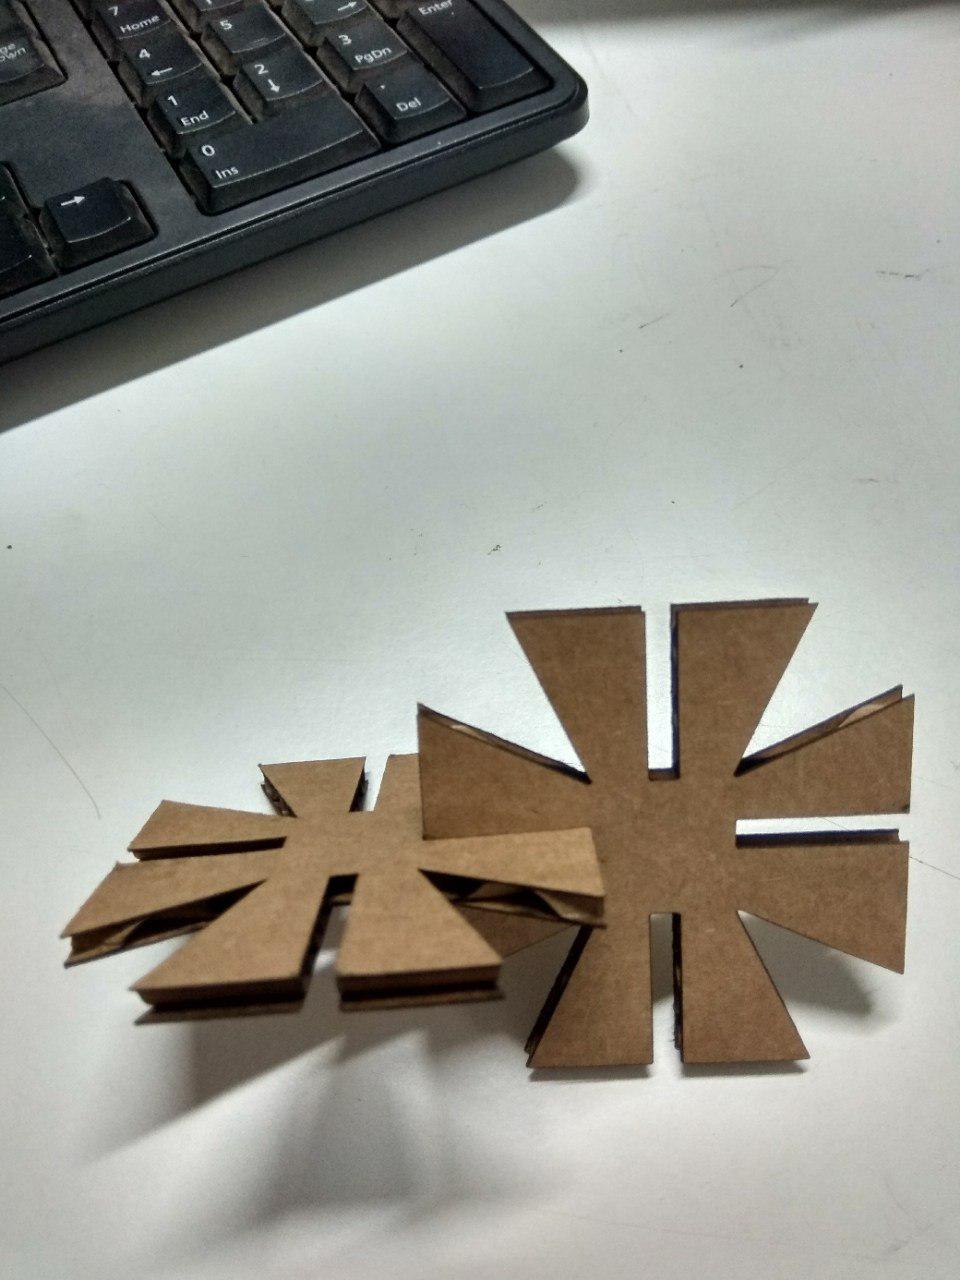
A Press-fit must fit together without using glue, nails, screws or other fasteners,we need to adjust your joints to fit together in a precise way.
A Prametric Press-fit like a template , when we design something for matrial we set the parameters based on the printing or cuting material , but in a Parametric way we can use the design with any Material like wood,Platic,Papper. In here we are using all the Parameter of the Skecth like a variable in progarmme,so if want to change the kerf just change the desried varible or parameter name , done. That's all . So now we are going to Design a Press-fit Construction
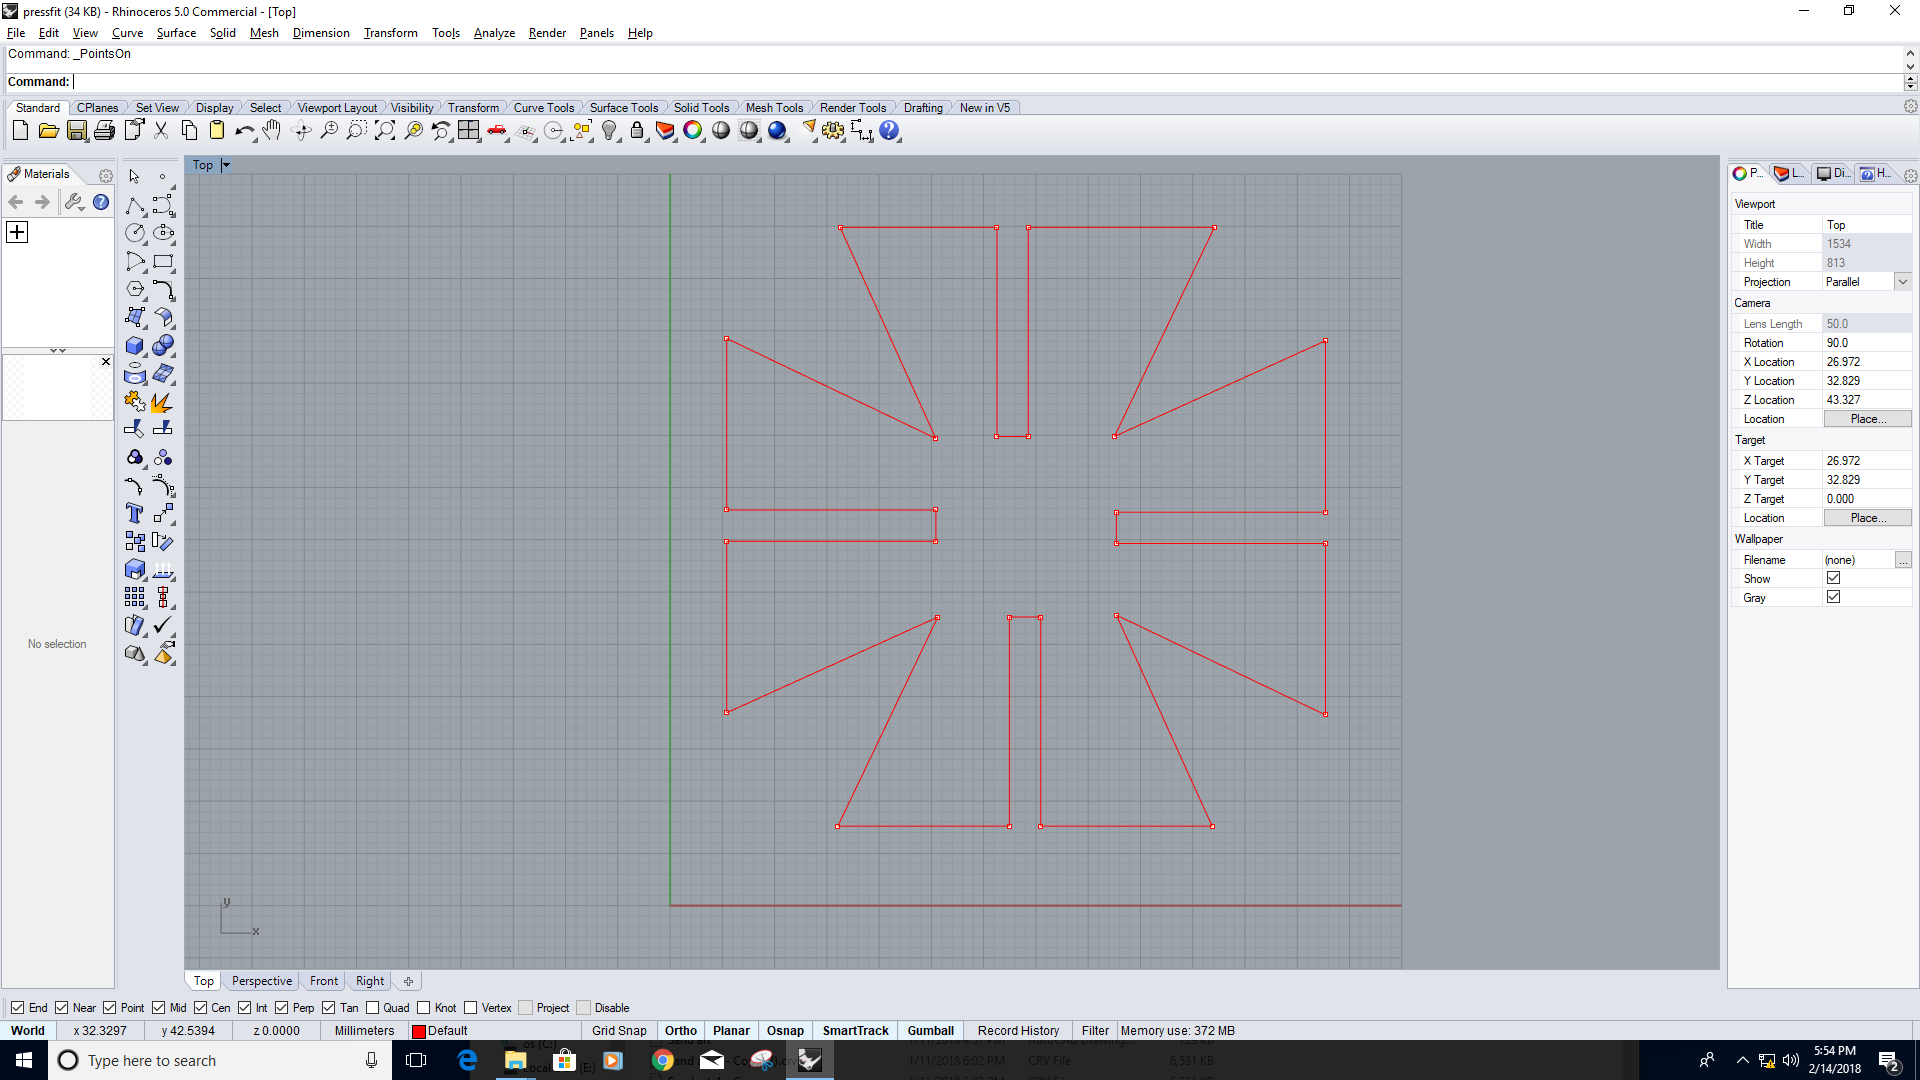
I designed a badge for me by using Inkscape
Here you can Download the Rhino Design File
In here i,am Using Grasshopper plugin for Rhino becasue Rhino have no native support for Paramertic Design
Grasshopper is a visual programming language and environment developed by David Rutten at Robert McNeel & Associates,[1] that runs within the Rhinoceros 3D computer-aided design (CAD) application. Programs are created by dragging components onto a canvas. The outputs to these components are then connected to the inputs of subsequent components.Advanced uses of Grasshopper include parametric modelling for structural engineering, parametric modelling for architecture and fabrication, lighting performance analysis for eco-friendly architectureand building energy consumption. (Source -: https://en.wikipedia.org/wiki/Grasshopper_3D.
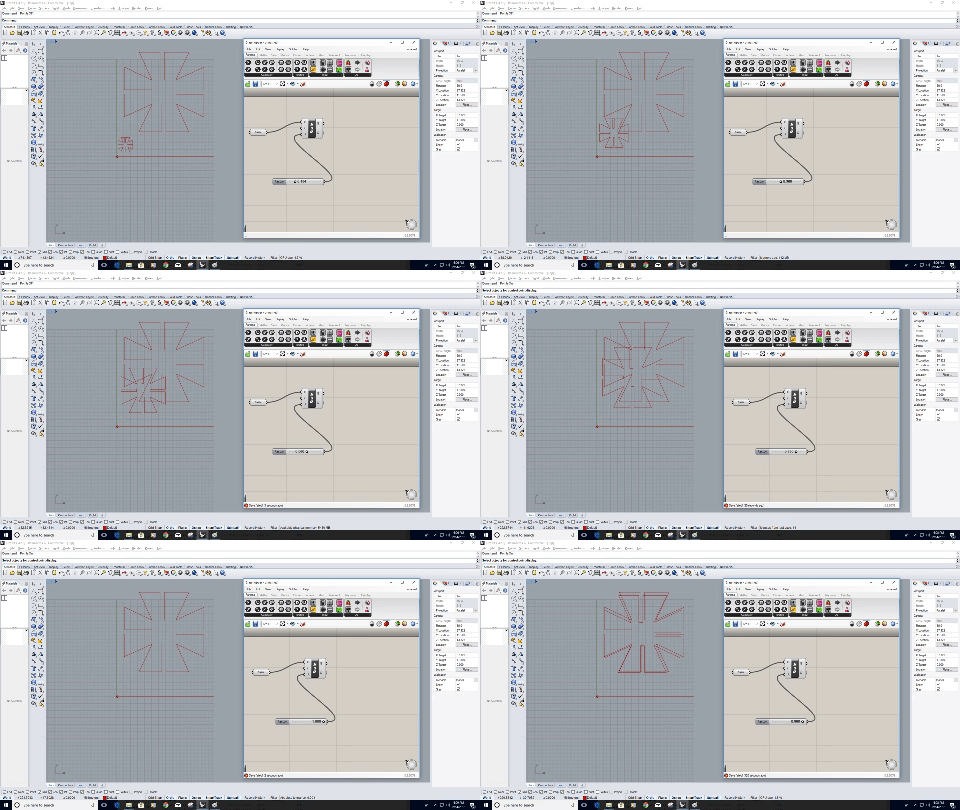
In here we can control the Parameter of the Sketch by using the Number Slider that we initized on the garsshopper Panel.
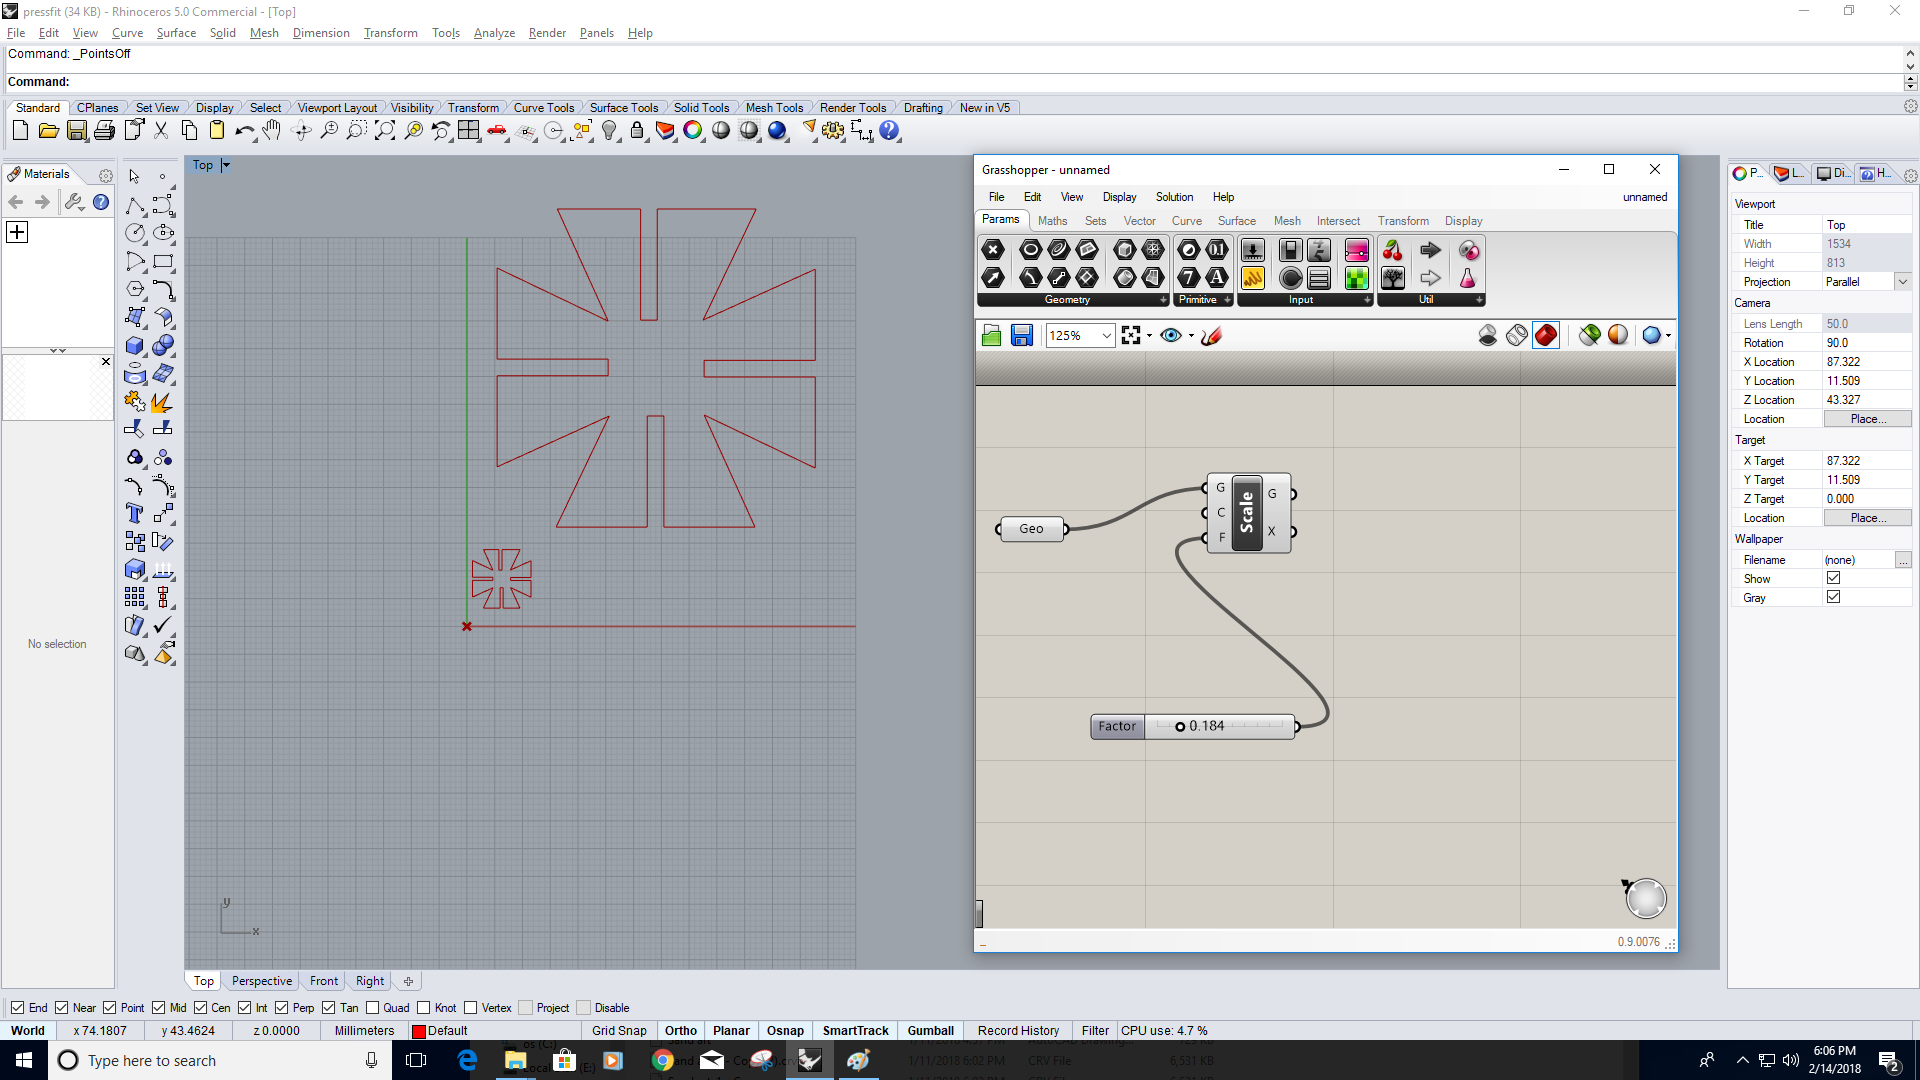
Laser Cuting
In here I,am using cardboard for my Press-fit Construction.
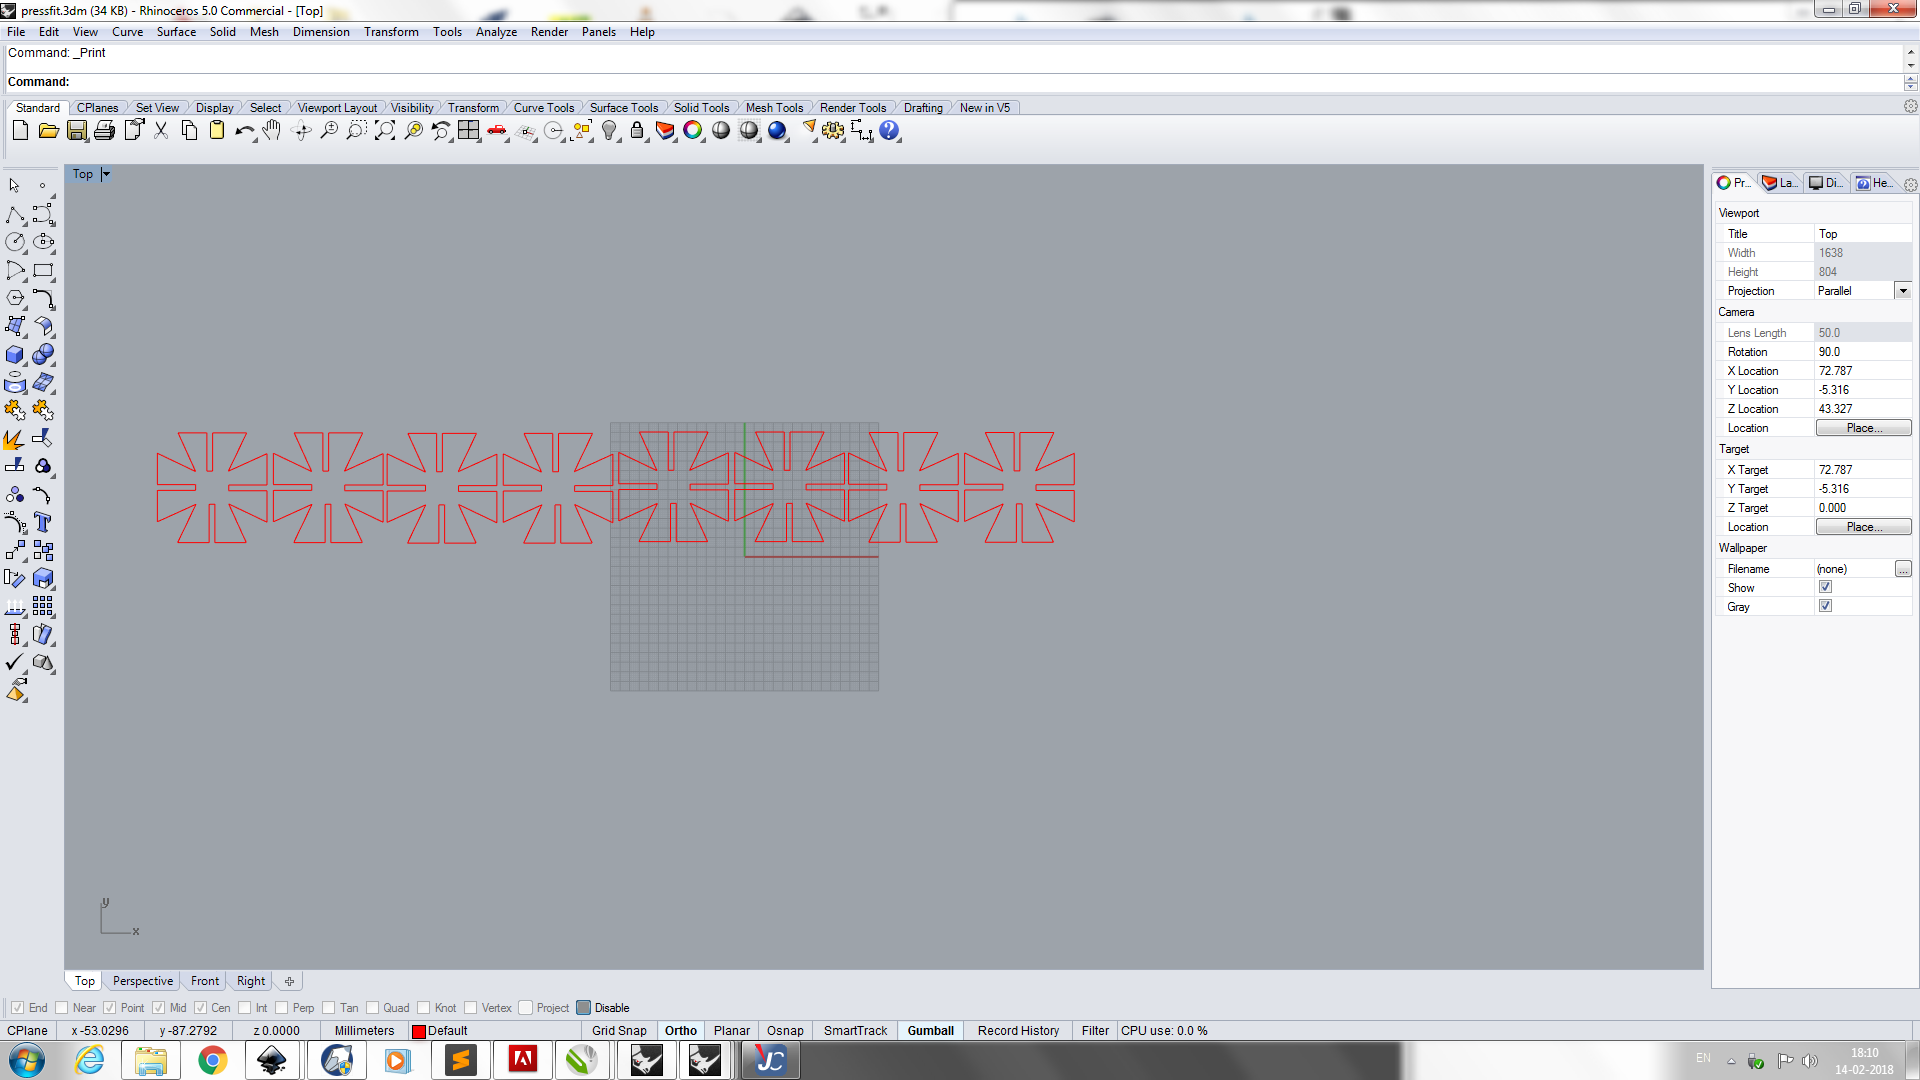
I Duplicated the same constrction in multiple in-order to get more-print at same time.
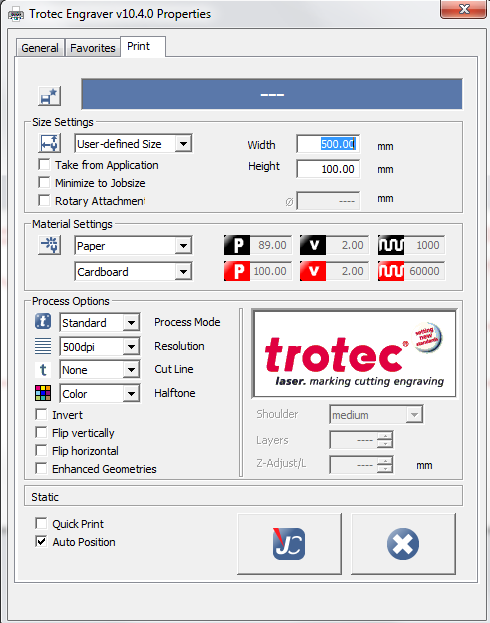
first we need to set the laser parameter for cutting
Cutting Parameter
- Power - 100
- Velocity - 2
- Freq - 60000
and laso set the height the width, in here we have width=500.00 mm and height=100.00 mm
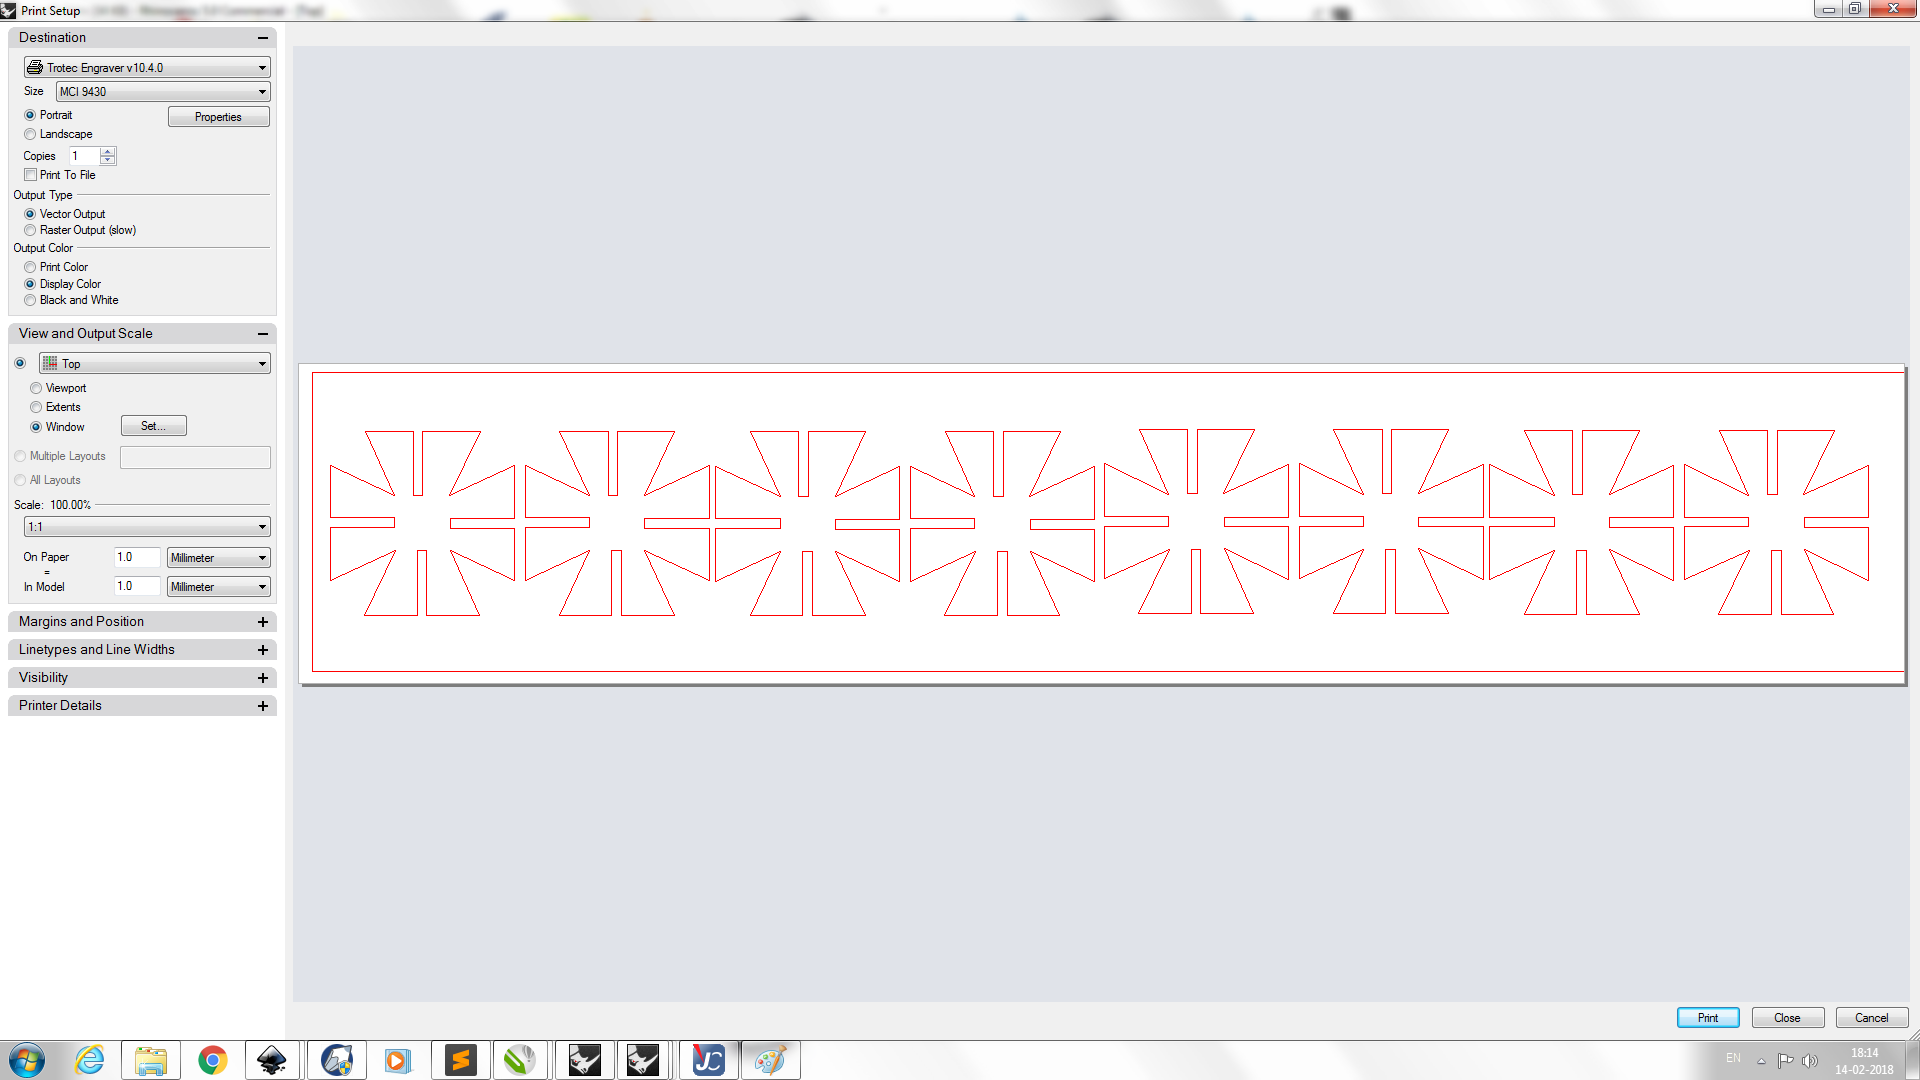
Don't forget to set the scale at 1:1 (100%).and click print
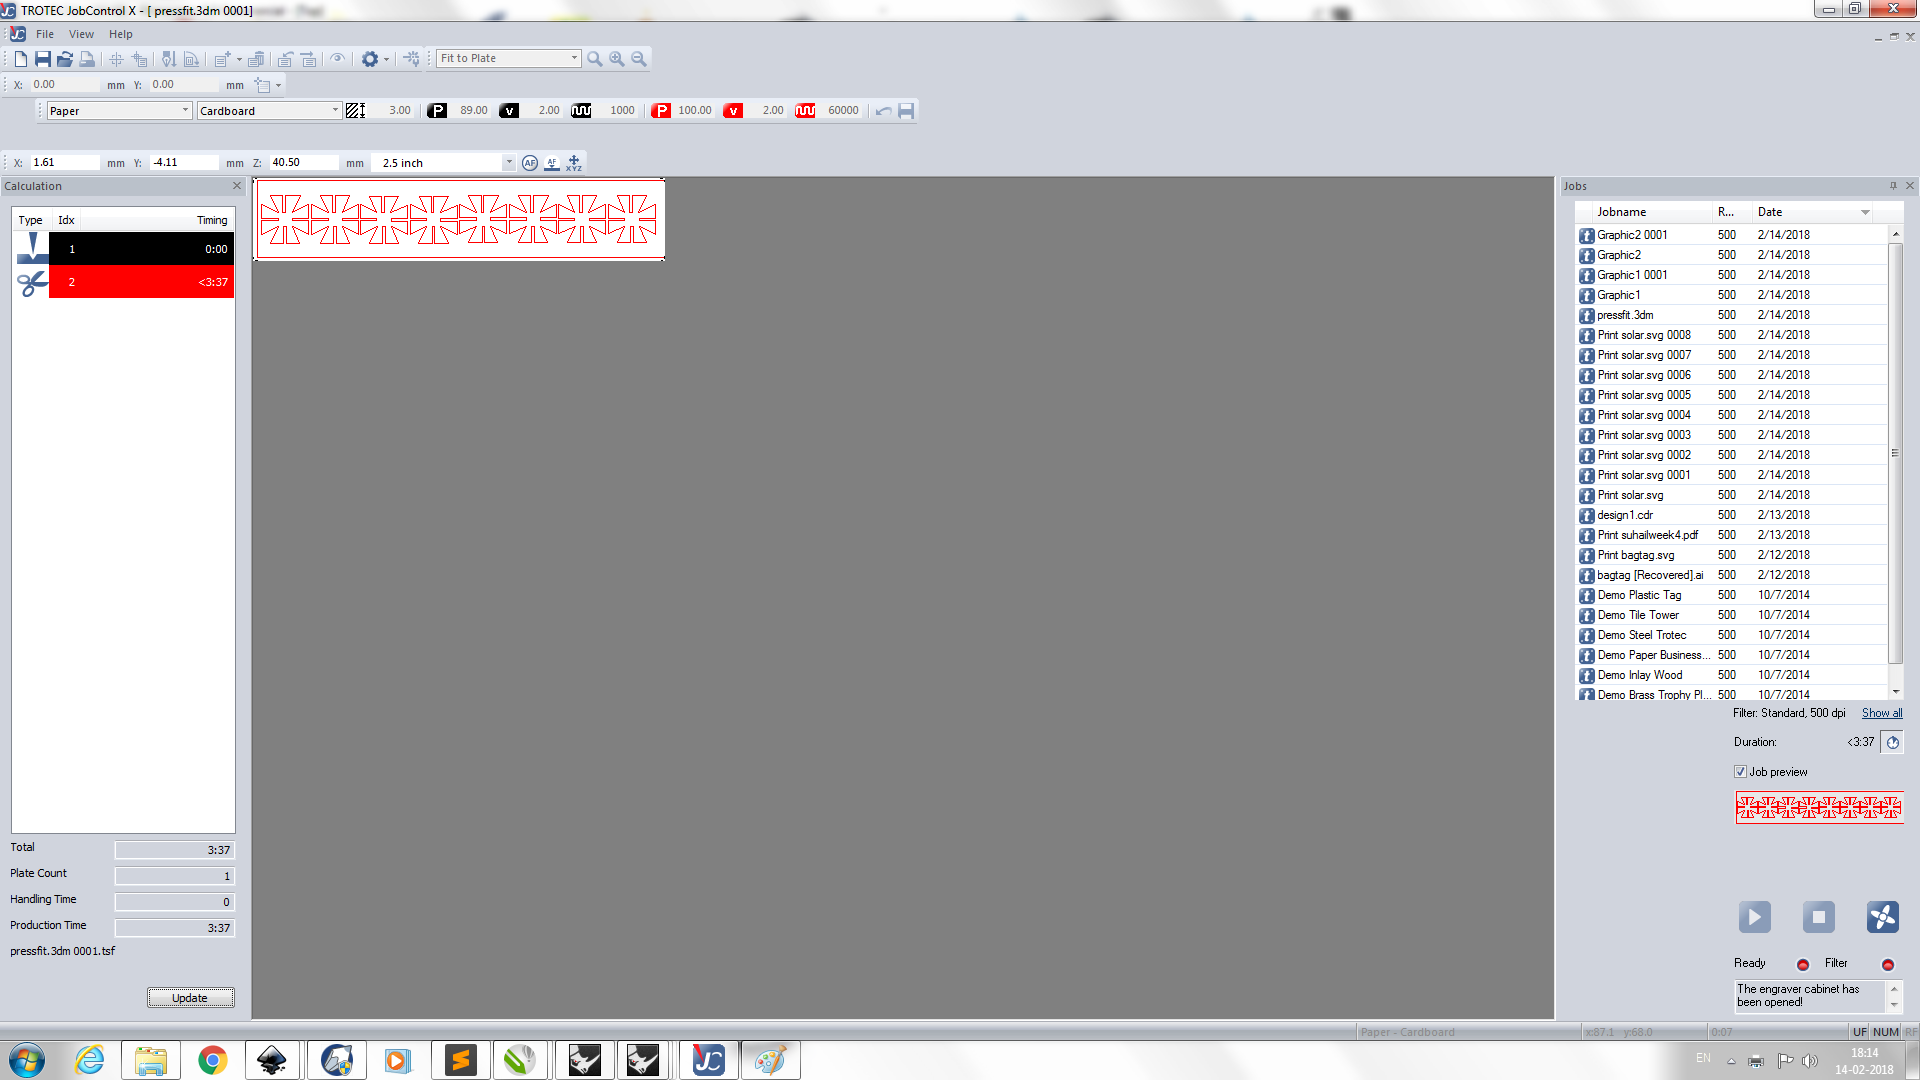
I selected a large 50.00 CM and 20CM cardboard for cutting.
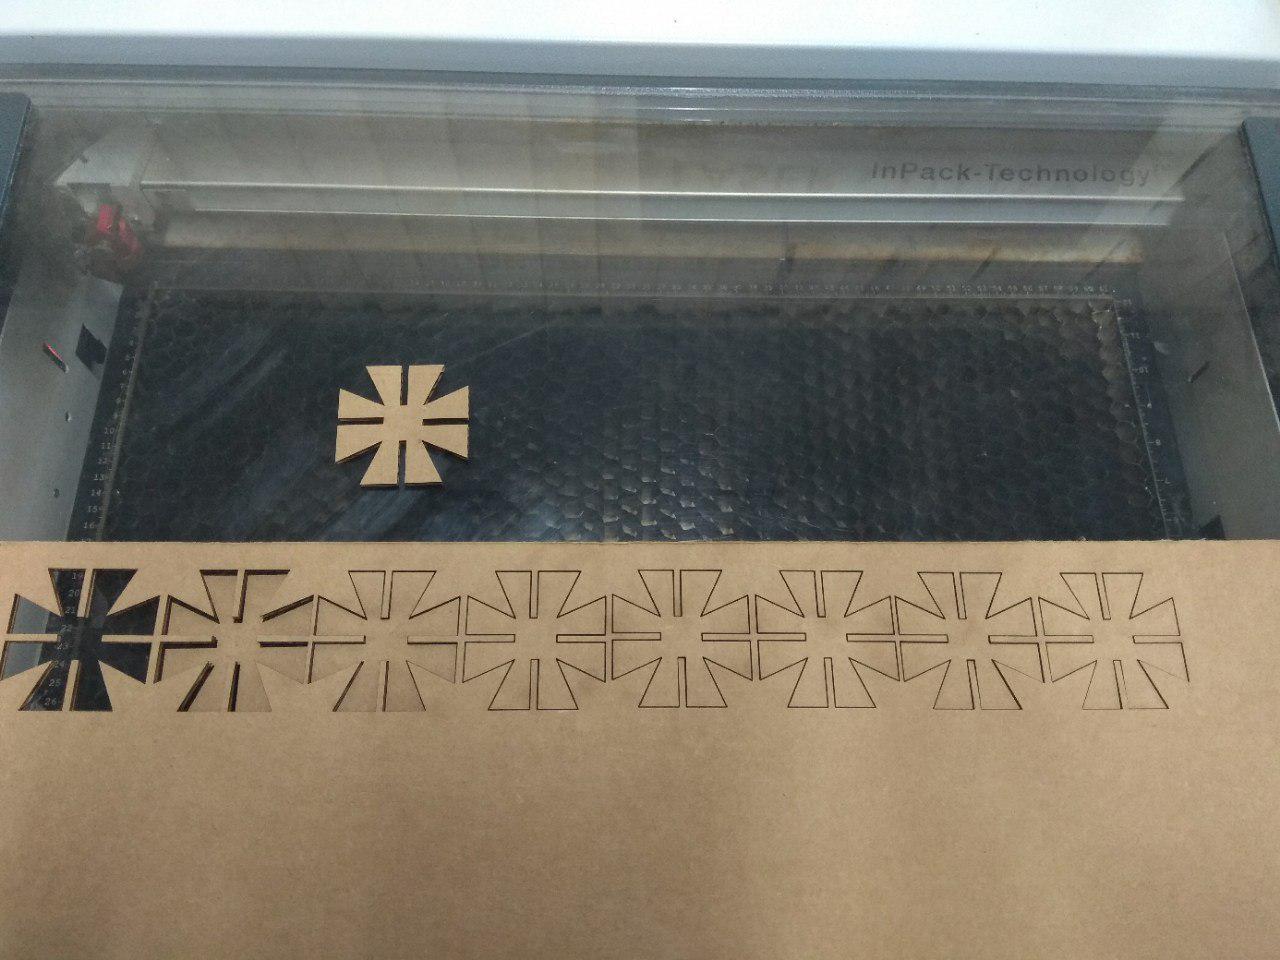
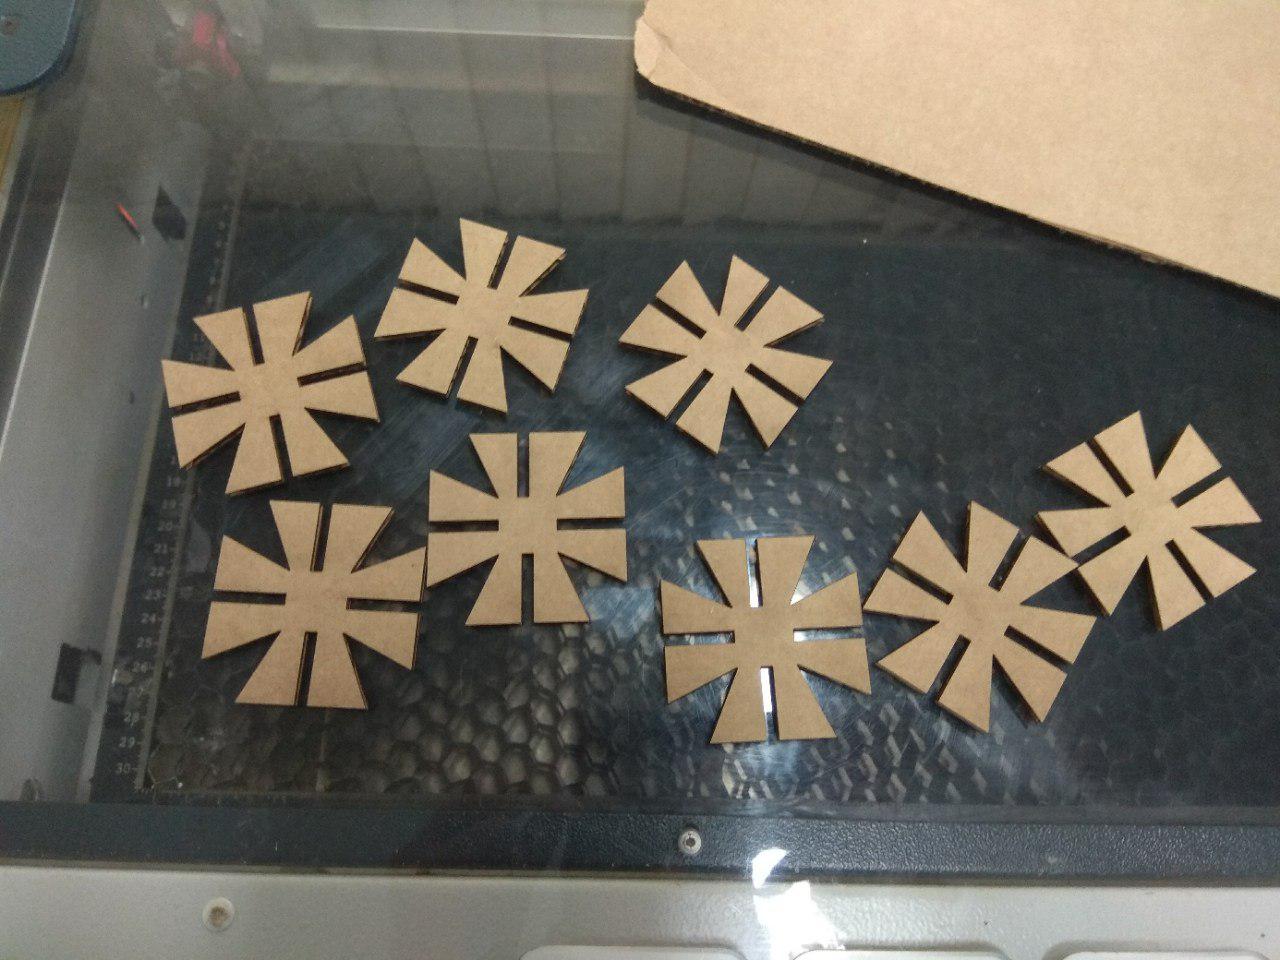
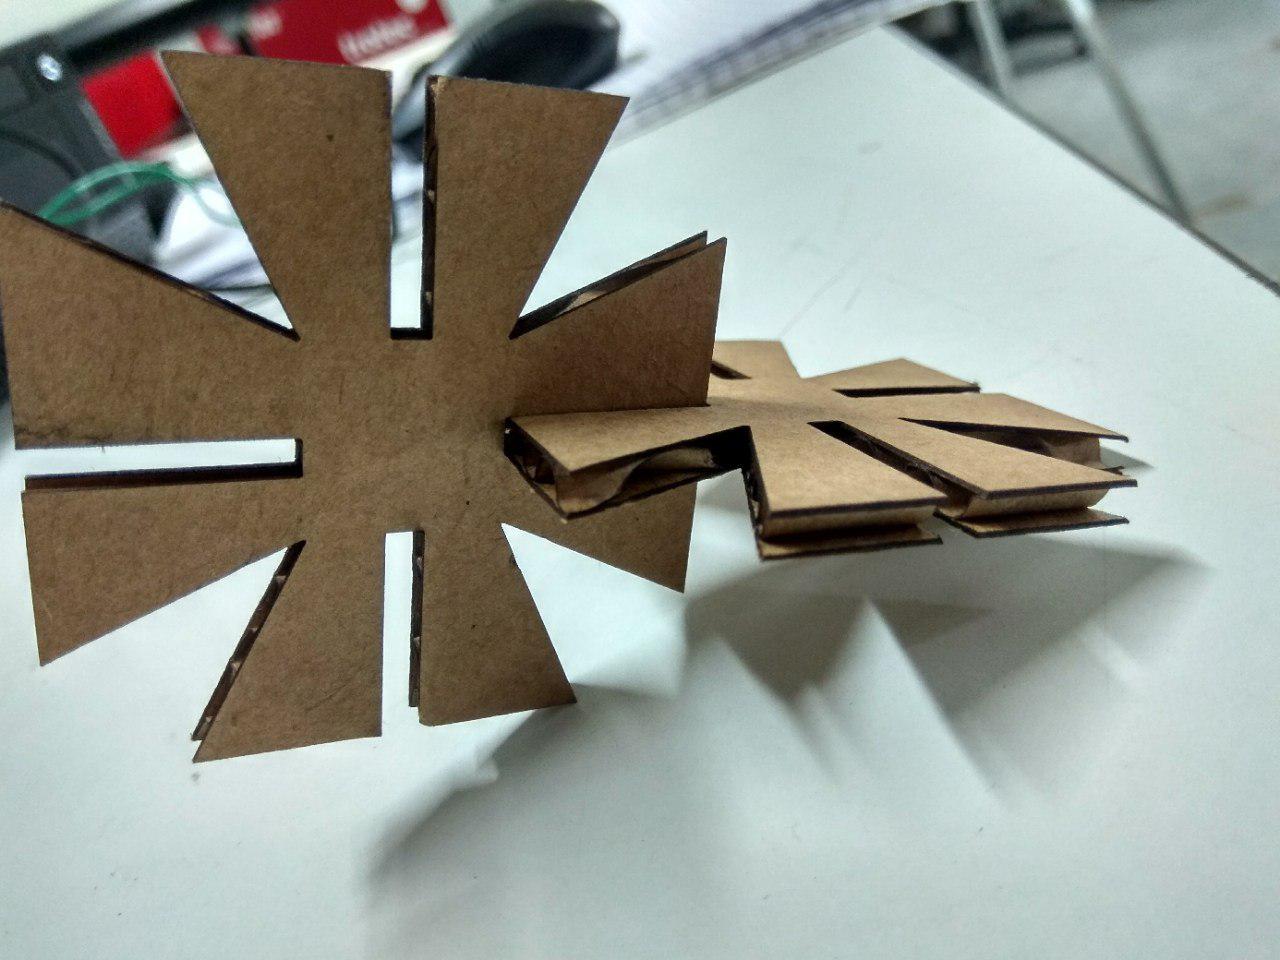
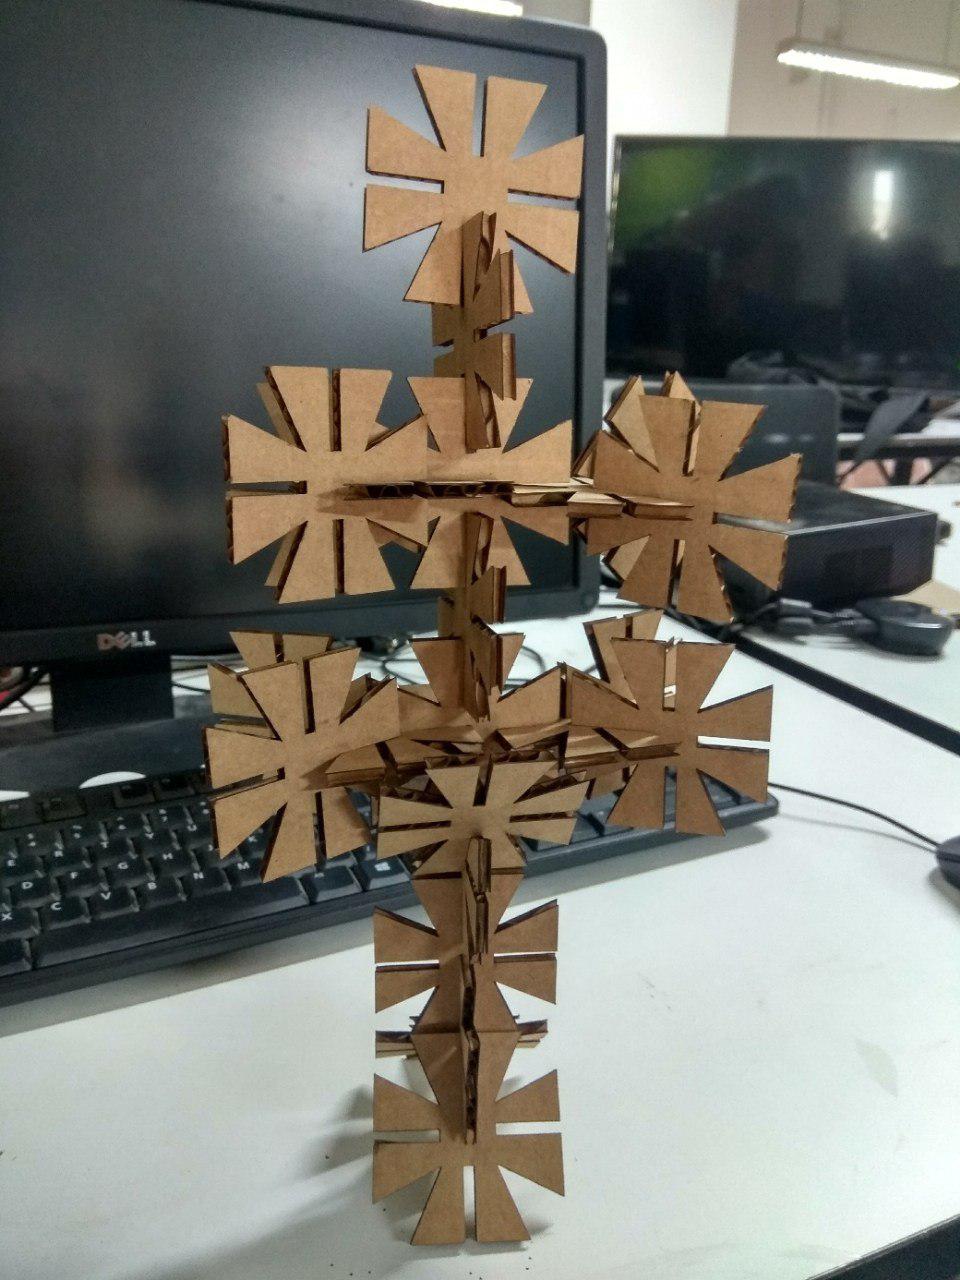
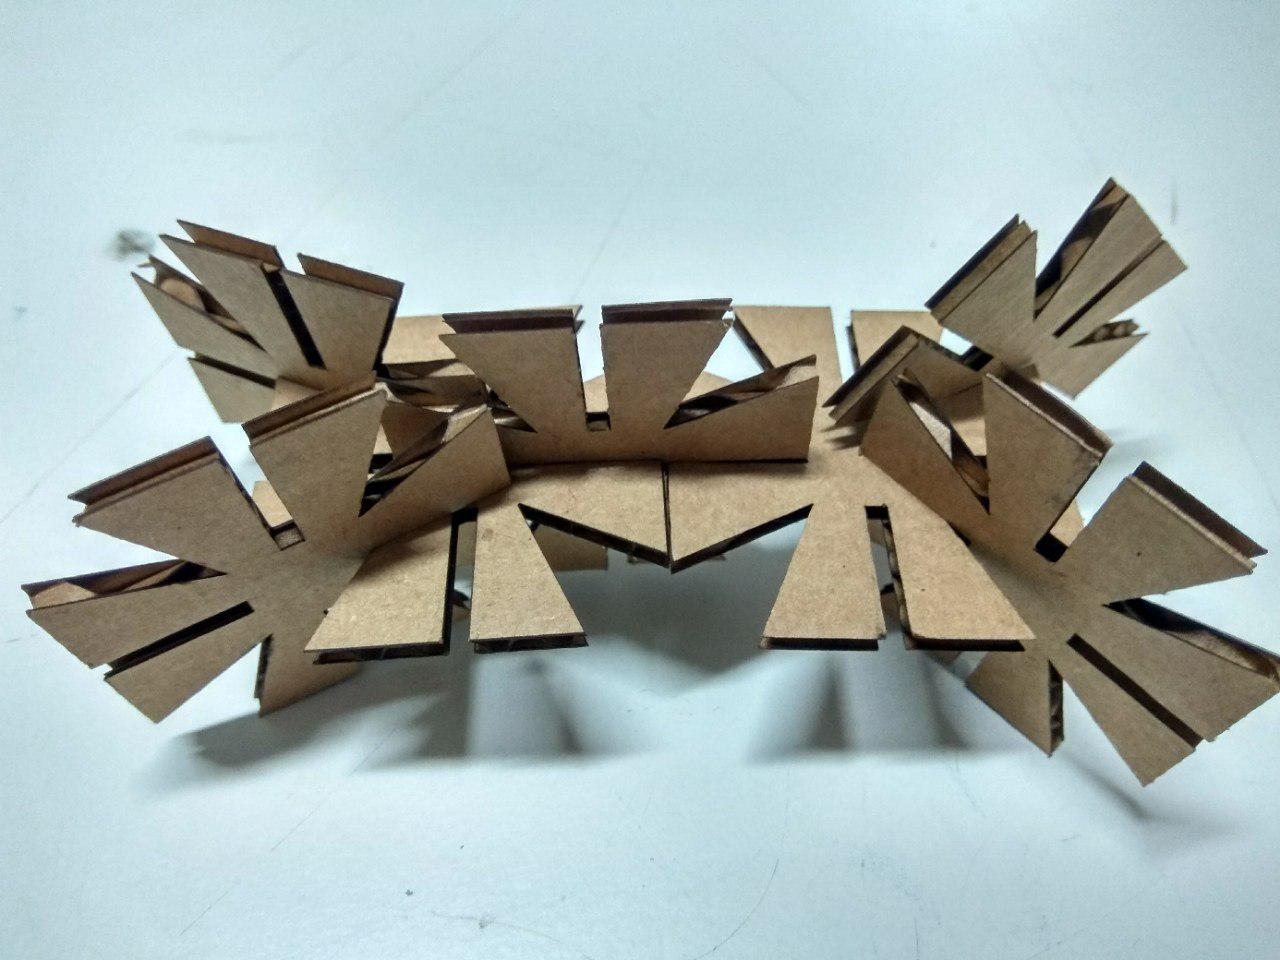
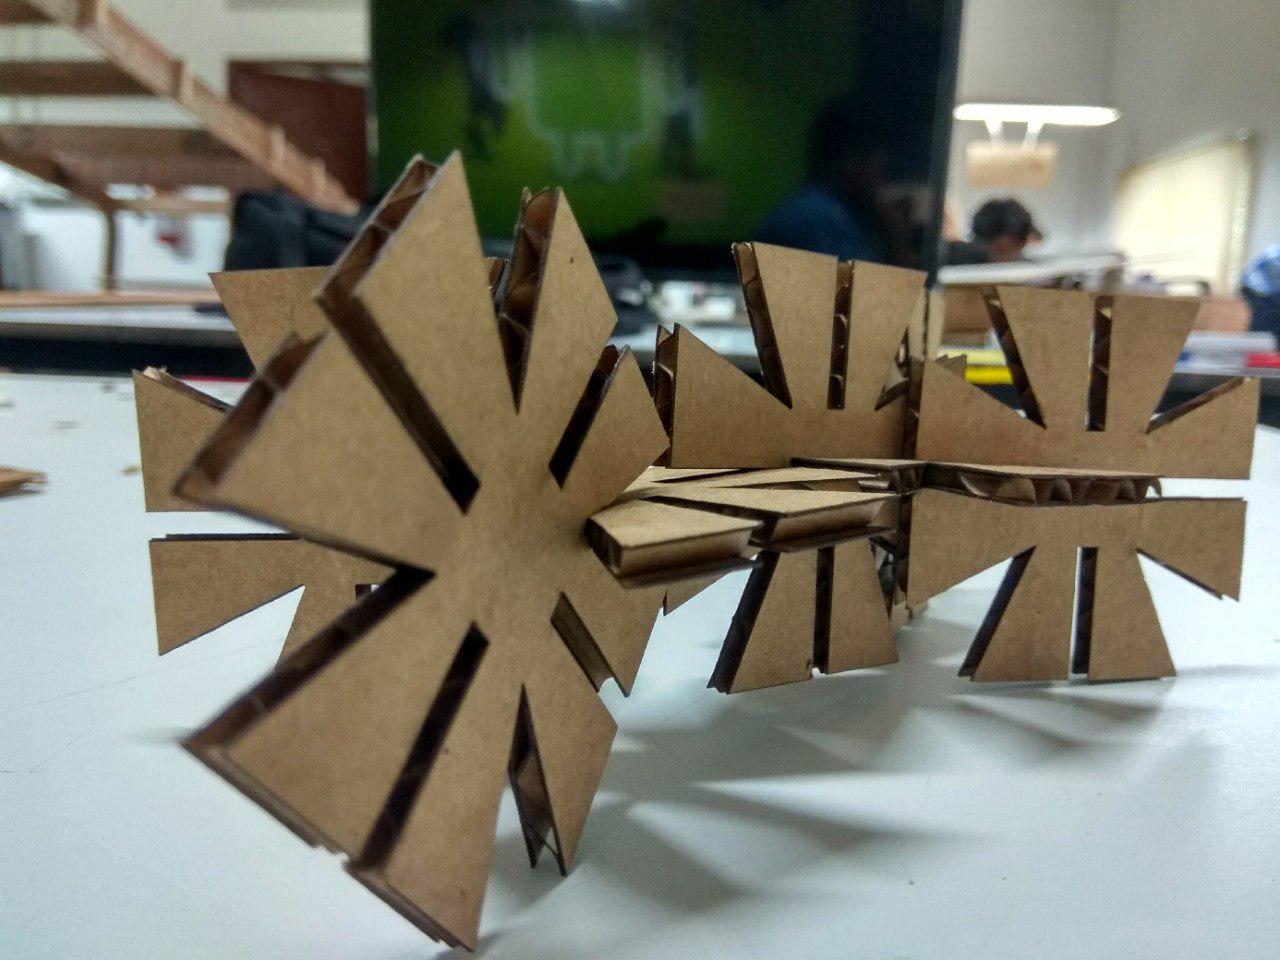
I laser cuted 24 nos of the same Structure
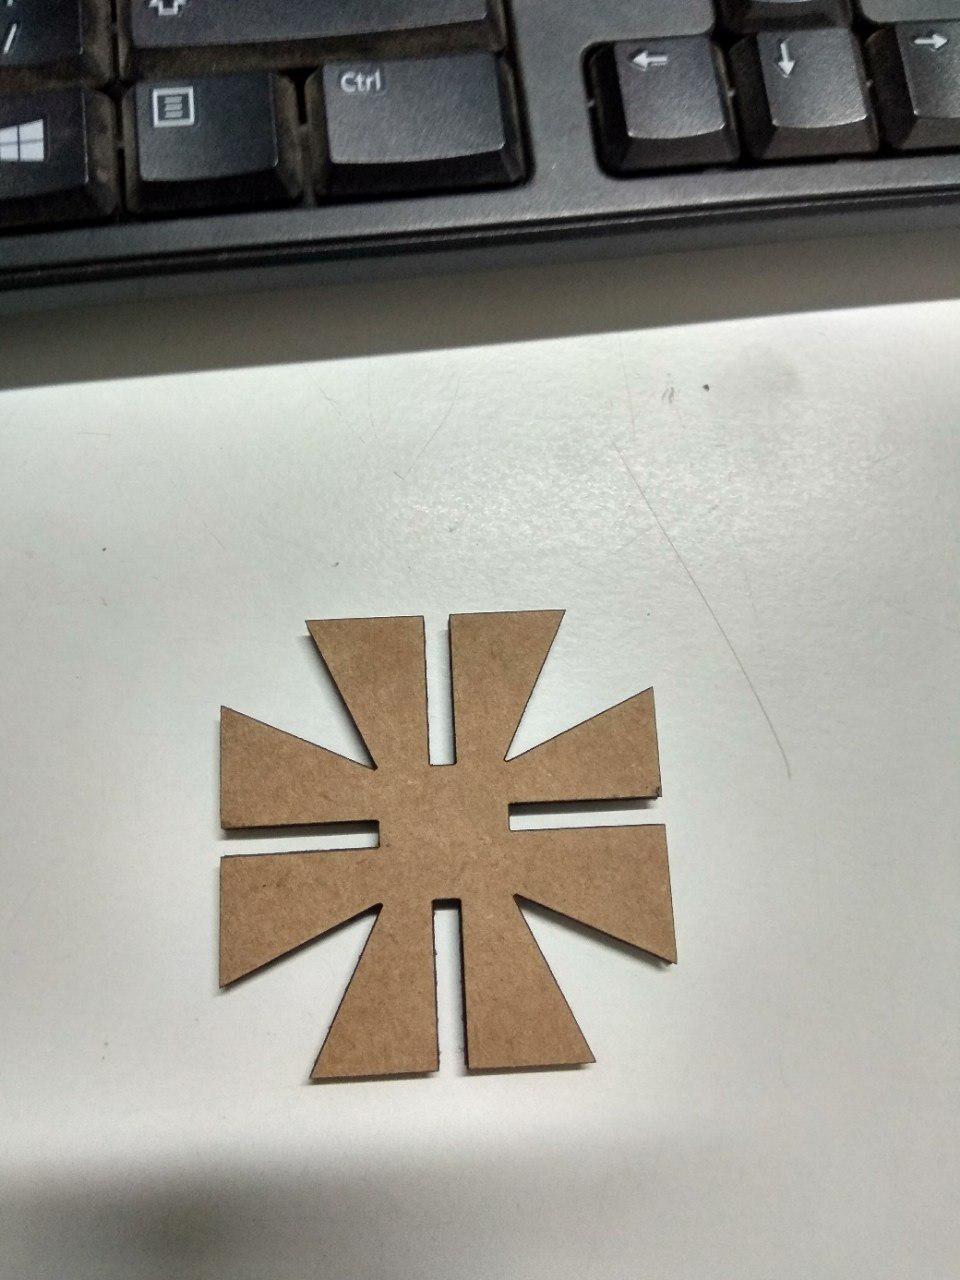
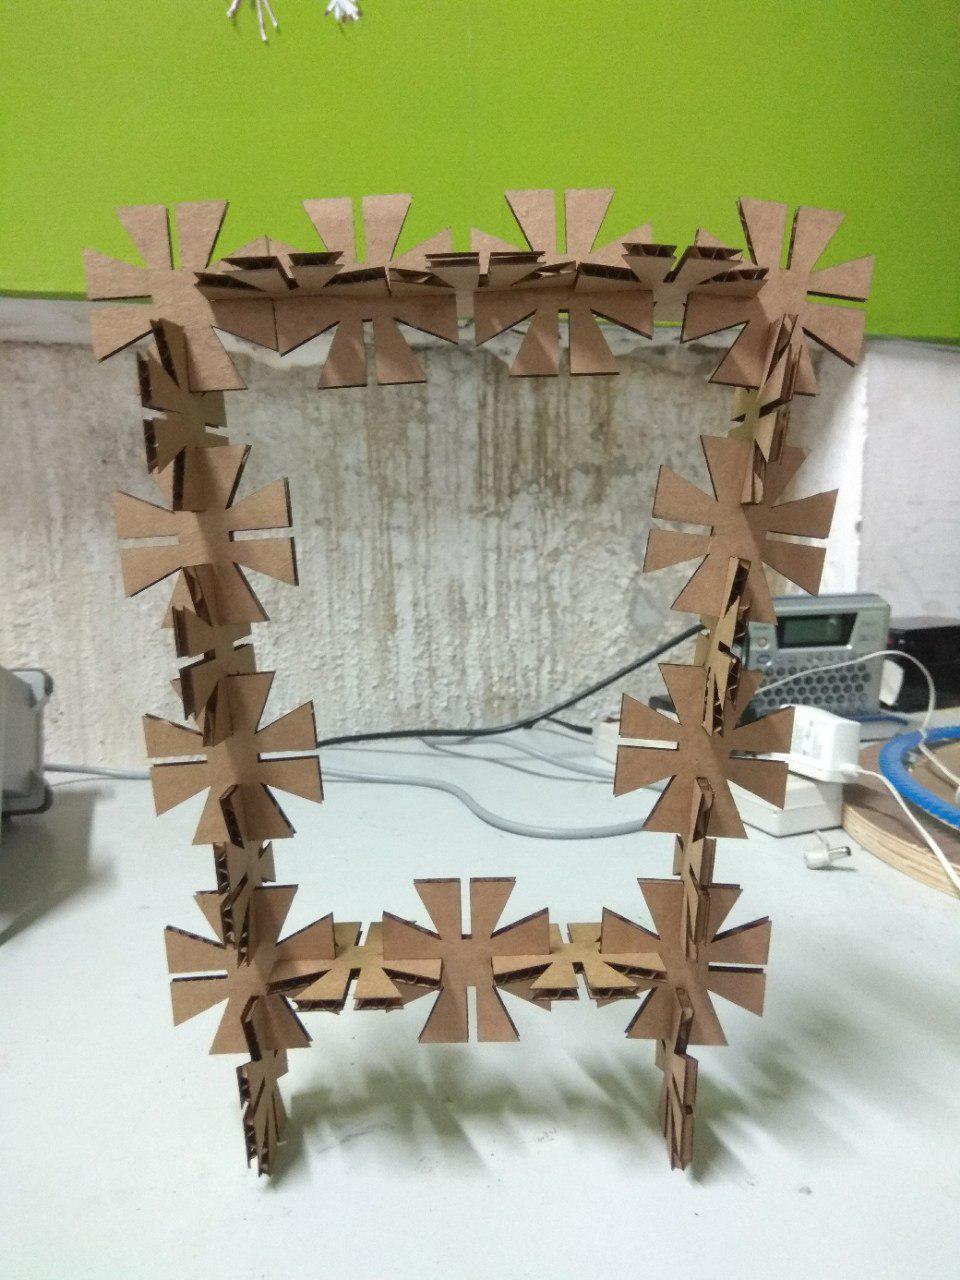
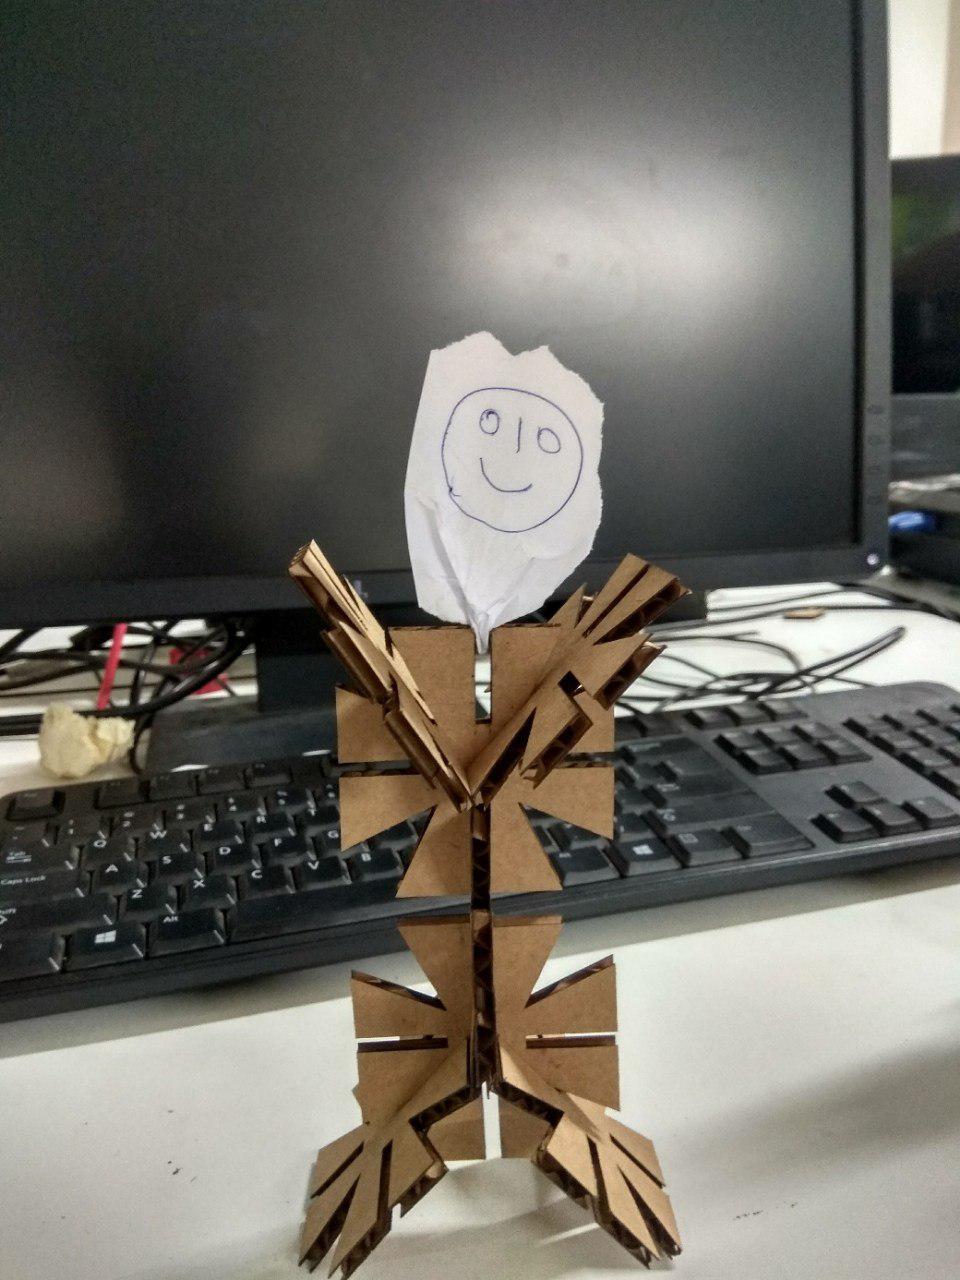
Construction-kit Gallery
Resource
Here you can Download all the Design File's