Contents
Project Management
1. Introduction to HTML
2. Introduction to CSS
3. Git
4. Useful Links
1. Introduction to HTML
HyperText Markup Language
1.1 Unit Objective
The objectives of this chapter is how to write simple HTML documents, understand the difference between closing and self closing tags, write tags with atrributes, use MDN as a reference and write HTML code to show an image.
1.2 History of HTML
It was creating between 1989 and 1990 to allow publishing and exhanging of scientific and technical documents which allowed electronic linking of documents via hyperlinks.
1.3 HTML Basics
The General rule
<tagName> Some Content <tagName>
Every HTML document we create will start with this form:
                          <!DOCTYPE html>

                            <html>

                            <head>

                            <!-- Our metadata goes here -->

                          	 <title>></title>

                          	</head> <body>

                            <!-- Our content goes here -->

                            </body>> </html>>
Comments
<!-- This is a comment. It doesn't do anything! -->
Element
Closing Tags
                             <h1>I need a closing tag  </h1>

                             <p>Me too! </p>
Self-Closing Tags
                             <!-- No closing tag or inner text needed -->

                             <img src="cello.jpg">  <link href="style.css">

                             <!-- Don't worry about what these tags do yet -->
Adding Additional Information To Tags
<tag name="value"></tag>
                      <img src="cello.jpg">

                      <p class="selected>aloha!</p>

                      <a href="www.google.com">Click me to go to Google</a>

                      <link rel="stylesheet" type="text/css" href="style.css">
Images
<img src="cello.jpg">
Links
                      <a href="url">Link Text</a>

                      <a href="www.google.com">Click me to go to Google</a>
2. Introduction to CSS
Cascadign Style Sheets
2.1 Unit Objective
The objective of this unit is to deign CSS and the role in web developement, take a look a website before and after CSS has been added and understand the general rule for CSS Syntax.
2.2 Cascading Style Sheets
This is the comparison a website before and after styling using CSS:
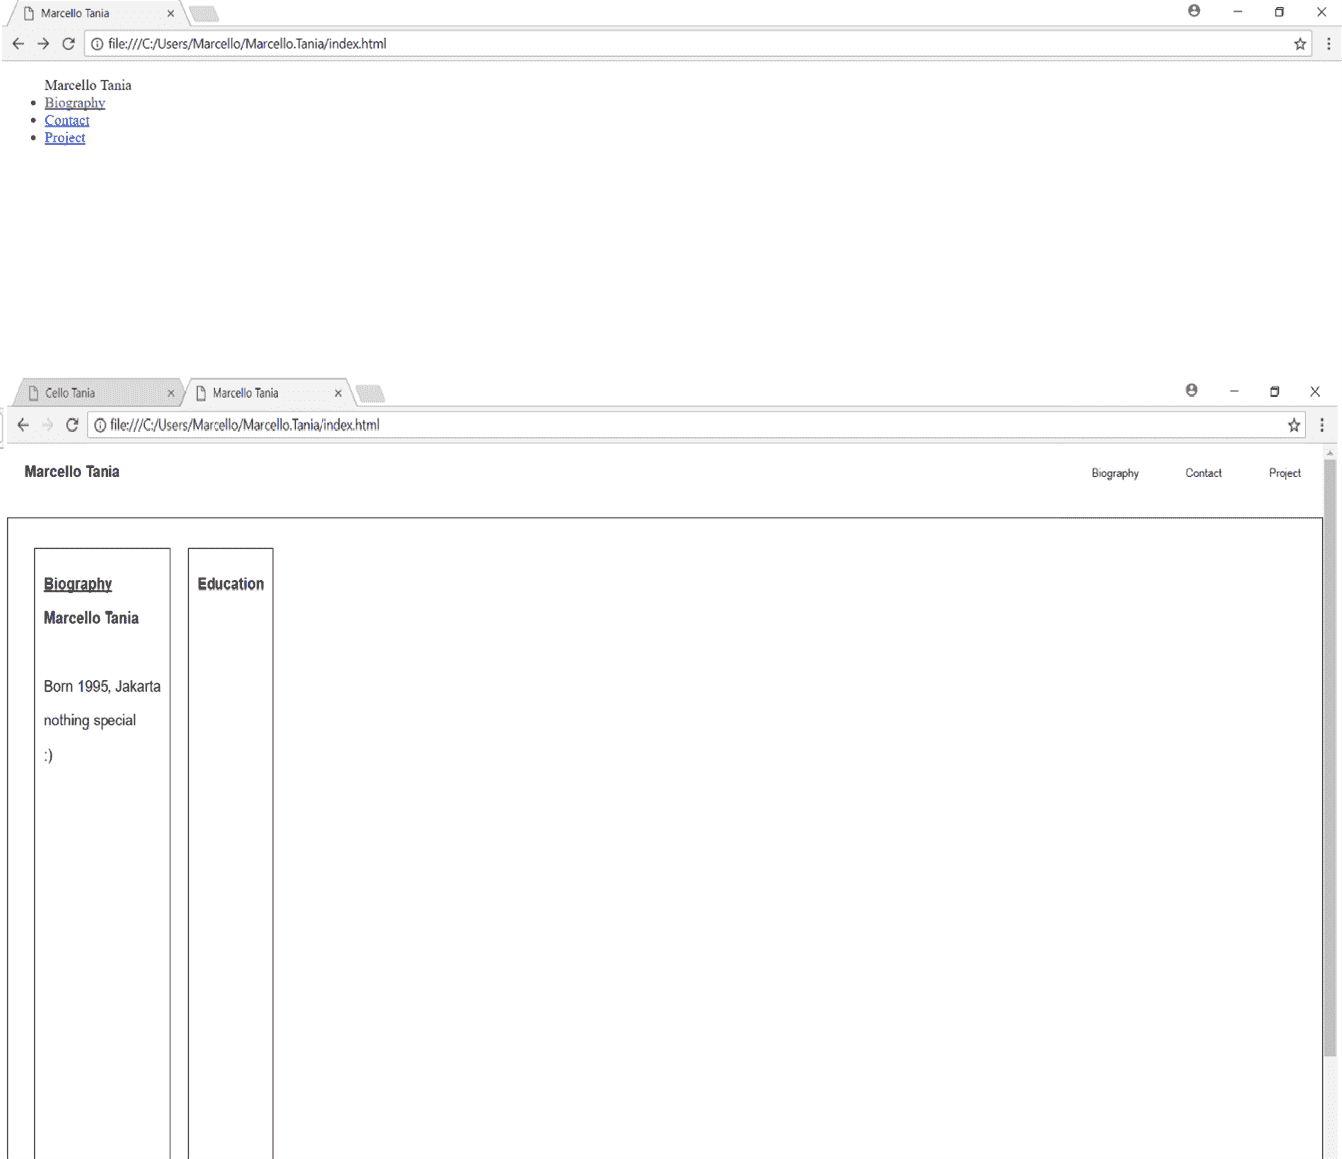
The comparison after and before styling with CSS. The top image is just an HTML file and the bottom image is styled with CSS file.
2.3 The General Rule
                        selector {


                              property: value;

                              anotherProperty: value;

                            }
Examples
                                /*Make All h1's purple and 20px font*/

                                h1 {

                                     color: purple;

                                     font-size: 20px;

                                }

                                /*Give All img's a 3px red border*/

                                img {

                                     border-color: red;

                                     border-width: 3px;

                                }
2.4 Best location to write the styles of a website
Inline
                            <h3 style="color: pink;">blah blah blah </h3>

                            <h3 style="color: pink;">knock knock </h3>

                            <p style="color: yellow;">blah blah blah </p>
Style Tag
                                <html>

                                      <head>

                                         <title>About Me!</title>


                                           <style type="text/css">

                                         li {    color: red;  }

                                        </style>

                                      </head>
The codes above (Inline or Style Tag in HTML file) are a bad idea to style a website in HTML. For example, if an element is displayed as h1. It is true the most browsers will display a big font style, at least bigger than p element and the h2 element. However, how will it be sure that the following style is the exact way that we want to design our website. Therefore CSS will make sure a browser to follow your required design.Therfore we will make a CSS in a spearate file using the tag in html file.
                            <!DOCTYPE html>

                                 <html>

                                       <head>

                                             <title>Demo Page </title>

                                             <link rel="stylesheet" type="text/css" href="app.css">

                                       </head>

                                       <body>

                                   </body>

                                 </html>
Example
The result to sytle a website with css file
                                h1 {

                                color: purple;

                                }

                                h3 {

                                color: pink;

                                }
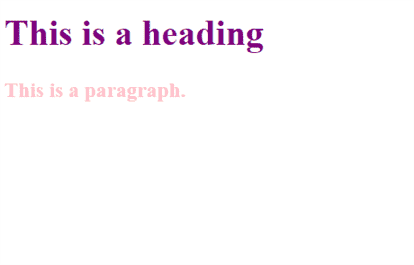
The image is the result how to colour the text h1 into purple and h3 into pink
Click me to take a look the process how I design this website!
3. Git
Start Collaborating!
3.1 Unit Objective
In this chapter you are going to learn what is git and github and the diferrences, Why you should learn git and how to use it.
3.2 Introduction to Git
What is Git?
Git is the technology to help us to caliborate with people.
What is Github?
Github is a webstie and an application that works with git.
Why should you care?
If you would like to work with people in a team. This technology is useful and not only limited in writing a code.
Novel Writing Anology
Using git to help writing a novel. Imagine that you are a writer and you have some huge story in your head. Before you will the essay like Essay_v1.txt, Essay_v2 and Essay_Final.
Furthermore, you would like to edit the version 2 and save it into Essay_final_final. You would reliase how anoying and terrible it is.
This is why git is useful. Git help to go back to the last point and it is not limited to one file. It saves as a check point evertime you would save it to respository.
3.3 Installation
Download and install : https://git-scm.com/
Git: Linux and MAC: https://git-scm.com/downloads
Windows : https://git-for-windows.github.io/
select "Use git from Git Bash only" and leave others as default.
3.4 Git Basics
1. Open git bash
2. Right click a folder and open git bash or write cd "your file name"
3 Main commands for git
Git checkout
Pushing to Github
3.5 File localization
Do not get lost in your folder.
                          $ pwd  - print working directory

                          $ cd  - change directory

                          $ cd .. - move one directory backward
Before start working with git it is good to check where you are by writing pwd (print working directory) and then change the your directory (cd) after you know where you are or go back one file by typing cd ..
$ cd name-of-subfolder/sub-subfolder/
This is how you move your directory by cd and name of the subfolder and slash and then the name of the sub-sub file.
$ ls - lists the file contents of a directory
If you would know what subfiles in the file you have, you could type list to print all the content of a directory.
3.6 Hallo World Git
Try to clone your respository and add a file and then push it to your gir respository.
                          git clone  <path to my repository>

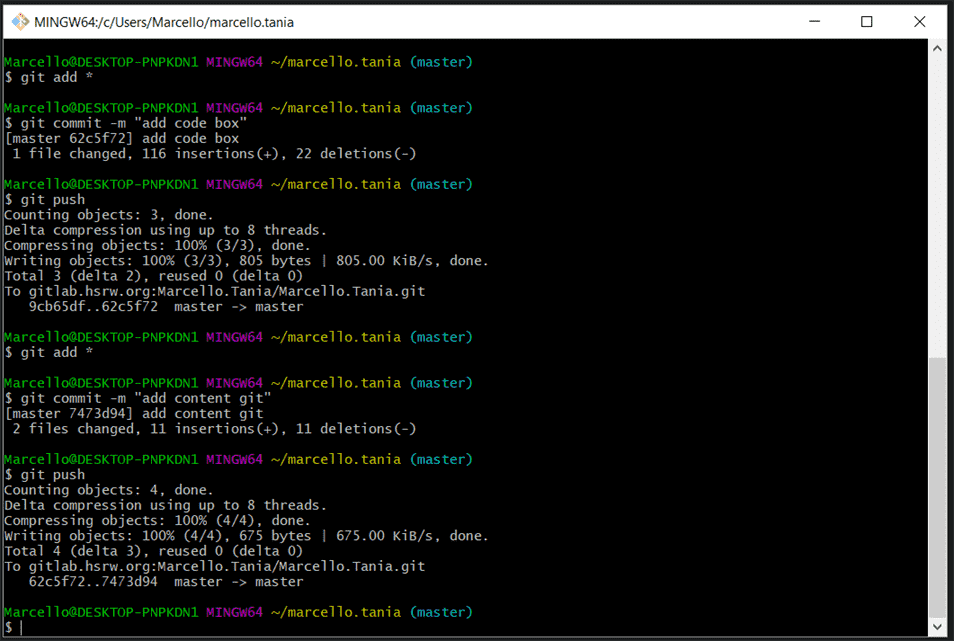
                          git add * <Add file contents to the index>

                          git commit -m" <commit message>"

                          git push origin master
This is the result of the git bash for adding all files, Record changes to the repository (commit) and push your new changes in master back to origin.
3.7 Working With Files
Removing a file
$ rm path/to/file.ext
Moving a file
$ mv old-filename.ext new-filename.ext
Make a file
$ mkdir new-folder
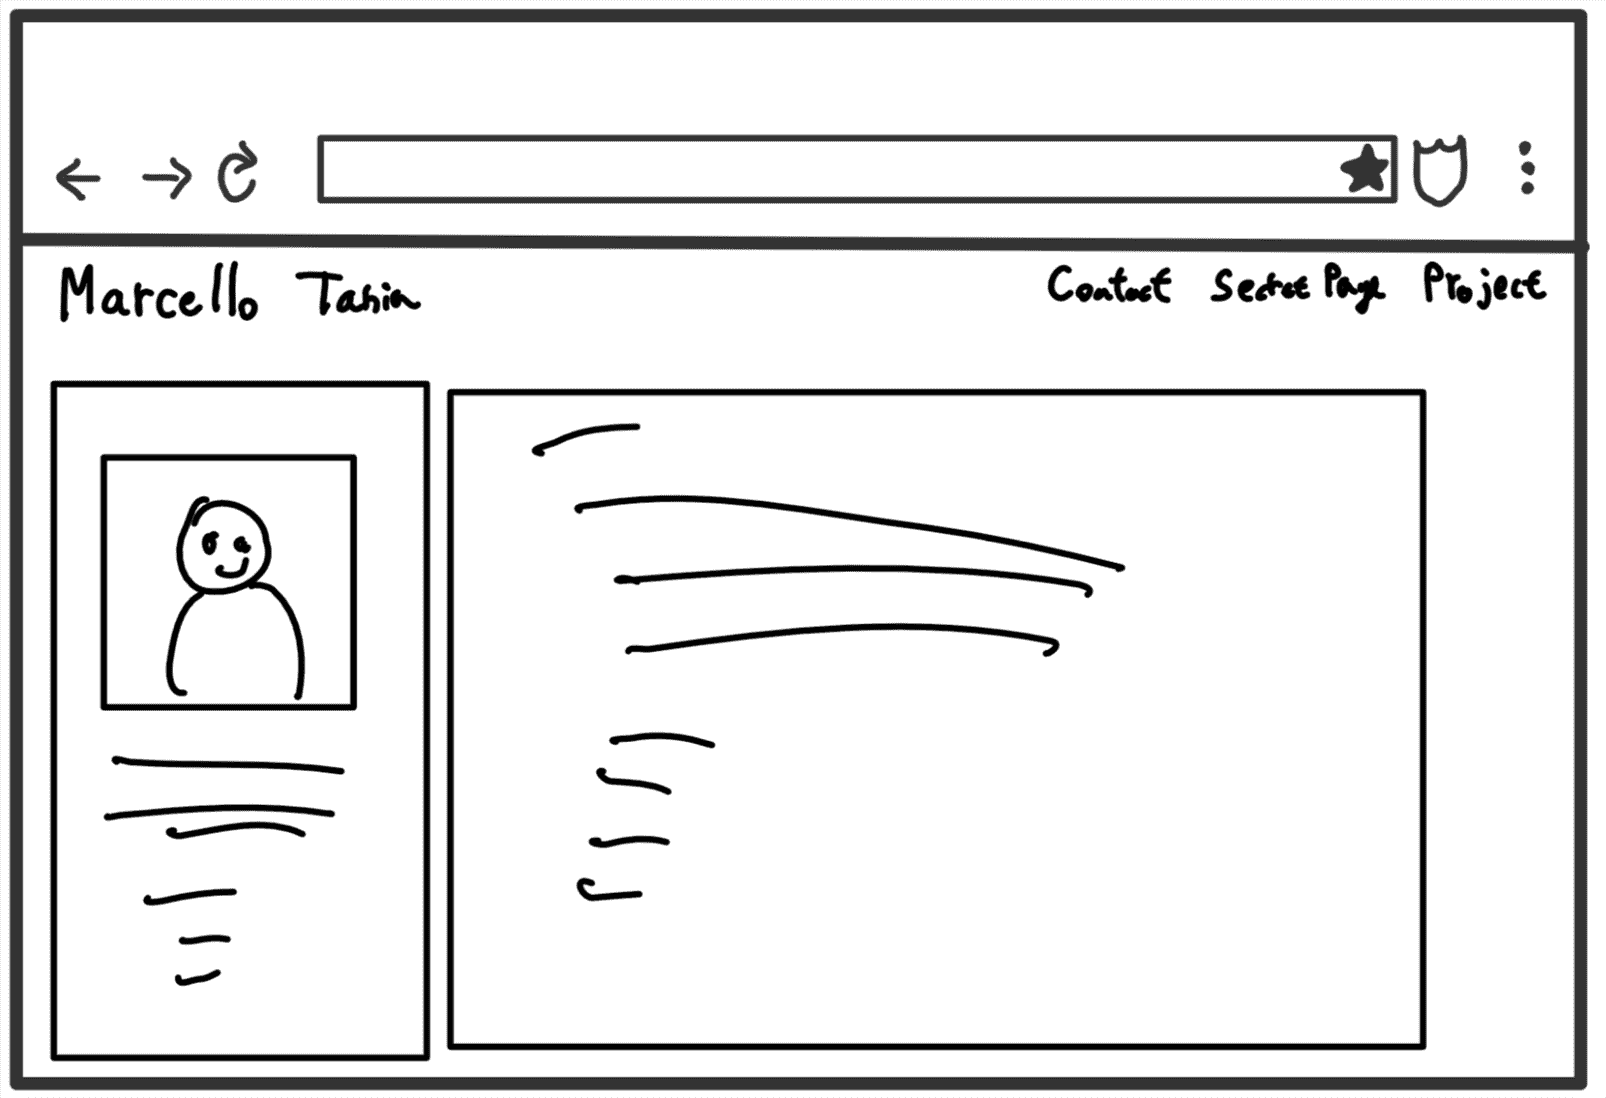
So let's sketch your website and start to program it!
