Computer Controlled Cutting
For the 2D Design and lasercutting part of my final project, I designed really simple pieces, like the acrylic separation that would fit into the bottom box and separate between the water tank and electronics.
You can check out how I learnt to use the lasercutter in details in the Computer Controlled Cutting Week.
I also cut the outer frame using laser to give my project a shiny feel.
For the outer frame, I created an offset of "60 mm", then created a line "90 mm" away from the top to hide the water tube.
This acrylic part will be attached to the front and back of the frame to hide the LED strip and the Water tube.

Next I saved it as DXF then used Corel Draw to set the width to Hairline and color for the cut to Red and for engrave to Black.
Next, I pressed print to send the job to the Trotec Job Control. I used a 6mm black acrylic and the settings for the speed, frequency and power are seen below.
It took a total of around 7 minutes for both the engrave and the cut and the result is seen below.

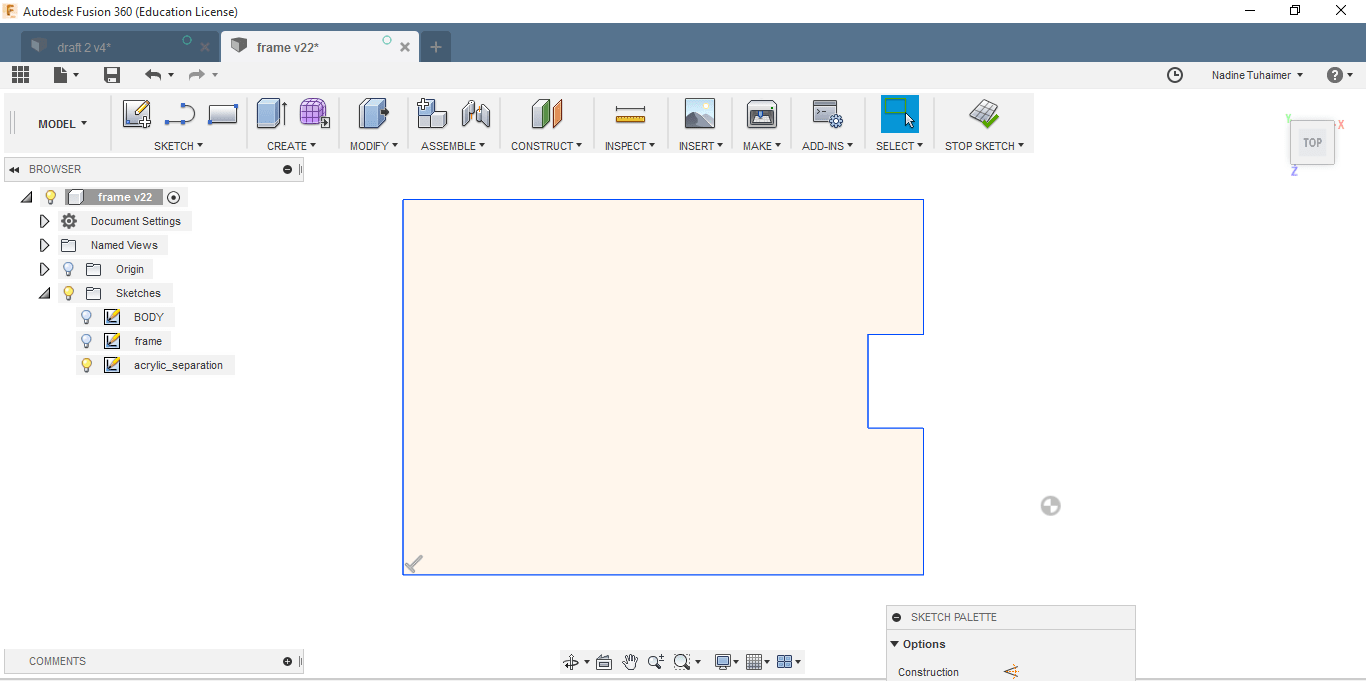
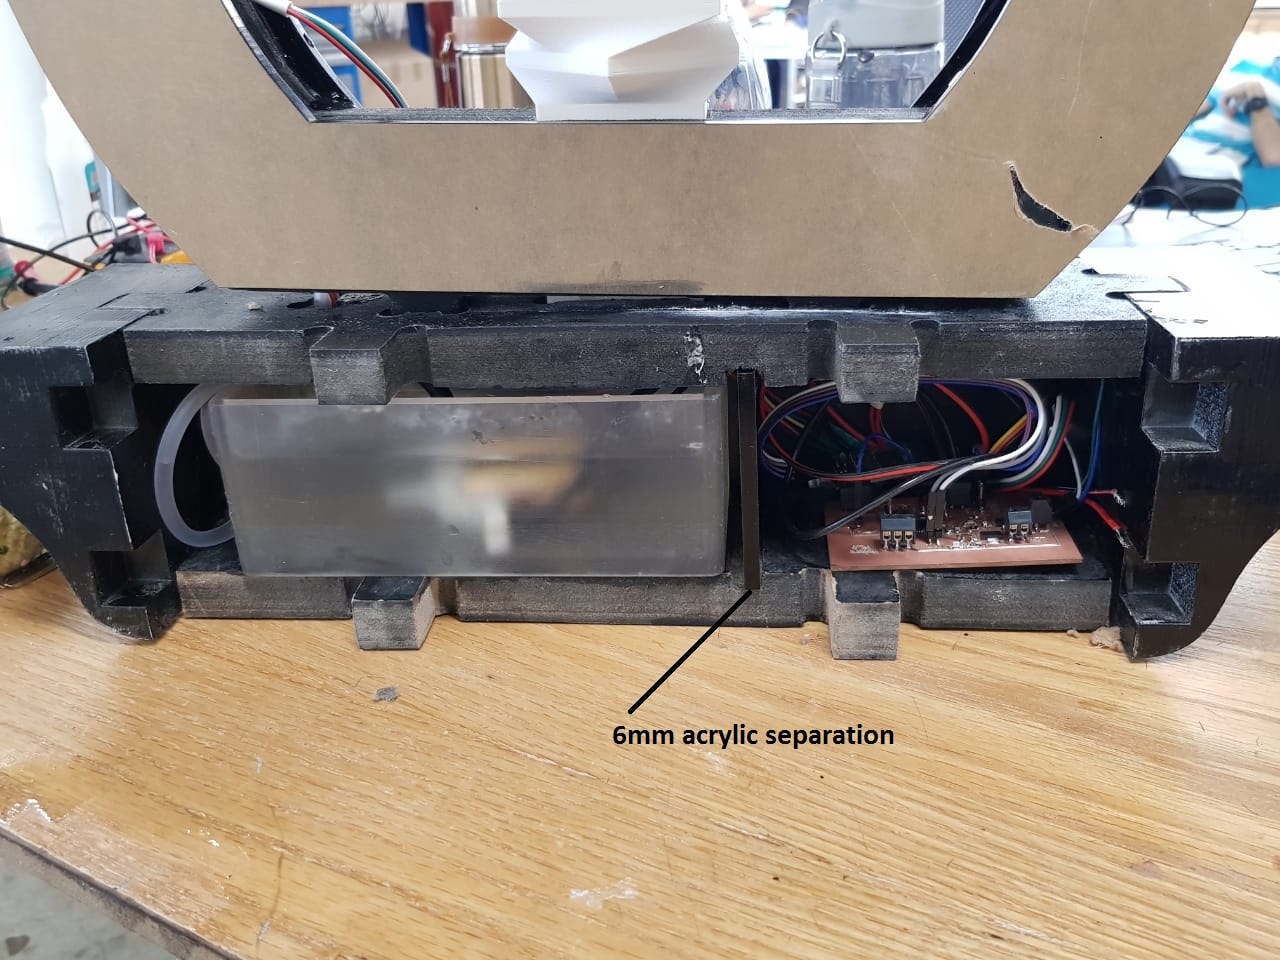
I also designed an acrylic separation to fit in the box and come between the water tank and the electronics. The small opening on the side is for the water pump wires to pass through to be connected to the board.

I used a 6mm black acrylic and the settings for cutting it is seen below.
The way it fits in my design is shown in the below photo.

Next, I designed small rectangular pieces that would fit in the 3D Printed Part that goes on the back of the box as windows.

When I cut it, I duplicated the job cause I needed two, one to fit in the back track for one part and the other in the front track of the second part.
This part was cut using 3mm clear acrylic.
The above video shows how smooth it fits in the 3D Printed part :)
The last part I needed to cut, was an acrylic part with the same shape as the front of the bottom box to give it a shiny feel.

I used a 3mm black acrylic sheet to cut this with the below settings.
You can download the DXF files HERE.