Wild Card Assignment
Task Requirments:
- Design and produce something with a digital fabrication process (incorporating computer-aided design and manufacturing) not covered in another assignment, documenting the requirements that your assignment meets, and including everything necessary to reproduce it. Possibilities include (but are not limited to) composites, textiles,biotechnology, robotics, and cooking.
I Choose Composites:
Composites:
A composite material (also called a composition material or shortened to composite, which is the common name) is a material made from two or more constituent materials with significantly different physical or chemical properties that, when combined, produce a material with characteristics different from the individual components. The individual components remain separate and distinct within the finished structure, differentiating composites from mixtures and solid solutions.
The new material may be preferred for many reasons: common examples include materials which are stronger, lighter, or less expensive when compared to traditional materials.
More details on Wikipedia.
Requirments:
Design an Object, Design a 3D mould for it, Cast it with a composite material
Idea:
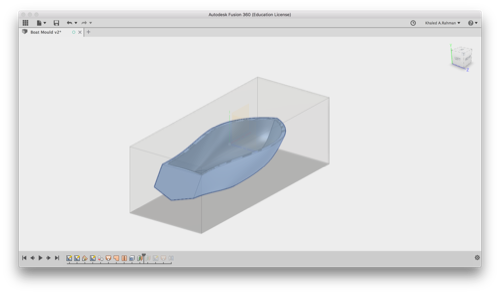
The idea is to make a small boat as a bathtub toy for my kid.
Design:
Designing the boat:
I had no previous experience for designin a product with such curves so i watched This Tutorial on how to design a boat on fusion.
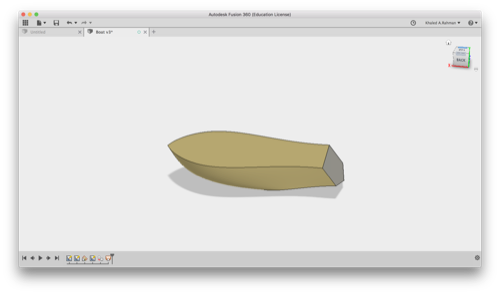
I started with sketching the skeleton of the boat as poly lines and adjusting the curves.
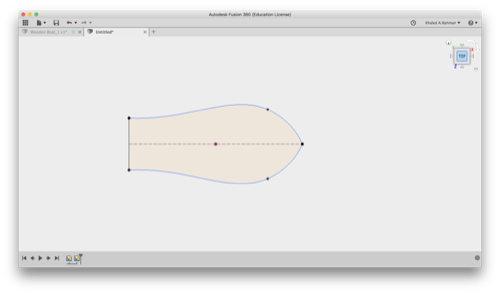
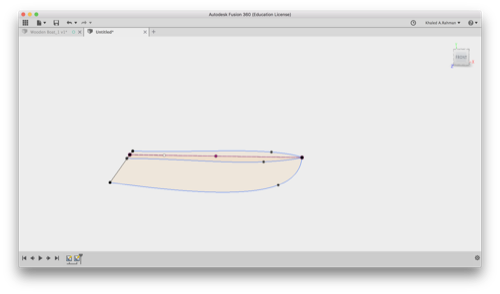
I used the loft command to make the faces between the lines
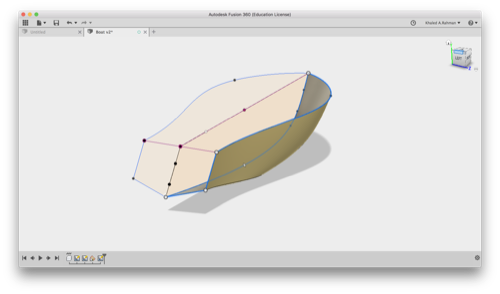
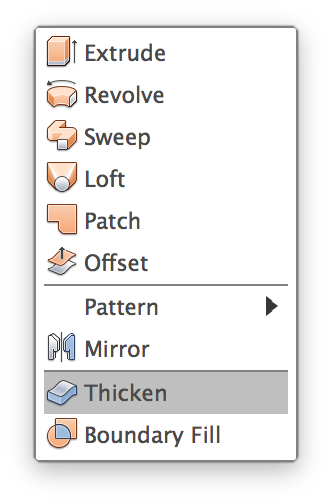
I used the Thicken command to convet the faces into a solid body
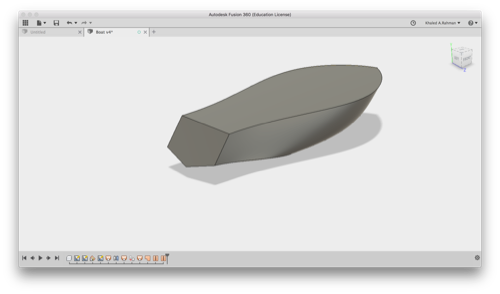
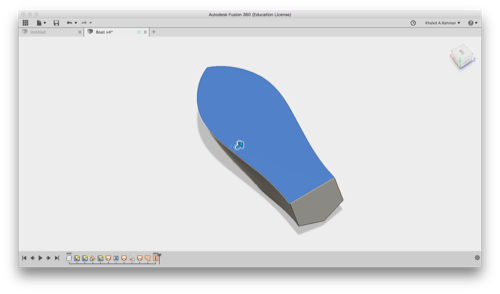
I used the shell command to make the thickness ot the boat 2 mm.
Designing the mould:
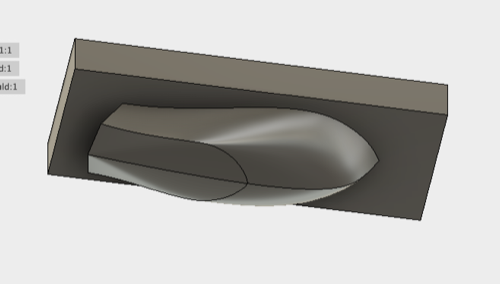
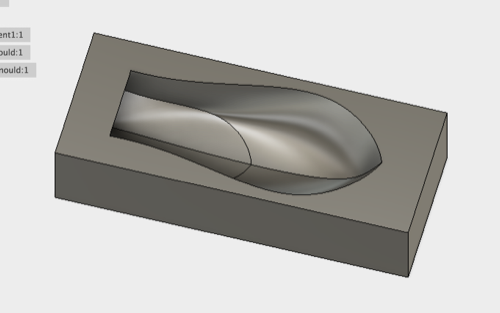
I decided to make a 2 sided mould to cast the boat, from my experience this will require a Core + Cavity mould.
So i watched This tutorial on how to design an injection mould, and This tutorial on how to design a core + cavity mould.
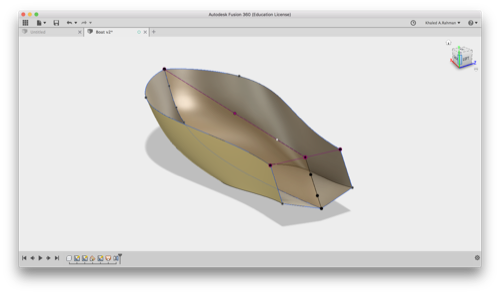
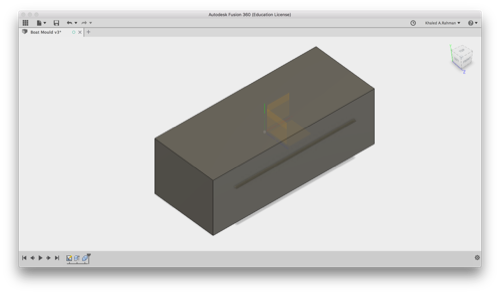
I started with sketching and extruding a block to contain the boat wich will represent the mould
I used the combine tool to perform a cut for the boat inside the mould.
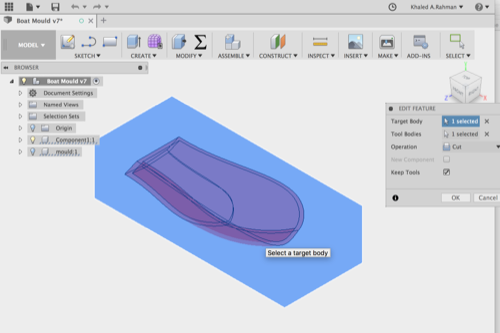
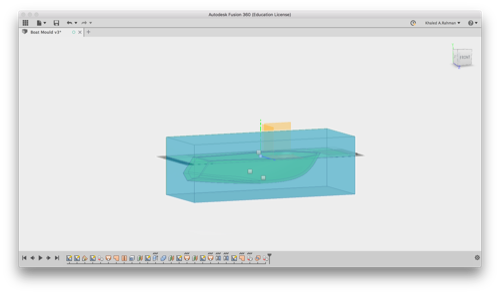
Now the tricky part is to make the part line of the mould to split it to upper and bottom parts.
The Challenge is that i need to make the part line with the upper surface of the boat and not a straight cut.
From the tutorial mentioned above i learned the Boundary Fill tool that is used for such operation.
To use this tool, i first needed to extend the surface of the boat to the outside of the mould to perform the cut through it.
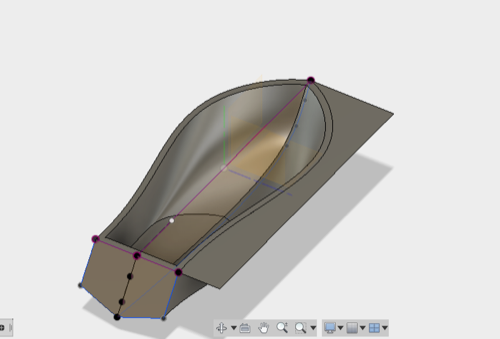
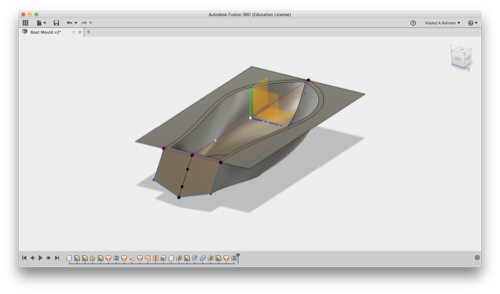

Finally i used the tool to split the mould into upper and bottom parts.
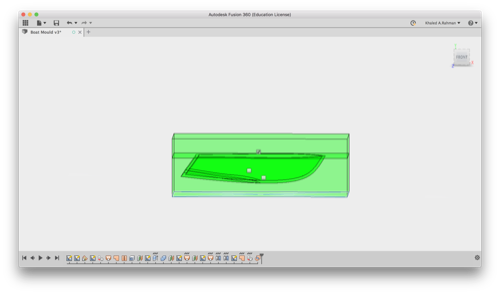
And this is the final result
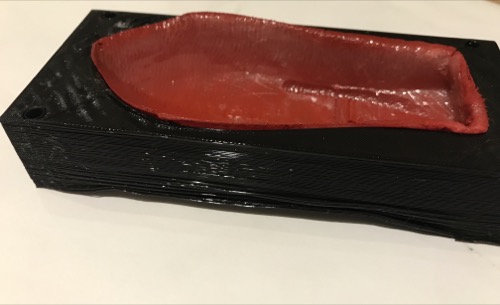
Making the mould
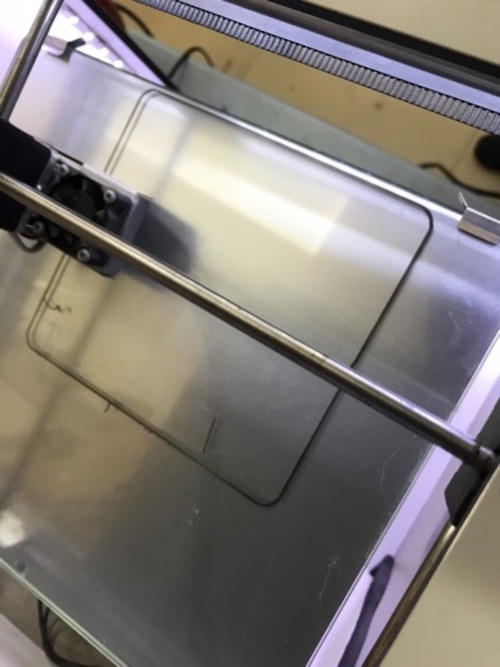
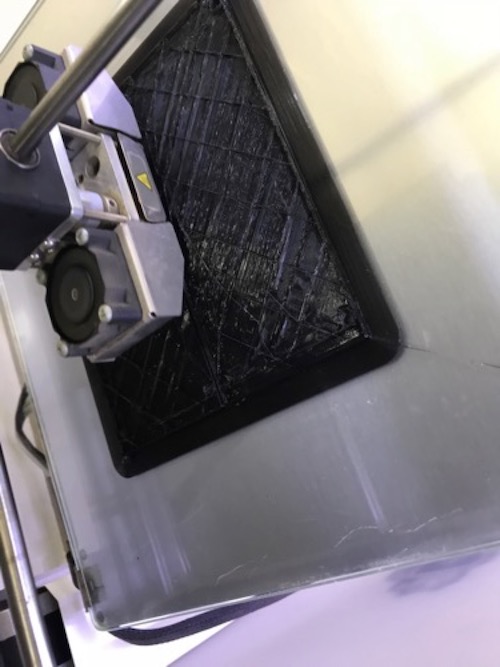
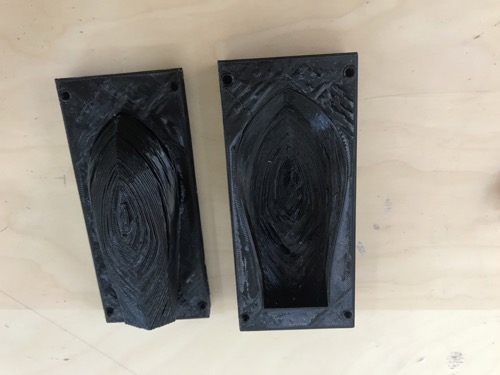
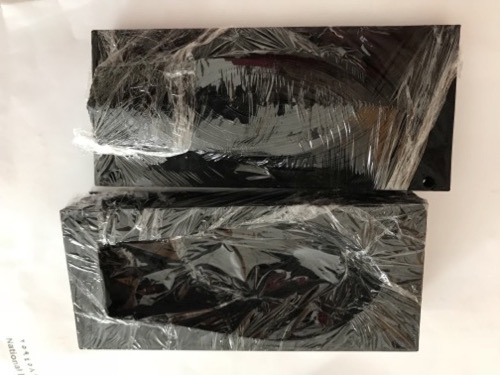
I decided to 3D print the mould, so i exported the bottom and top moulds as stl files and printed them.

Minor failure:
To decrease the time of printing i made the layer 0.4mm and the infill 5%, so the mould was soft and fragile but i think it will do the job.
Casting
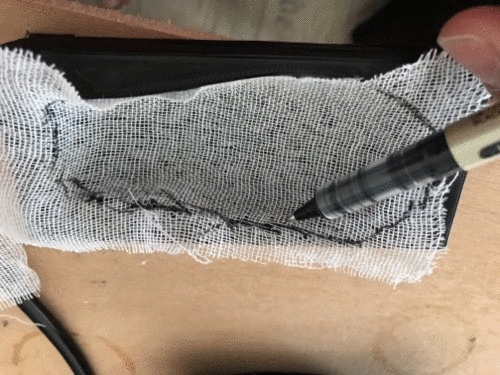
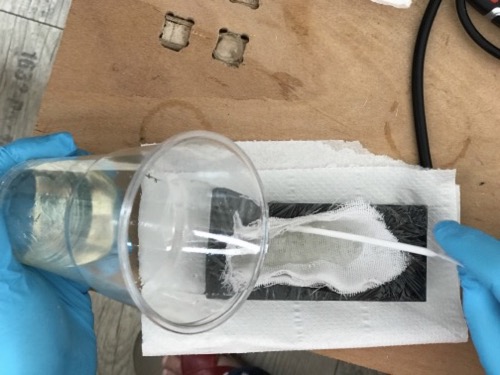
I will use Epoxy + medical Gauze
The First thing i did is to cut the gauze to fit in the mould with no extras
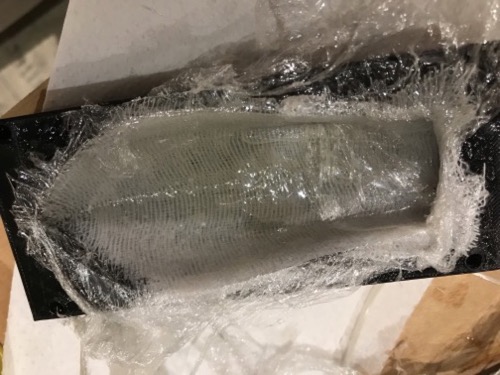
Then i wrapped the mould with plastic stretch to prevent epoxy from sticking to the mould
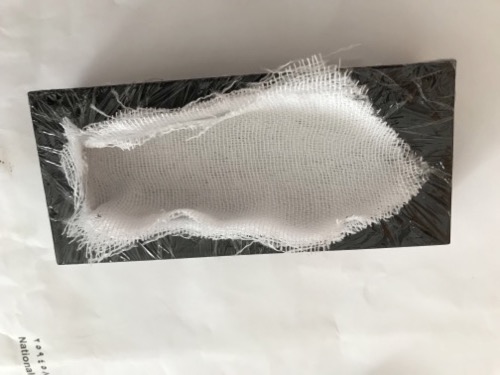
I placed the gauze in the bottom mould "cavity"
I mixed the epoxy with hardner 2:1, for more details refer back to the moulding Assignment
I poured the epoxy to the gauze making sure it's all soaked with resin
I placed the top mould "Core" and tightly closed it with cable ties.
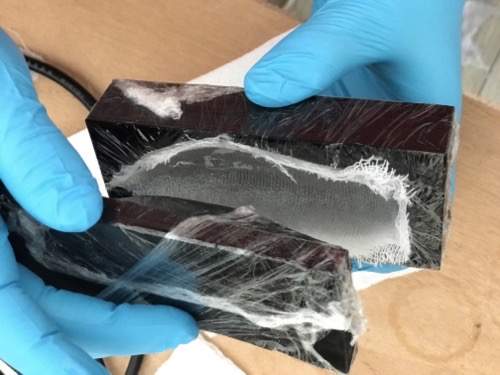
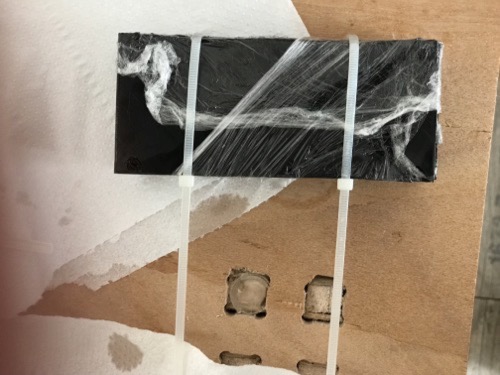
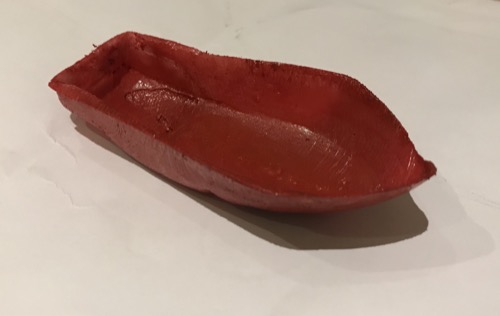
I left it for 7 hours and i opened it !
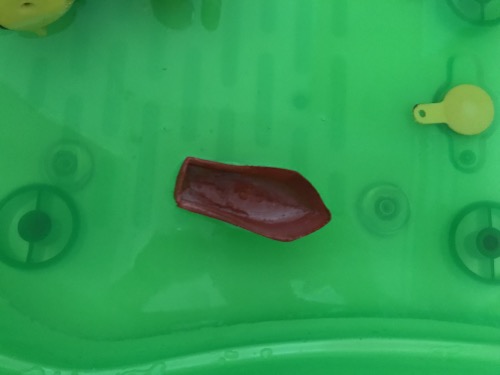
It was really easy to get it out of the mould but removing the stretch wasn't that easy, i removed what i could and planned to sand the rest.
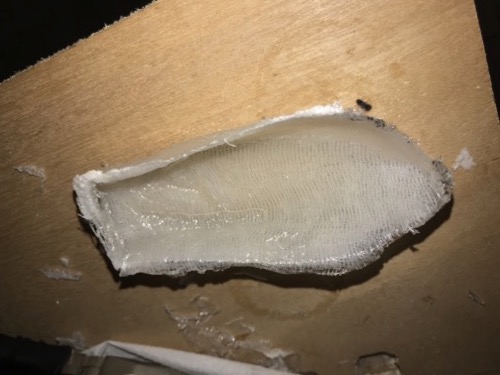
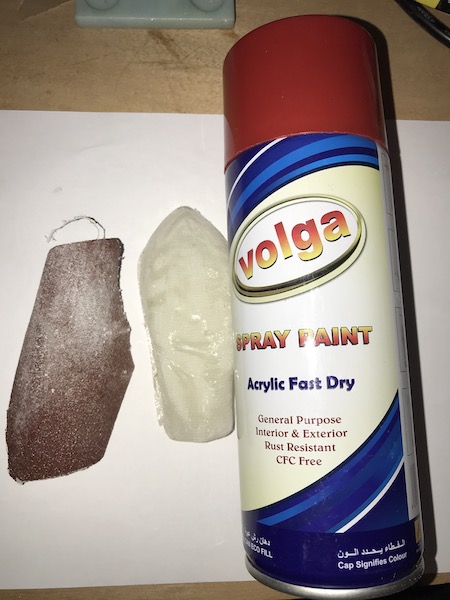
I used rough sand paper to remove extra plastic stretch and prepare the boat for spray painting.
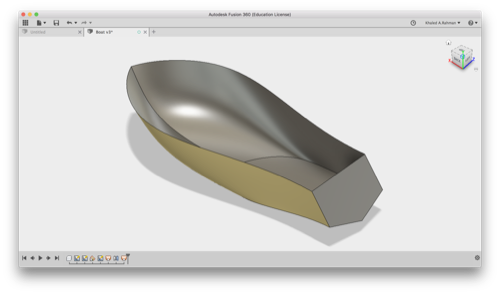
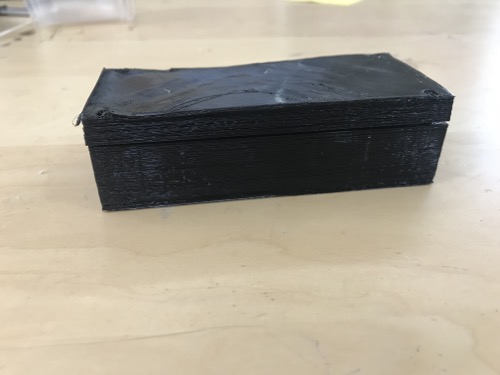
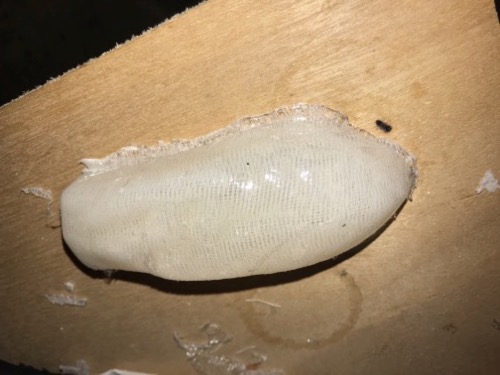
AND HERE IS THE FINAL RESULT !