Molding & Casting
Task Requirments:
- Explain how you designed your 3D mould and created your rough and finish toolpaths for machining
- Show how you made your mould and cast the parts
- Describe problems and how you fixed them
- Include your design files and ‘hero shot’ photos of the mould and the final object
Idea:
The idea is to make a simple and small coin 15mm in diameter through a small mould that simulates a cold runner injection mould and allow me to cast more than one part in the same mould.
This is a useful link to understand the different types of injection moulding, the cold runner mould mainly comsists of a sprue that is filled with materials and then distributed through the runners to fill the cavitites of the part through the gates as shown in the photo below:
The gates are like tabs that are made when routing or cutting to hold parts together and are designed to be easily break.
The Design will be based on a two sided mould one that contains the sprue and half of the runners, gates and part - the other side will containd the other halfs.
Design:
First i set the parameters in fusion and i tried to make the smallest possible mould to save machine timings.
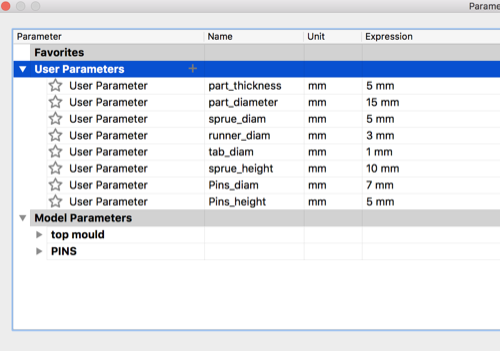
Then I proceeded with the part design including the sprue, runners and gates.
i made a construction plan in the middle of the final part and i splitted the design to two bodies
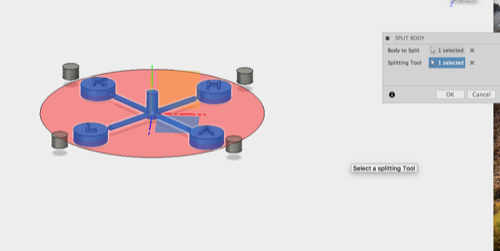
Finally i exported the two bodies as stl
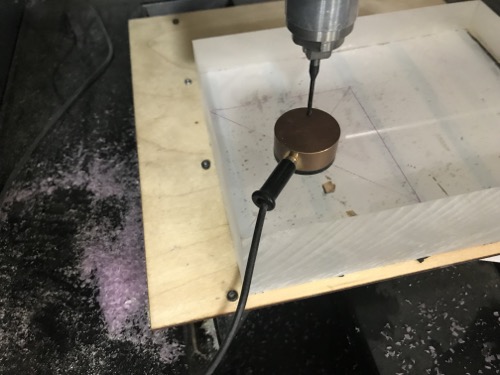
Milling the Mould
- Machine: Roland MDX40A
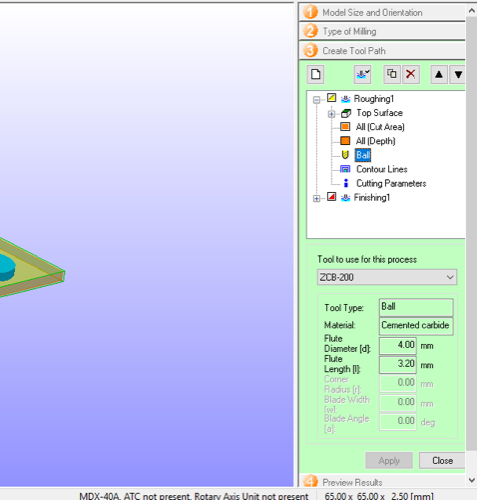
- Tool: Ball Nose 4mm
- Tool path Software: Roland SRP player
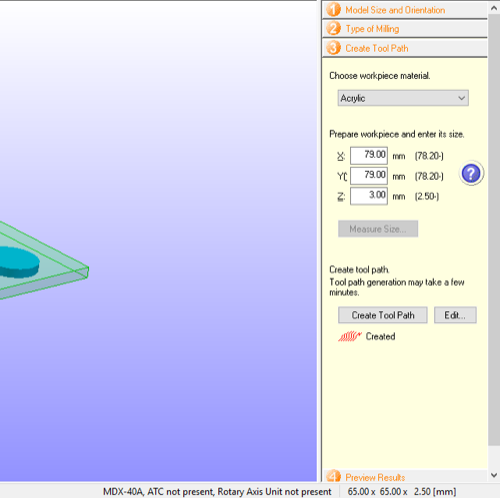
I imported the stl of the bottom mould to Roland SRP player
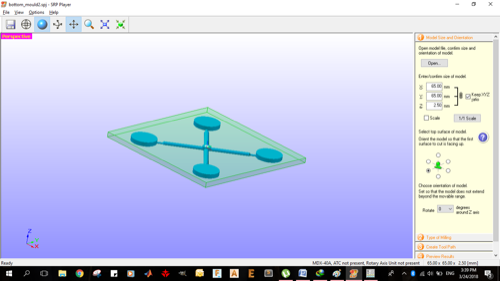
Then i adjusted the process following the next steps:
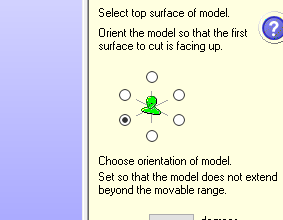
- Position the mould in the right direction
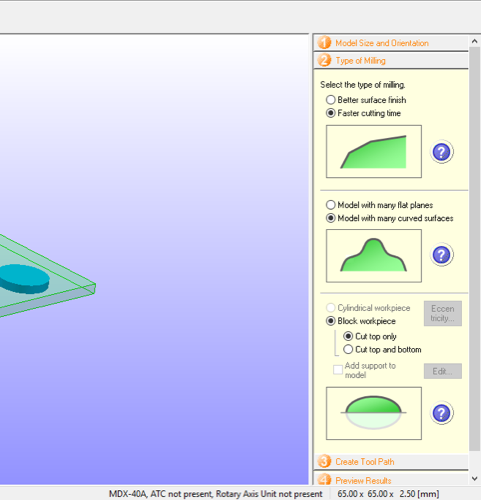
- Select: Faster cutting time, Model with many curved surfaces, cut top only
- Choose the right tool
- Choose material: Acrylic, and stock size just bigger than the model to save time and materials "SRP mills the model in the middle of the stock"
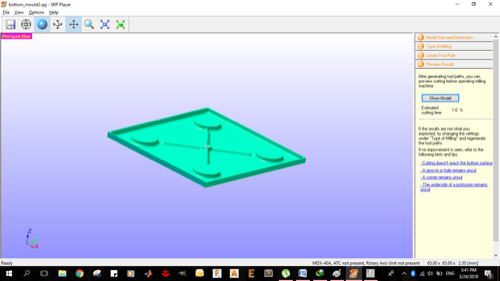
- Create toolpath and preview the results for any errors.
- Perform Cutting: Save the Roughing and finishing toolpathes as ".prn"
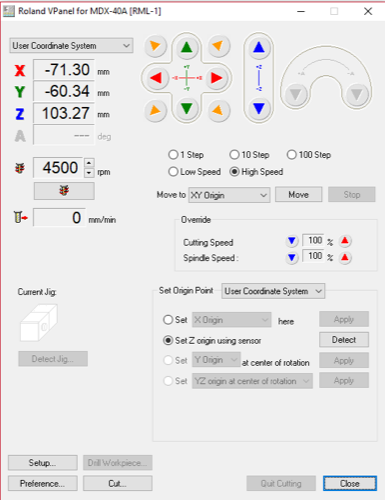
Vpanel Software:
From the Vpanel software:
- move the XY axis to the center of the model
- set the Z axis using sensors
- Press Cut, Import the roughing file
- Start Cut
- After roughing is finished import the Finishing file and start cut again
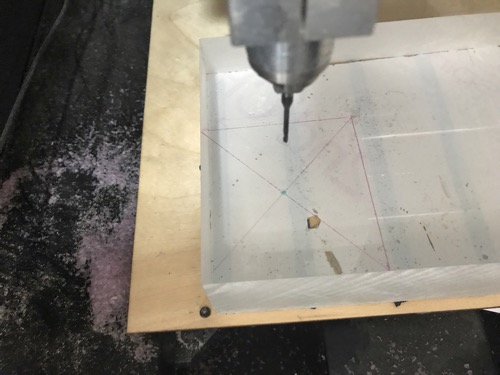
After 1 hour i had my mould finished
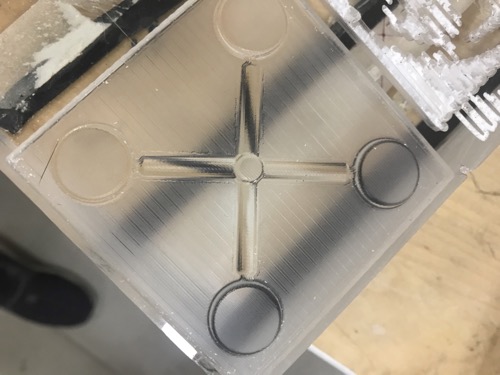
I repeated the whole step for the upper mould
Casting The Mould
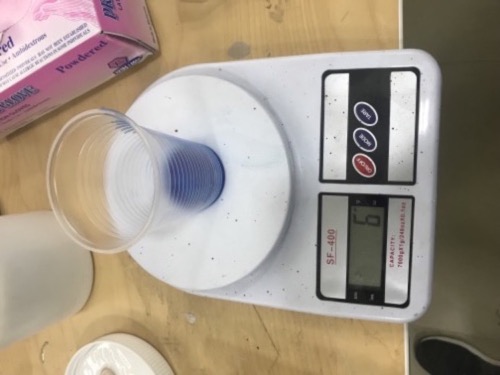
Material: Silicone Rubber + Hardner

I used a sensitive scale to add the hardner to silicone rubber by 3% concentration as stated on the pack.
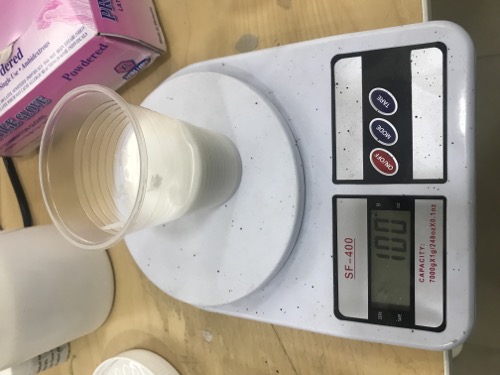

I used a tongue depressor to stir the mixture, make sure to stir slowly and in 8 shape movements to reduce the air bubbles
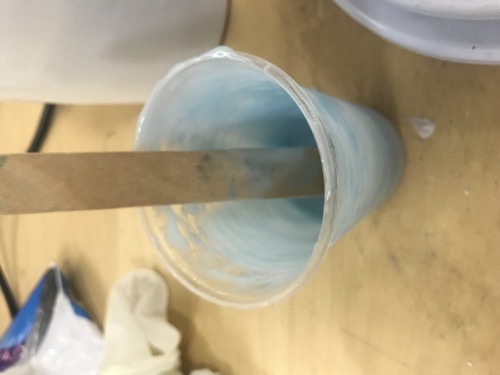
I casted the silicone to the acrylic mould, pouring from a high distance to try to eliminate the bubbles.
I hit the mould to the ground several times to get the bublles to the top
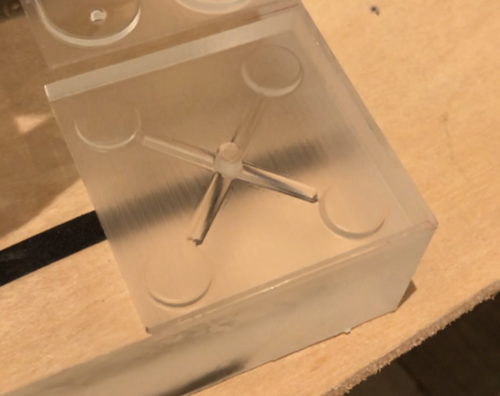
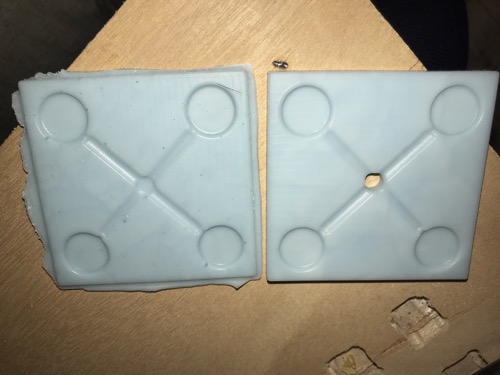
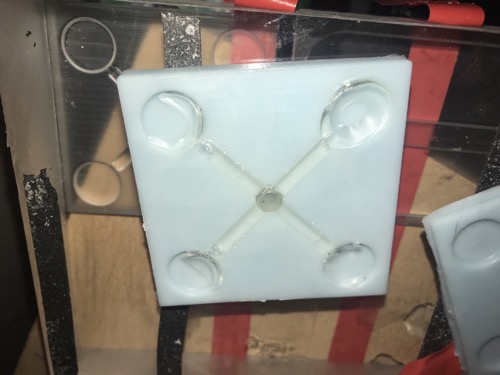
I left it to dry overnight and this is what i got !
Casting the part:
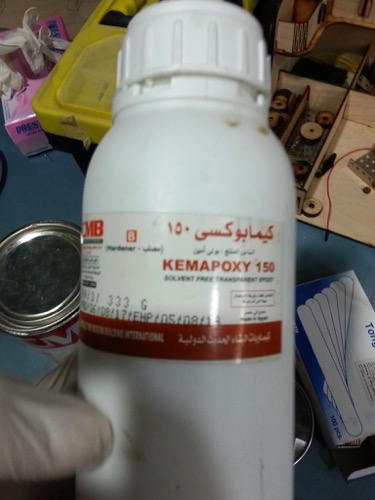
Material: Transparent Epoxy + Hardner

I alligned the two sides of the mould and taped them together, making sure the tape is not tight not to bend the mould and also allow air to escape.

Again i used sensitive scale to add the hardner to epoxy with 1 to 2 ratio as instructed on the pack
I stirred very slowly to minimize the air bubbles and poured the mixture to the sprue "mould hole"
I moved the mould to all directions for the epoxy to fill the whole mould
I left it overnight
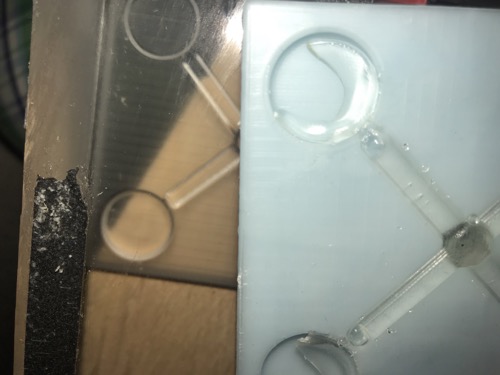
Failure:
Because the mould size was small and the gates was tiny also the epoxy is very viscous, the mould didn't fill and here is what i got.
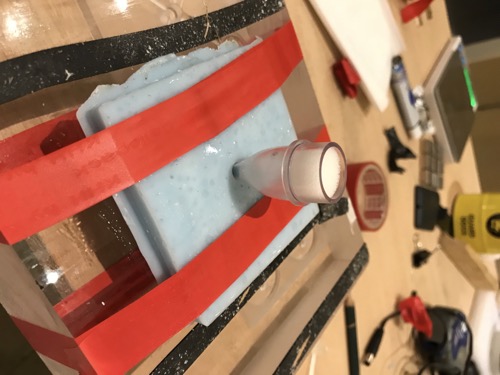
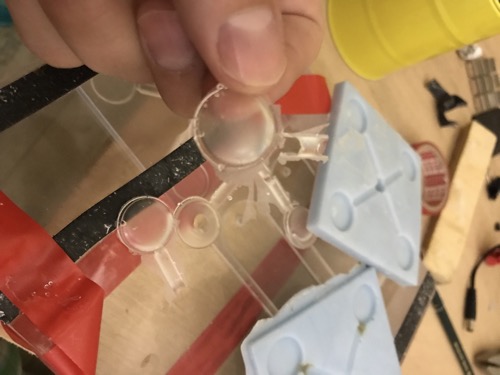
Second try:
I figured out that i need to apply pressure to the epoxy to force it through the runners and then the gates to fill the cavities in the mould
I used my baby nasal aspirator refills to put it in the sprue after adding the epoxy and blow air through it.
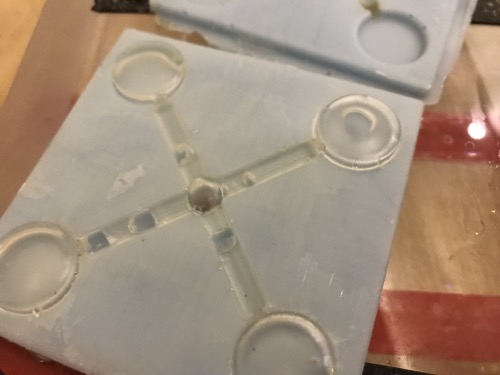
Again i left overnight, and the results was ok, except for one part
Areas for improvment:
The gates need to be larger
The runners needs to be deeper with inclination to facilitate mould filling