Networking & Communications
My goal this week was to build two boards that communicated with one another over a network. Specifically I wanted to have a master board that would request info from the slave board at regular intervals and have the slave report its Hall Sensor reading. The master would then light an LED a certain color depending on the value it received.
After considering the many different types of networks and ways to communicate between hardware devices, I thought that I2C (I-squared-C) would be the most appropriate way to go. It allows you to specifically address each device and still communicate over a simple two-wire interface.
Of course, the first thing I did was design new boards that I could make talk to one another. I used SolidWorks PCB to design two boards - a master board that contained an ATTiny44 and an RGB LED, and a slave board that contained an ATTiny45 and a Hall Effect Sensor.
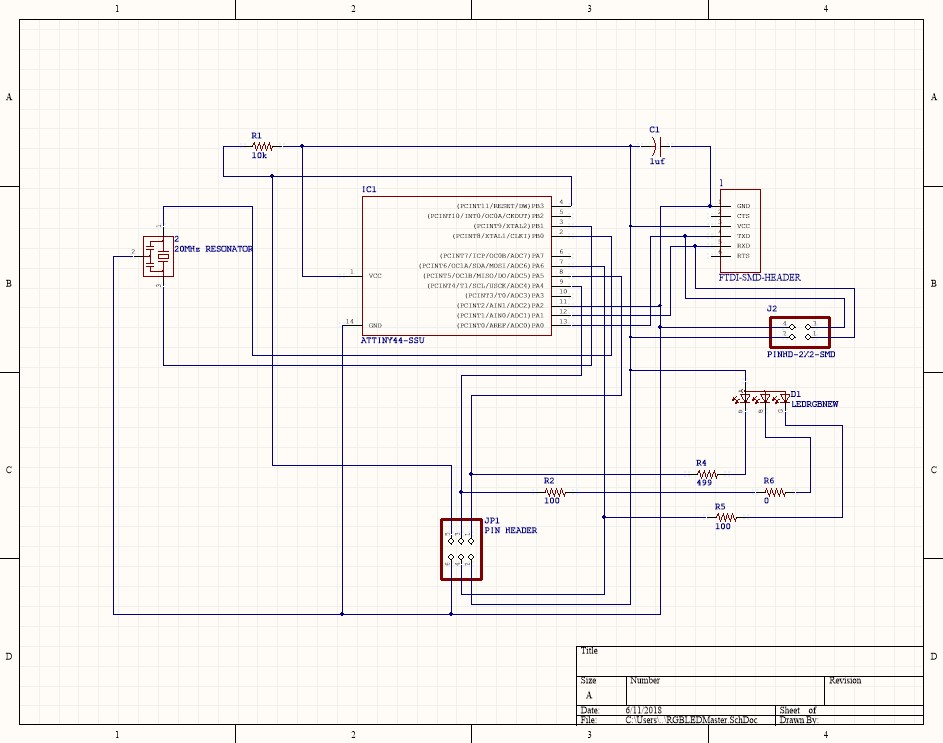
Master Circuit
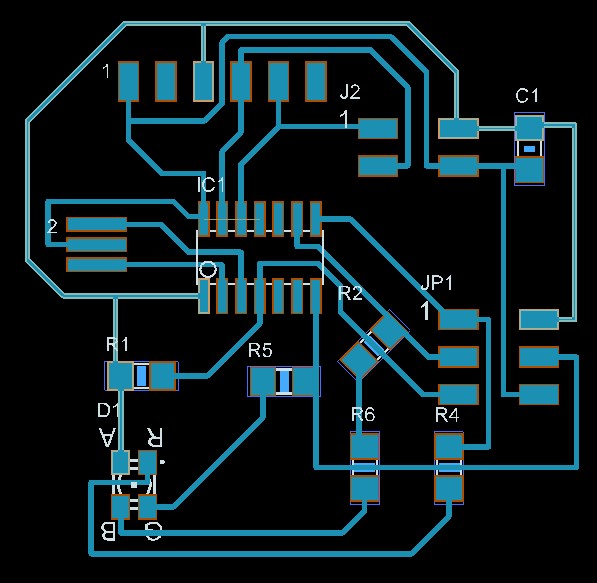
Master Board

Slave Circuit
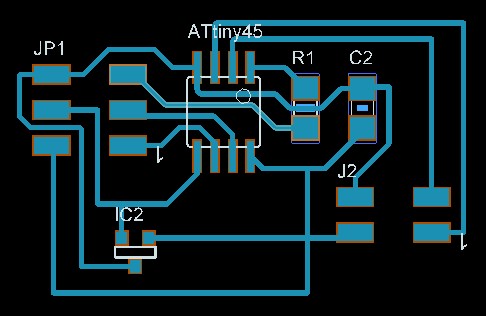
Slave Board
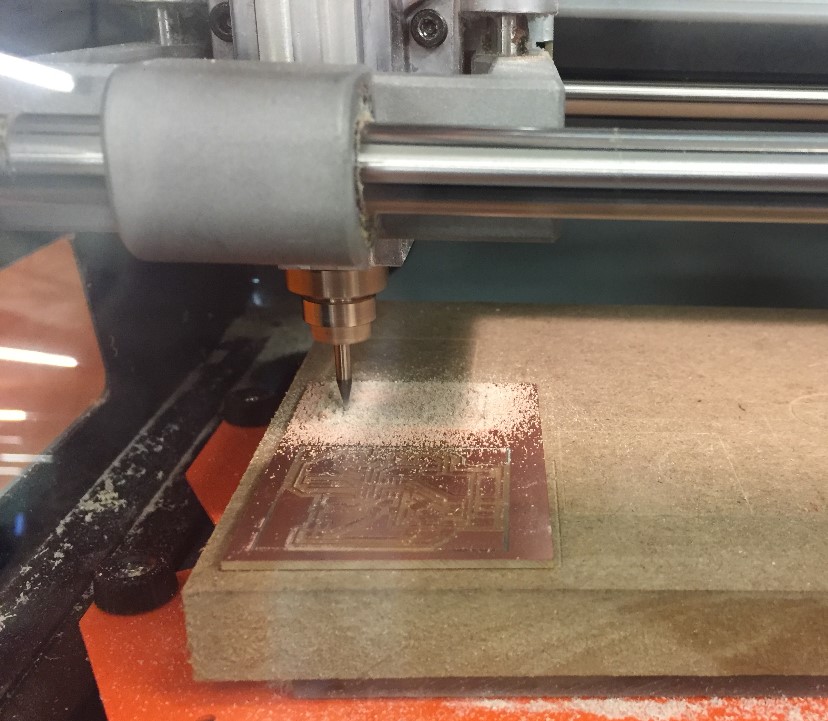
As I've done many times before, I used MODS to cut the boards on the Roland mini mill.
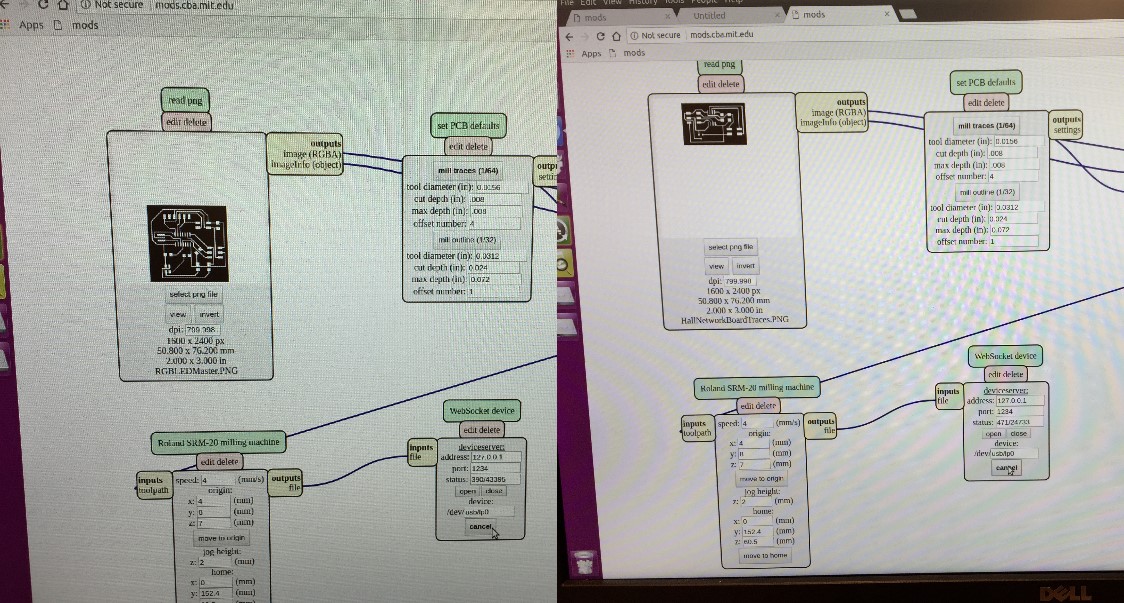
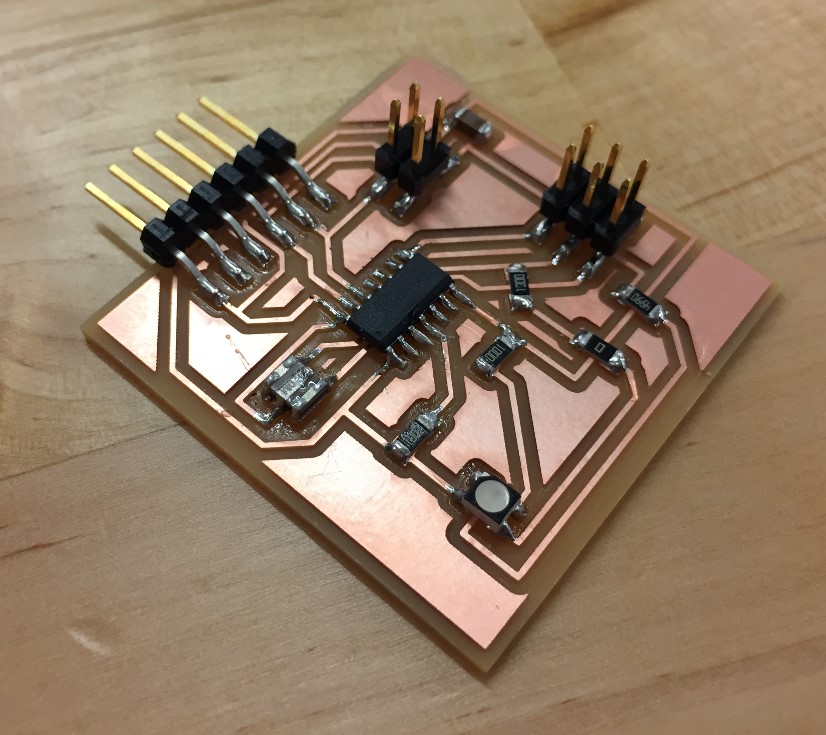
…and stuffed them at the soldering station.
I turned my attention the to the Arduino IDE where I began writing code to bring the boards to life. After doing a bit of research, I learned about the Wire library. It allows an Arduino to communicate using I2C. I wrote the code for my master board and then uploaded it. Unfortunately, I was greeted with a compile error.
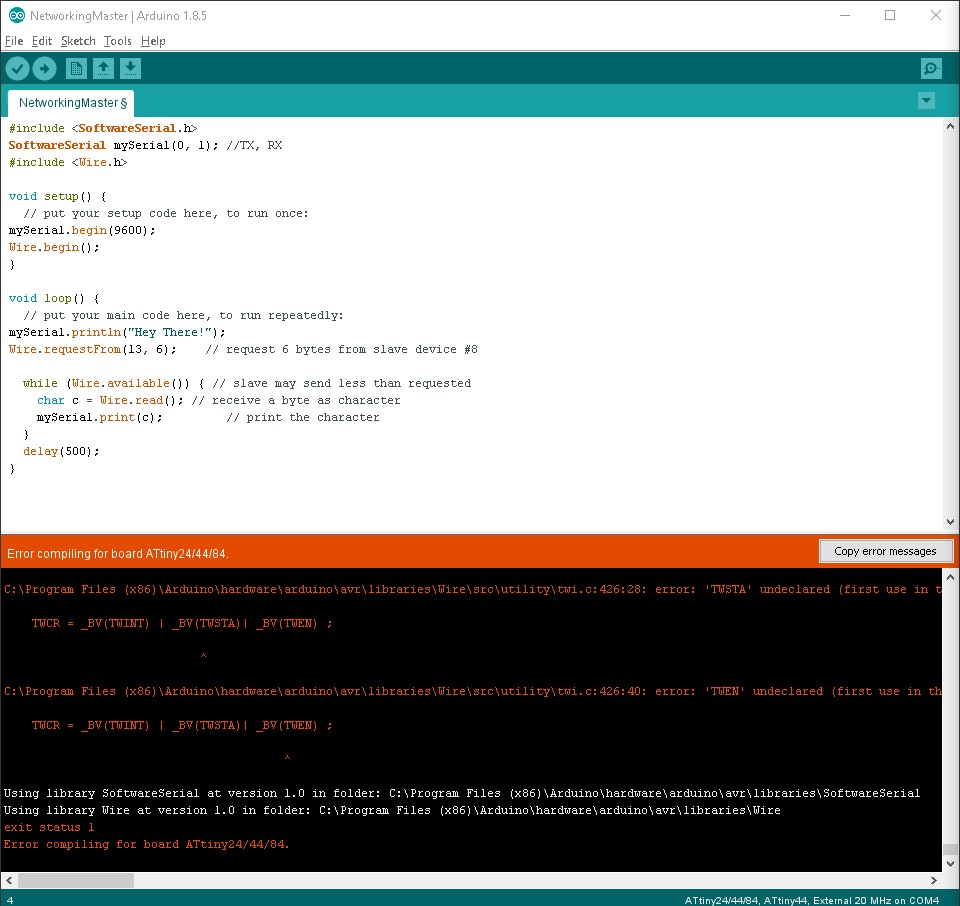
I looked into this for quite a while and eventually discovered that the Wire library is not compatible with ATTiny microcontrollers. The good news is that people have written libraries that are compatible with ATTiny, but by now, I was feeling discouraged and overwhelmed, so I tabled I2C and started working towards simple Serial communication between boards.
NOTE: I revisit I2C later, so read on if you are curious how that approach pans out.
I started by proving out that each board could communicate on its own to the Serial Monitor. I had good success with my master board. It was able to send info to the Serial monitor without issue. My slave board, however, gave me trouble. The only thing I could ever get it to send was gobbledygook! I used my go-to troubleshooting trick for when boards fail to communicate:
1) Turn off the Serial monitor
2) Disconnect the board from the FTDI cable and the ribbon cable to your ISP
3) Reconnect the board to both cables
4) Send your program to the board again
5)Open the Serial Monitor
…but that didn’t work. I also tried changing the baud rate at which I was communicating, but that just made the gobbledygook appear faster! After a bit more reading, I learned that the Tiny45 can be somewhat finiky with Serial communication.
Feeling even more defeated, I decided to abandon my slave board, and use the board I made in Output week as the slave.
With the two good boards in hand, I could finally focus on Serial Communication between them. I first wrote code that would give each board an identity. This allowed my master board to only react to messages of “1” or “2” and my slave board to only react to messages of “3” or “4”.
Here are the boards in action – I type a number in the Serial Monitor and the appropriate board changes the color of its LED. A “1” or a “2” tells the Master board to change its LED color and a “3” or a “4” tells the slave to change its LED color. My first success!
Thrilled with this first victory, I wanted to see if I could transform my master board into a true master, because at this point, I consider both boards as slaves to the input from my computer. I wrote new code for my master board so that it would regularly send a “3” or a “4” across the Serial bus. The slave board would continue to listen for its appropriate identities and light its LED appropriately. Here it is in action:
As you can see, the slave board toggles its LED color every second.
The last thing I wanted to do was make my master board react to input from my slave board. I wrote code that had my slave board report its Hall Sensor readings to the master board so that the master could light the LED an appropriate color based on the reading. Here it is in action: