Exercise 05: 3D Scanning and Printing
3D Scanning and Printing
- Test the design rules for your printer(s) (group project)
- Design and 3D print an object (small, few cm) that could not be made subtractively
- 3D scan an object (and optionally print it)
My Process (3D Scanning)
:: February 23, 2018 ::
Scanning Using Kinect
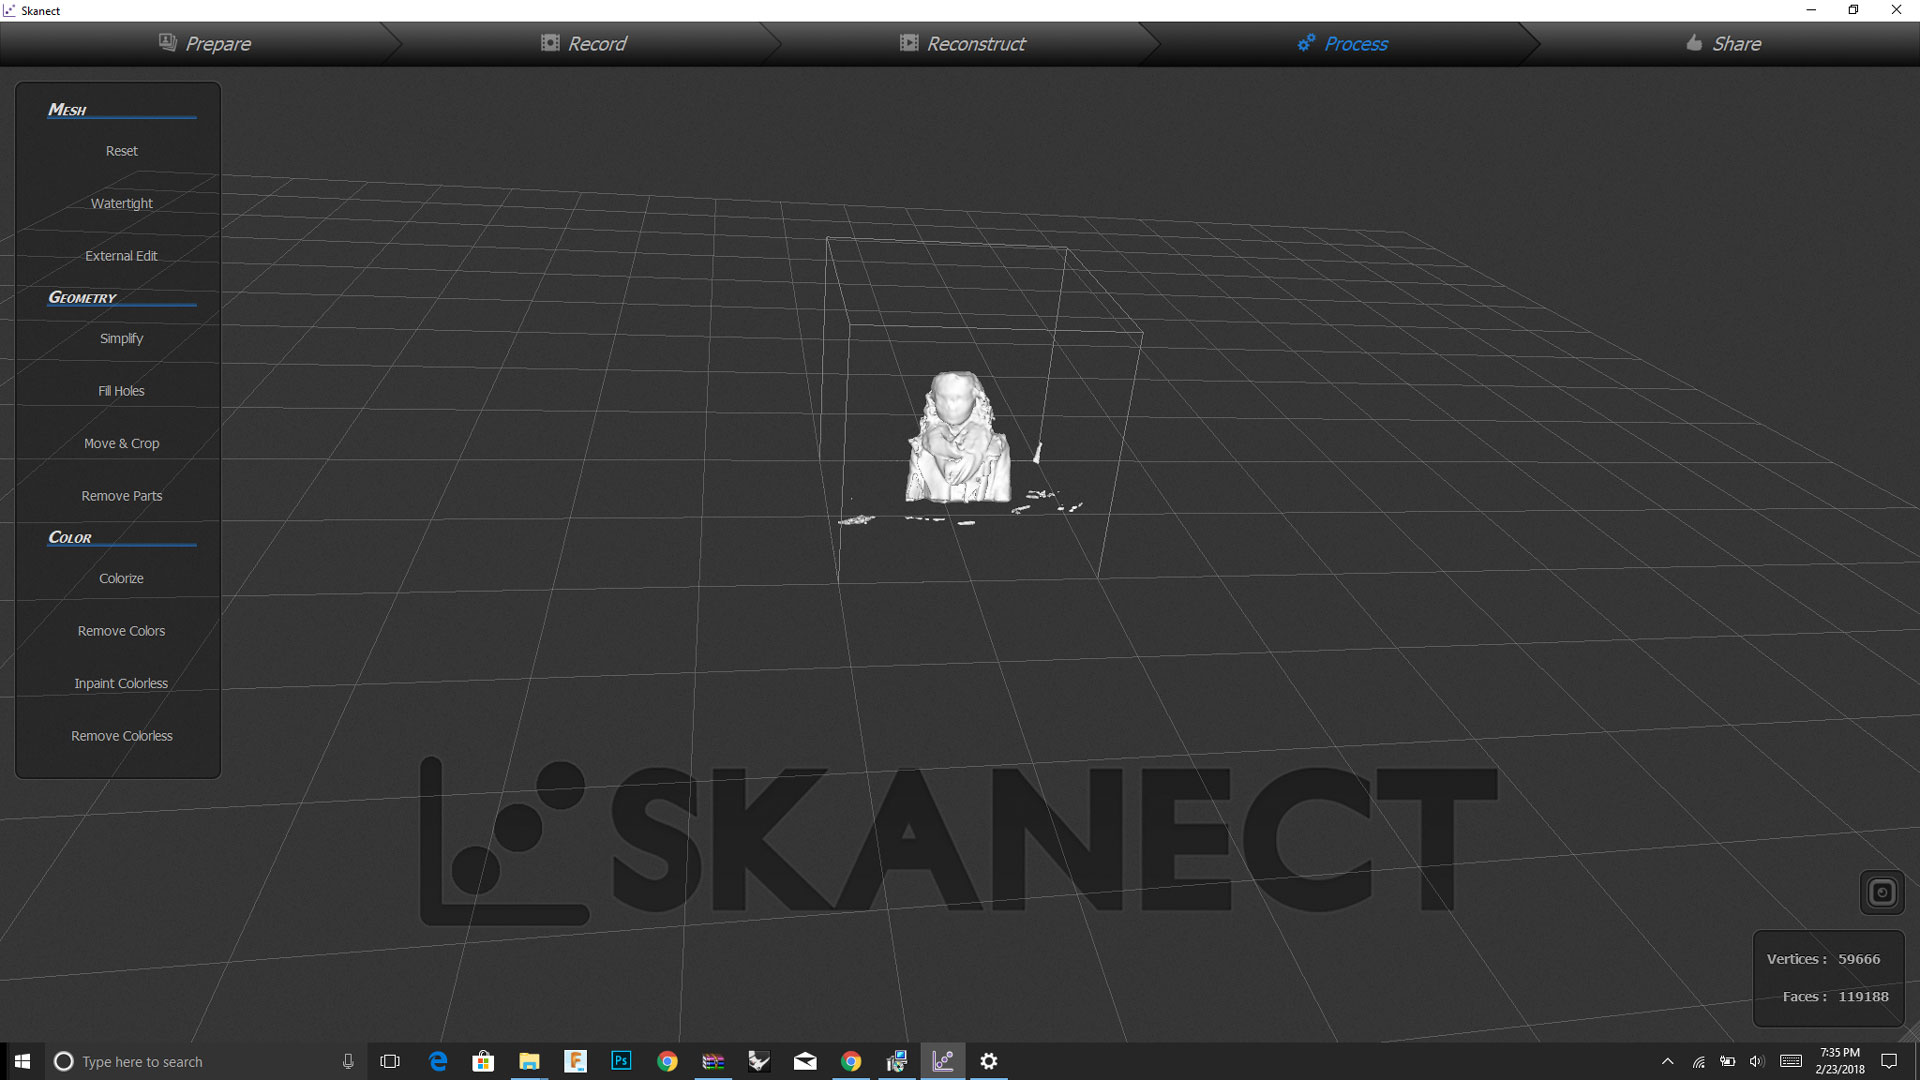
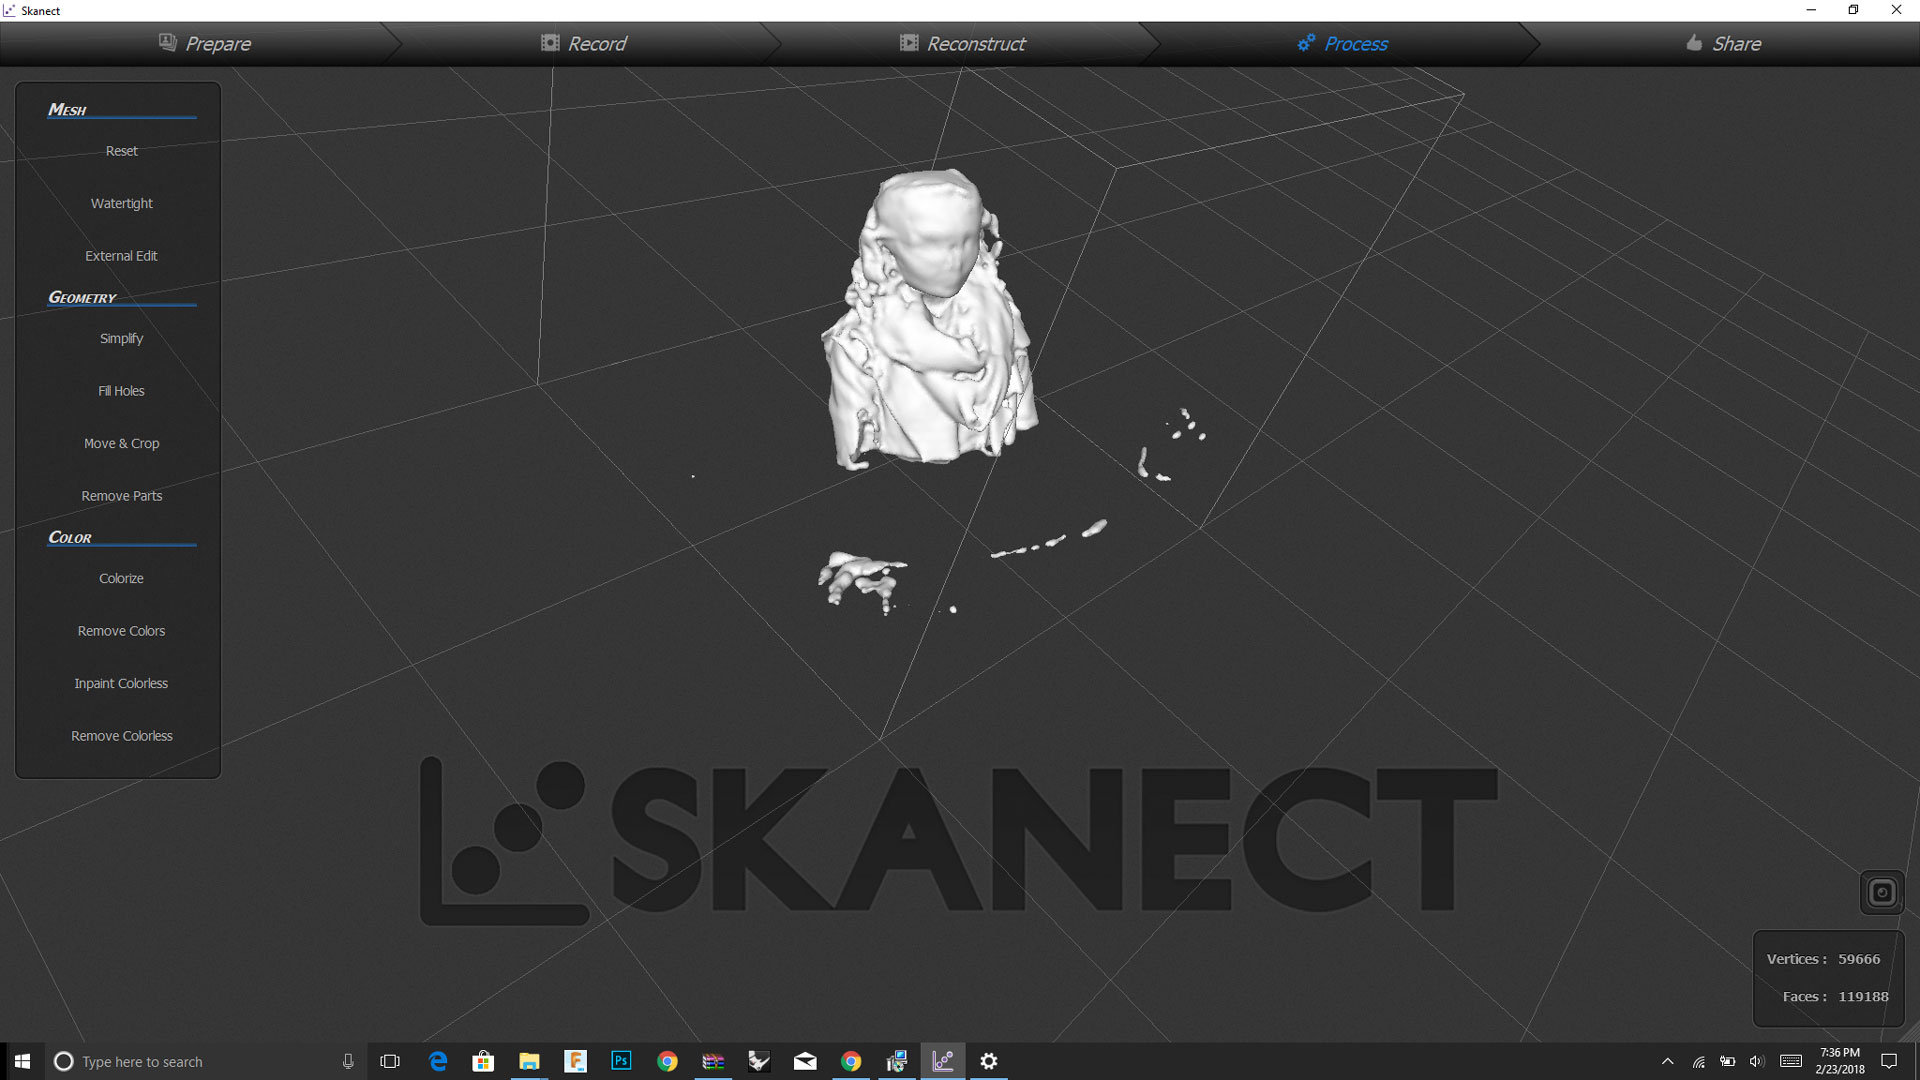
Our assignment this week was two part: 1) 3D scan an object, and 2) design and 3D print an object. For the scanning portion of the assignment, I decided to use an XBOX 360 Kinect. I first tried to use the Kinect on my Mac. I downloading a number of plugins and software to support Kinect on Mac and launched Scanect, the software that connects to the Kinect, I was unable to get any data being fed to Skanect. I decided to shift to using a PC and see if I could have more success. I first installed Kinect on a laptop running Windows. I found a great tutorial on using the Kinect as a 3D scanner on YouTube by Ruiraptora. There is also an easy-to-follow tutorial on Instructables. I downloaded and installed the drivers and for the scanning software, I used Skanect. And it worked. I decide to scan myself to get a sense of the accuracy of the device.
Editing Scan in Fusion 360
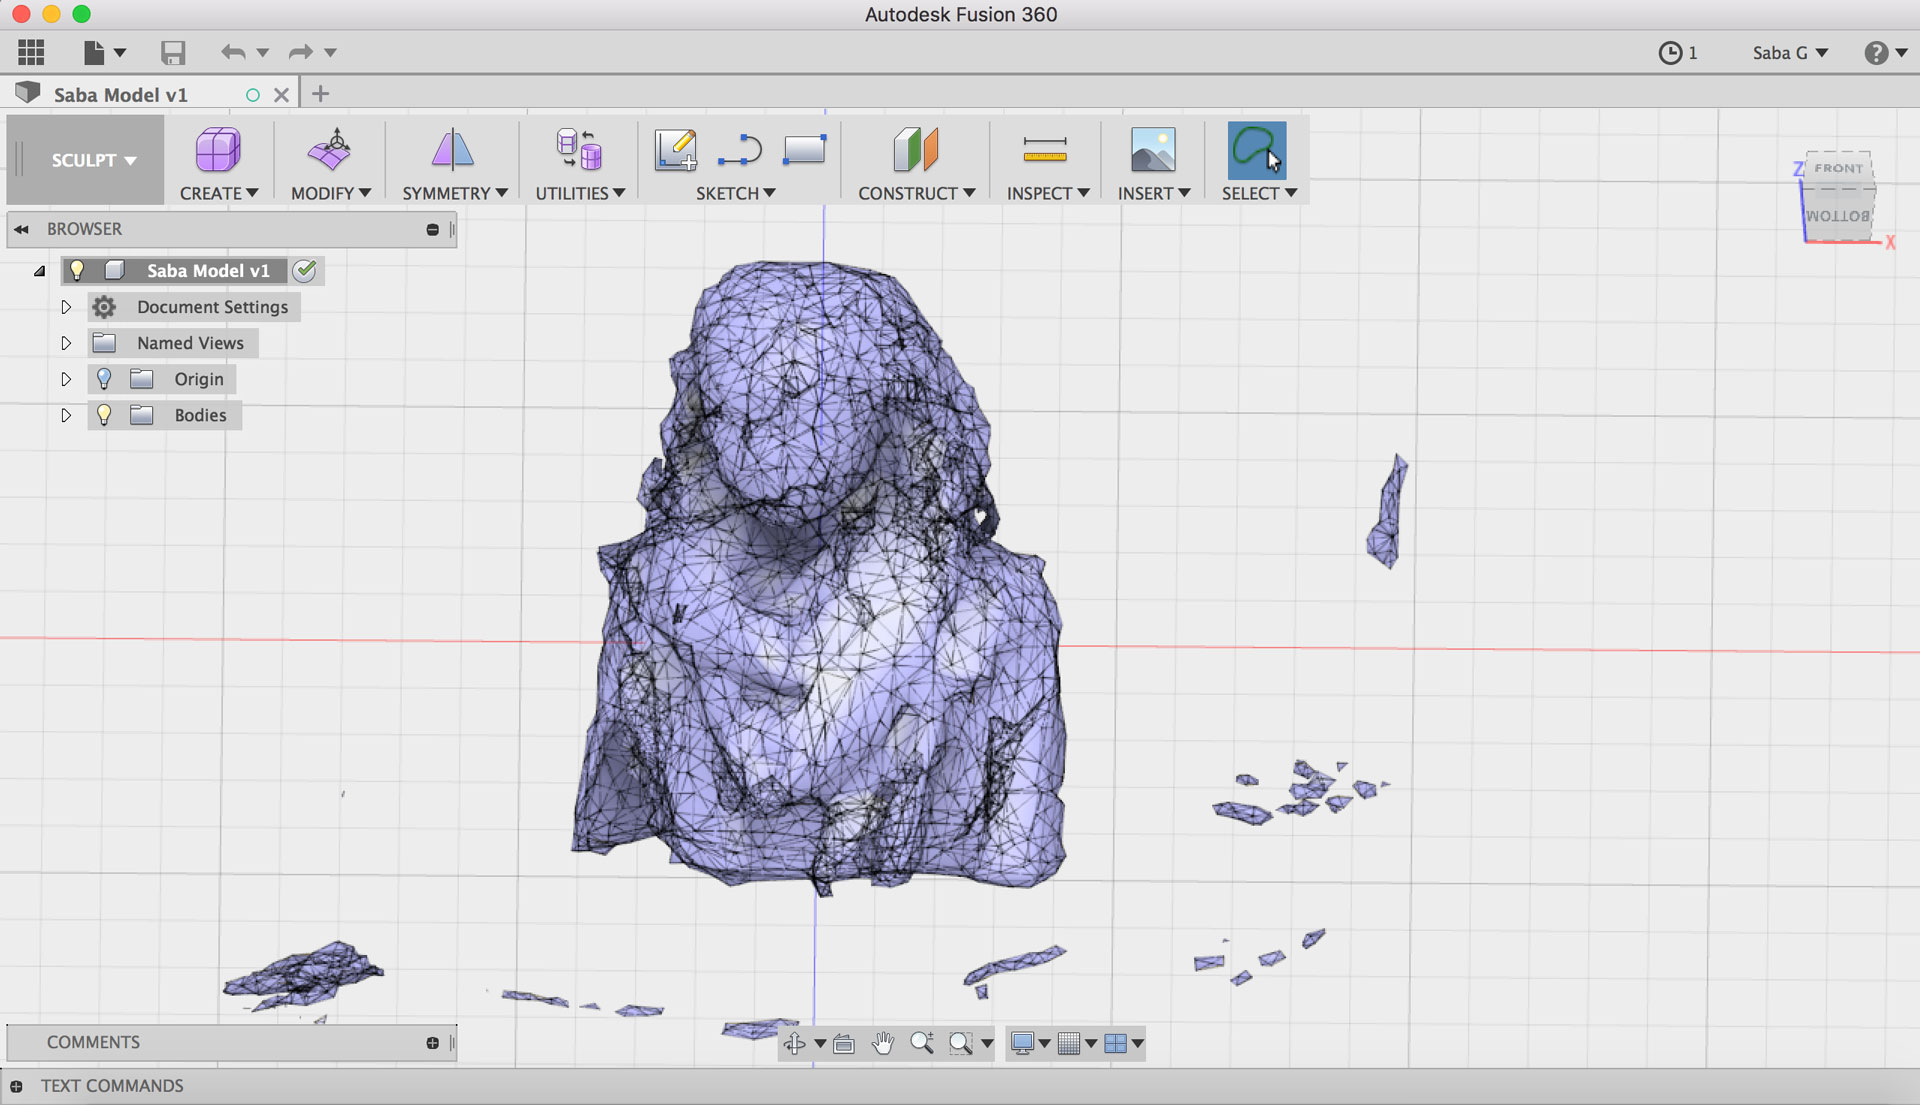
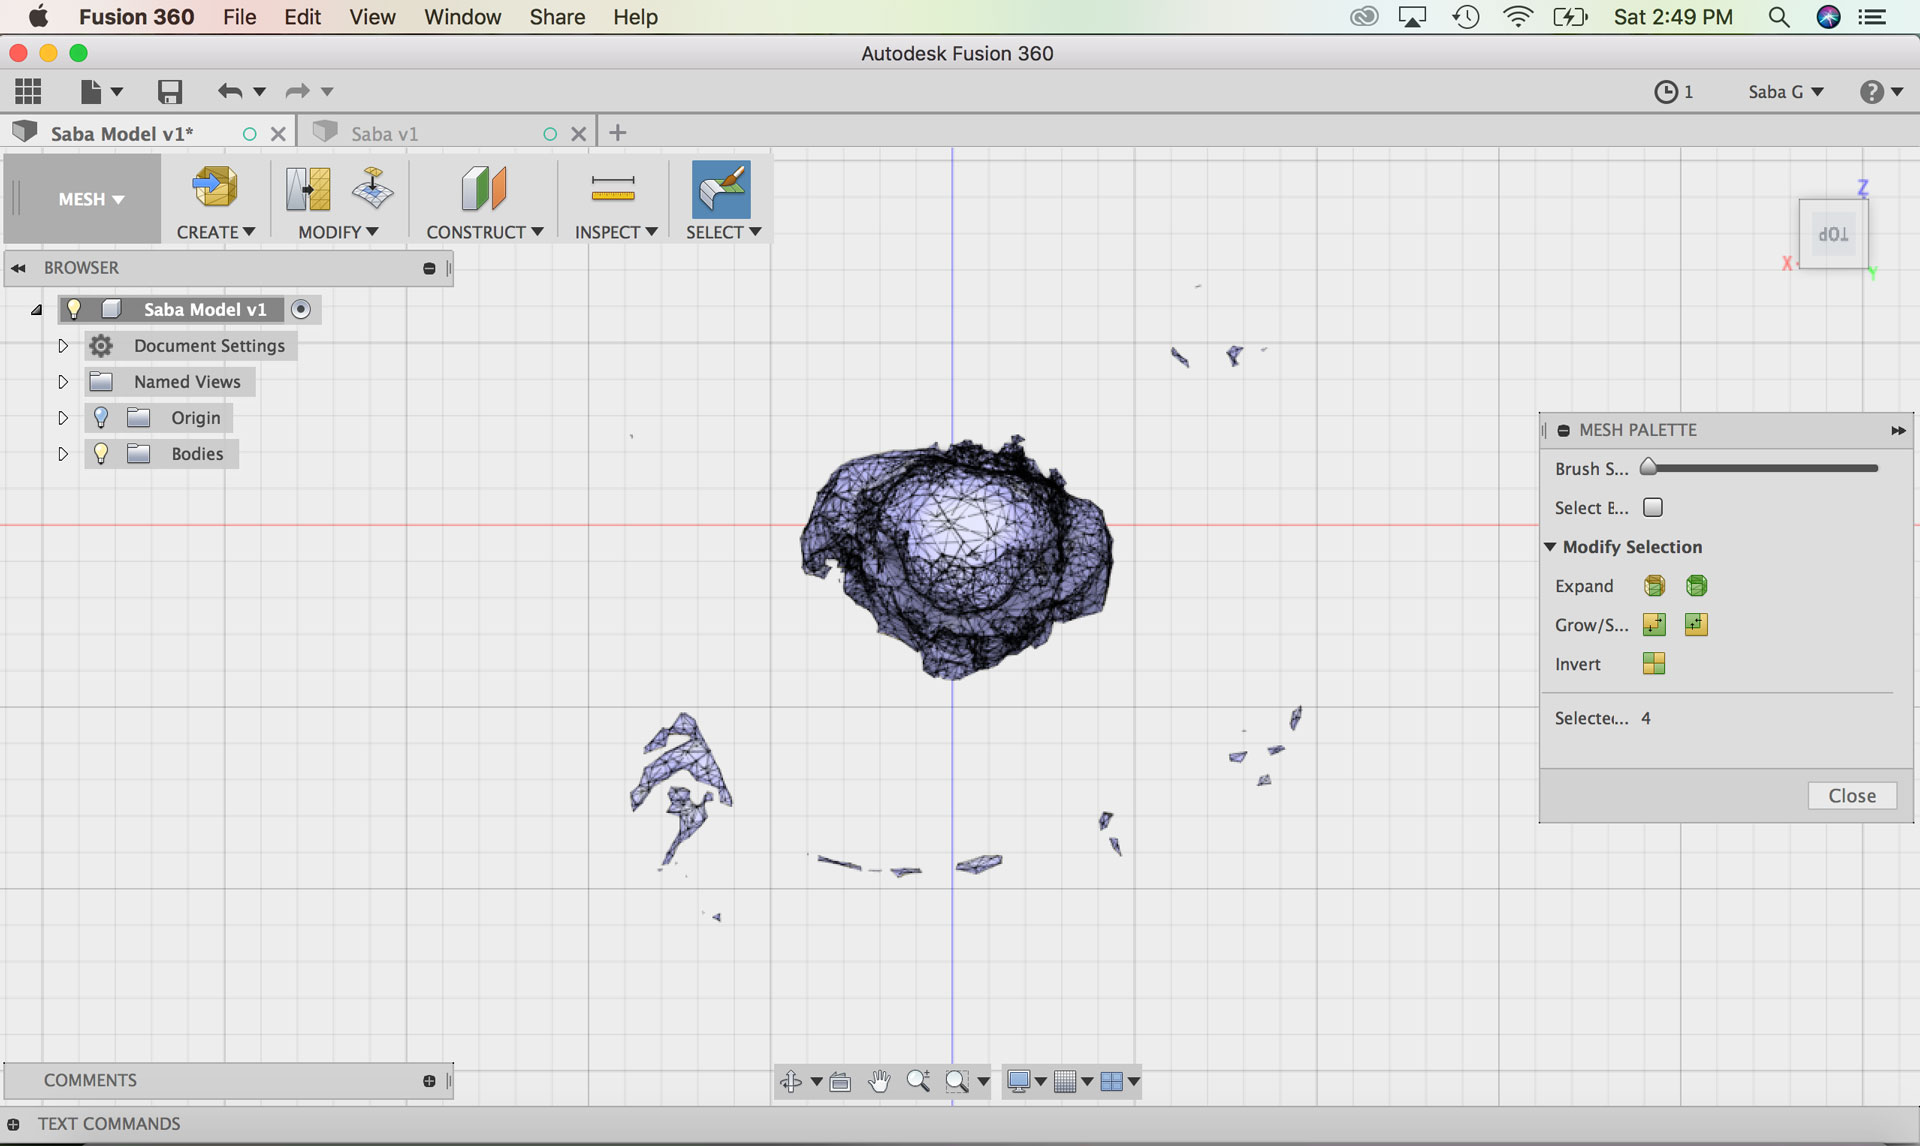
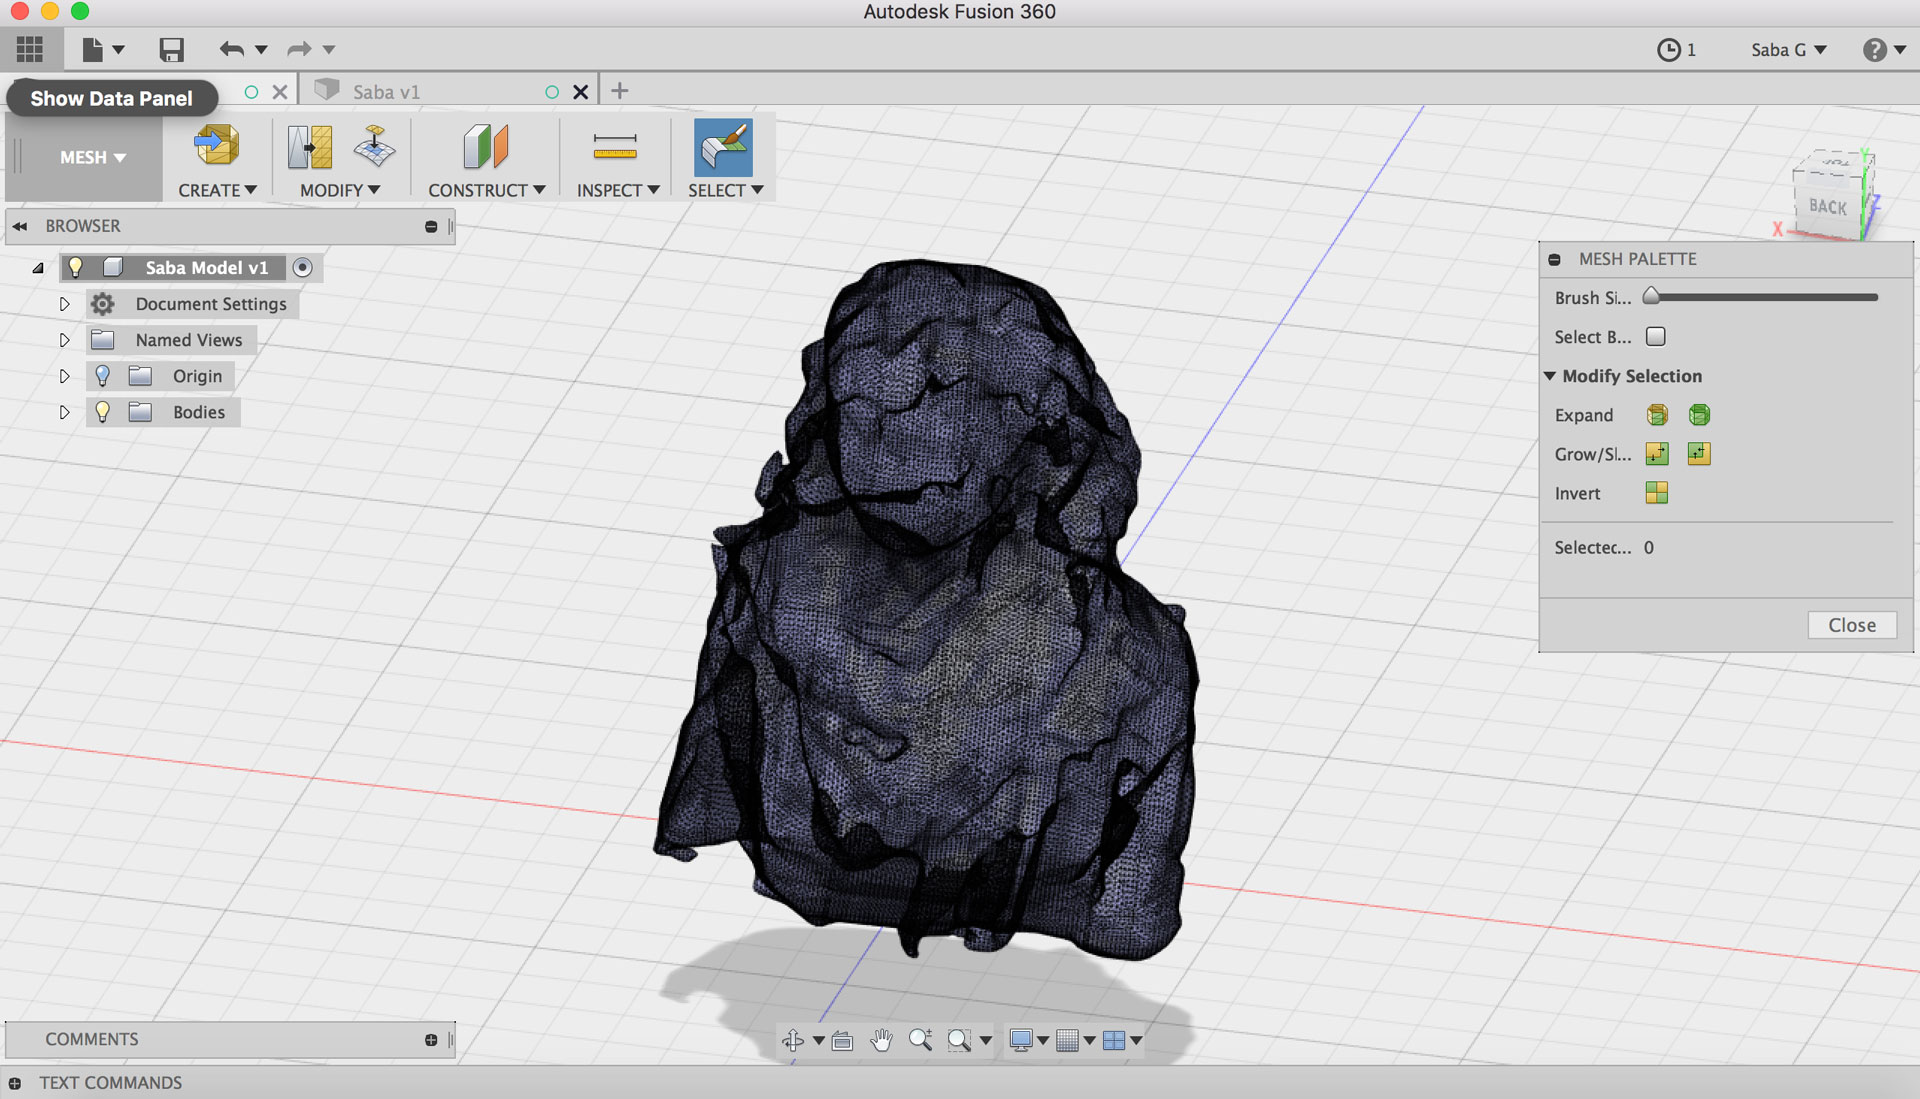
My upper body scan turned out much better than I expected. I exported a .stl file from Skanect and imported it into Fusion 360 where I could edit it. Autodesk just launched a beta mesh editor in Fusion 360, so I was able to edit the mesh of my body, clean it up, and smooth out the form.
My Process (3D Printing)
:: February 23, 2018 ::
3D Printing the Blocks
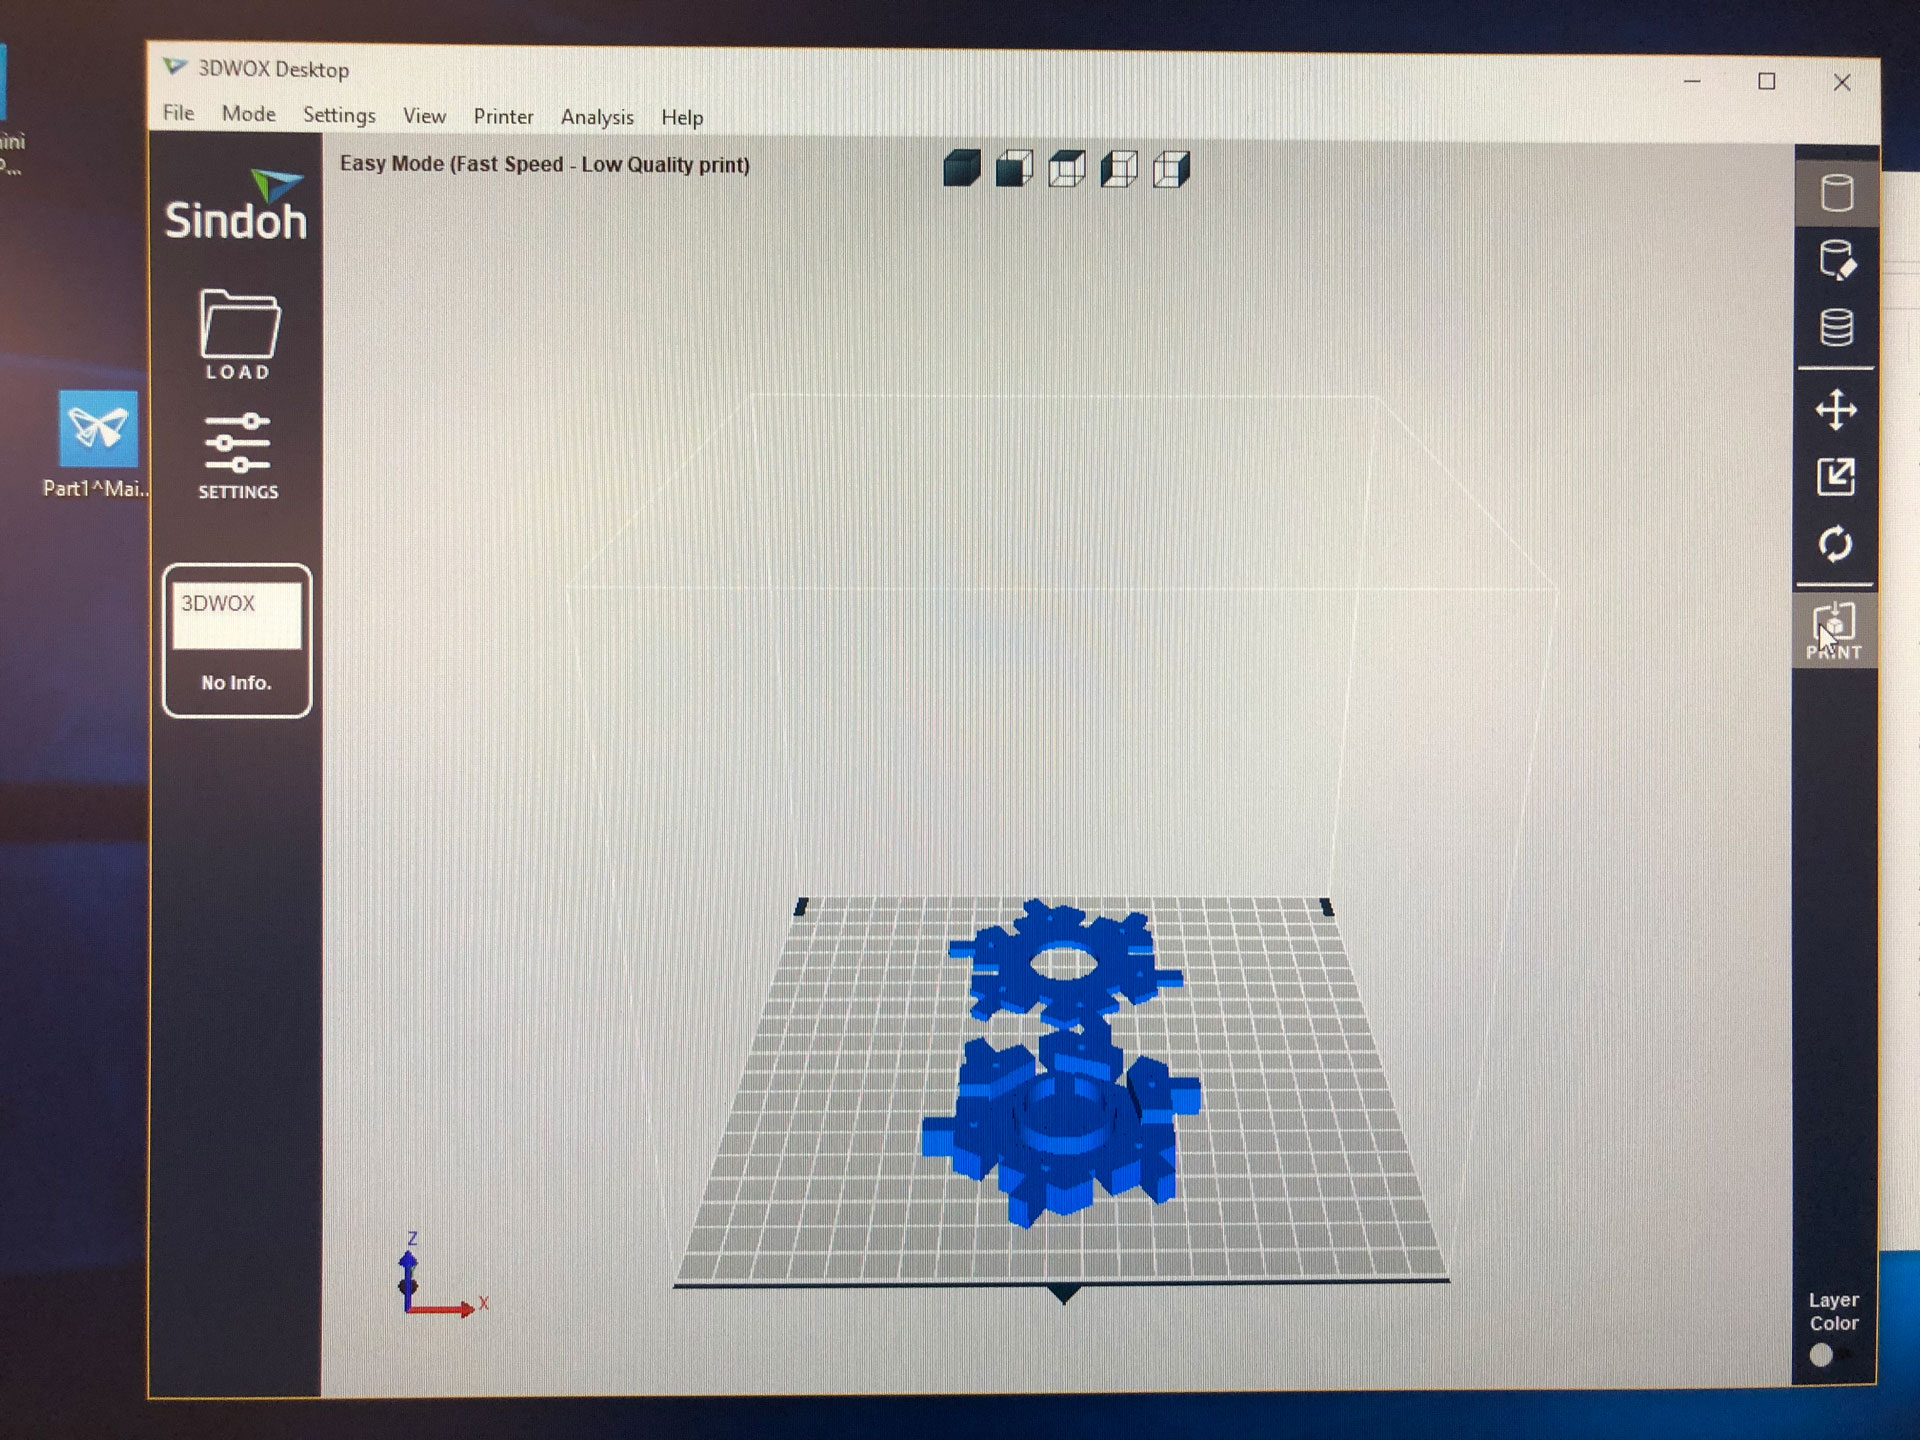
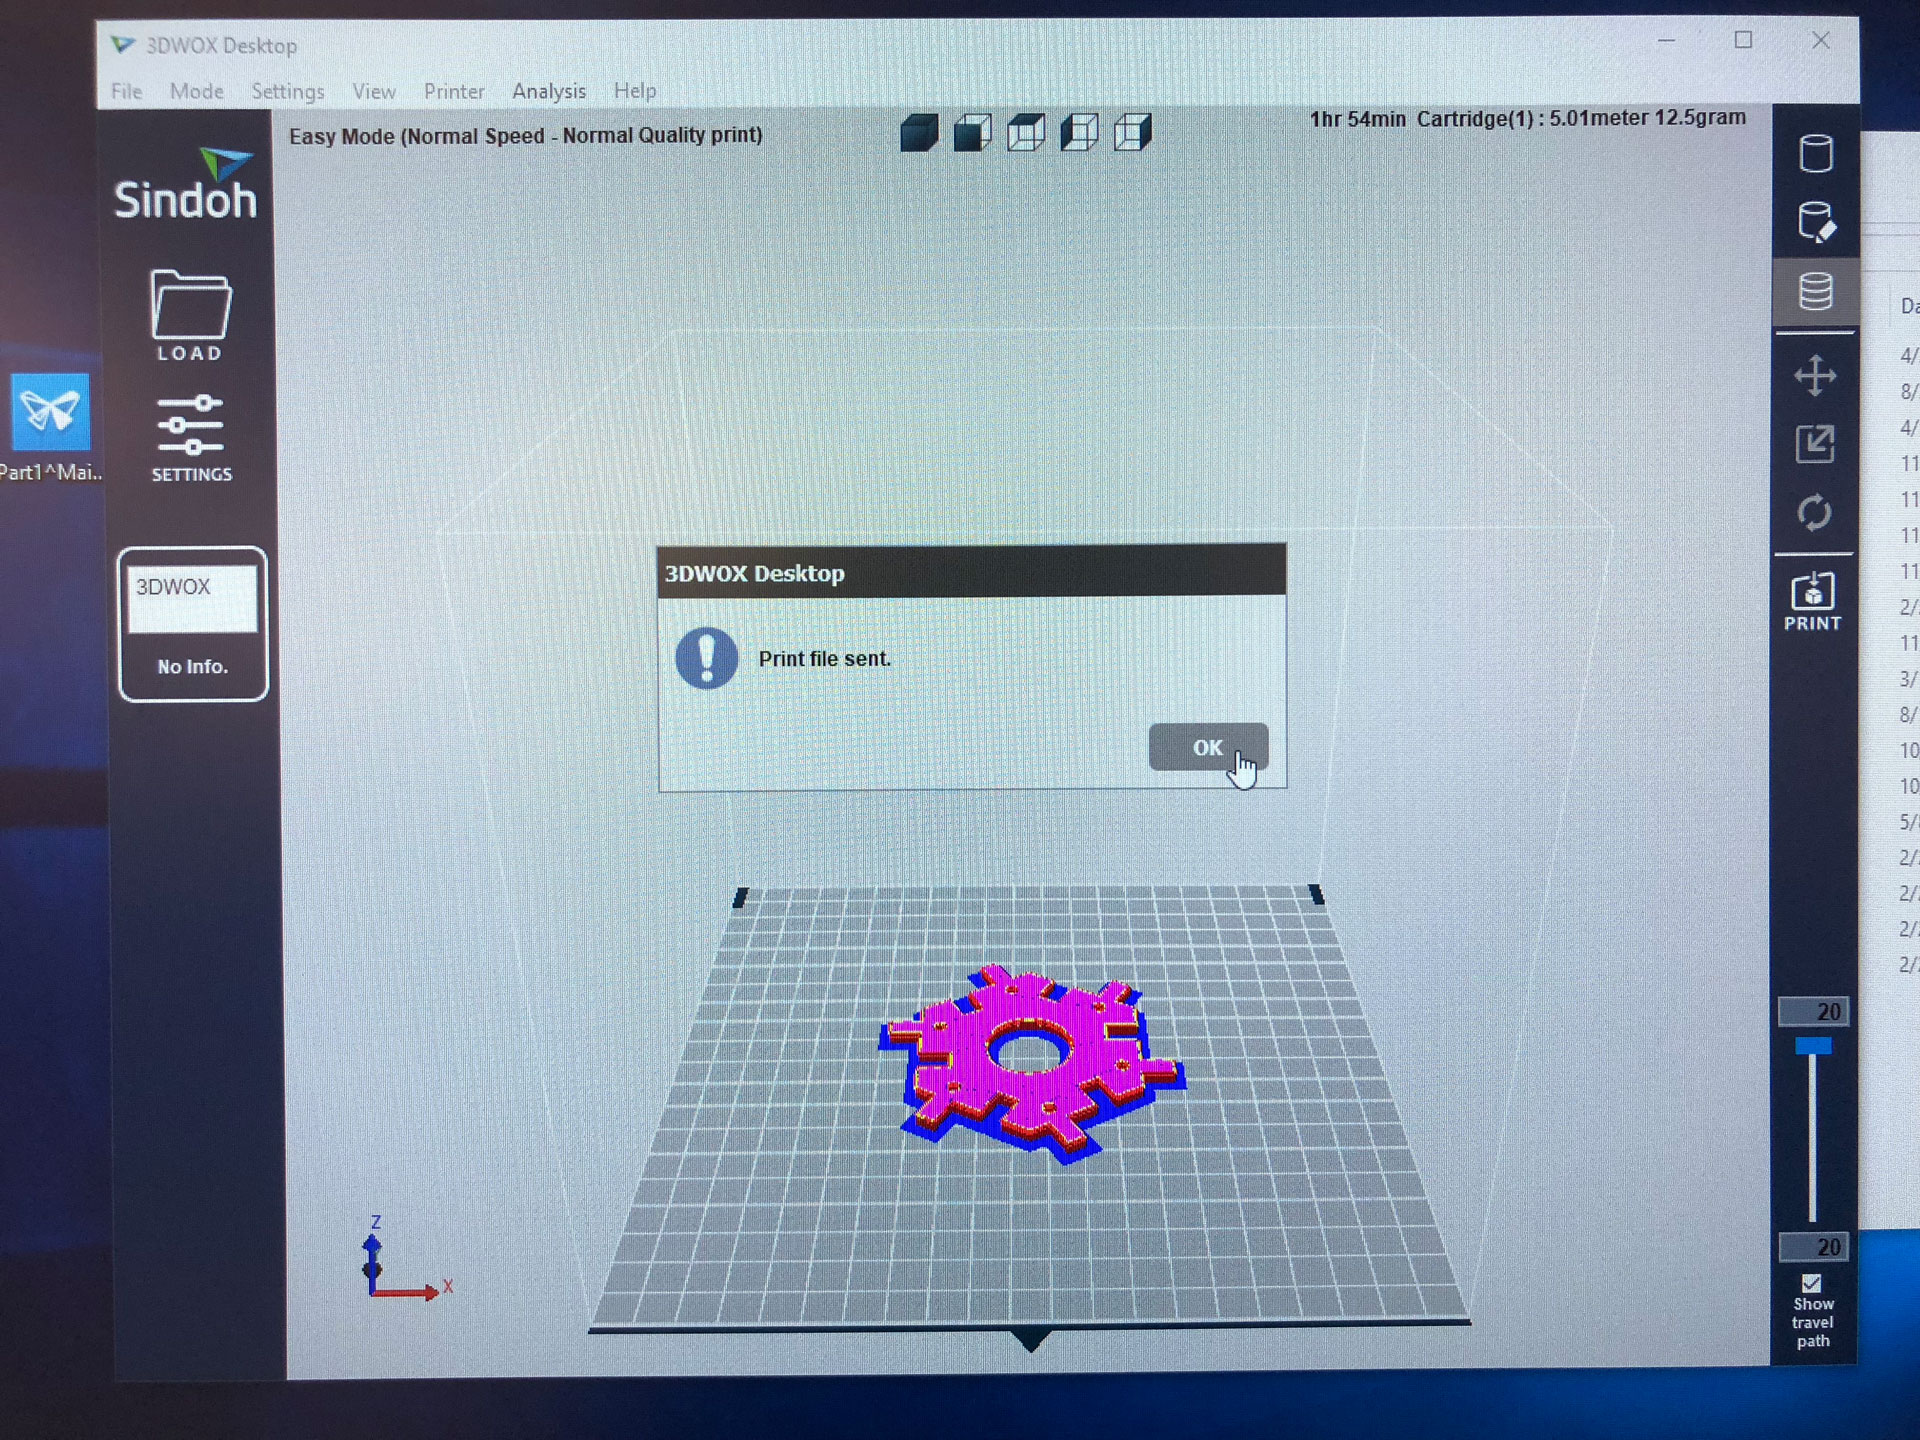
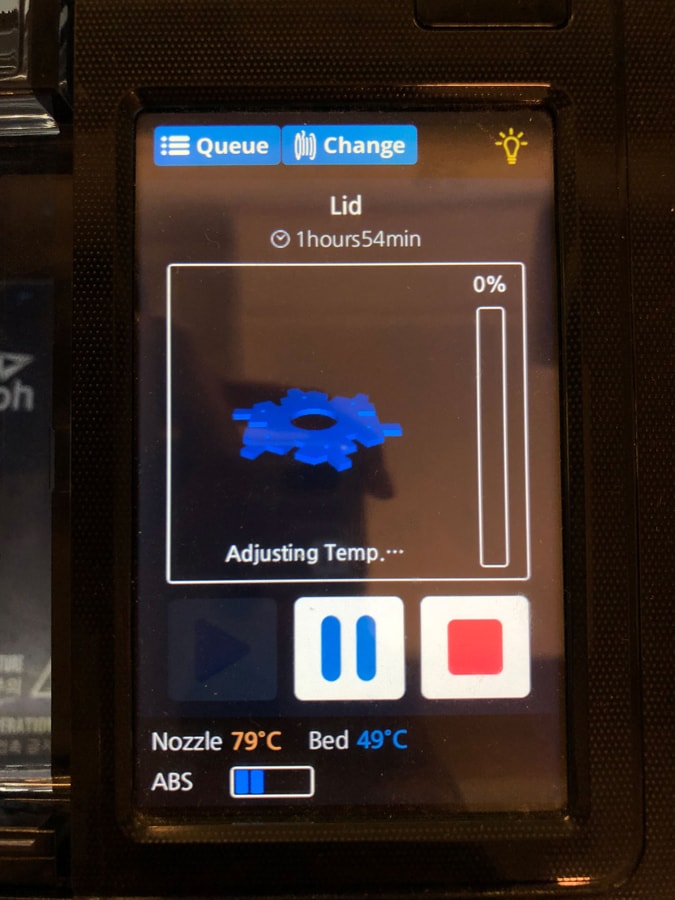
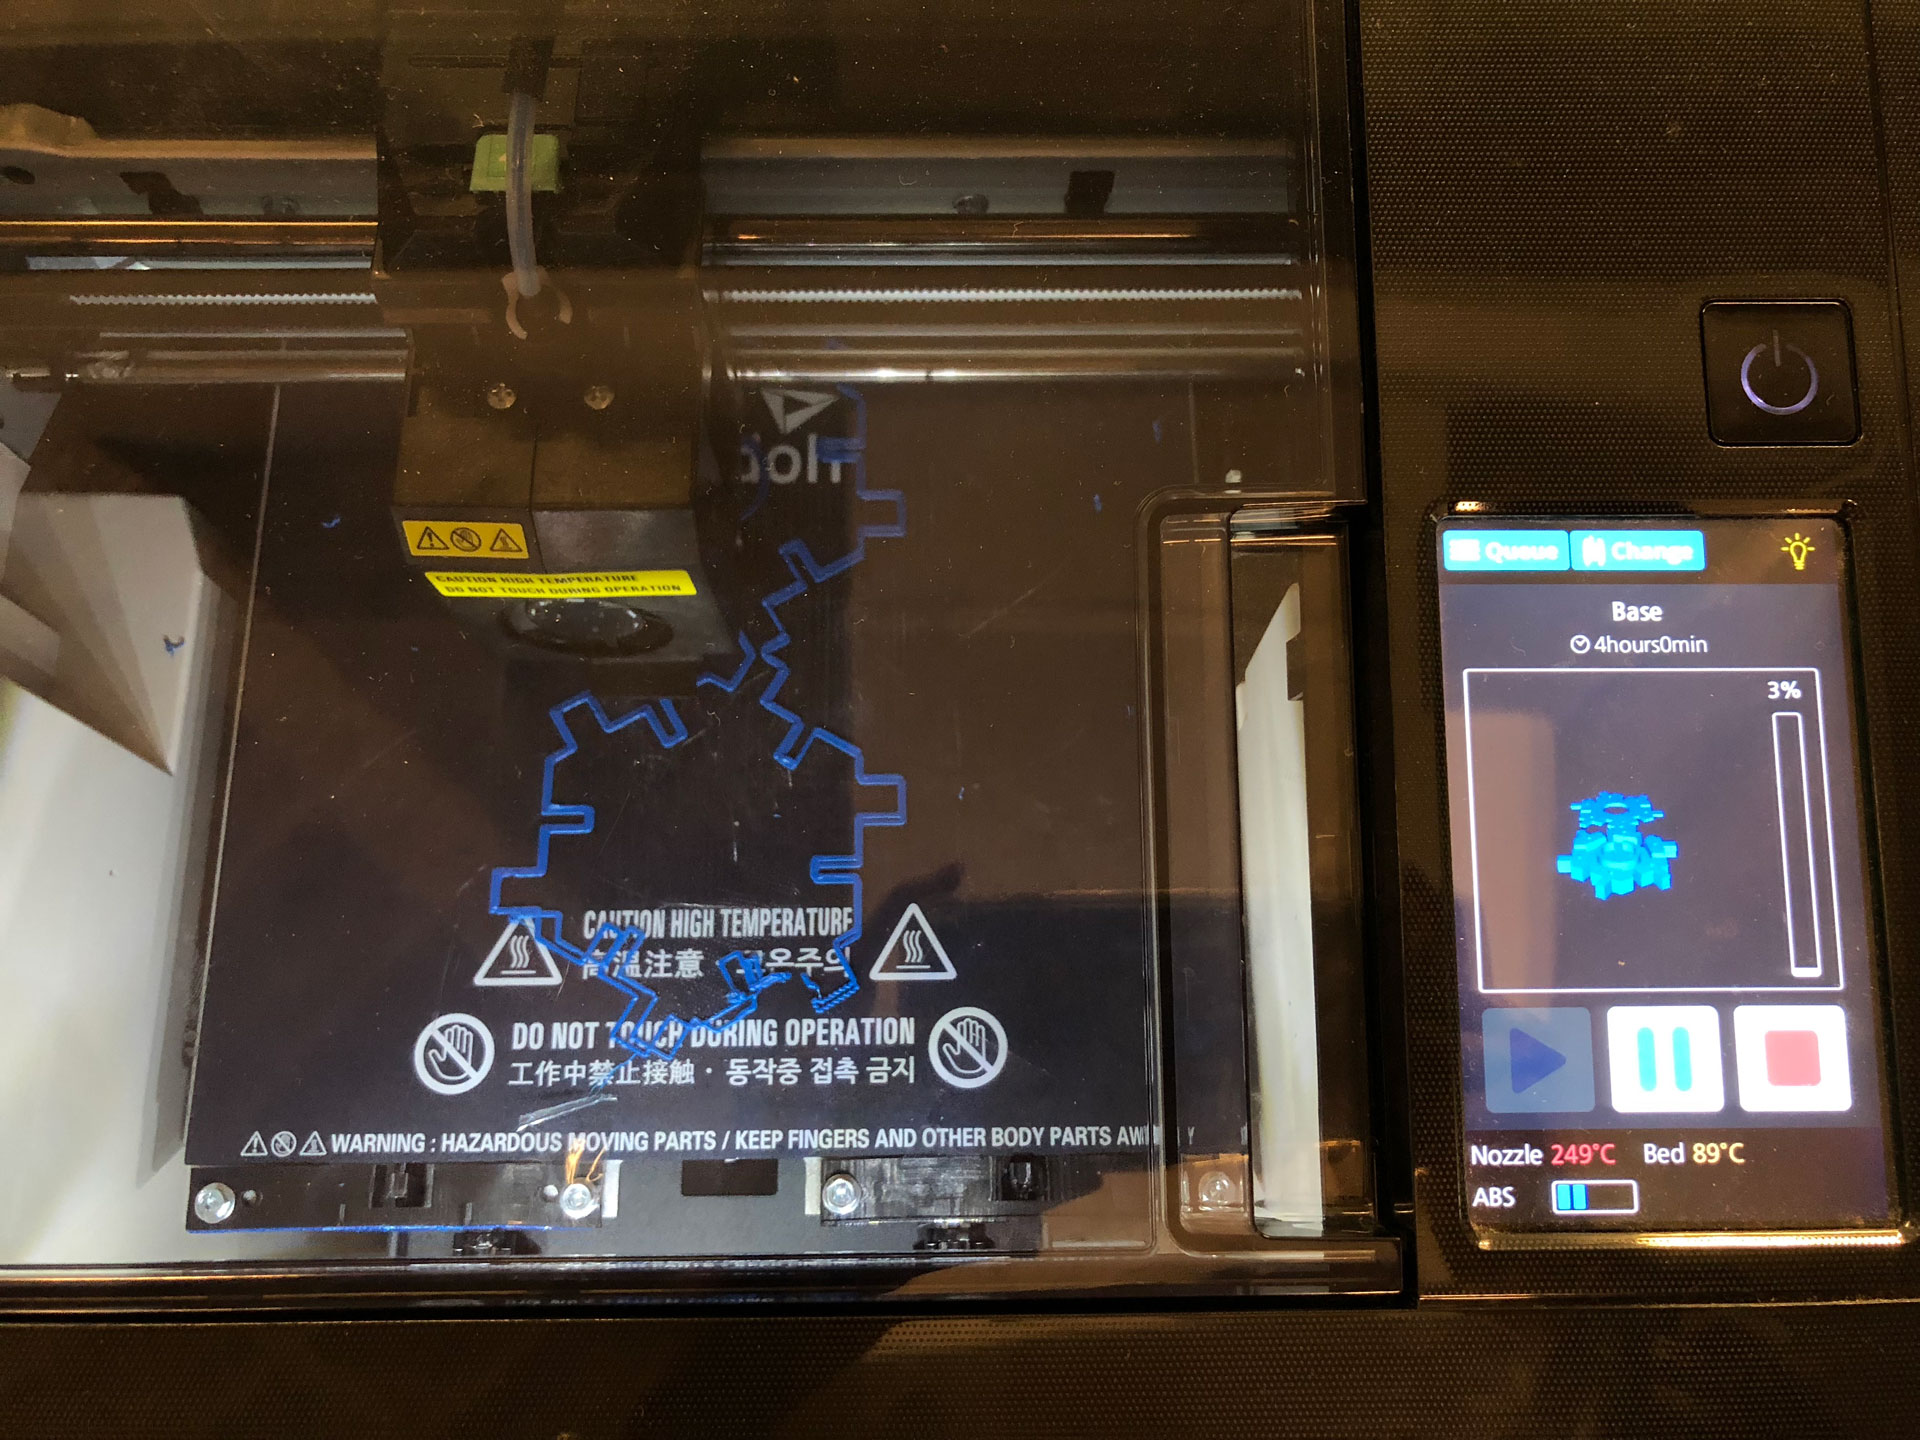
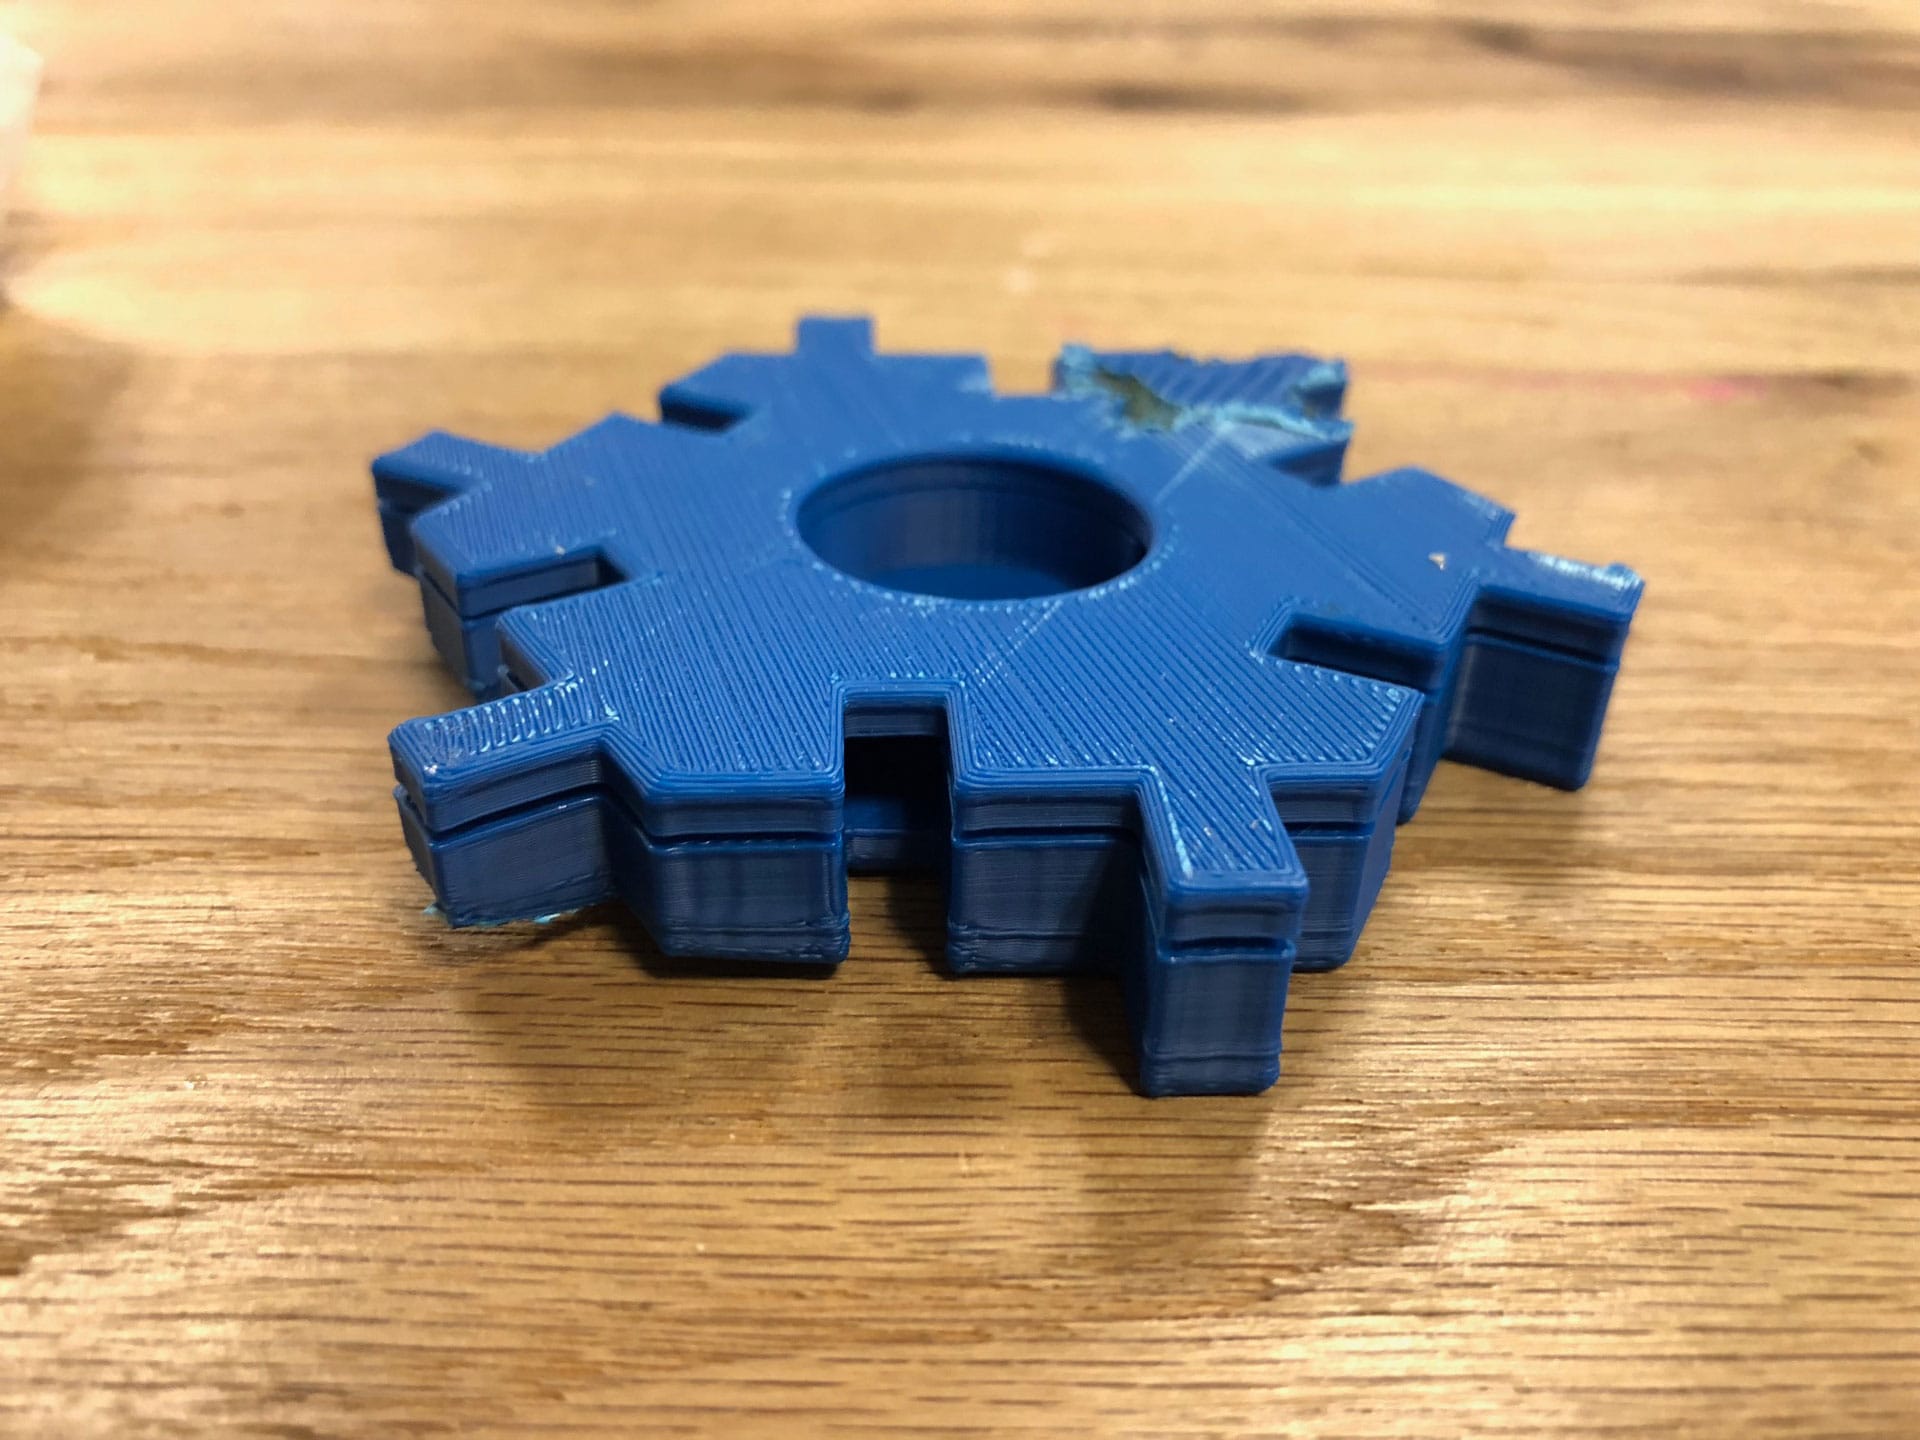
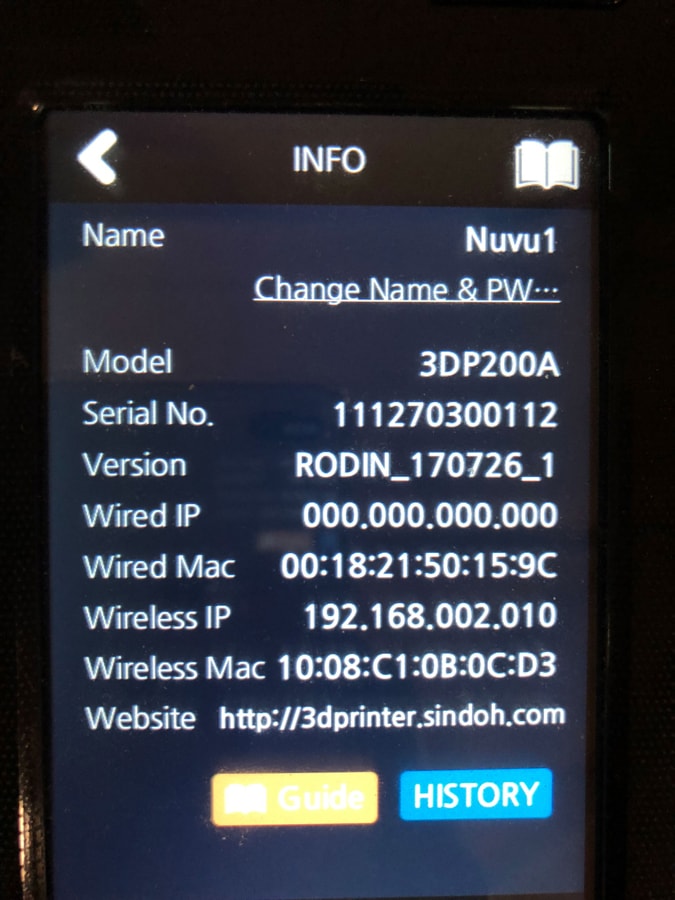
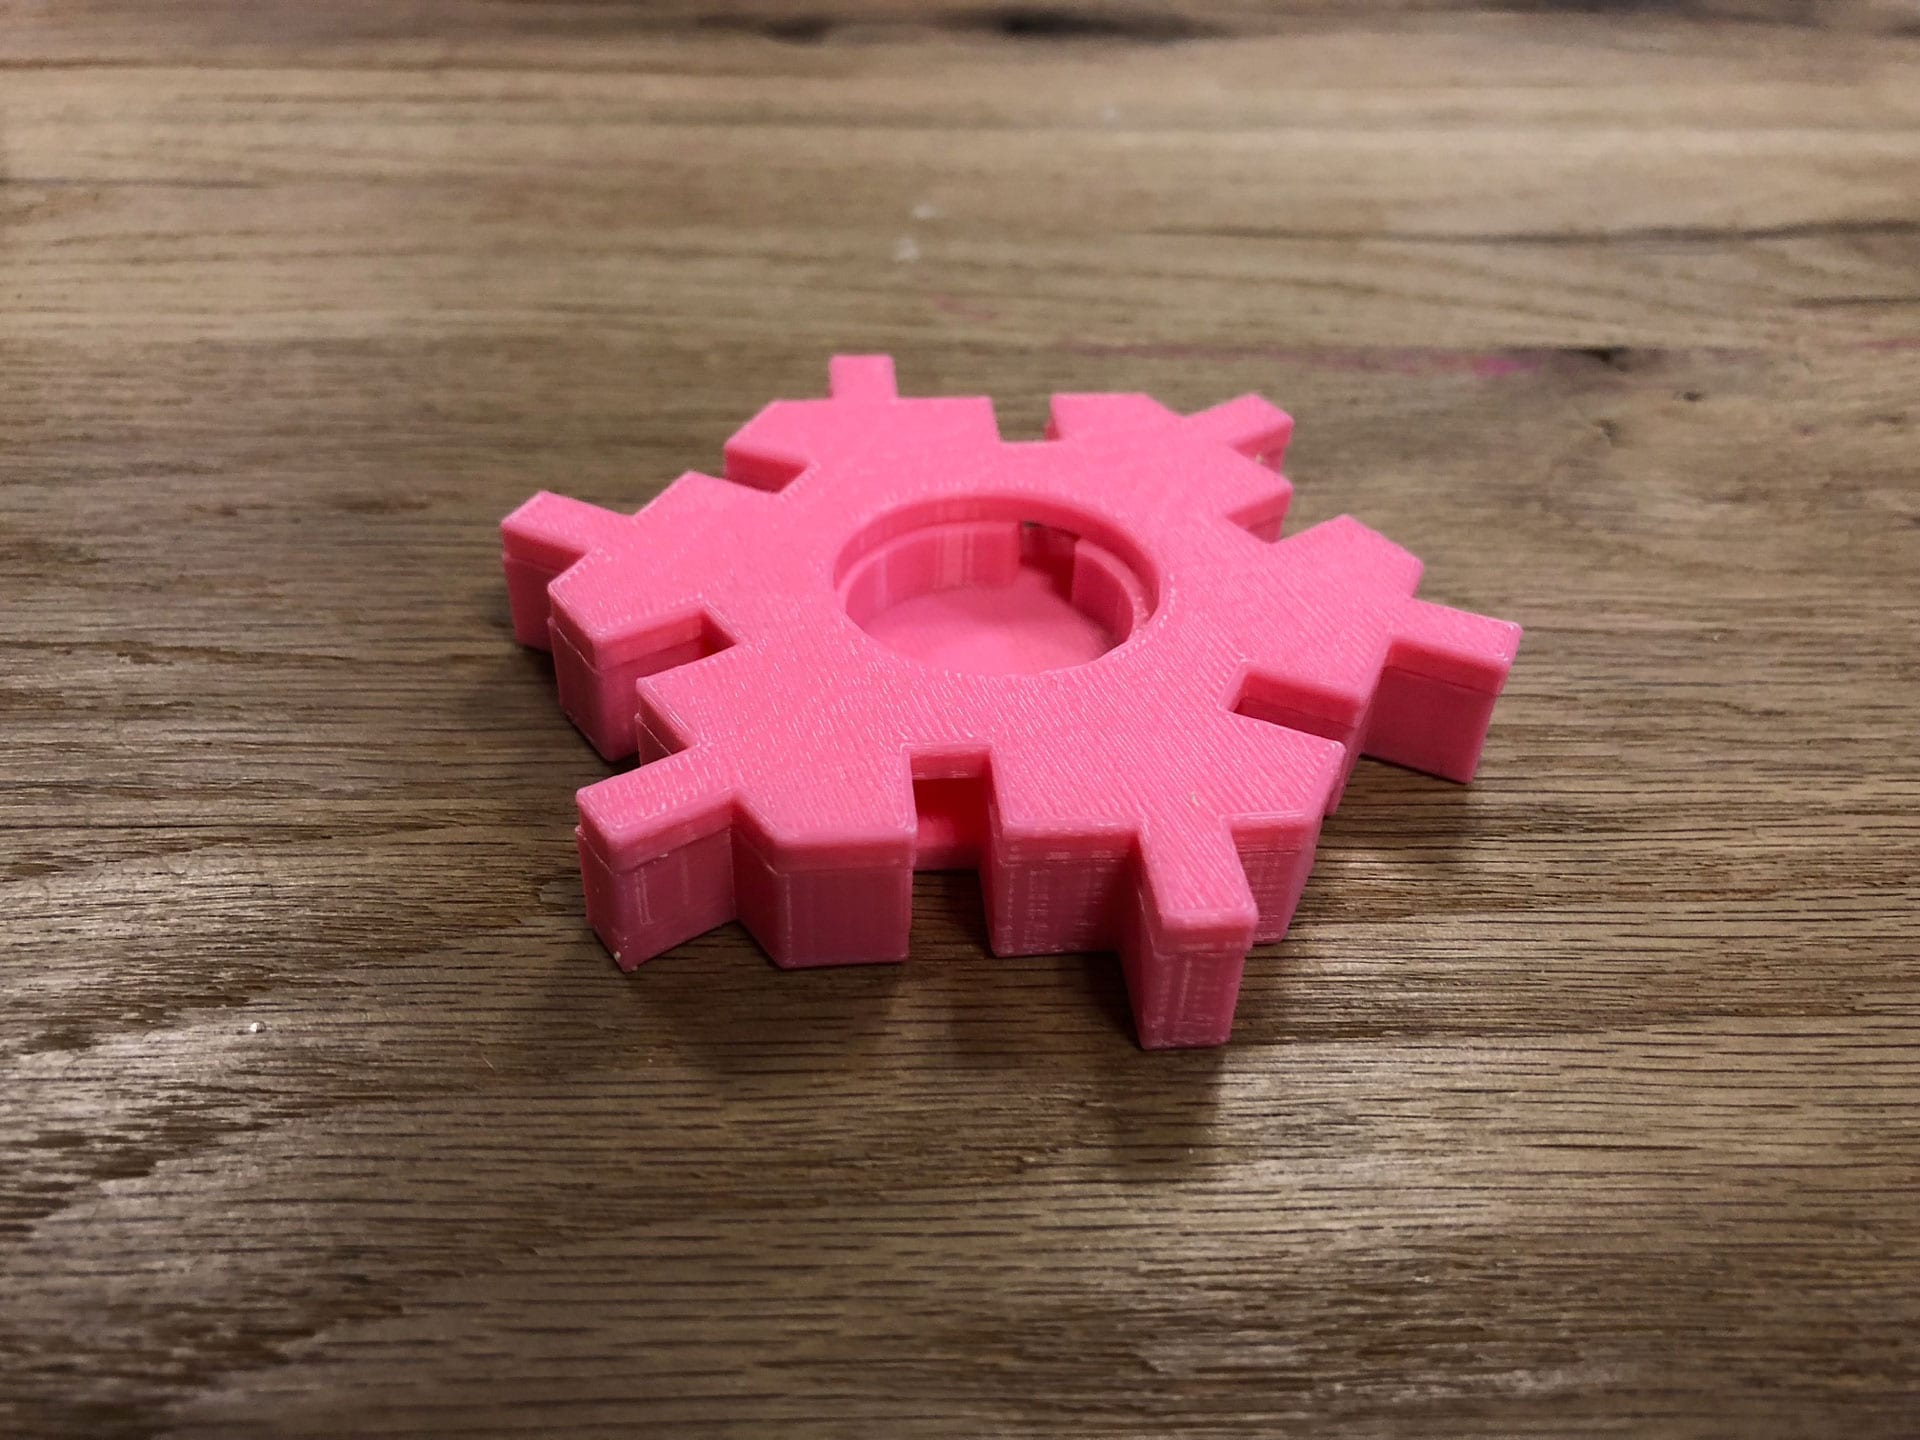
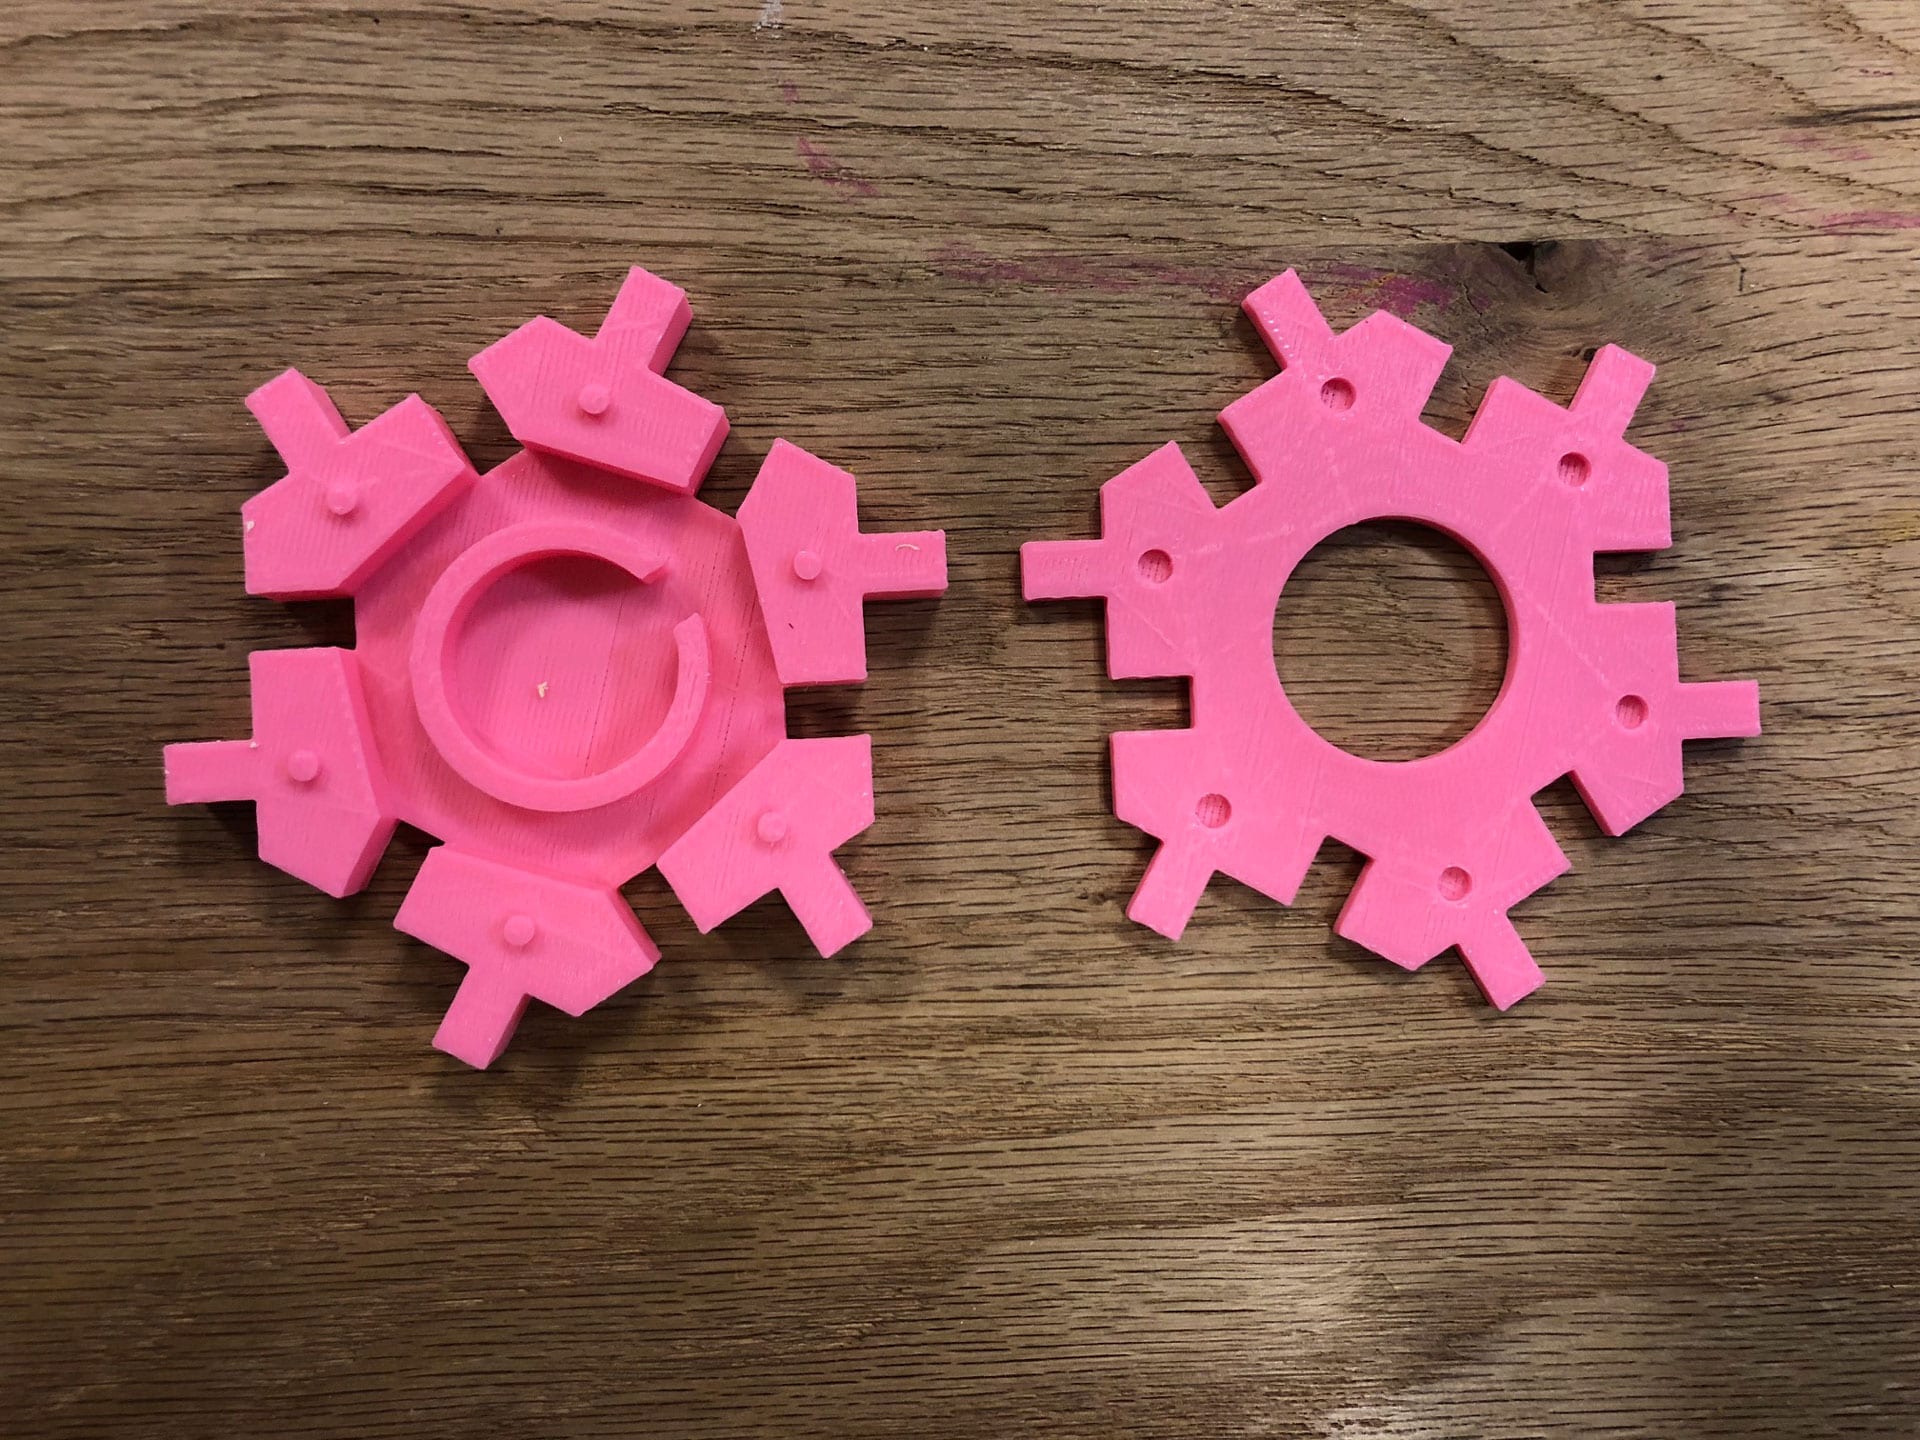
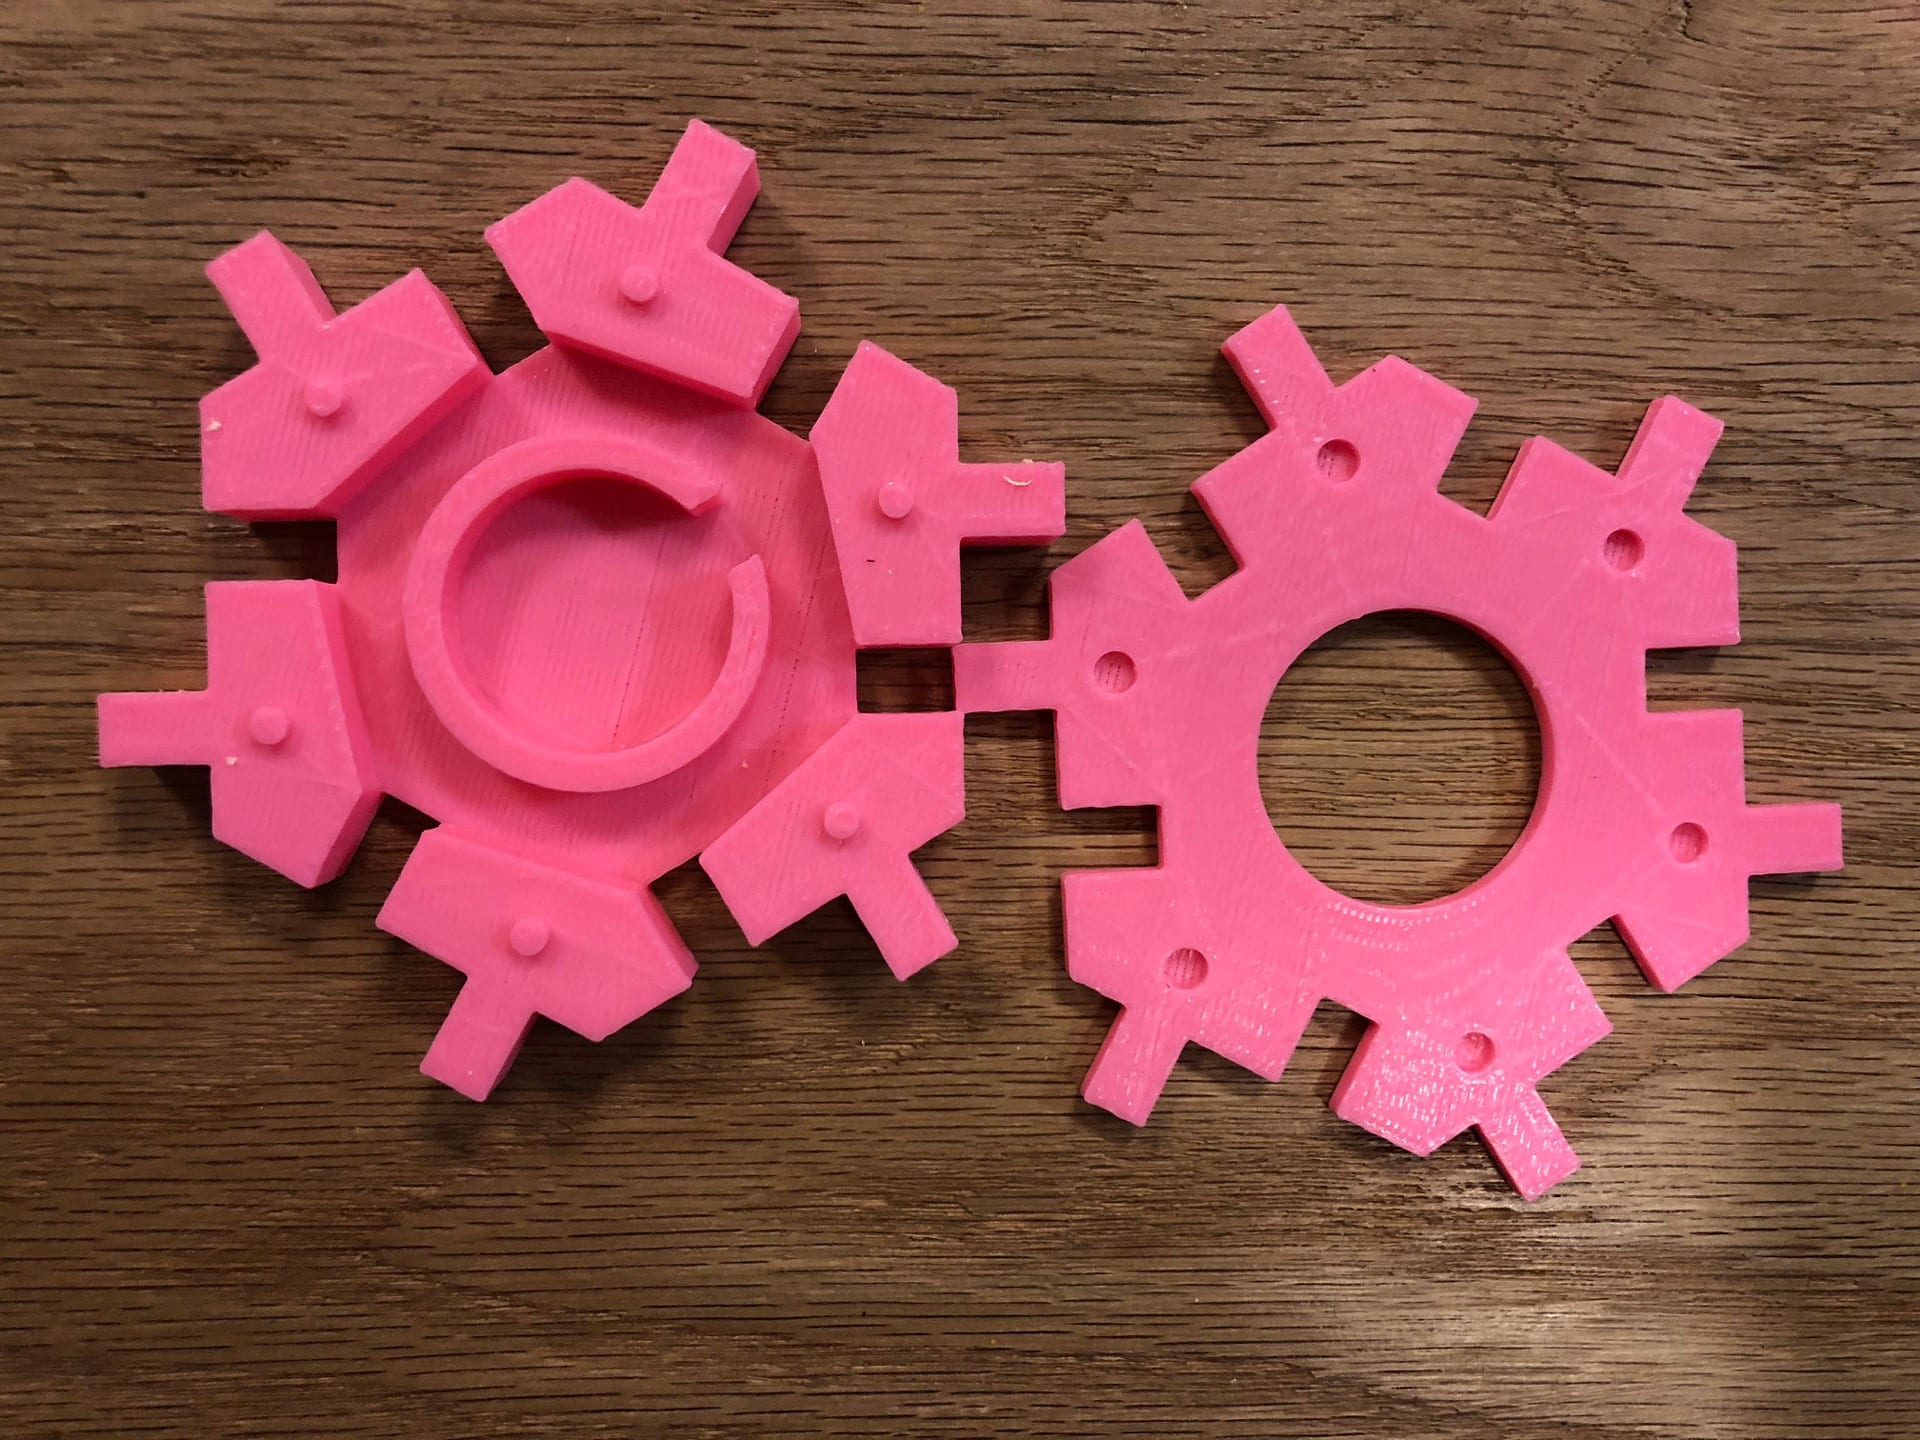
For the 3D printing portion of the assignment, I decided to build a 3D iteration of my halftone hex blocks that I prototyped as part of the press-kit construction set. This time, I wanted to create a 3D printed version of the block, so that when the blocks lock together, they are able to communicate with one another - light up, produce music, etc. The concept is to design interactive halftone blocks to create sound paintings which can be used by kids or adults. I plan on integrating basic electronics into the blocks in the coming weeks, so when they join together, the blocks light up. Before modeling my Hex block, I ran some test prints in a few 3D printers - Sindoh, MakerGear, and Ultimaker. I found the work flow using the Sindoh to be the easiest as well as its precision in smaller parts, and so I decided to use the Sindoh for 3D printing my Hex Block.
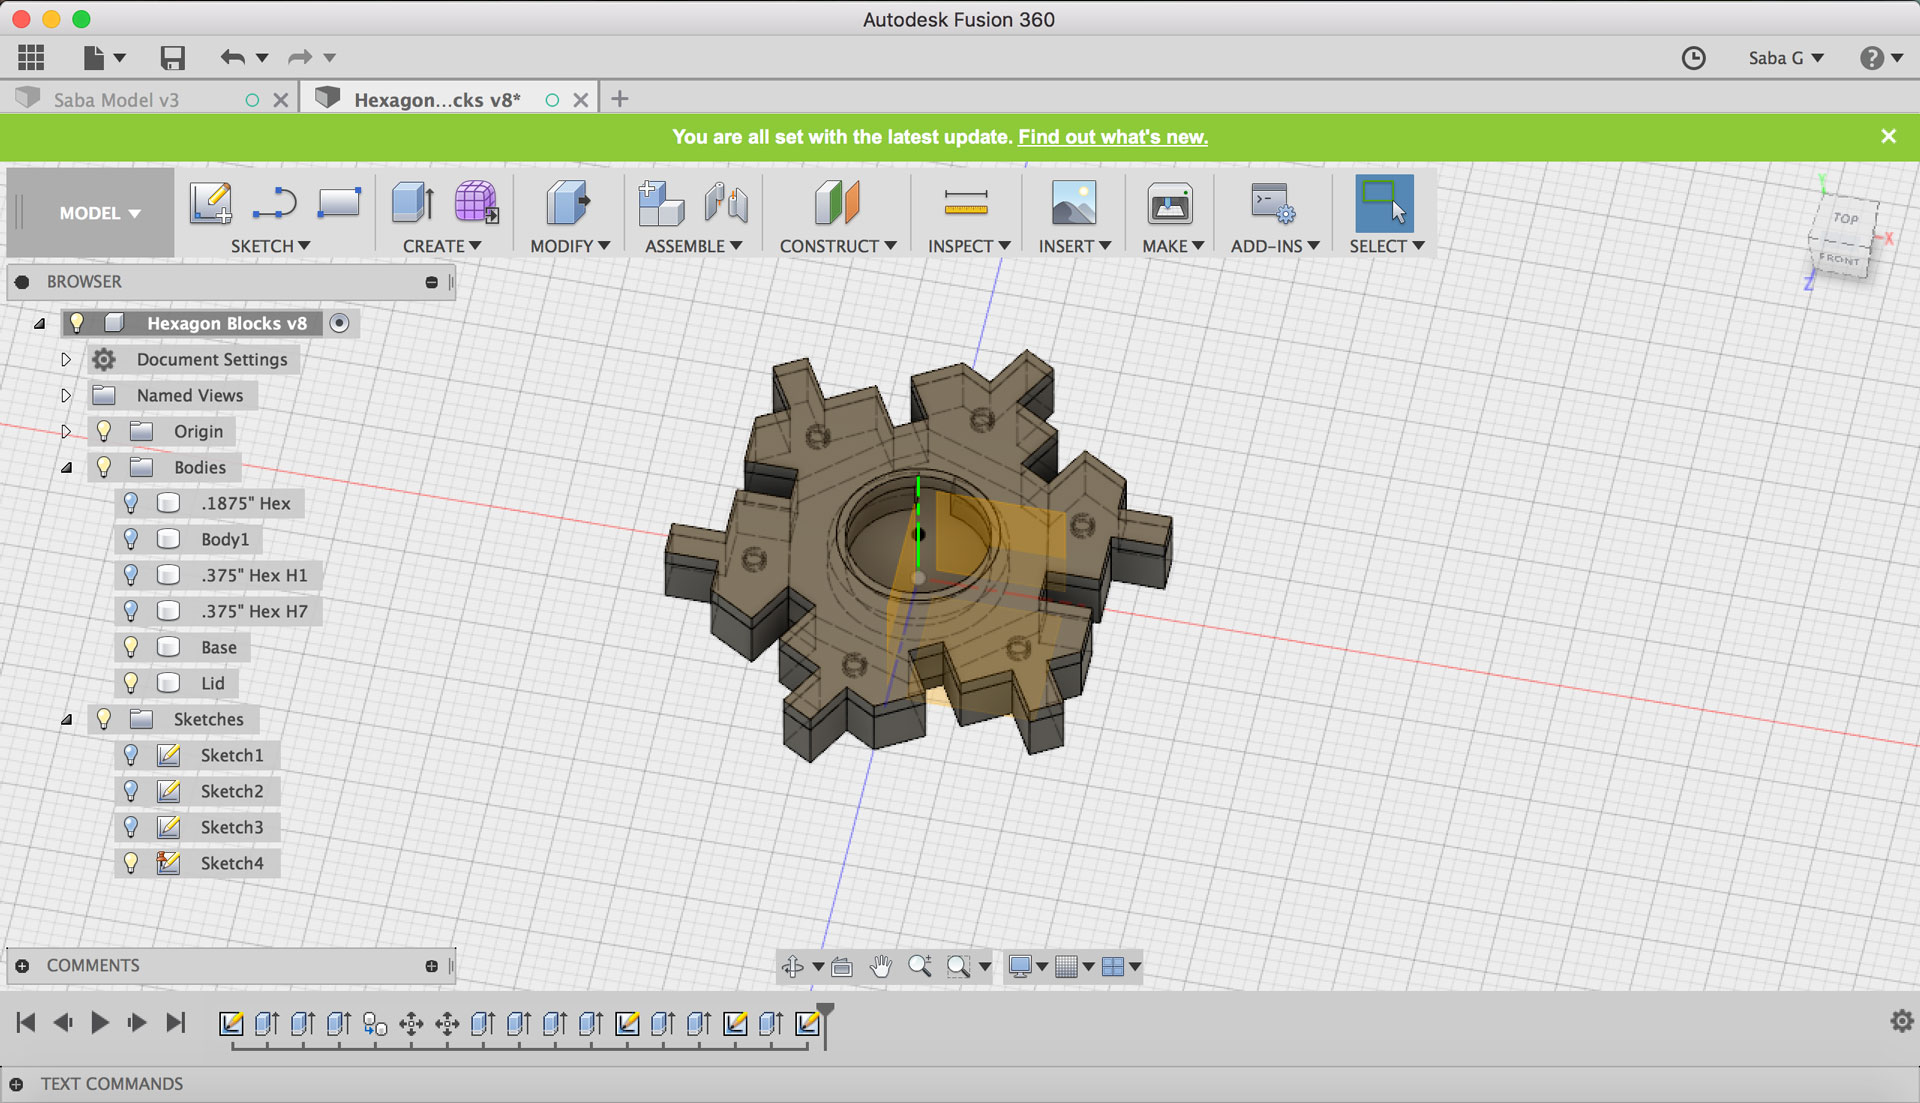
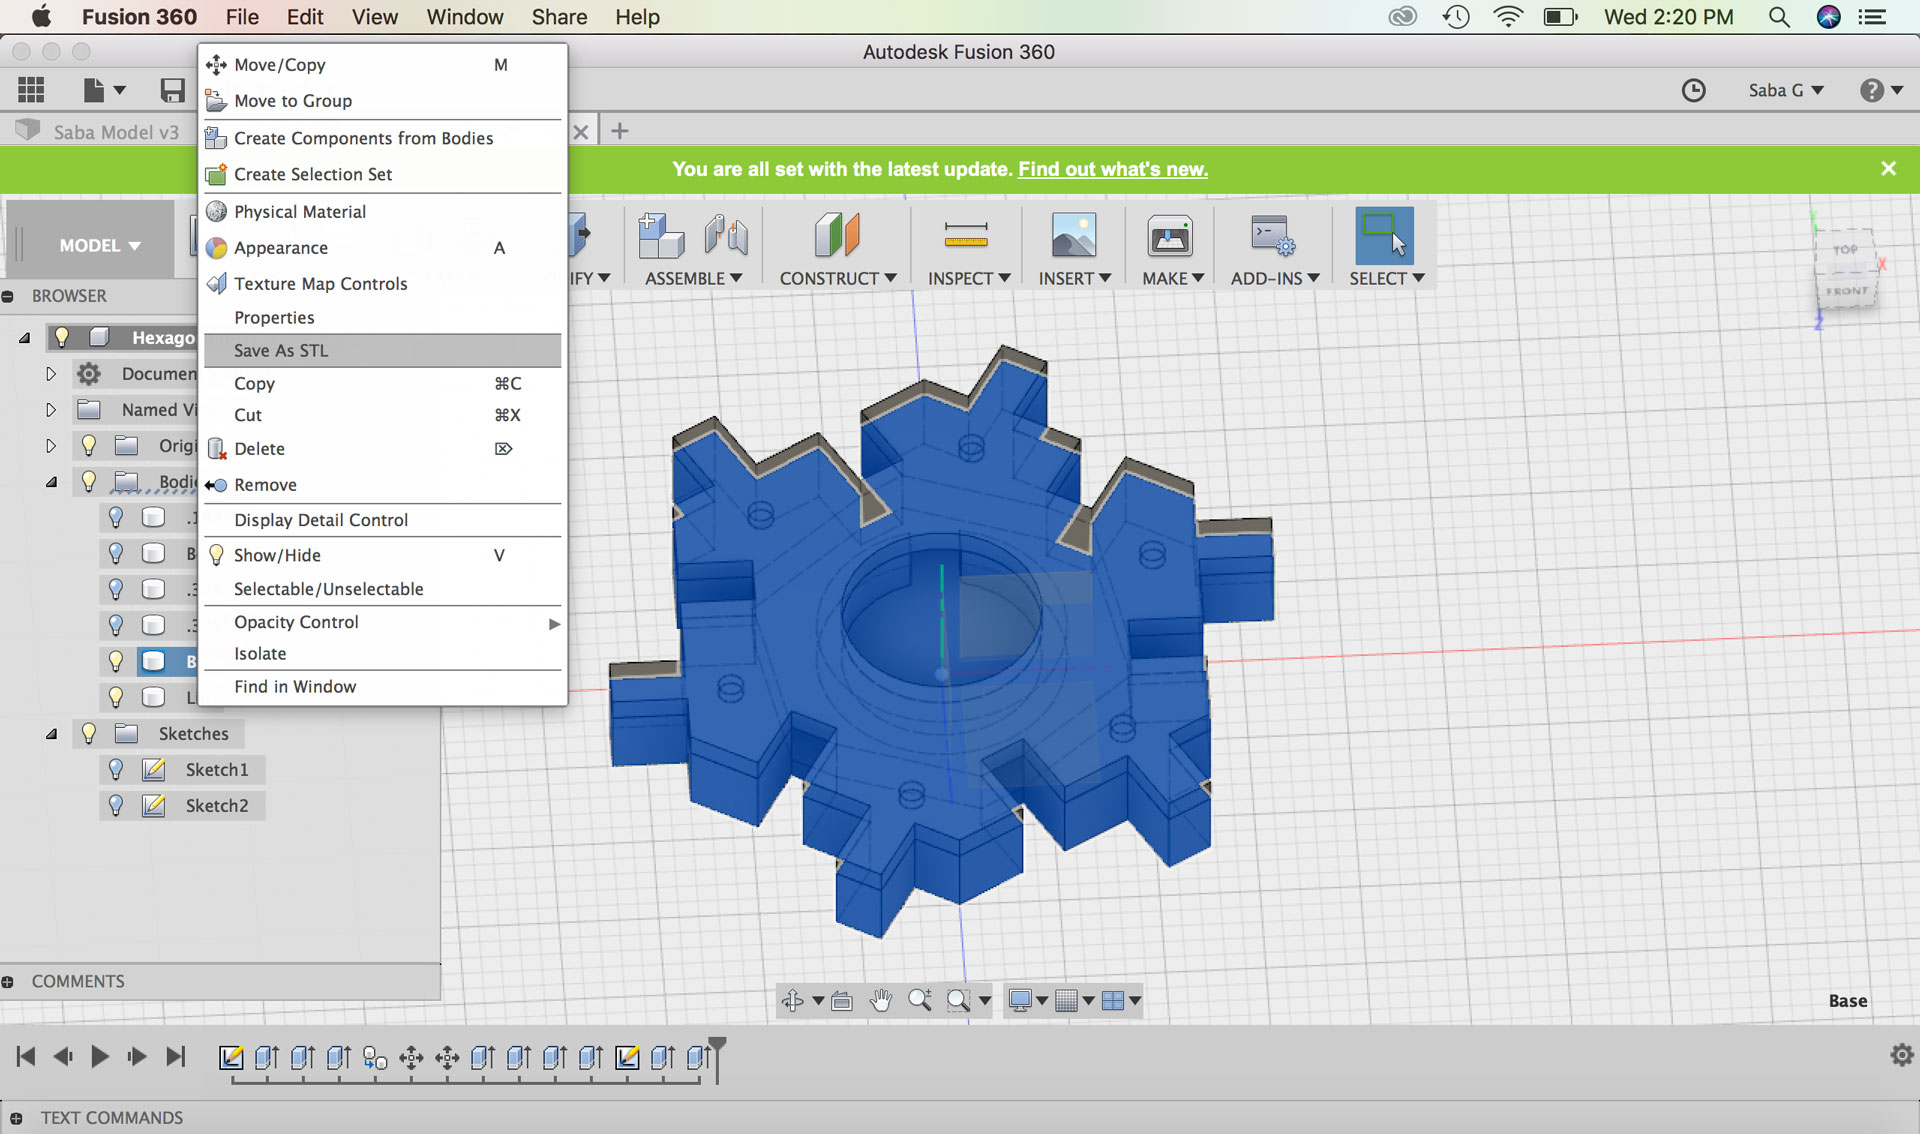
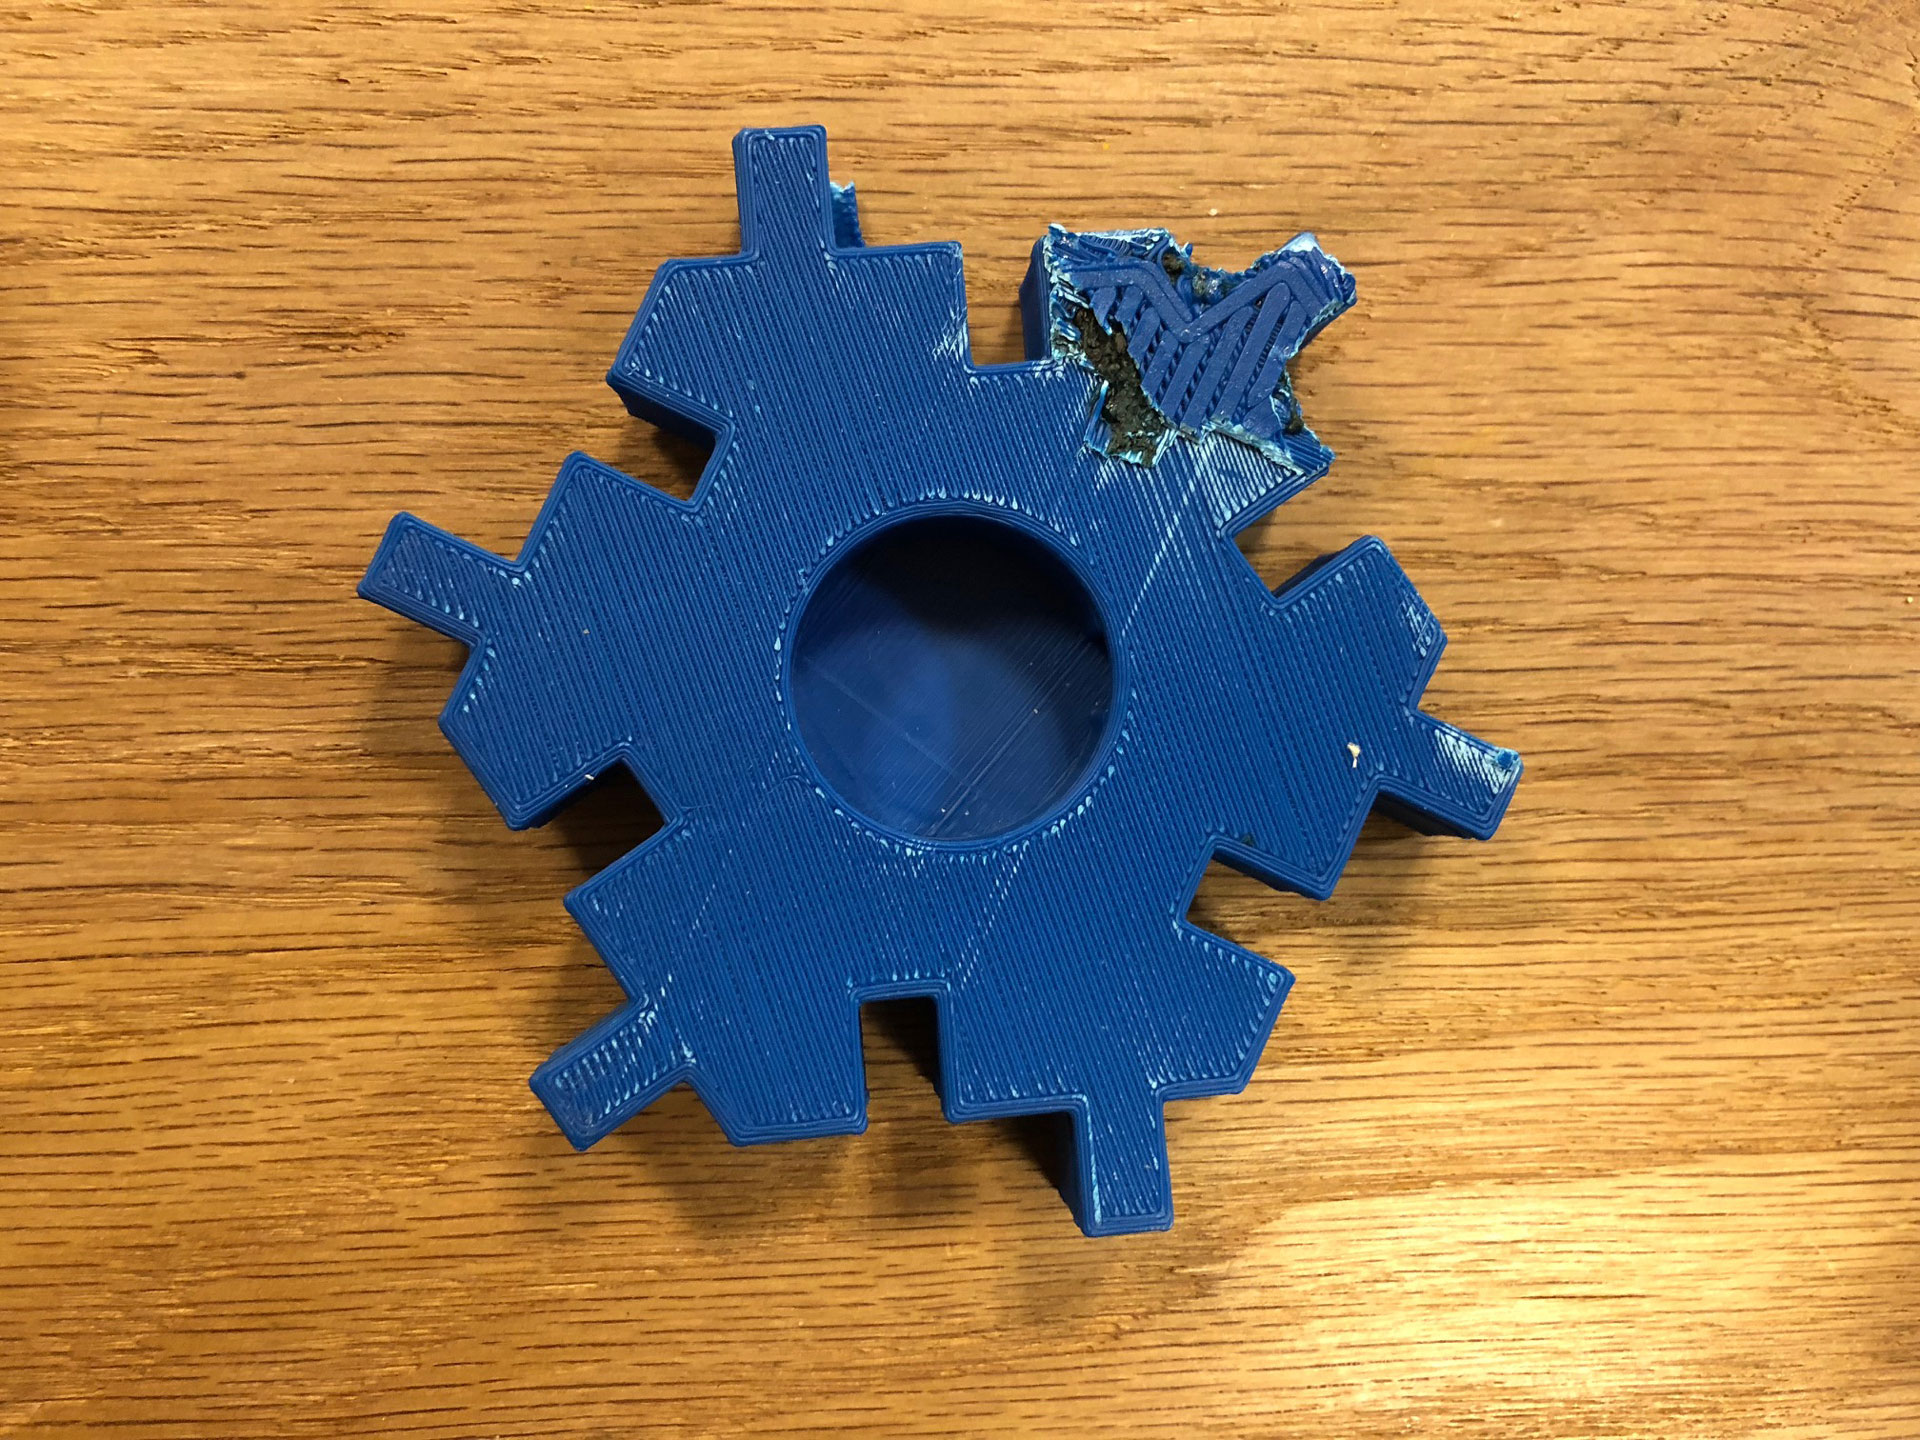
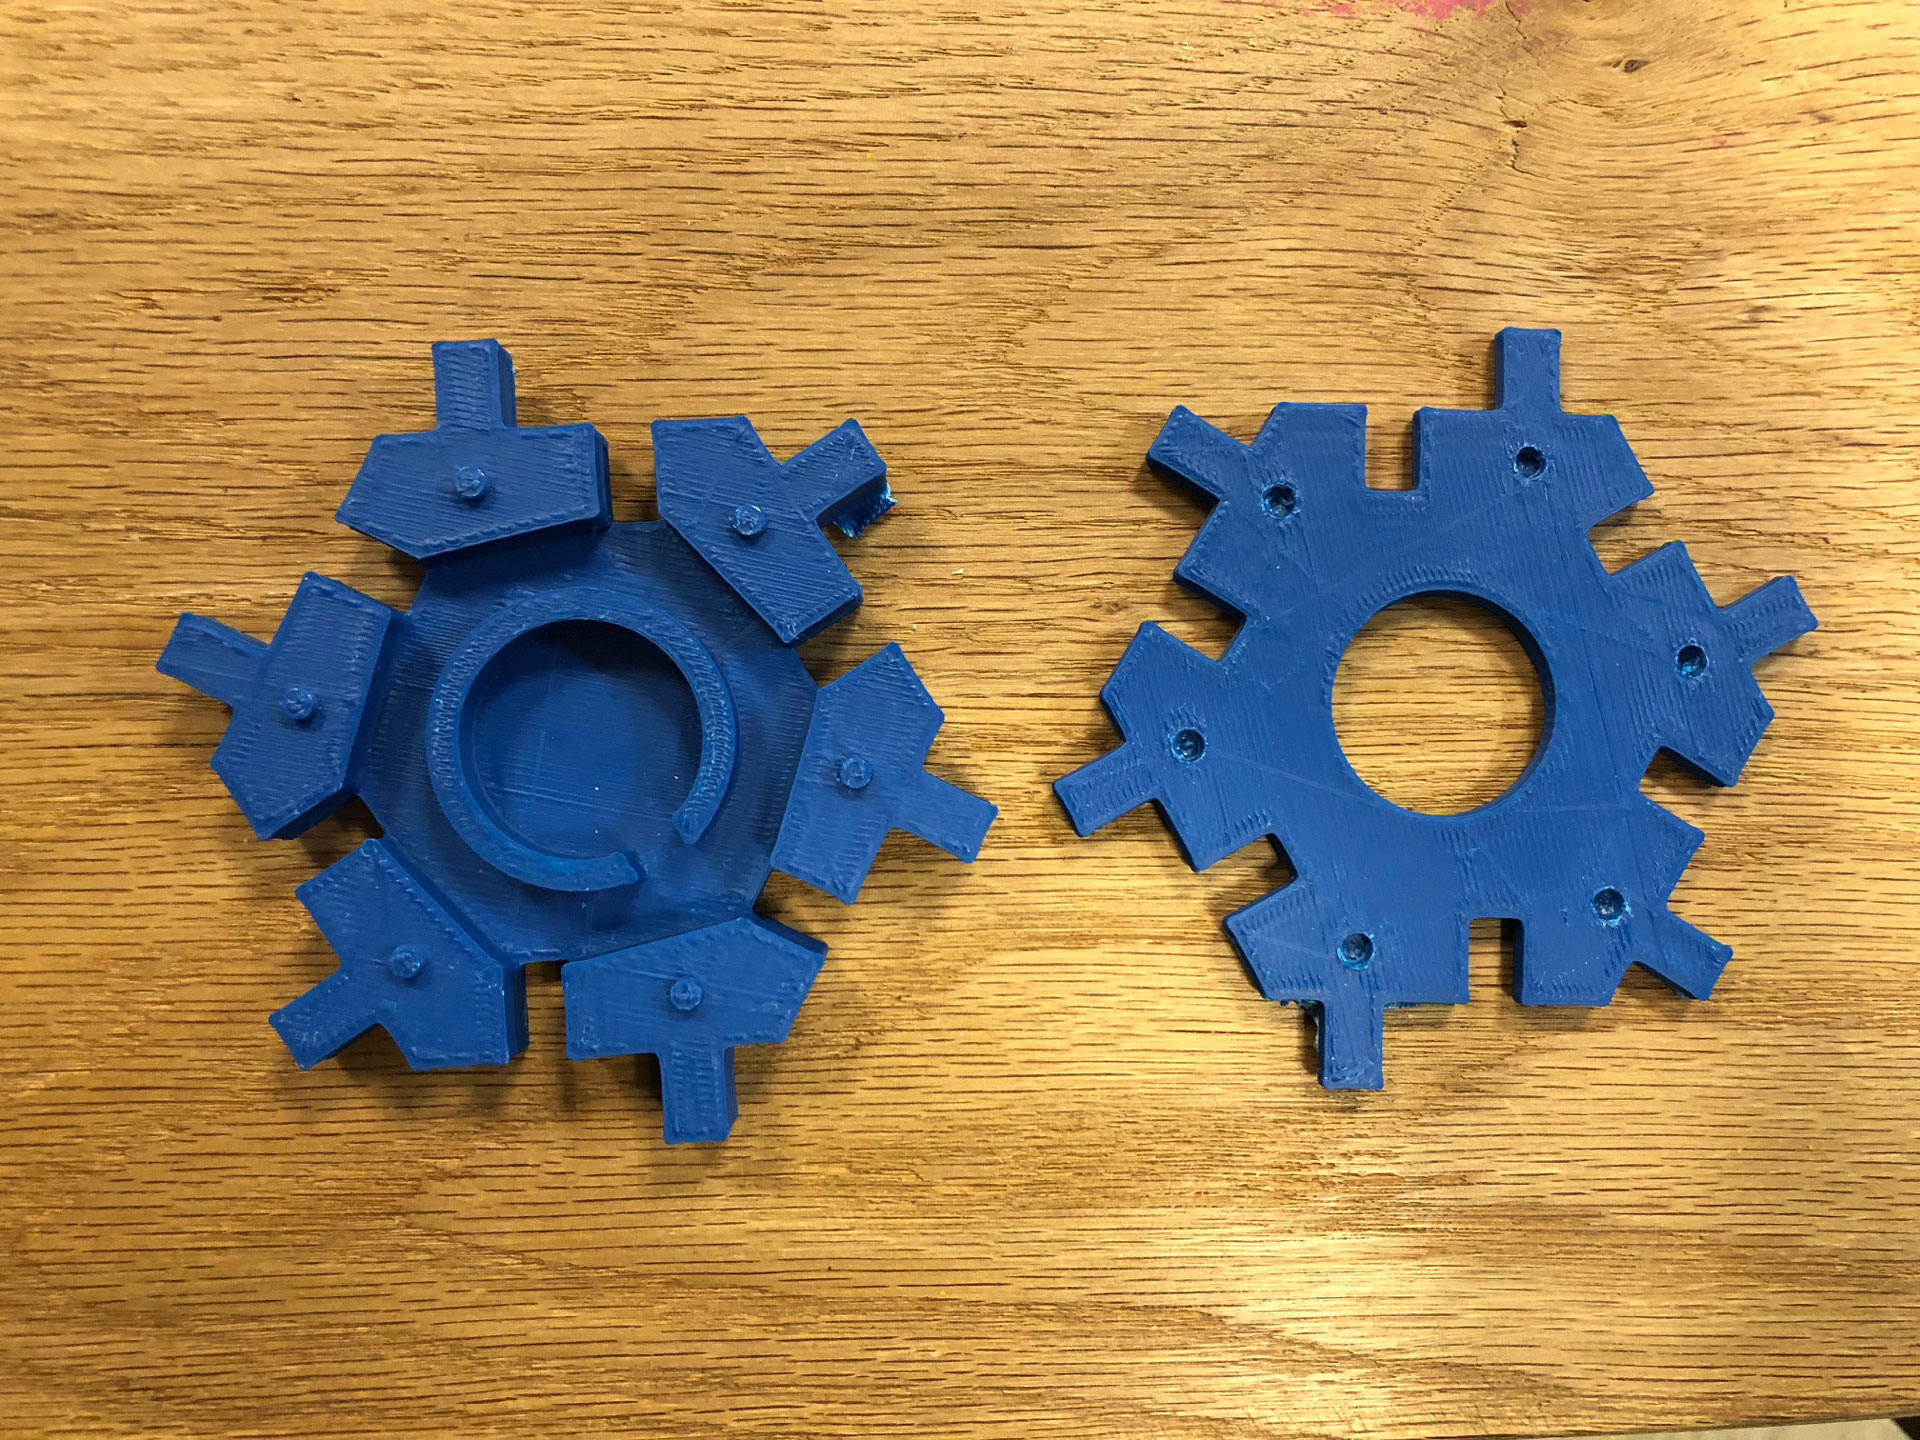
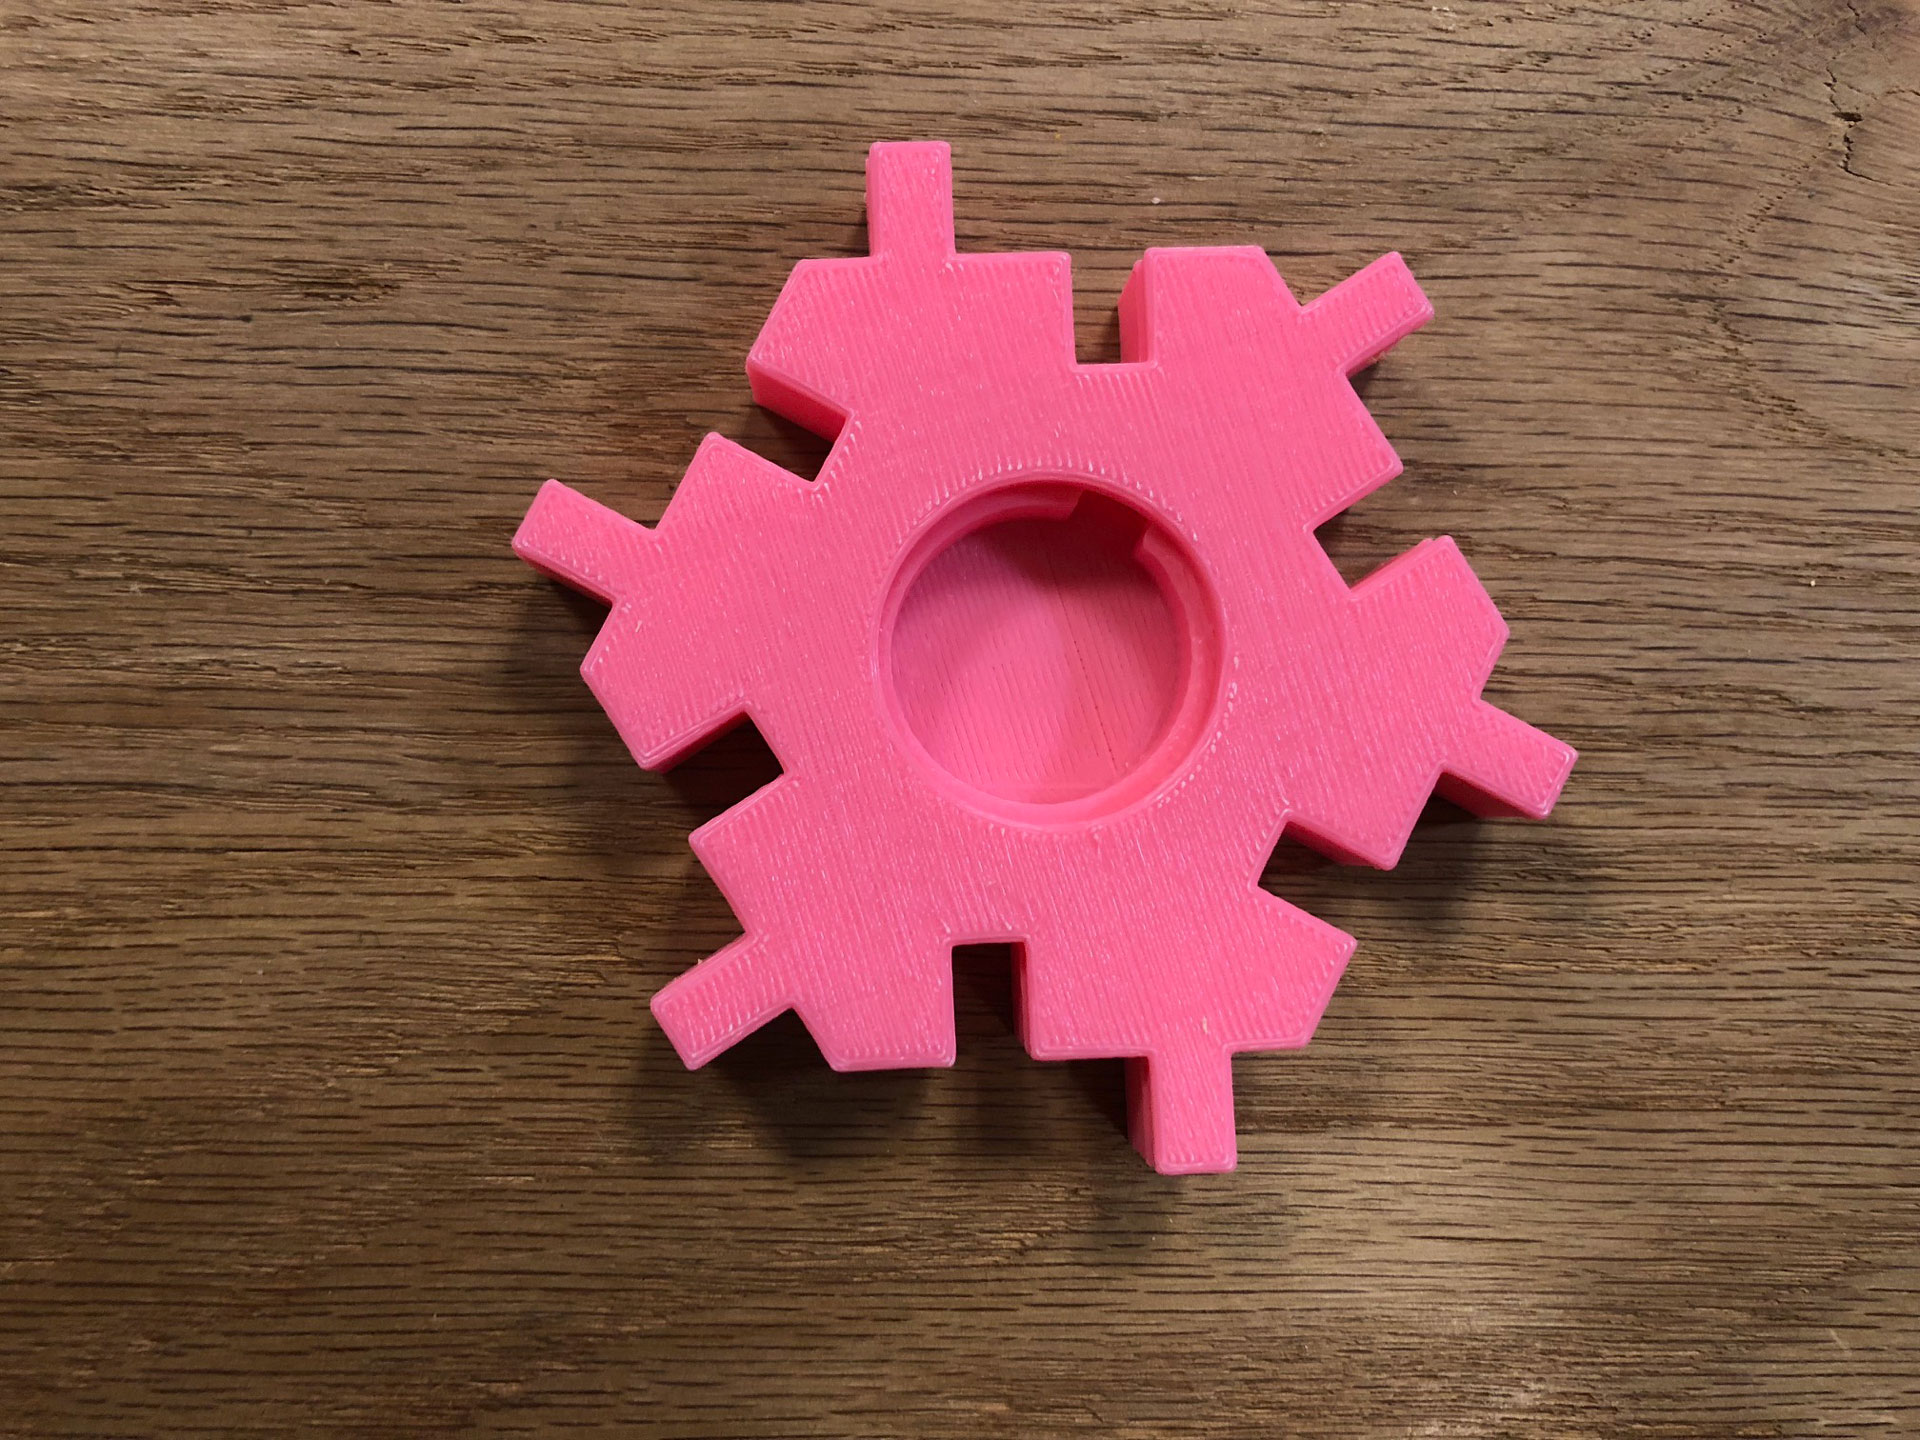
I modeled the block in Fusion 360, and then used the Sindoh printer to produce my blocks. This particular design can only be made using additive 3D printing because there are a number of pockets and cavities for wires to run and for lights to be fitted inside. My first 3D printed block had a few issues. I could not remove the support structure completely and the pins in the base had difficulty getting into the holes in the lid. I enlarged the holes in my model for the second iteration. The second print turned out better, but I need to adjust the width of the connectors to account for 3D printing material differences. I plan to print another iteration and integrate electronics this week.
Download the Hex Block Fusion 360 file.