Exercise 03: Computer-Controlled Cutting
Computer-Controlled Cutting
- characterize your lasercutter, making lasercutter test part(s), making test part(s) that vary cutting settings and dimensions(group project)
- cut something on the vinylcutter
- design, make, and document a parametric press-fit construction kit, accounting for the lasercutter kerf, which can be assembled in multiple ways
My Process (Laser Cutting)
:: February 11, 2018 ::
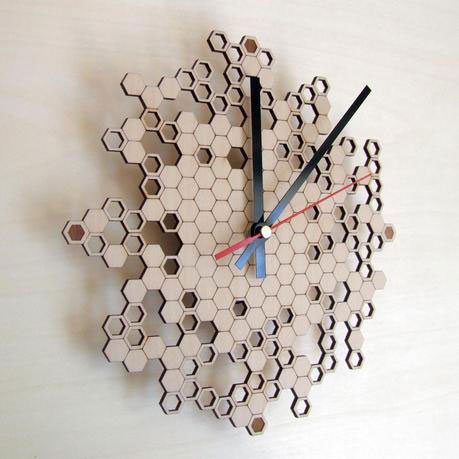
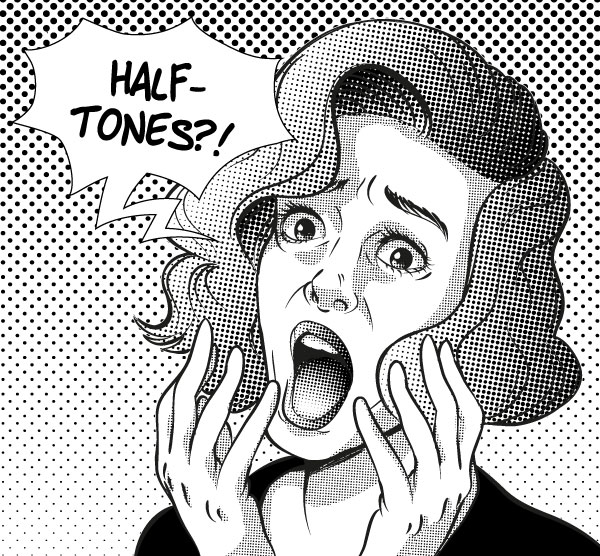
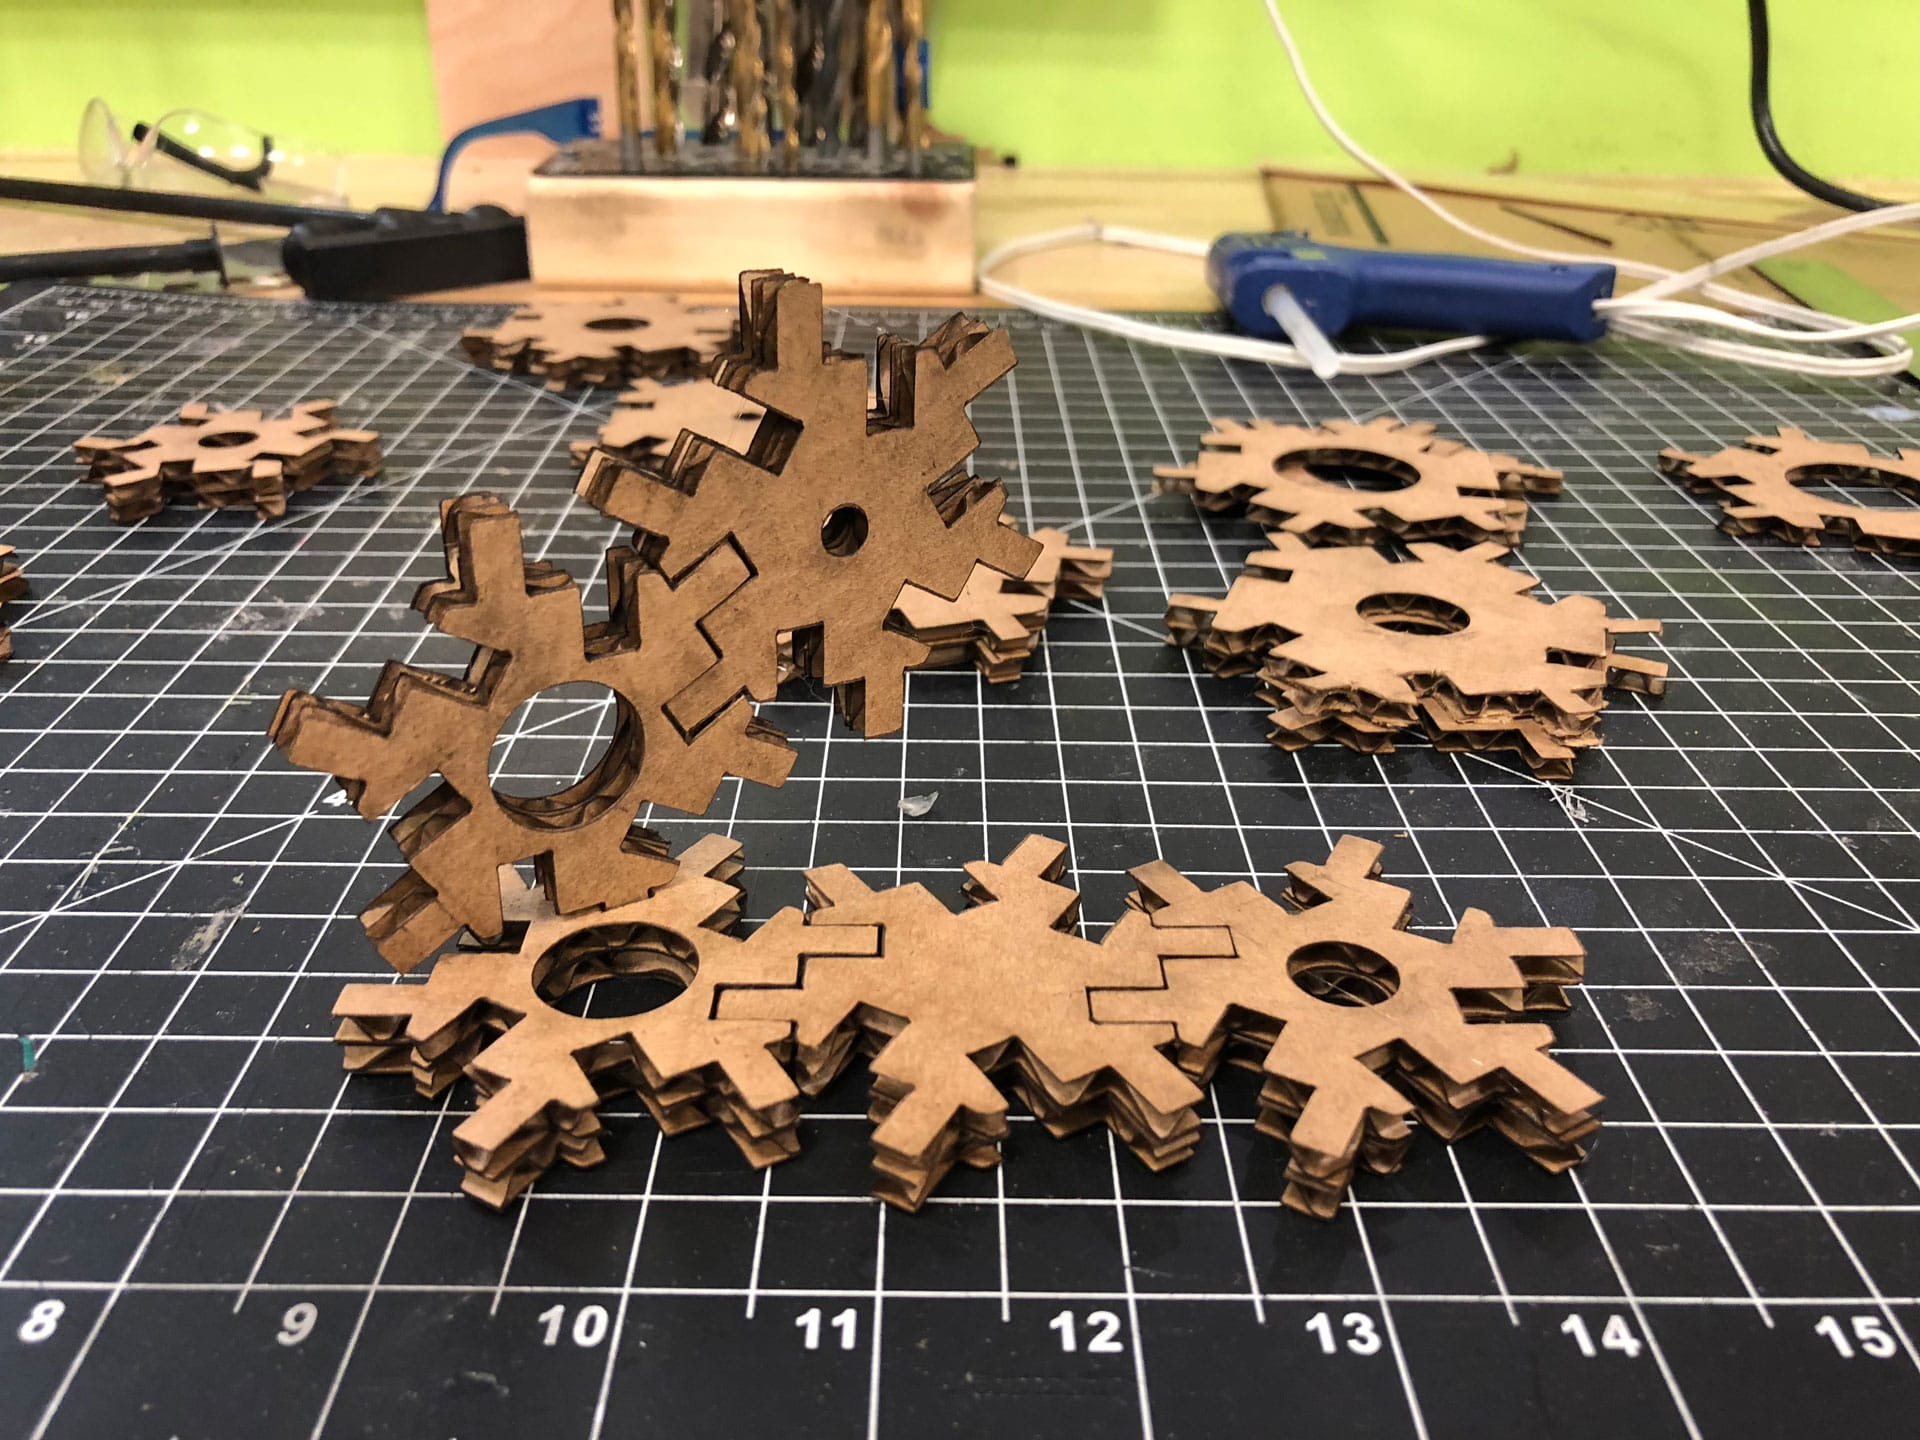
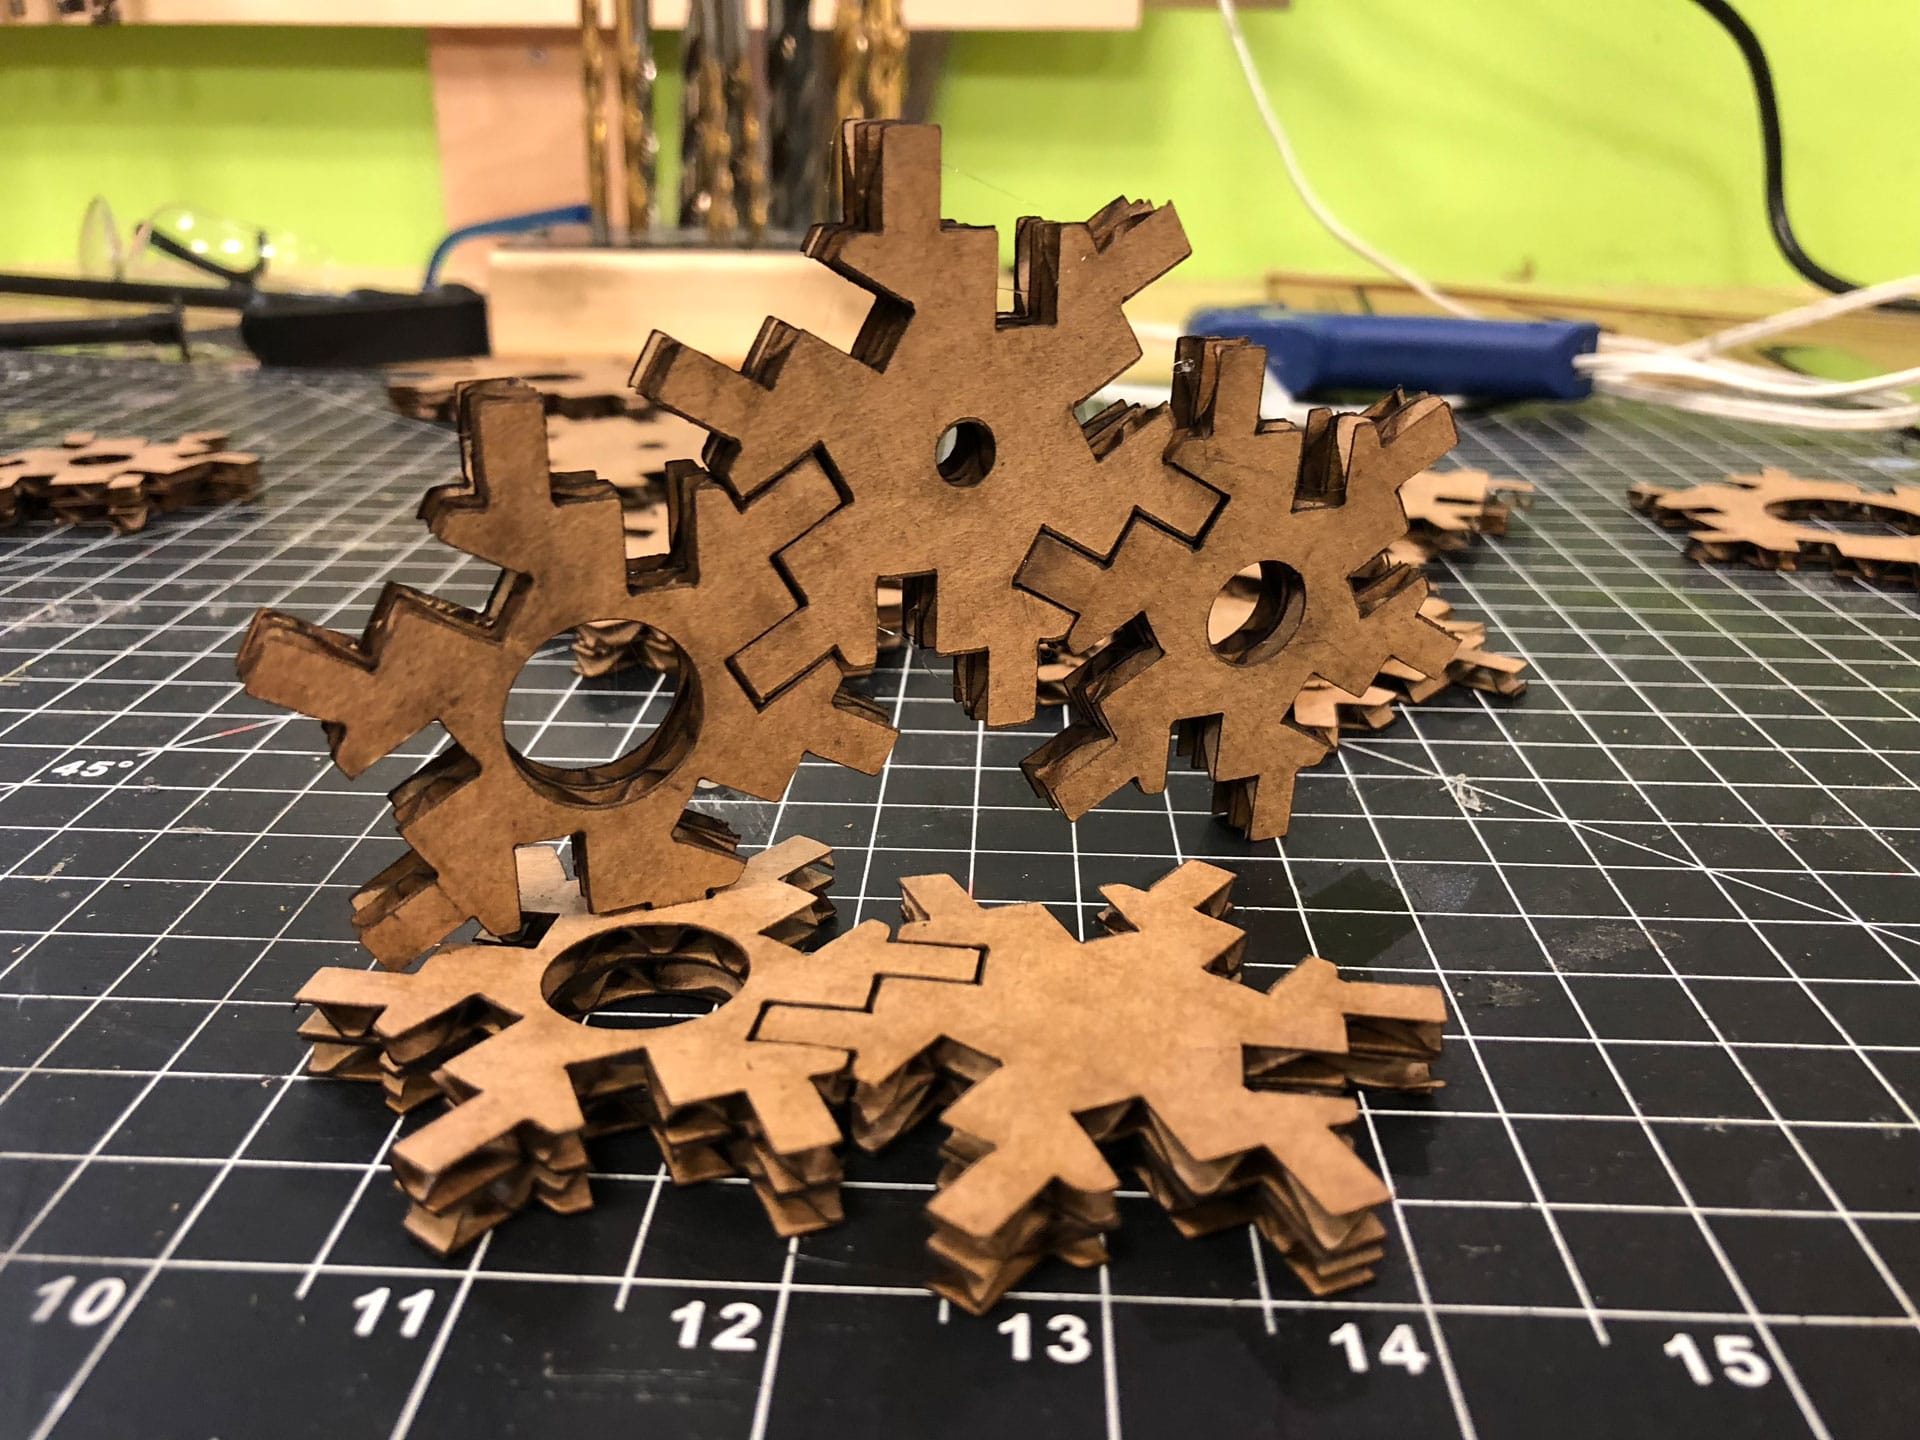
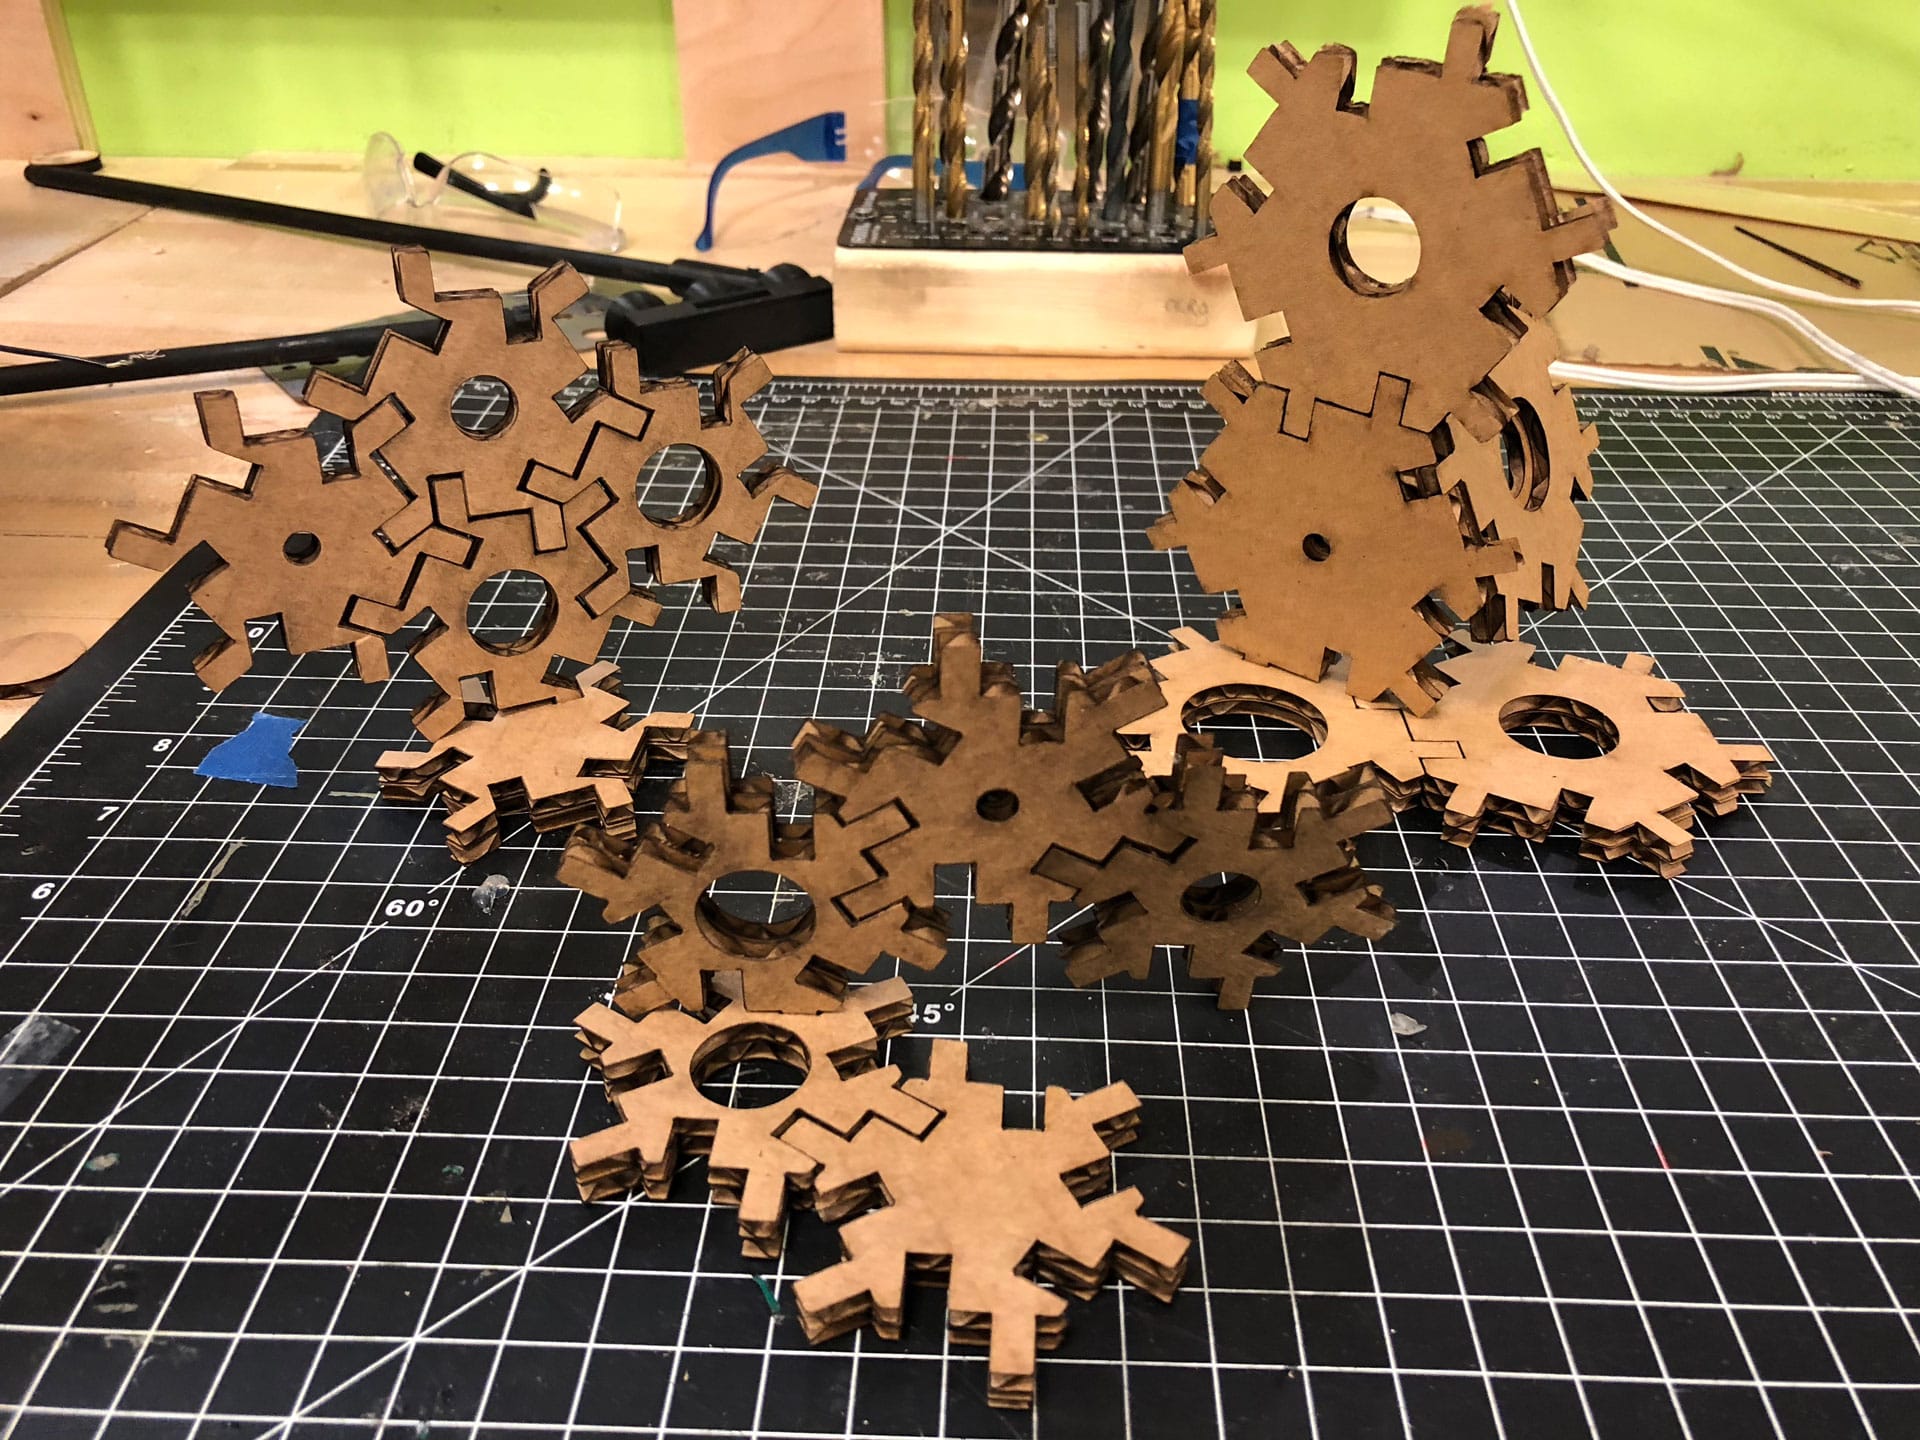
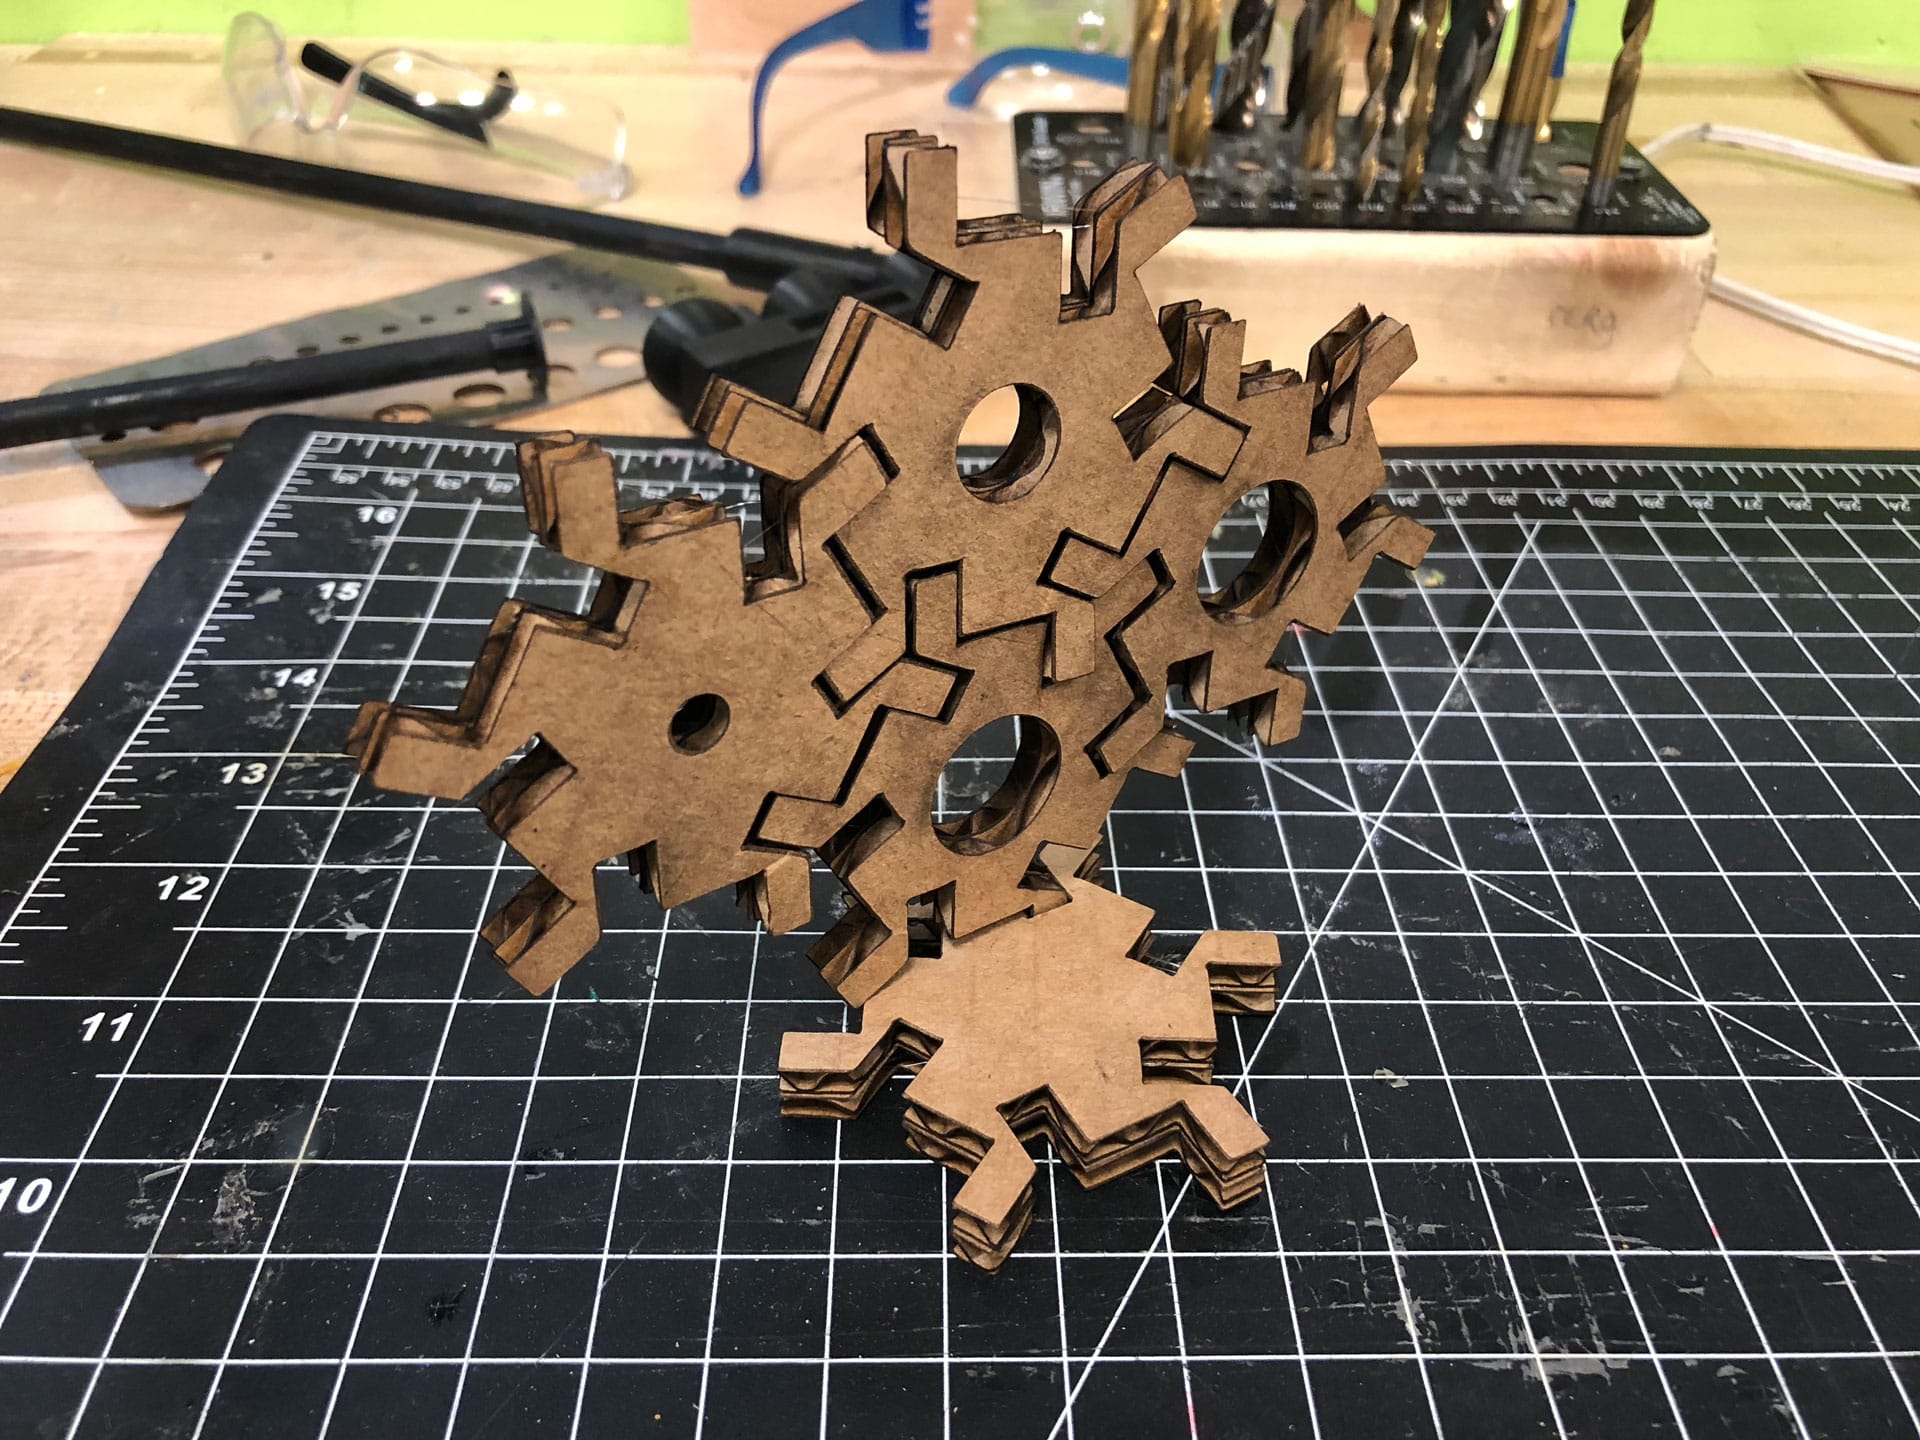
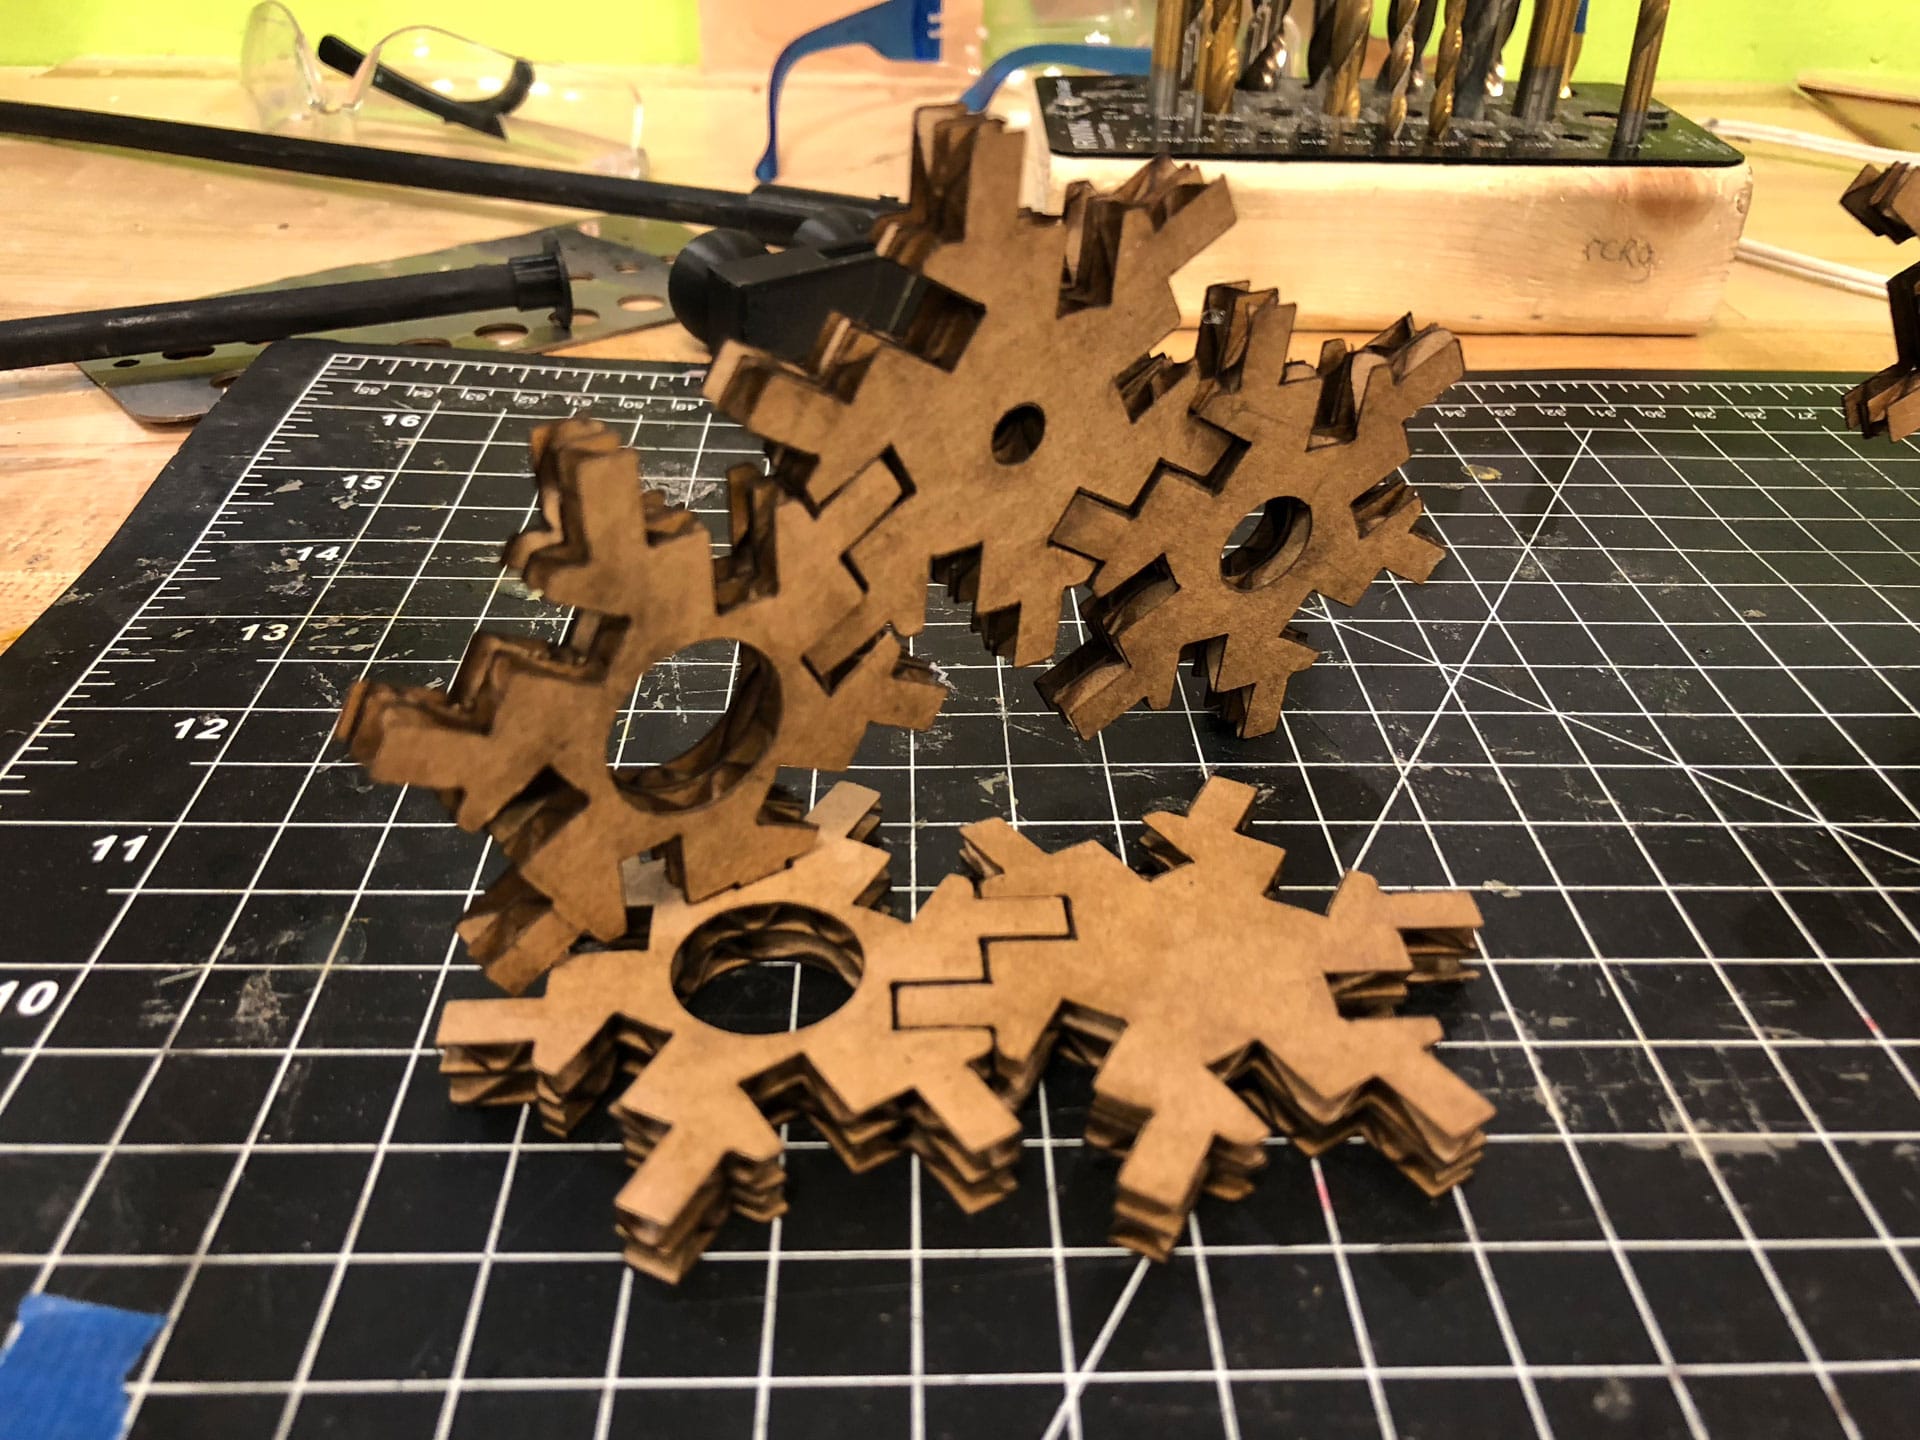
Our assignment this week was three part: 1) A group assignment to characterize the cutter, 2) An individual assignment to laser cut a press-fit construction kit in cardboard designed with parametric properties, and 3) an individual assignment to cut something using a vinyl cutter. For the press-fit construction kit, I decided to explore the idea of creating an interactive art-making kit using halftone. Halftone is a technique used in printing to create an image using a matrix of different size dots which allows a printer to simulate tonal variation (or variations in shades of color) using a single color. Halftones have been popular in digital print and comics. I am interested in giving this technique a 3-dimensional aspect. My inspiration for this project was the "Bark Clock" by Anja Verdonk. The clock inspired me to think about how a modular press-fit kit could also create art. The negative space created by the cut-outs also reminded me of halftone images.
I decided to look at different geometric shapes that could be reconfigured into varying 3-dimensional patterns that would become my “dots” for creating 3D halftones. I focused on two primary shapes: hexagon and octagon.
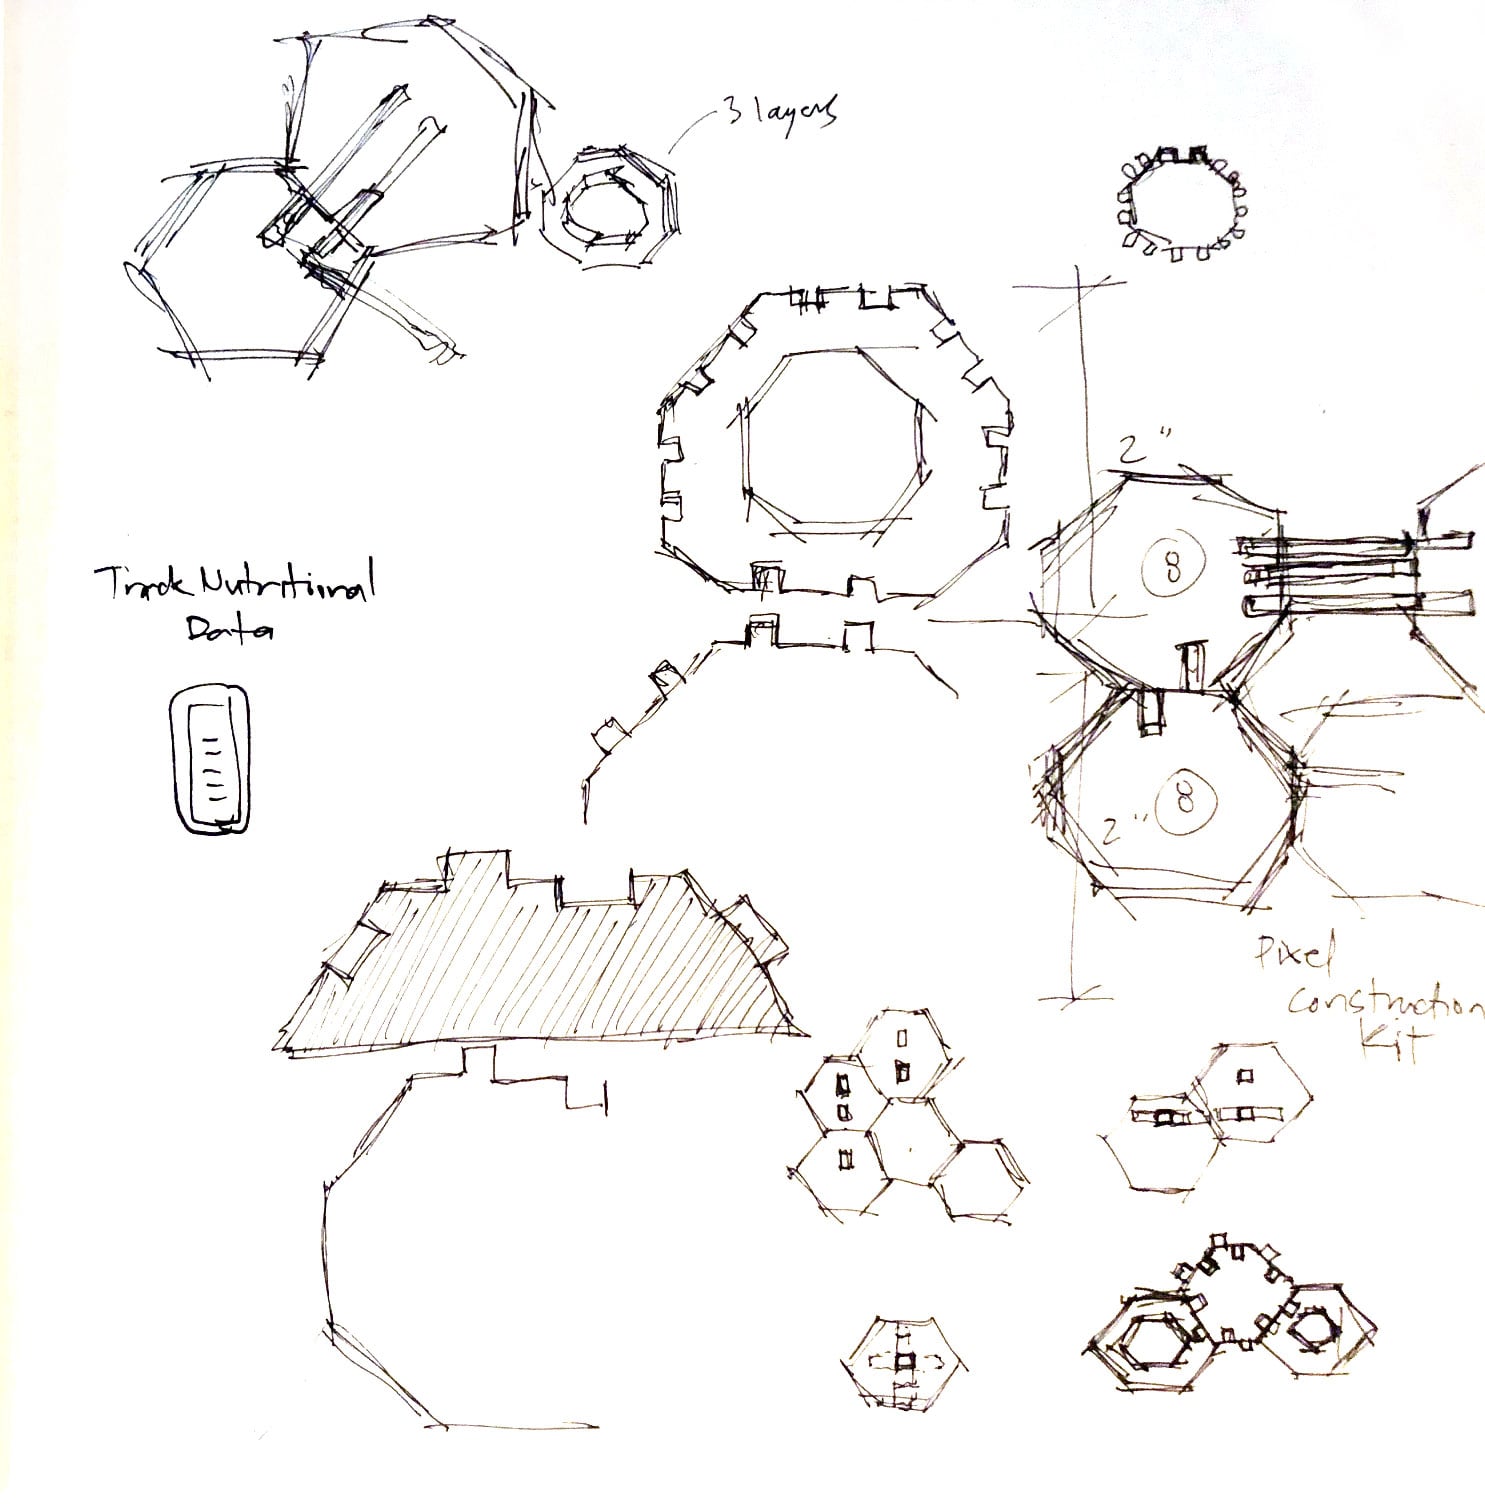
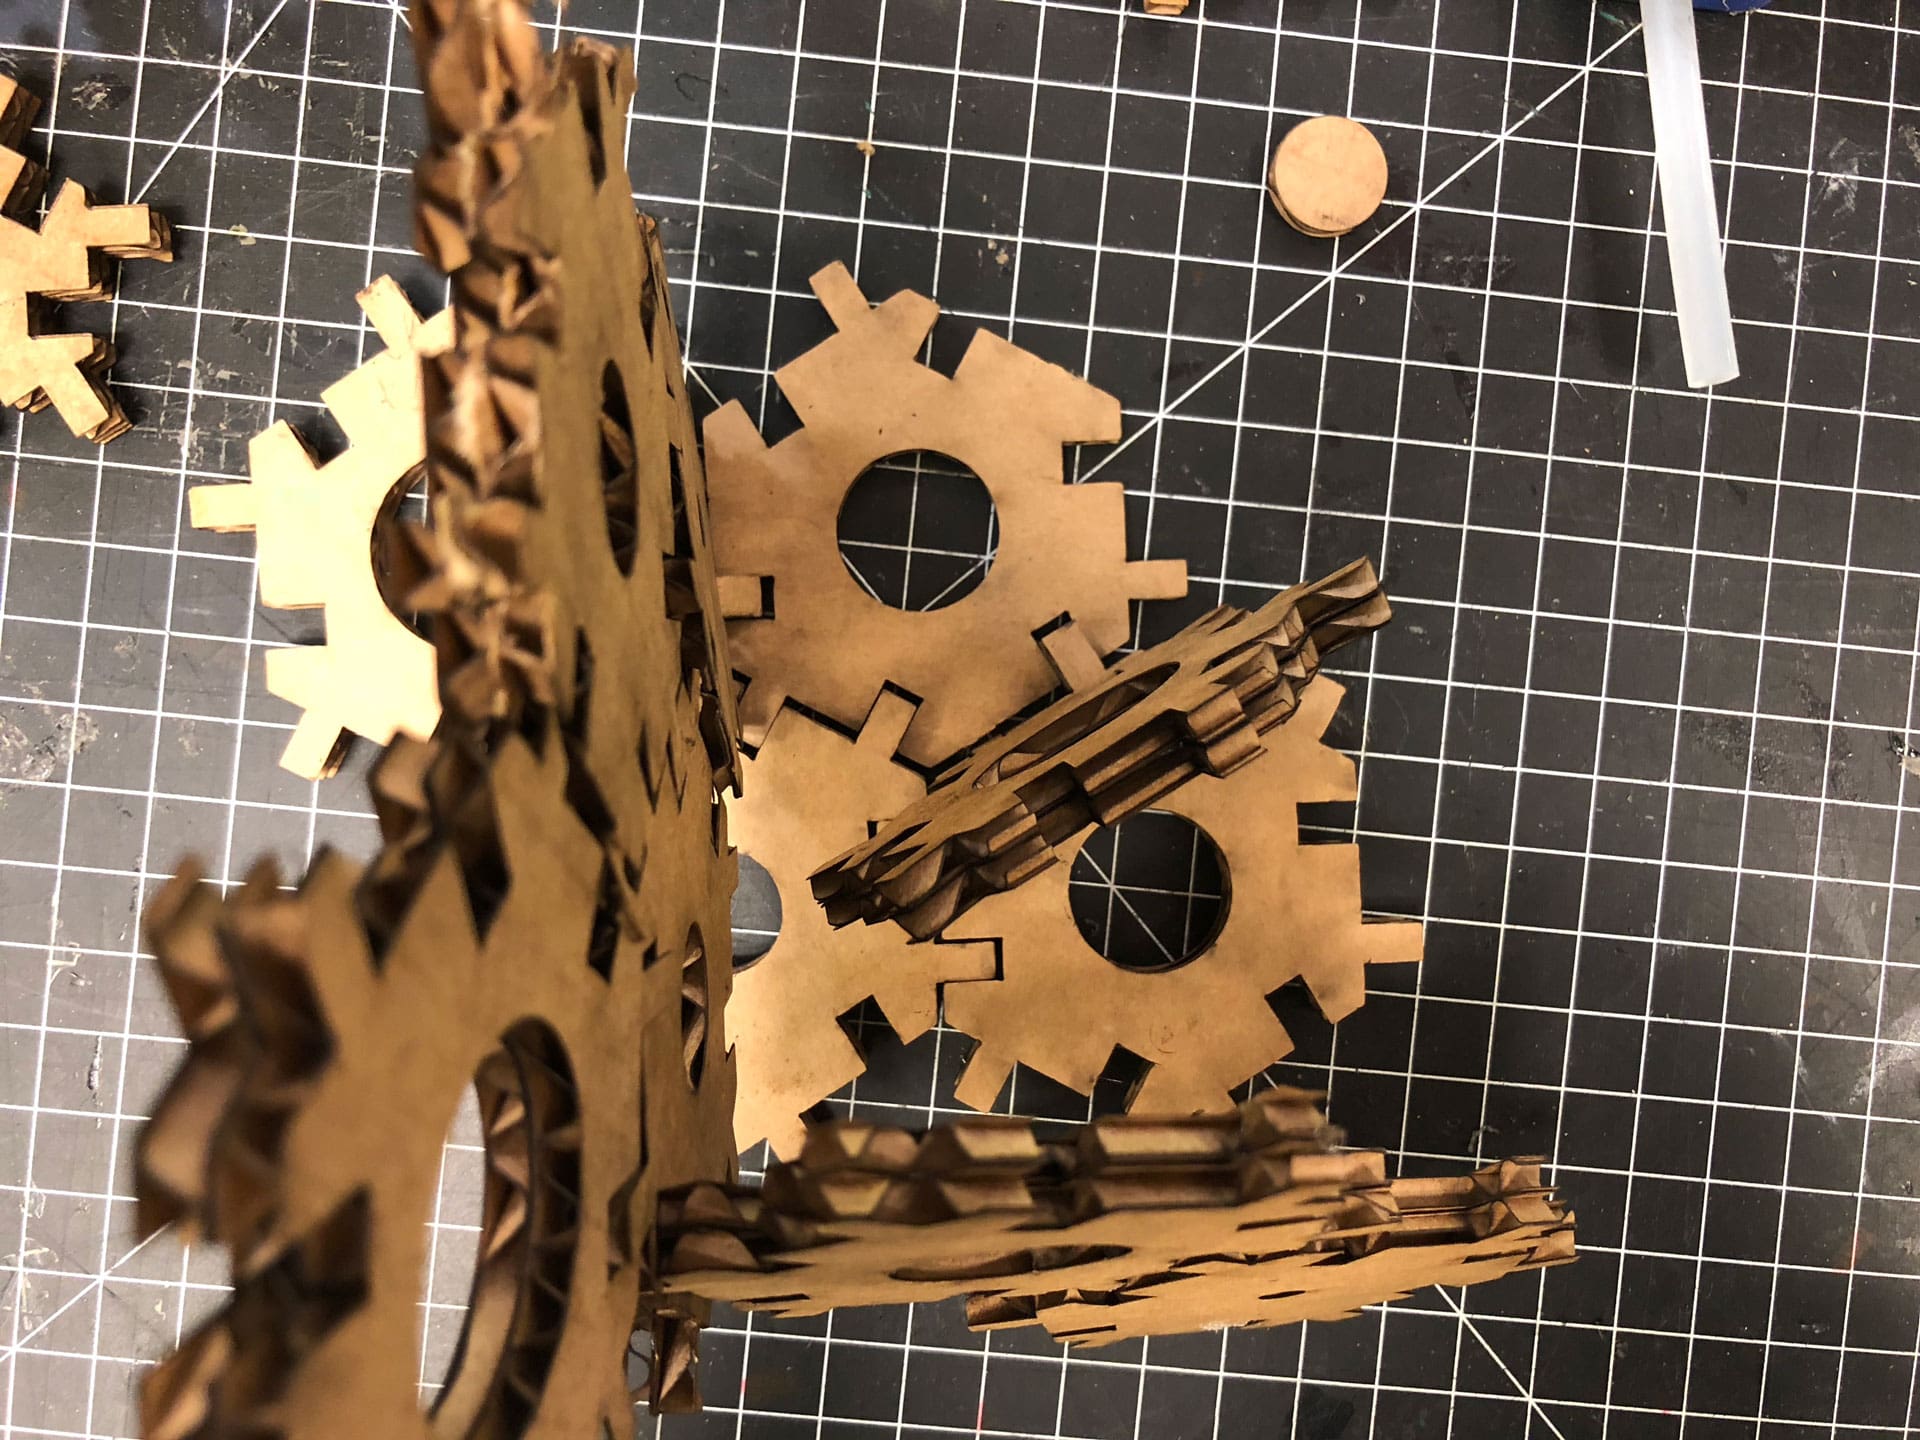
Based on the sketches, I created quick paper prototypes of both the hexagon and octagon blocks, testing out the size and modularity. After playing with both sets, I found the hexagon shape to be more versatile and decided to begin modeling the hexagon block in Fusion 360 to get a better sense of how these blocks could join together in a 3-dimensional pattern.

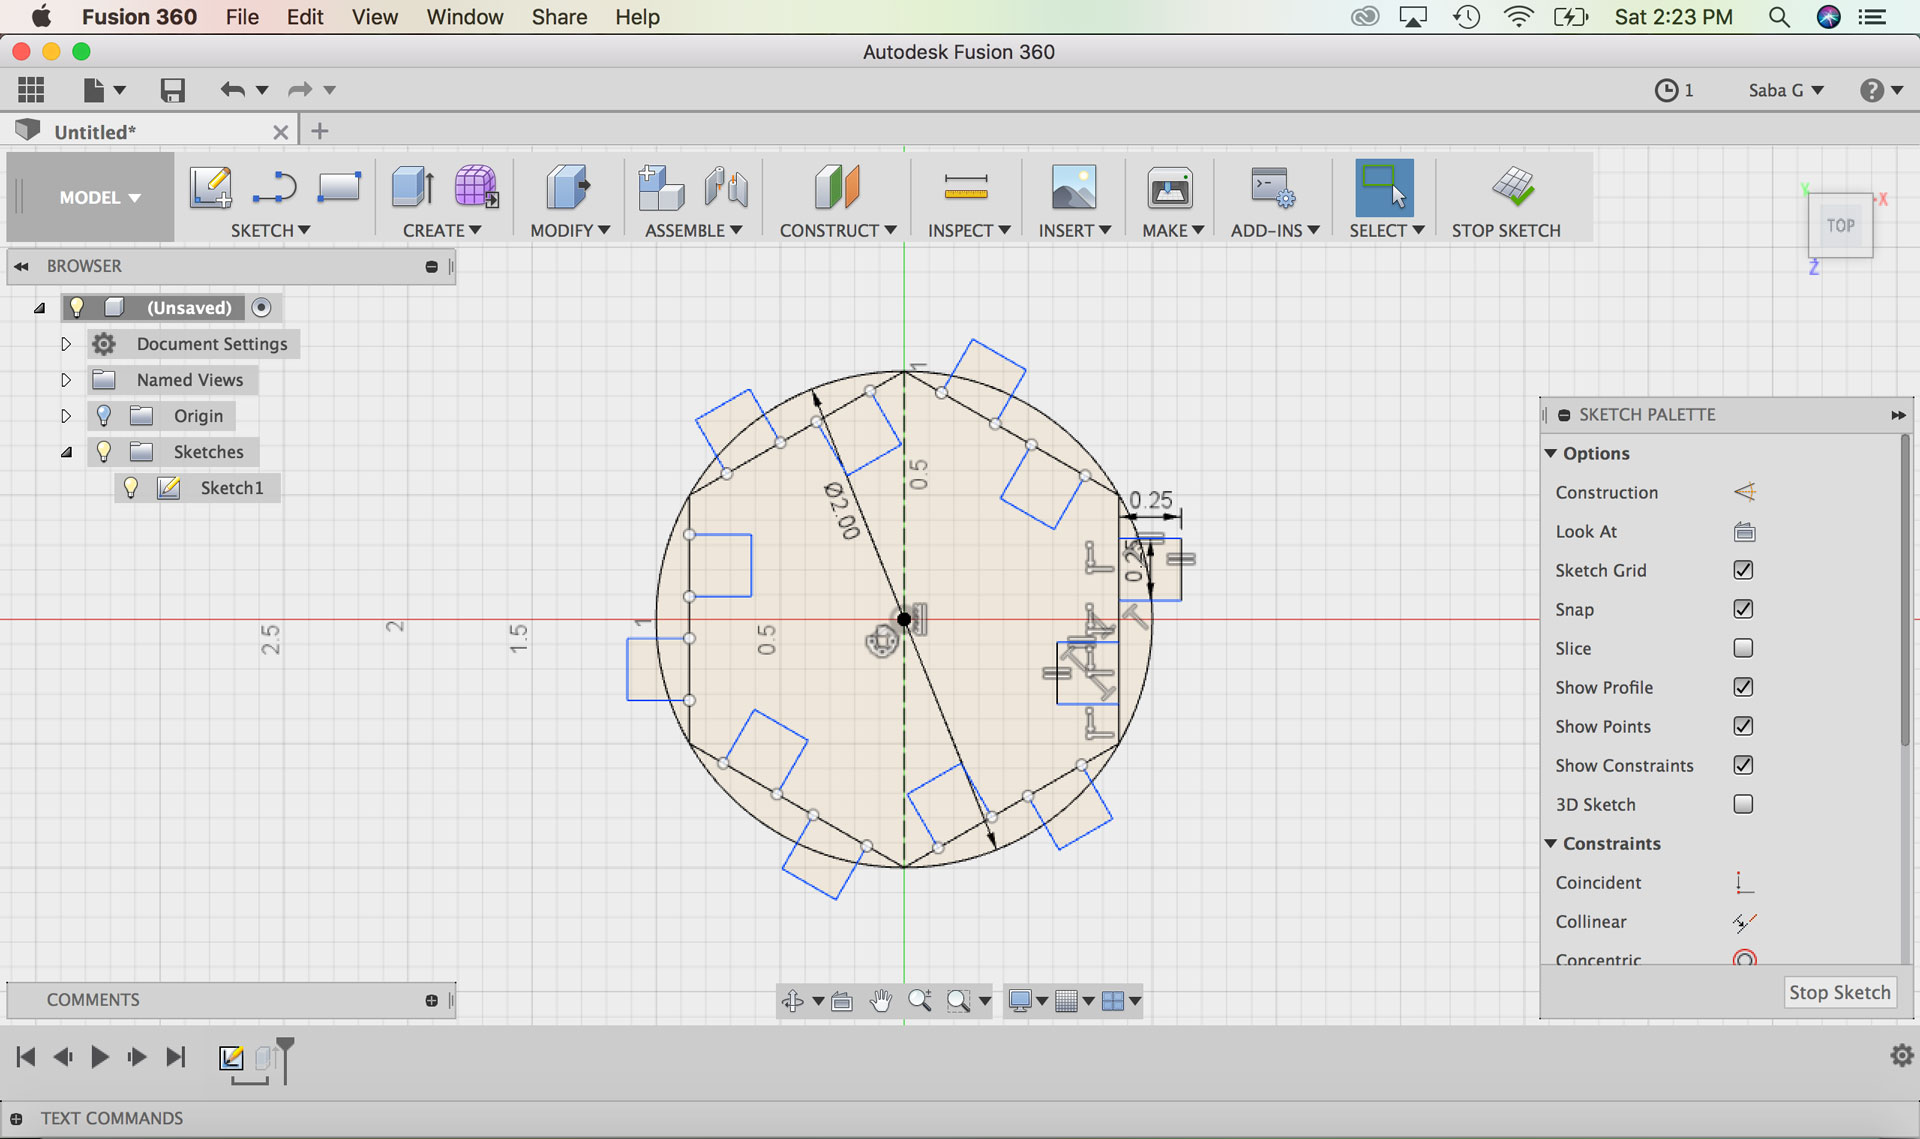
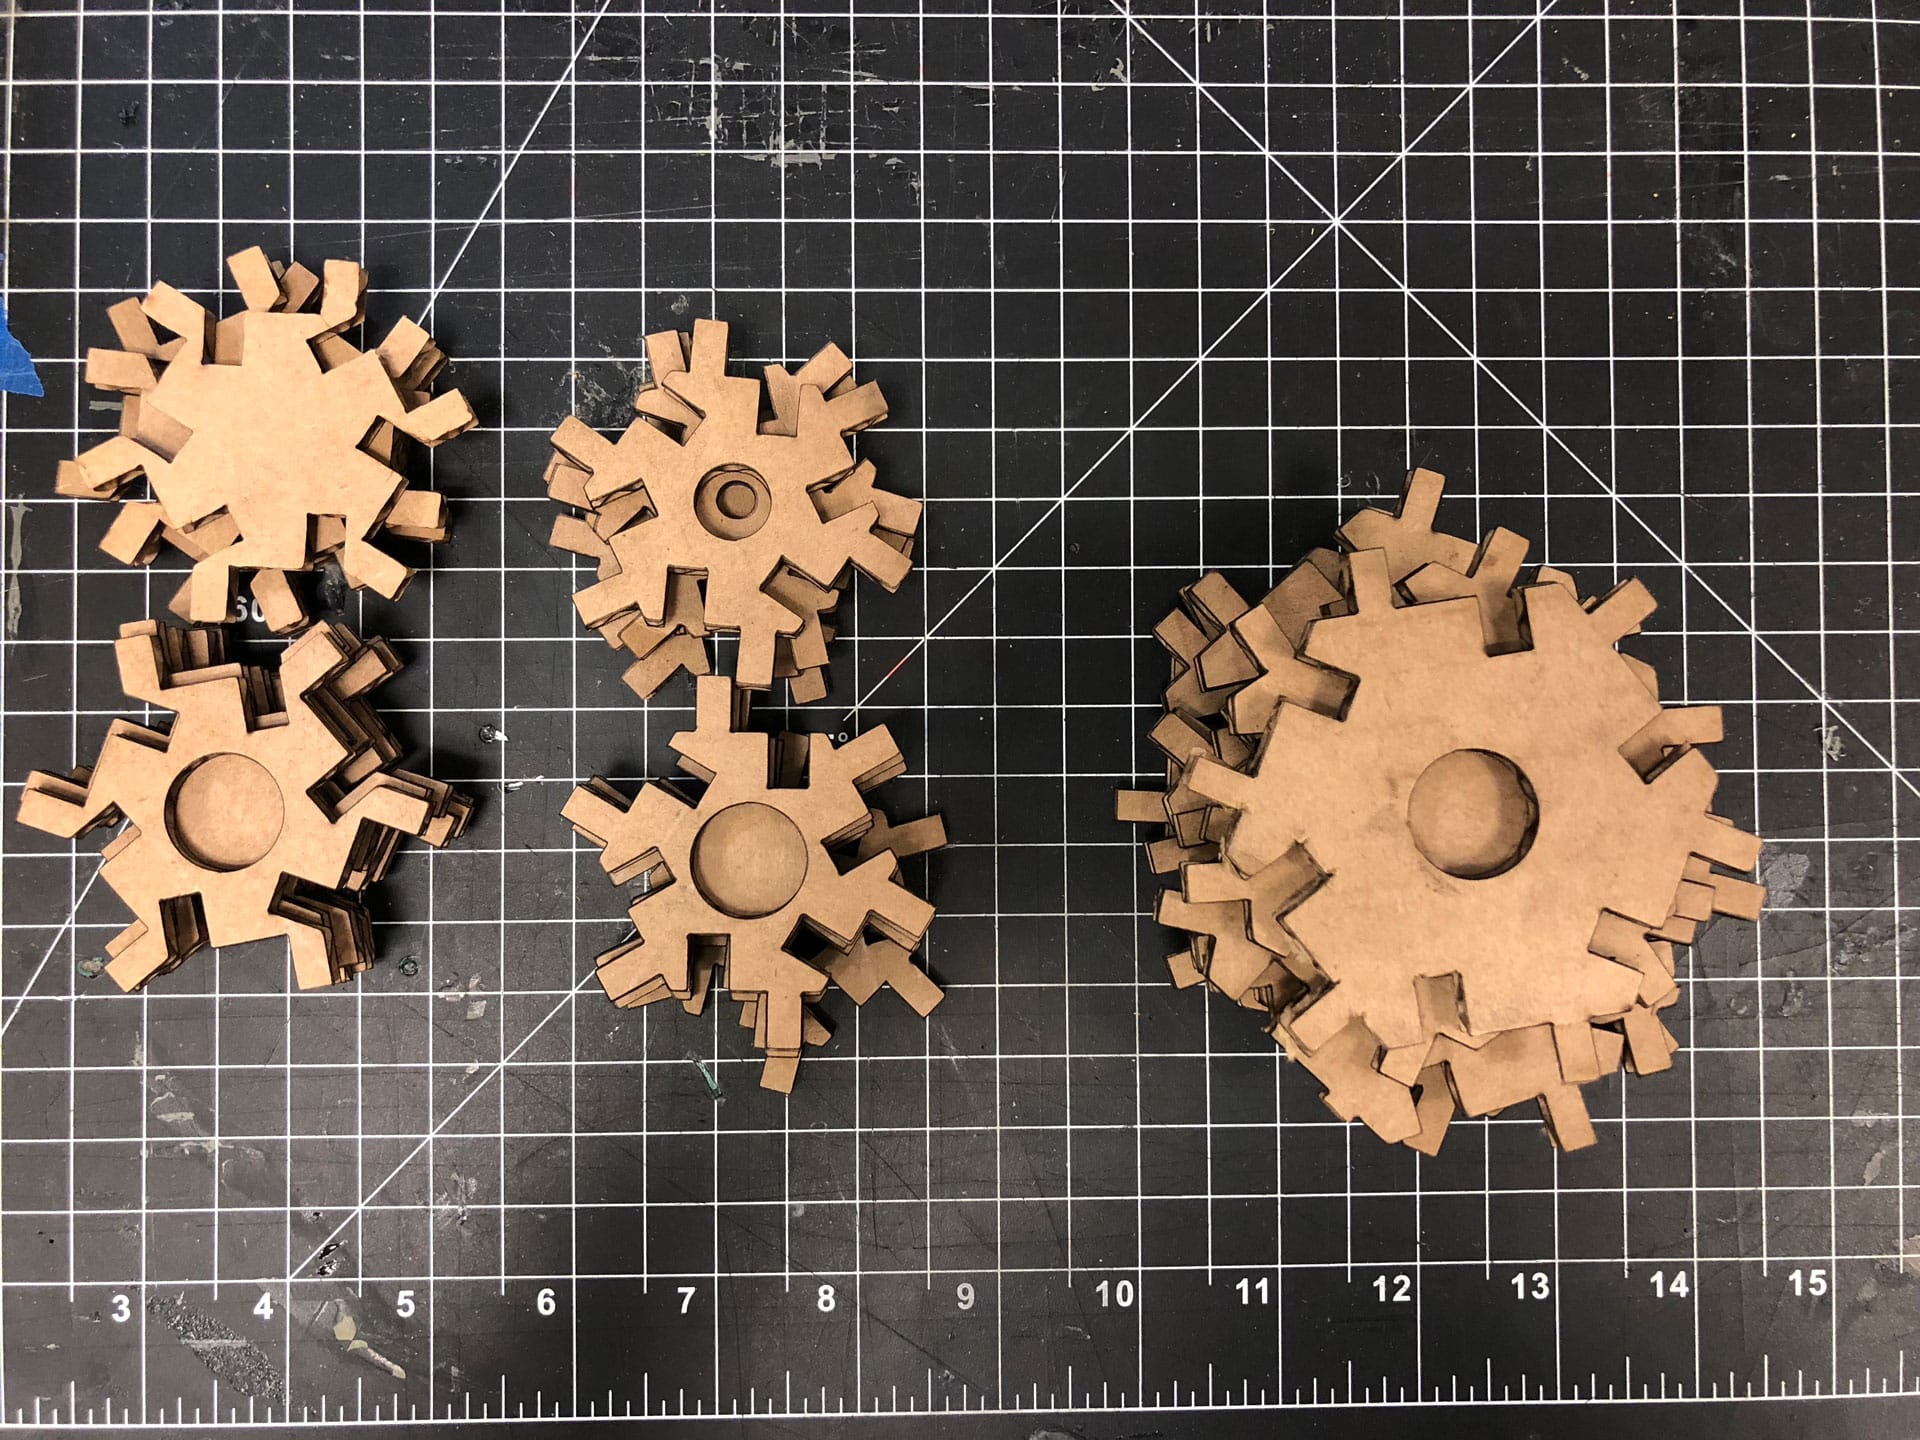
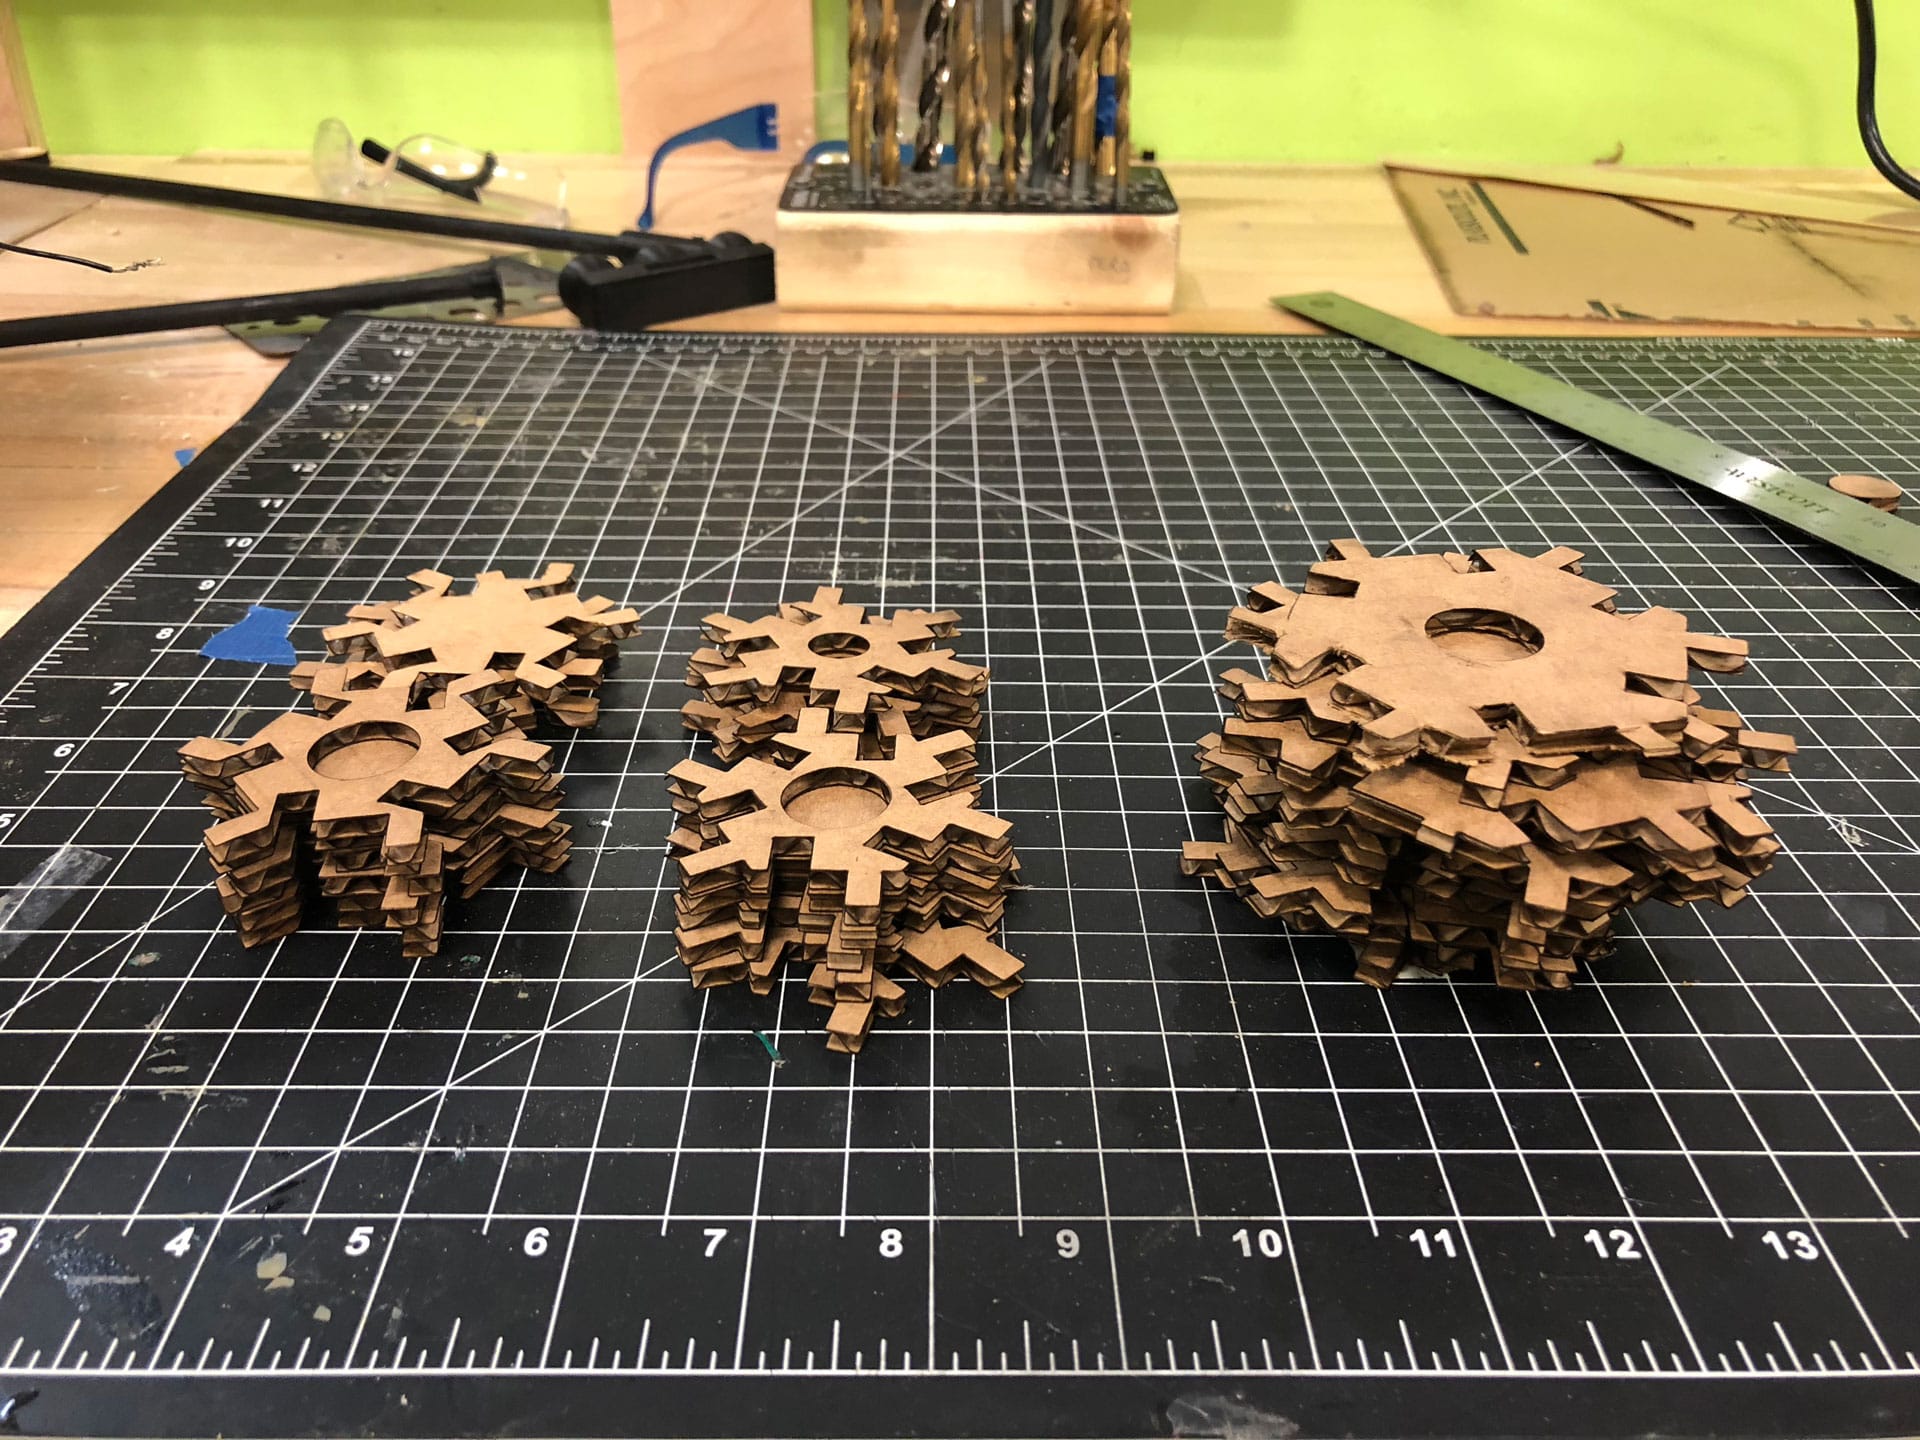
In Fusion 360, I created a basic hexagon block with parametric properties. The main parametric properties related to the depth of the block (material thickness) and therefore all the connections around the block as well as the overall width of the block. Since I was planning on creating a prototype of the hexagon halftone kit in cardboard, I measured the thickness (.1875”) of the cardboard that I would be using and based my initial design on this number. Once I had sketched the basic block with parametric properties, I varied the parameters to test if my constraints were working, and they were working very well.
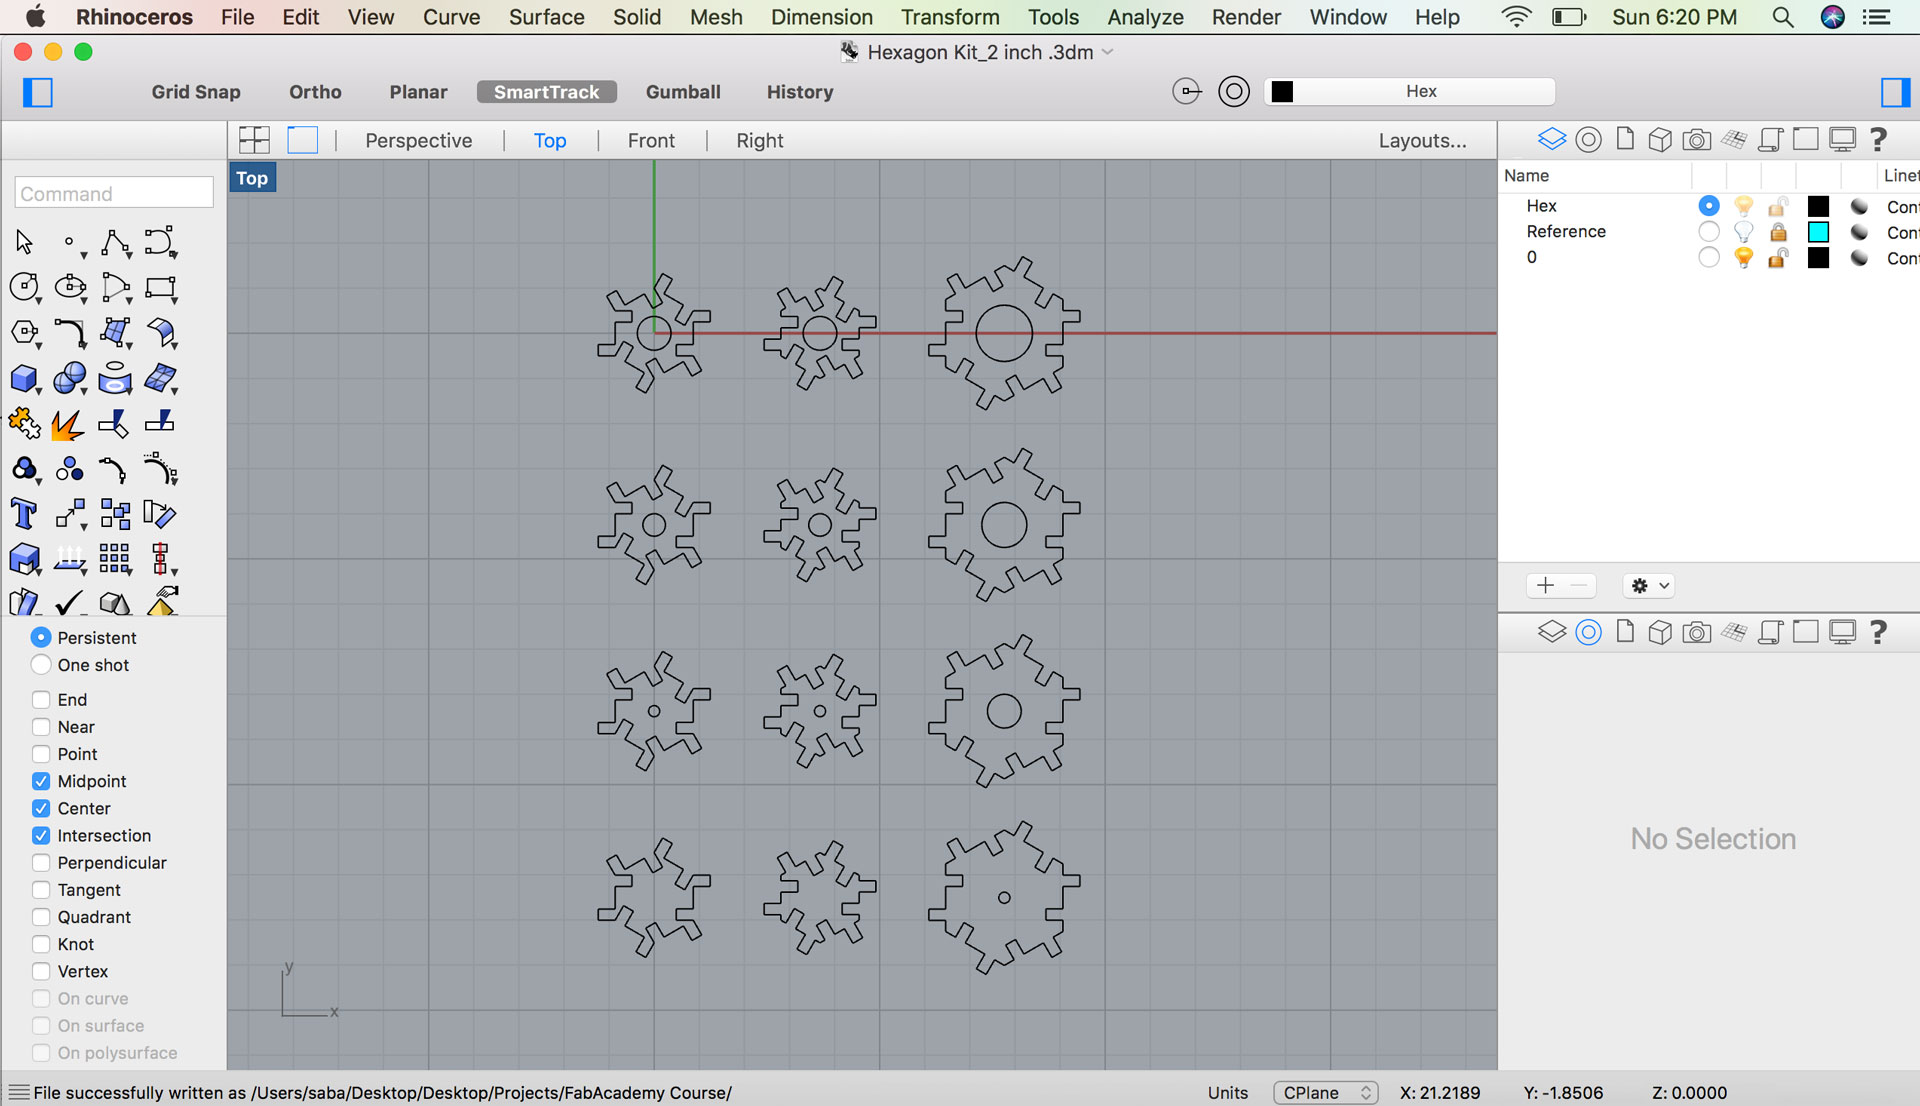
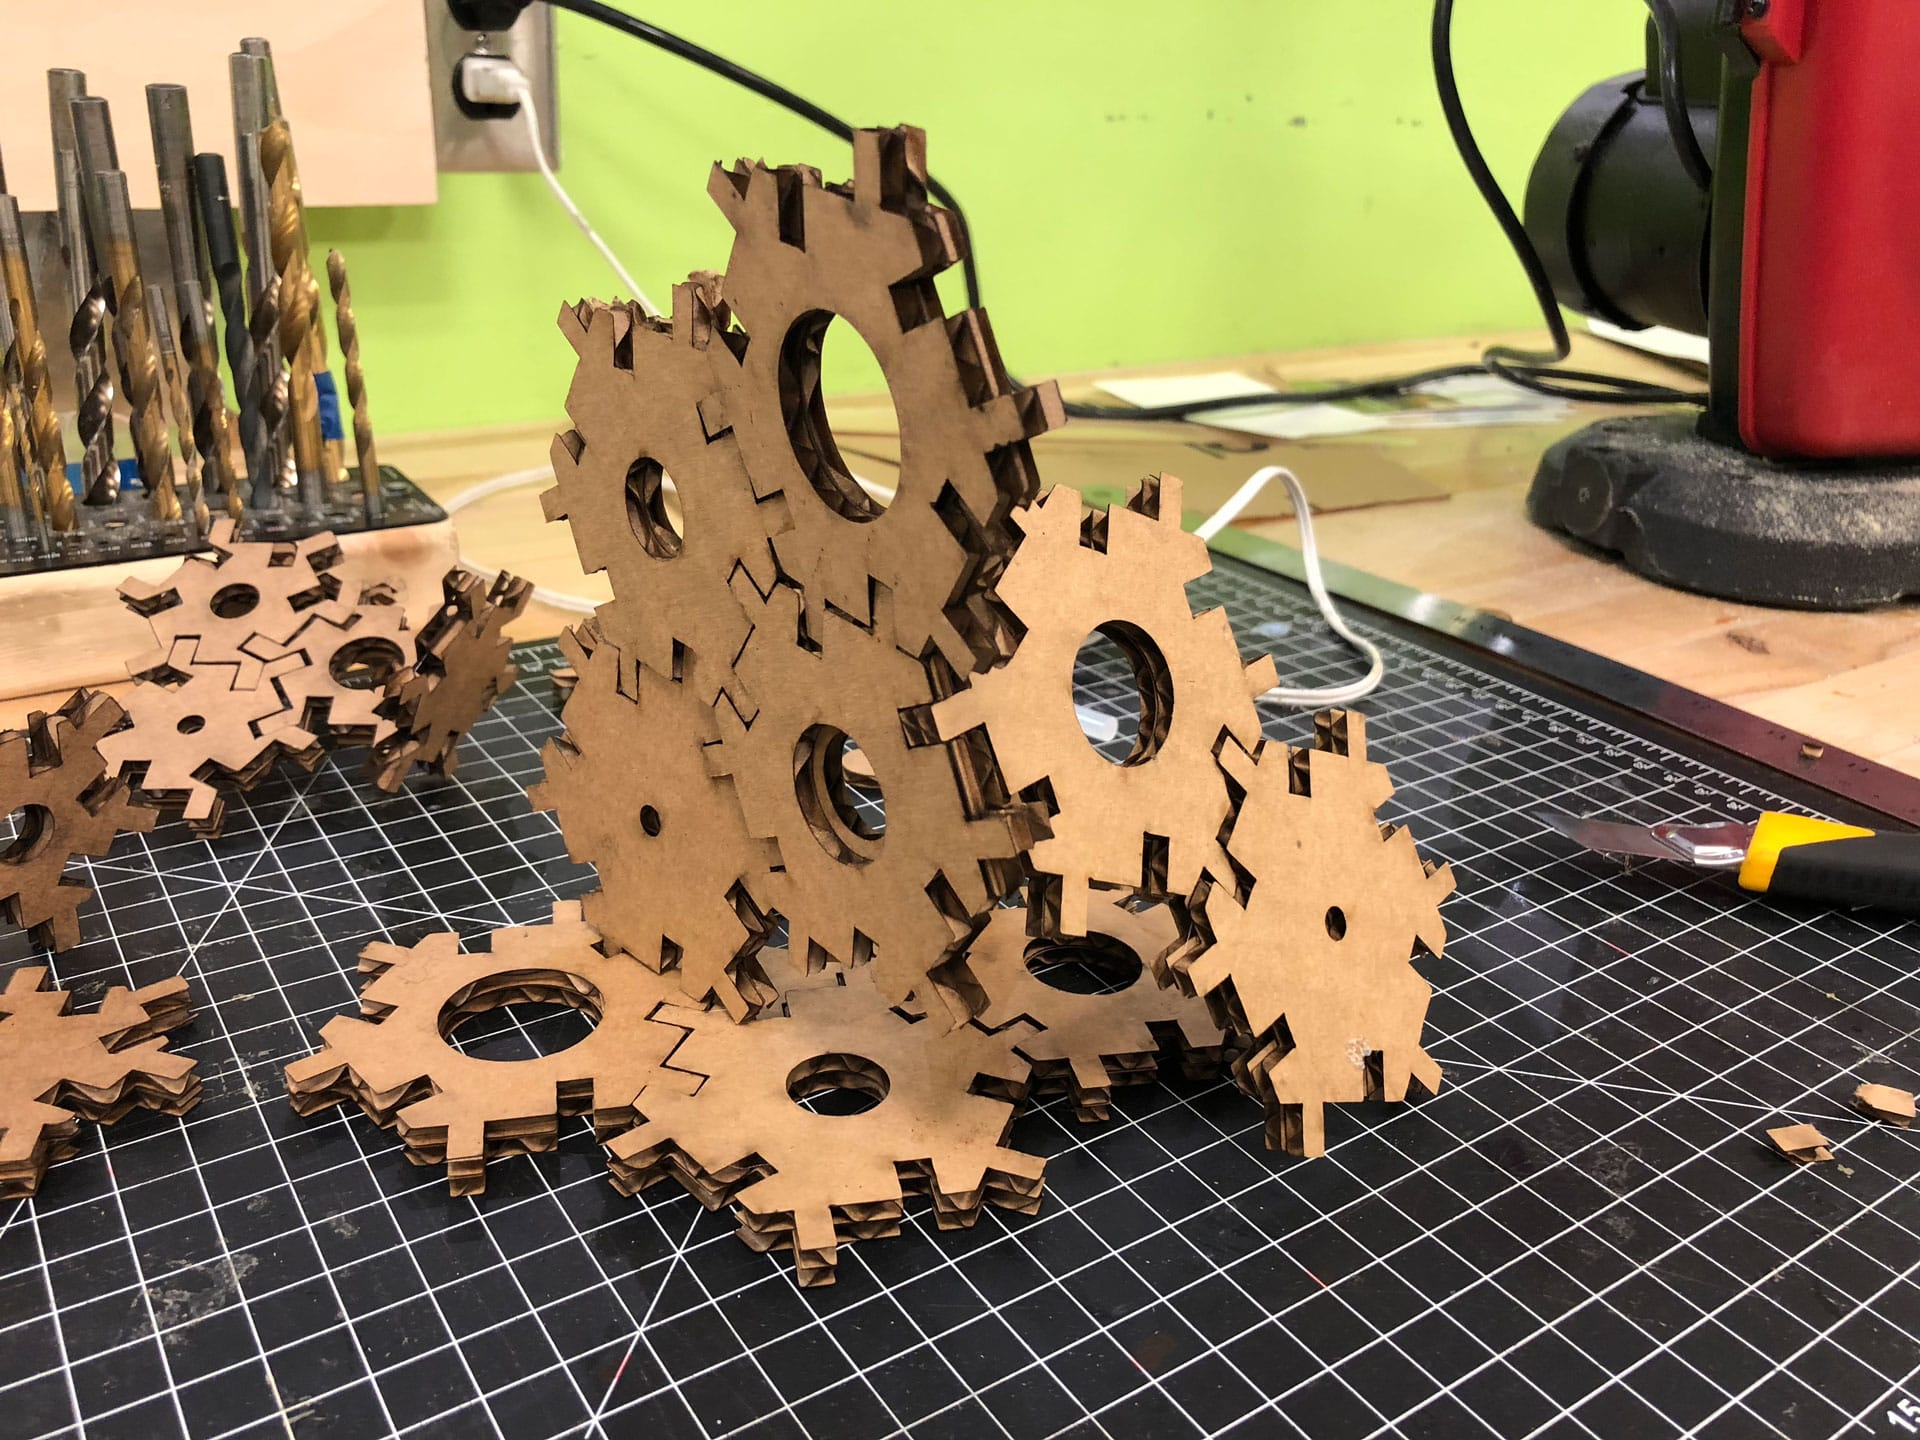
I wanted to test a few sizes and designs of the hexagon halftone block, so I created three versions in Fusion 360: two versions of 2” width and one version of 3” width. I exported .DXF files of each of the three versions of the base sketches and then brought them into Rhino for editing.


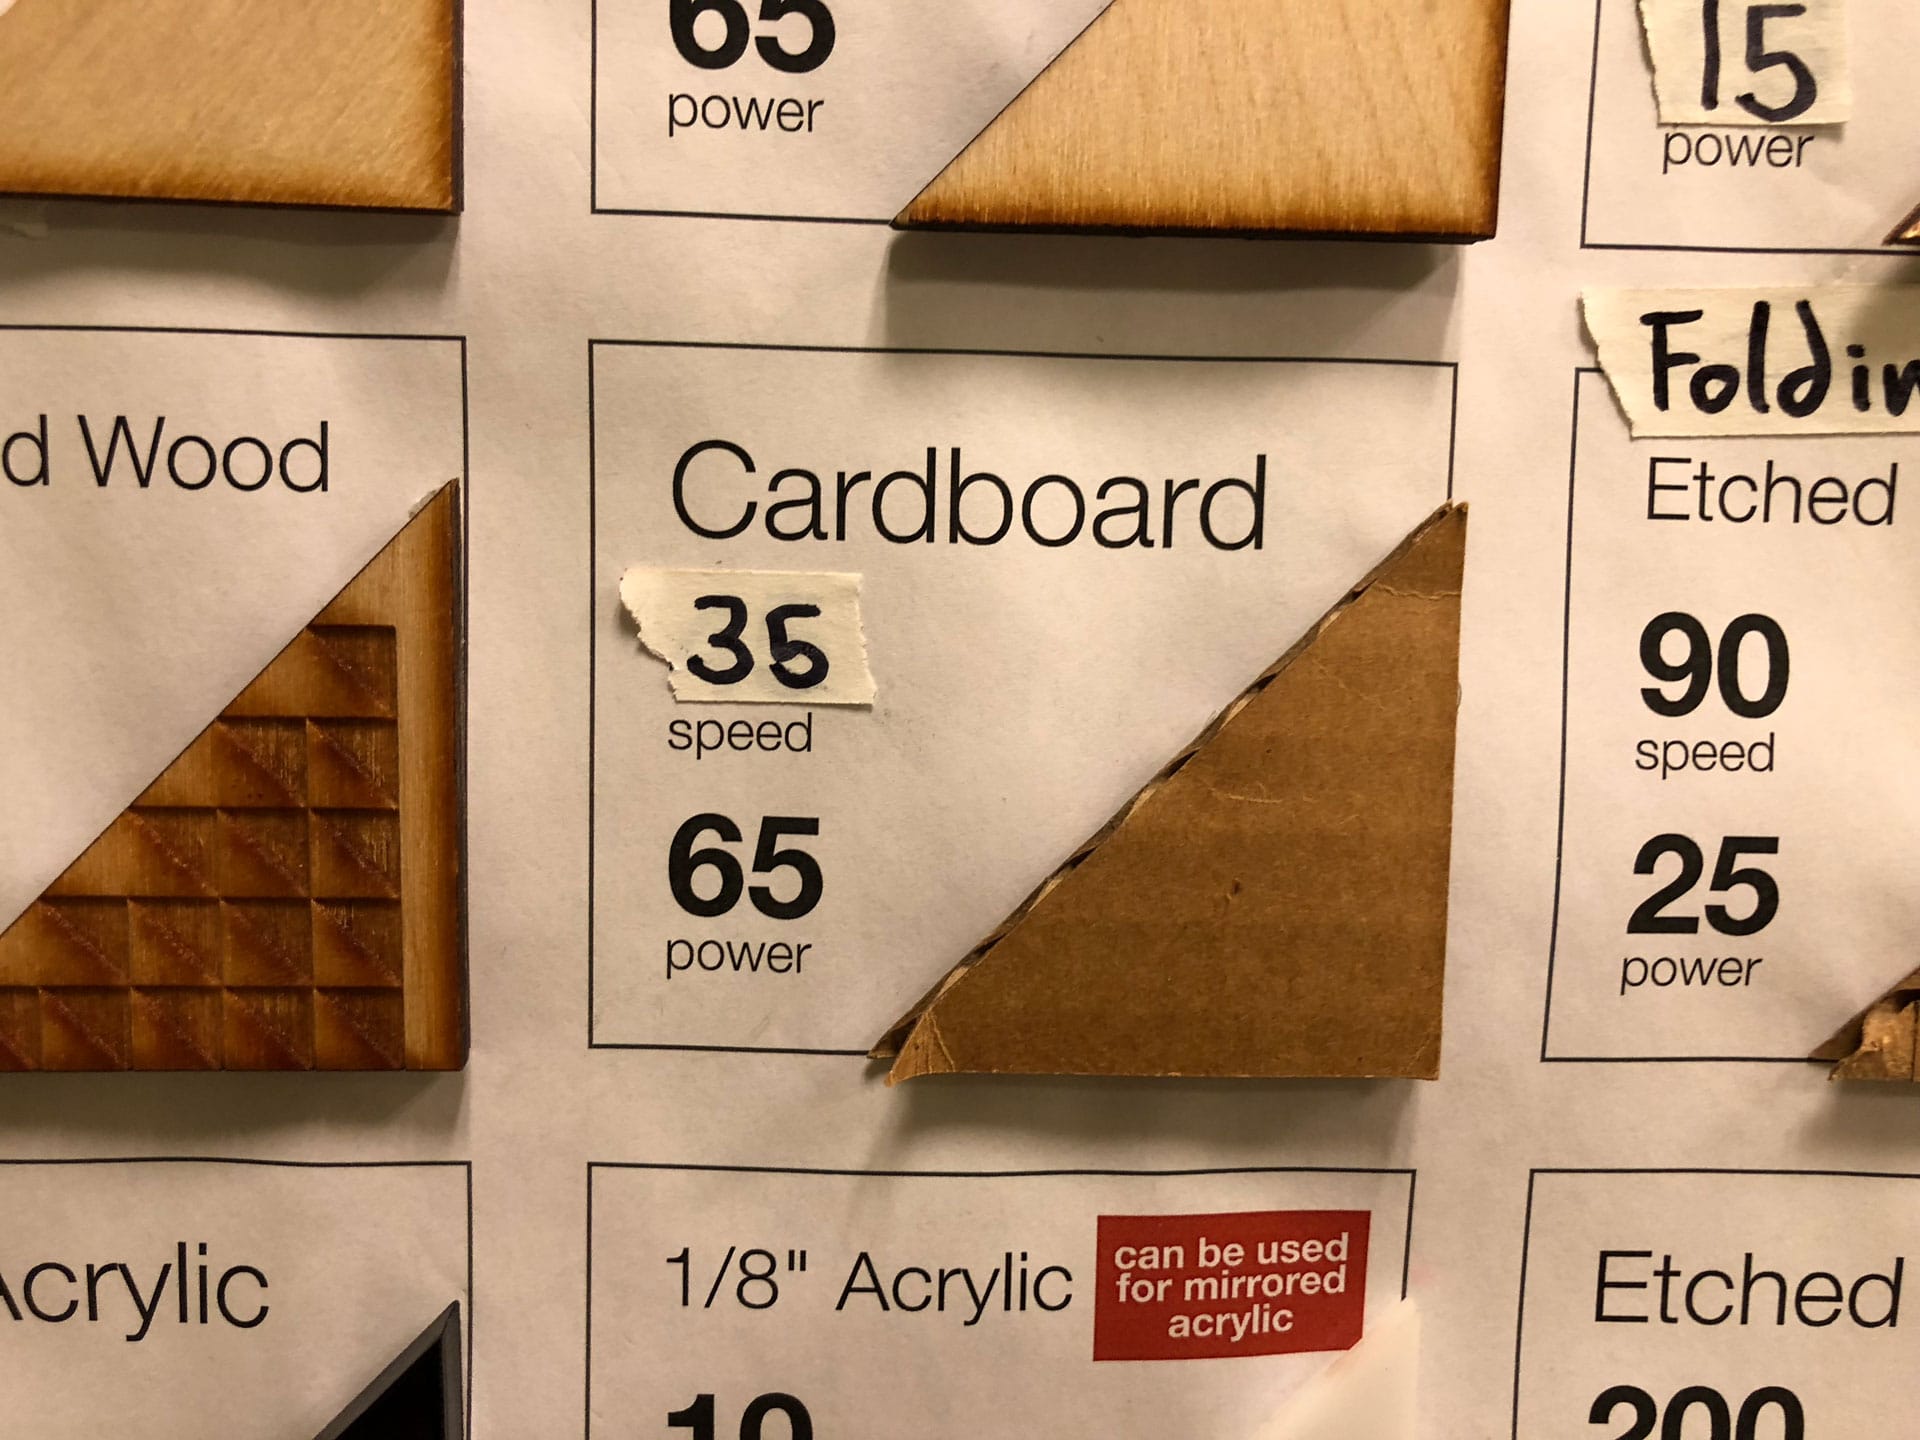
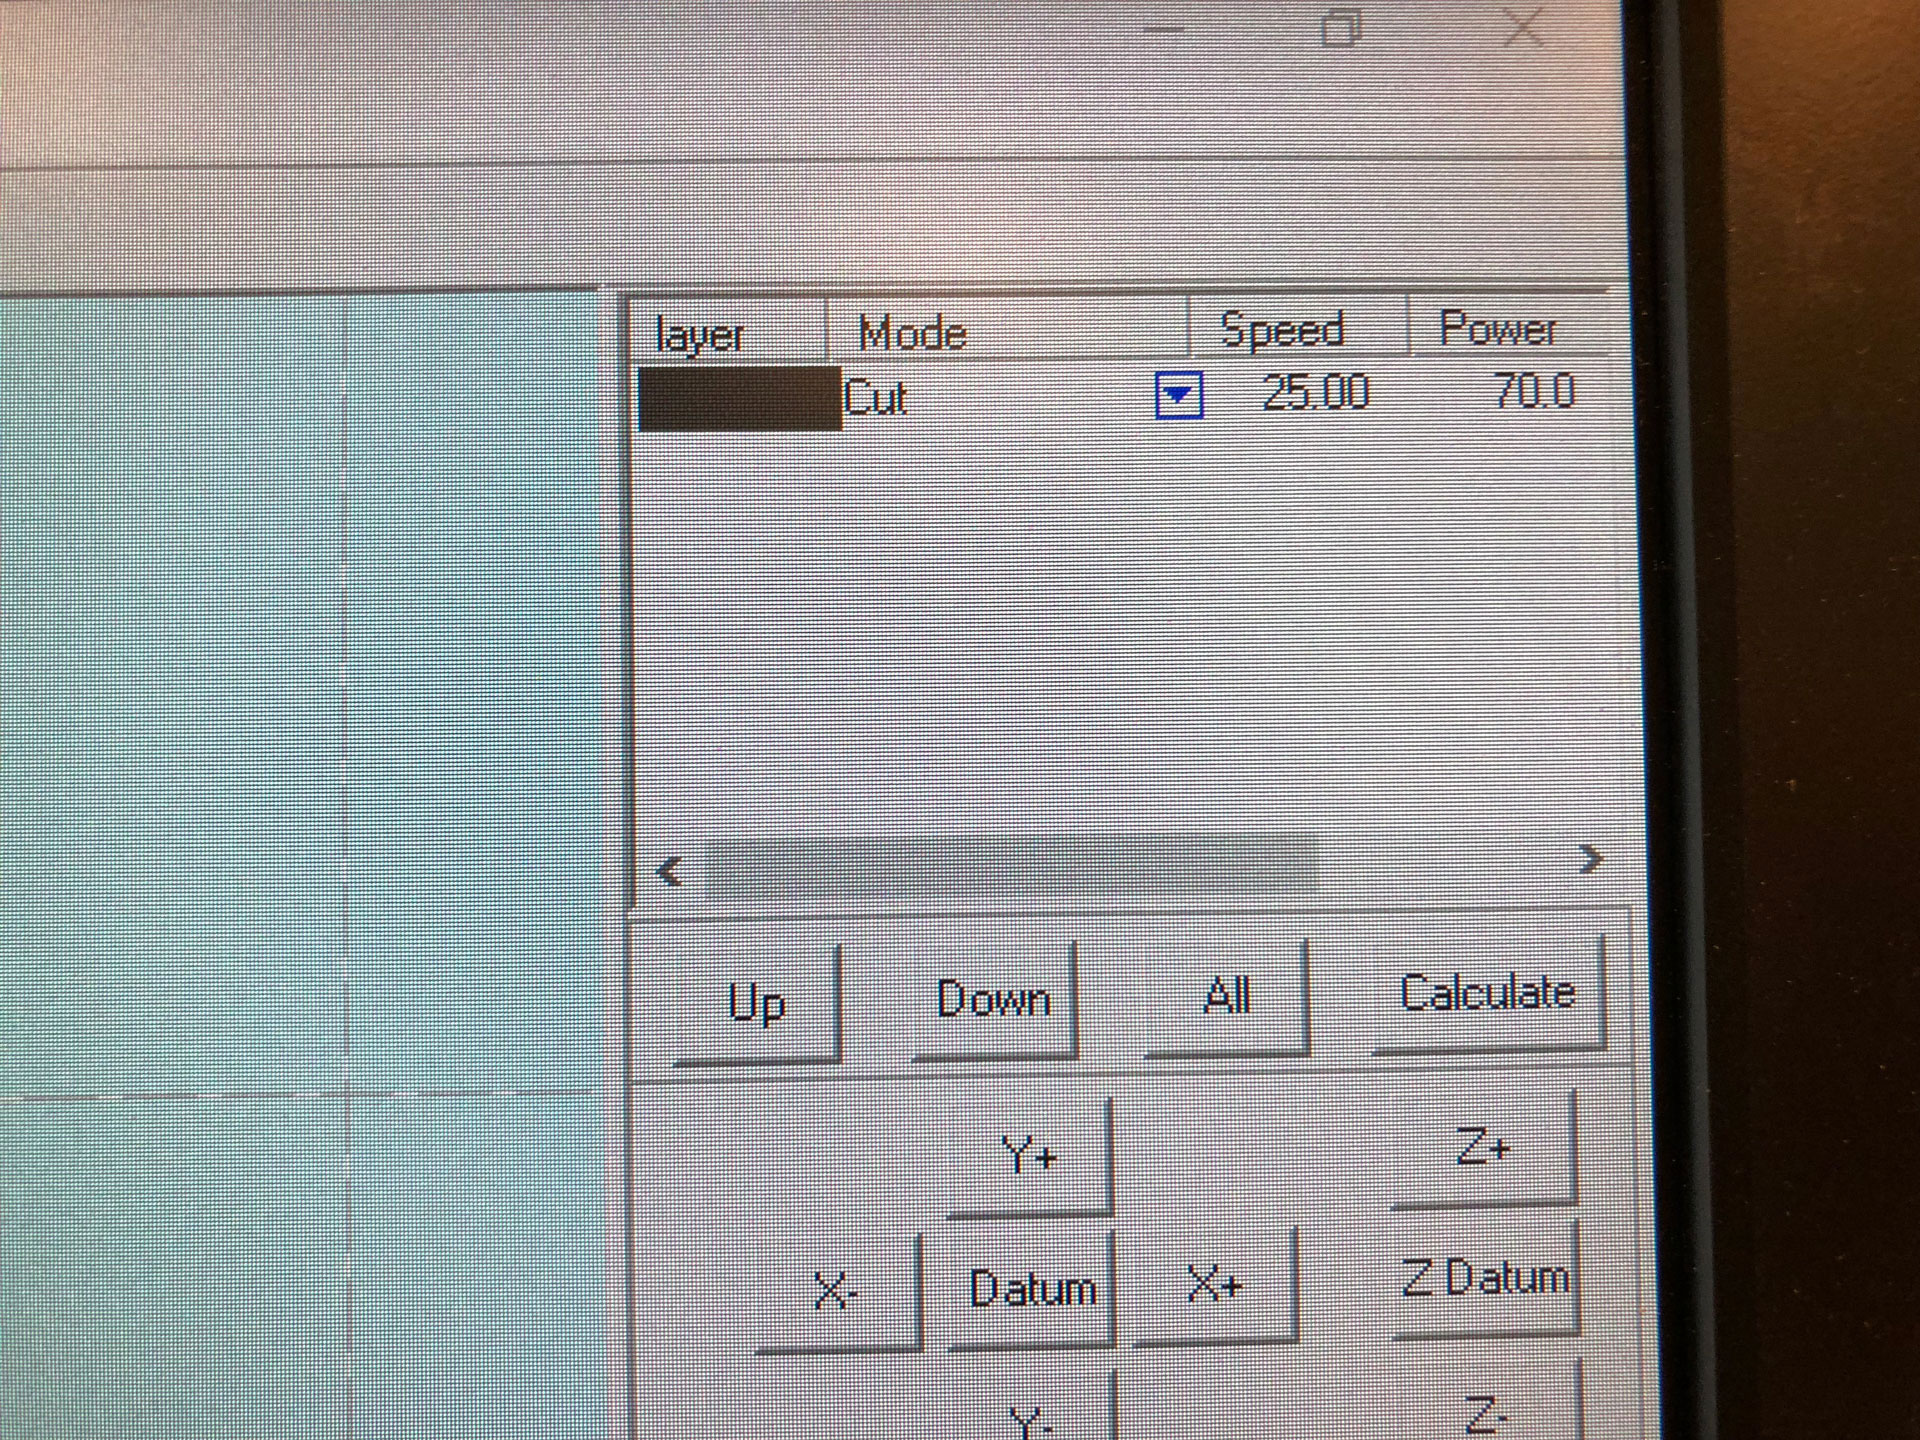
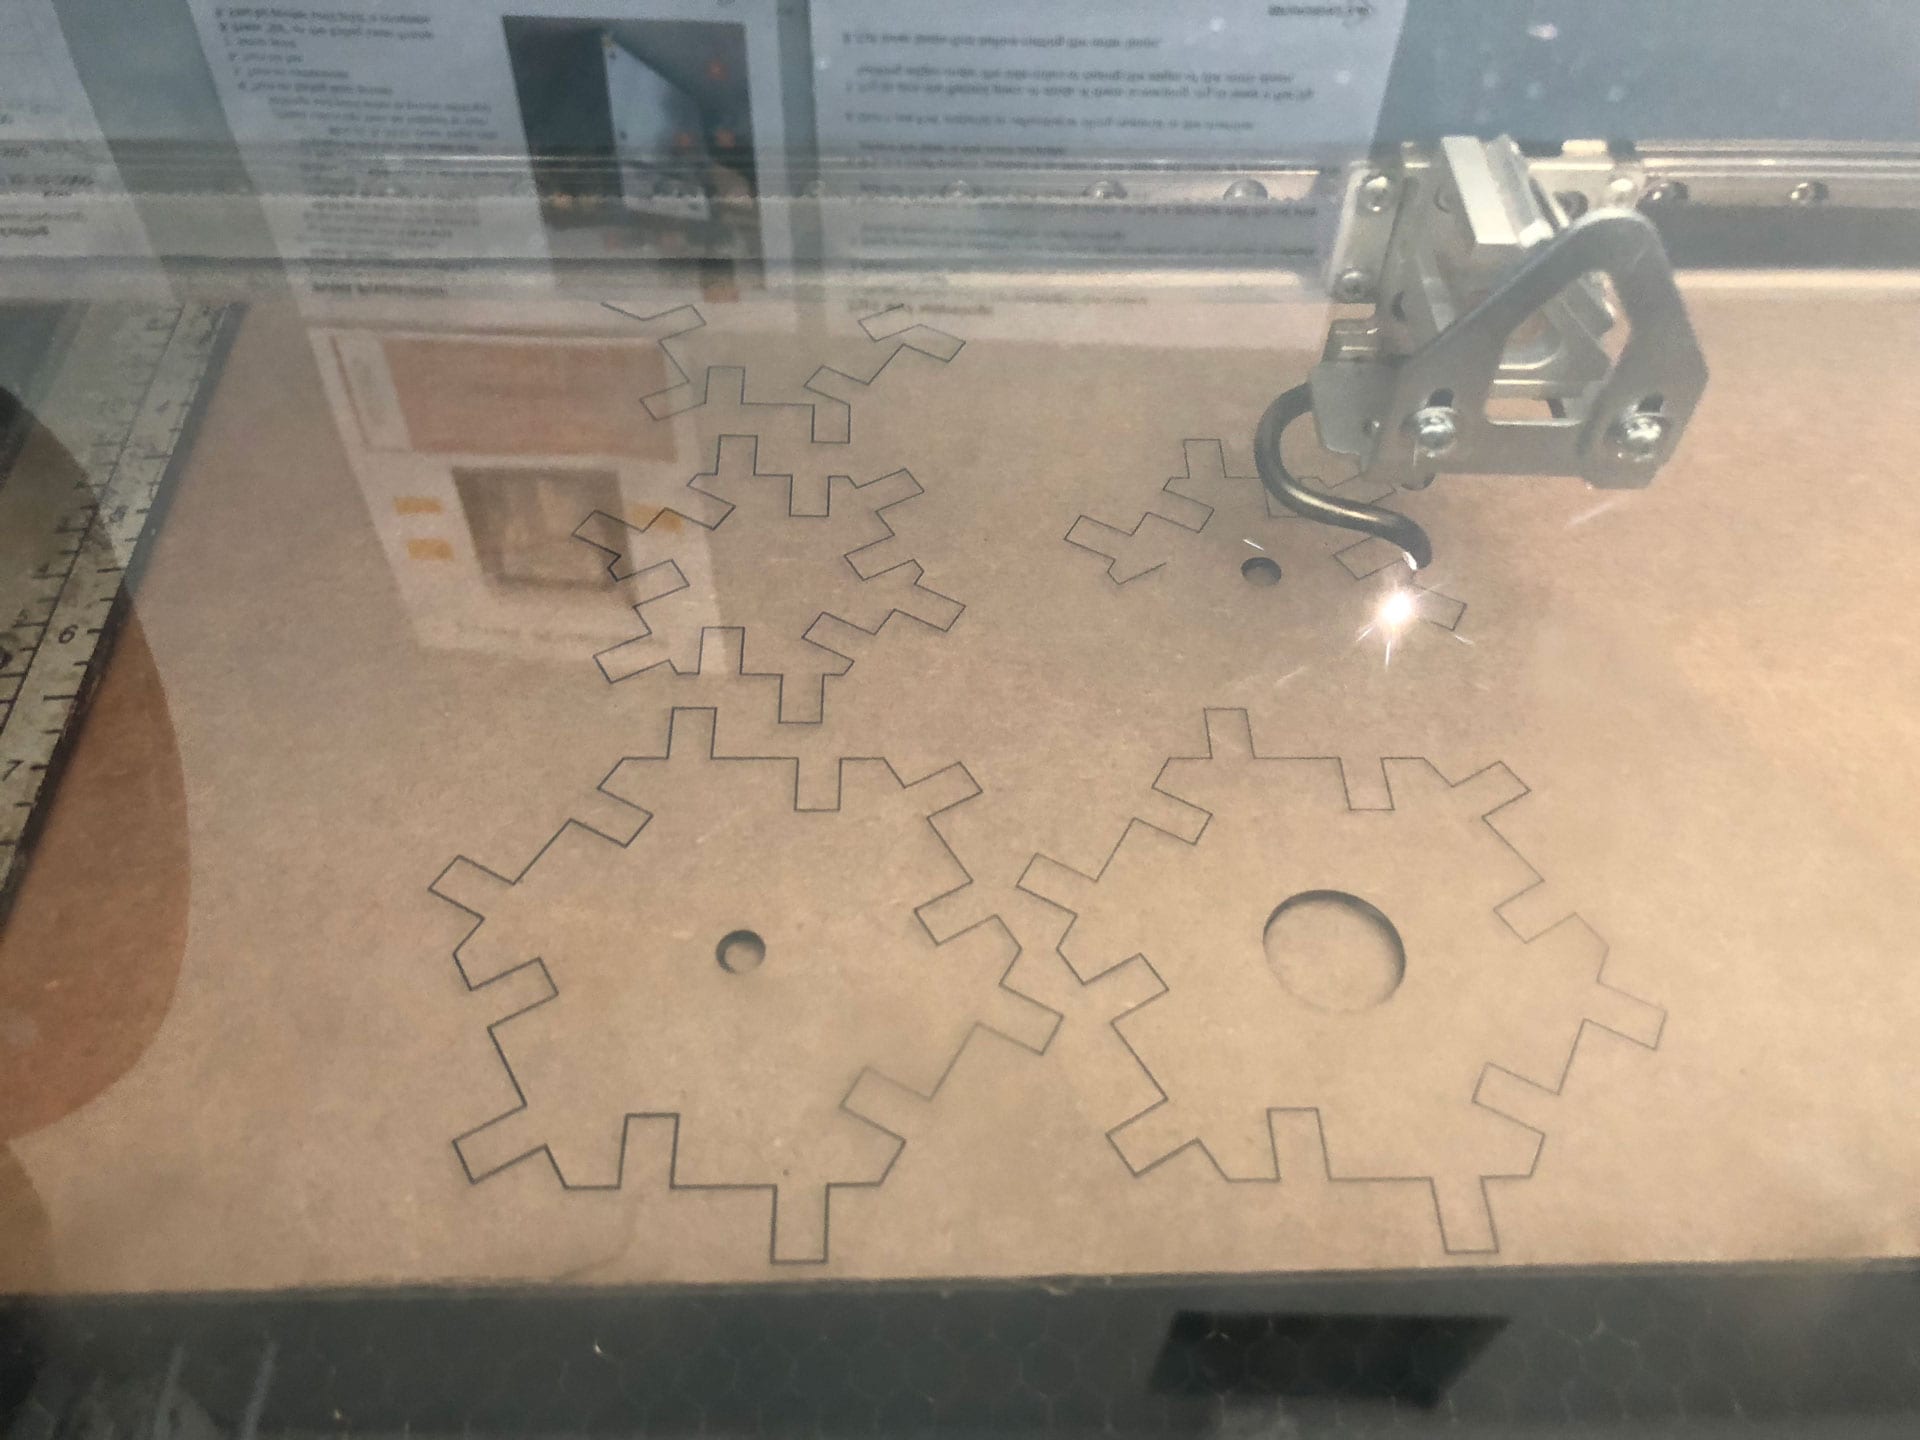
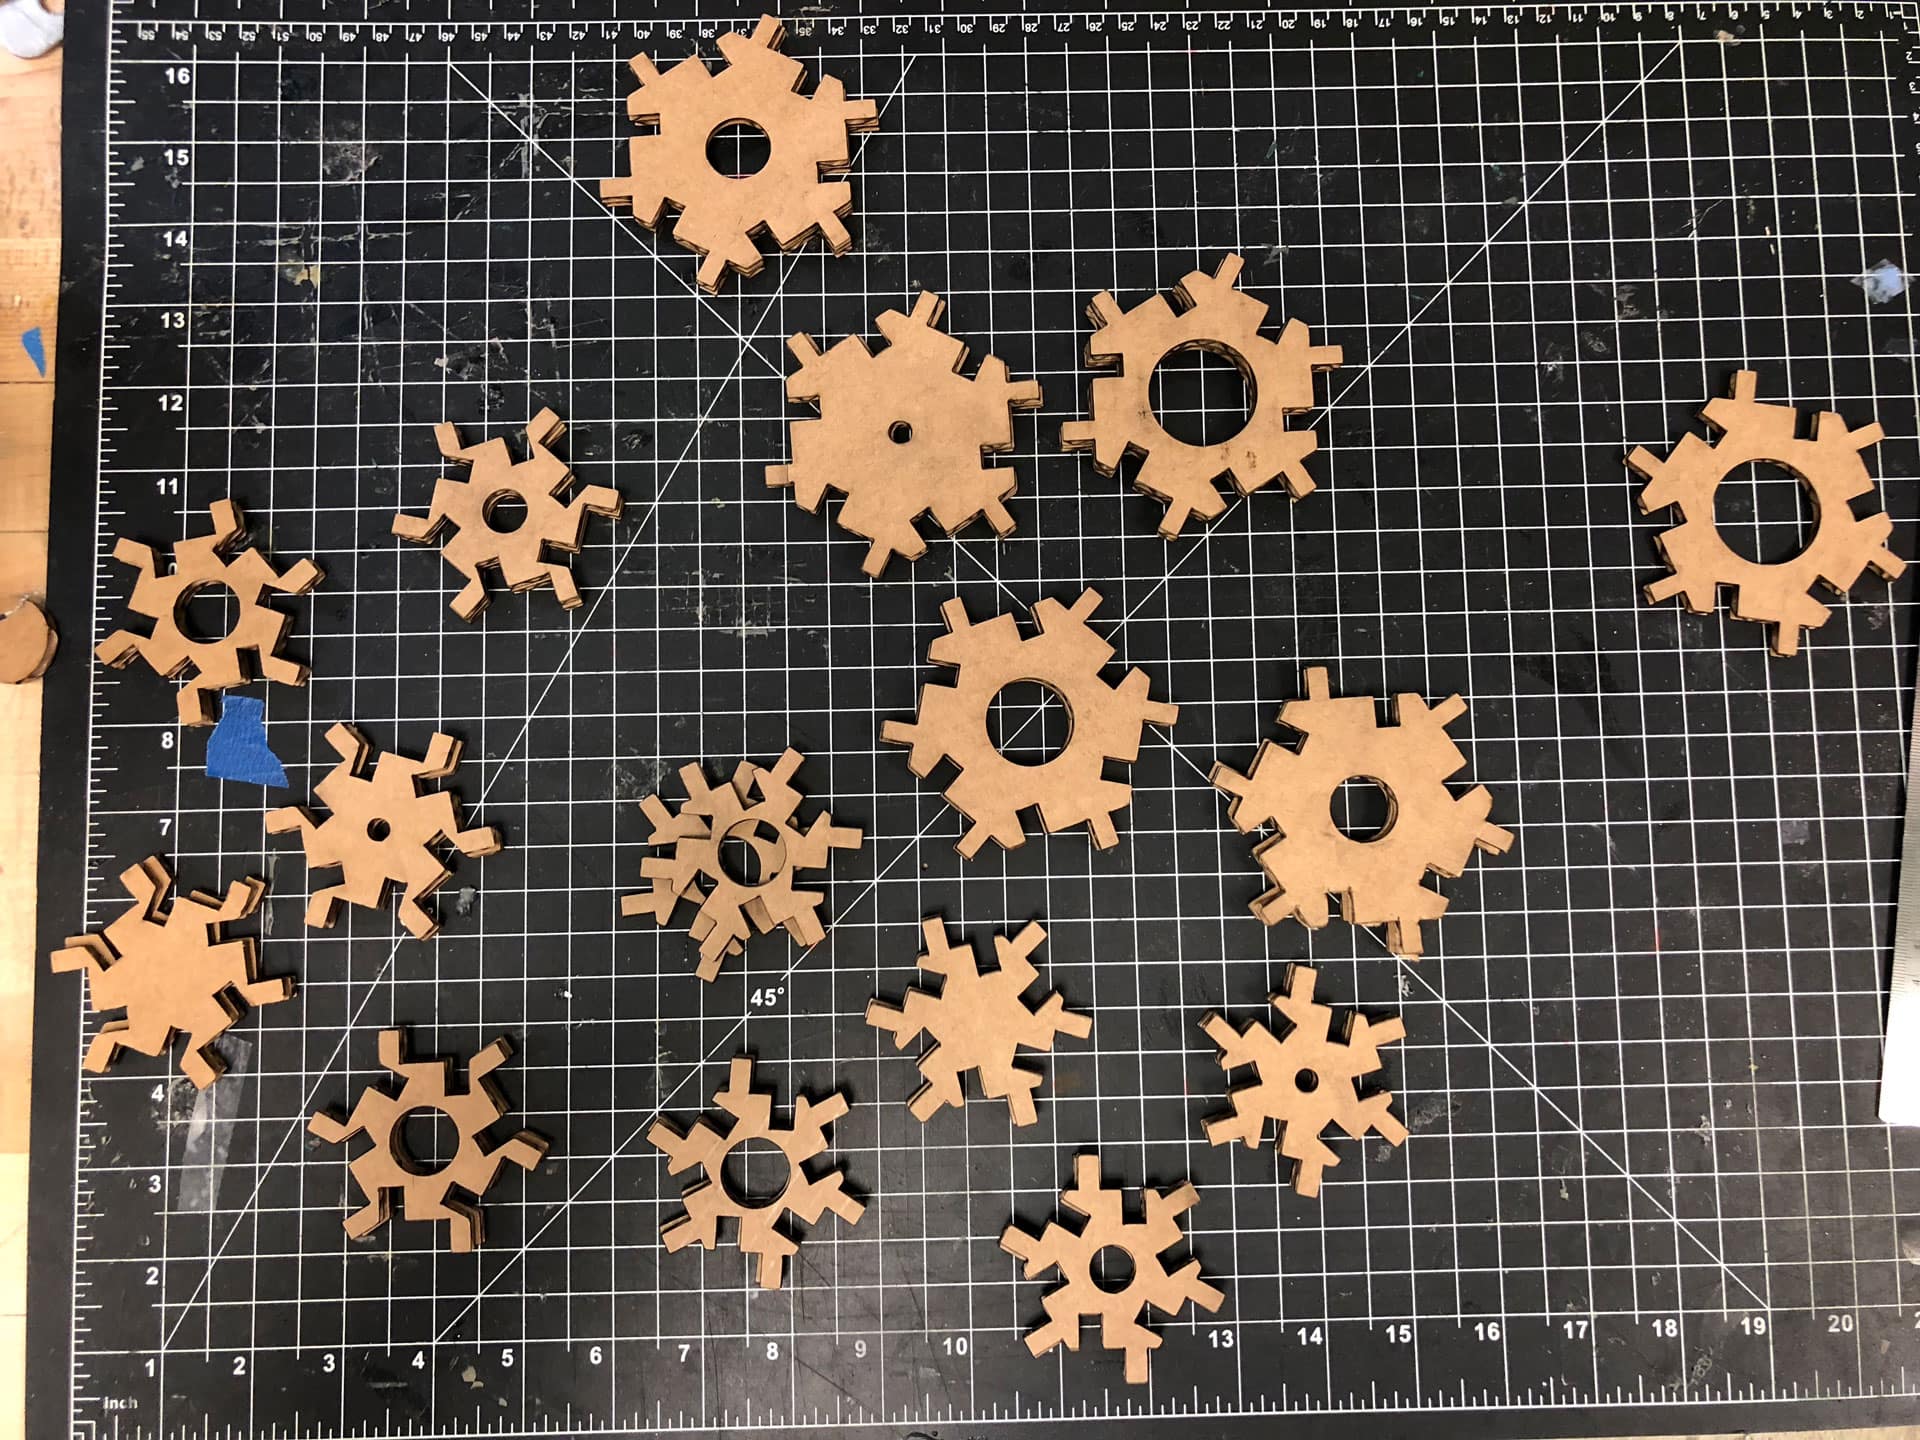
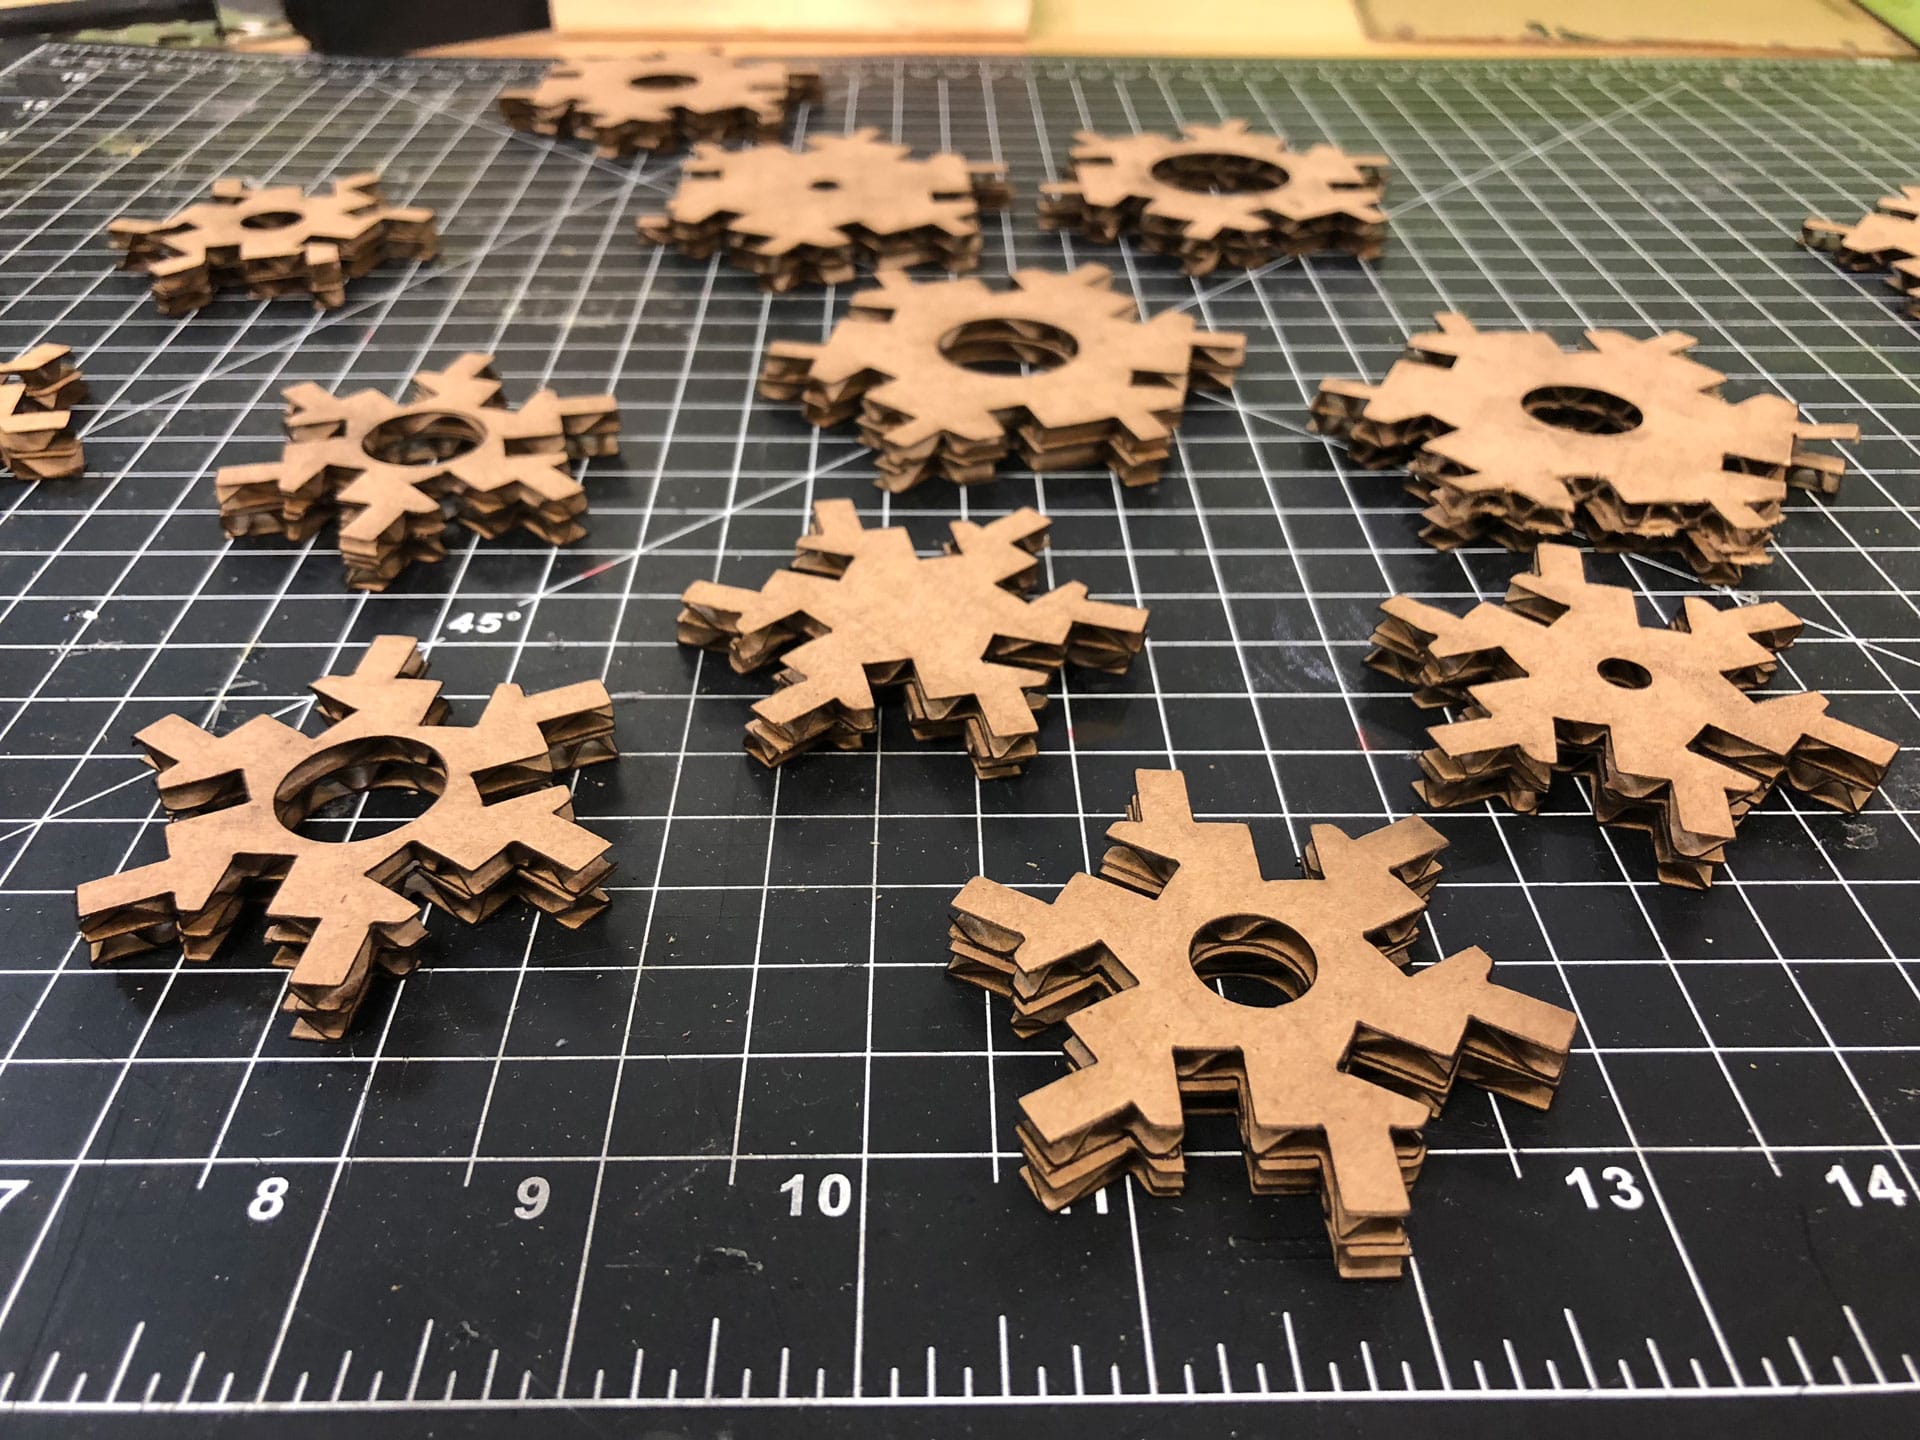
In Rhino, I added the varying dot patterns onto each of the three sketches. I then saved these files to the “cloud” (NuVu’s network) so I could access them from the computer connected to the laser cutter at NuVu (the space where I will be laser cutting the blocks). I had to test a few settings for the cardboard material to be cut on NuVu’s Rabit Laser 60W laser cutter. My initial settings (speed 35 and power 65) resulted in the laser not cutting through the cardboard material completely. The final settings that worked adequately were of speed 25 and power 70.
I wanted to test a few sizes and designs of the hexagon halftone block, so I created three versions in Fusion 360: two versions of 2” width and one version of 3” width. I exported .DXF files of each of the three versions of the base sketches and then brought them into Rhino for editing.
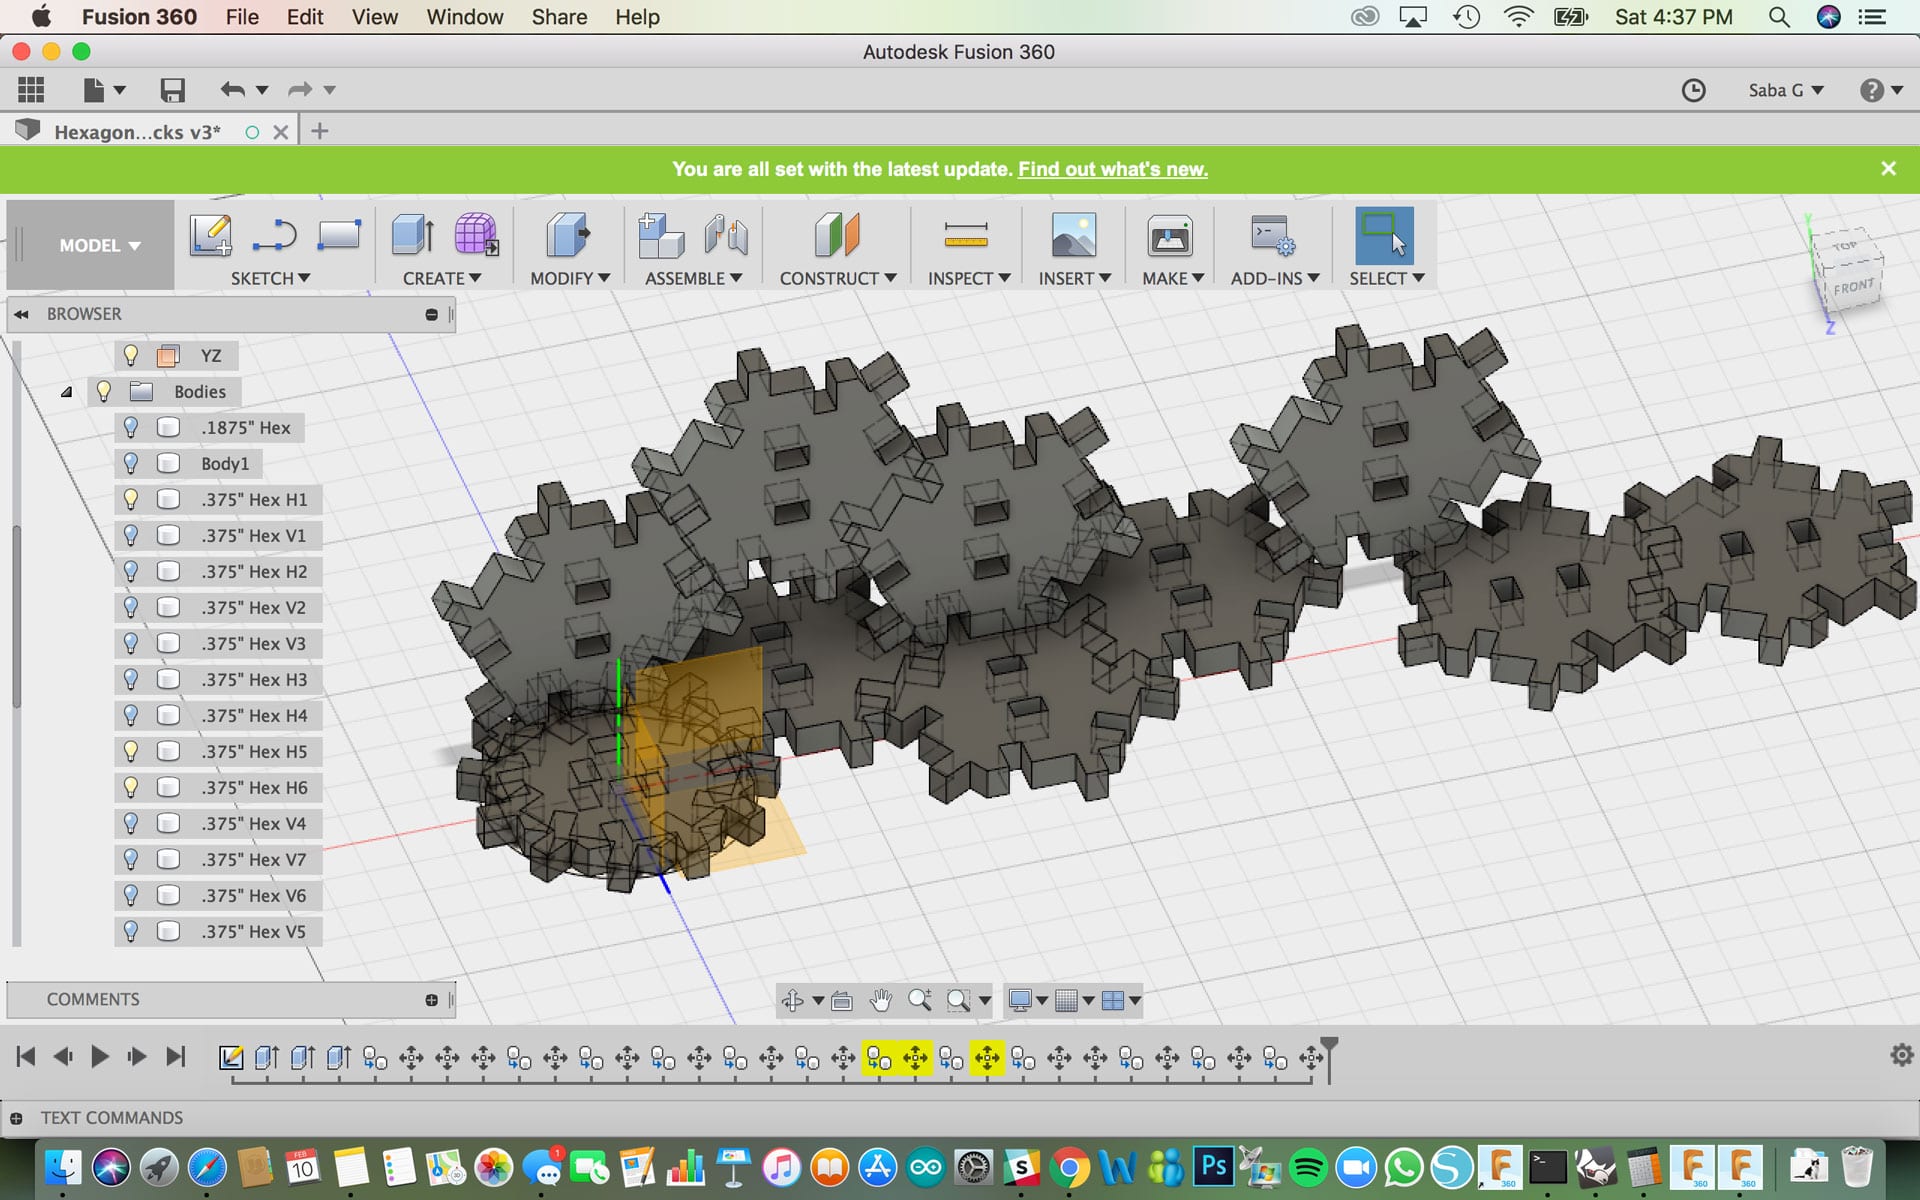
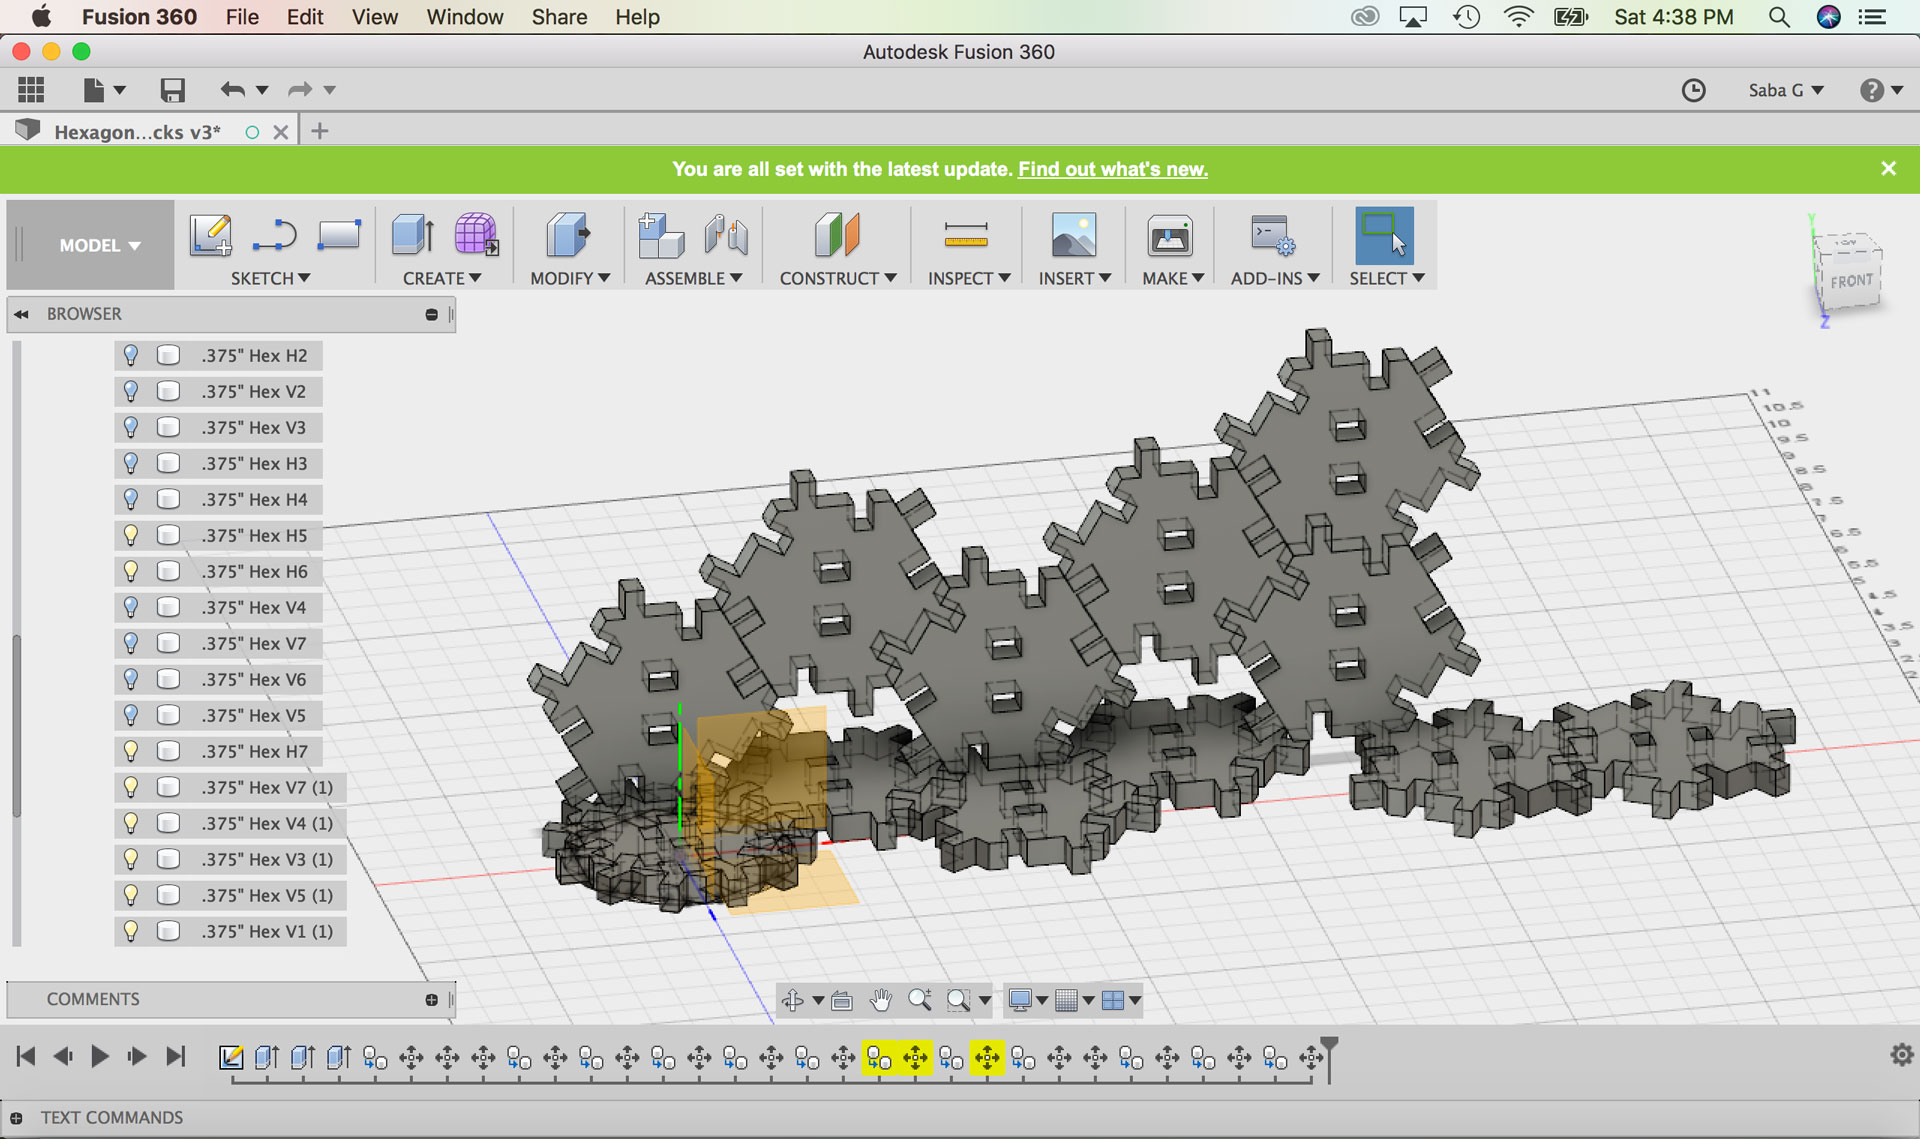
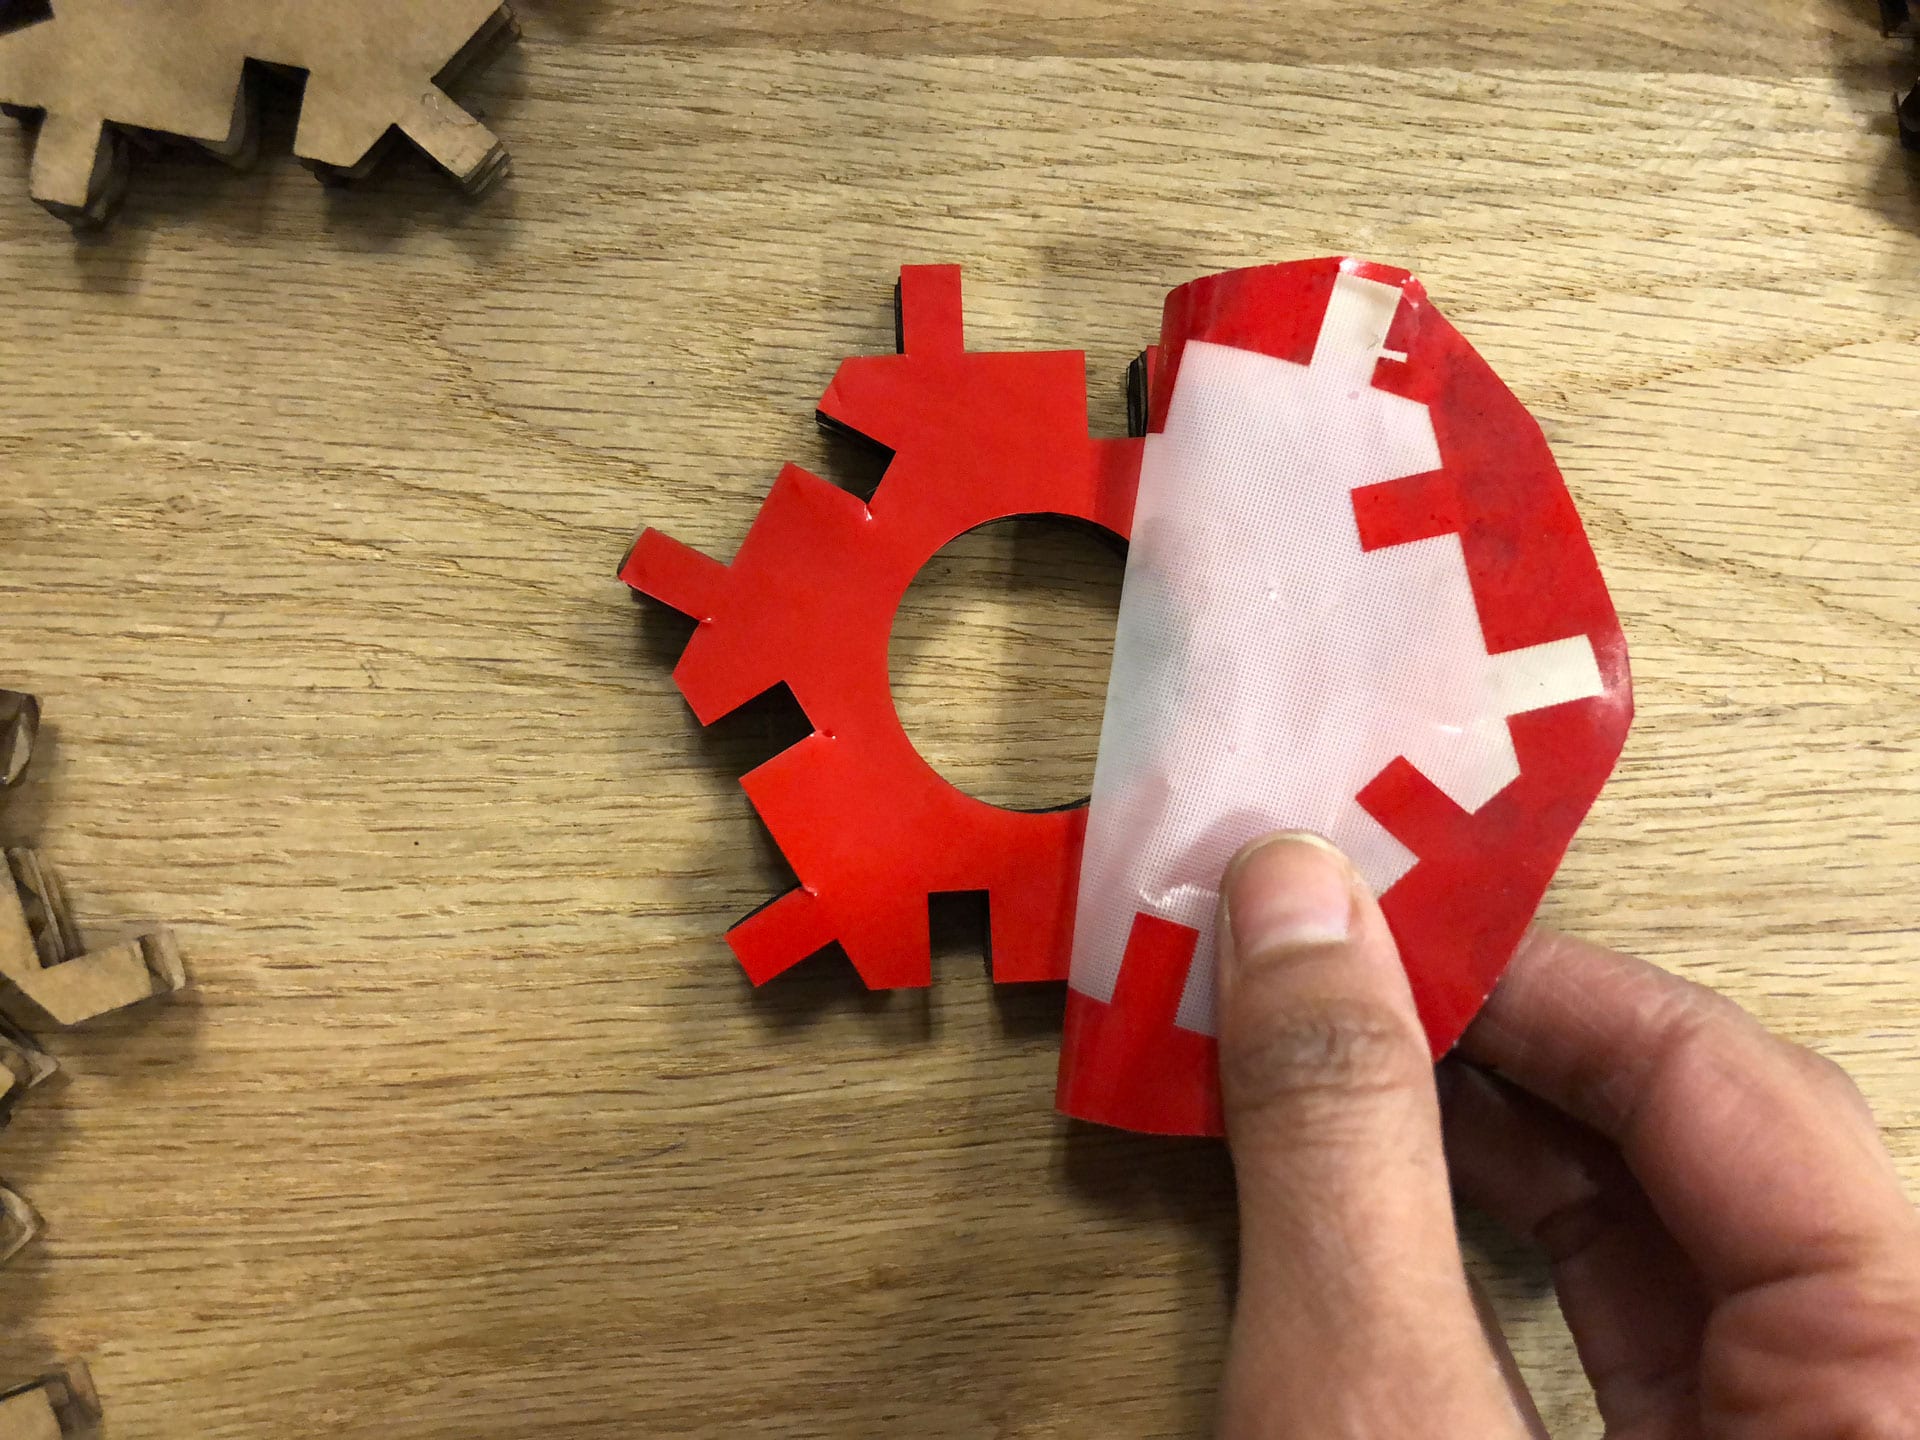
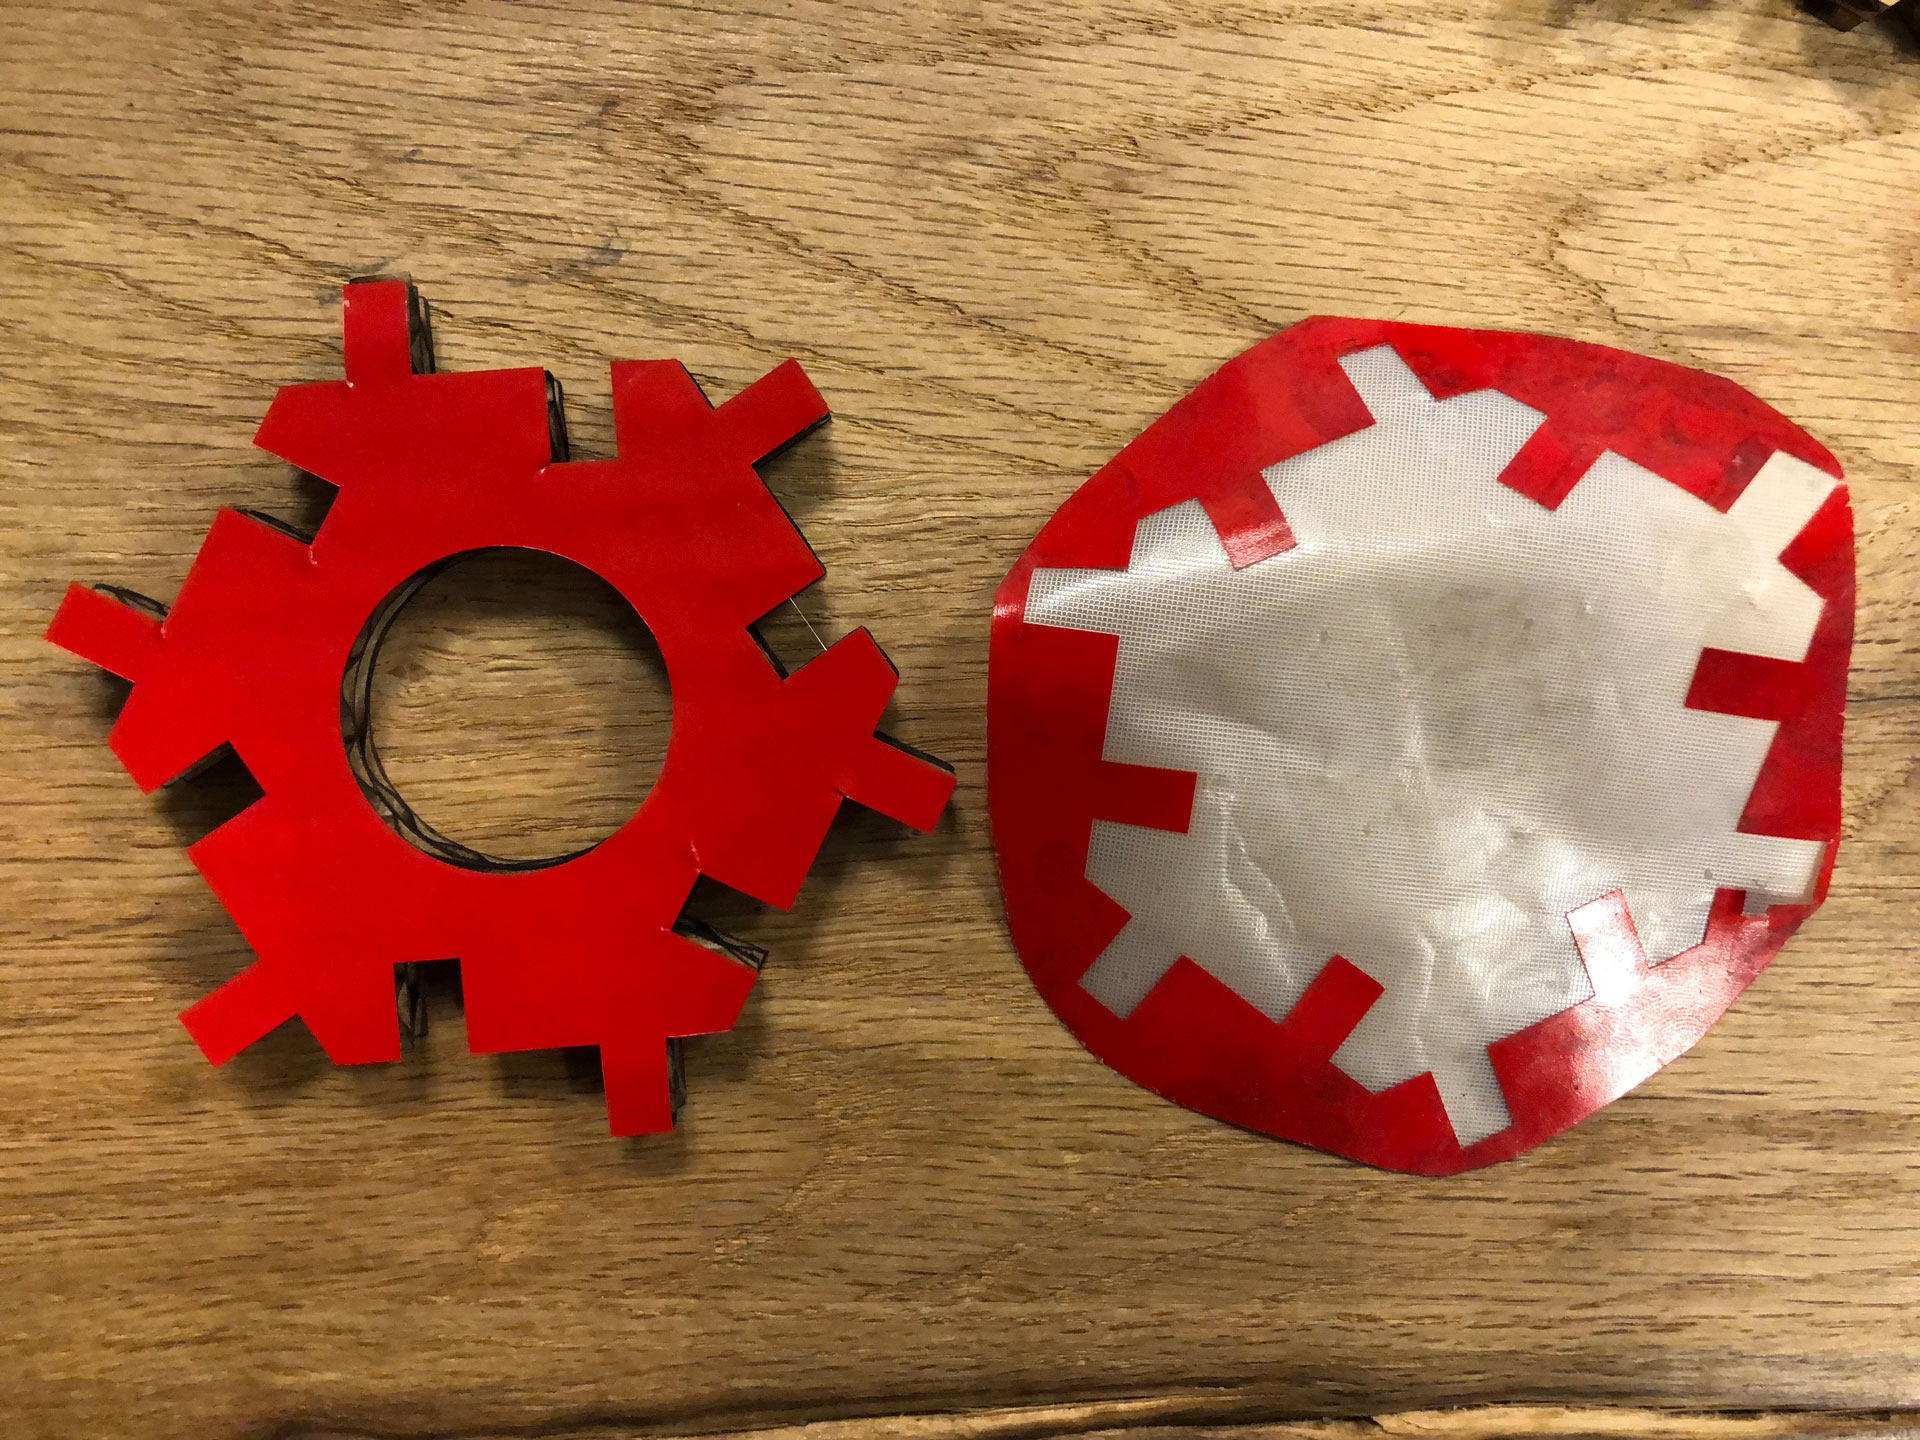
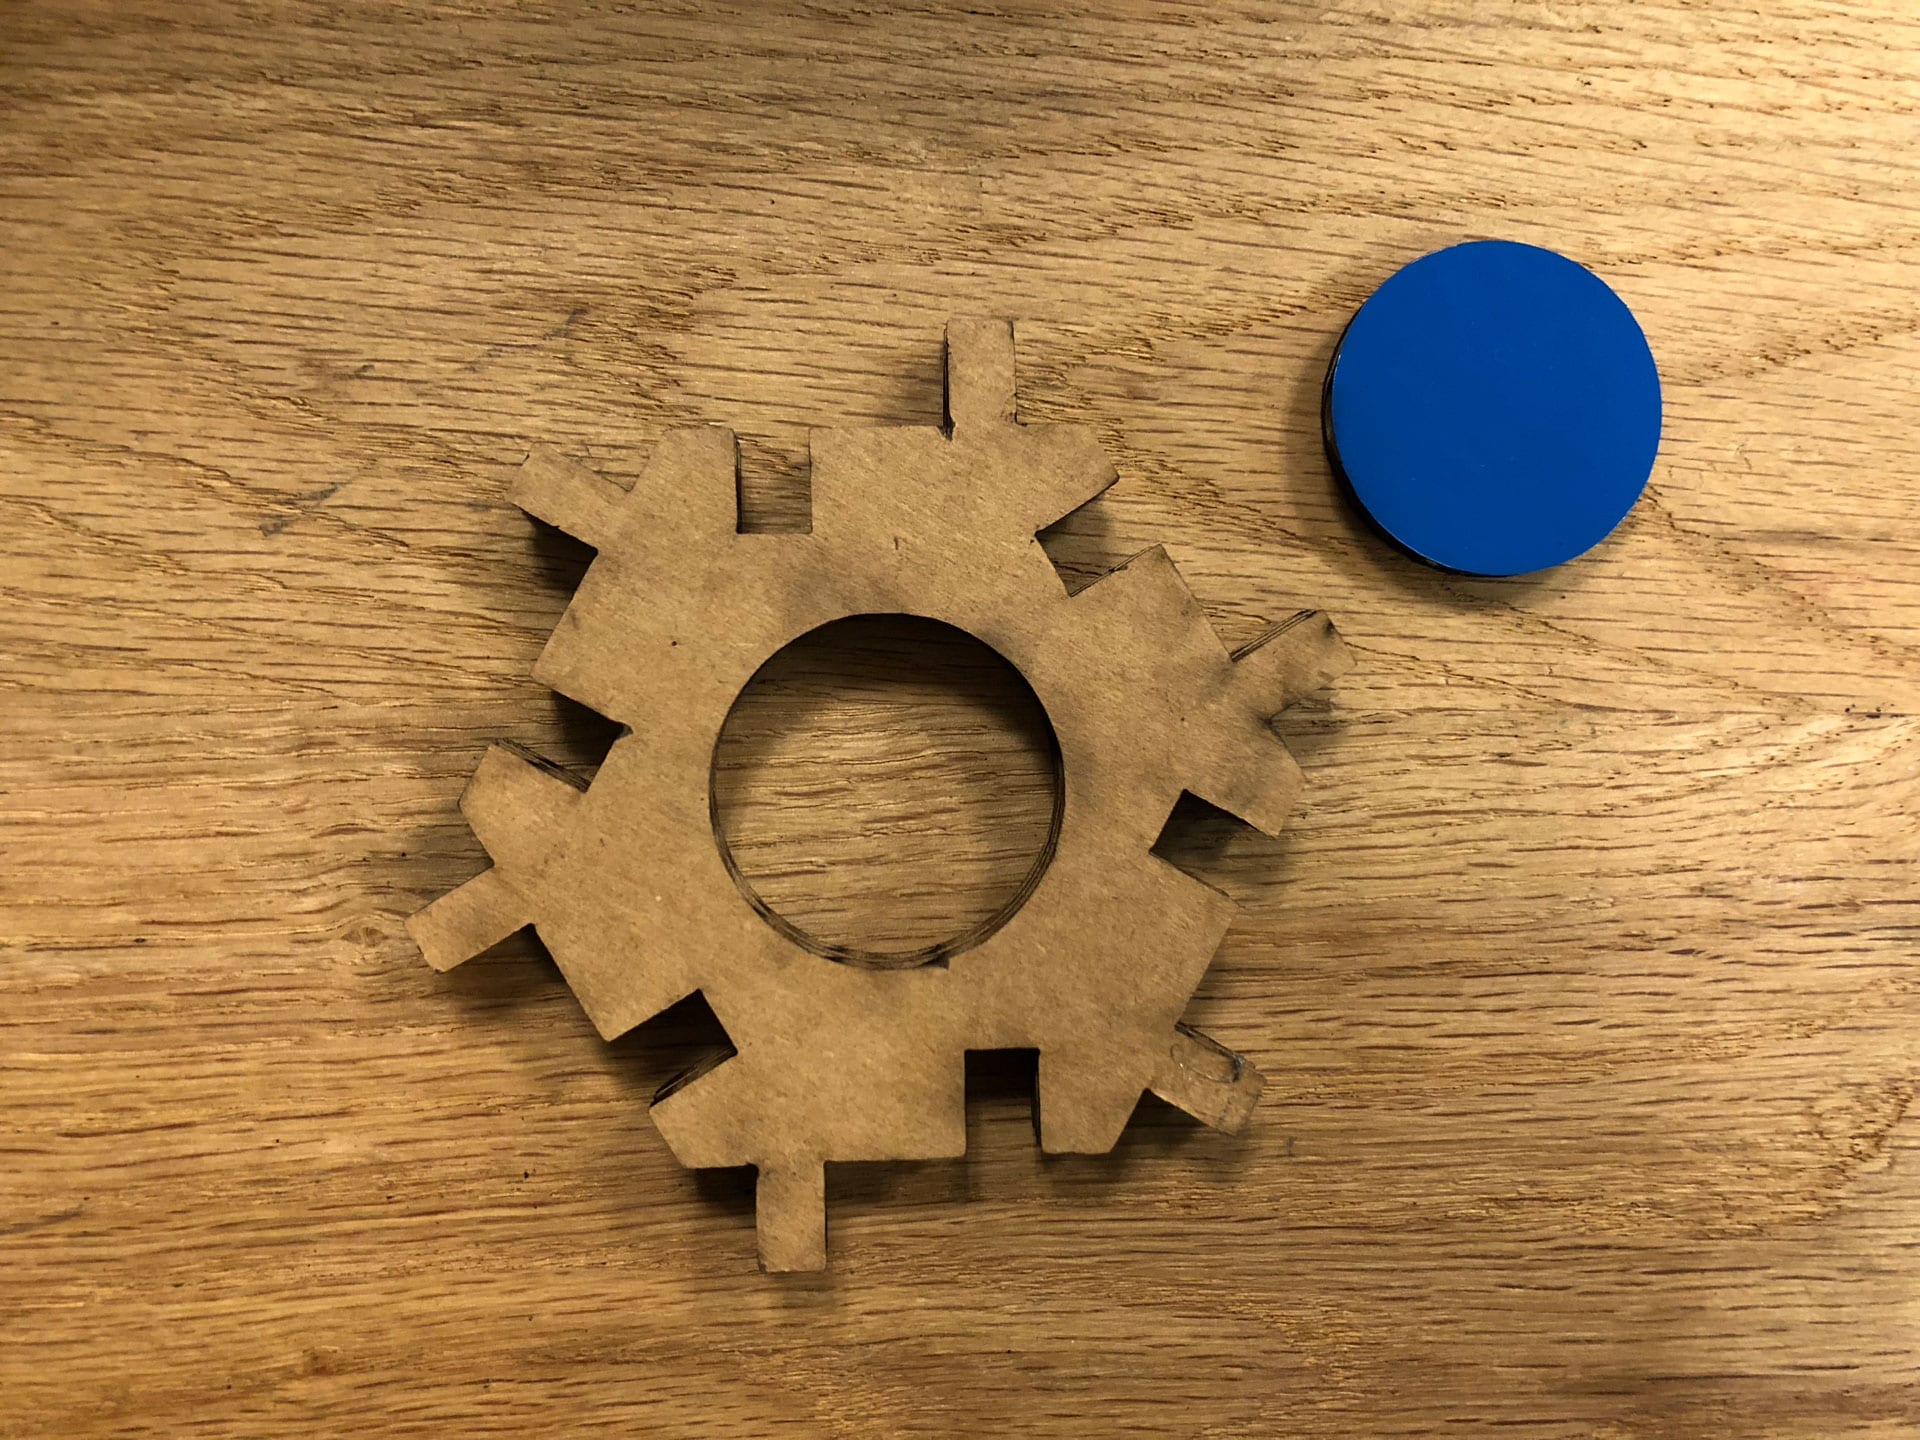
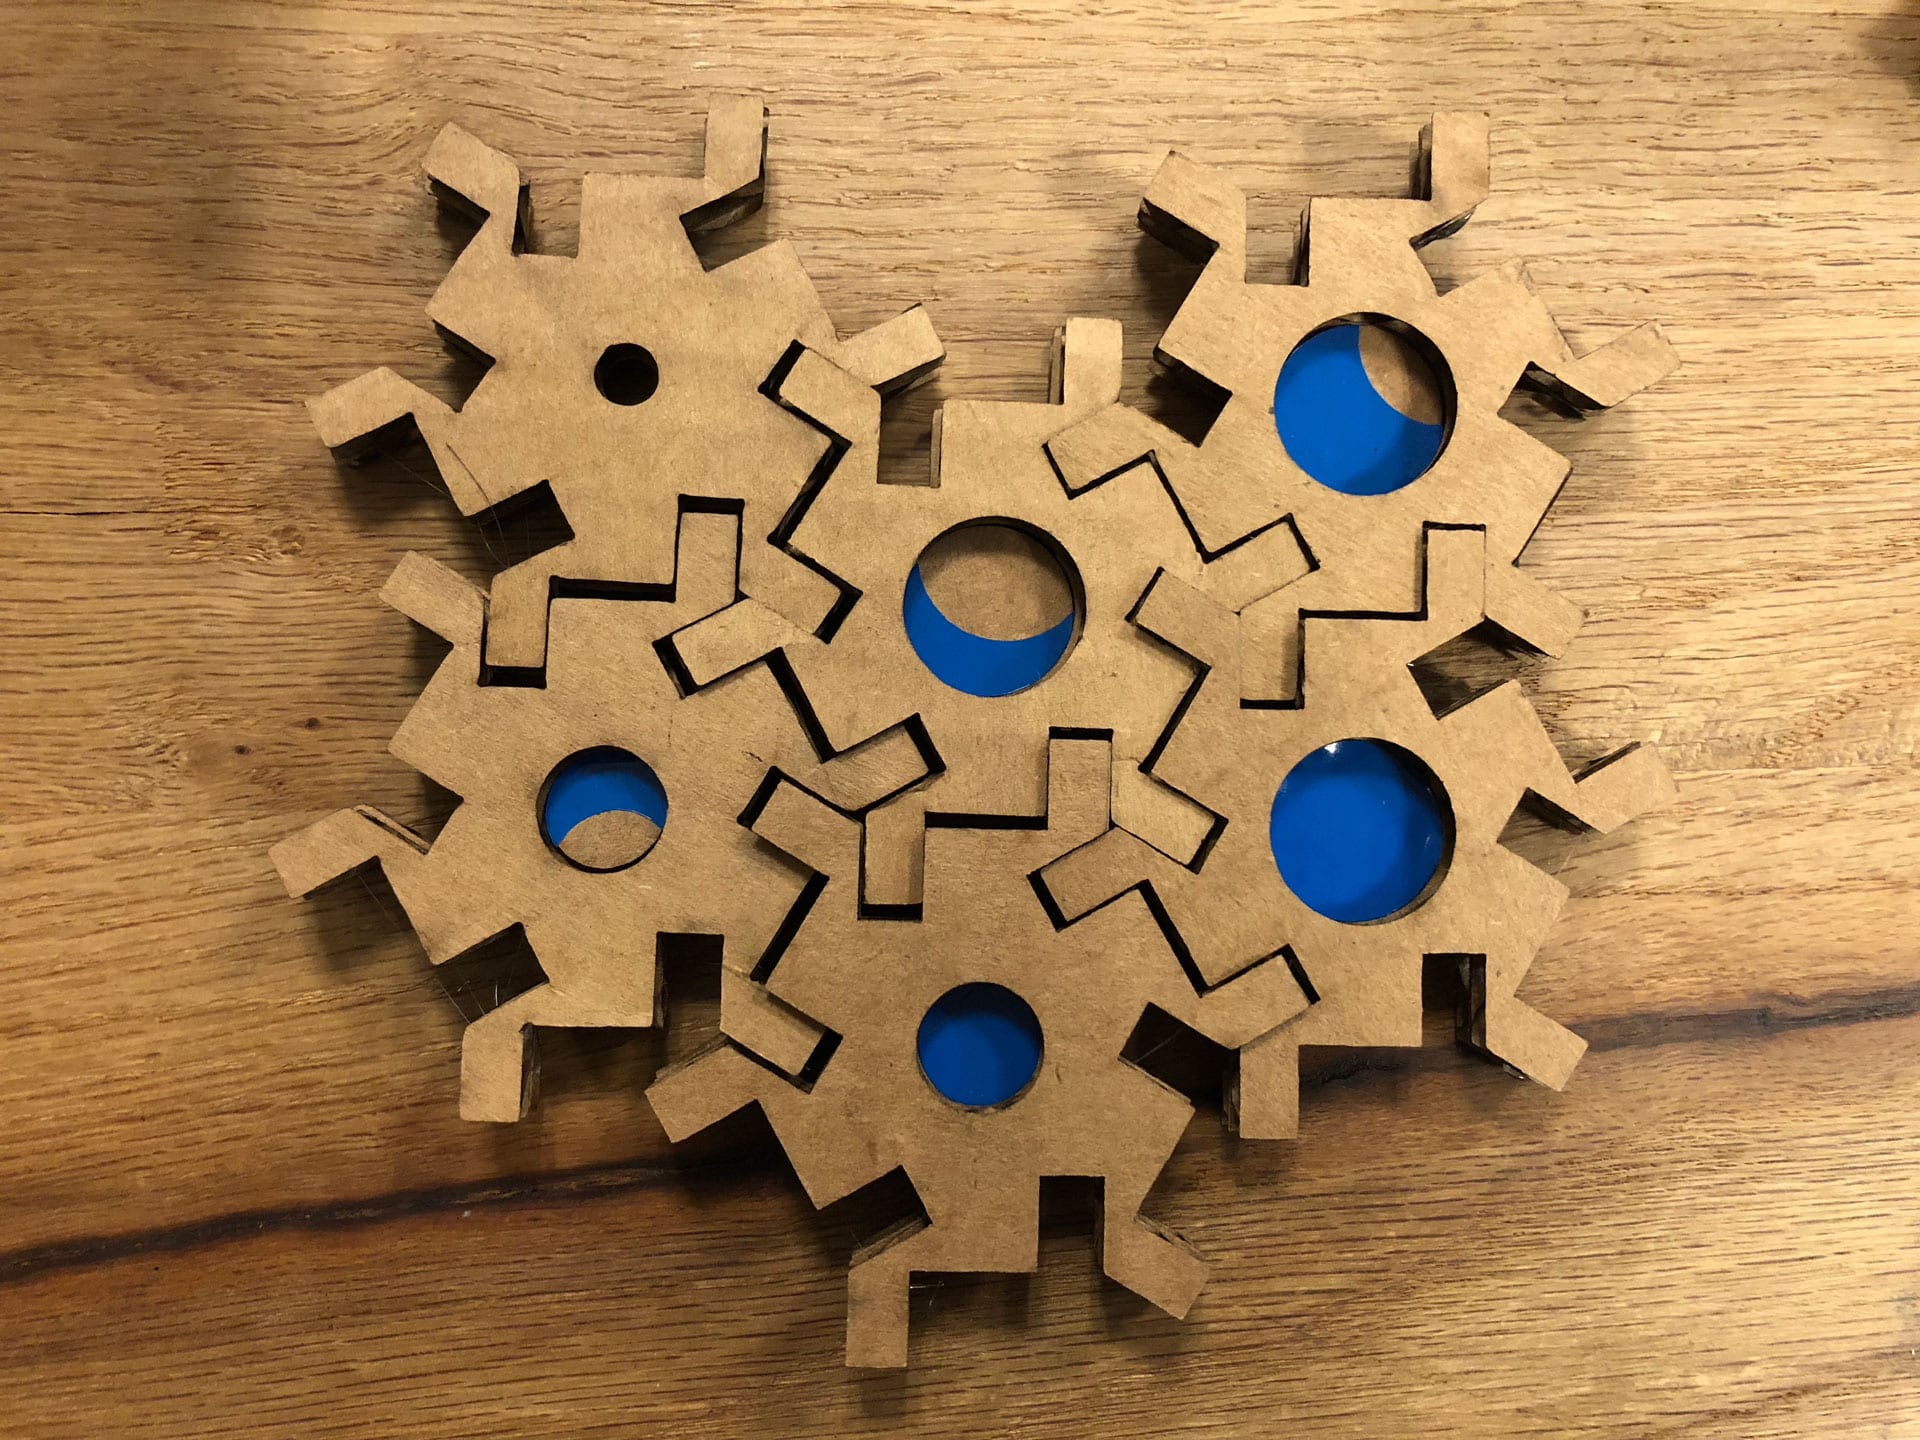
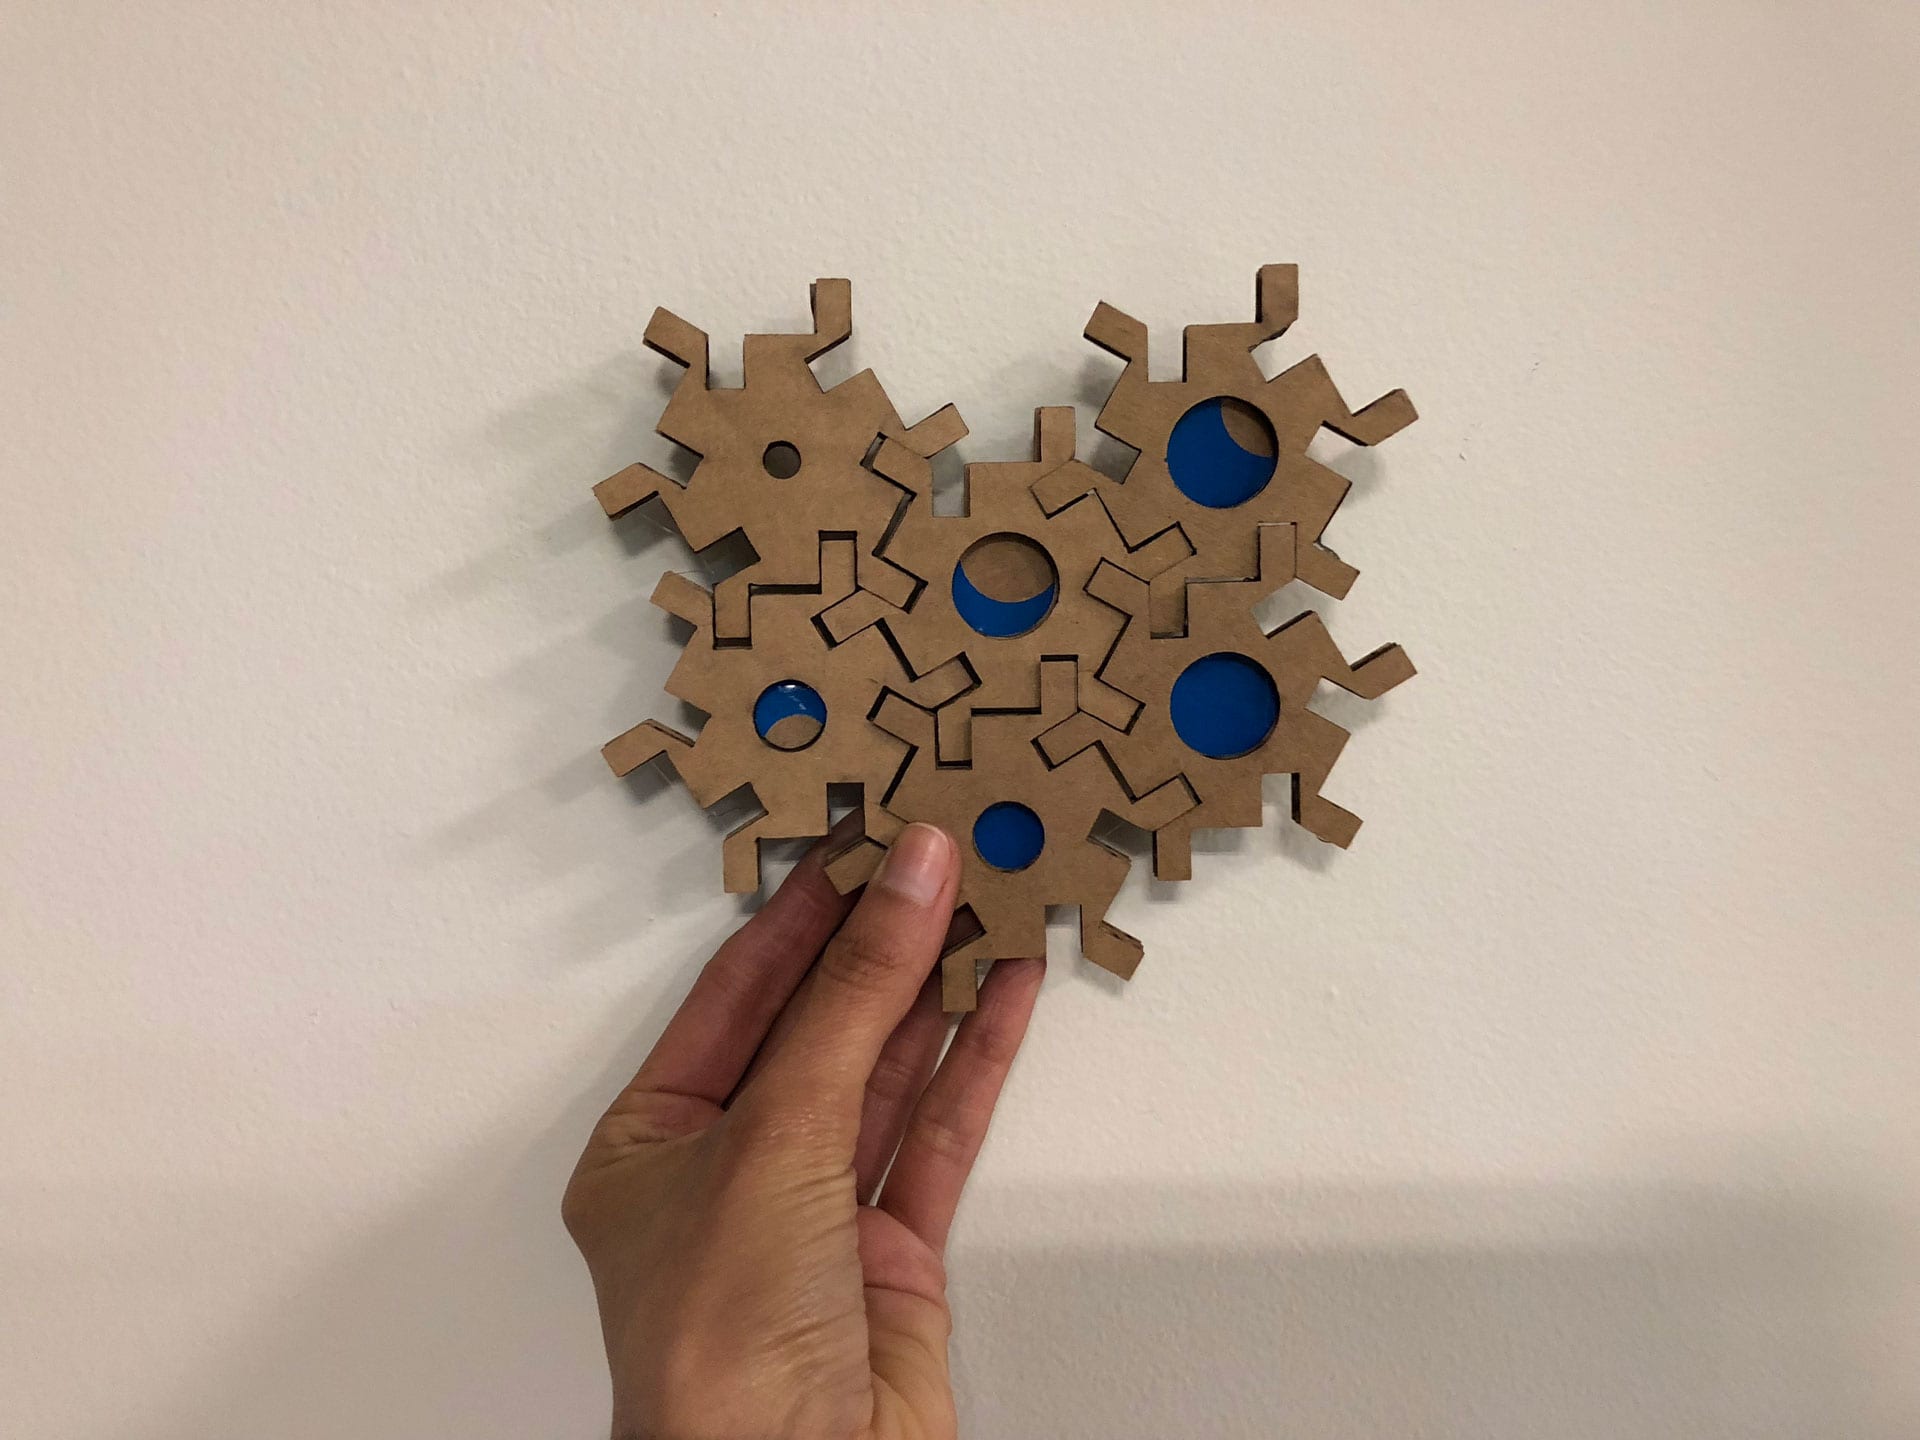
I double stacked the laser cut cardboard blocks for a combined depth of .375”. This greater depth was to create a more robust attachment when the blocks are assembled together in various combinations.

Download the Hex Halftone Block Rhino file.
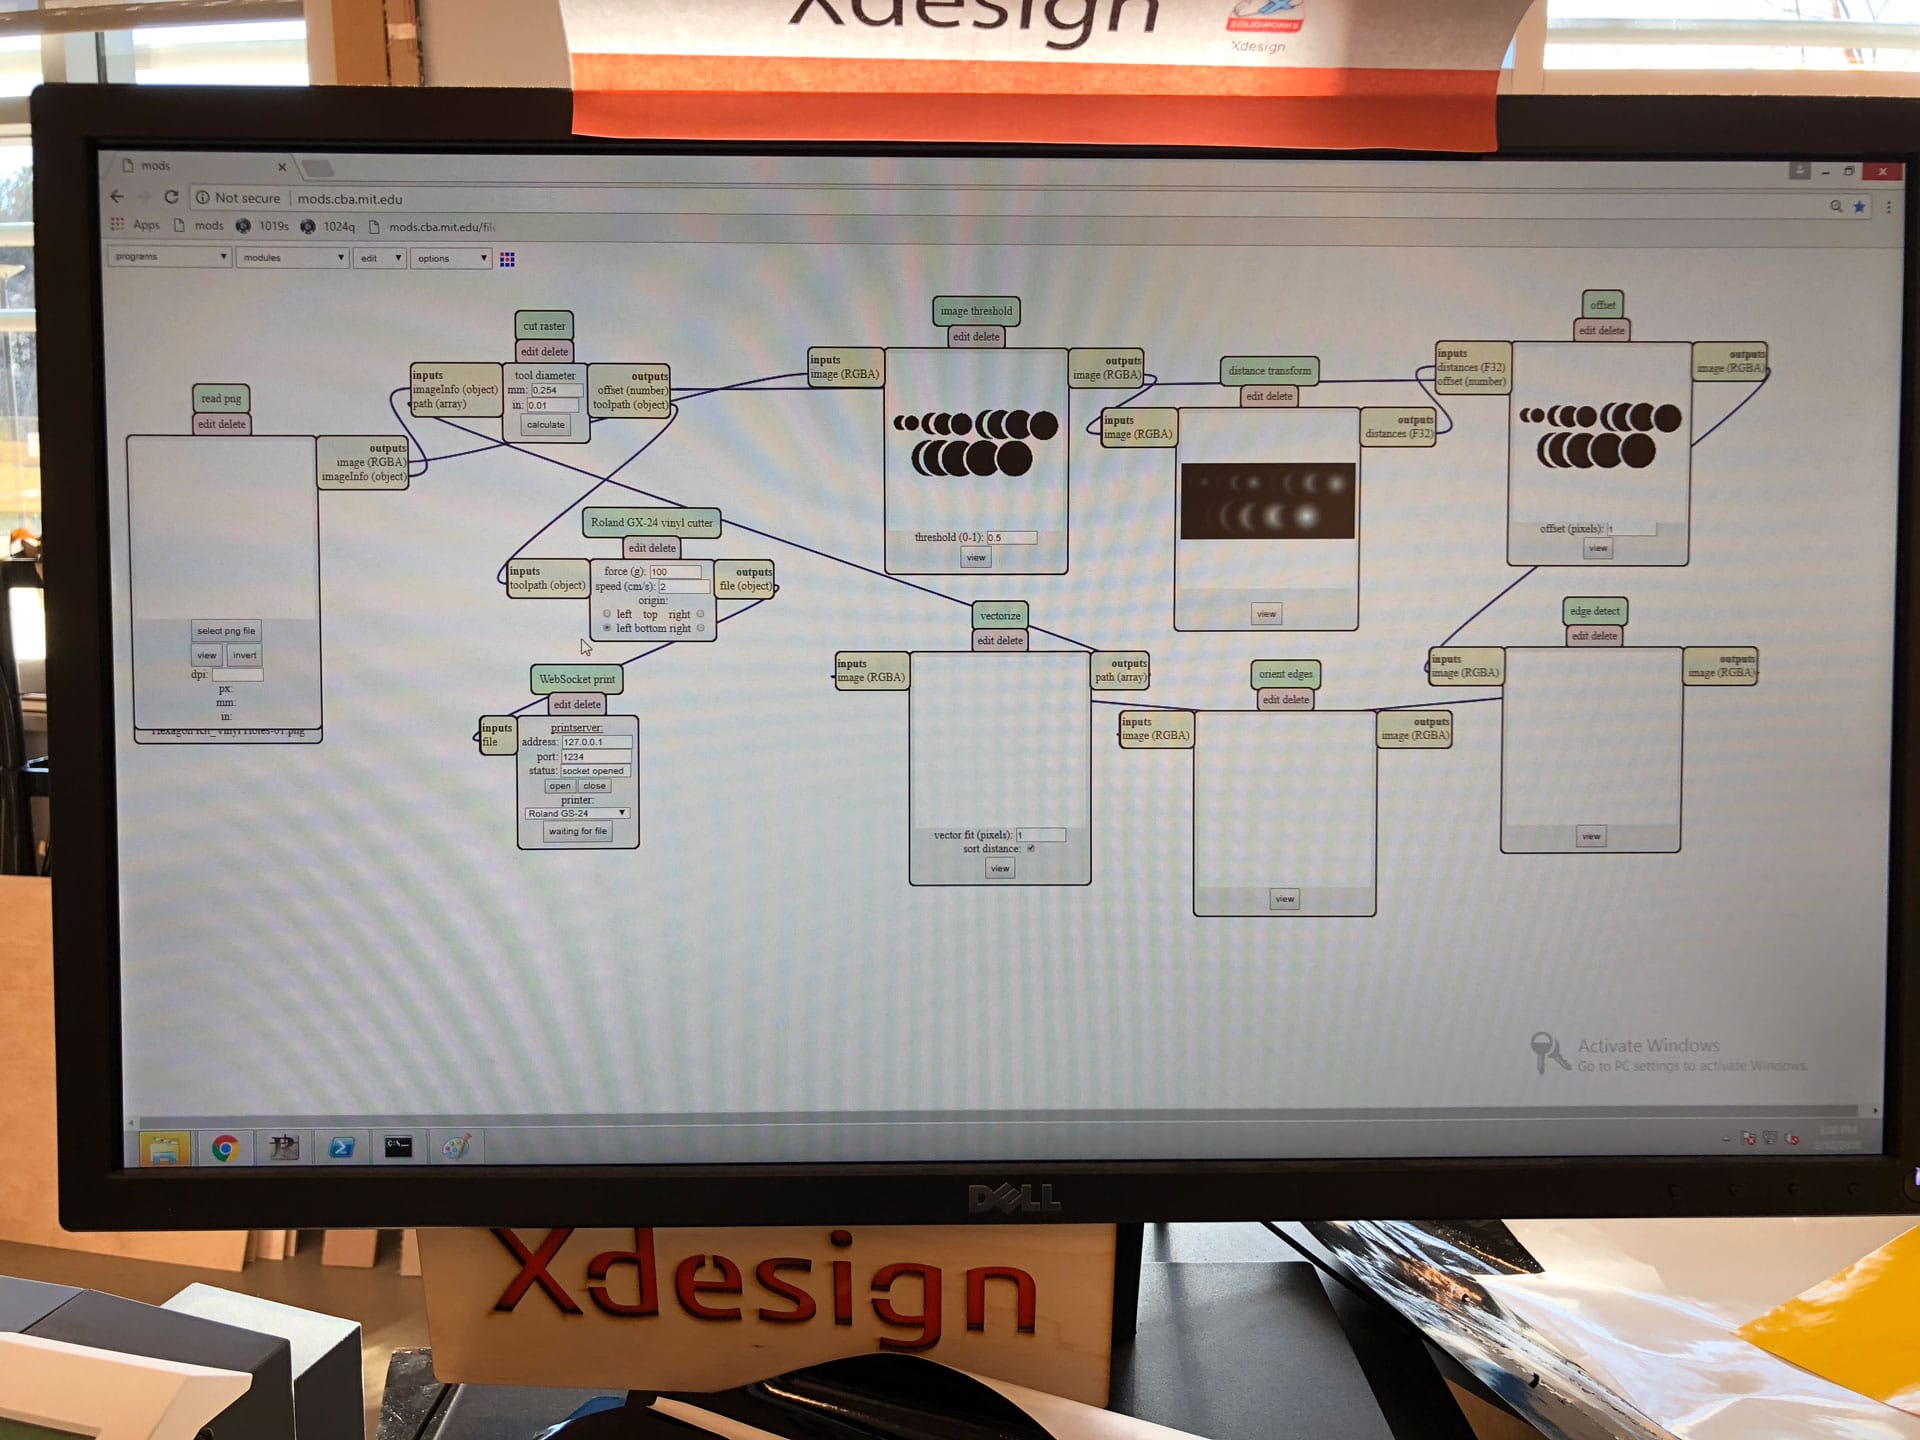
Vinyl Cutting
My Process (Vinyl Cutting)
:: February 12, 2018 ::
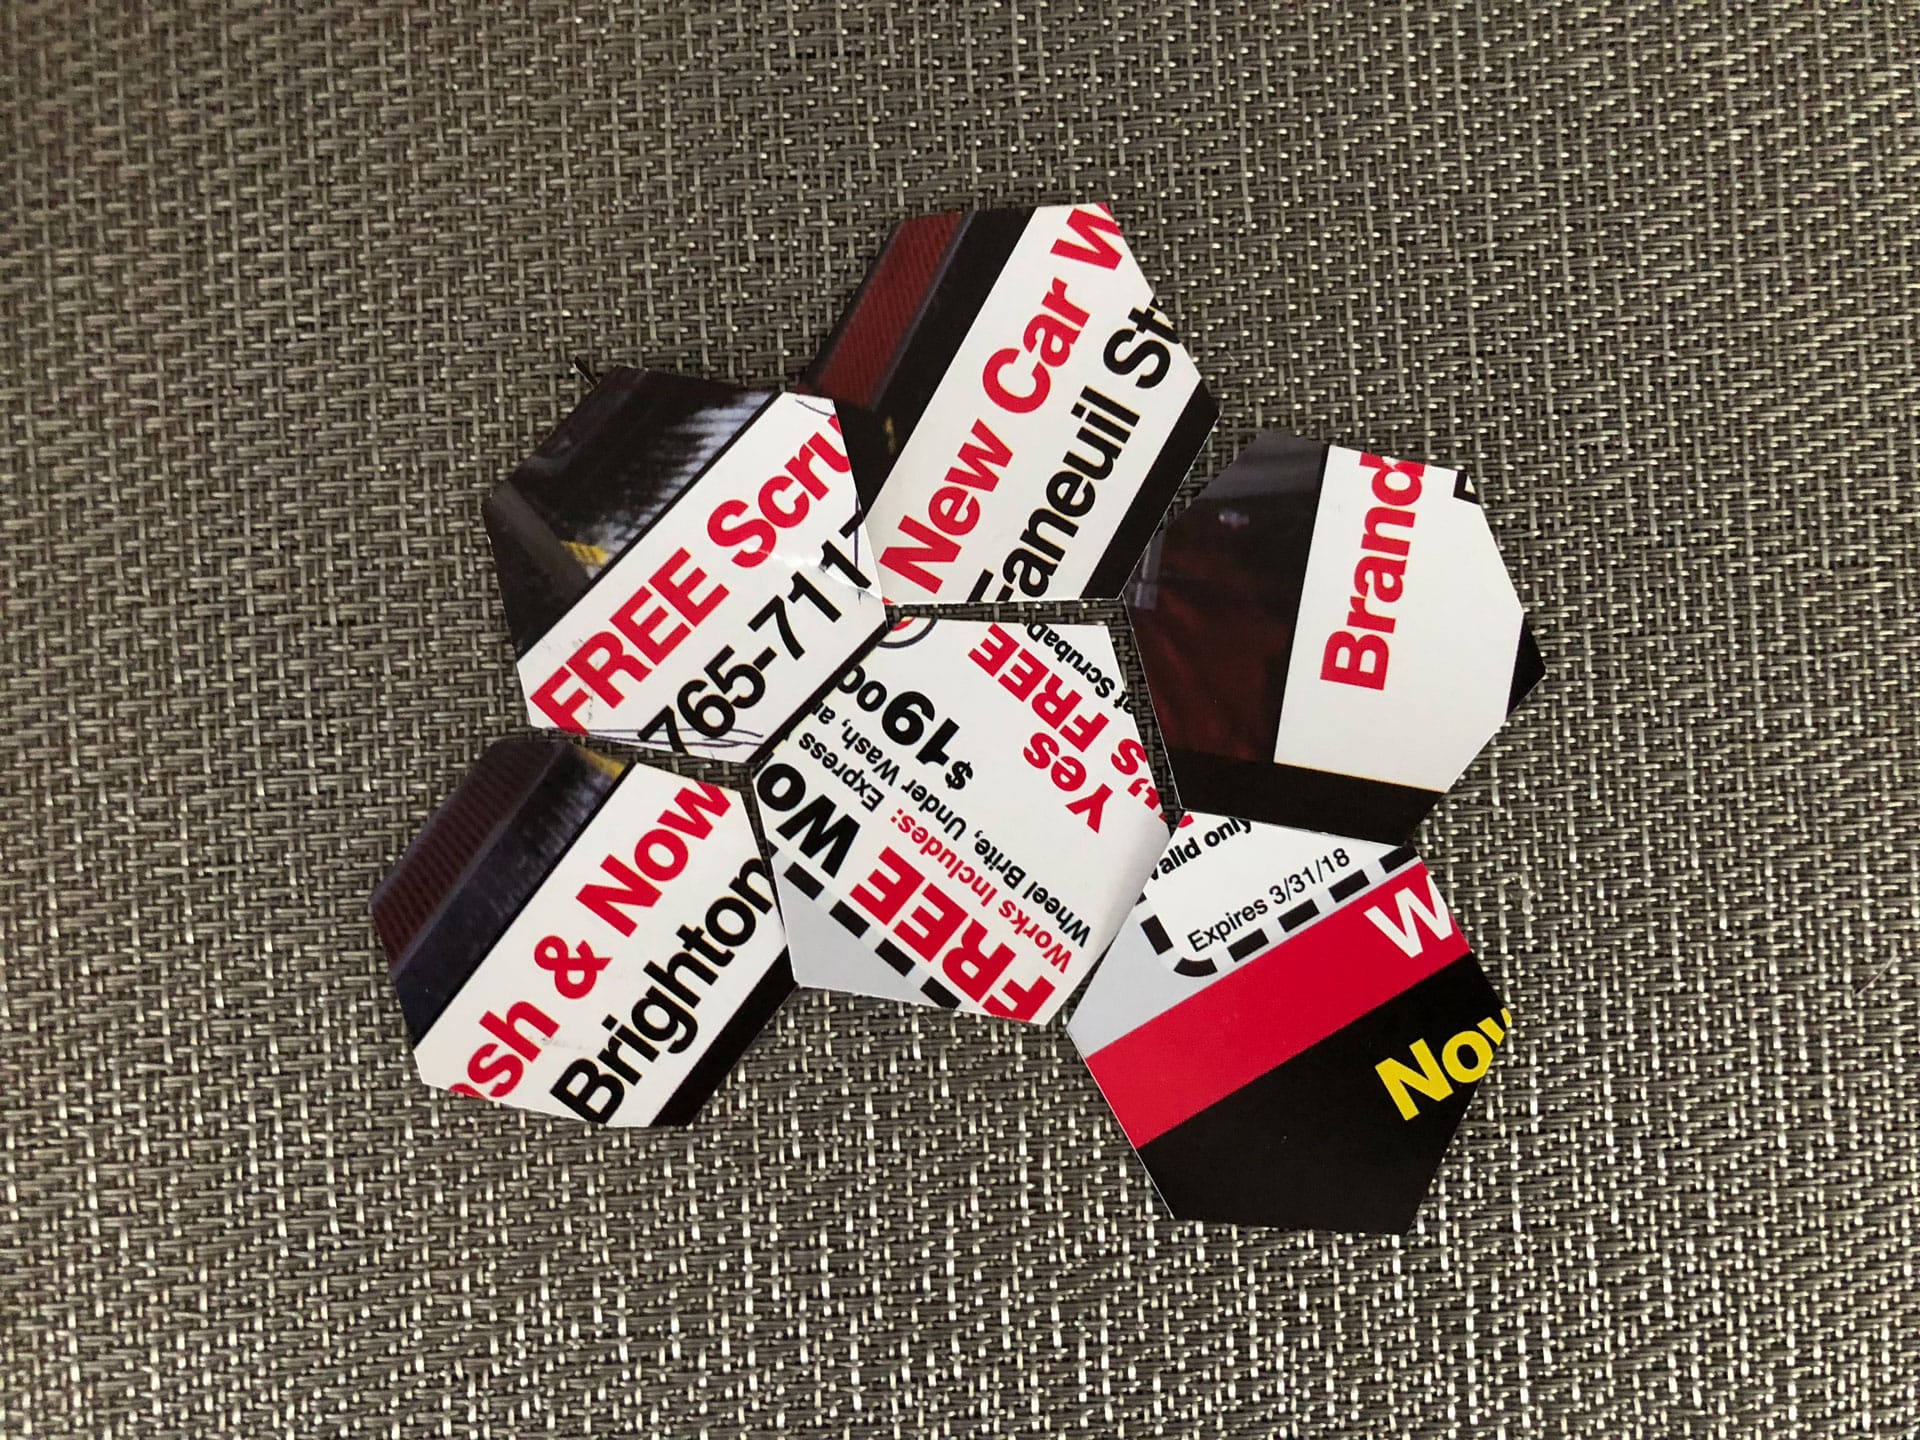
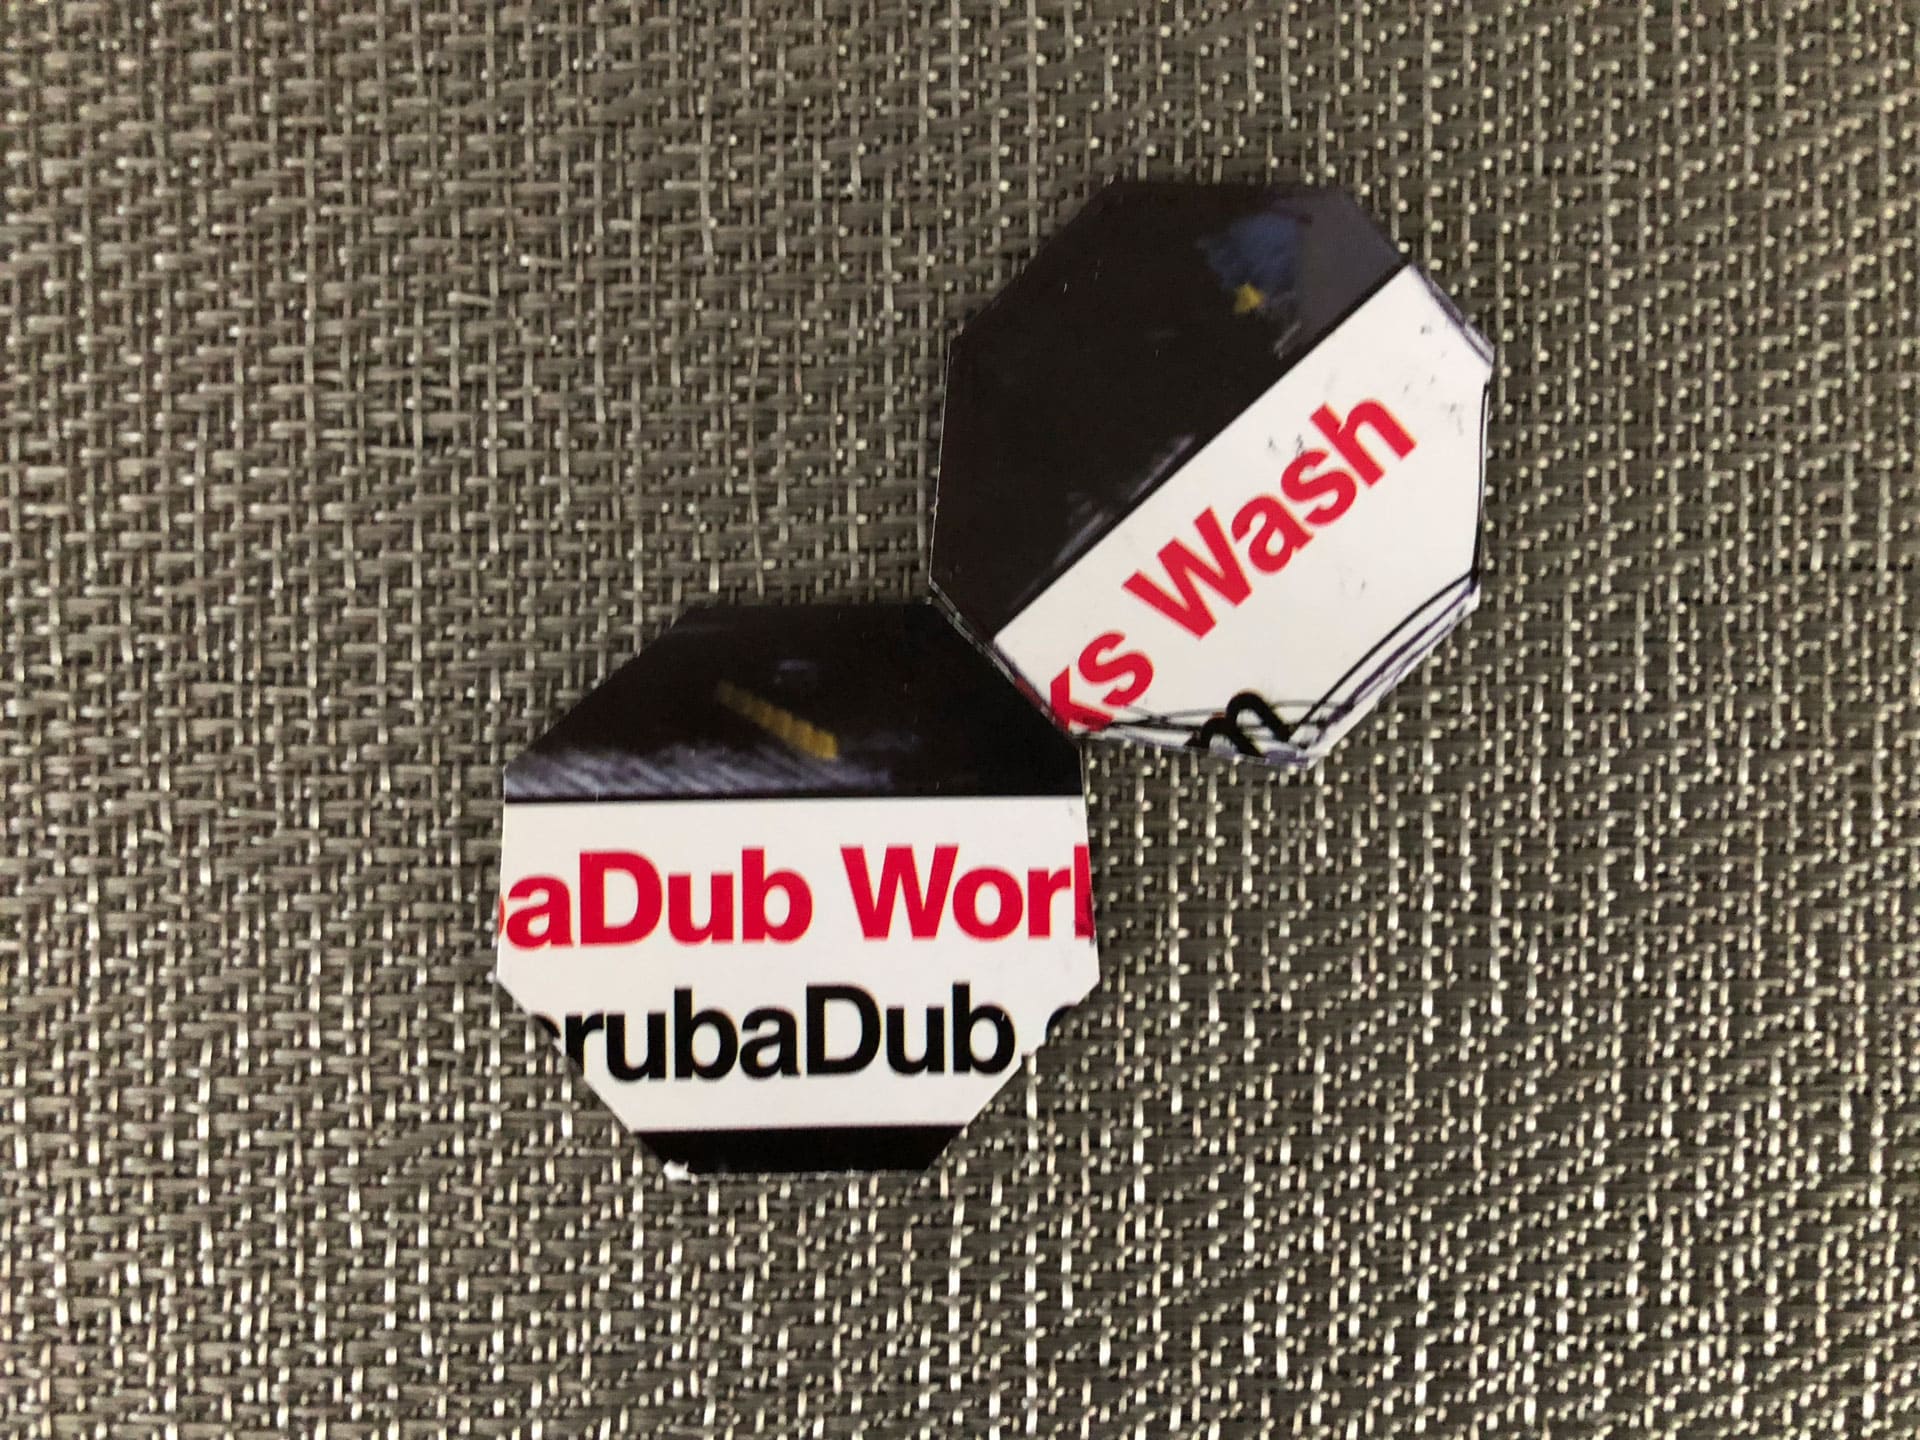
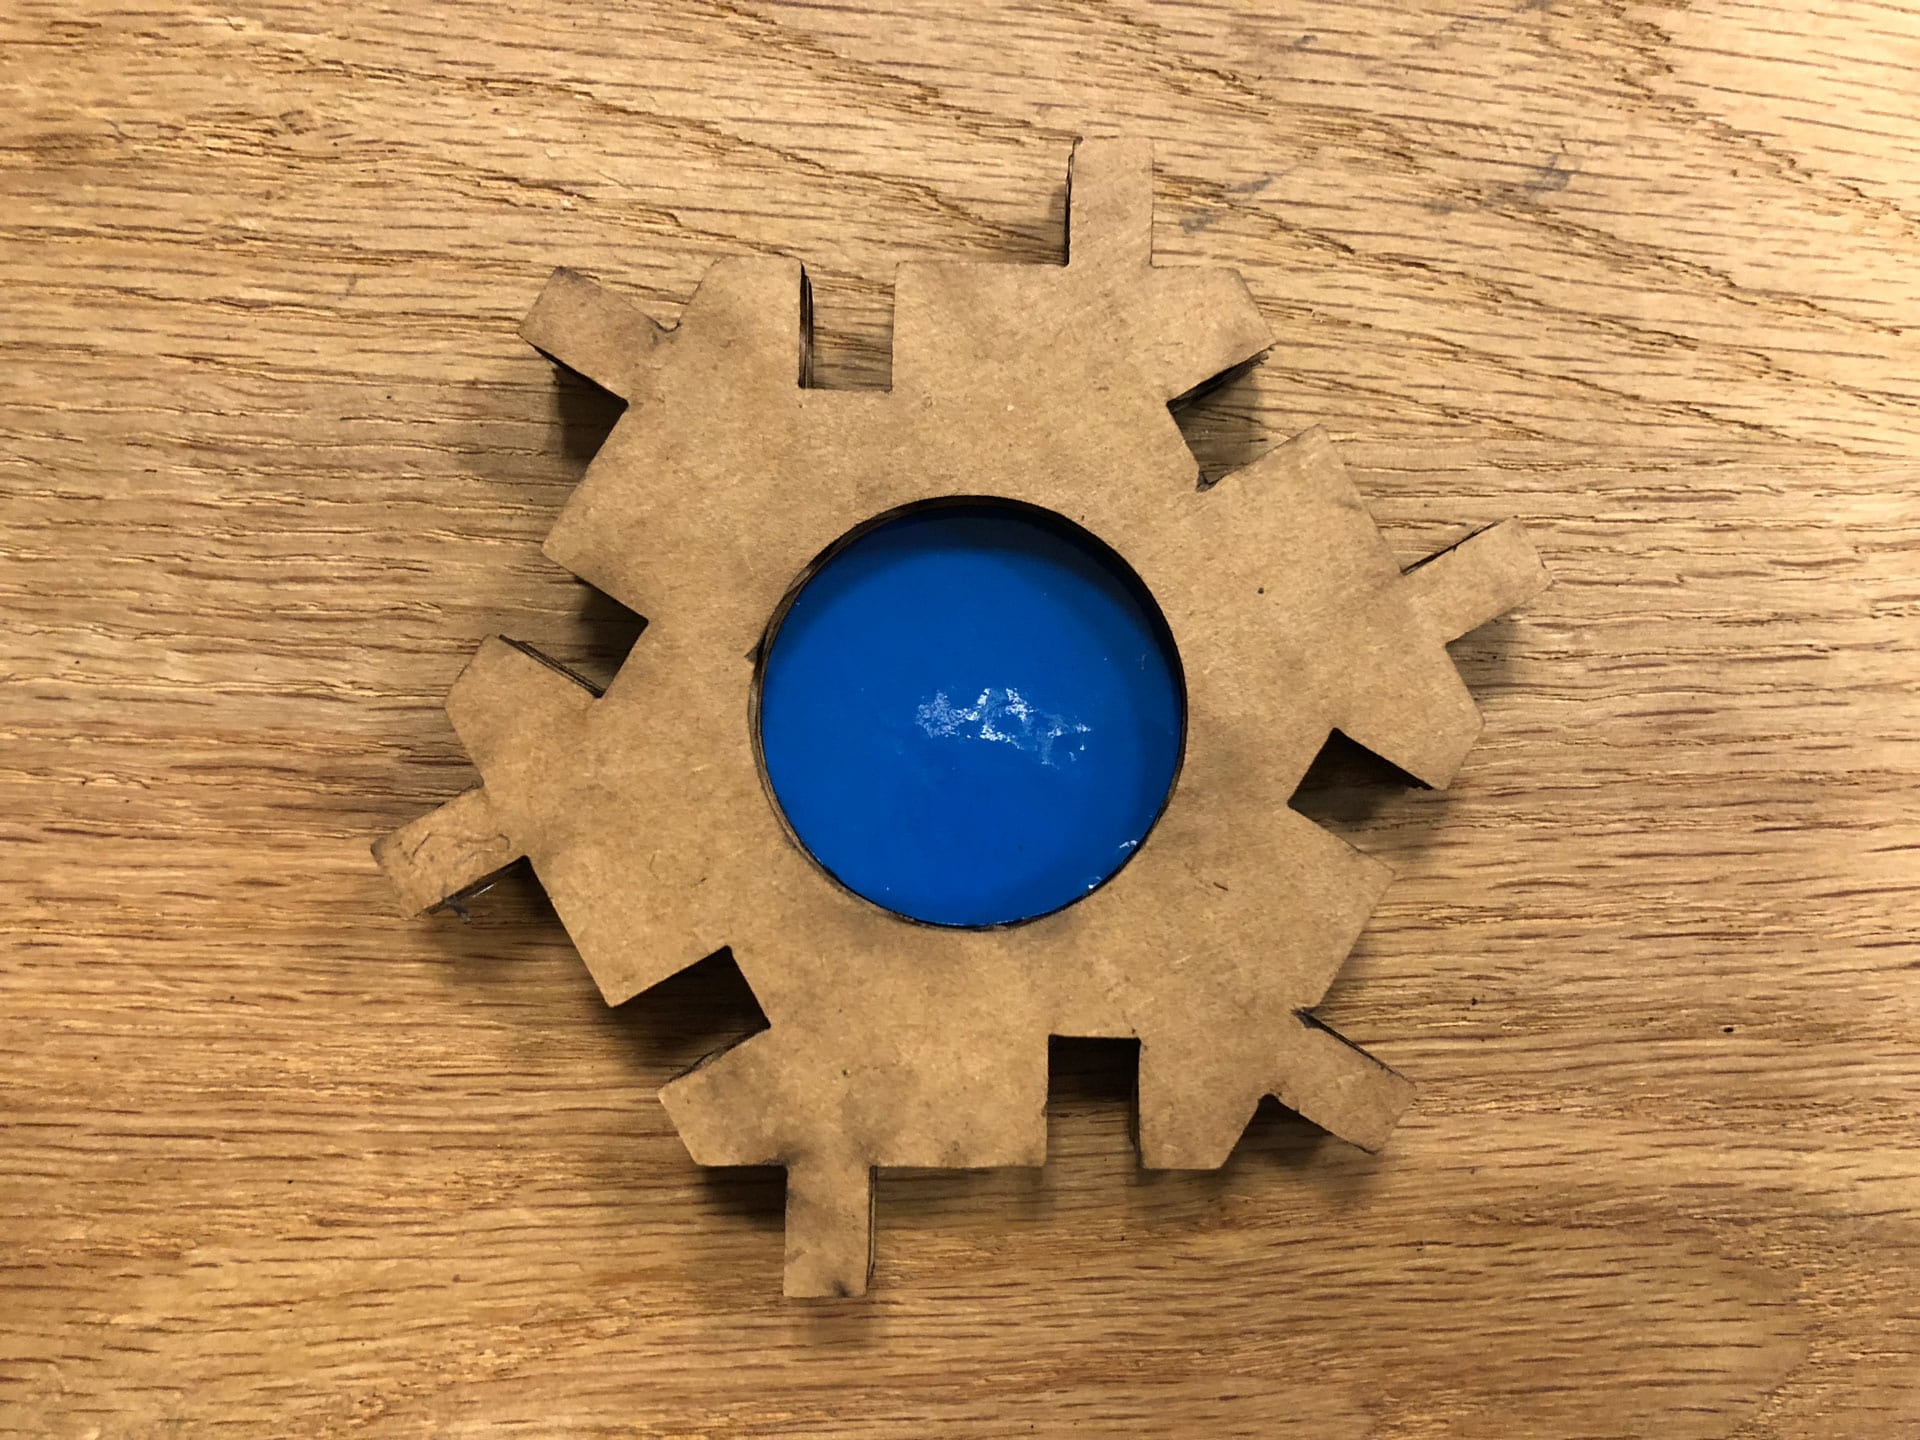
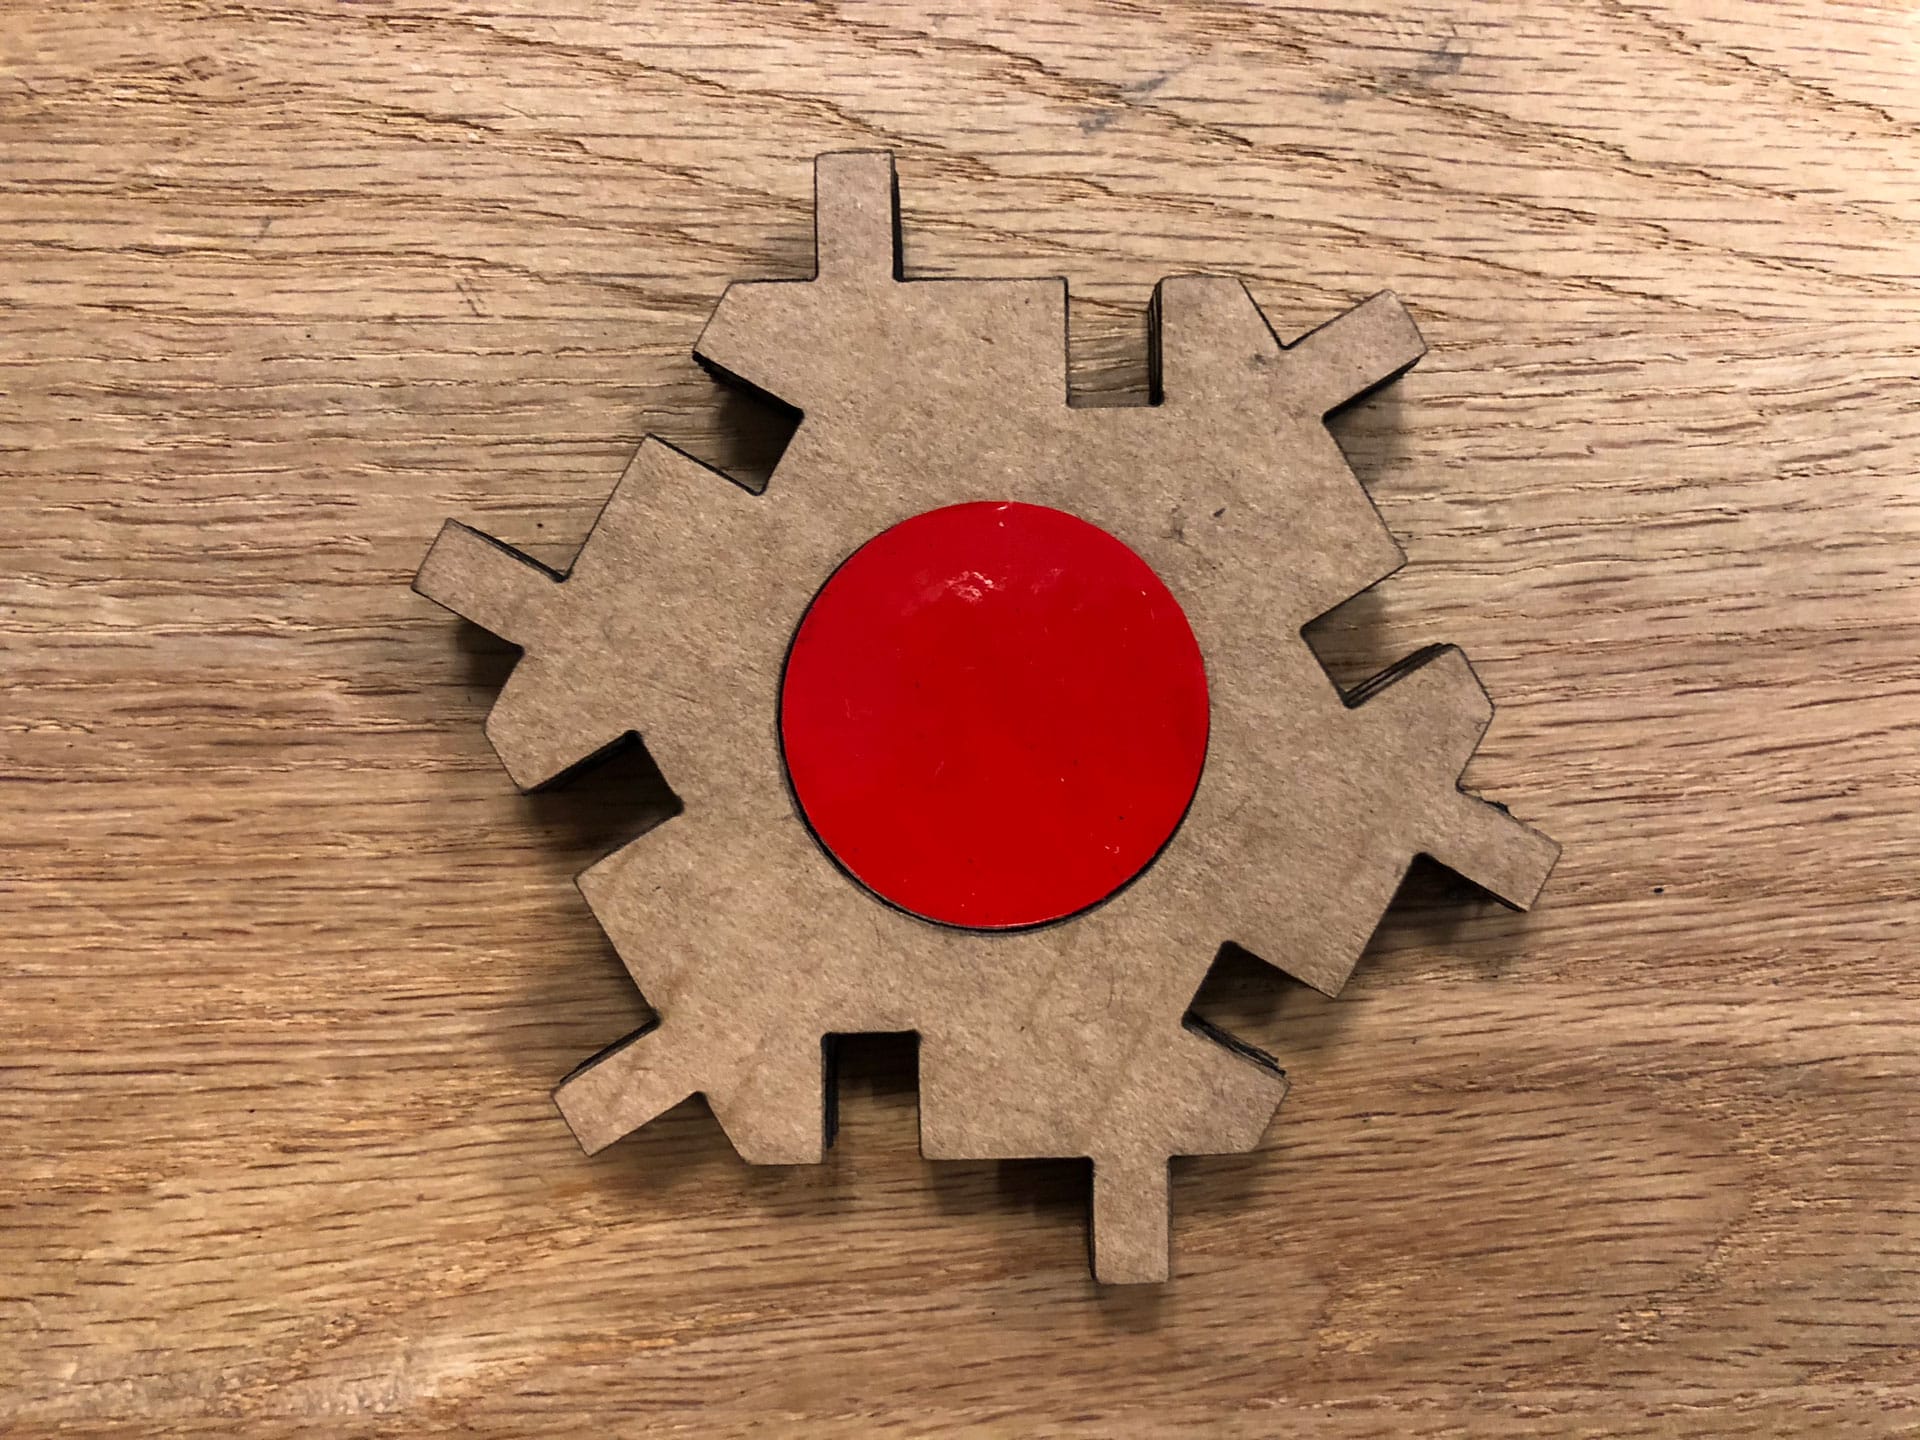
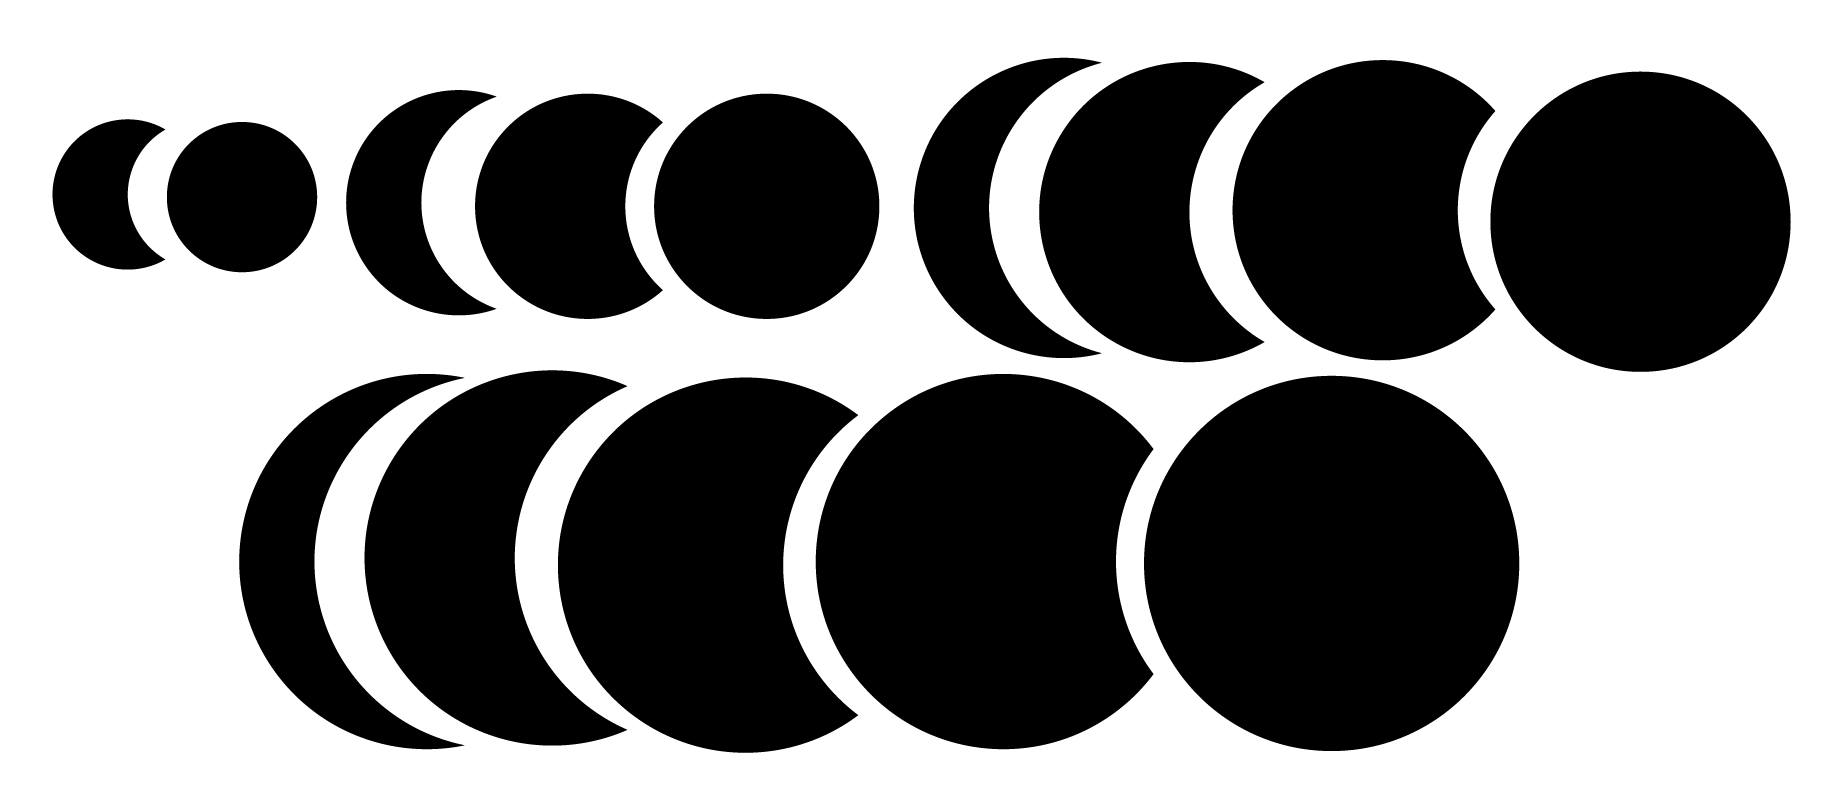
For the vinyl cutting portion of the assignment, I decided to test out color components on the hexagon halftone blocks. I was interested in seeing how colored dots of varying size (from crescent moon to full moon shapes) for the interior infill of the blocks would add another creative component to composing images in halftone. Typically halftoning includes varying dot sizes and shapes to create tonal differentiation, and this would mimic the halftone variability in an interesting way.
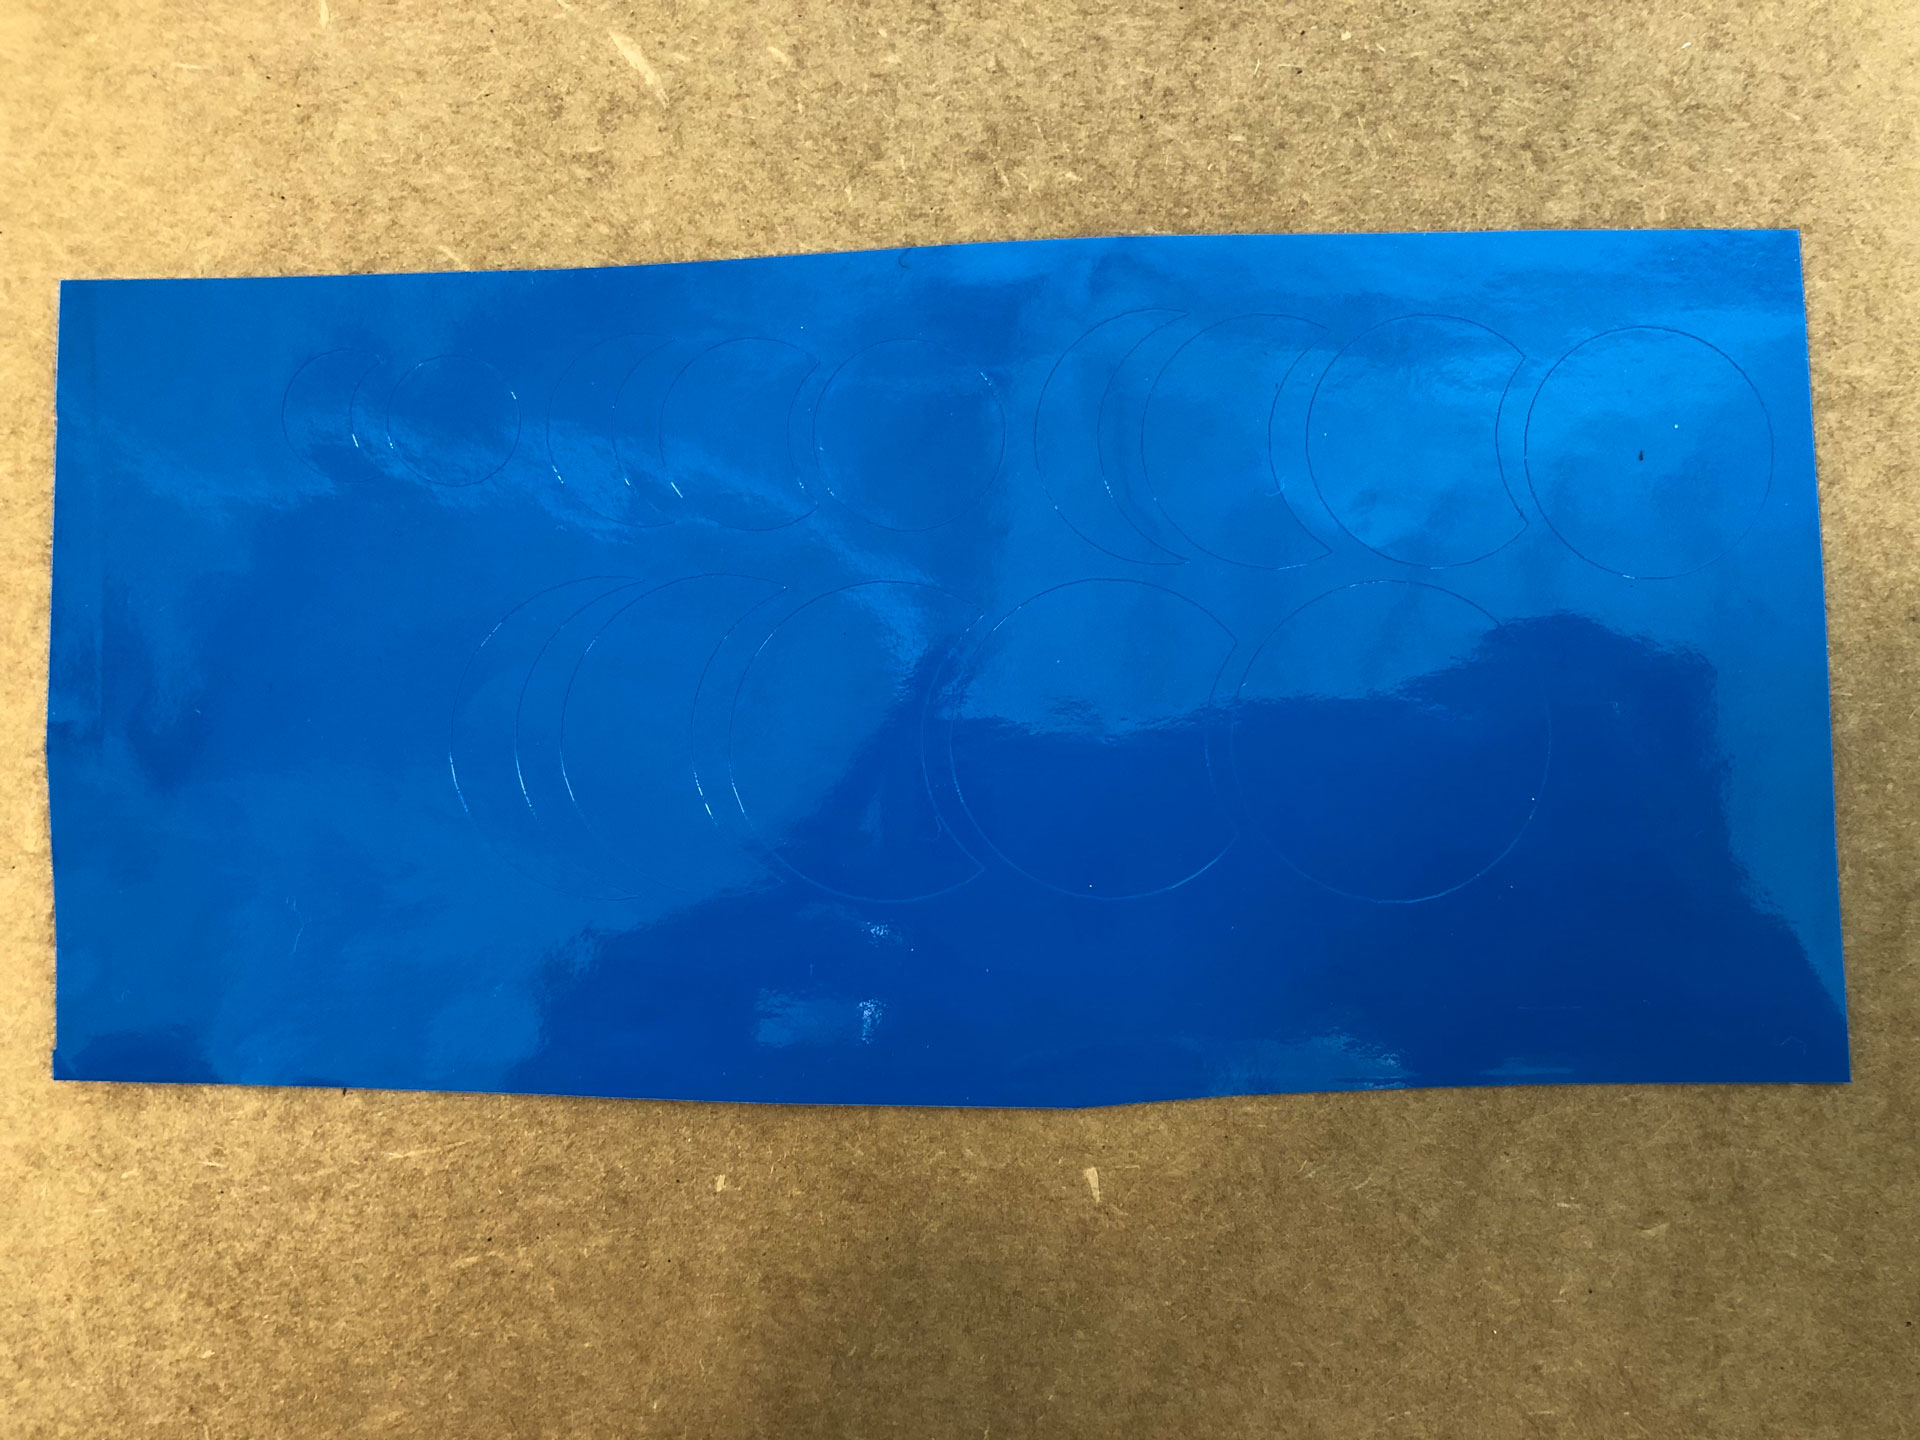
Download the .png files for cutting the Hex shapes on Vinyl Cutter.