Molding and Casting
Design Files
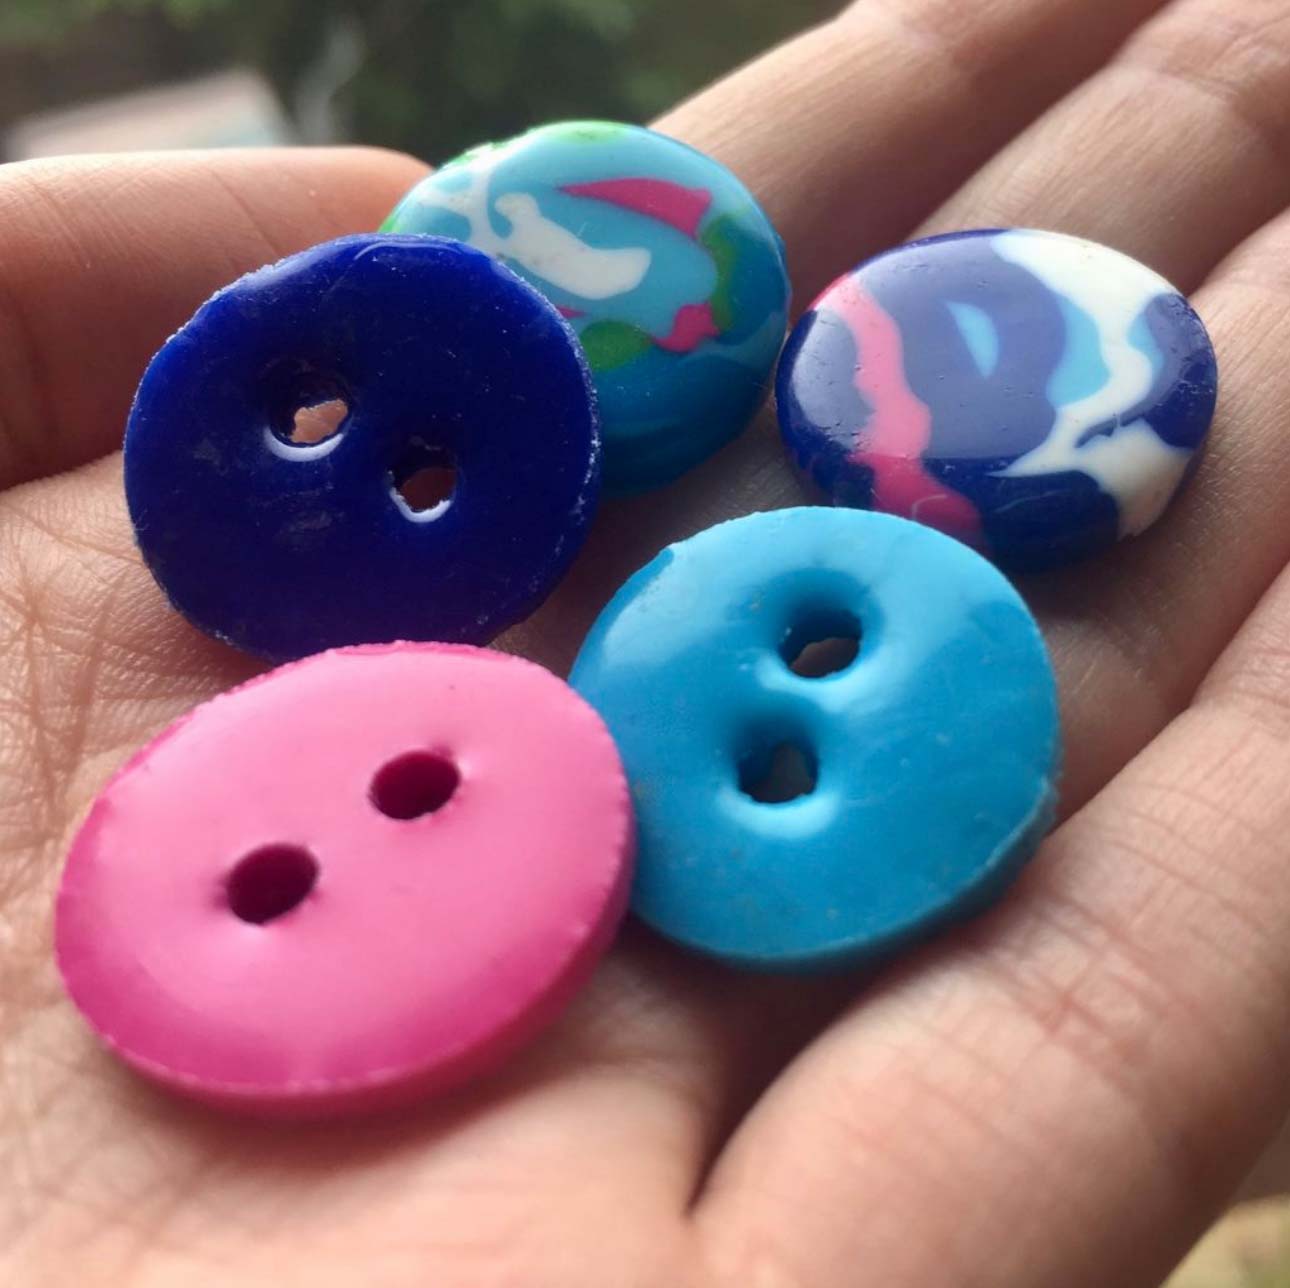
I wanted to find a use for the small scraps of PLA at the ends of rolls of filament that are too short to use. So for molding and casting week I used PLA to make buttons. This has been published on Instructables.
Designing the Molds
The video below is a screencast showing the process I went through to design the button molds in Fusion 360. I started by designing one button and then used the pattern tool to end up with 6. It took a lot of experimenting with the tools (and some tips from Kyle) to create the debossed flower effect, which is shown at 0.43 in the video.
Making the Form for Casting
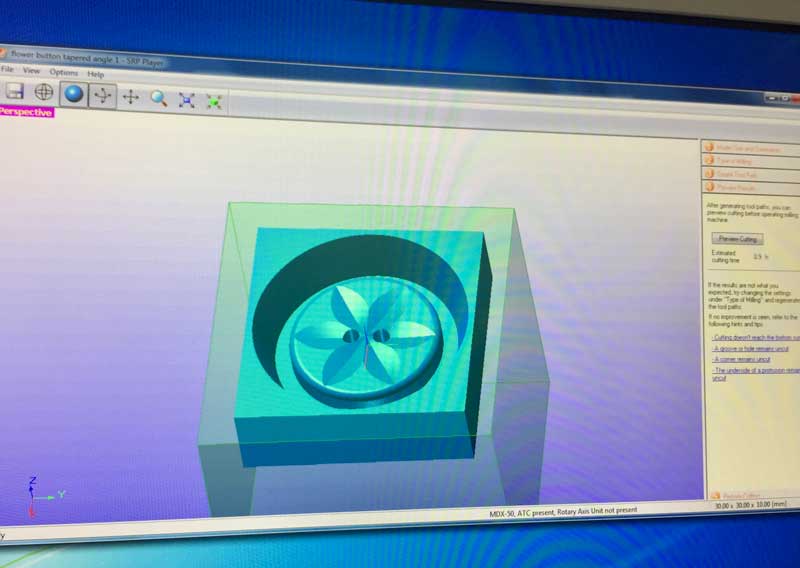
At first the CAD file was appearing at a 90 degree angle in the milling software SRP Player and I didn't understand why. It turns out it was because z is not the default vertical axis on Fusion 360. To overide this in Fusion 360 click on your name in the top right hand side, click on Preferences. In the General tab, under Default Modeling Orientation choose Z Up. This only updates it for future designs, so I had to rotate my mould design 90 degrees to overcome this issue. This is why the design file for Flat Button Mold x1 is on its side
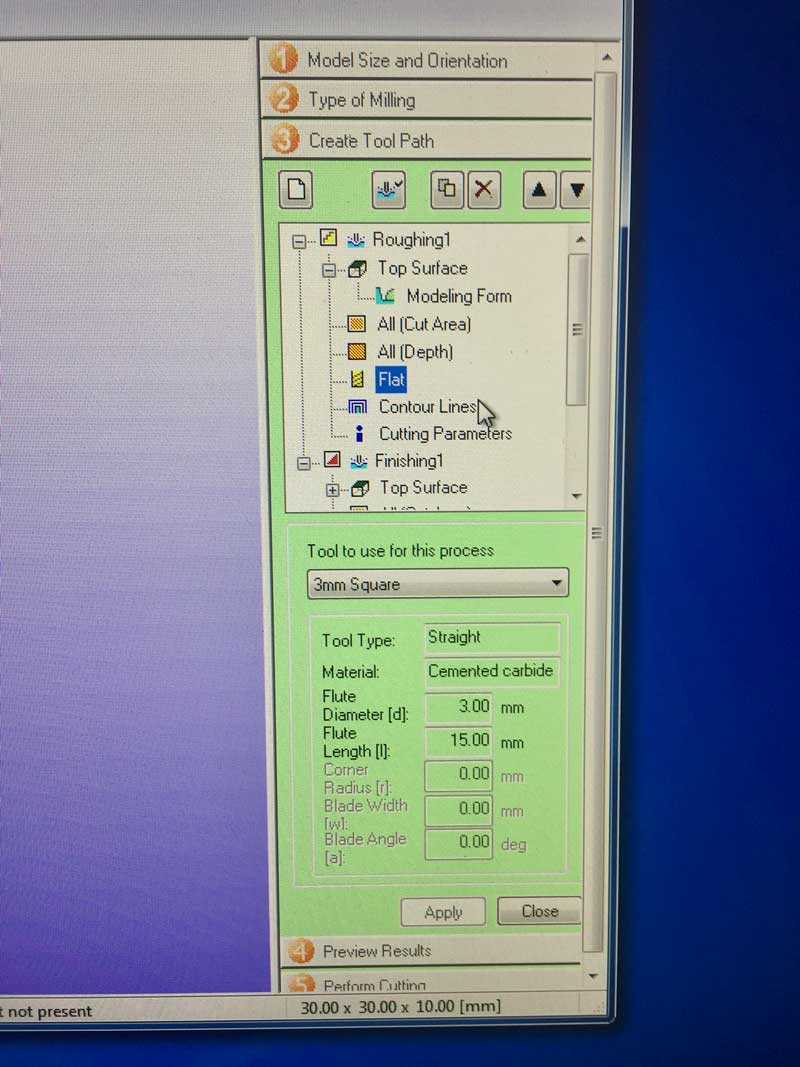
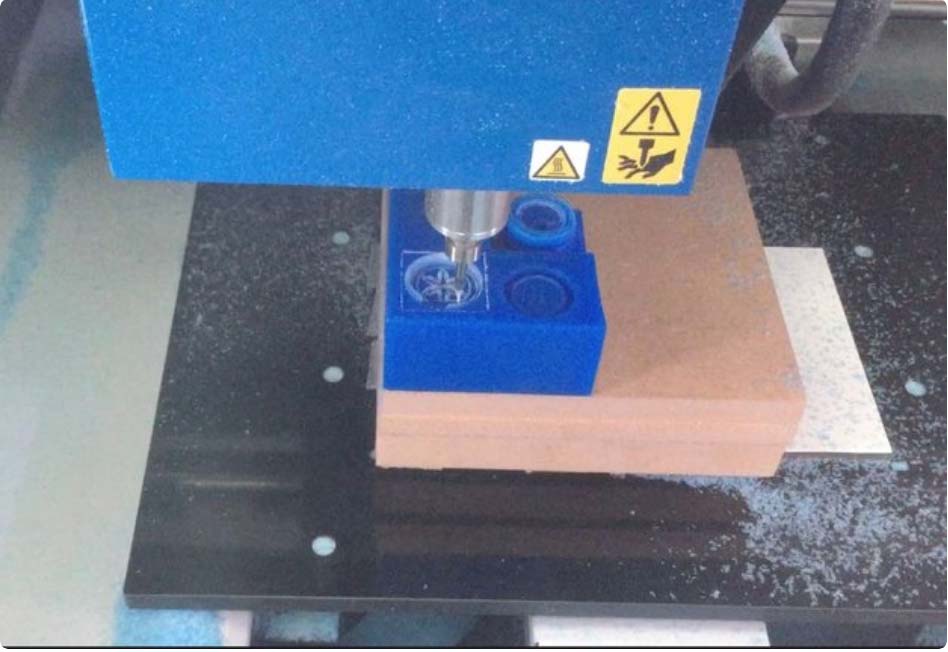
The images below show me going through the settings for milling and the mill in process.
Casting the Mold
To check how much silicone is needed I filled the mold with water and then poured the water into a measuring jug to find the volume. I then dried the mold. Protecting the work surface with newspaper, I then mixed Part A and Part B of the Polycraft Silicone Rubber compound in equal proportions and stirred the mixture thoroughly and quickly with a spoon. Then I poured it into the form, using a spoon to help it slide. The brand of silicone I used took 15 minutes to dry, but I waited an hour so that it was properly set, before removing the silicone from the form using my fingers.
I used Polycraft T-20 Translucent Silicone Rubber because according to the Material Safety Data Sheet, it could withstand 200°C in the oven. I also tested Smooth-On OOMOO™ 25, but it degraded after a few uses.
I found that I had made the inner holes too small for the silicon to form poles, therefore I updated the design, making the diameter at least 3mm.
Making the Buttons
To make the buttons, I preheated the oven to 180°C and used wire clippers to chop the PLA into tiny bits.
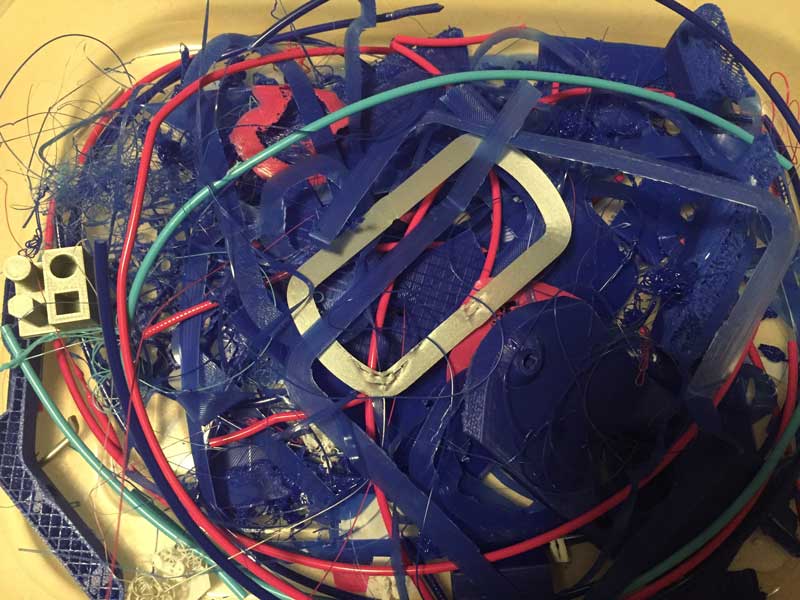
I placed the mold on an oven tray and overfilled each button mould with the small pieces of PLA. Avoid covering the upright posts, but going over the edge of the mold is OK. I placed the tray in the oven until the PLA had softened, which was after approximately 6 minutes.
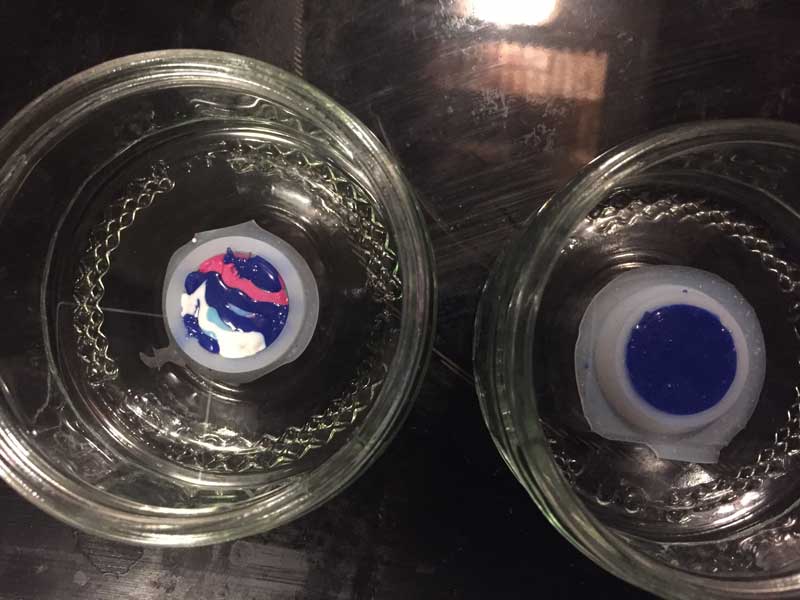
Using oven gloves I removed the tray and mold from the oven and placed on a heatproof surface. Where the PLA had melted over the edge of the mold, I used a chopstick to carefully push it back within the rim, then put it back in the oven for another couple of minutes.
Also, when there wasn’t enough PLA in the mold to fill each button shape, I added more PLA and put it back in the oven for another couple of minutes.
I then left them on a heatproof surface to cool, before removing the buttons from the mold.
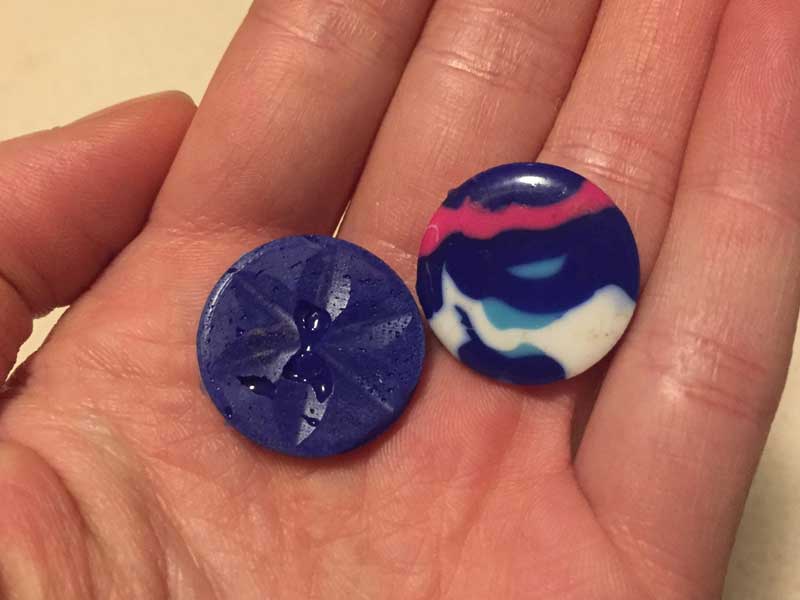
Warning: Take care melting PLA because it will be hot when you take it out of the oven. Also although PLA is generally considered safer than alternatives such as ABS, a study on 3Dsafety.org suggests it may give off potentially harmful fumes if melted above 200°C. So please don’t be tempted to turn the oven up too high.