Computer Aided Design (CAD)
Design Files
3D Design
Having already learned the basics of SolidWorks and Rhino for my BSc in Product Design, I was keen to discover the capabilities of Autodesk Fusion 360, because by it being free for hobbyists it seemed like a game changer in CAD software.
Autodesk Fusion 360
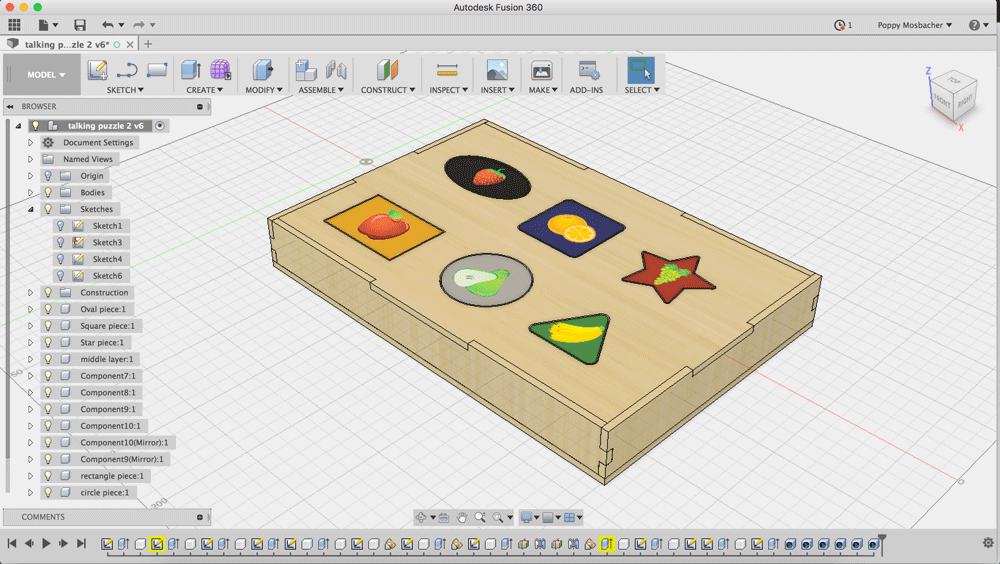
For this task I modelled my initial idea for the Talking Puzzle, to help communicate the concept with others.
The video below shows how I did this, step by step:
To start I made the top of the puzzle which has the holes for the puzzle pieces. Fusion 360 doesn't have a star tool. So I created the star by drawing a 5 sided polygon, adding triangles to each outer edge, and rounding all the points. As shown, in my video below:
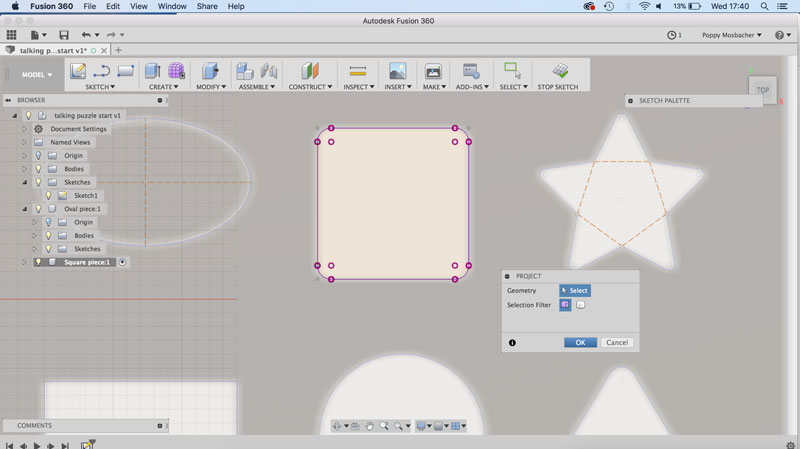
To make the puzzle pieces I used the project tool (Sketch > Project/Include > Project) to carry over the exact shapes of the holes into a new component, as shown below.
I then used the offset tool (Sketch > Offset) to make the puzzle pieces 1mm smaller than the holes, so it would be easier for toddlers to place and remove the pieces, as shown below.

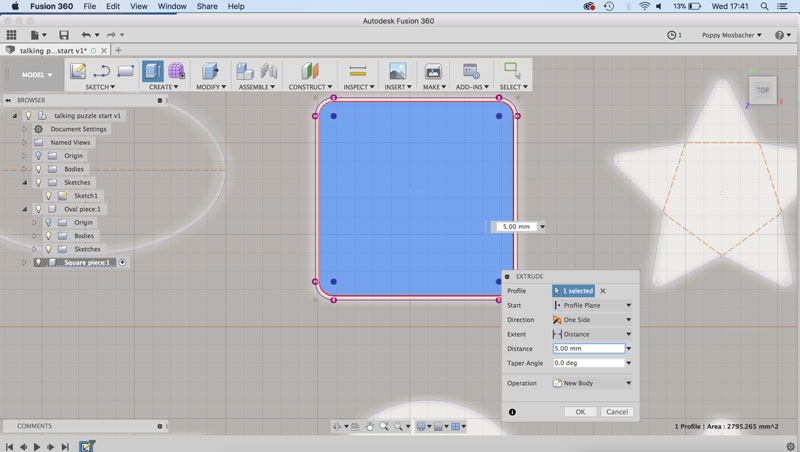
I extruded the sketch (Create > Extrude) to make the puzzle piece 3D, as shown below.
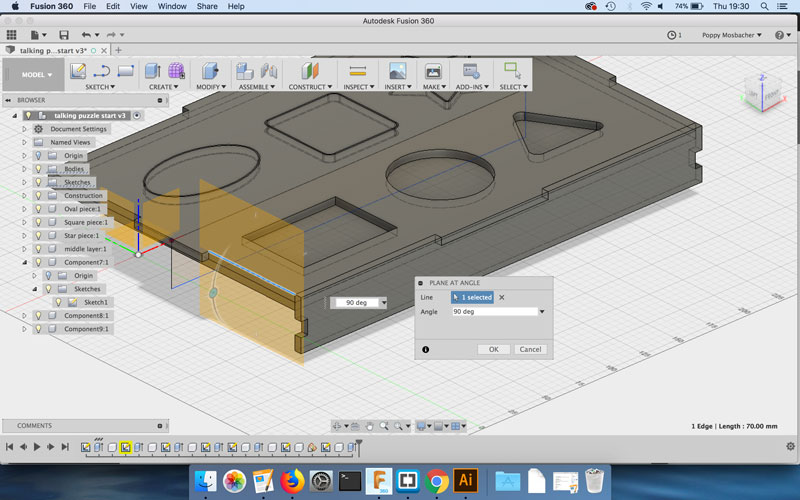
The sides of the box were positioned using new planes at angles. Go to Construct > Plane at Angle. Then choose a line that the angle will be in reference to and specify the desired angle, as shown in the image below.
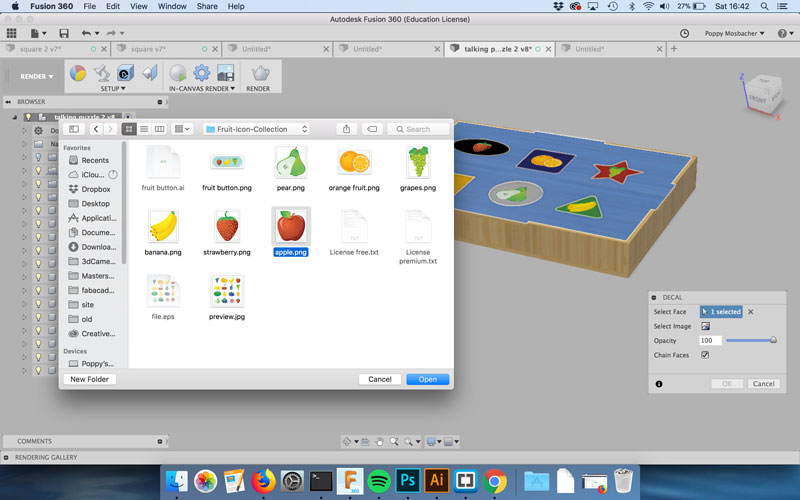
To add images to the puzzle pieces I went to Render workspace in Fusion 360 and clicked on the Decal icon on the new menu bar. Following the instructions in the dialogue box that appears, I choose the top face of one of the puzzle pieces and browsed my computer files to find the image I wanted to use, shown below. You can then reposition the image and change the scale until it's in the right place. The images of the fruit were designed by Ikaika / Freepik and are available to download for free as long as they are attributed, like this.
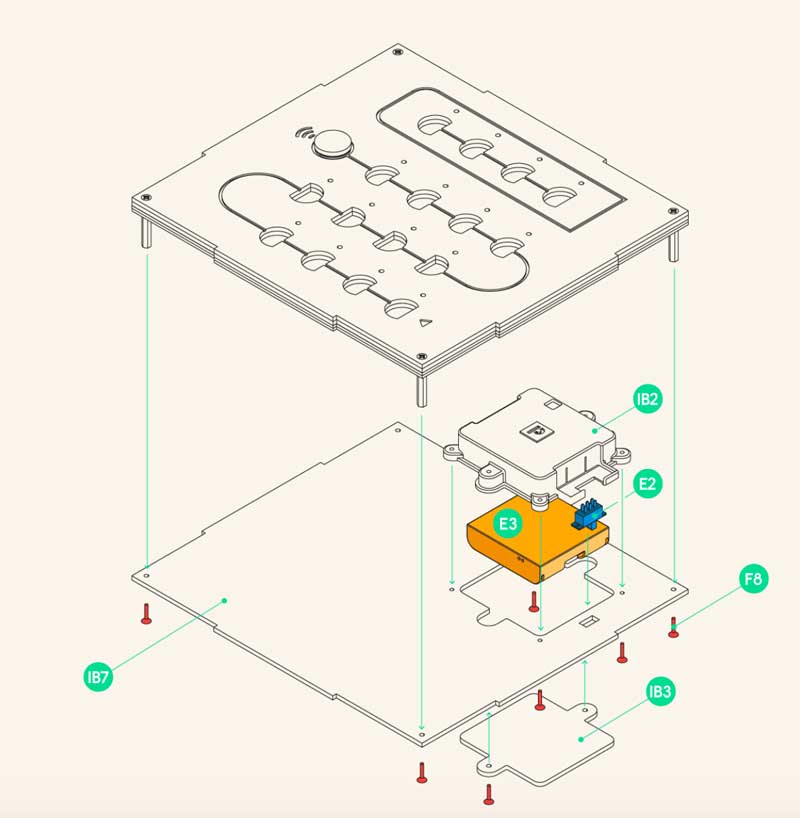
Initially I made each new section as a new component because I thought that would make it more accurate for a bill of materials. However, there are two sections which are duplicates of each other and I wanted them to be automatically listed as quantity 2 on the bill of materials. In order to do this, it seems like each part must be a separate file and then assembled together.
This idea was inspired by the assembly instructions for the DIY version of the Primo coding toy, shown below:
TinkerCAD
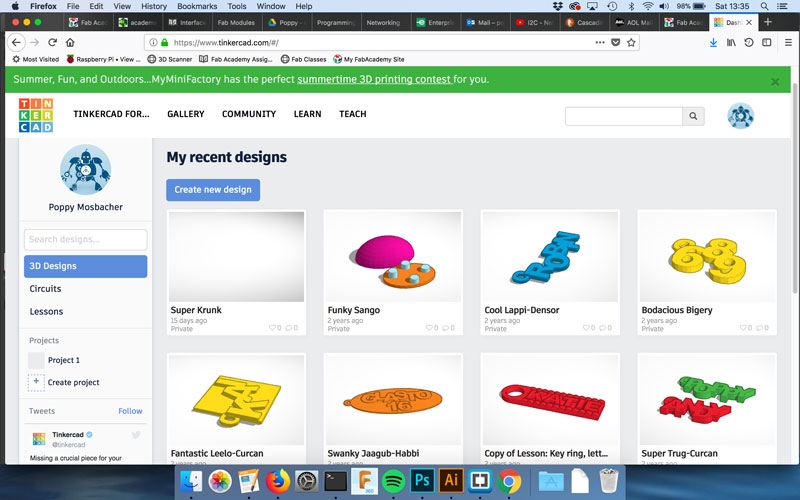
I also explored TinkerCAD and completed their tutorials. It's not as useful for more complex designs, compared to Fusion 360 and Solidworks because the 3D shapes make it harder to design details compared to drawing lines. I love the new feature which makes it easy to design enclosures for electronic components.
The Tinkercad circuits software is easy to use, but didn't have all the components I needed to make circuit diagrams for inputs and outputs week.
Verdict: Great for beginners, but limited.
2D Design
Adobe Illustator
I revisted this weeks task when my design for the talking puzzle changed and created new 2D design files using Adobe Illustator.
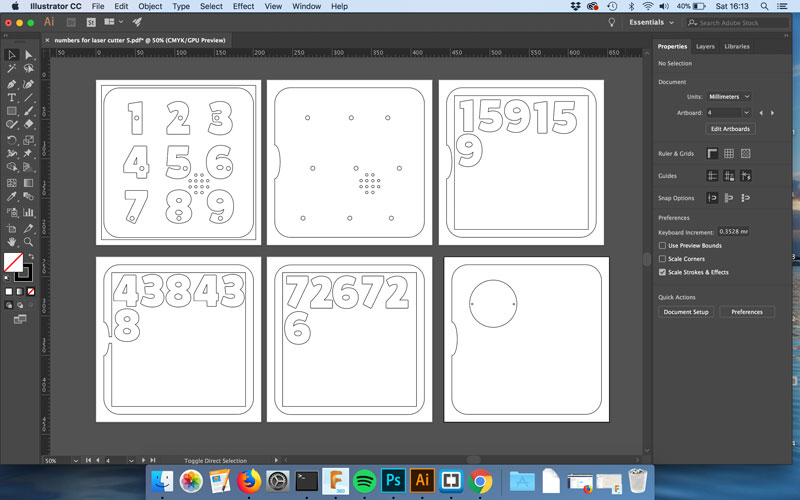
I used a different artboard for each layer of the game. To make sure everything lined up with eachother, I copied elements from one artboard as normal (CMD + C on Mac) but then used CMD + F (rather than CMD + V) to Paste onto the new artboard so that it went into the exact same position.
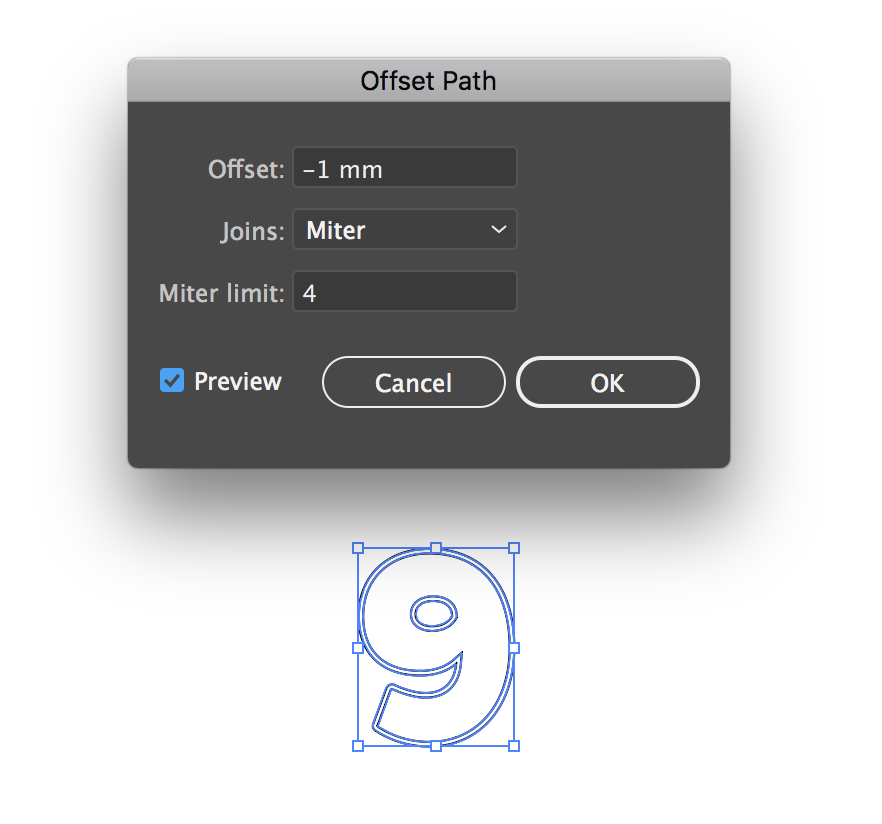
As with the Fusion 360 design, I made the puzzle pieces slightly smaller than the holes they go in. To do this, first select the number, go to Object > Path > Offset Path. I offset by -1mm, which means the object will be offset inside the original and ticked the preview button to check how it would look before clicking OK.