Computer controlled Machining
This week's assignment is to test runout, alignment, speeds, feeds, and toolpaths for a CNC machine and to make something big.
Setting up the ShopBot
The machine we used was a shopbot.

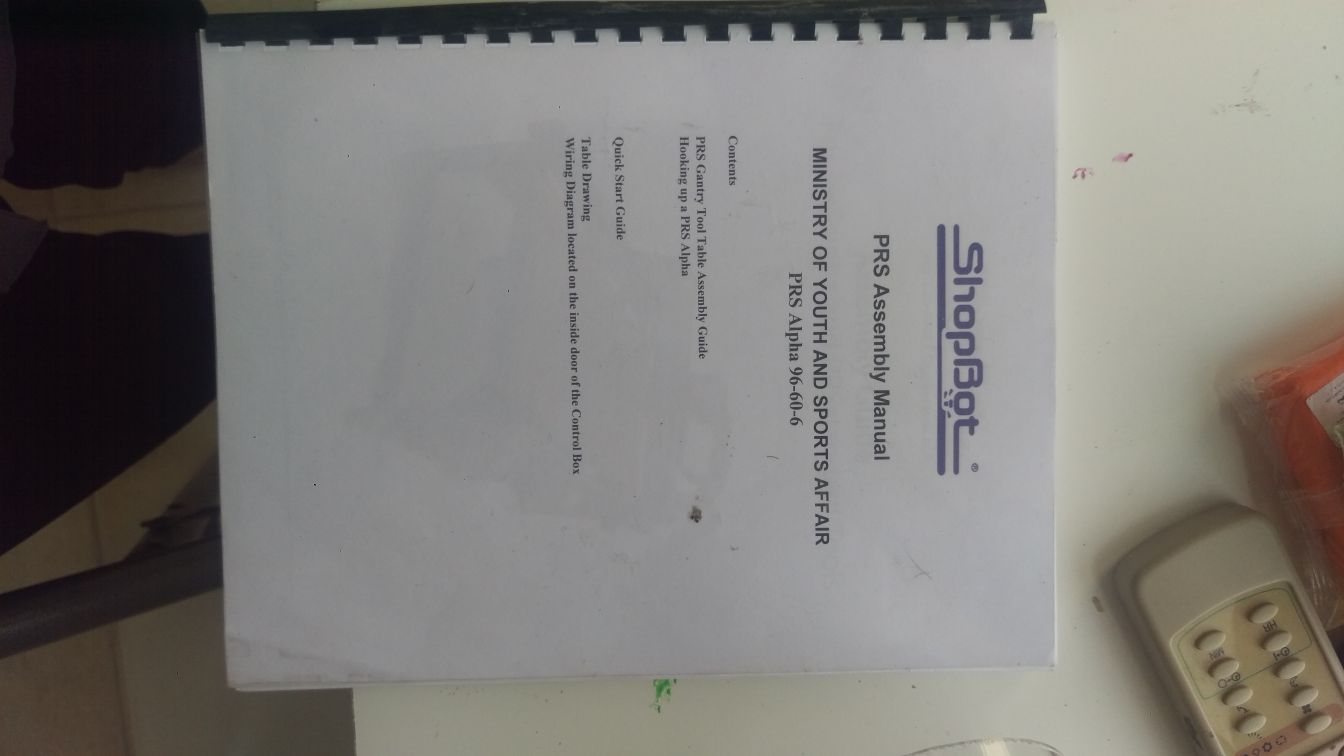
The machine was brand new so we did the first time set-up before using it.
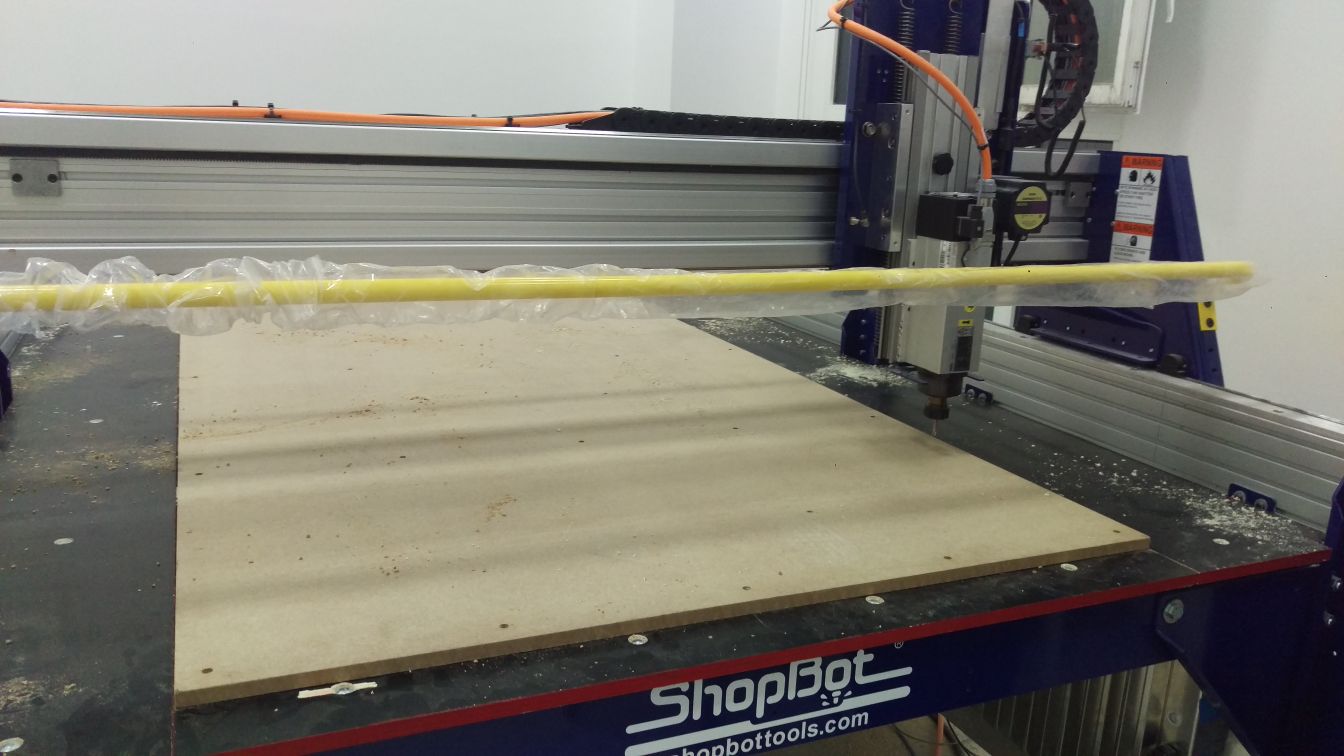
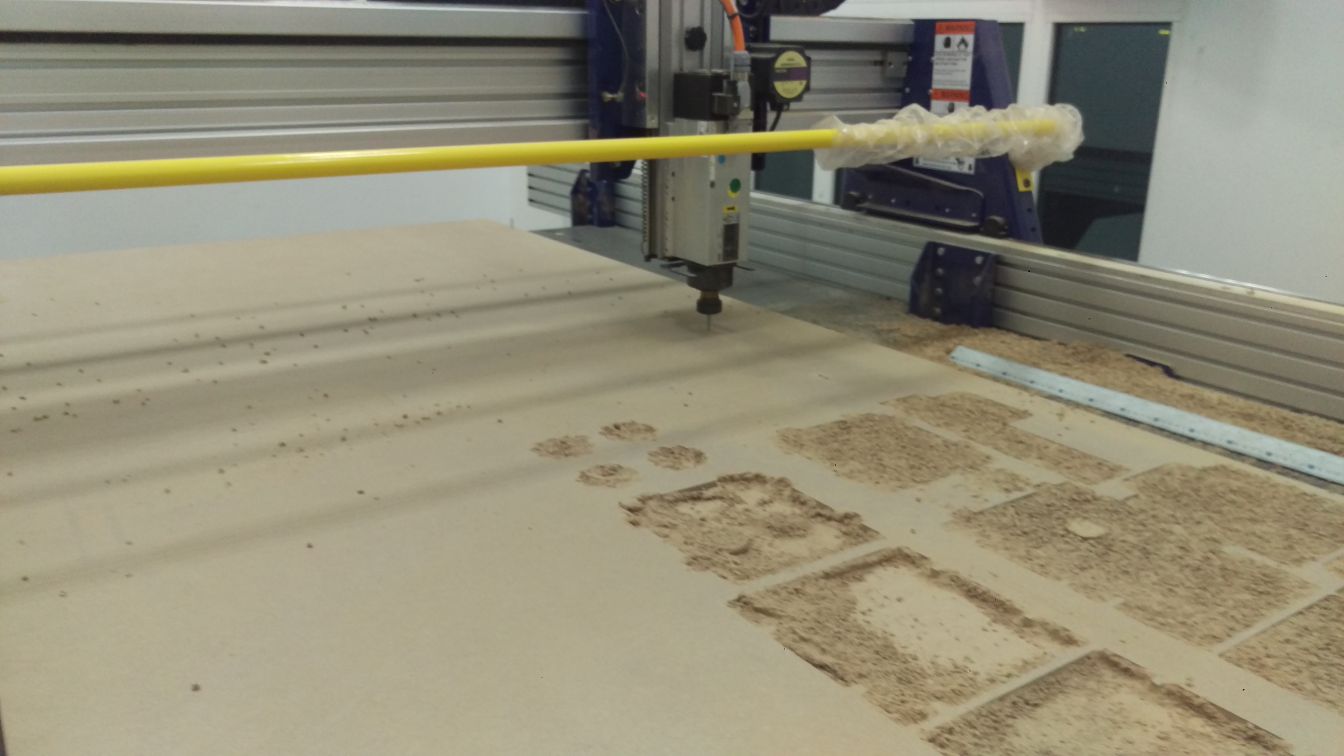
The first step was to pin a peace of wood on top of the machine and surfacing it to make sure it is at an even layer.
The wood peace was nailed on top of the machine bed first.
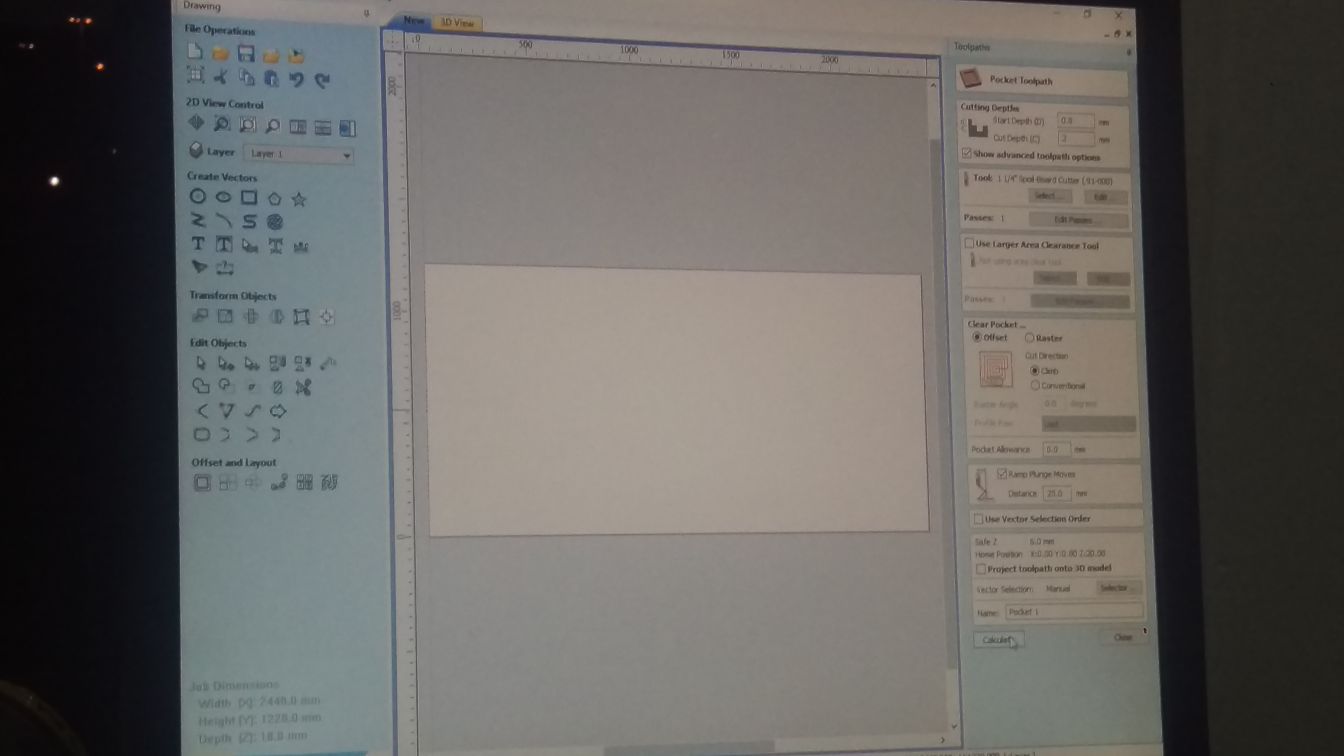
The program used to create a toolpath for the cut is VCarve Pro which is a program by shopbot. It provides a powerful but intuitive software solution for cutting parts on a CNC Router.

The tool used for surfacing was a 1 1/4 inch tool. To create a tool path for the surfacing, the correct tool must be selected in the software.

And the work area size must be specified according to the wood piece's size.
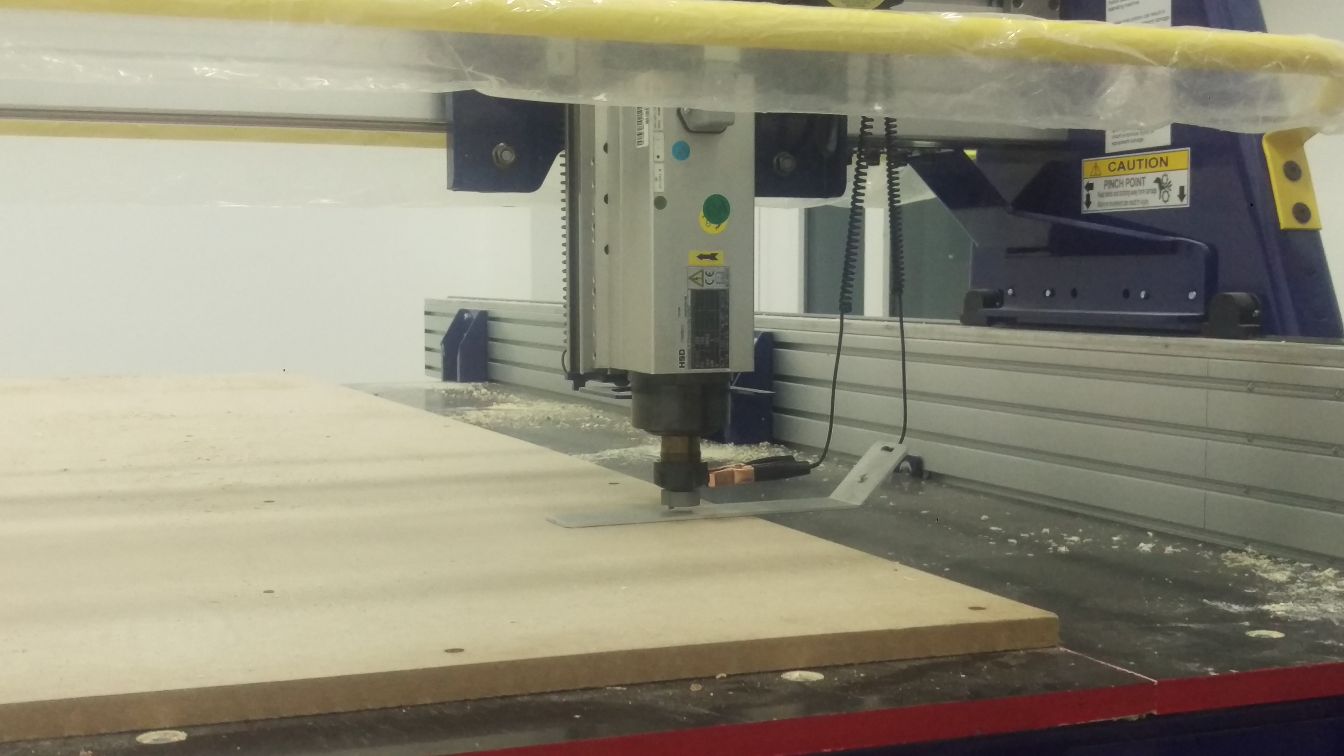
And the machine had to be zeroed at the edge of the wood piece. To do so, the tool is moved to the edge to zero the x and y axis. To zero the Z axis, a special tool is used. The zeroing tool clamps into the tool and is left underneath the tool. The machine moves the tool downwards until it touches the metal peace and that is how the Z axis zero is determined.

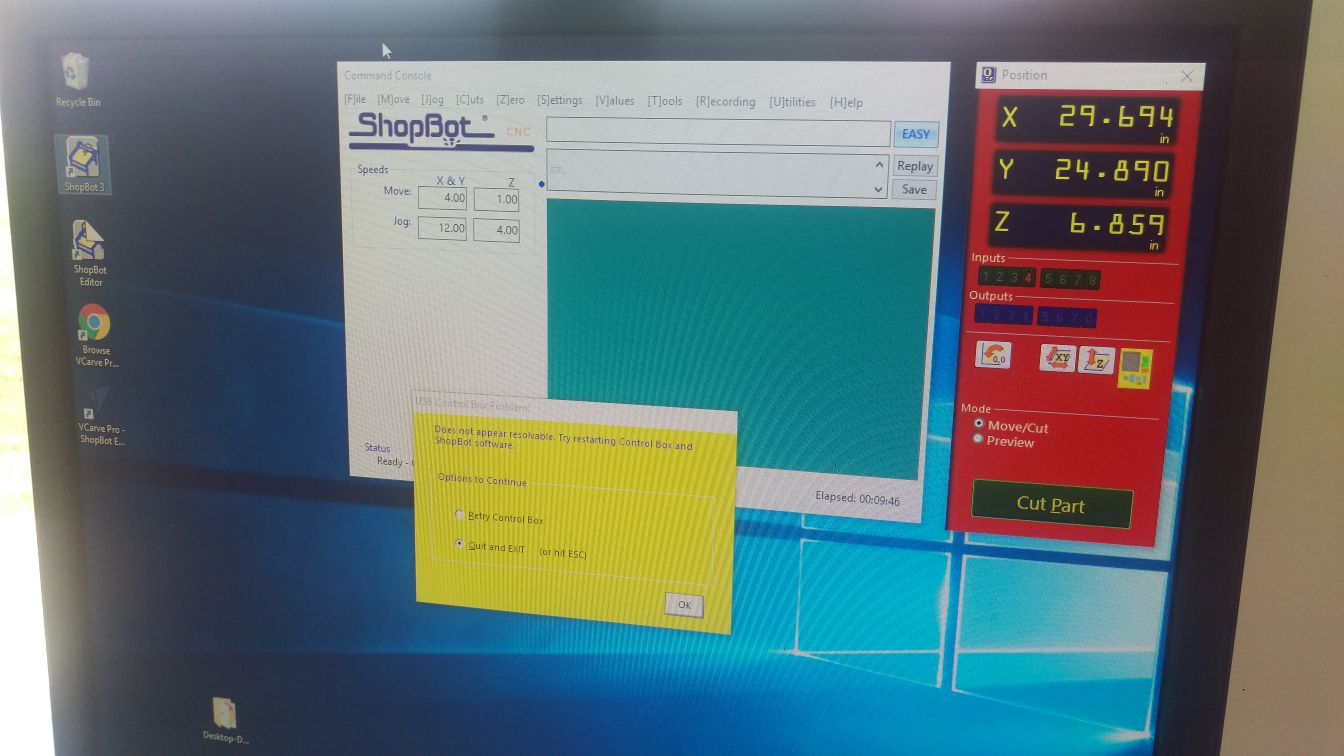
Upon doing that and extracting the tool path in the form of G-code from VCarve Pro, the machine is set to zero, the tool path is added in the shopbot command consle and the surfacing is done.
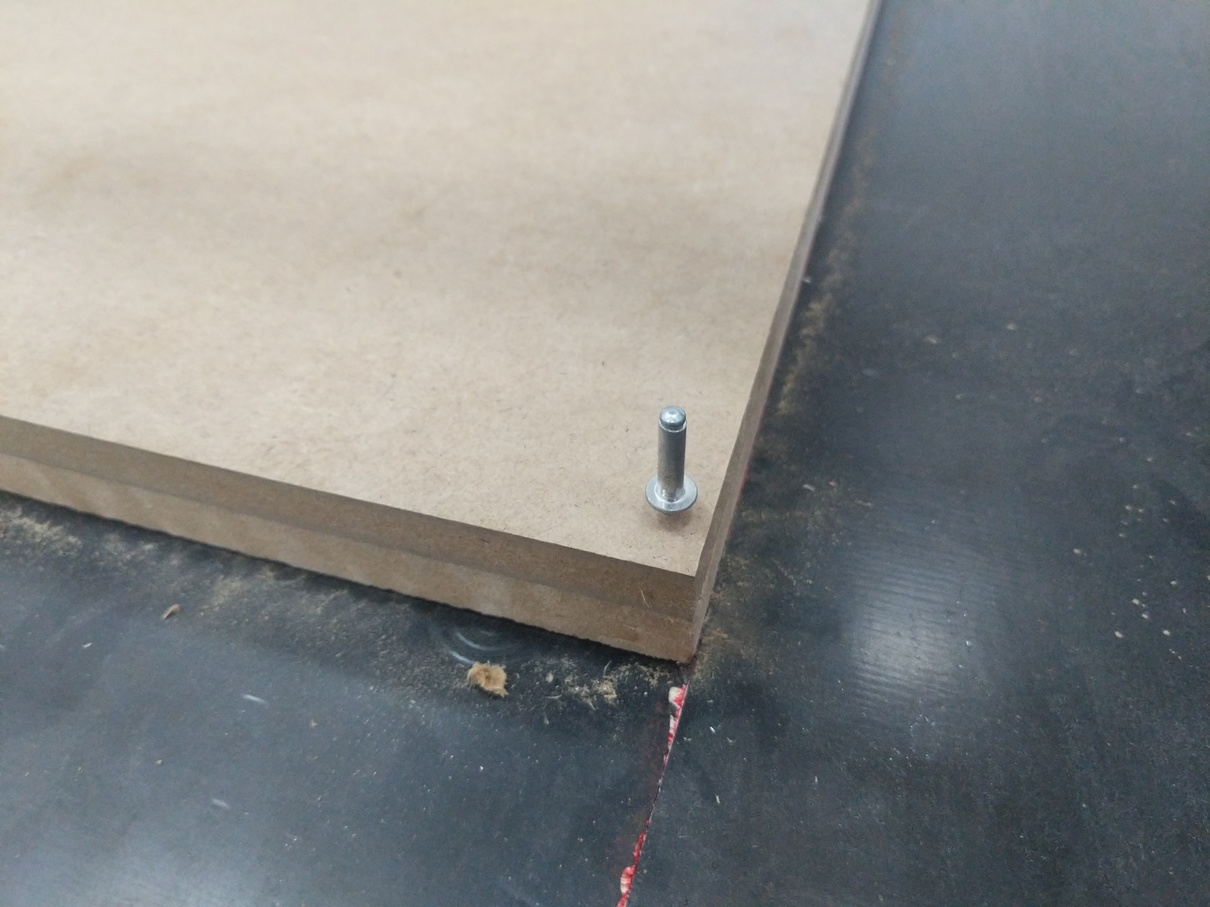
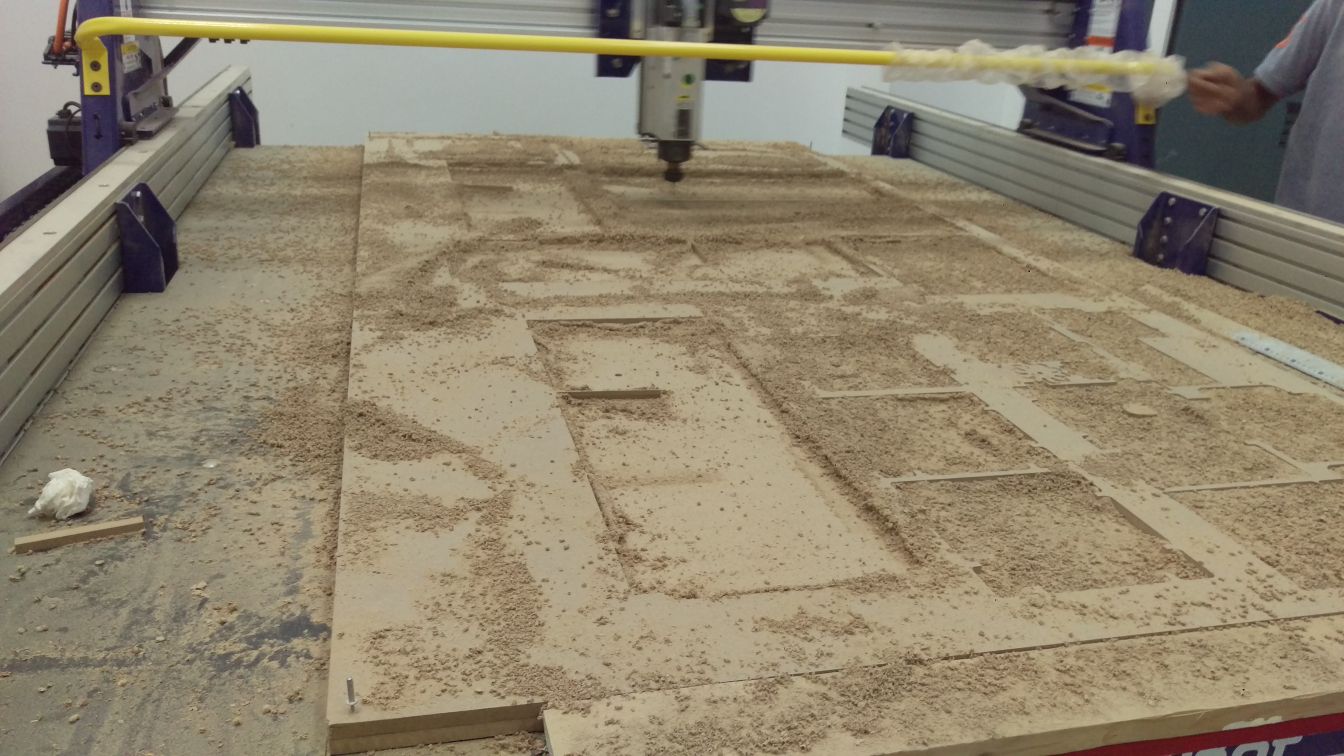
The piece of wood that got surfaced remains on the machine for a long period of time, and the wood used for cutting gets nailed on top of it.

The design
I went back and forth between so many different designs that I wanted to do. I wanted to create a shelving and storage space and there were so many options I liked

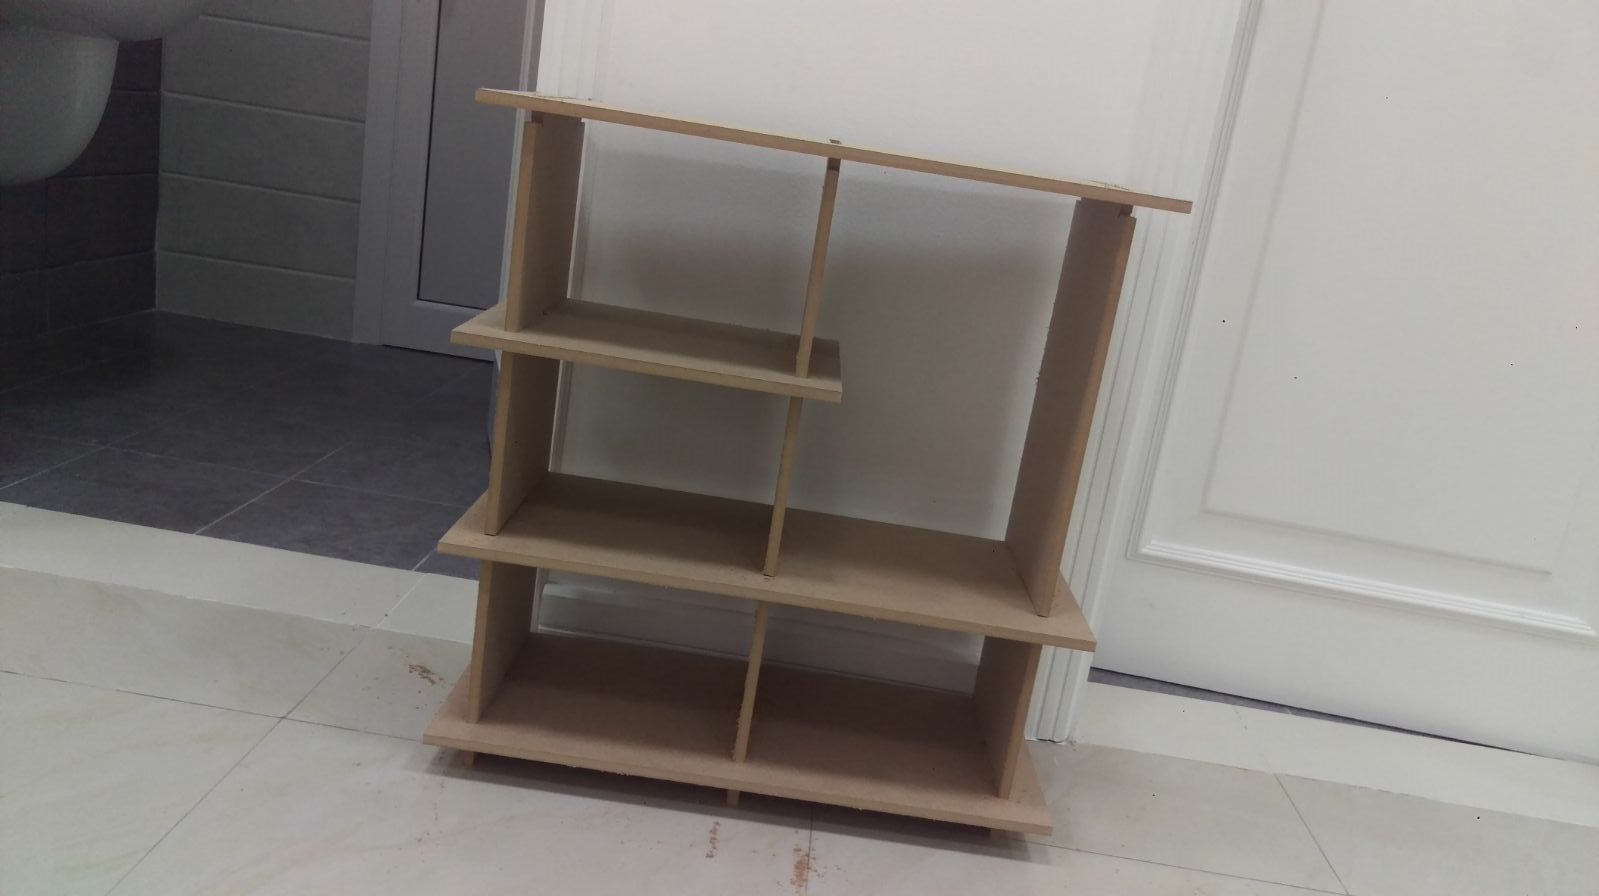
But I really wanted to create somthing without the use of nails.
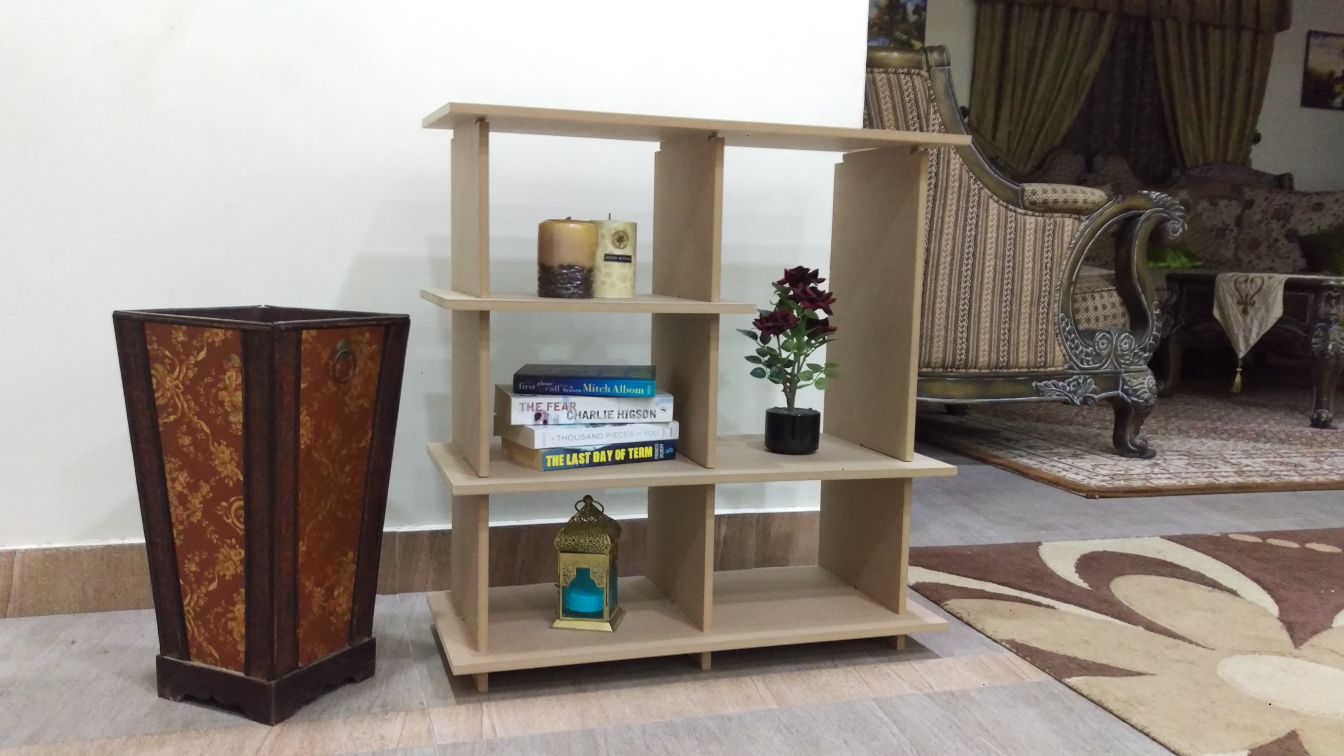
I decided to create some shelves with different size compartments to store things of multiple sizes.
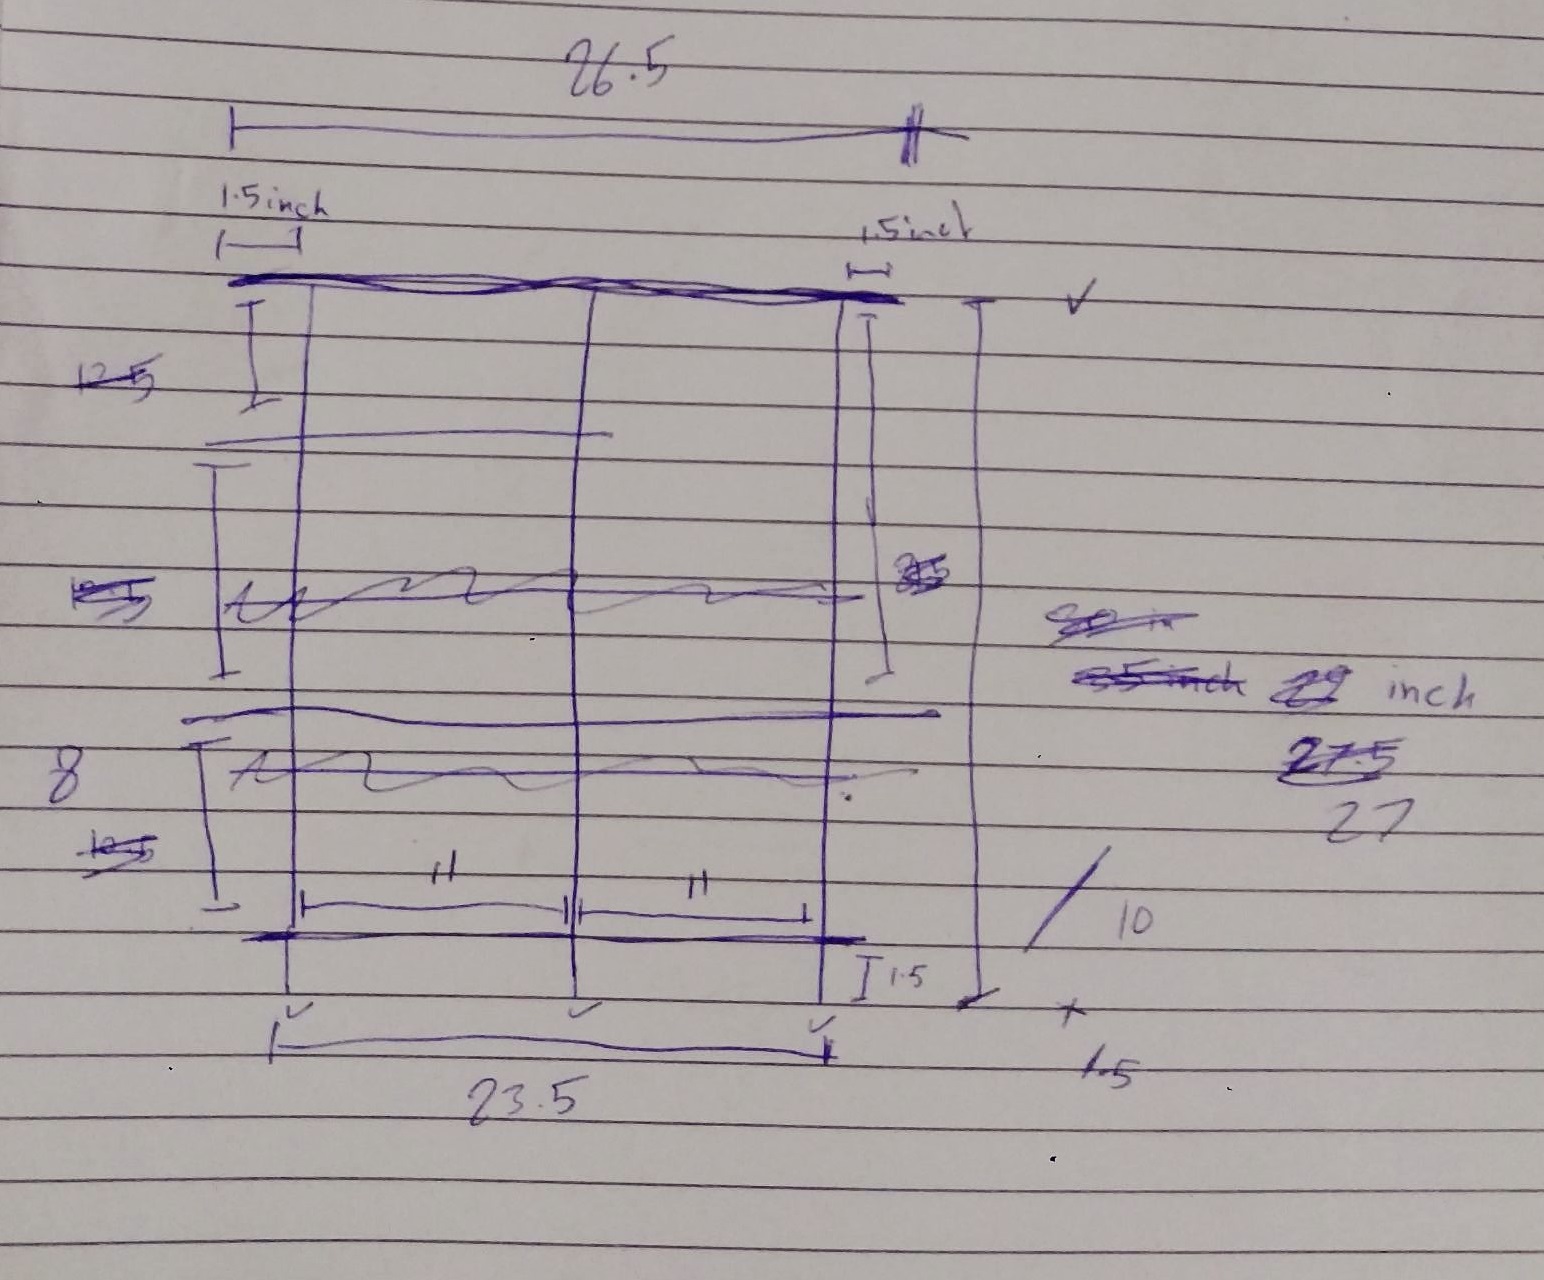
I made the design in Tinker after sketching it roughly to visualize how it will turn out.
I chose to make it in tinkercad becuase it was a very easy program to create fast designs. i did not need to create a 3D design though. everything in the design was 2D and could have easily been done in a 2D design software.
you will notice in the image above the rounded corners. that is called a dogbone and is added becuase of the limitations of round bits. When you try to cut out an inside angle, you need to keep in mind that you can't reach all the way into an inside angle with a rounded bit.
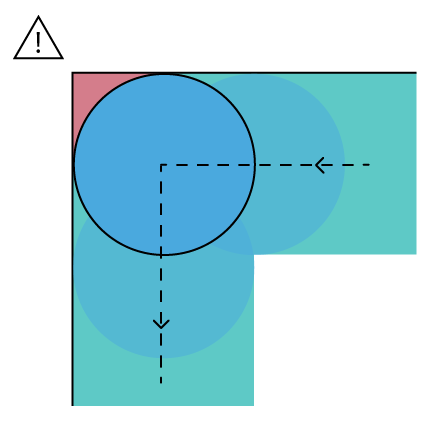
A dogbone is used to eleminate that problem.
stl design file 1 download linkstl design file 2 download link
svg design file 1 download link
svg design file 2 download link
dxf design file 1 download link
dxf design file 2 download link
The design was cut using a 1/4 inch tool on 12mm wood.
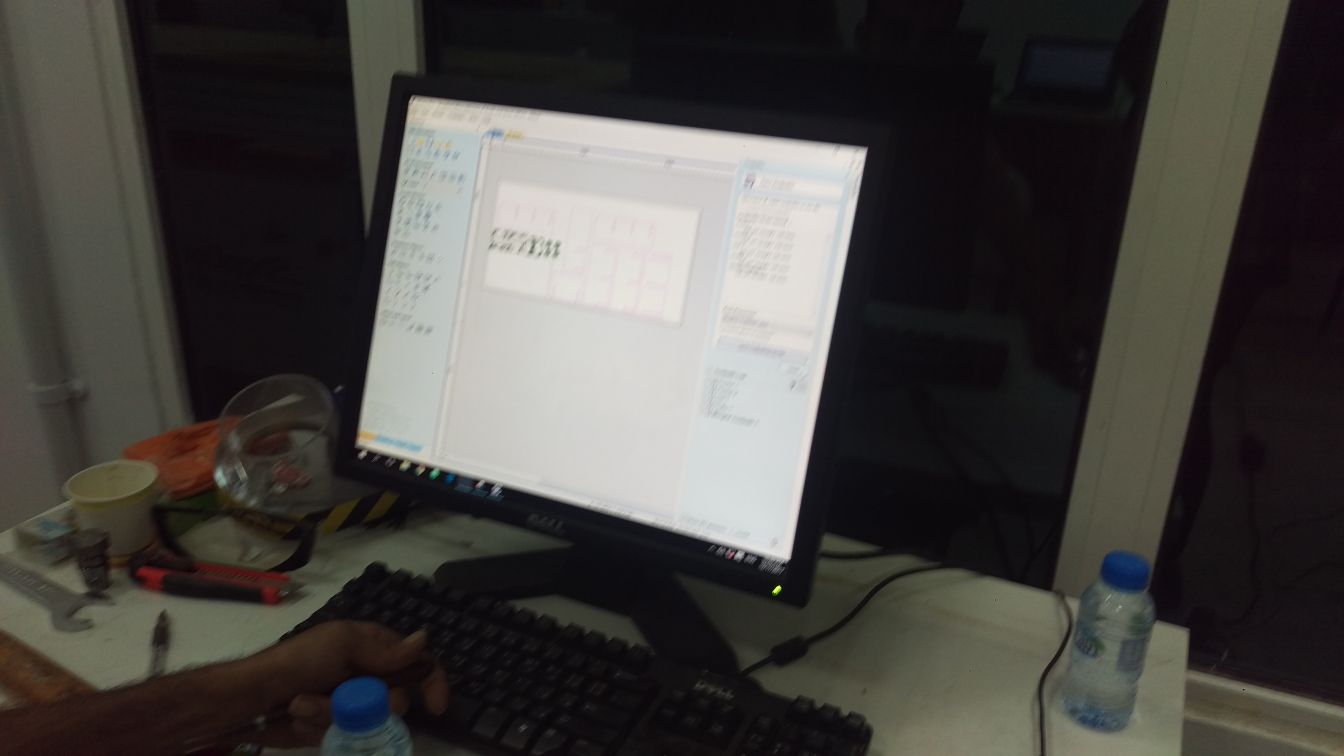
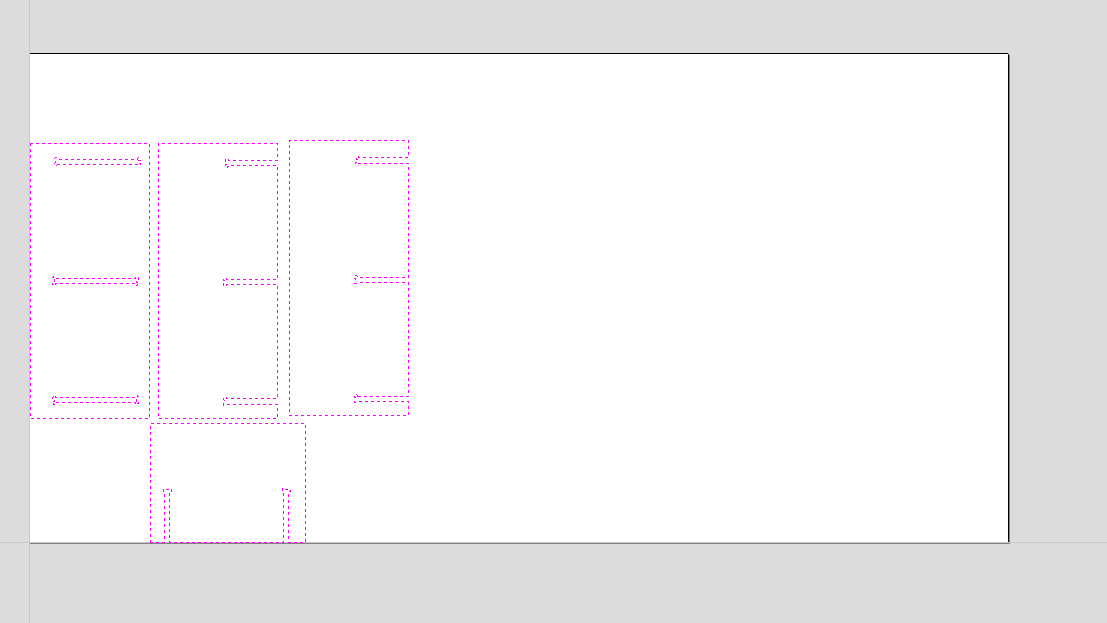
The toolpath was created after importing the design on VCarve and repositioning and orienting the pieces to fit on the sheet of wood.


The Toolpath
The toolpath is generated in V carve and then sent to the shopbot. Those are steps I followed to generate the toolpath in V-Carve.
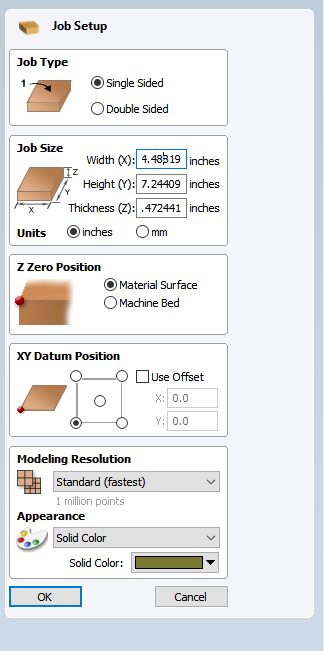
The first step is to set the working area to the dimentions of the MDF wood piece that is available to get an accurate representation of what it would look like. I entered the measurments of the piece, the zero position is at the top of the piece so I selected that and selected the corner as my XY datum position.
Next I imported my part (dxf format - download file linked above in the design section) using file > import > import vectors
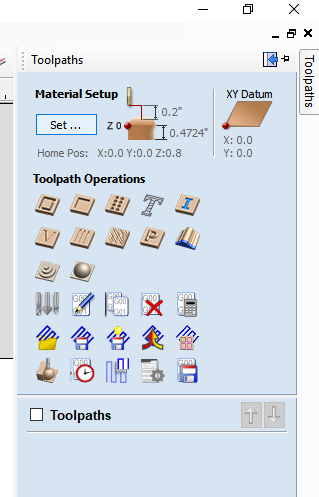
The next step is to generate the toolpath. there is a path labled toopath at the right end of the page
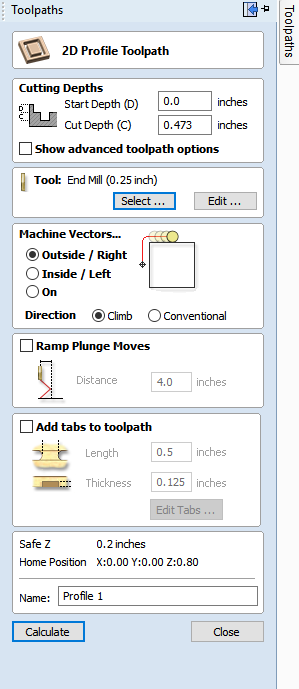
I selected the 2D profile toolpath. I entered the data of my cut depth, starting depth, the tool type and settings (details in the next section). I opted to machine the vectors from the outside.
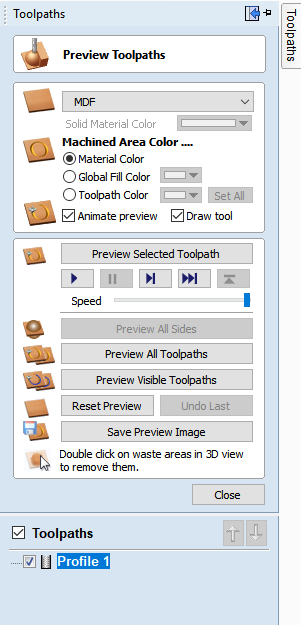
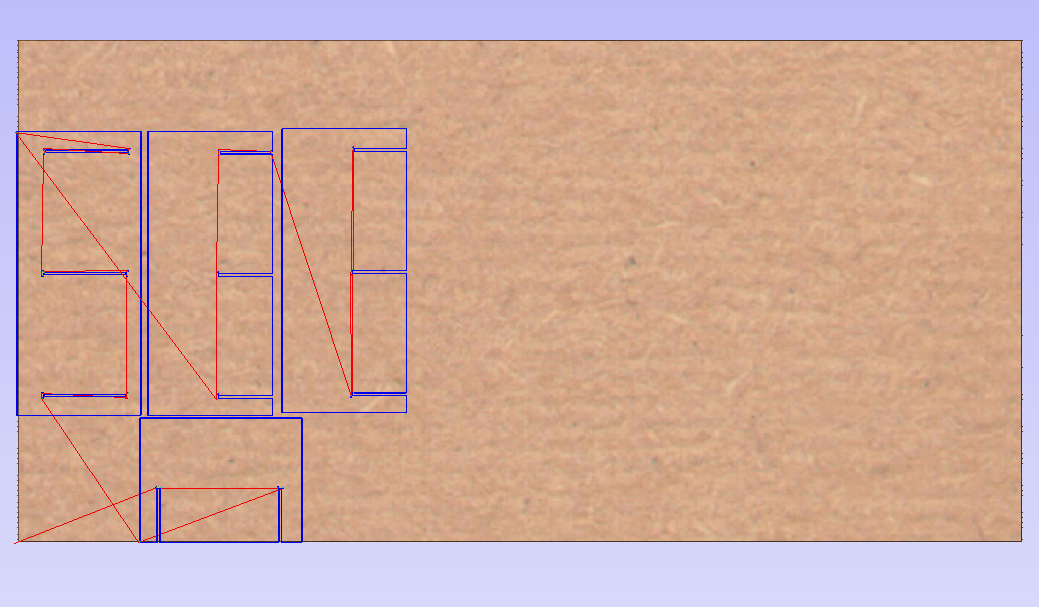
I clicked calculate and selected the material type. V-carve generated a preivew of my cut.
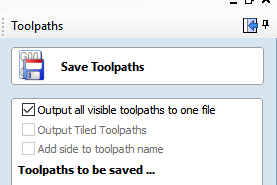
The last step is to save the toolpath. and with that you are set to go.
Feeds and Speeds
A really important part of preforming a good CNC cut is selecting the right bit and selecting the right settings for the spindle speed and the cutting speed. I highly recommend checking out this PDF by shopbot Linked here . It contains guidelines of selecting the appropriate bit for machining along with selecting the appropriate settings to preform the cutting job smoothly. It was a huge help when preforming the cut.
Two cuts were preform, one to surface the intial piece of wood that serves as the base that other pieces of wood get pinned on top of, the other to cut the actual design. Both were done on MDF.
Surfacing cut
For surfacing, The tool used was a 1 1/4 of an inch surfacing tool. The piece of wood getting surfaced is MDF.
Looking at the table provided by shopbot in the Feeds and Speeds Charts document by shopbot, we find the following data for MDF cutting:

We set the cutting parameters as per the table provided after finding the correct tool we are using.
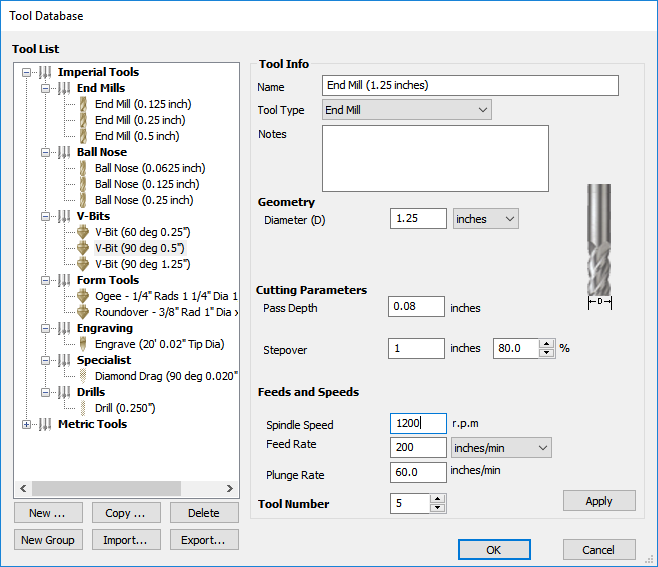
Pass Depth - We set the pass depth to 0.08 inches. It should not go that deep.
Stepover - Stepover is the percentage of the bit diameter for the next pass after the entry into the material. We're using 80% at 1 inch.
Spindle speed - as per the reccomendation table, We’re using 12000 RPM.
Feed Rate - We’re using 200 in/min as per the reccomendation table as well.
Plunge rate - We’re using 60 in/min.
Design cut
For surfacing, there were no details to consider, cutting the design is an entierly different story. We are using a 1/4 inch tool. To figure out the parameters, we used the table again. Our material is MDF.
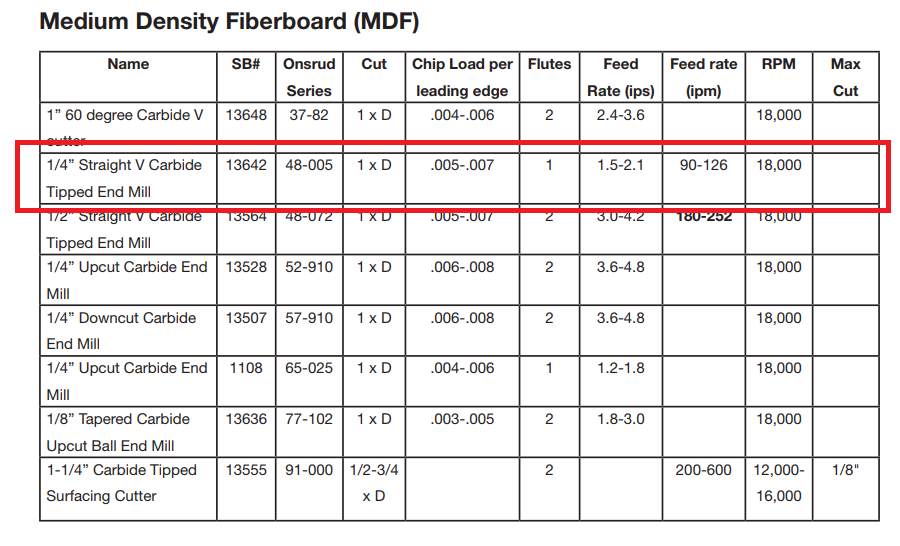
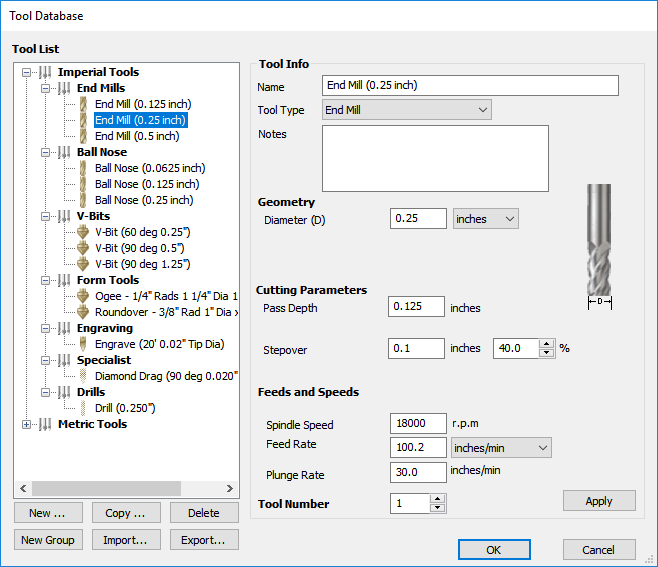
The parameters chosen were as follow:
Pass Depth - We set the pass depth to 0.125 inches.
Stepover - Stepover is the percentage of the bit diameter for the next pass after the entry into the material. We're using 40% at 0.1 inch.
Spindle speed - as per the reccomendation table, We’re using 18000 RPM.
Feed Rate - We’re using 100 in/min as per the reccomendation table as well.
Plunge rate - We’re using 30 in/min.