design a 3D mould around the stock and tooling that you'll be using, machine it, and use it to cast parts from it
My goal for this week is to create a food mould. I have always been interested by food moulds from the past because of its ostentatious and fun shapes. This week it's a good oportunity to experiment with food shapes and I have decided to create an ice-cream mould.
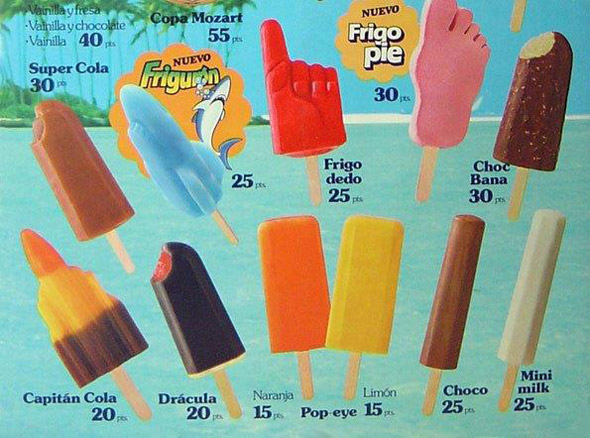
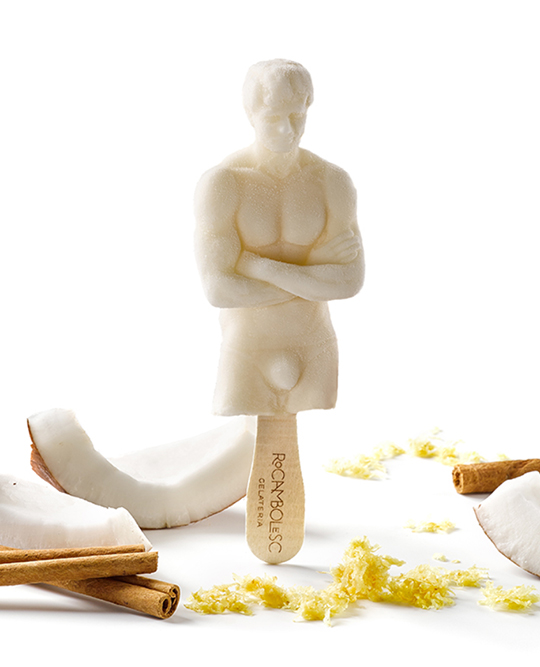
Some of my all-time favourite ice-cream designs:


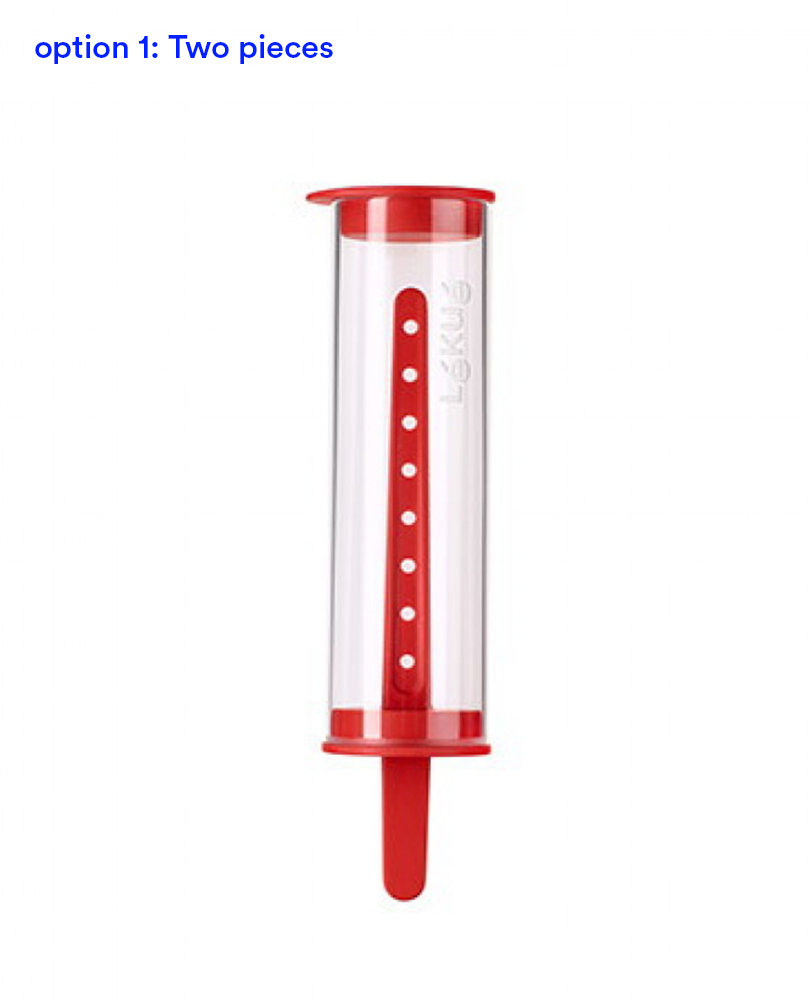
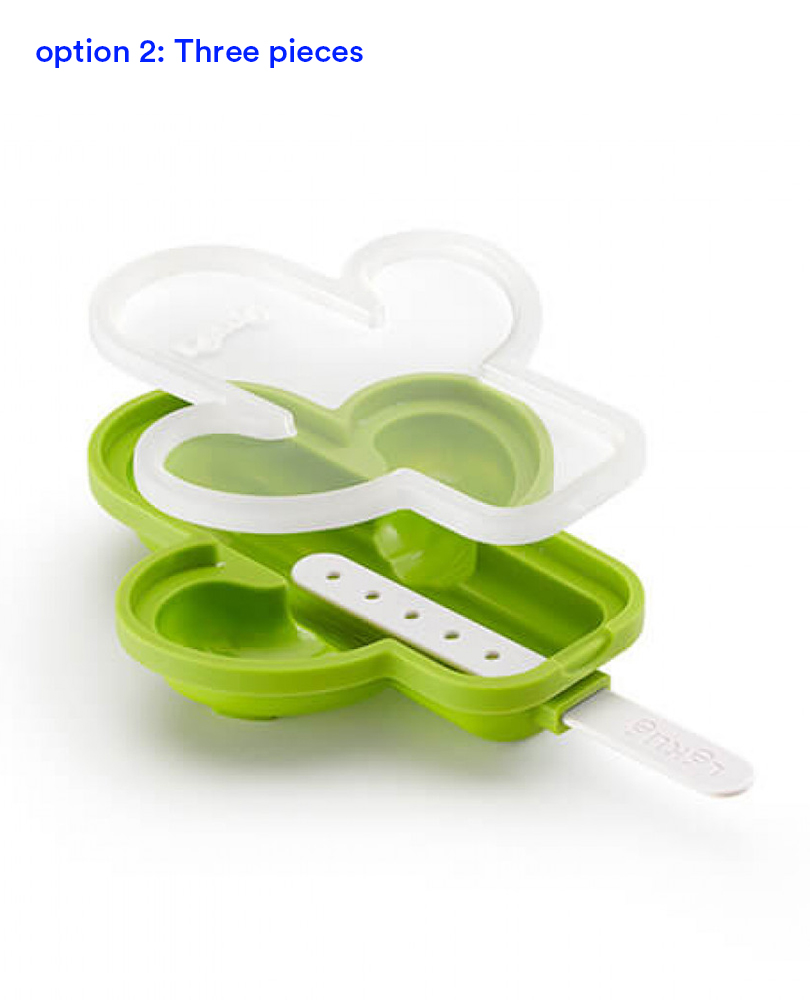
Some good references are Lékué food moulds and the dangerous popsicles project, but after a brief research I realized there are two main ways I can create my mould. One would be the solid negative of my final design, and the other is composed by two parts that must be assembles togeter (example images below):
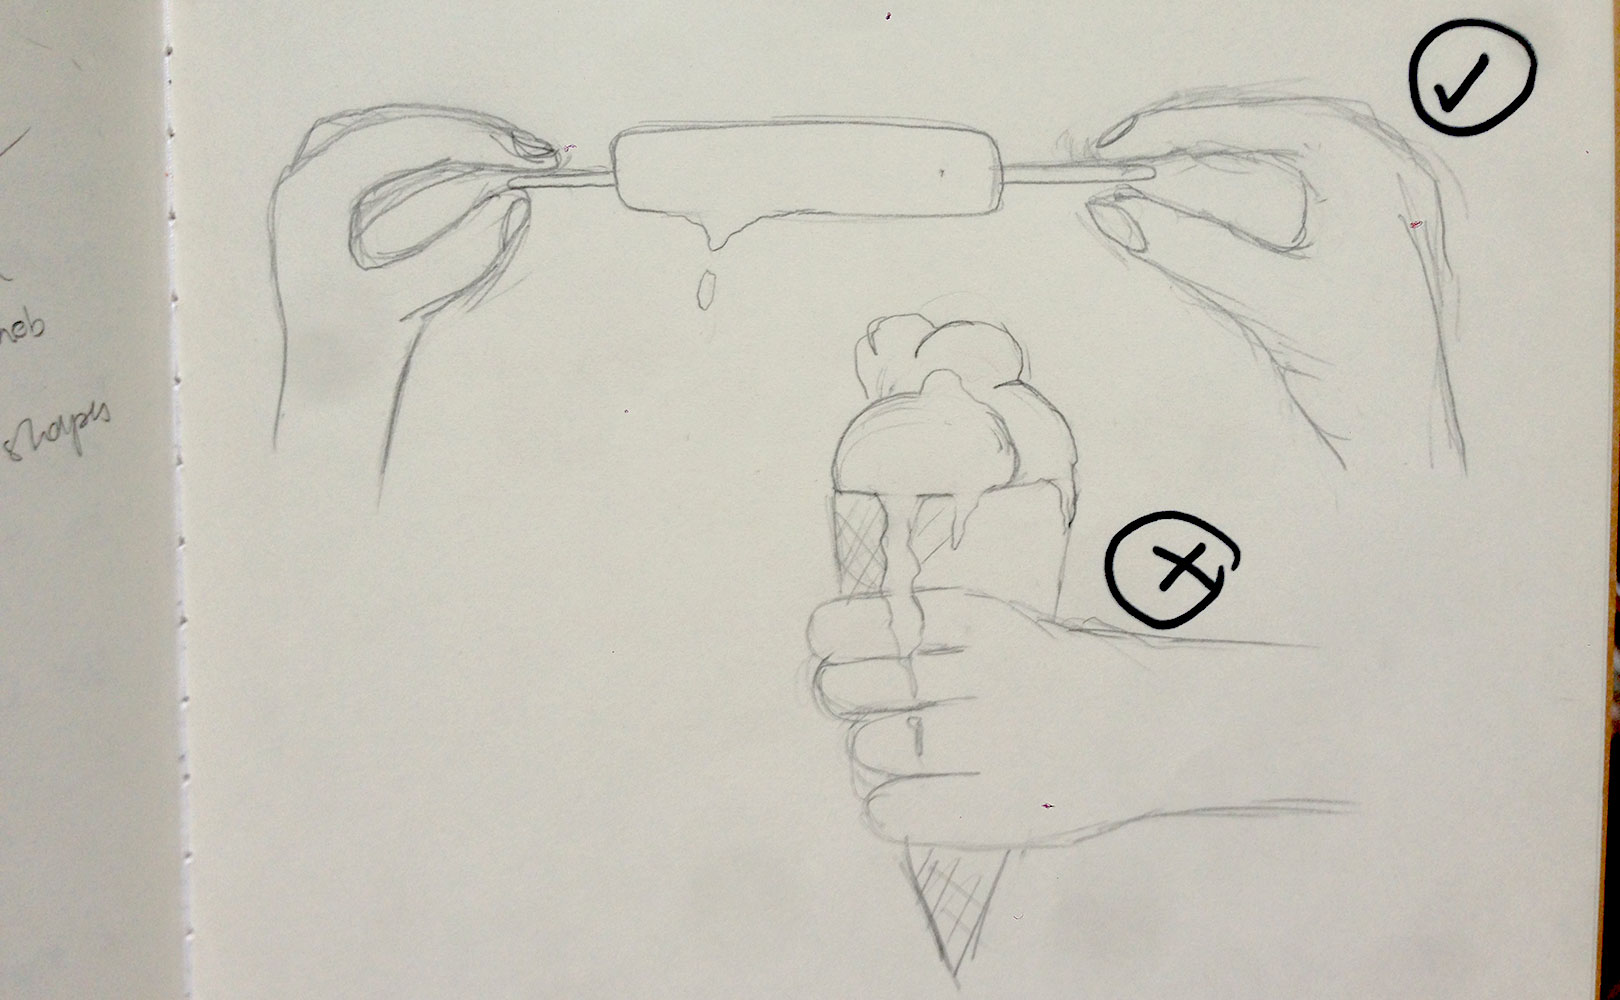
After this research I came up with the idea of creating an ice-cream that doesn't melt on your hands as you eat. It is going to have a very simple design as seen in the image below:
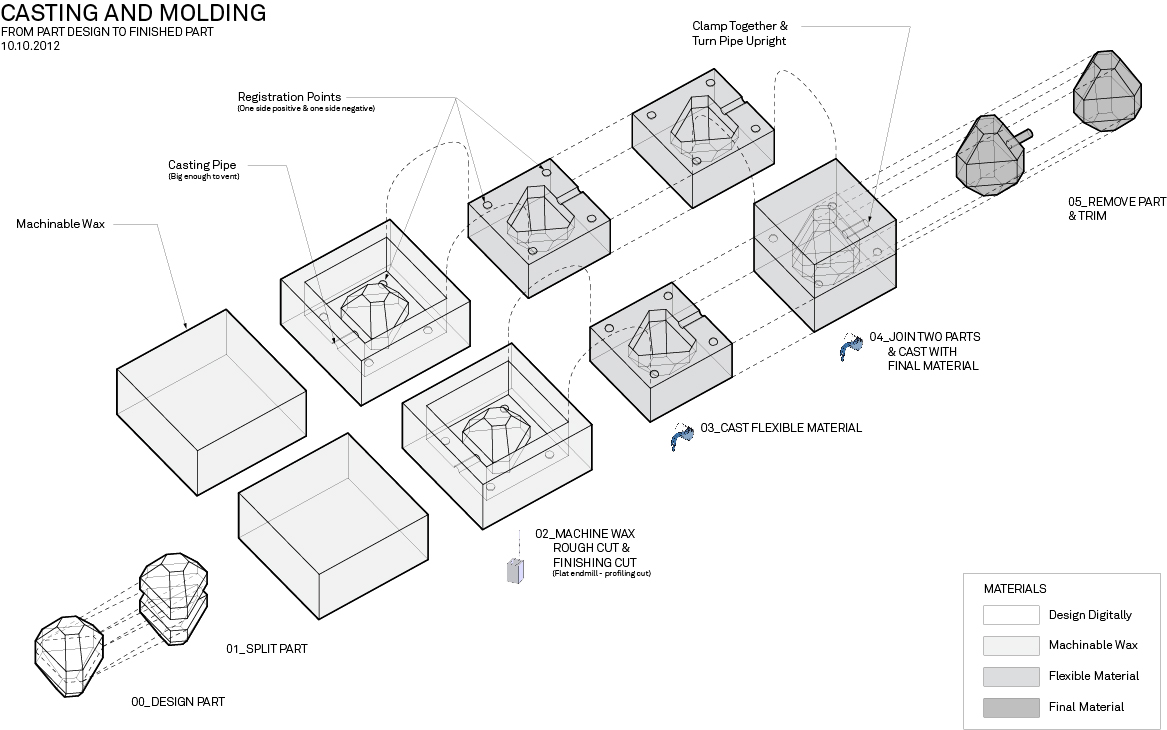
Because of the nature of my design I am going to be creating a two-sided mould. Image below shows the workflow to create it. The general workflow of the process is the following:
- Create the positive of the object in wax
- Create the negative in silicon
- Use the final material to create silicone positive at the end
My wax brick is 150x100x30mm, now I need to make the design in Rhino to know what to mill out of the wax and have the positive image of the ice-cream.
The fact that my design has a stick coming out from both ends, makes the mould design a bit tricky. Mainly, beucase if I have to insert a stick along side the mould, from where will I be able fo fill the inside?
Thankfully, Santi gave me the great idea of making four small holes from the top of the mould, so that I can pour the liquid after the mouls has been closed and the stick introdced.
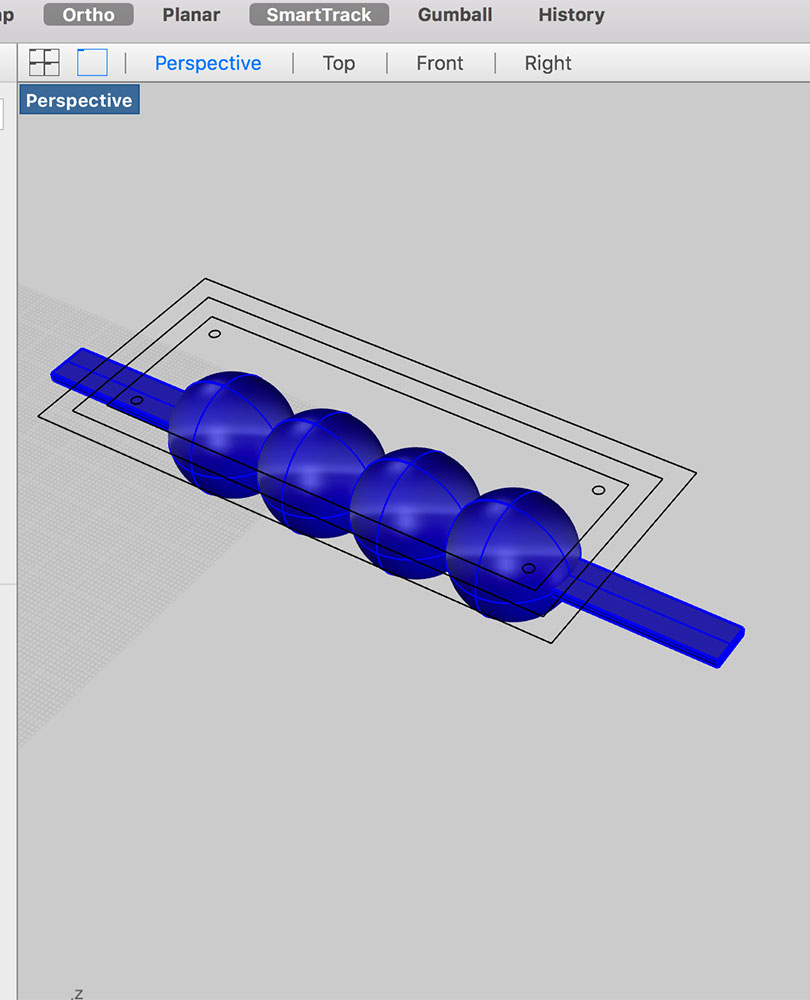
In order to start designing the positive image I took into consideration the size of the wax block and the sicks I'll be using. From this information I calculated the proportions and started making the ice-cream in Rhino. Below some screenshots of the step-by-step process can be seen.
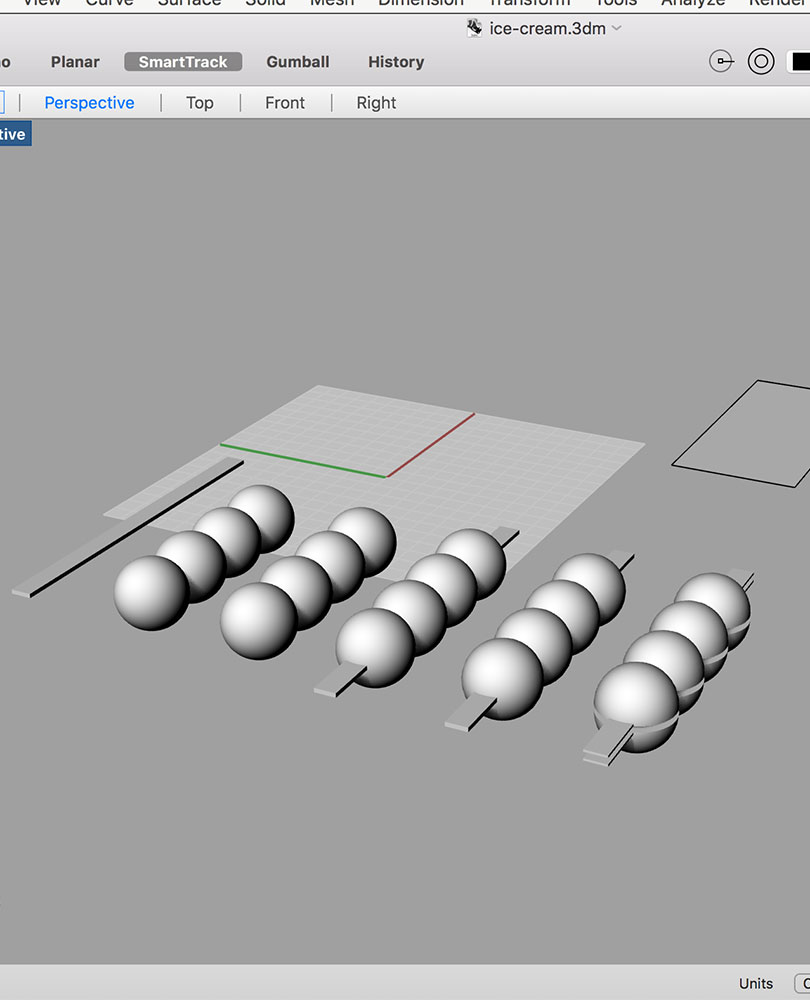
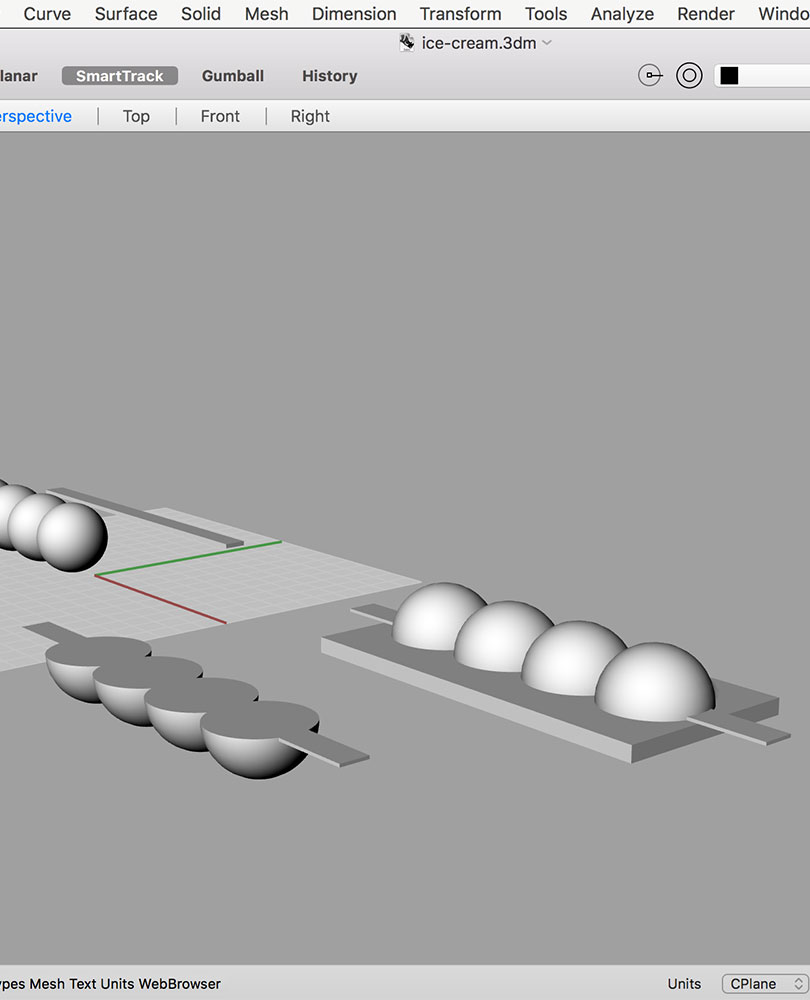
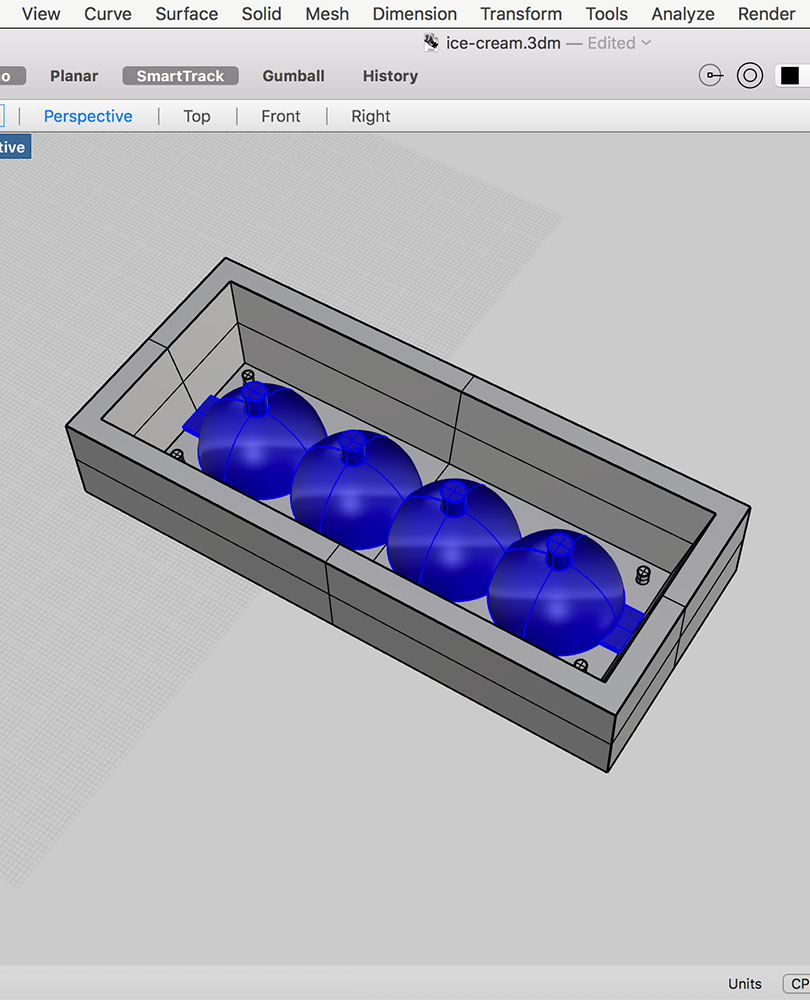
As I am making a two-sided mould, I had to split the final shape in two halves once it was finished. I then proceeded to accomodate it inside the "box" required to be able to fill the mould with liquid afterwards. At this stage it is crucial to measure correctly all the spaces and make sure with offsets that the tools will be able to go into all the spaces we are designing. The tool I will be using for the roughing process (used to take out most of the material) will be 3.175mmm square tip, and for the finishing process (used for defining dettails) the 1.588mm ball tip. It is important to take into account the shape of the tip tools as well as their size, as some of them are flat and round but others can have a V shape that would allow them to reach more precise corenrs.
This two process will be done in the SMR-20 milling machine that I am altready familiar with. In order to be able to extract the mould afterwards and also allow for the tool to drill in properly, we must create a small ramp on the mould walls so that they are not 90deg. I also made for holes in the corners to make the corners of the mould to coincide and have a perfect fit in which liquid can't leak.
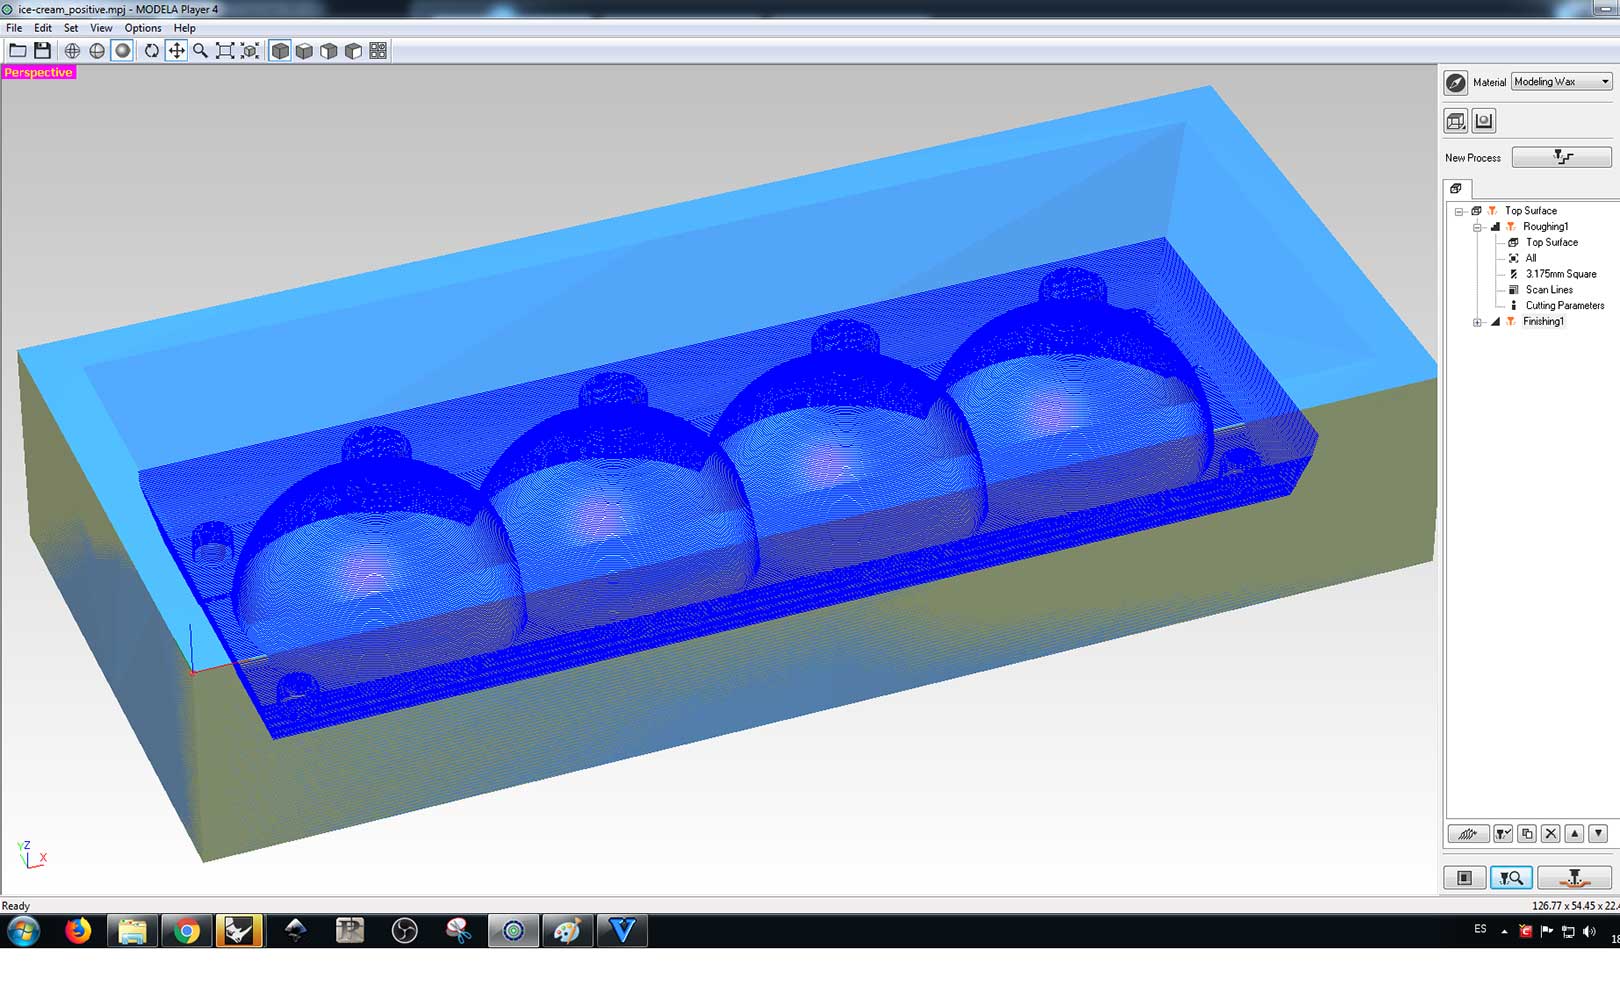
Once the desing is done we export it as an .stl and open it in the Modela software to generate the milling strategy in the two processes I explained before. The main things that we have to do at this stage are the following:
1.Change the 0.0 point in the x.y coordinates to make it on the left bottom corner.
2.Define the sepcs for each of the two processes. Be careful with units as we'll have to convert it to mm/sec)
3.Preview the strategy (might take a few seconds) and export as .prn
Once in the Roland machine, I equipped it with the roughing tool and set the x,y,z as we do when we mill a PCB board. Then, we simply send the roughing file and wait for the machine to be done.
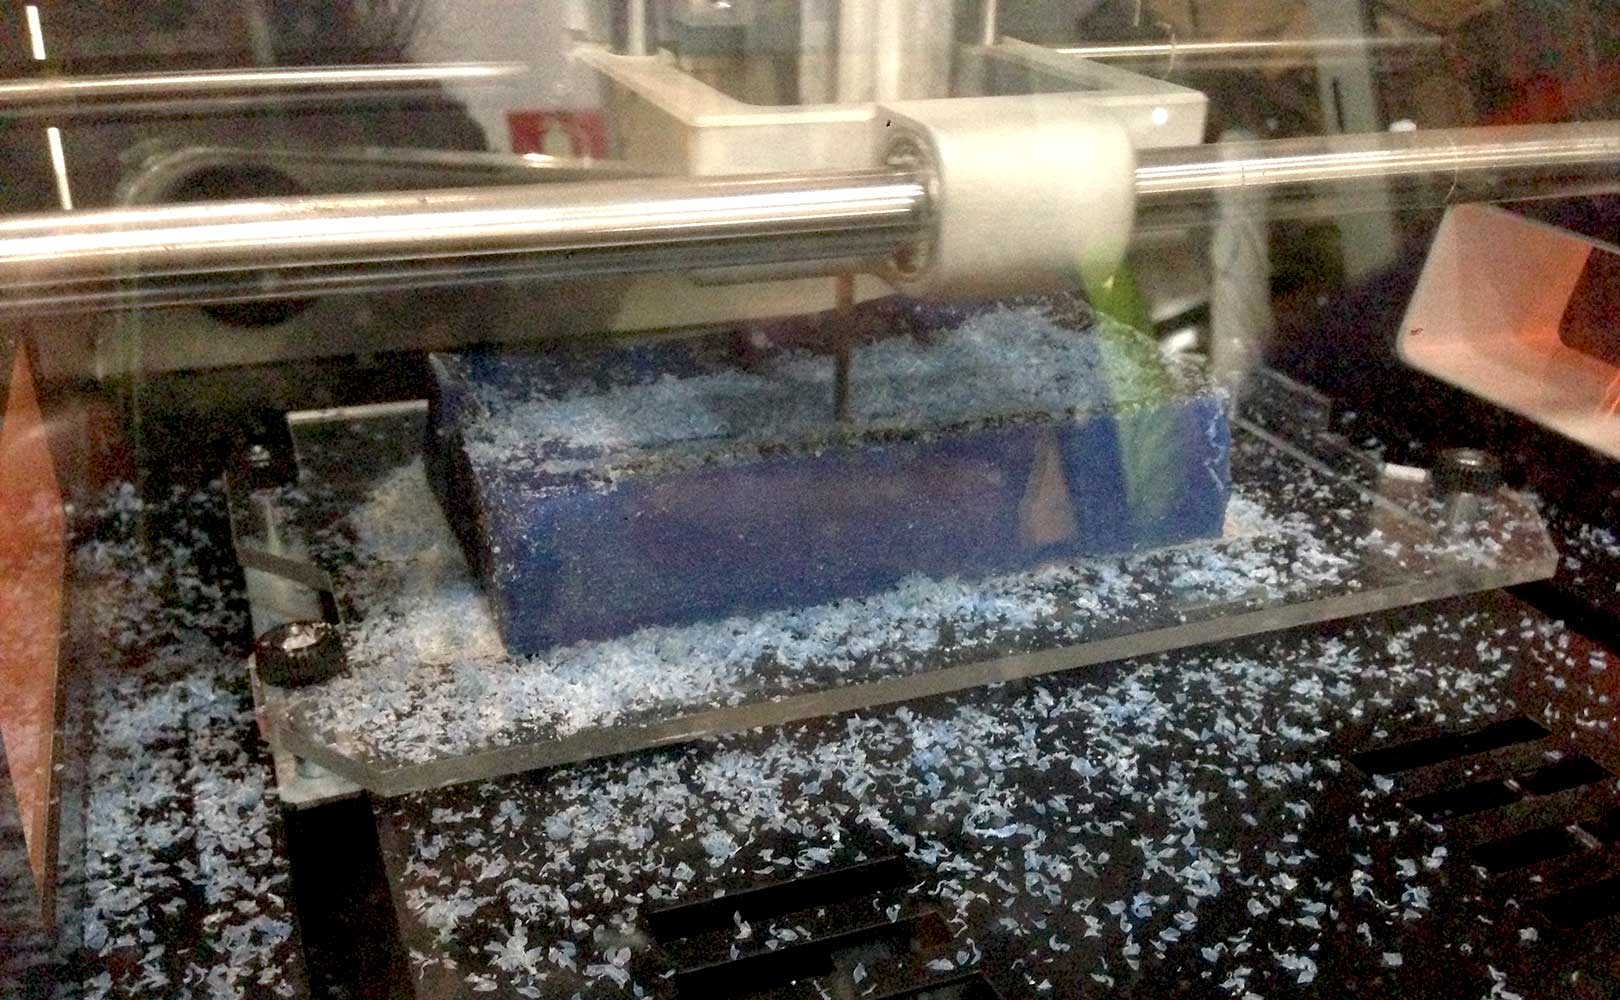
Result of the roughing process:
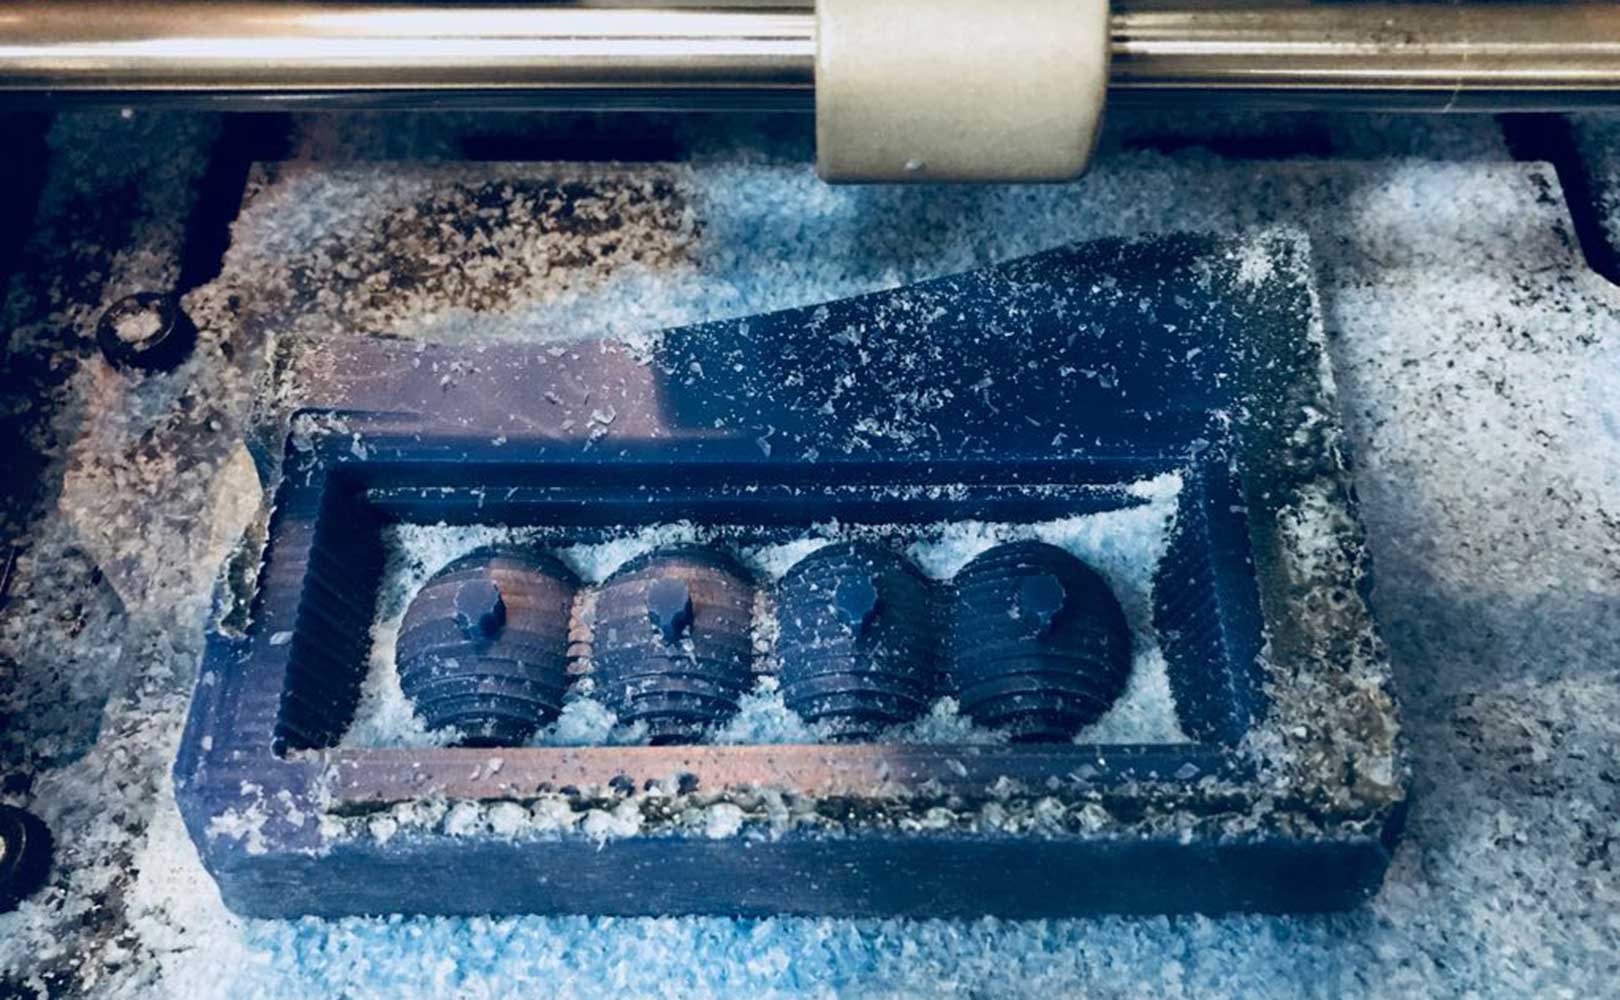
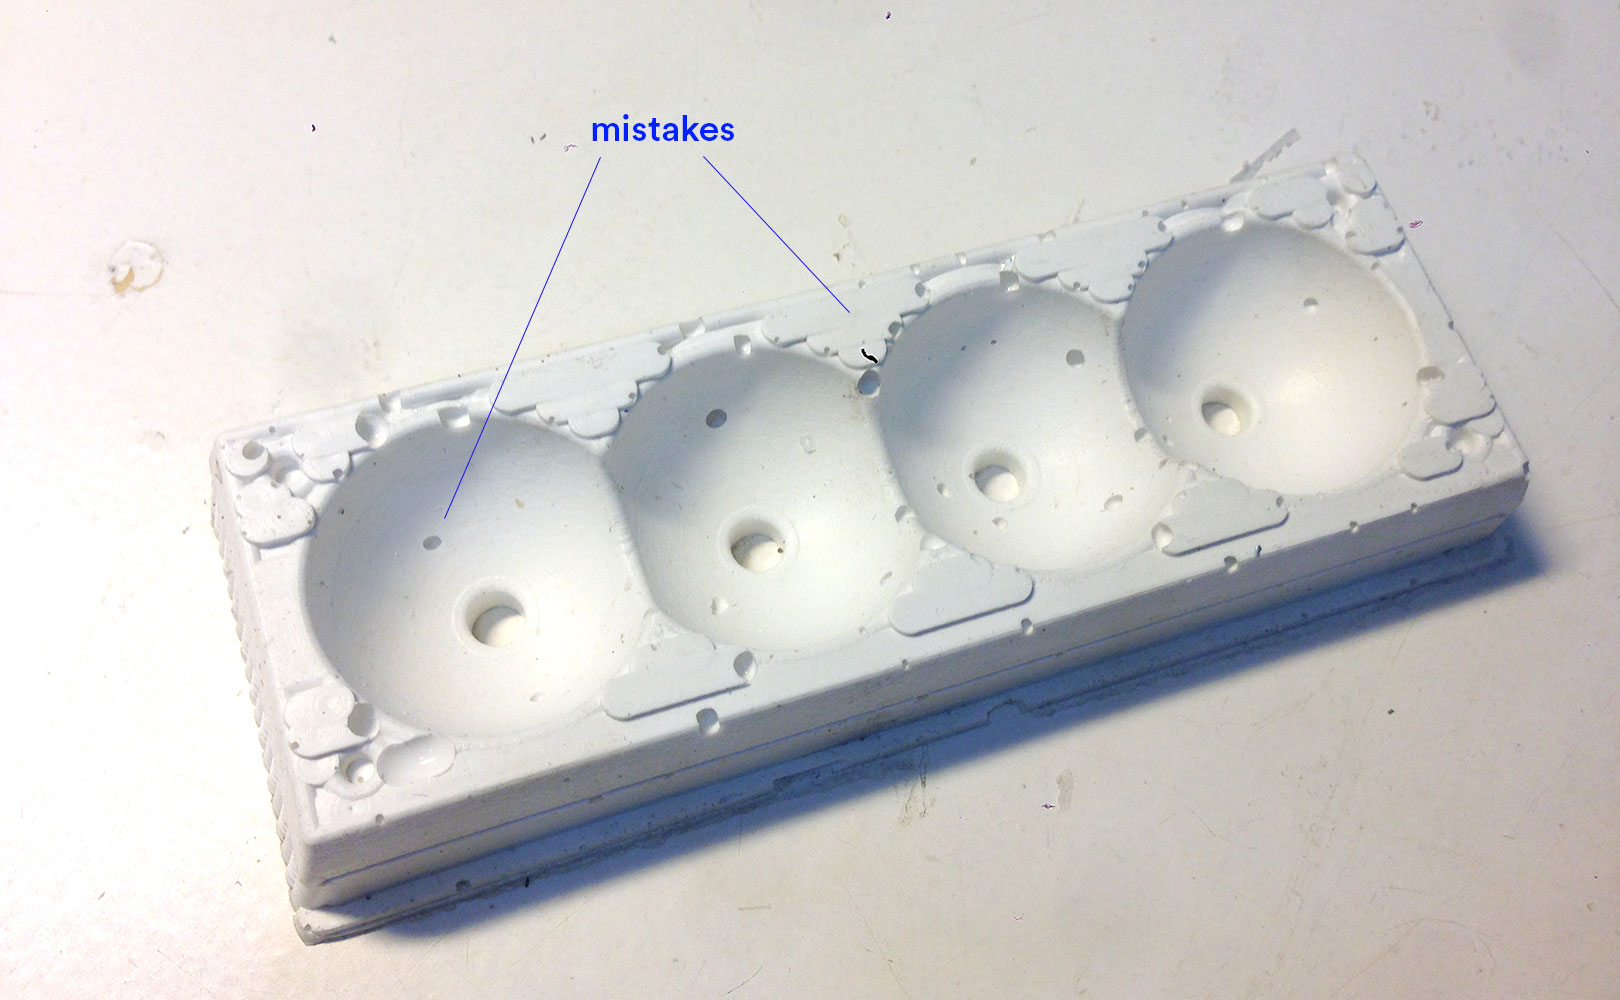
After it was done I sent the finishing process. I am not completely sure why (guess will be the way I set the strategy or the tool was too far up), but the finishing came out with a few mistakes that are marked below. The tool didn't mill the "bed" of the design. I am aware this flaw will make the mould uneven, probably causing the mould not to close properly, but I've decided to take the risk and try what happens anyway.
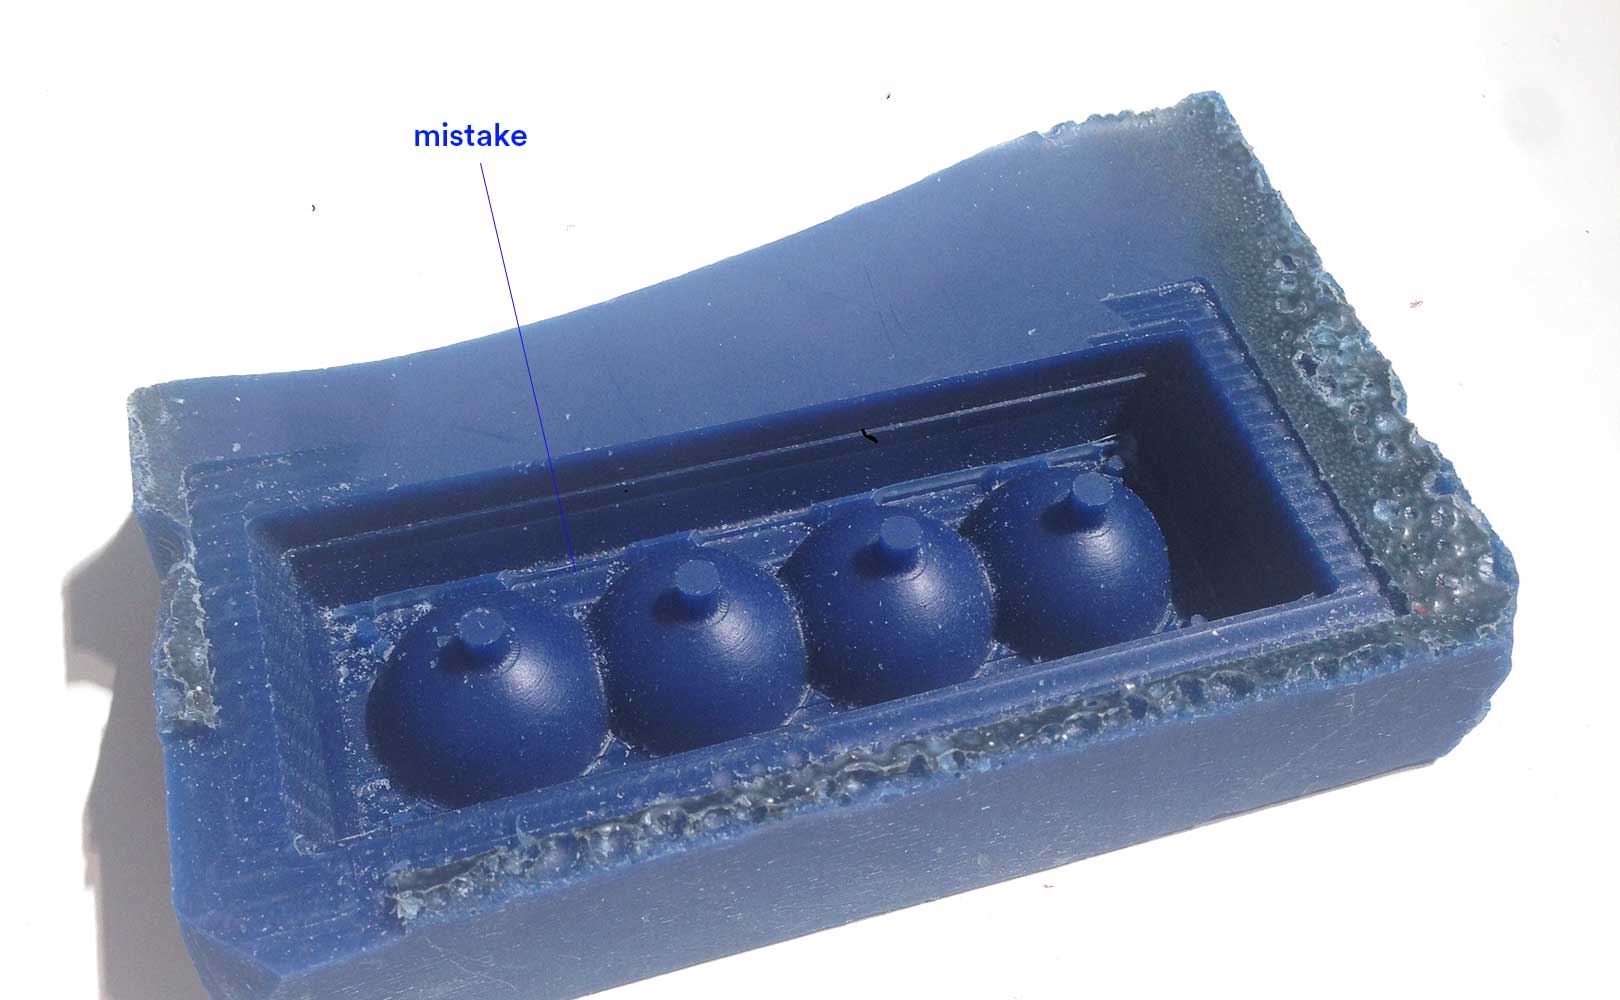
The next step is to make the mould. In order to do that I used the XXX. The mixing proportions are X by X. Once the mixture was made, I quickly poured in the milled piece of wax. Afterwards, proceed to put the block in the vacumm to extract the bubbles in the mixture. And finally, let it rest overnight.
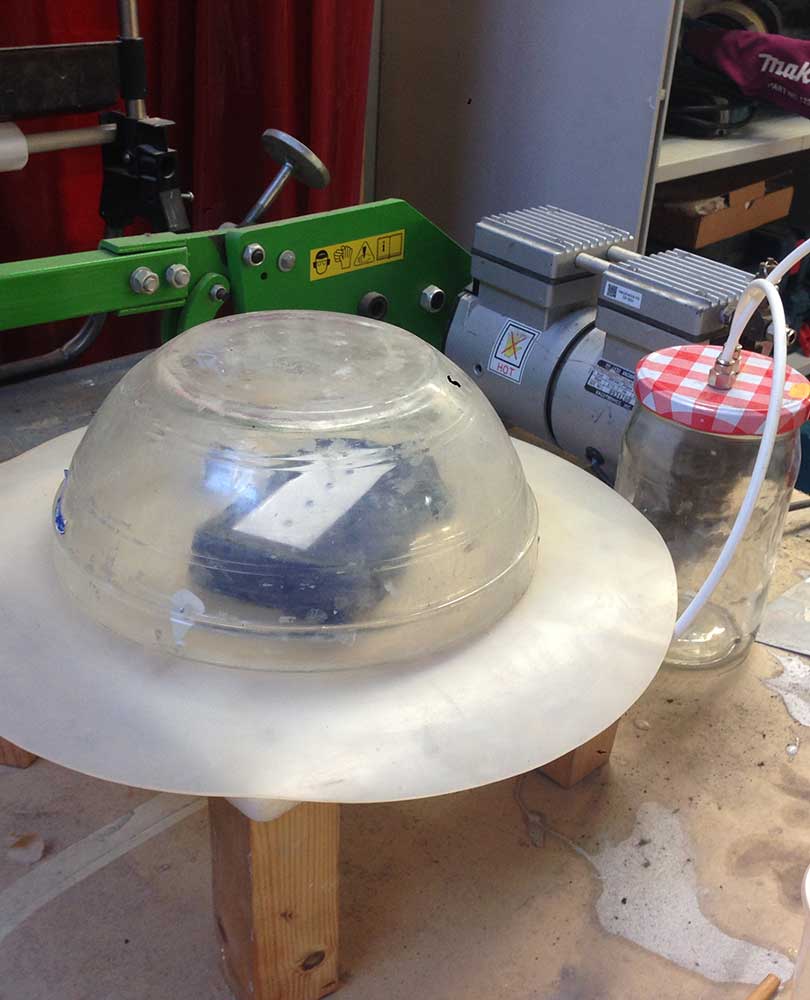
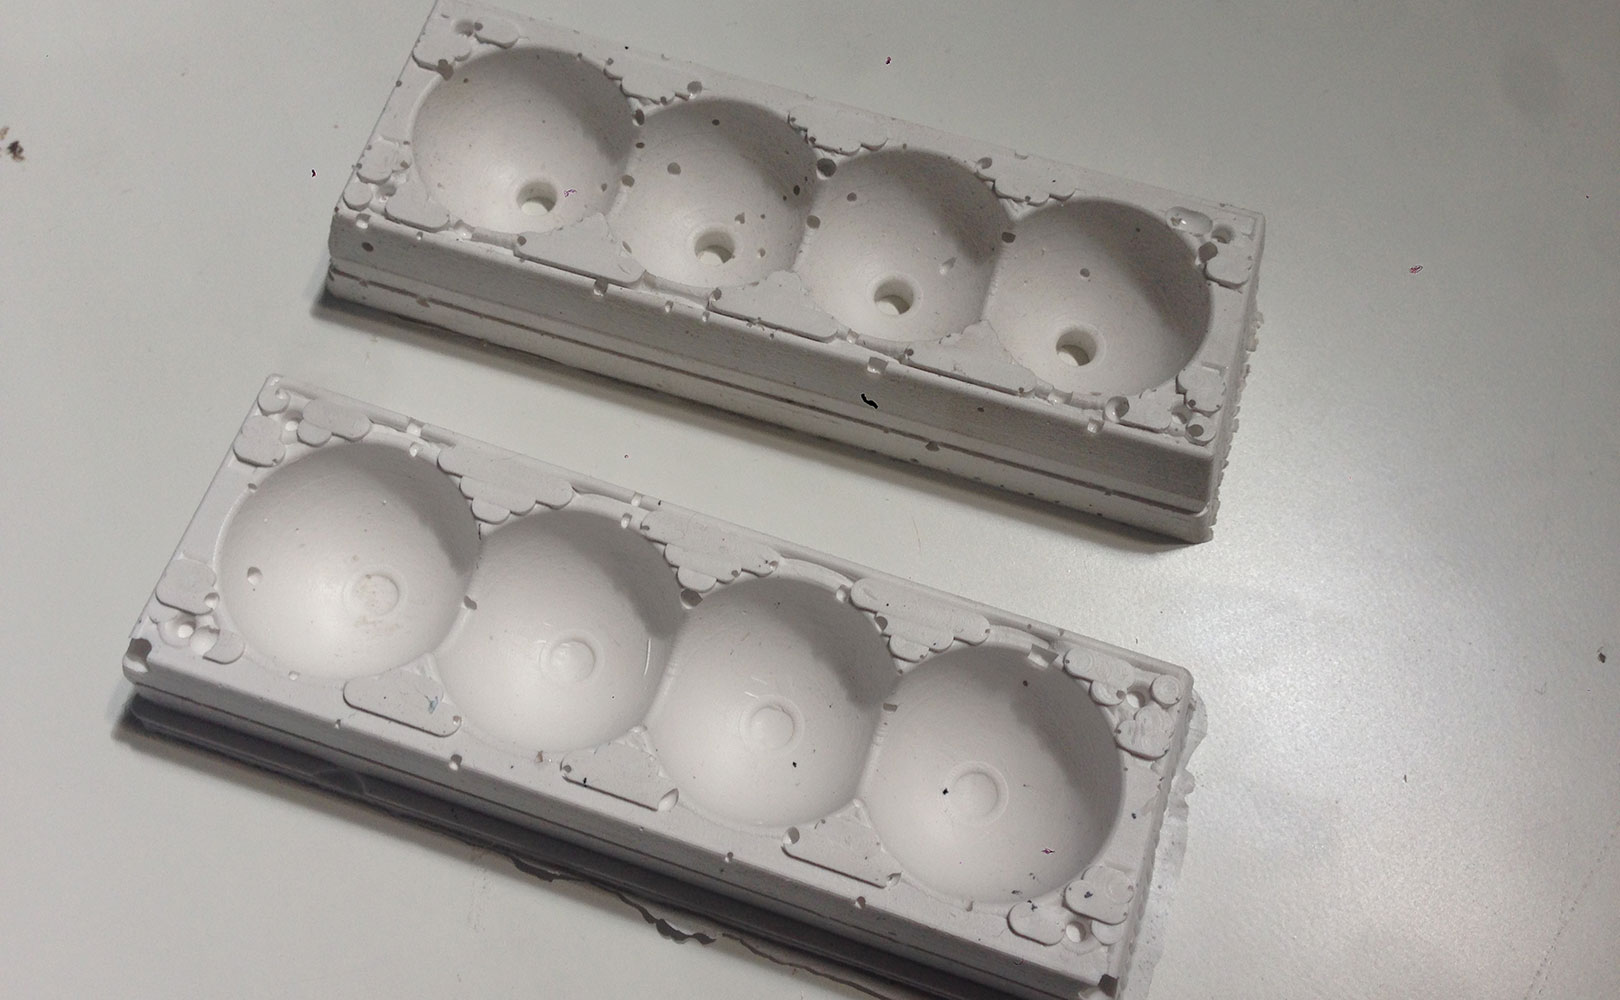
Once the material hardened, the next day, I extracted the mould from the wax. As can be easily appreciated in the image below, the mould came up with several bubbles. Obviusly, this is due to not having done the vacumm porcess long enough, next time I will do it for a longer time and will make sure it is properly sealed.
As I already know I won't have a proper mould of the ice-cream I had in mind, I am taking this as a trial to understand the material and learn the process along the way. This is why instead of milling another block of wax to make the other part of the mould (the one without the holes on top), I simply cut them by hand to creat the other side.
I repeated the same process and made the secound mould. This time I invested more time in the vacumming stage and I am happy to see considerably less bubbles than in the first attempt.
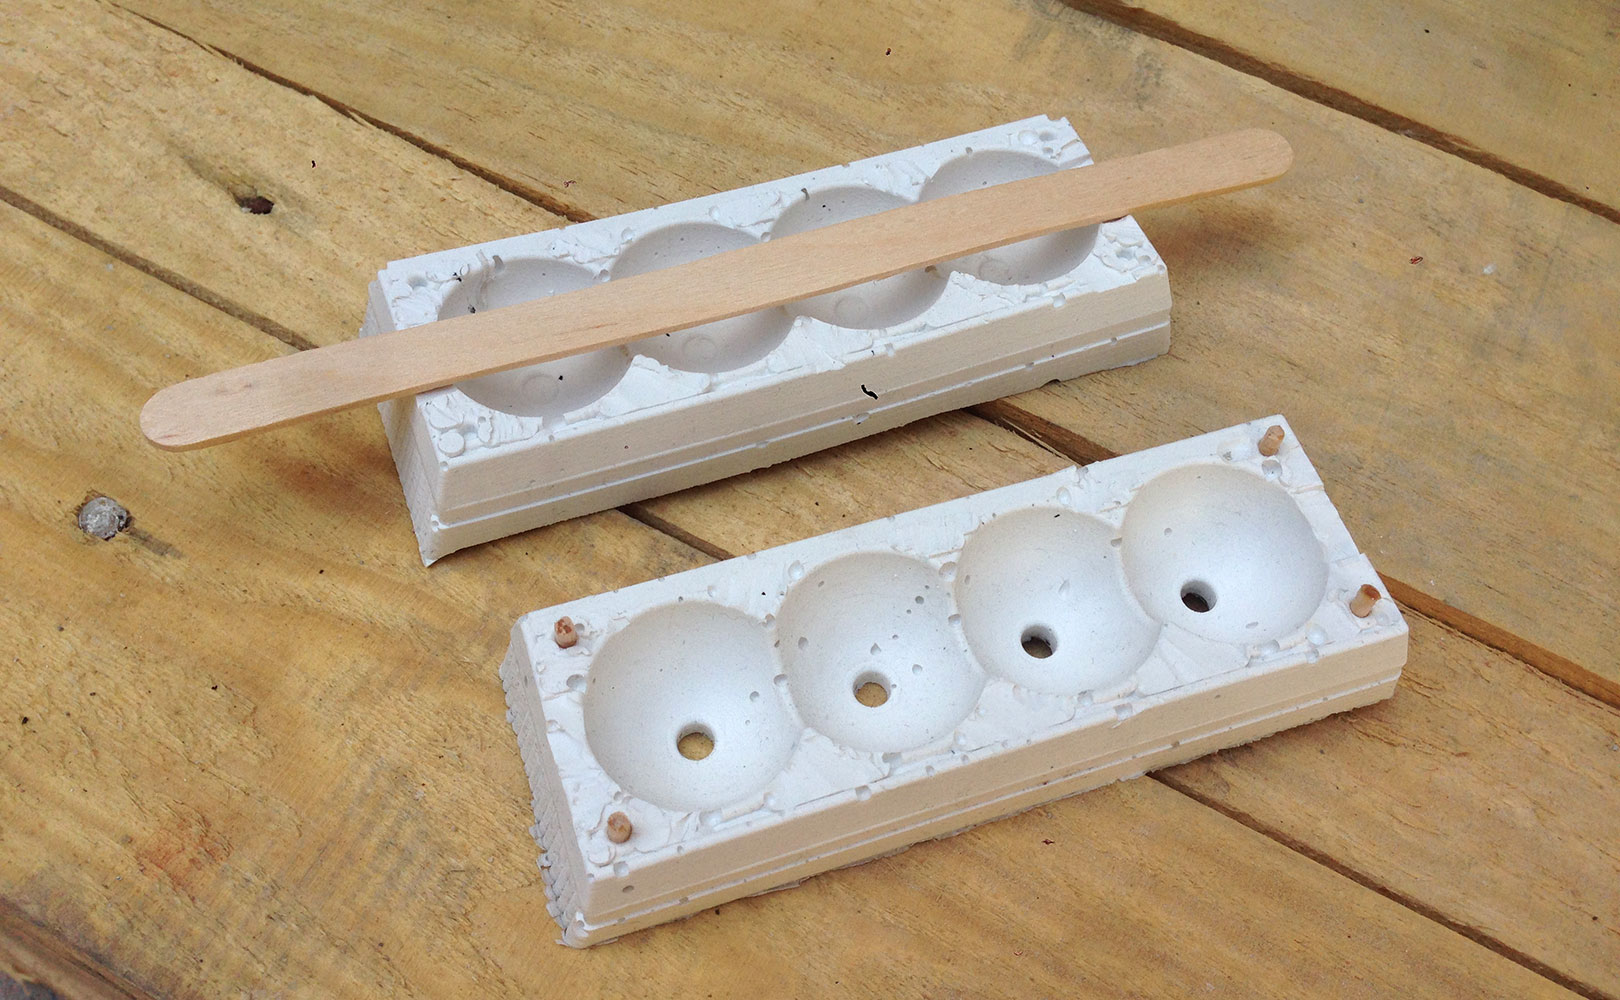
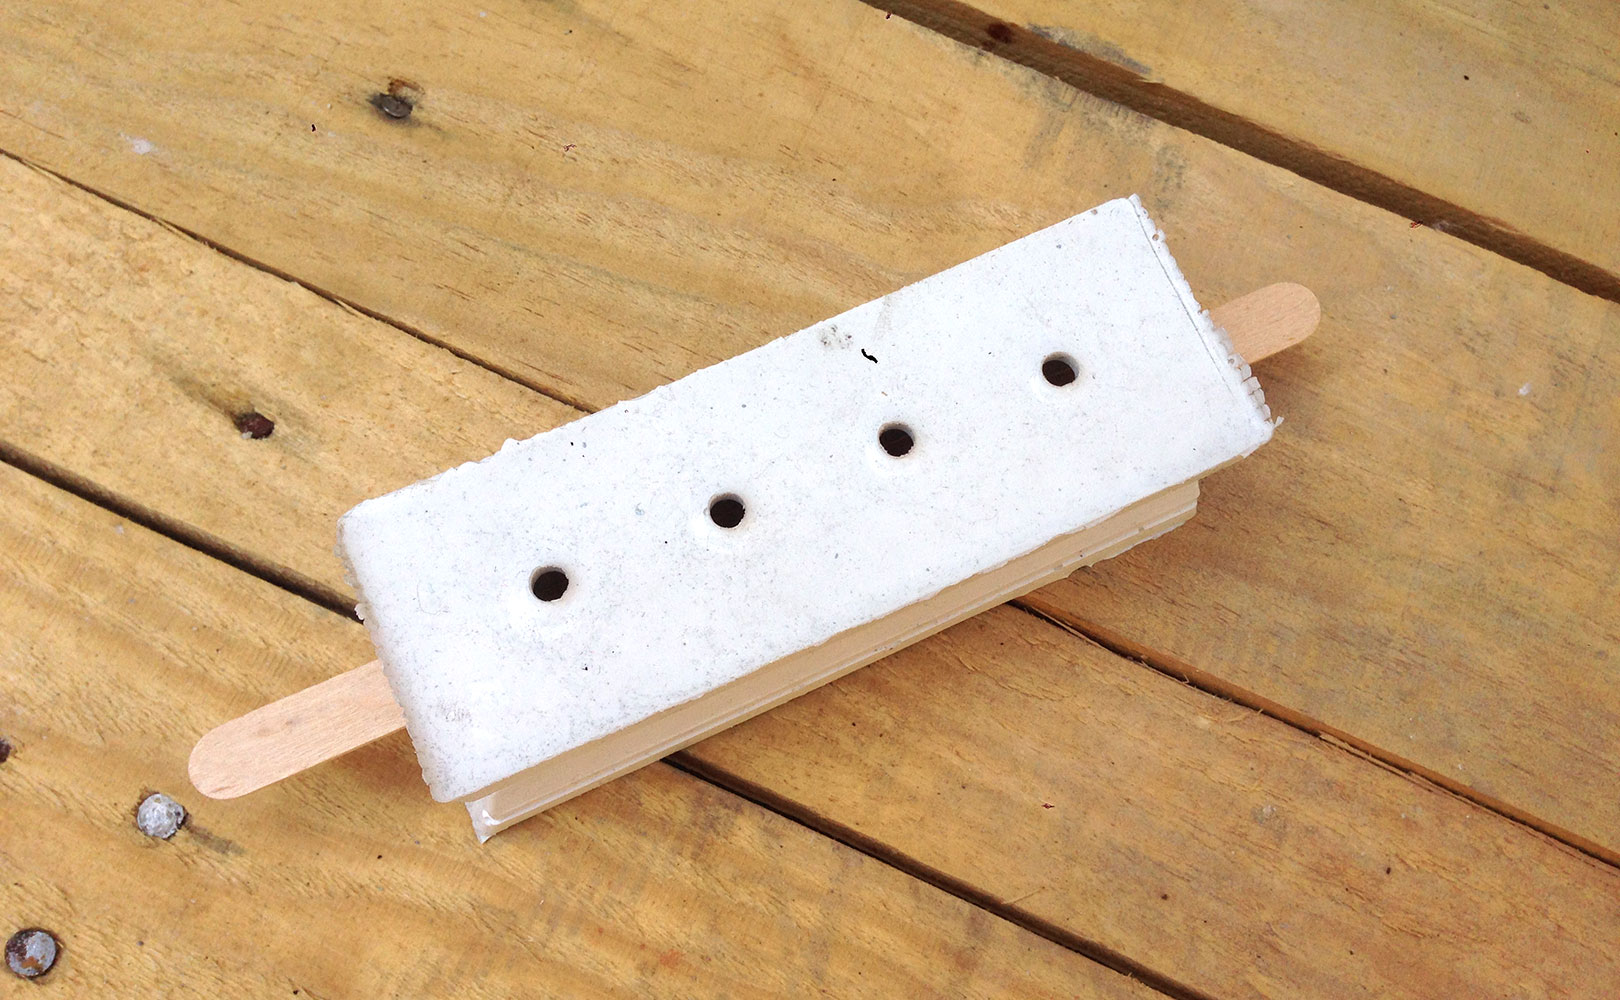
I am aware that by using this two moulds I won't achieve a proper cast from them, but I wanted to try anyway. So I placed the stick where it should go, carefully placed the other side on top, and for extra caution stuck masking tape along the line where both structures join. Unfortunately I was unable to make the cast with the stick as the liquid would lick from the sides, due to the floor of the structure not being smooth.
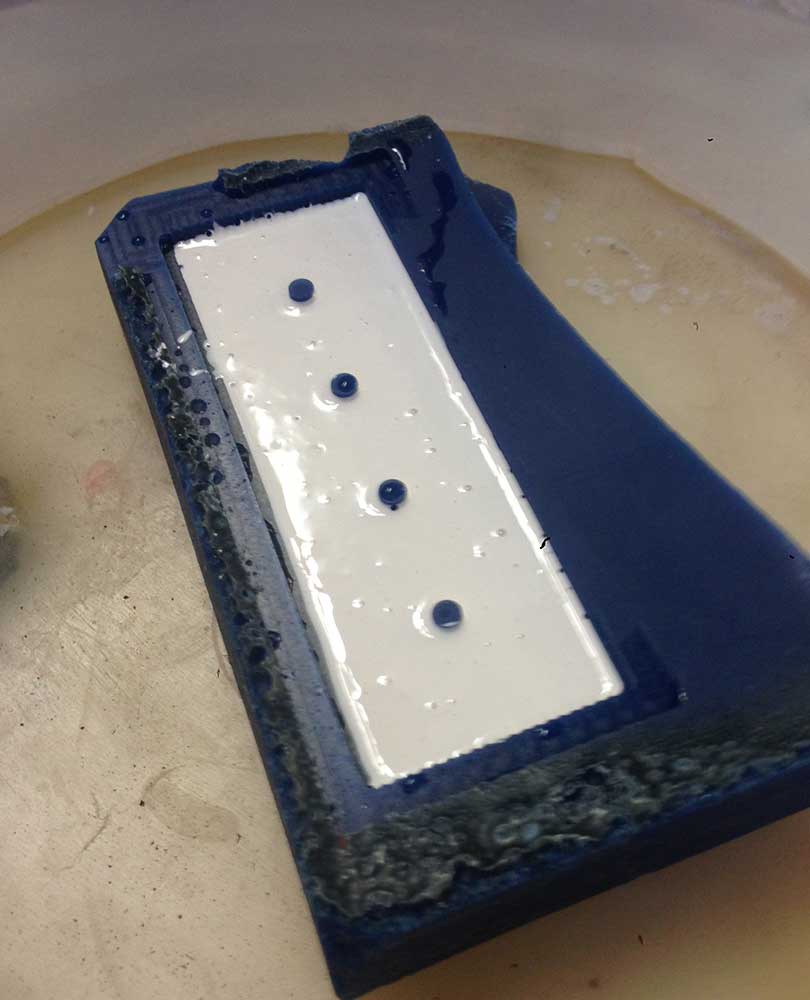
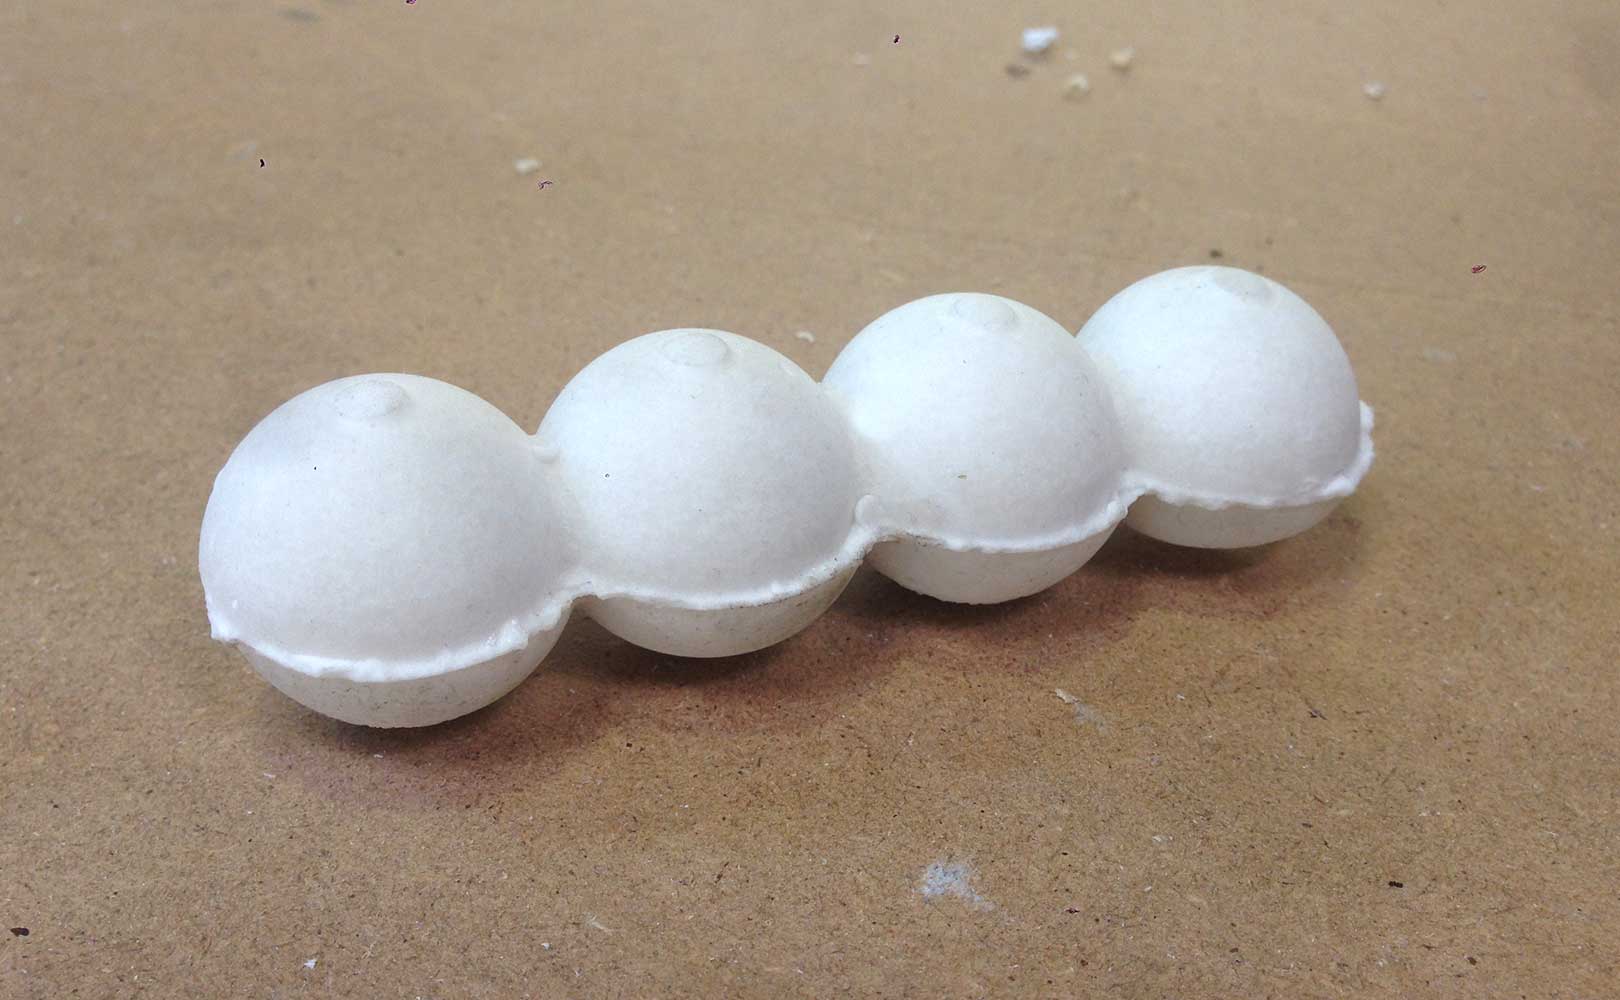
Once the structure was ready, I mixed XXX, a the material which looks similar as white concrete. With the help of a syringe, I filled the holes with the mixture I had just created. When I thought the hollow structure was filled, I stopped and let the mixture dry overnight.
The next morning, when I unsealed the mould and checked the resulting cast I realised that I did not completely filled up the hollow space.. Nevertheless, the cast came up strong and sturdy.
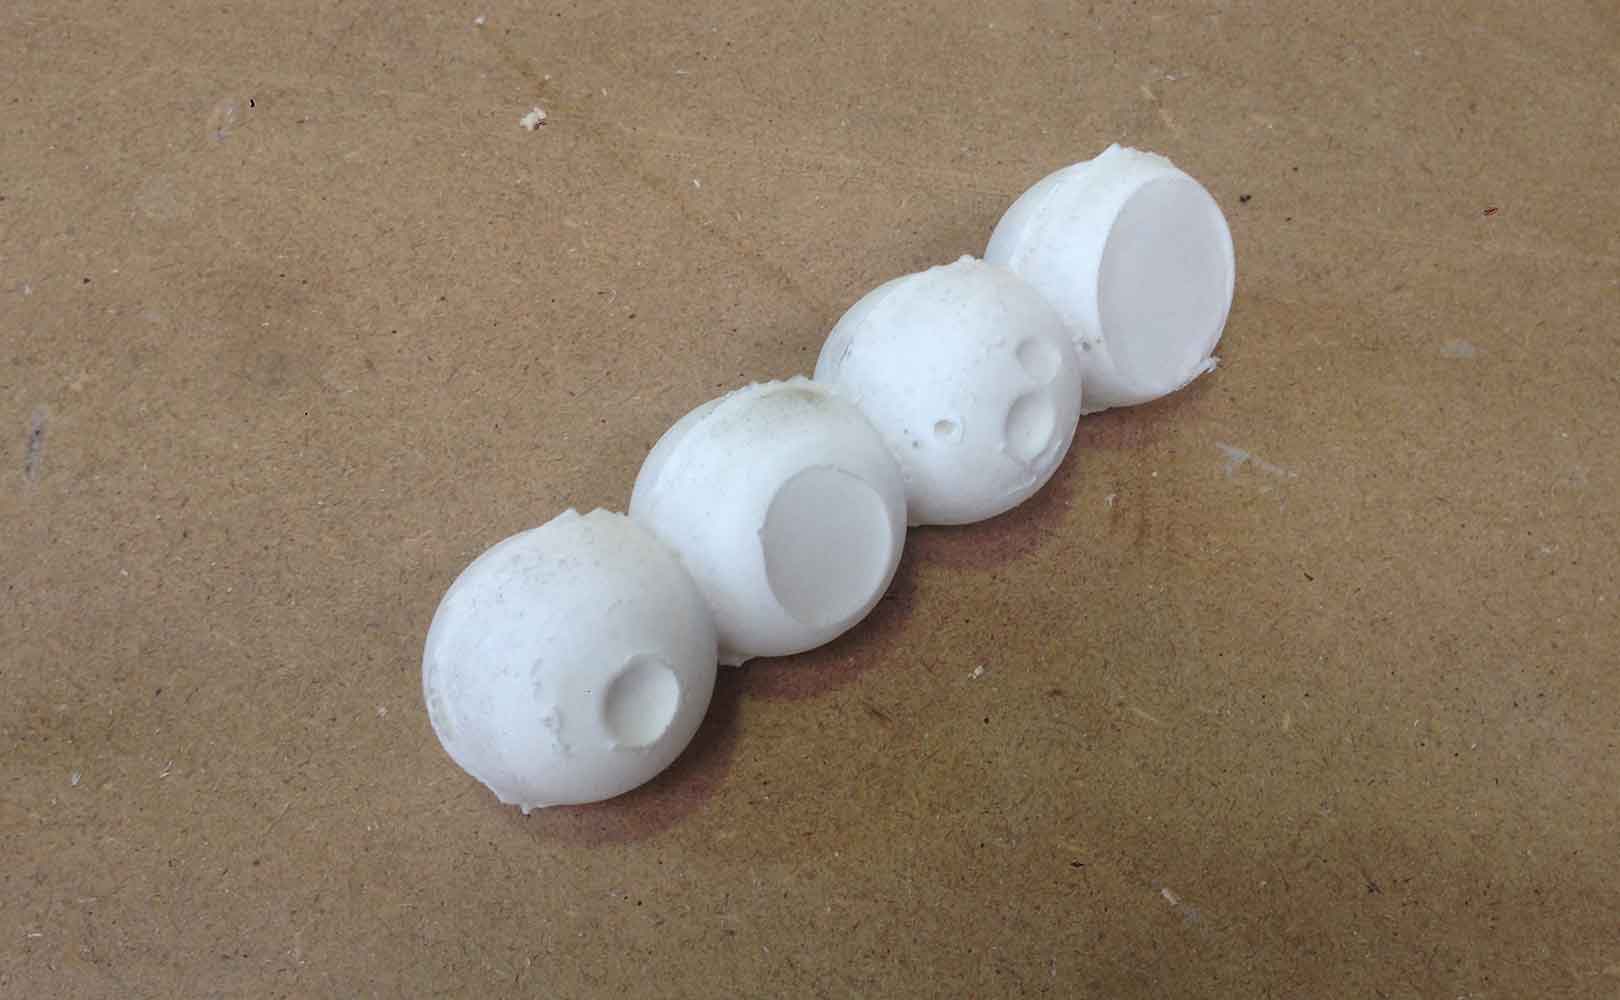
My plan now, is to recreate the same process but without the mistakes I have made. To begin with I will mill the wax again and make sure the floor is nice and flat and therefore be able to include the stick. The other thing I want to change is the mould material. On the next test I want to make it out of a food-safe material so that I can add the icecream mixture and eat it.
Files:
3D design Rhino(.3dm)
postive design for modela(.stl)
Roughing(.prn)
Finishing(.prn)