make something big
For this assignment, I decided to start testing the structure of my final project.
I am not sure at all about the sizes my object should have as I am still unaware of how much space the electronics and components will take. Nevertheless I think it is a good oprtunity to start figuring out the structure that will hold everything together.
I started by roughly sketching how I want the wood structure to be based on the illustrator drawing I made on the first weeks. I also made some research on wood joints, this is a good compilation of some of them. I was really surprised and inspired to see all the incredible things that can be done with some wood joints, although I find it incredibly challenging to do it myself. I am going to take it step by step.
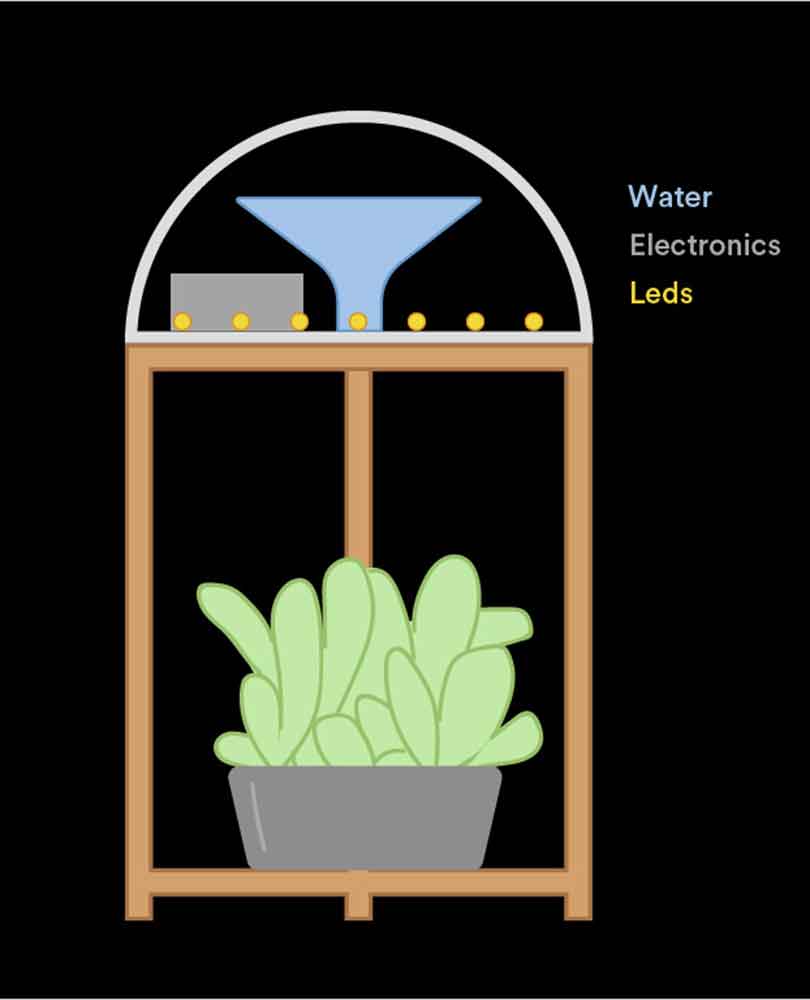
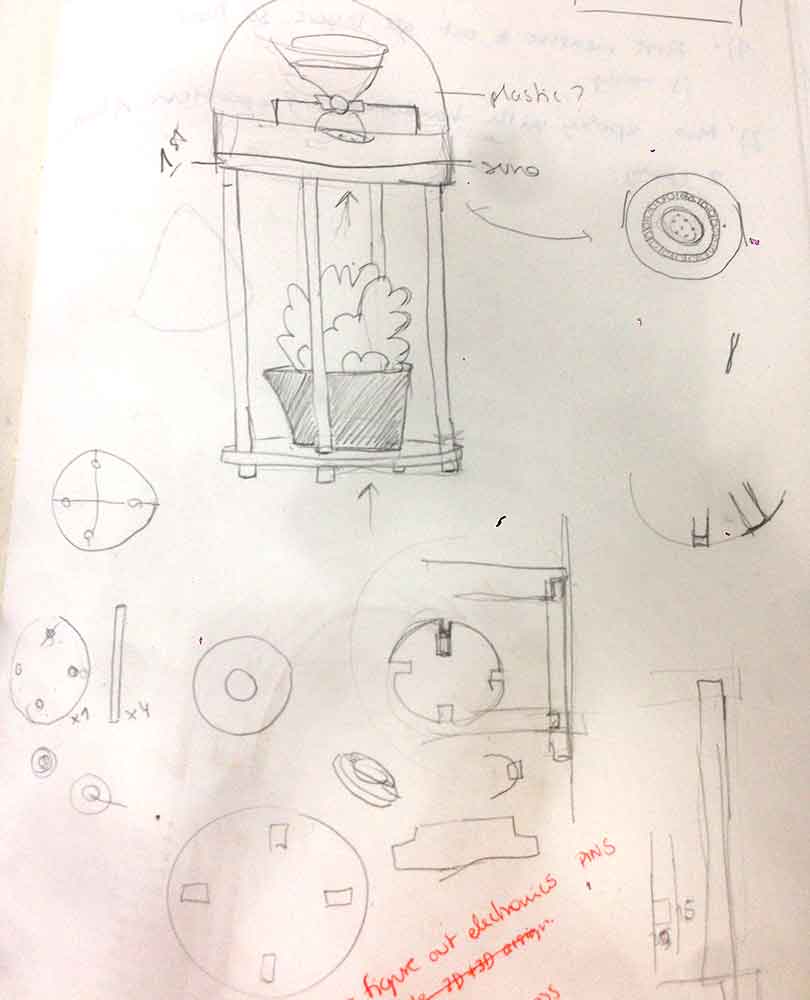
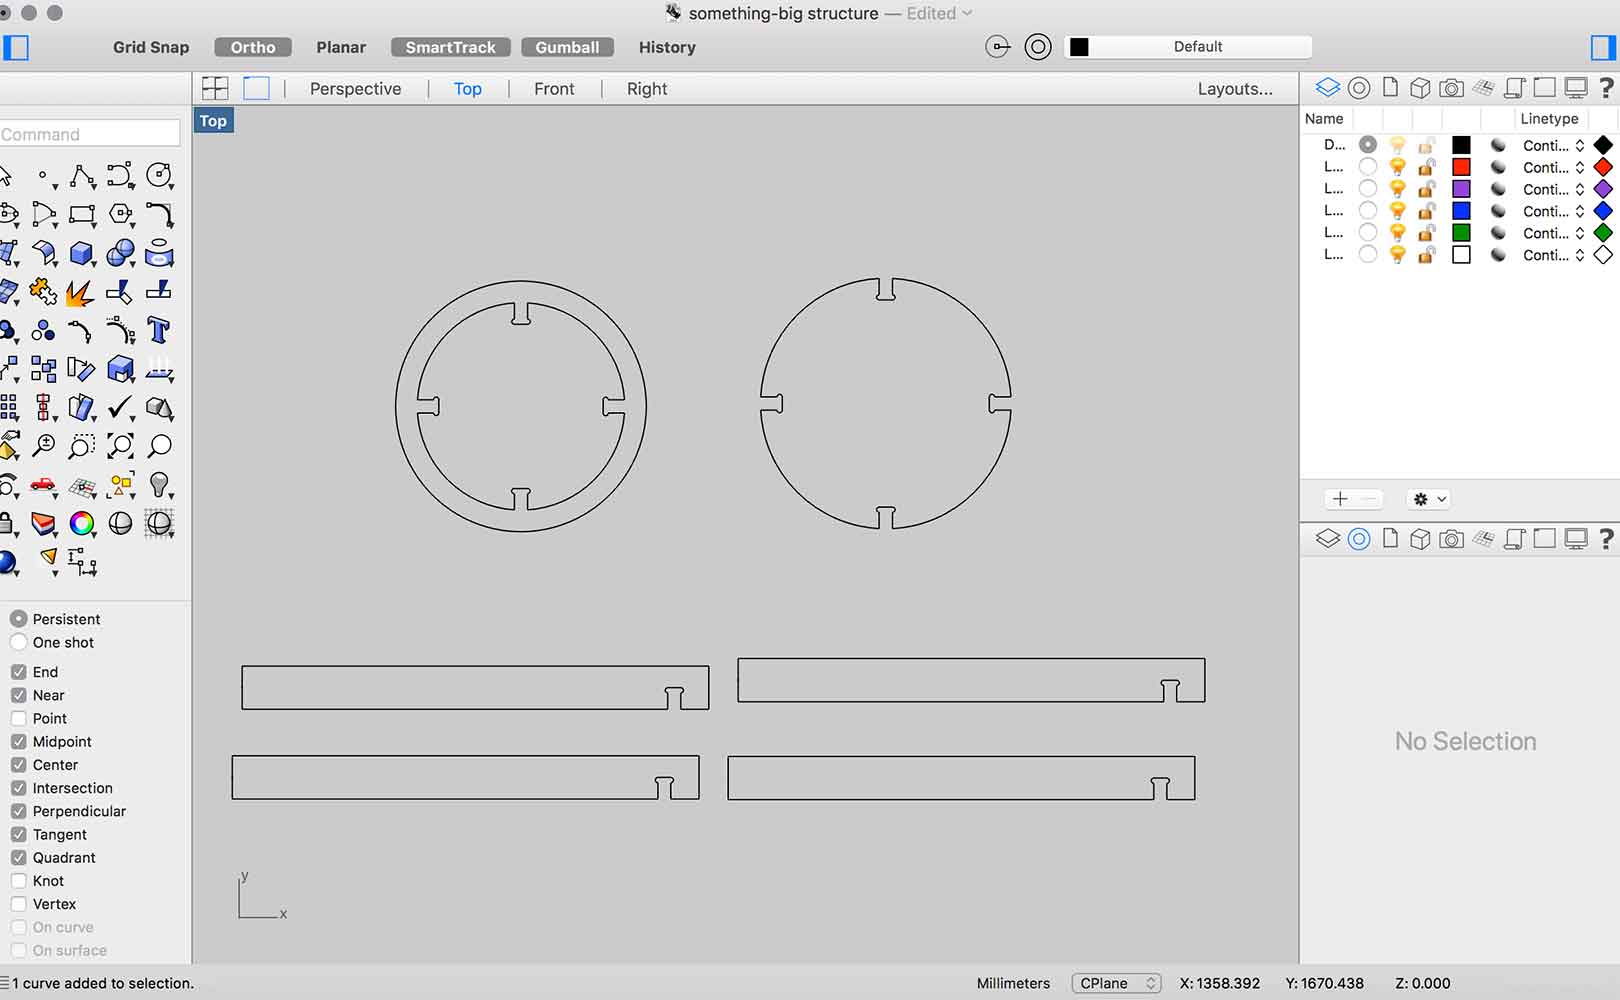
I started designing in Fusion but I was told it is better to use Rhino as later I will have to create the strategy fot the CNC in a software called RhinoCam, so it will be easier to do it in the same family software. So I begun by drawing the simplified shapes of my structure in Rhino, there are only six of them, but they have to be carefully measured and considered for them to fit. The first thing to know is the thinckess of the material, in my case 15mm, and from there I proceeded to design all the pieces. In terms of height, I decided that I am going to try with a taller size as I can always go down if I am not happy with the height.
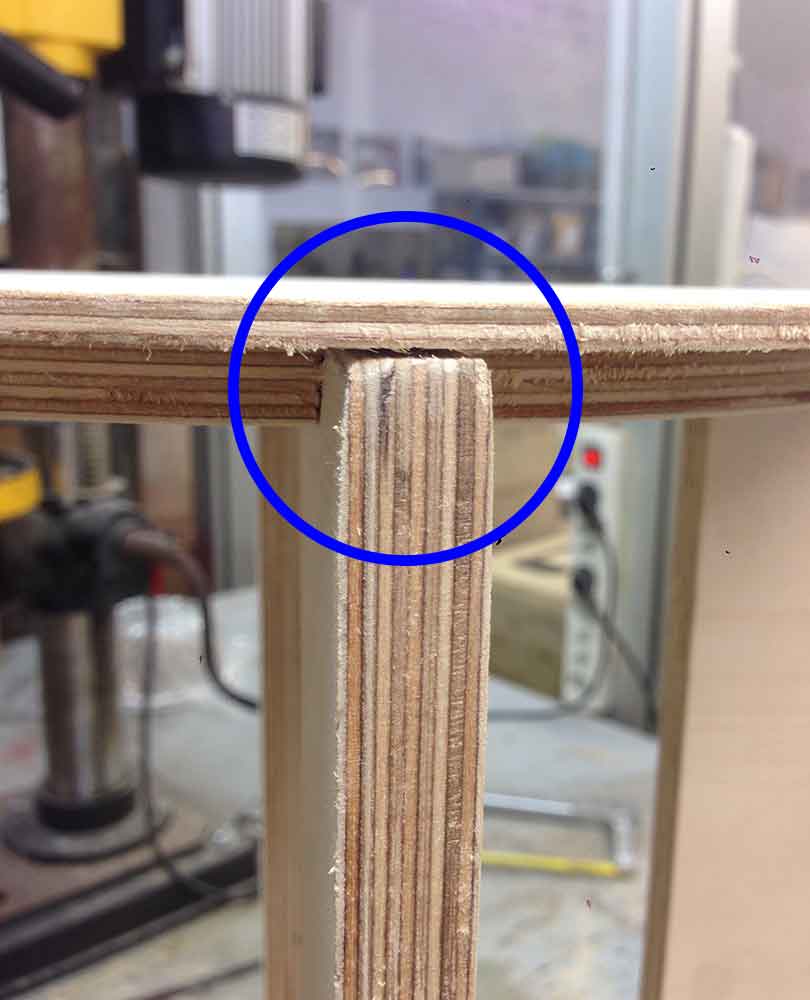
The trickiest part and the one that took me the longest was to figure out the joints. I went for a basic type, making the circle in the base have cut-out shapes where the legs will fit. On the top circle, I will mill the wood 9mm down, so that the legs are not visible when seen from the top and still create a press-fit.
Once the deisgn was ready, the next step was to create the strategy on RhinoCam. I am going to be making three diferent startegies: X, X and X. The tool I will be using is the X.
IMAGE RHINO CAM HERE AND TEXT INFO ABOVE + STRATEGY FILES?!Once the strategy was ready I equipped the CNC with the chosen tool and screwed my piece of wood in the holes that the machine had made as part of the first process of the strategy.
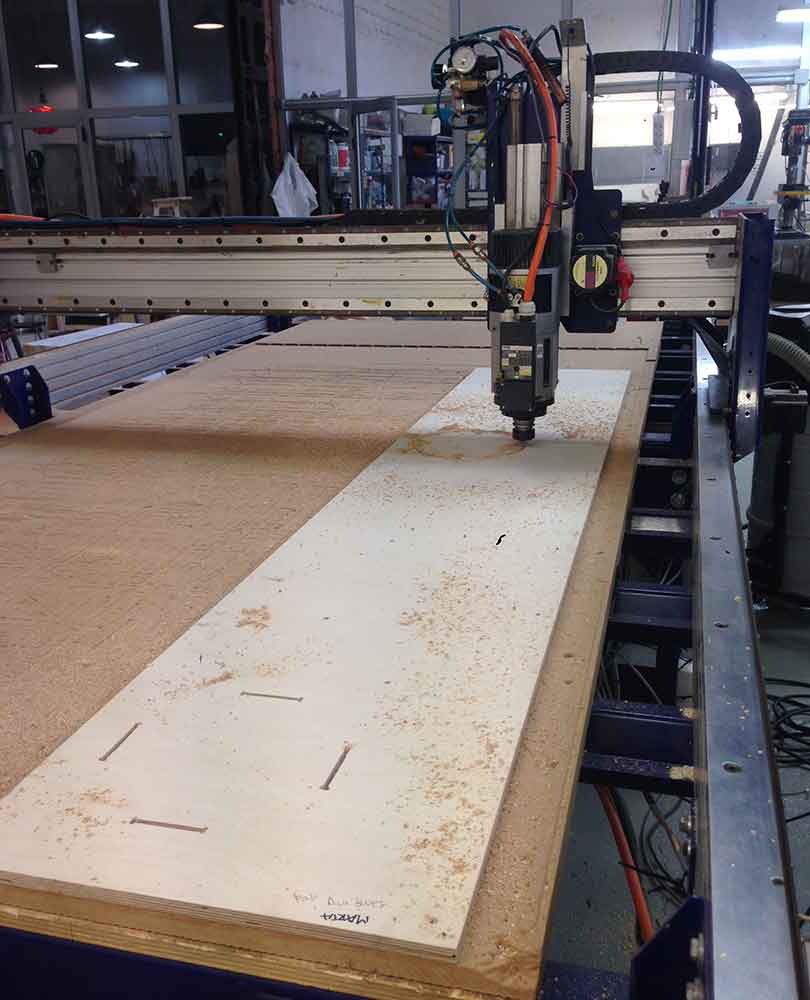
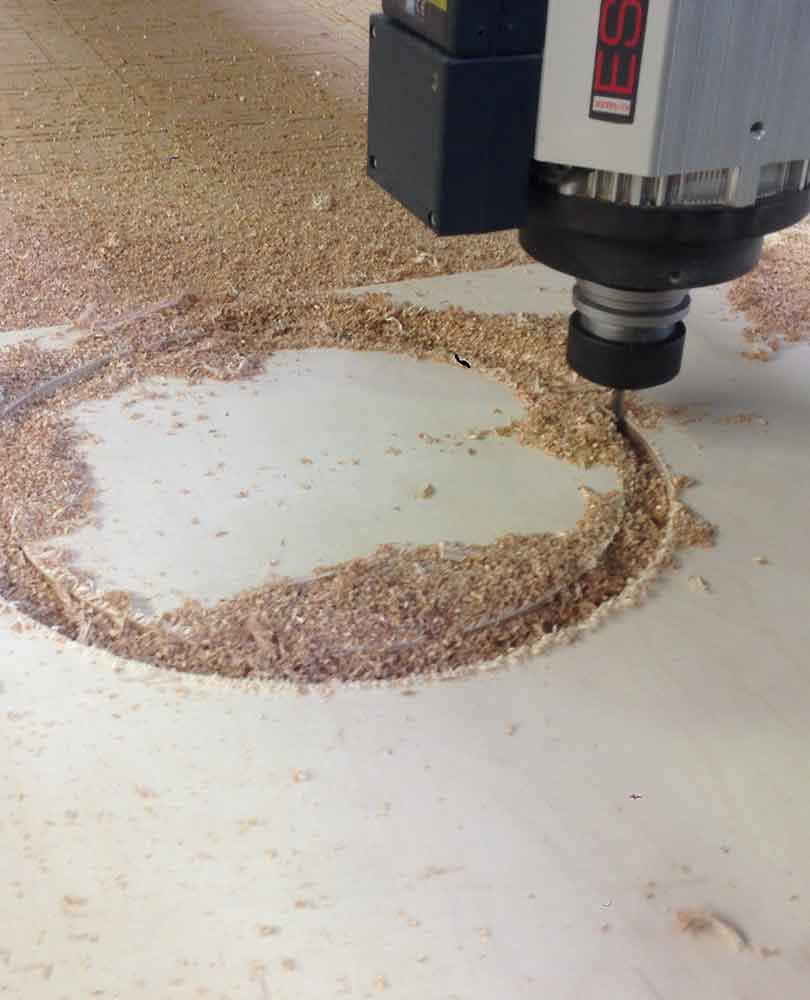
Images below and above, CNC in action. Doing the second strategy.
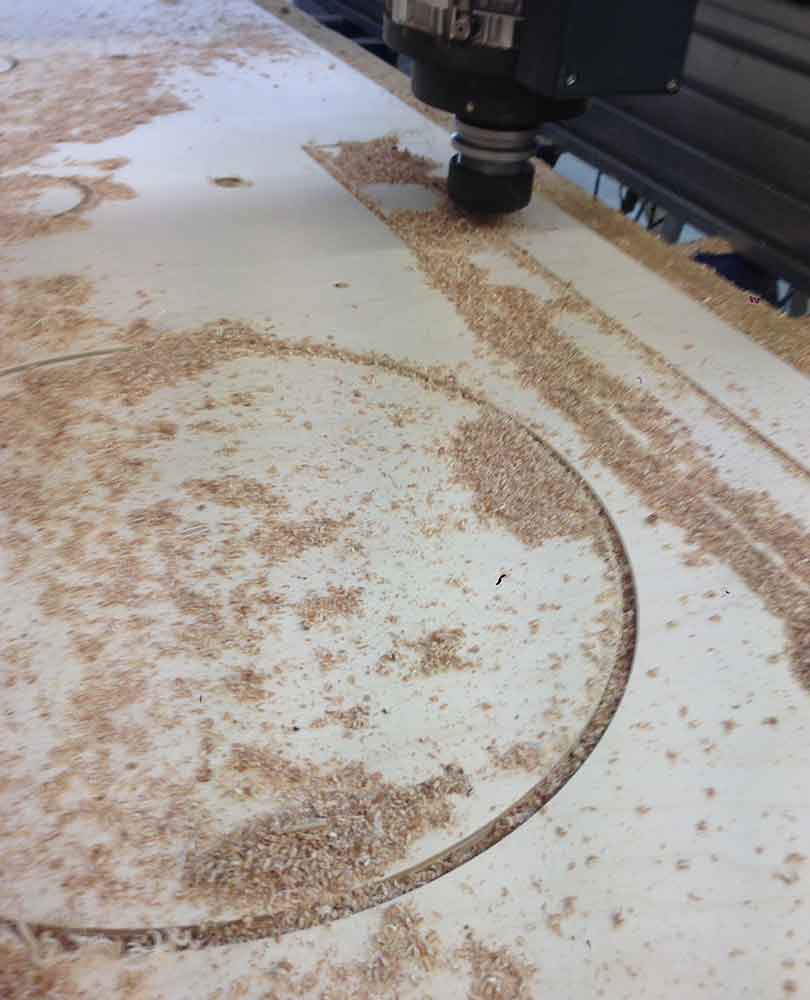
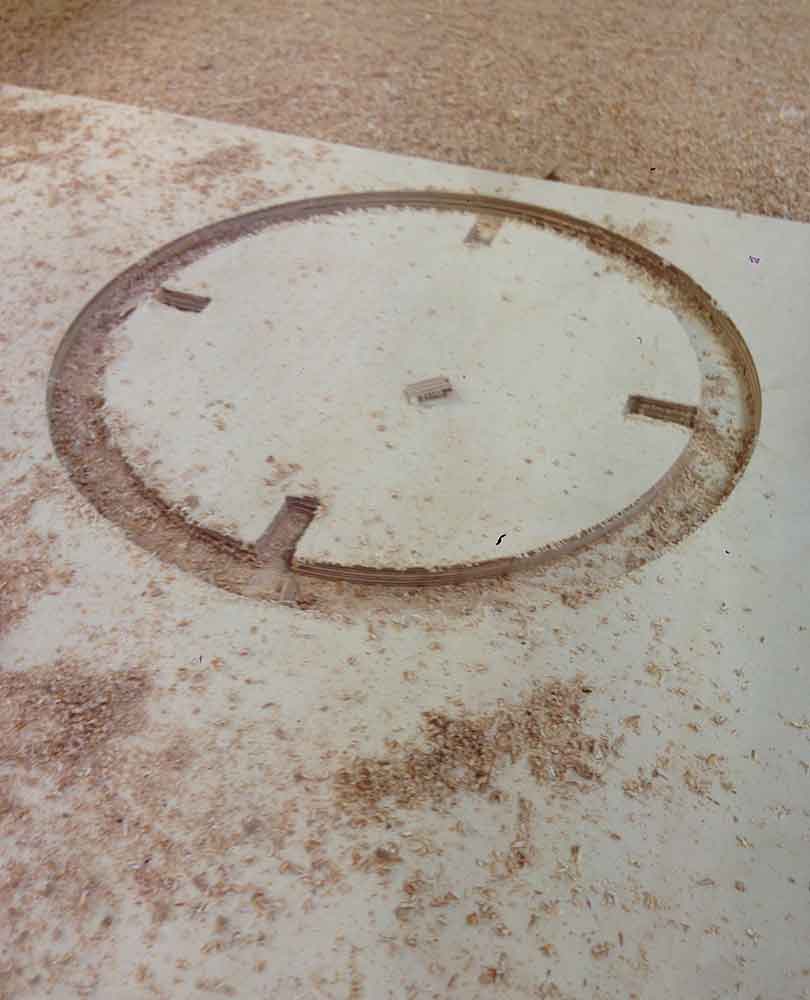
Once the milling in the CNC was done, it was time to sand everything. It was an energy consuming process and I took me a while to do it. I first used the 80 sand paper and finished with the 150 paper to give it a smooth touch.
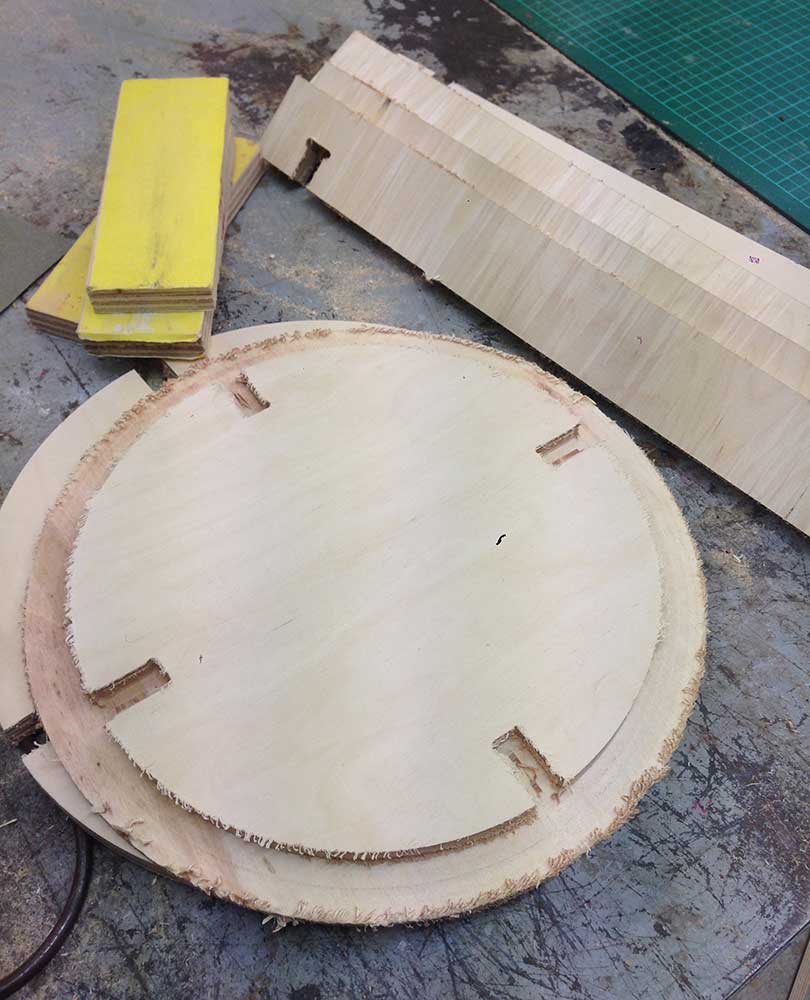
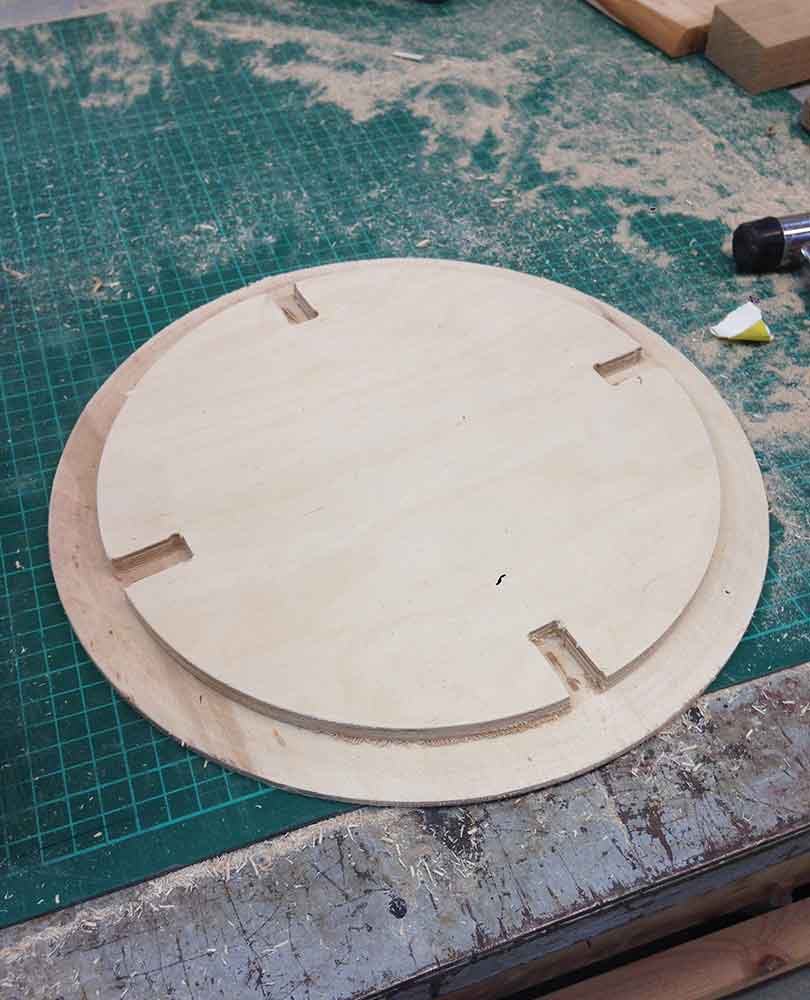
Once all the parts where sanded I starting assembling them. I had no trouble puting together the legs and bottom platform, they only needed a few soft hammer bangs. I soon realized though, that I had made a mistake with the top platform. When I tried to put it together the legs would not fit in the spaces I had left for them, that was because I forgot to add the tolerances in that part. Both measures where 15mm width, so it wasn't possible to assemble it. The solution I found was to sand the superior side walls of the legs with the sanding machine, just enough so that they would fit in the 15mm space.
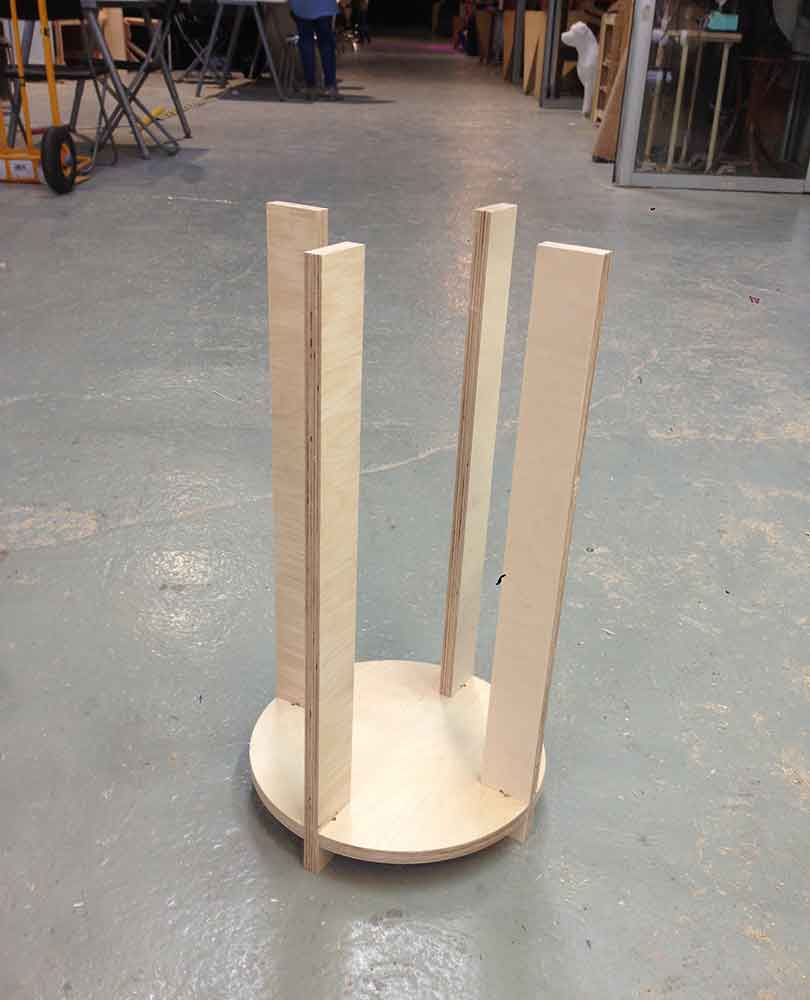
In the images below: final result of the assignment. I discovered it can also be used as a stool!
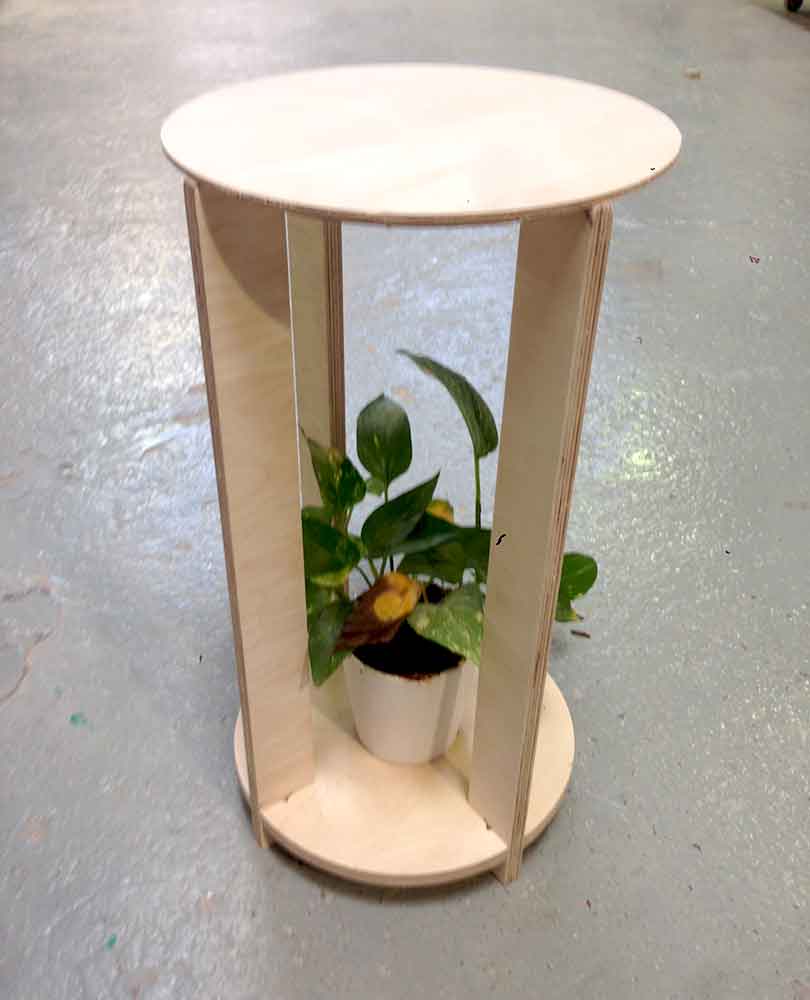
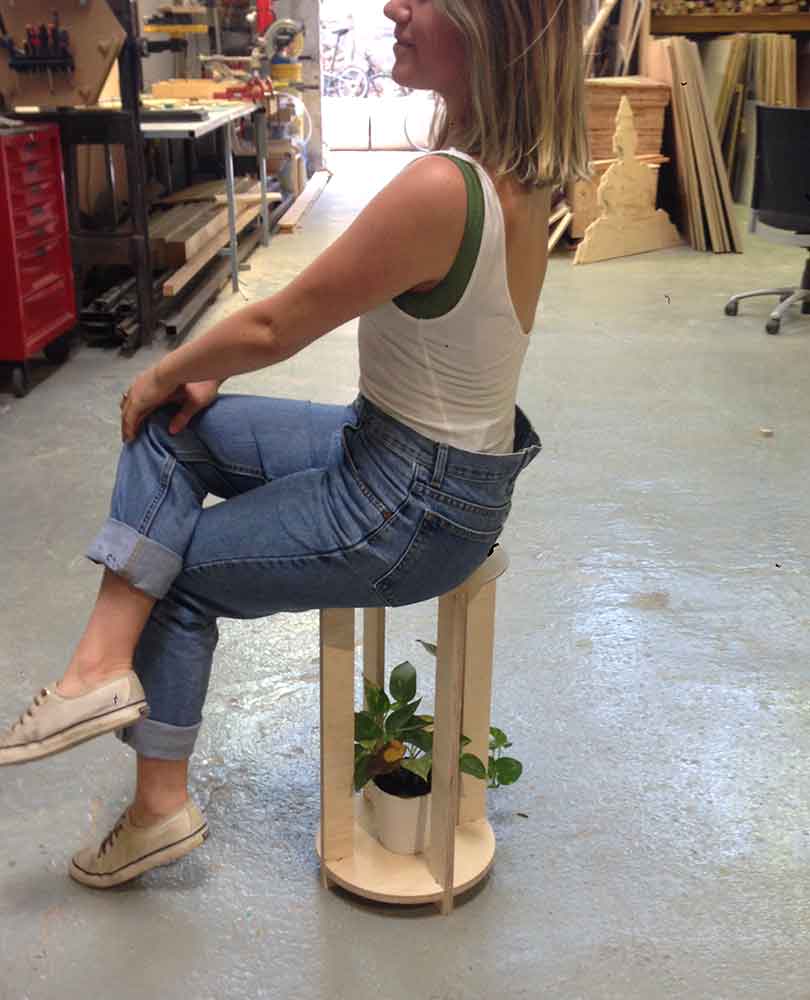
The conlcusions I got as for my final proejct struture are quite a lot. First, I think the whole structure looks visually heavy, that is probably due to the legs being too wide, to solve this I would probably use wood round sticks rather than rectangular. Another property I don't think it works is the height, I think it should be lower, otherwise the water source is too far form the plant and it will spill water away from the plant making all the surroundings wet.
Files: