test the design rules for your printer(s) (group assignment)
Our group (Baptiste, Carolina, ...) decided to test the 3D printer for the first time with a file we downloaded from Thinkverse (really cool site to download all kind of files).
After getting the .stl file for the test we opened it in Cura and print the same design three times using two different 3D printers (although they were the same model) with different settings.
The first test was printed from a printer equipped with a 0.4mm nozzle, and the second and third tests where printed with a 0.6mm nozzle. For the second test, we printed it with supporting structures.
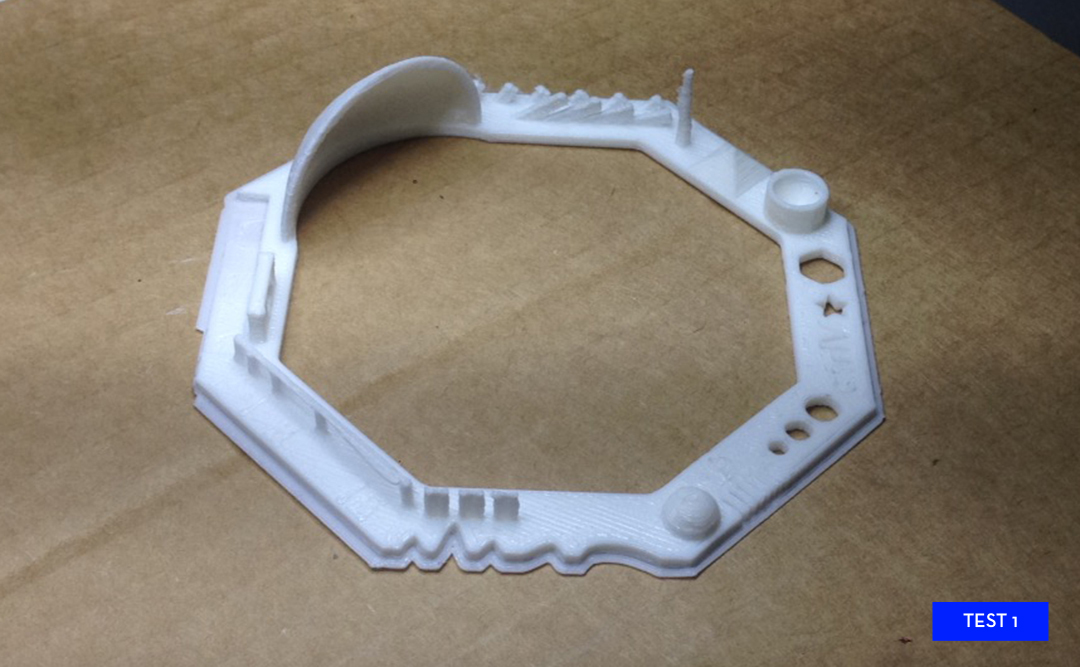
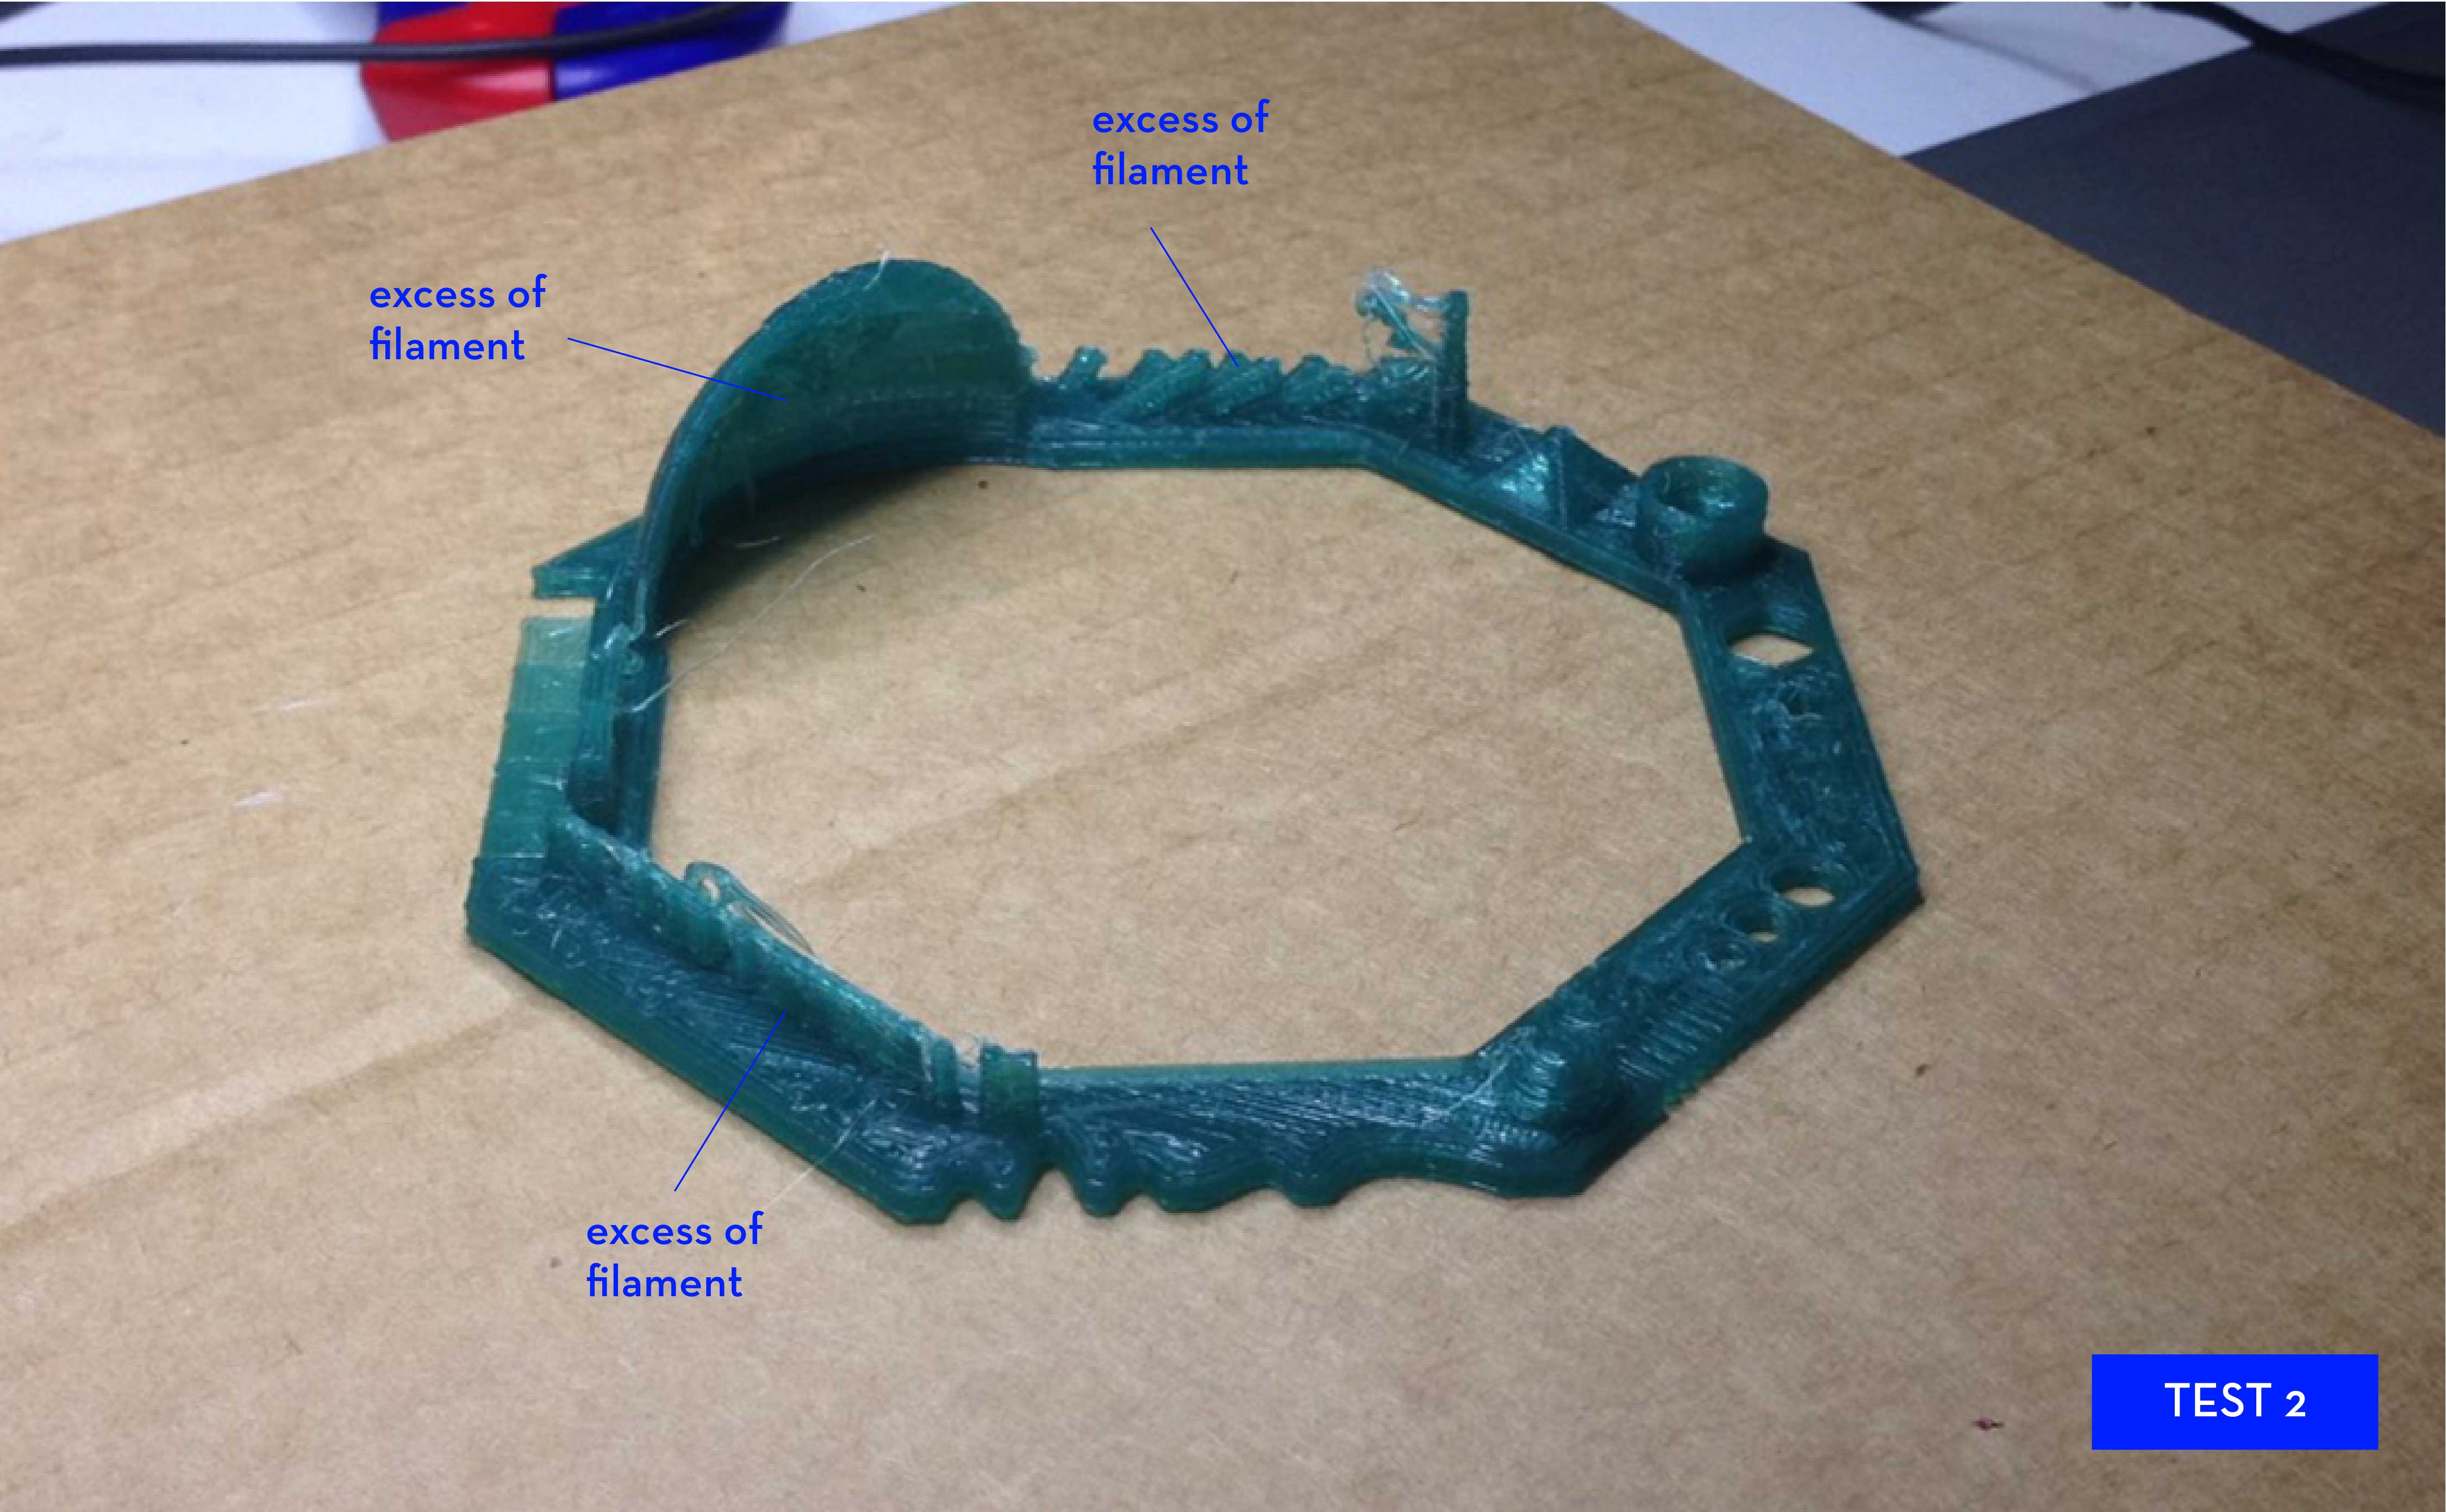
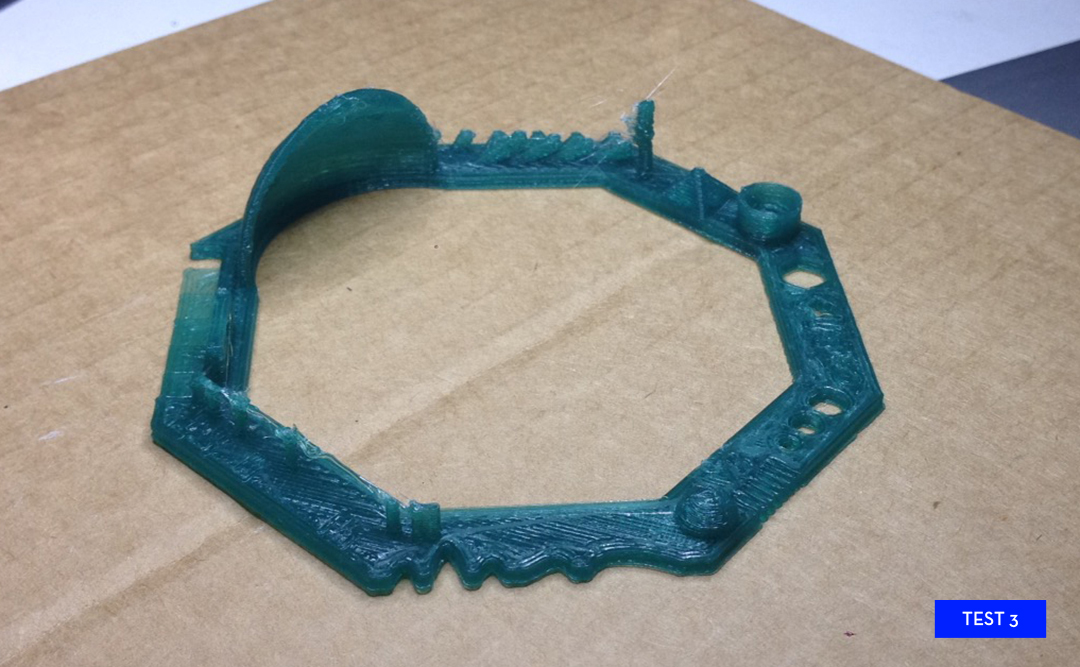
By looking at the final results, it is quite obvious that the smaller the nozzle, the best quality the print has as it increases definition in the final object. The second test, which we printed with supporting structures, wasn't a good outcome due to little hairs at some places in the piece. To fix that, we simply untick the box for "support in Cura and we got rid of the excess of material and gave a clean look to it.
Files:
first 3D test(.stl)
design and 3D print an object that could not be made subtractively
For my first solitary encounter with 3D printing I decided to make something simple, with the condition that it would be entirely made by me. Making the whole object from scratch, would force me to practice Rhino and also improve my 3D thinking, both things are a little tough at the moment as I am still used to think and work in 2D.
I started by sketching my design, which is a little maze game, the ones that kids play with a little ball. I like to make things that have a purpose, even though if it's not too exciting, rather than making things that will just seat on a shelve. To draw the maze I begun by making a small grid in Rhino, after that I proceeded to delete the necessary bits to create the open path which would form the maze. After the 2D structure was created I extruded the surface into a 3D shape.
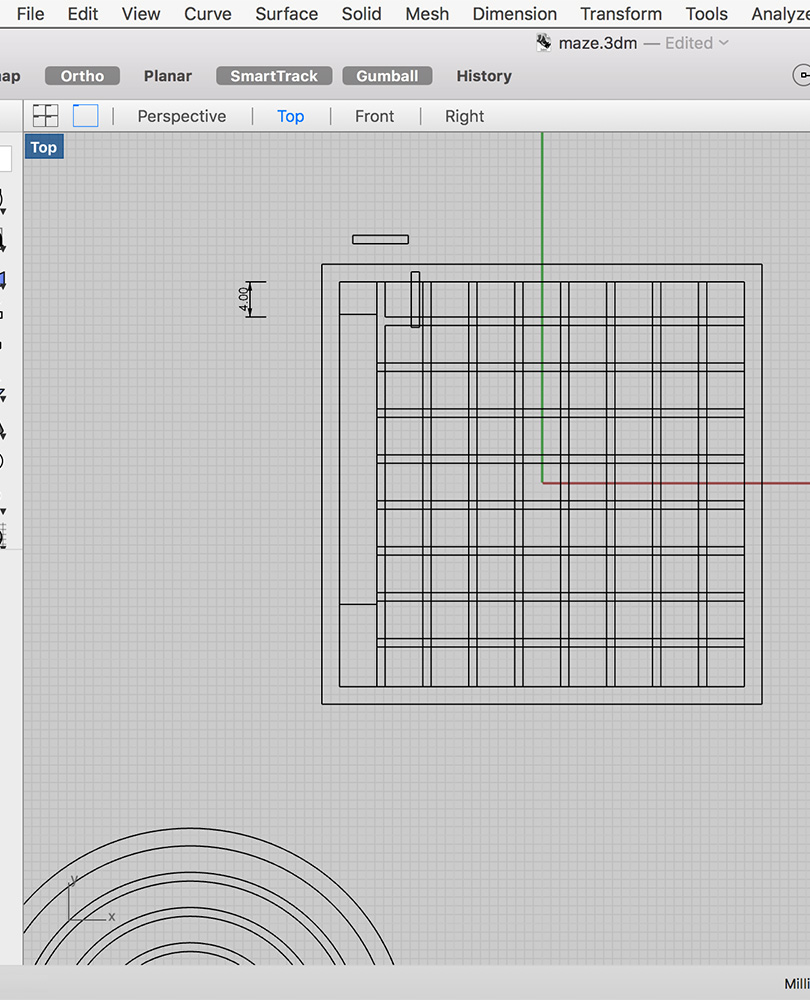
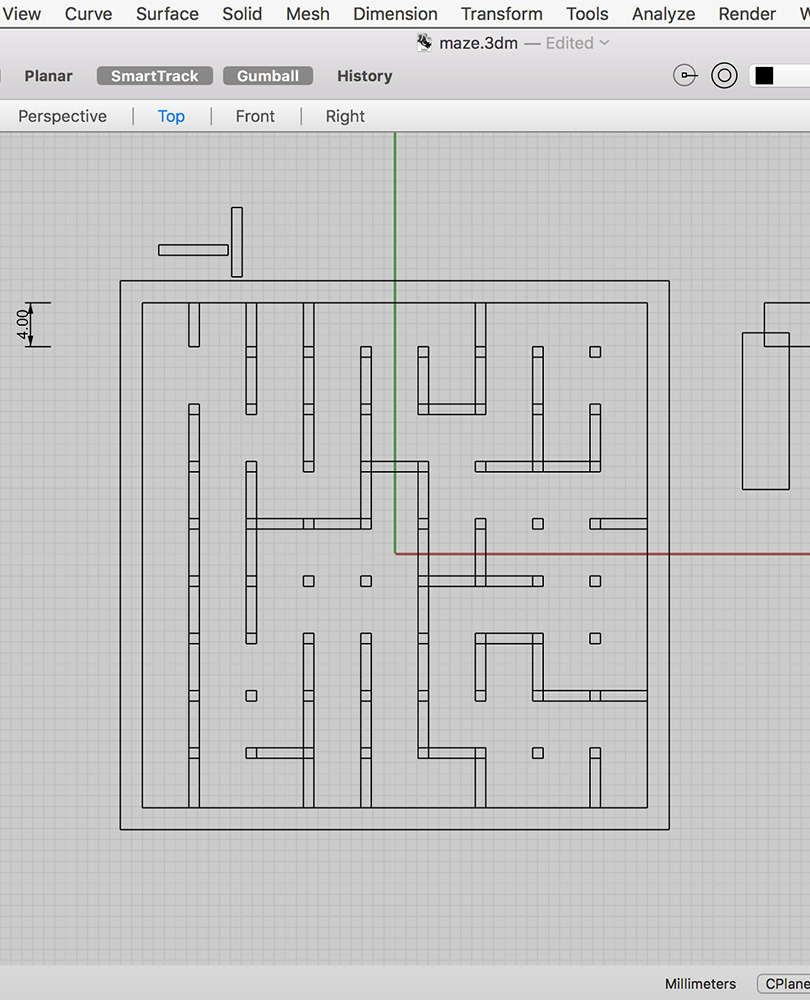
I learned lots of useful new Rhino commands which will make it easier and faster to use this software in future occasions. They are commands such as: array, trim, join, planar suf, boolean.. etc. They are all listed and explained in here.
In order to have a subtractive element to the print, I added an entry and exit door for the ball access. I also built it by drawing the arch in 2D and then extruding it and deleting it from the maze wall with a substractive boolean. To make the floor I only had to create a box under the object.
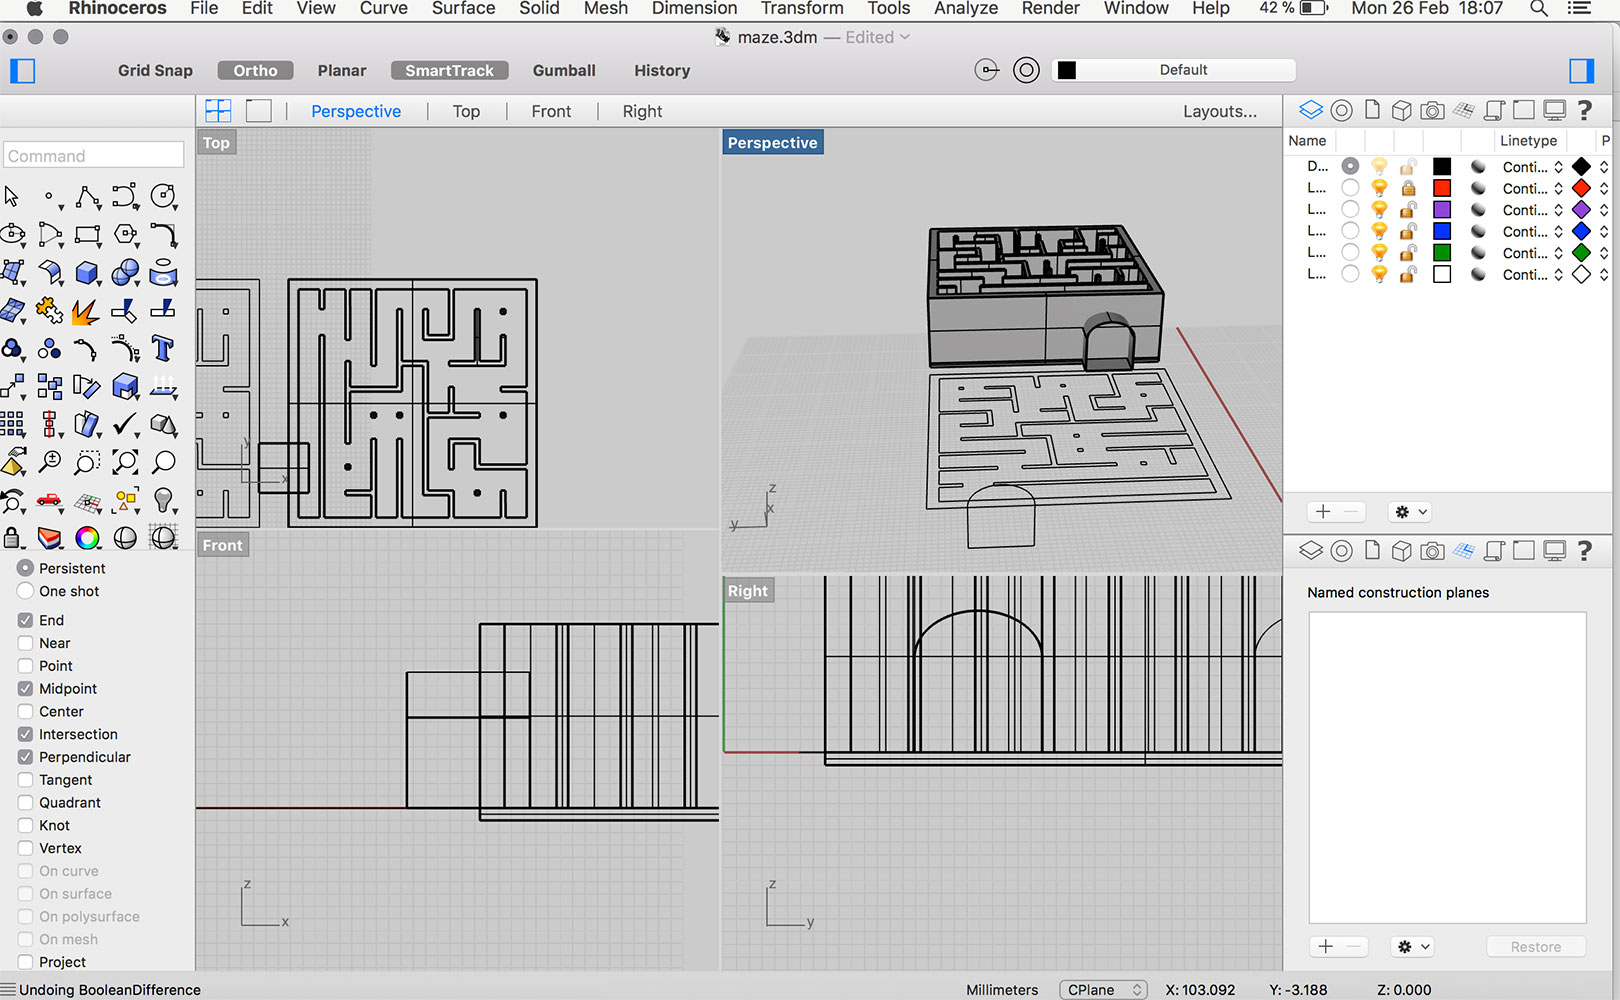
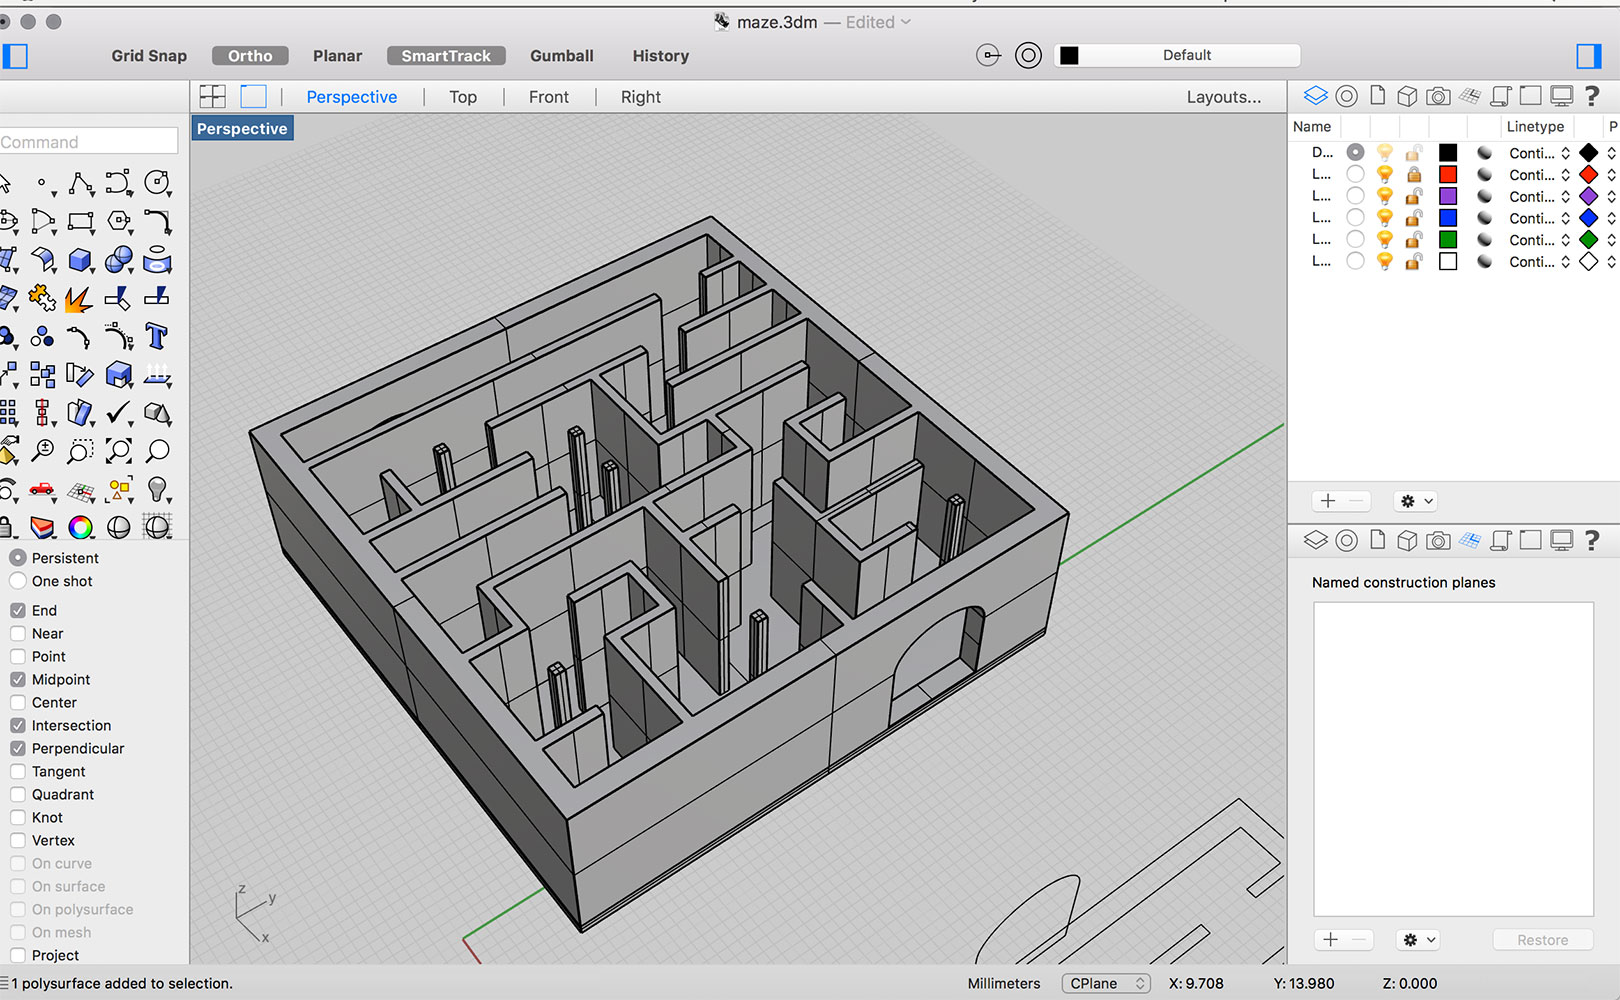
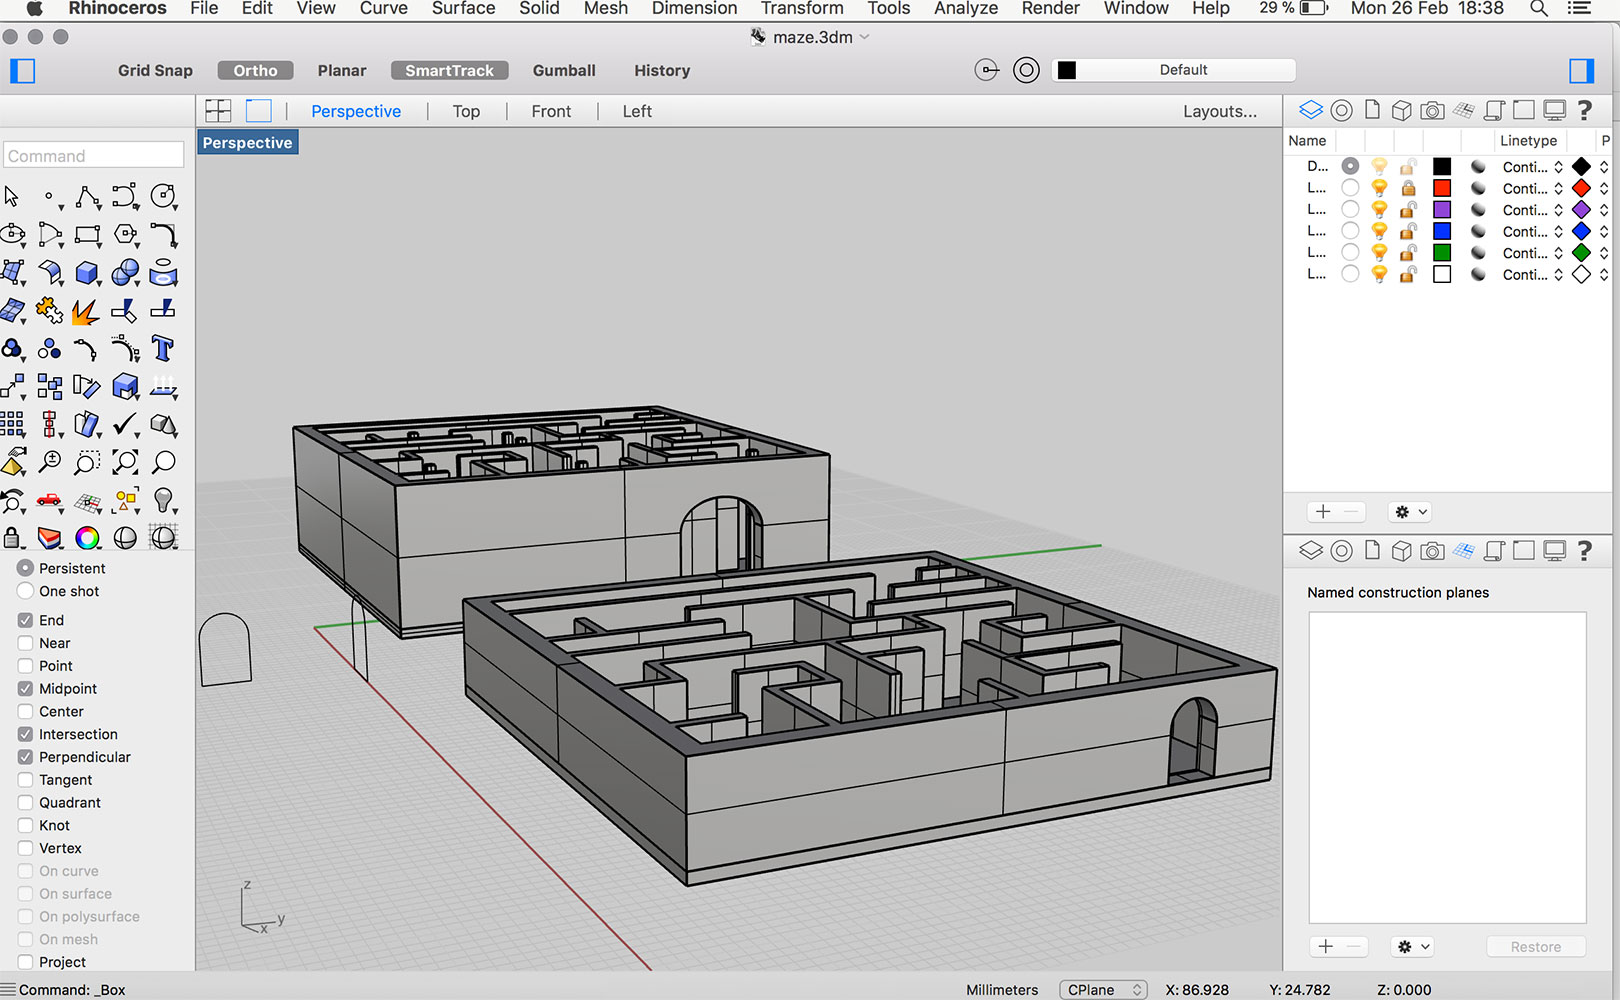
Once the object was made, I realized it was probably too high, so I made a shorter version of it. I forced myself to create the whole 3D object again for the sake of practice. Once I was happy with the final object I saved it to .stl which is the required extension to open the object in Cura.
Cura is the software used to transform the 3D object into a printable thing. Below, a screenshot from when I was setting my maze to be printed. Because I wanted to print the maze quickly, I set the layer height to 0.4mm: that made the print faster because the line was thicker, but in turn you loose definition. I found you get best results with 0.2mm line height, but keep in mind it will take more time to process the print.
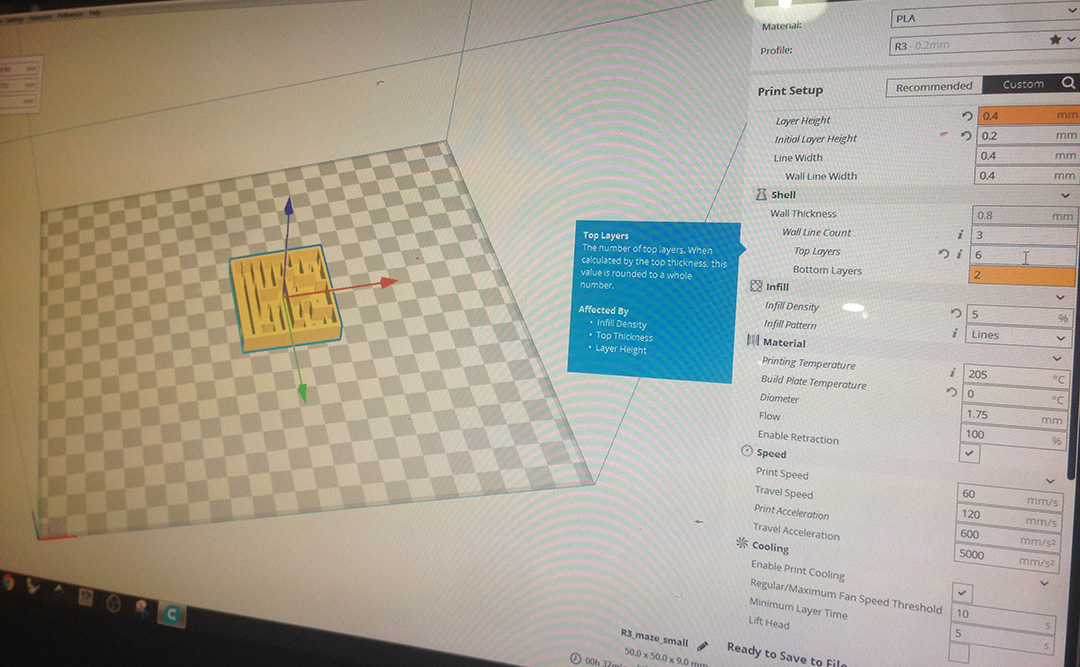
Before you print anything, you have to spray the glass and preheat the machine until it reaches the optimum temperature; after it is warm we have to extrude a bit of filament to clean the pipes. Once this is done, we make sure the glass is straight by going to the origin point and moving the structure in the x axis and making sure the distance to the glass is the same. When all the steps were done I simply send the file to print from Cura.
Below, picture of my maze being printed.
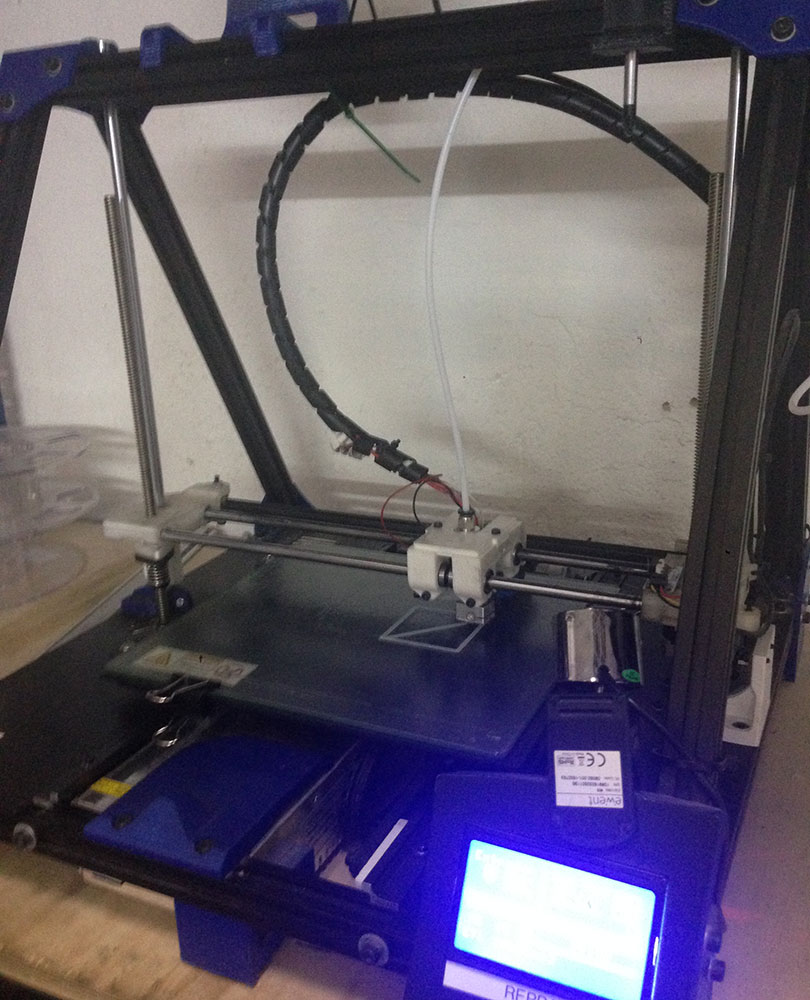
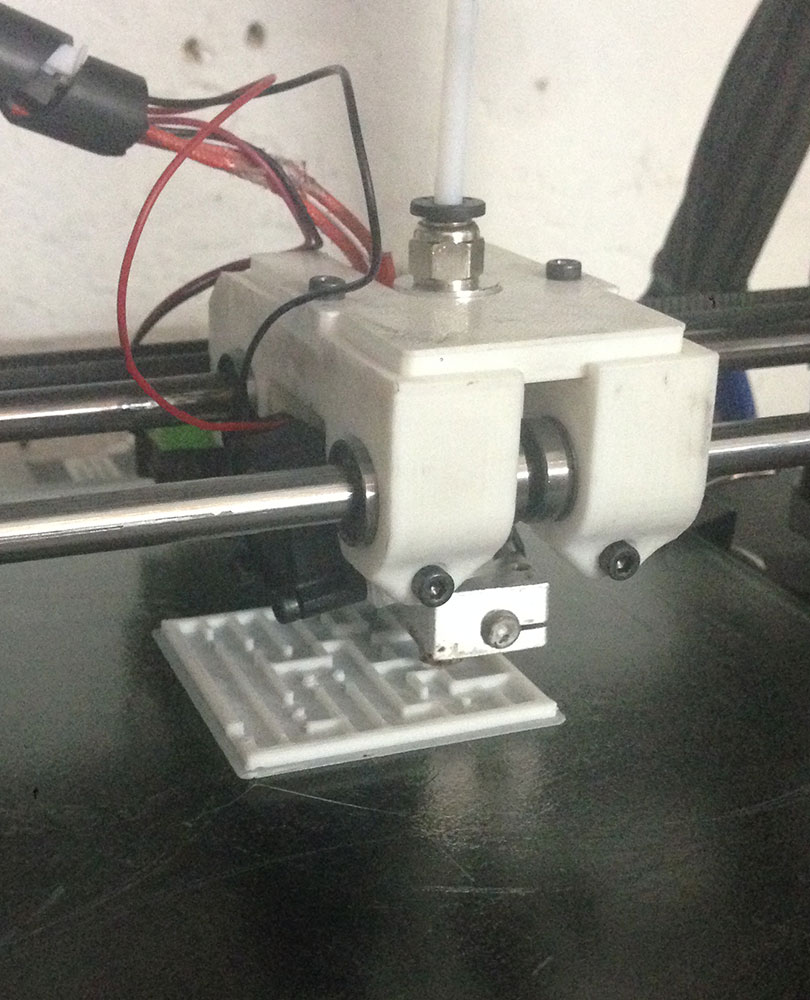
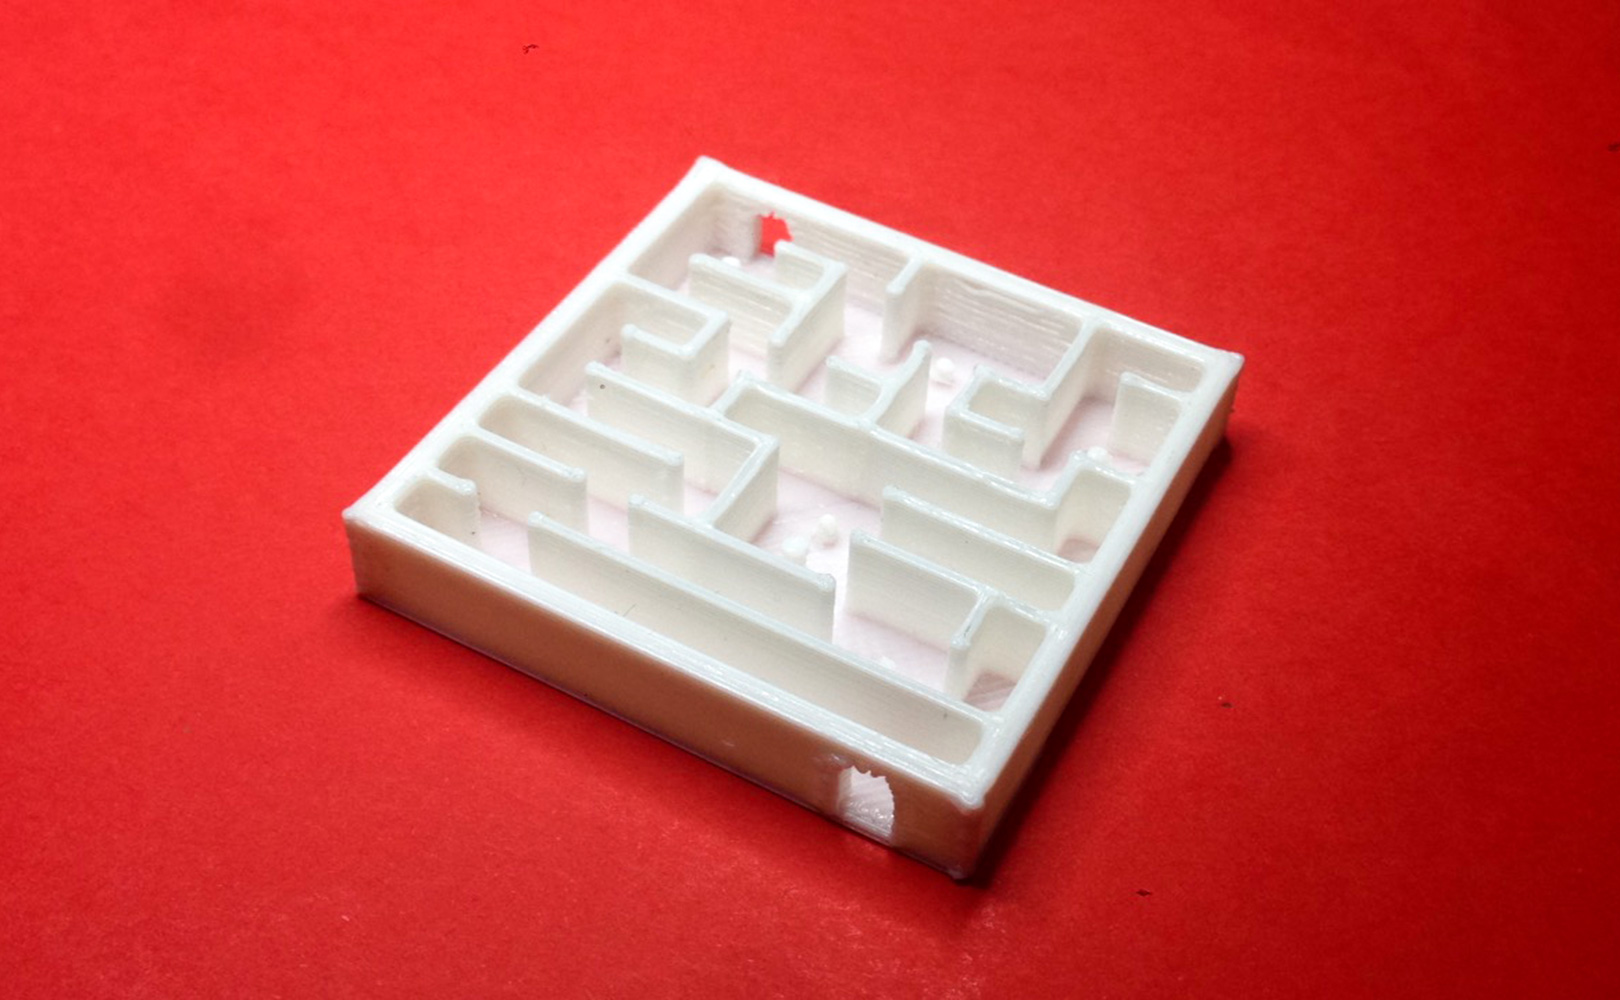
I am quite pleased with the end result of the maze, although I would have preferred to print it in smaller layer height, so it would have more definition, specially in the top doors area (where there's a tiny bit of filament excess). Now that I've successfully made my first print I want to build up on this and make more challenging objects testing new materials, sizes and purposes.
Files:
maze in Rhino(.3dm)
maze in Cura(.stl)
3D scan an object and optionally print it
I decided to test 3D scanning with the Kinect, and I was pleasantly surprised with how easy the whole process has been.
After connecting the Kinect to the computer and open Skanect (software required to scan) it was as simple as following the progressive steps in which the software screen is divided: Sacn, reconstruct and export.
I first tested the Kinect by trying to scan a hand, but as it can be seen from the picture below, it didn't quite get the finger tips, and therefore the final scan wasn't comprehensive enough. By doing this test I learned that it is best to scan more compact objects with the less holes and thin parts possible.
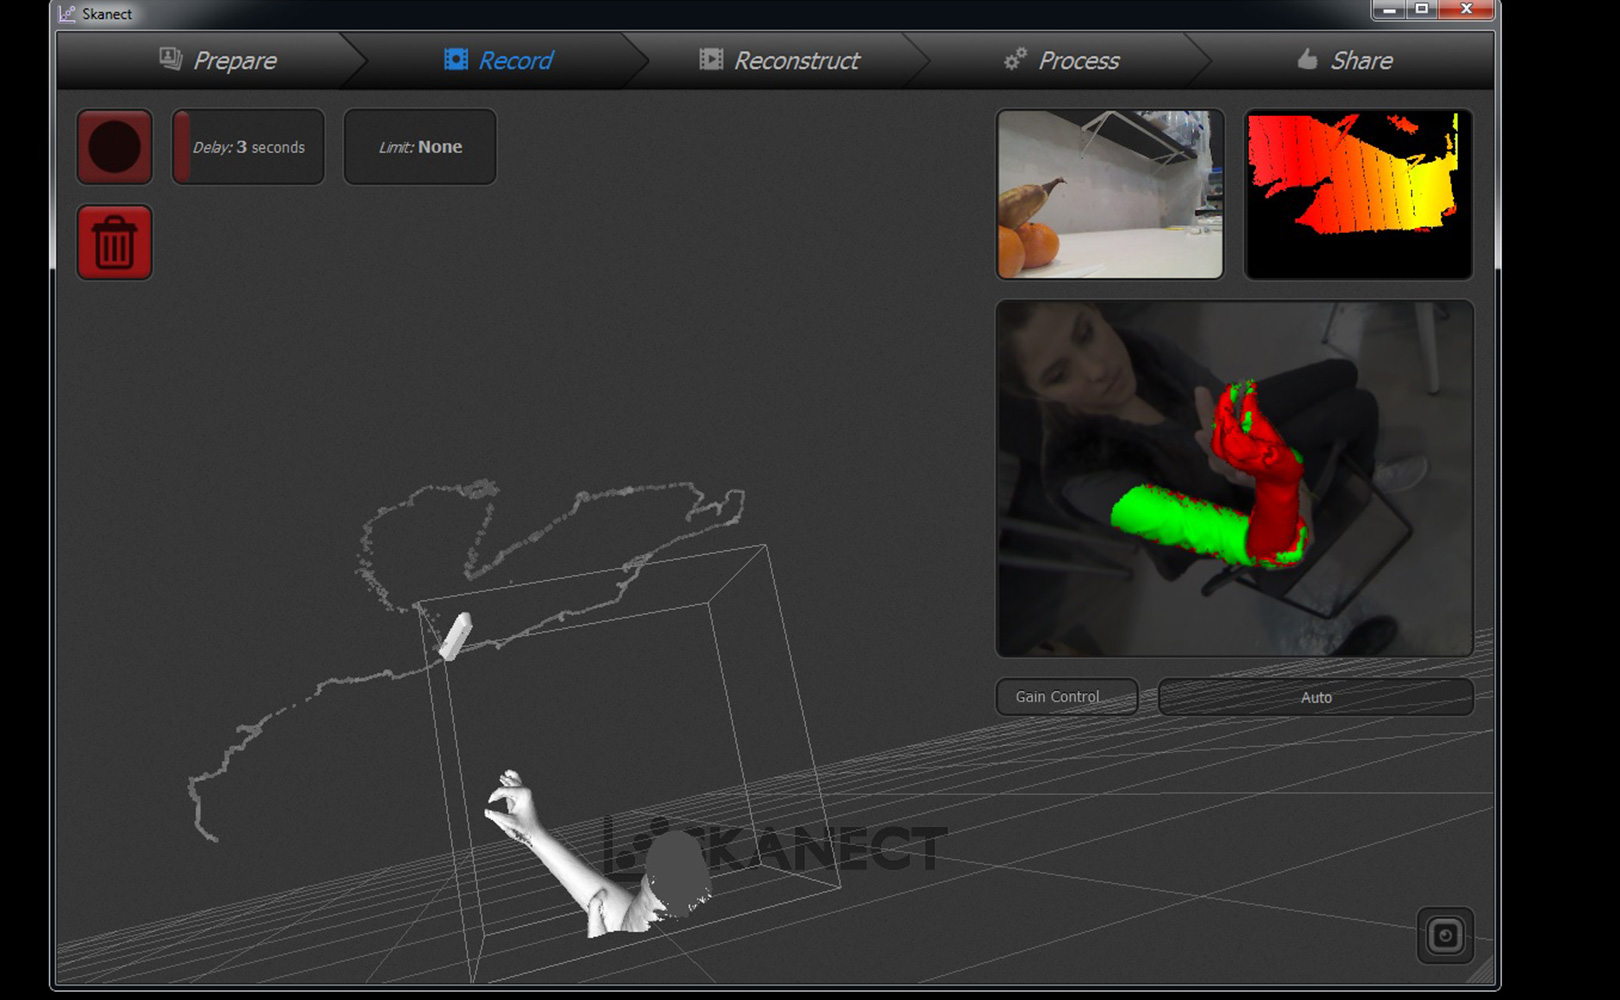
I found it interesting to scan a person, so I scaned my classmate Carolina. It was at first a bit tricky to understand how to best point and angle the camera so that it would record all the surfaces of Carolina. In the end, it was a matter of patience and slowly facing the Kinect in all the possible areas trying to avoid having red areas.
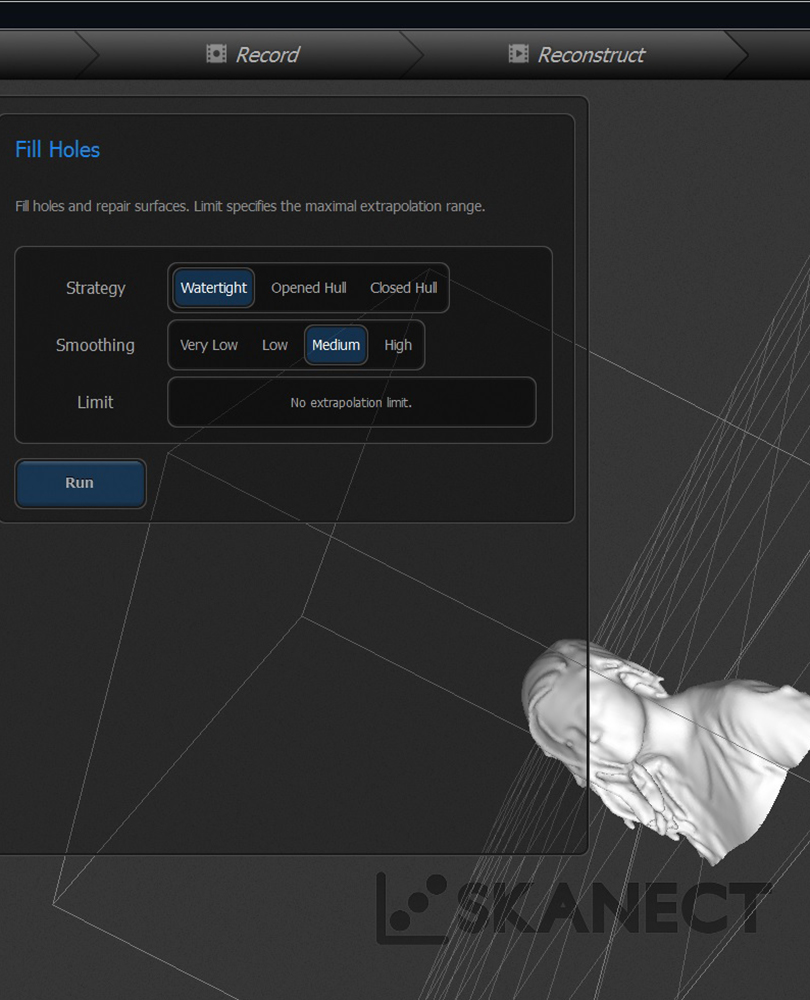
Once the scan was done I filled the few empty holes and experimented a little with the cut, rotation and coloring parameters.
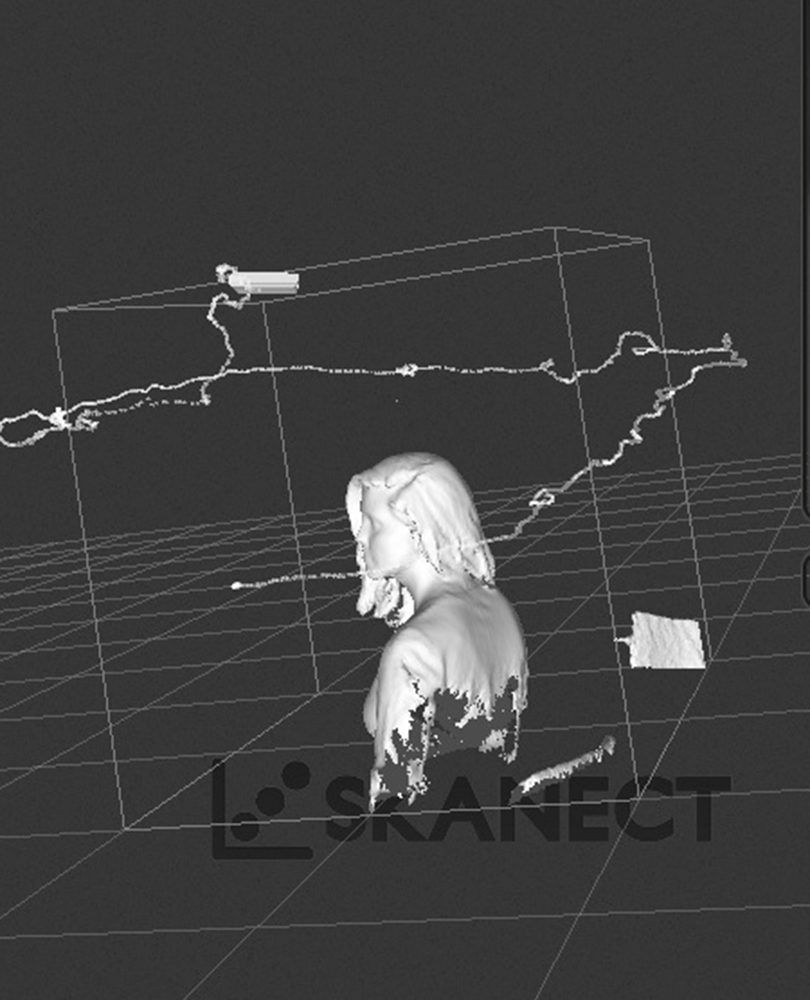
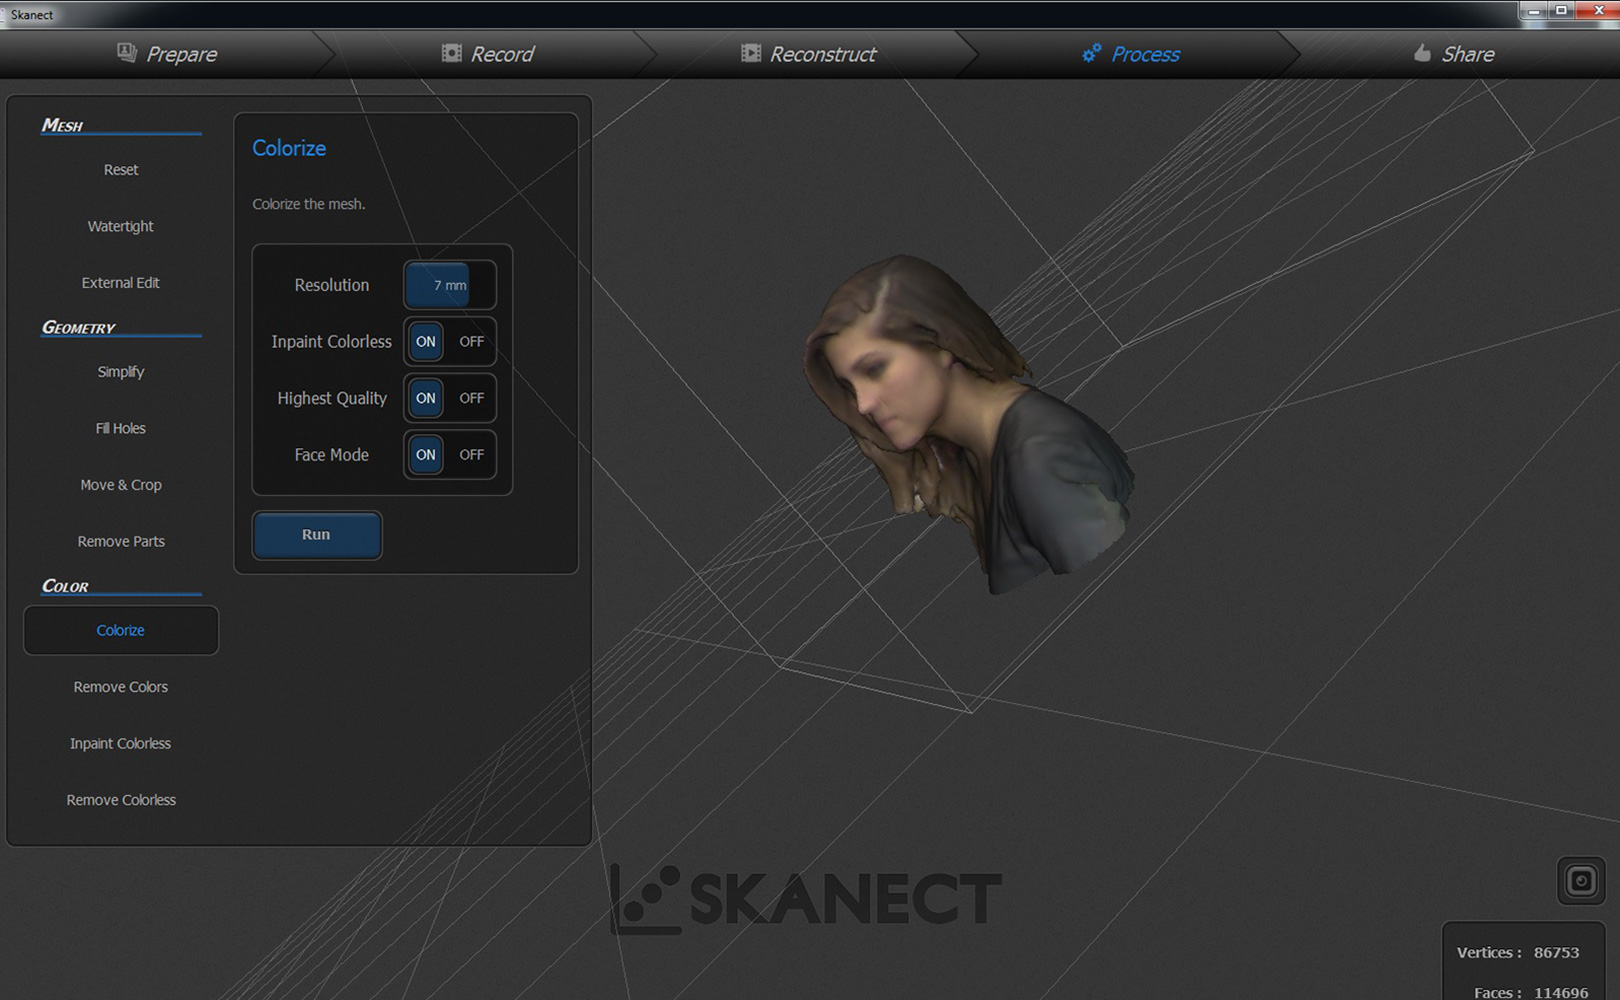
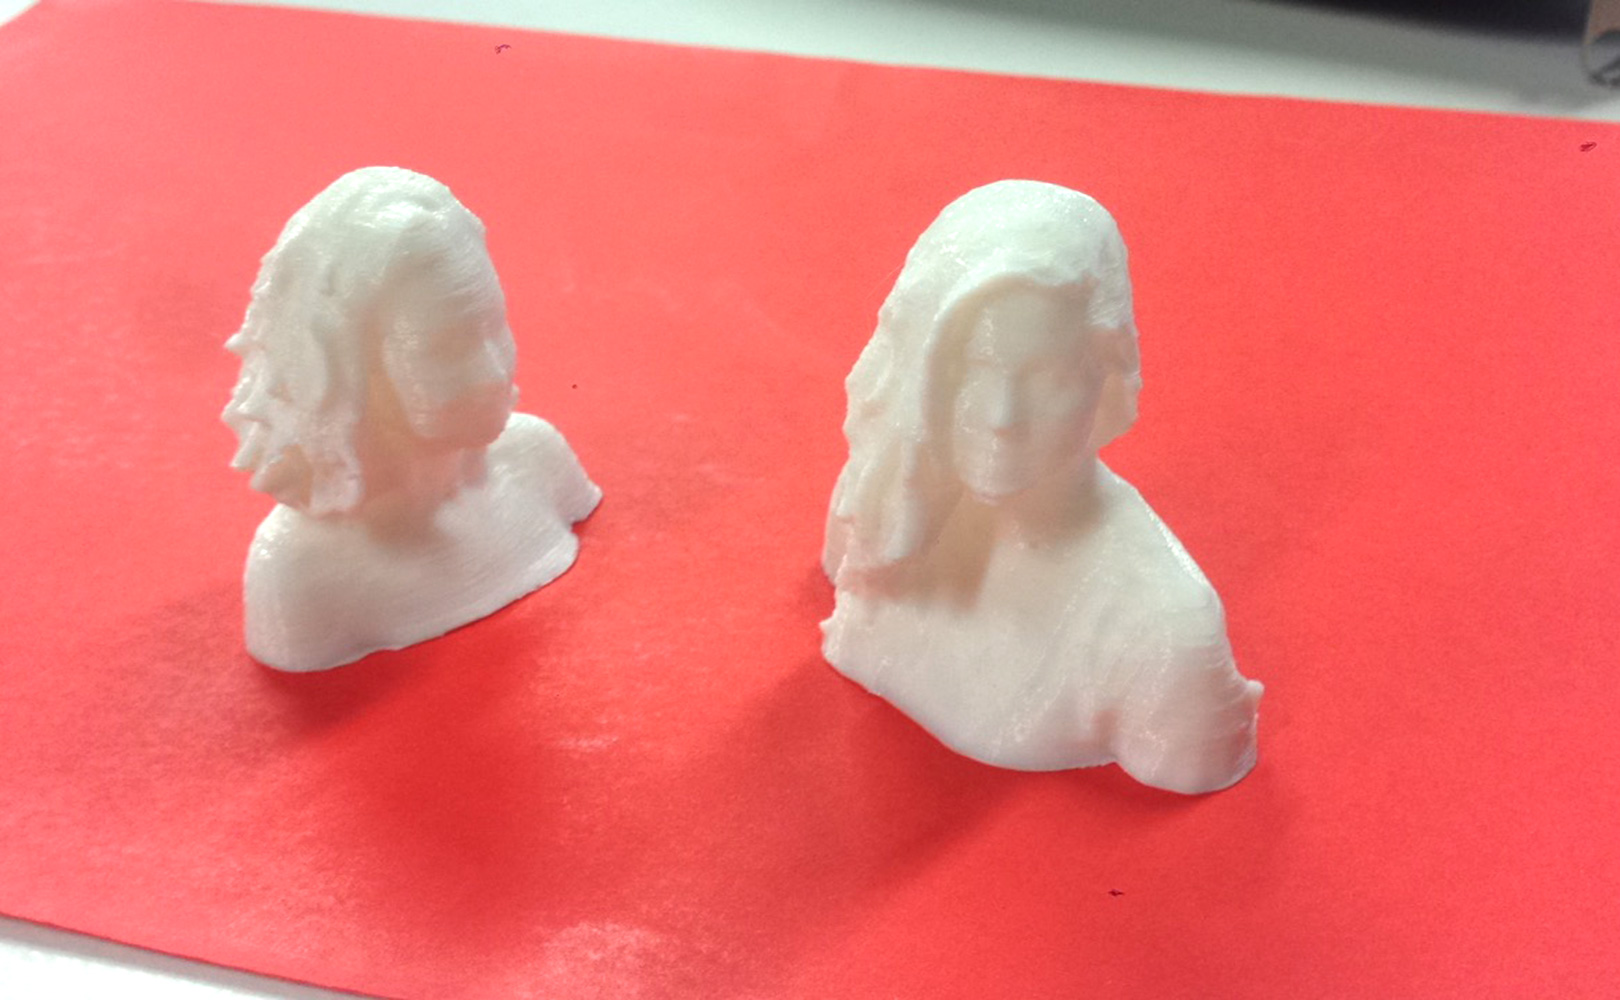
Carolina scaned me back, so since we had a 3D model of each other we went ahead to 3D print ourselves. Below the final print:
Files:
carolina's scan (.stl)


