work through a git tutorial:
Git is the most commonly used version control system, today and is quickly becoming the standard for version control. It is used to upload files to a server, but the particularity of Git is that is a distributed version control system, meaning your local copy of code is a complete version control repository. You commit your work locally, and then sync your copy of the repository with the copy on the server.
Every time you save your work, Git creates a commit. A commit is a snapshot of all your files at a point in time. If a file has not changed from one commit to the next, Git uses the previously stored file. This design differs from other systems which store an initial version of a file and keep a record of deltas over time. This abilty to save all the stages of your work is very useful in case you want to go back to older versions or see your evolution, also Git works when you’re offline since almost every operation is local.
You use Git from the Terminal, once it has been installed in your computer and set up with the server. Git is an extense and complex version control system, but for what I'm going to be using it here are some basic 'everyday use' controls:
ls (lists all the contents in the file you are in)
cd (to move from file to file. Eg. cd Desktop/FABLAB/Repository)
du -sk * | sort -n> (tells the weight of every file from less to more)
git pull (downloads the newest version of the files)
git status (shows status of files. Files in the local repository in red)
git add . (adds all the files shown in red to the gitlab repository. If you do the ‘git status’ again all files added should appear en green)
git commit -m "first commit" (tells this is a new version of the file)
git push (uploads all the files to the gitlab repository)
building the website:
I already have experience building websites since I've made a few of them before. Most of them were built using Wordpress and a theme, but I still customized it a lot. This is why I am familiar with HTML,CSS and JAVASCRIPT as well as the workflow and process for creating a site.
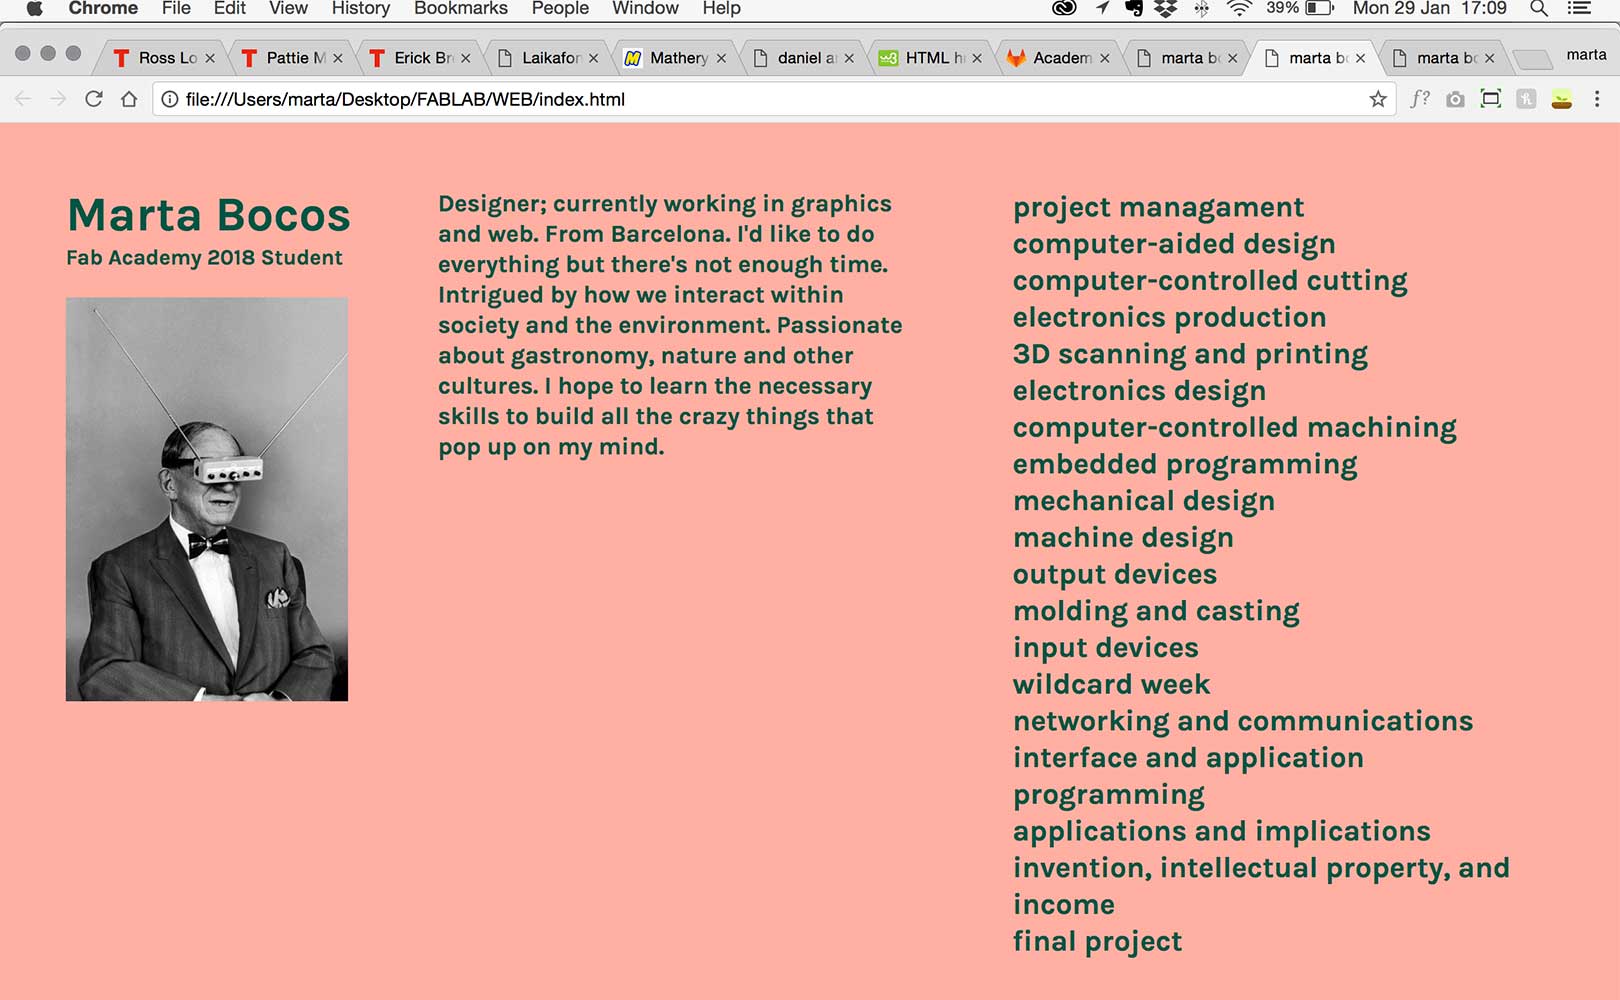
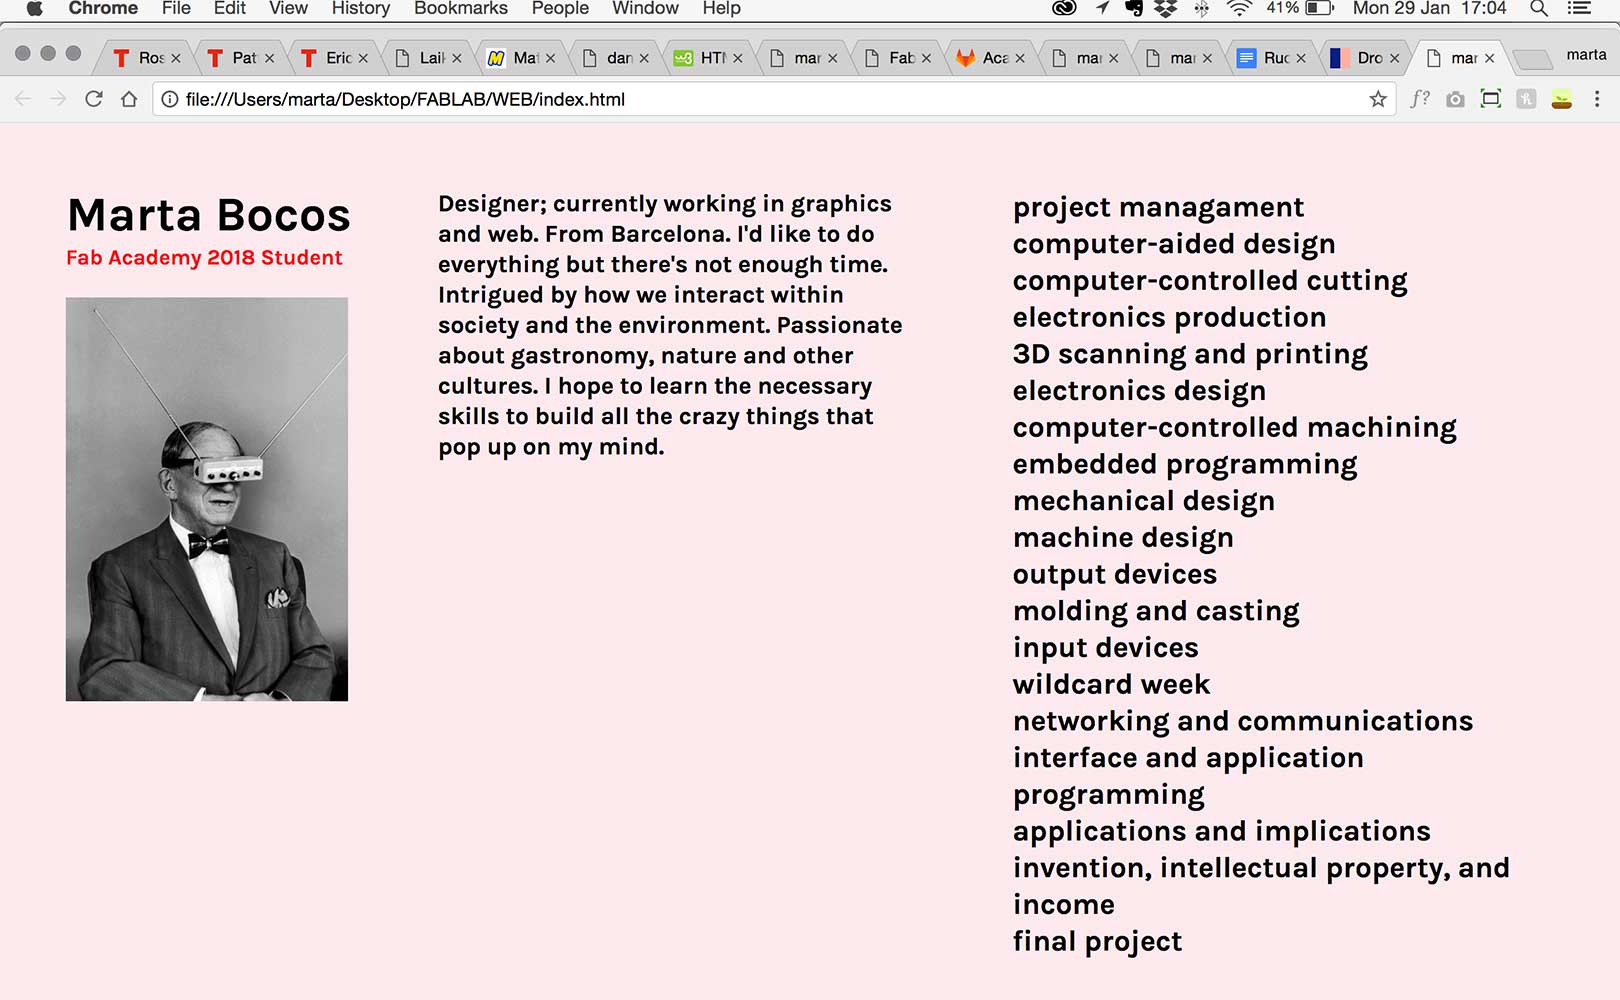
I started by sketching the layout of my ideal website, and from that I built the html. I want my website to be extremely simple and easy to navigate through and read, that is why I made the home so that you can see all info in one screen wihtout the need to scroll down. Once you enter every assignment the layout changes, all content is vertically centered, images are big and text length and spacing considered for an easy read.
I took my time to play around with the CSS. I tried out different color combinations and even some javascript, but in the end I decided not to include anything too flashy that would distract the attention to anything other that the text. A few css playarounds in the images below.
If I have some free time to dedicate to improve this site I plan on coding it to make it responsive, and therefore adequate for every device.
managing the website
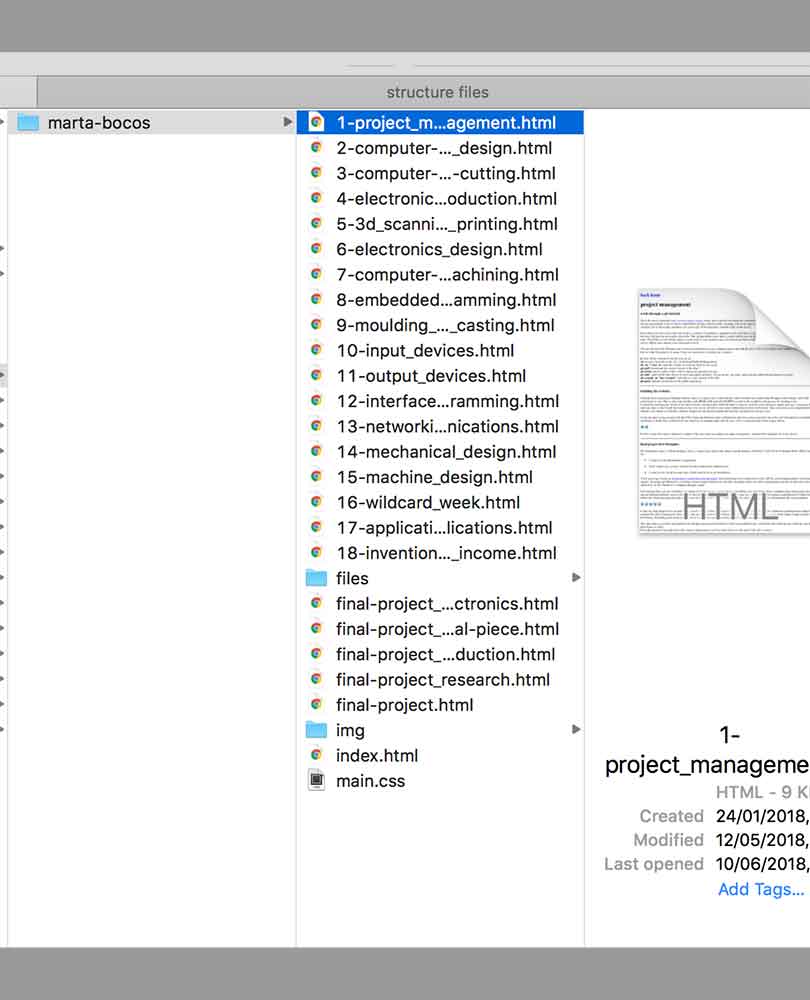
In the back-end of my website, the content is organized as it can be seen in the images below. One main folder which contains all the archives, inside this one an .html file for each weeks assginment plus the main.css where the styles are defined and the index.html where all the weekly assigments are organized. In addition, I also have a folder called 'files' where I'll put all the original design files, and another one called 'img' where all the images I'll generate will be placed.
As for the images, I am naming them with the following strucure: Number of week + letter of order inside project_ + title of image, for example: '2d_sketch_illustrator.jpg'

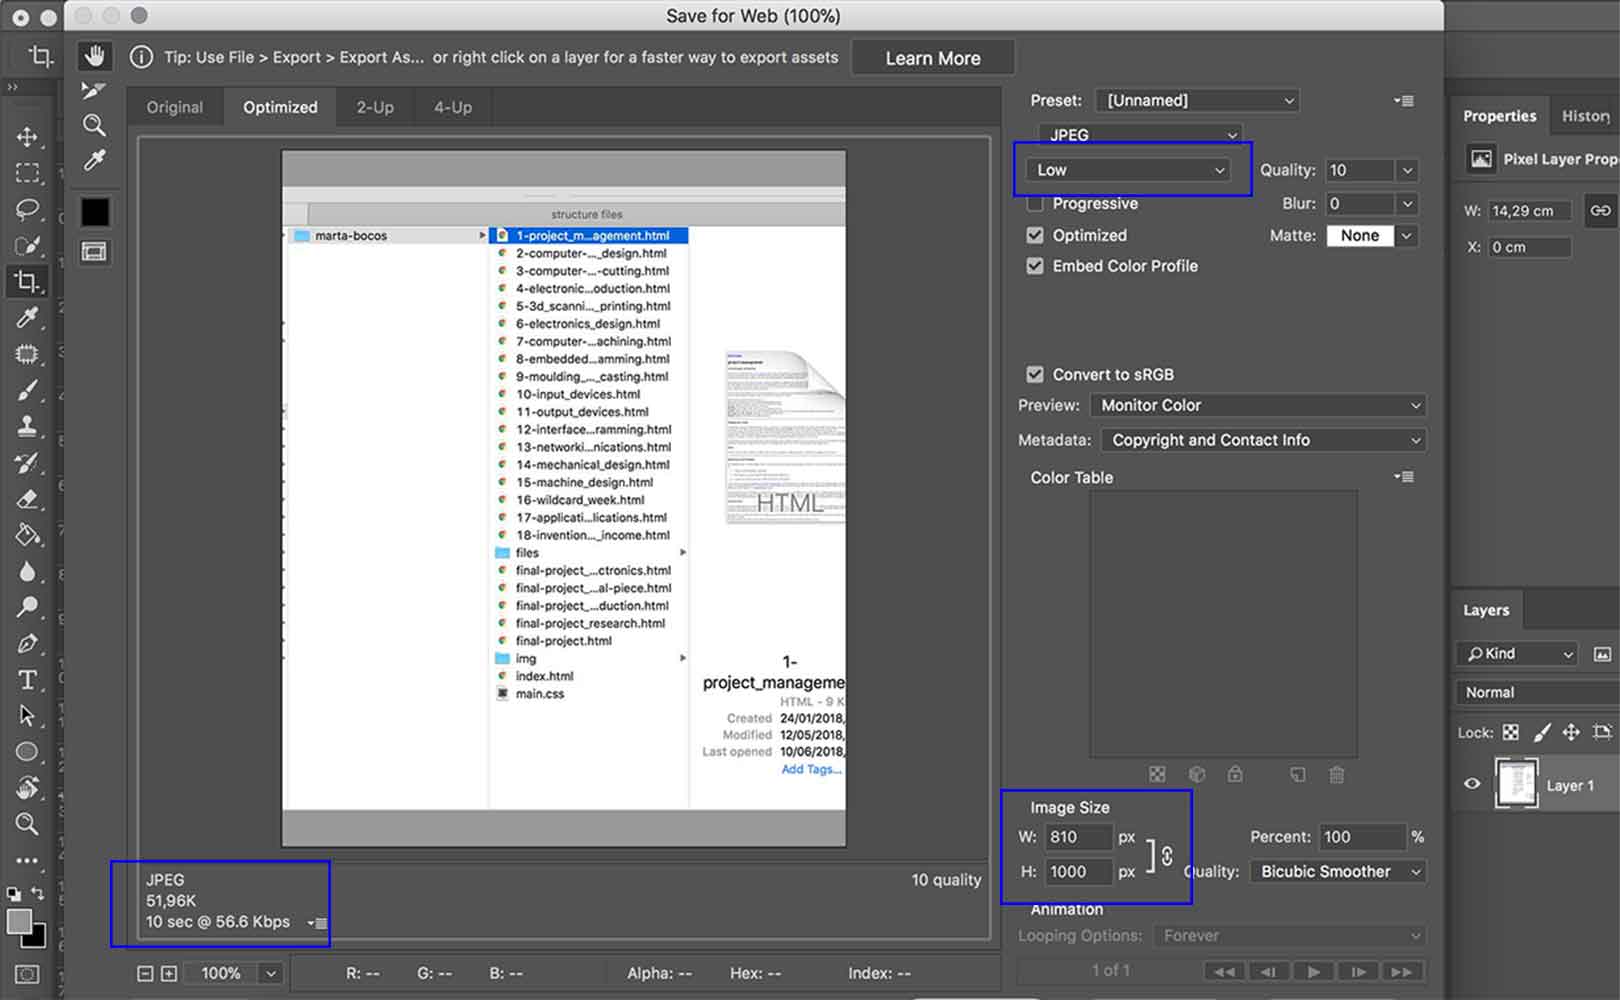
In order to keep the weight of my repository as small as possible, I am cropping and exporting every single image I put on the site through the Save for Web tool in Photoshop. As it can be seen below, it optimizes de image for web view and I also select the lowest, and therefore smallest, possible image size.
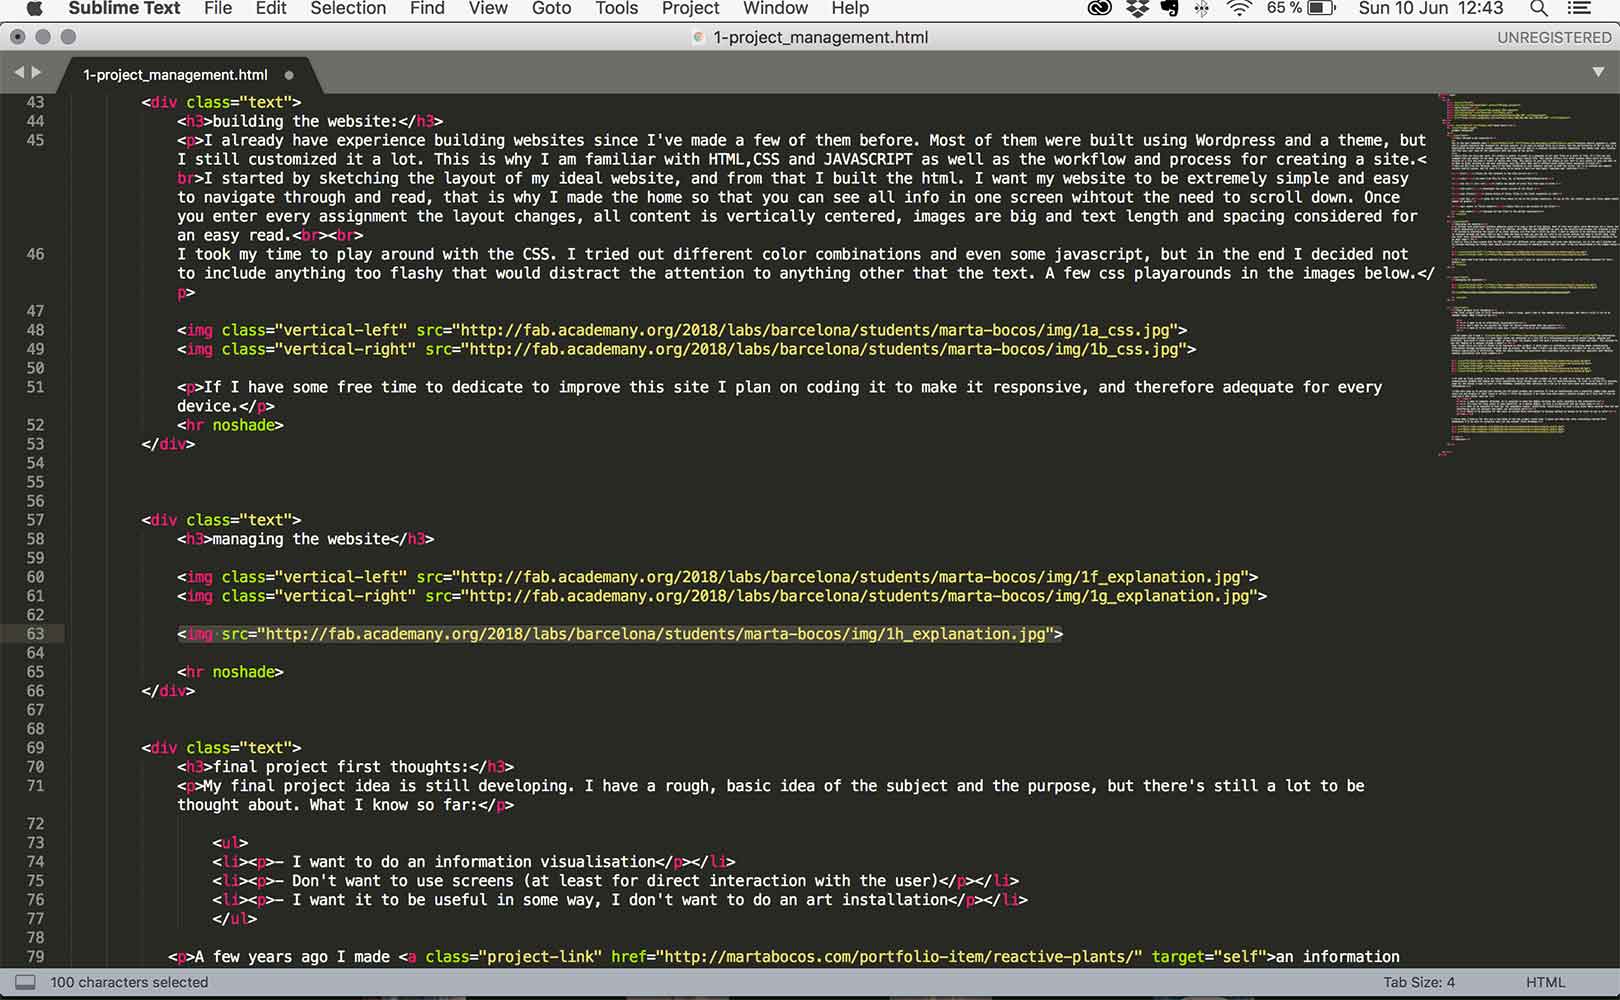
To software I am using the code all the website is Sublime. I have been working with it for a long time so I am really happy and used to it. The color codding it uses and the predictable writting features are my favourite things that diferenciate it from other code editors, also it's free.
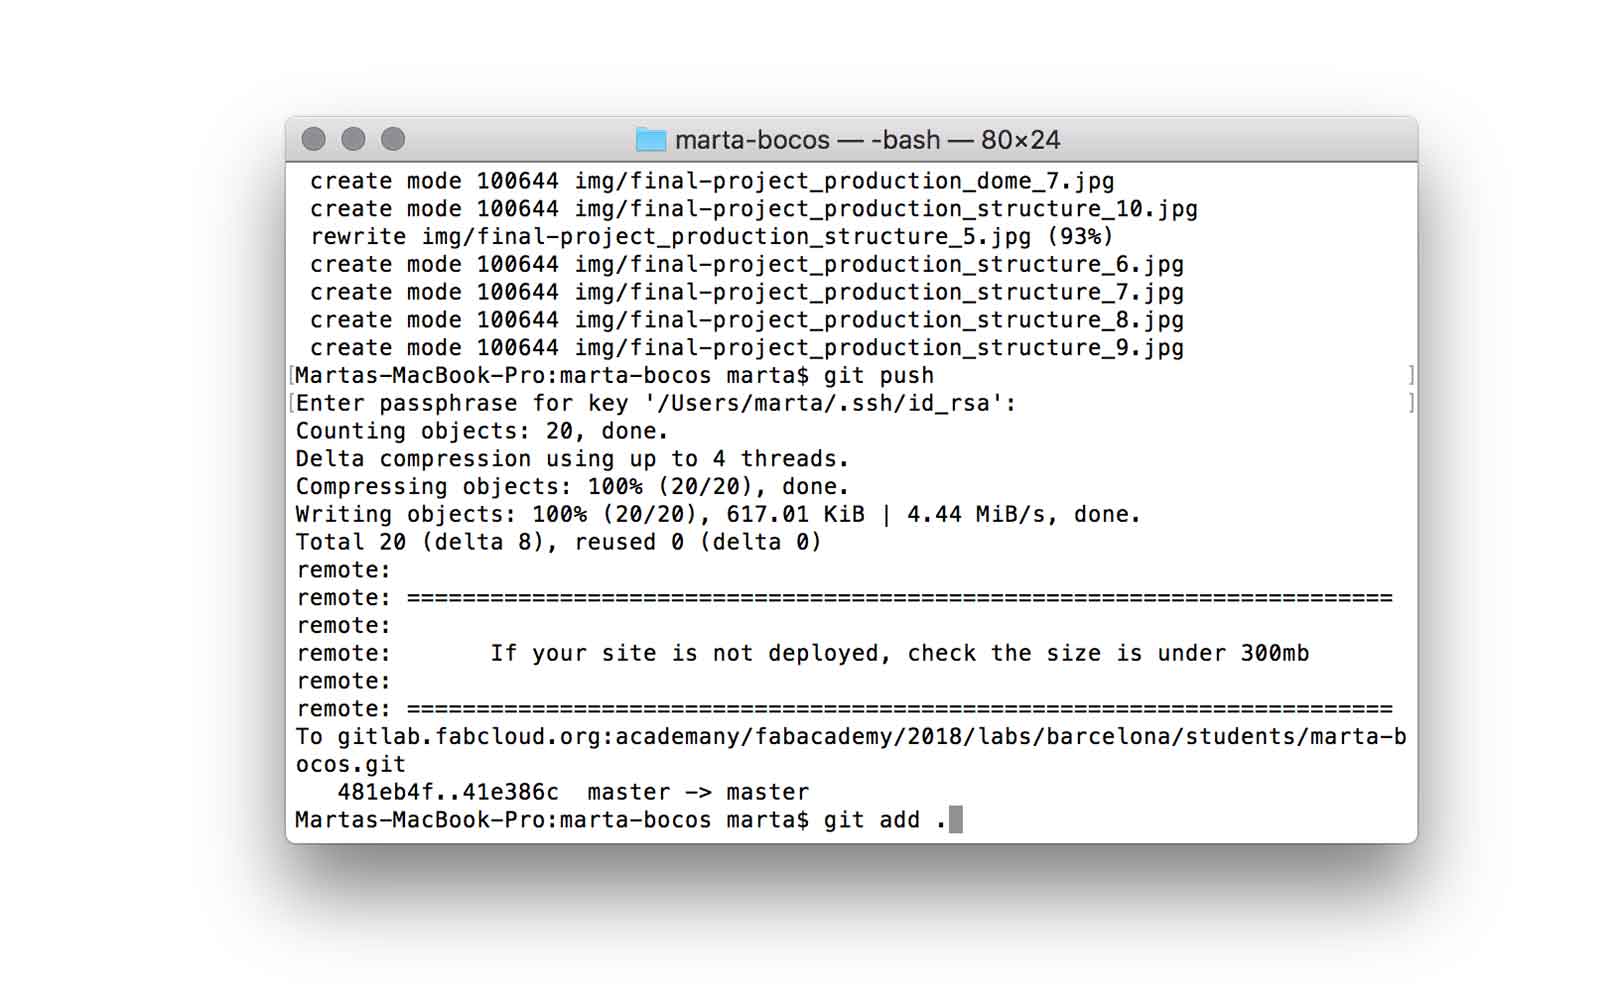
To upload new content to my website I do it through the terminal console in my computer. As everyting has already been setup beforehand, I almost always use the same commands in this order: git add., git commit -m "first commit", and finally git push.
final project first thoughts:
My final project idea is still developing. I have a rough, basic idea of the subject and the purpose, but there's still a lot to be thought about. What I know so far:
- I want to do an information visualisation
- Don't want to use screens (at least for direct interaction with the user)
- I want it to be useful in some way, I don't want to do an art installation
A few years ago I made an information visualization through plants. Each basil plant was connected to a live API of a telecommunications stock market (Apple, Samsung and Motorola); according to stock market number of each they, the plants where fed with a proportional amount of light and water. This allowed to see the "health of a company through a plant".
Even though there are lots of things to be improved in this project, I think there is something very interesting about communicating information through unconventional mediums such as plants. The fact that I didn't use any screens to show data (as we are used to) but instead communicated it differently, makes the whole message and experience more memorable and easy to relate to, specially when showing complex information like stock numbers.


I want my final project to be an improved, revised version of this old project of mine. My goal is to come up with a different communication subject and medium but still communicate using things that are not used to show information. In order to do that I'll obiously need all the things I hope to learn in the FabAdemy. Something that motivates me a lot is to find more human and meaningful ways to show information.
The main idea is to perfect and improve the old plant project and transform it from an installation into a beautiful object that anyone could use and display in their house or office.
From the position I am right know this seams a titanic project as I face that I have no clue how I will solve, such as:
- I want no computer attached. Is it possible to make the object wireless but still conected to the internet?
- I'd like the final piece to look beautiful, as a design object, to have a professional and not techy look.
- Will it be possible to have all the components (water, electricity, electronics) in such a tiny place while working fine and not interfering with one another? How small can everything be?
- Would it be possible for the users to decide which information to display without me having to be there to set it up?
From what I know so far this are a few ideas of how the project could look, I guess and hope that after everything learned after FabAcademy I'll be able to acomplish this (at the moment) crazy drawings.
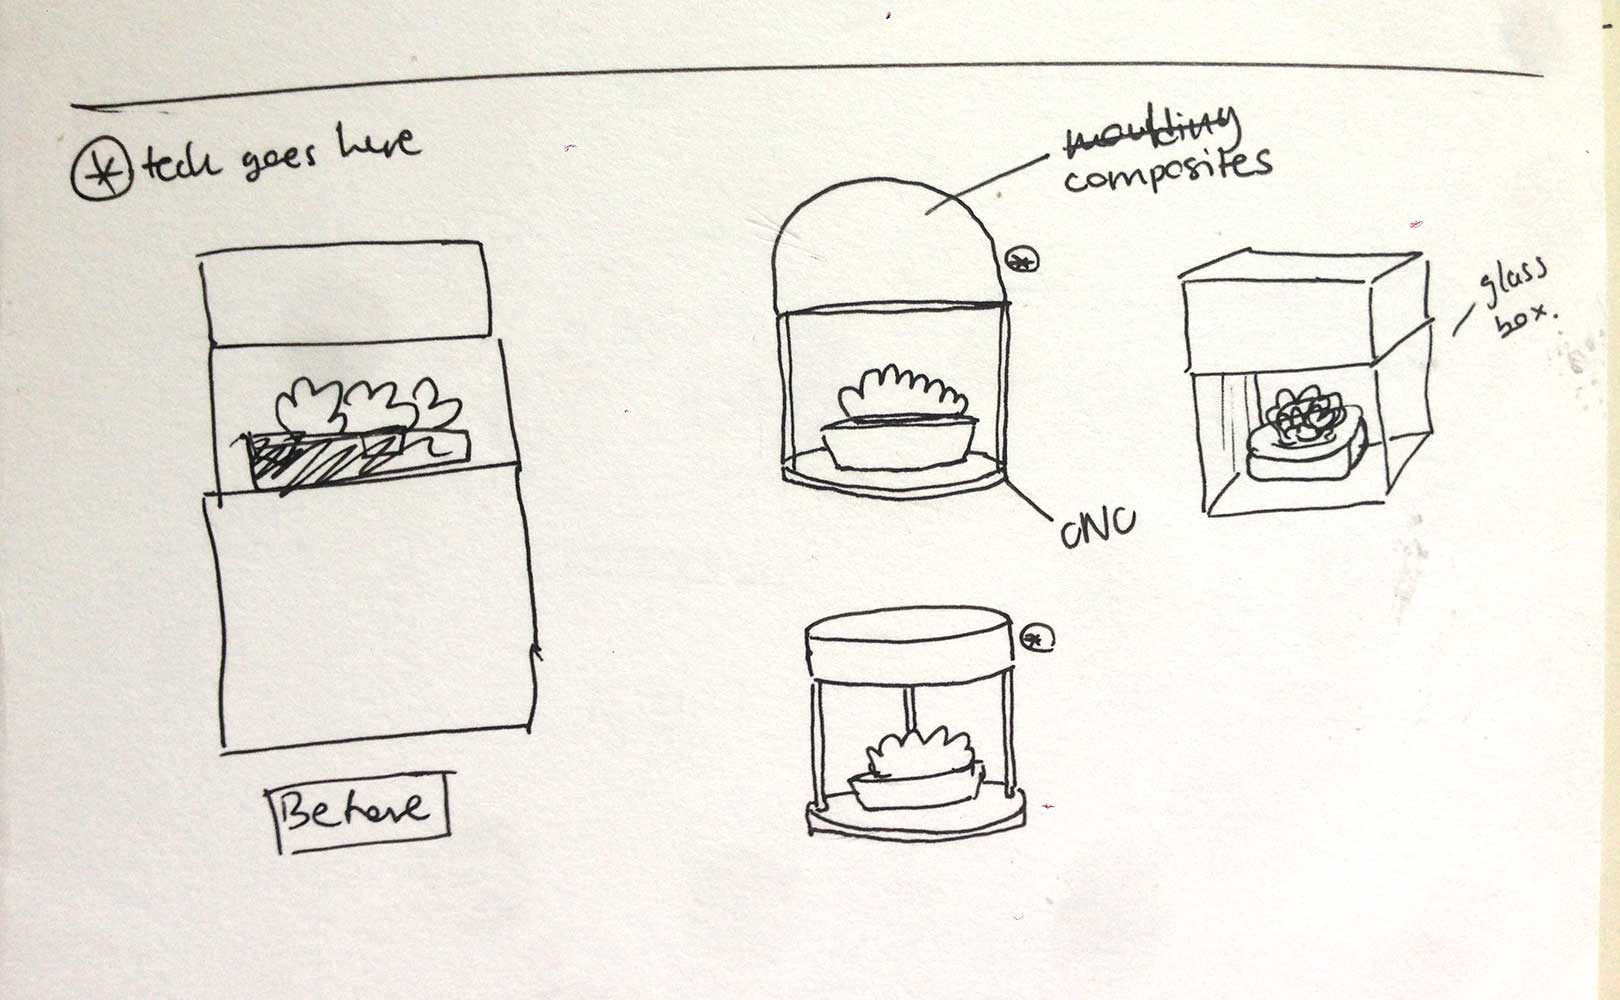
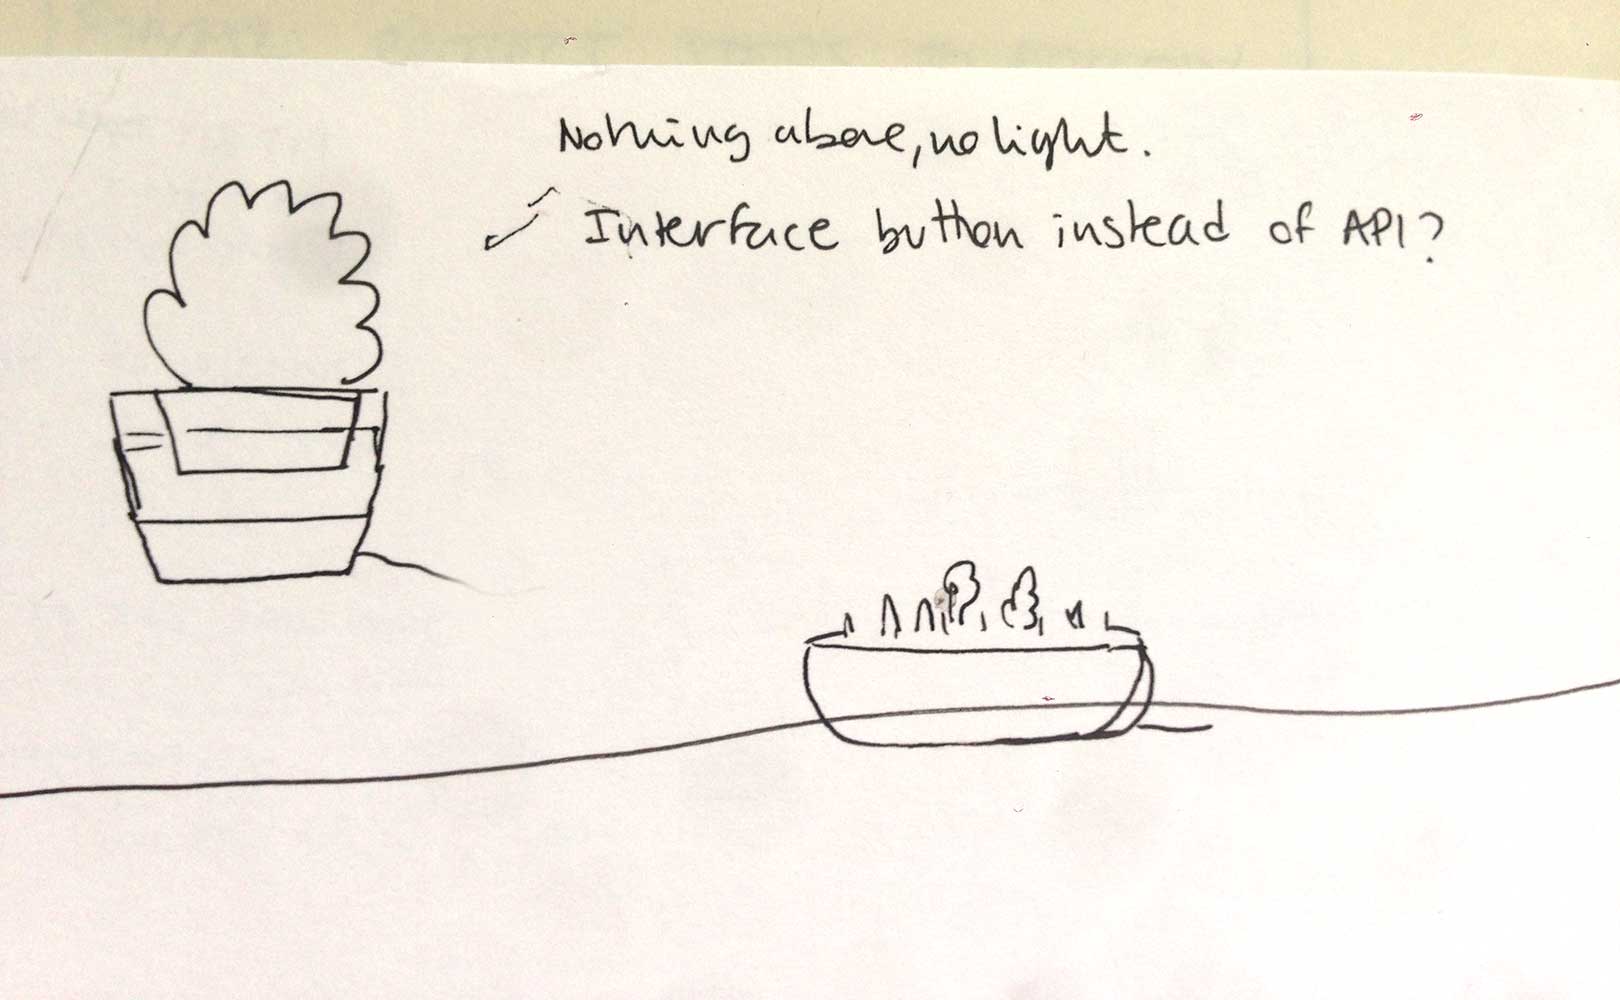
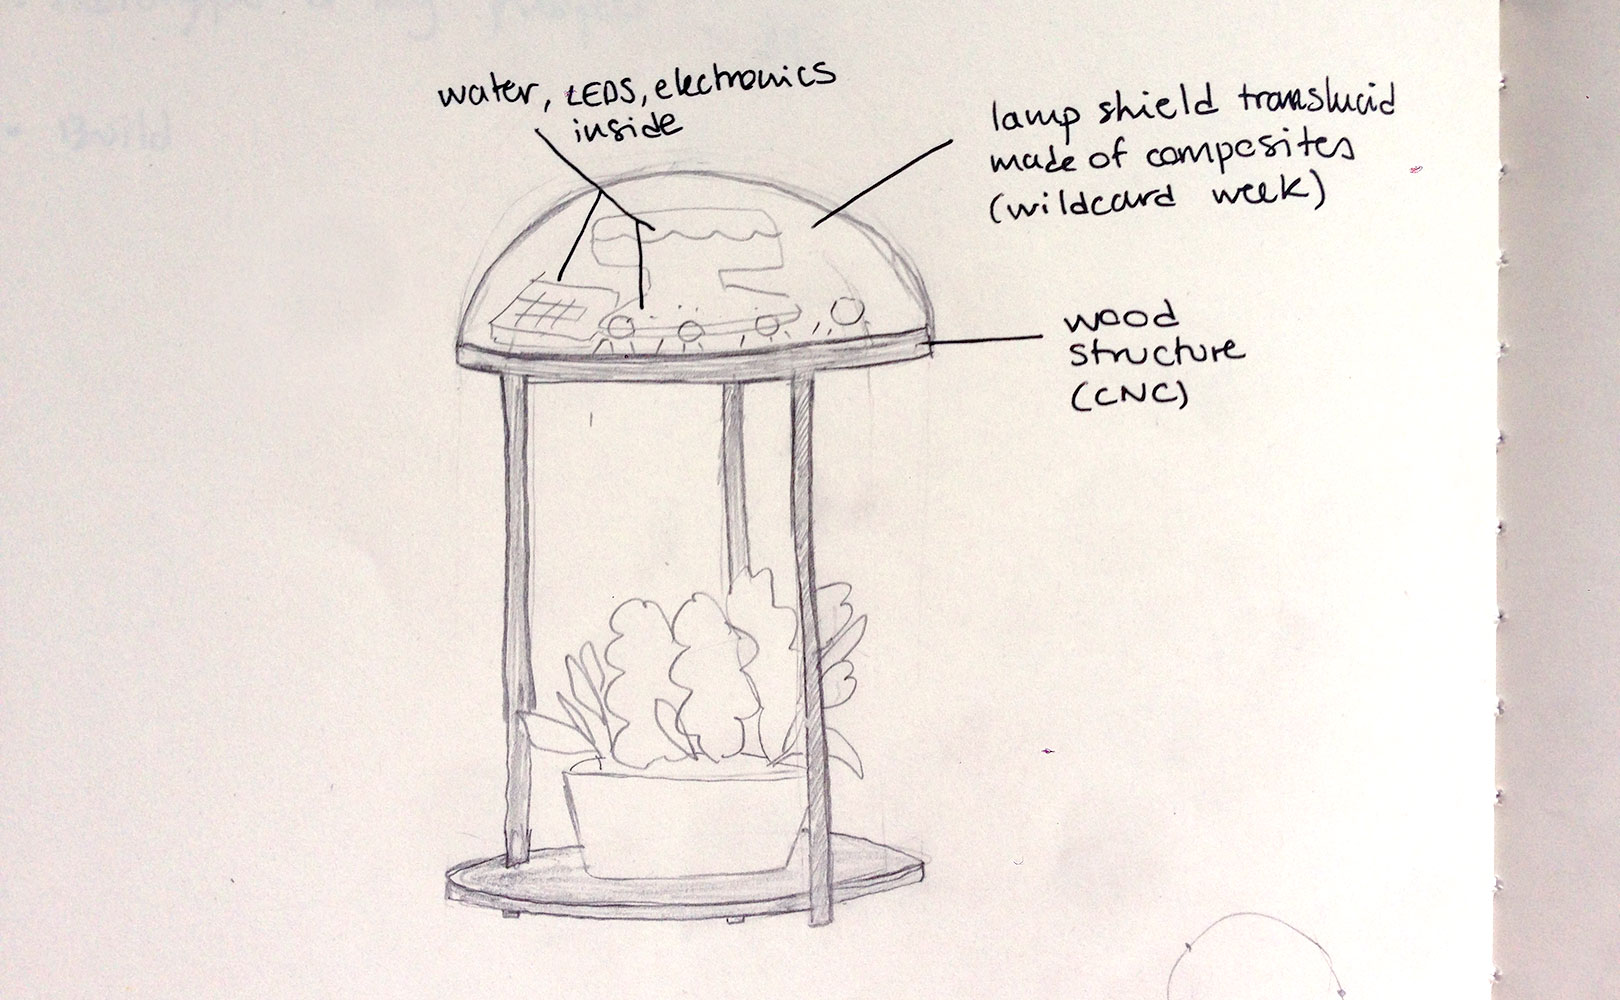
Sketch