Week 5: 3D Scanning and Printing
 THIS WEEK´S FILES
This week assignment was divided in two: 1) designing and printing something that could not be made substractively, and 2) 3d scanning something.
3D Printing
Tools
- Calipers: To obtain exact measures.
- Makerbot Replicator 2X: One of our 3d printers available at the lab. In general, it seems more reliable than the other printer: Felix 2.0.
- Makerbot Desktop: To import 3d design and prepare for printing.
- Autodesk Inventor (2015 Pro): My cad software of choice.
Process
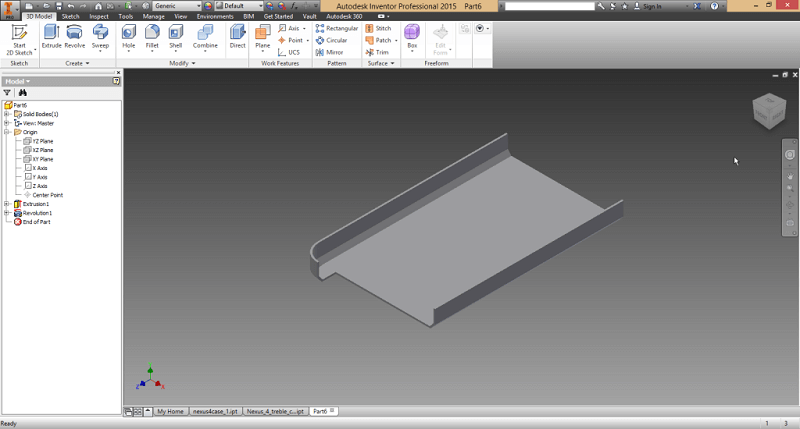
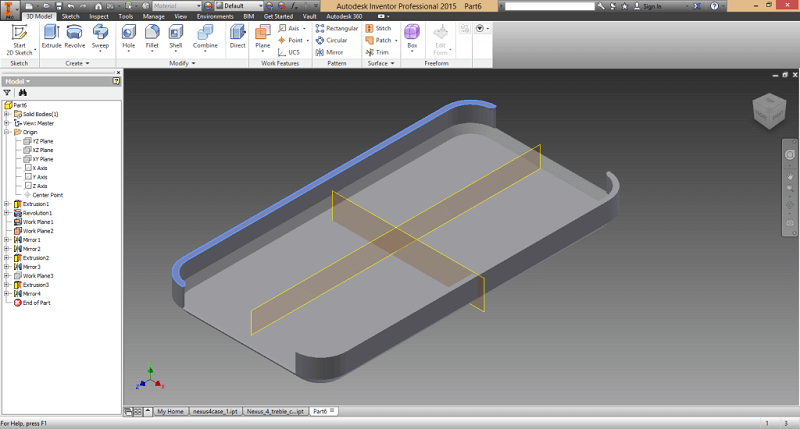
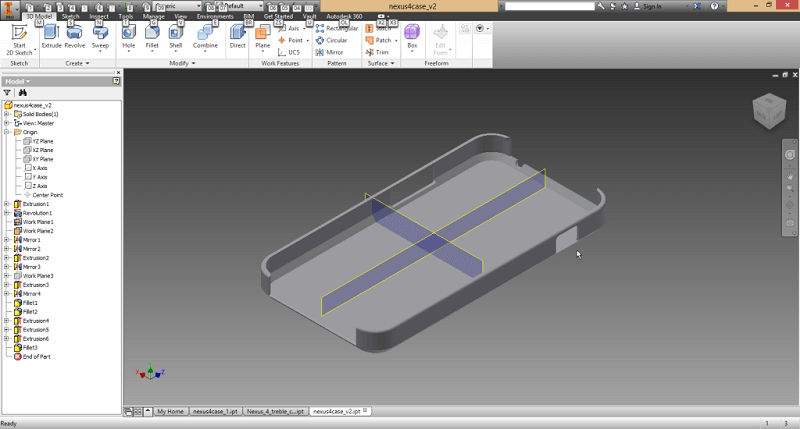
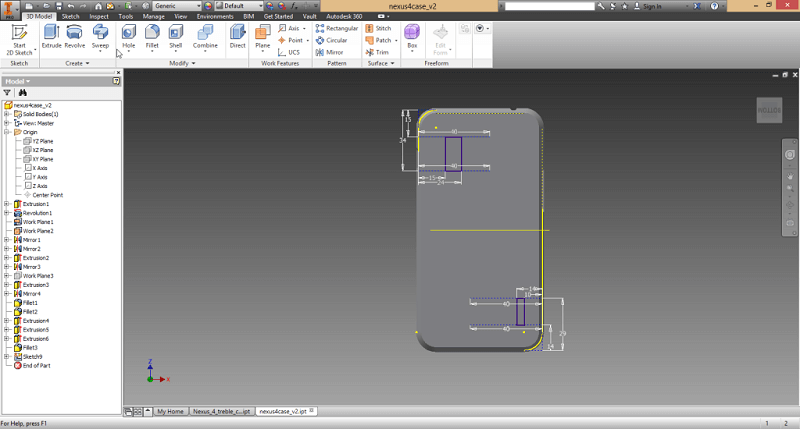
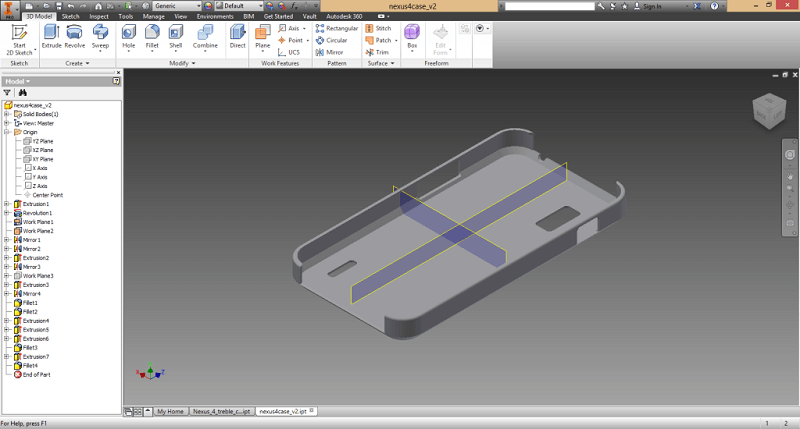
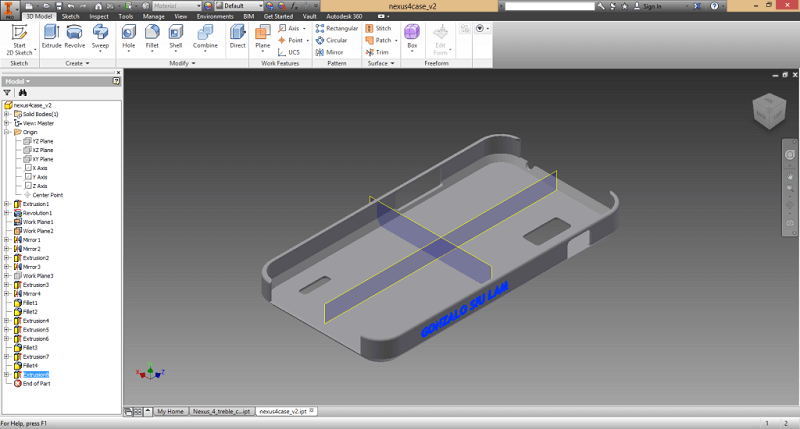
For the assignment I decided to make a phone case for my Nexus 4, as the one I had recently broke down. To start off, I start byobtaining the main measures of my phone using the calipers. With that measures in mind I start modelling the generic design of the case in Inventor.
 |
 |
 |
 |
 |
 |
 |
 |
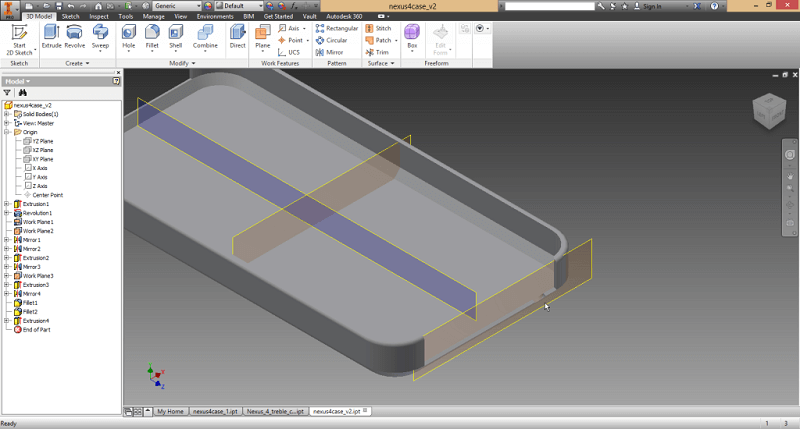
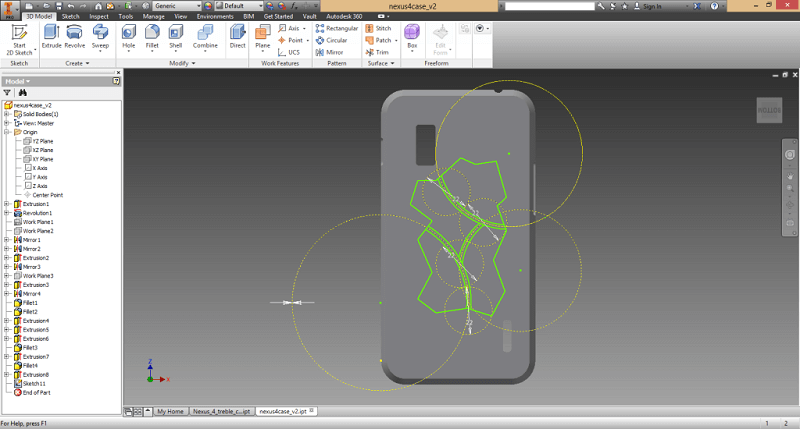
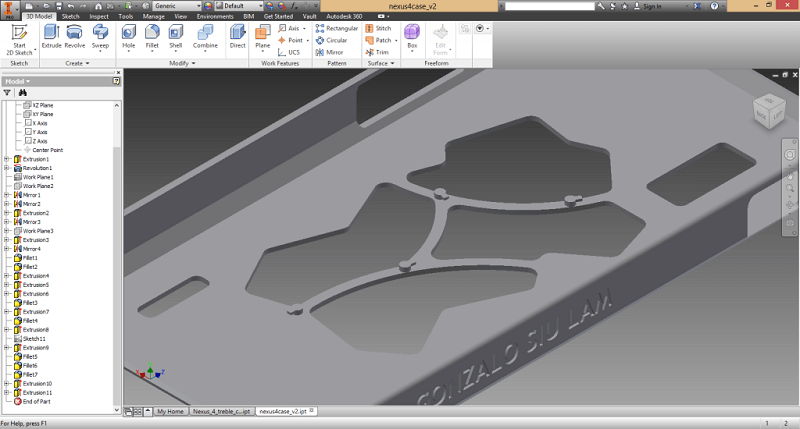
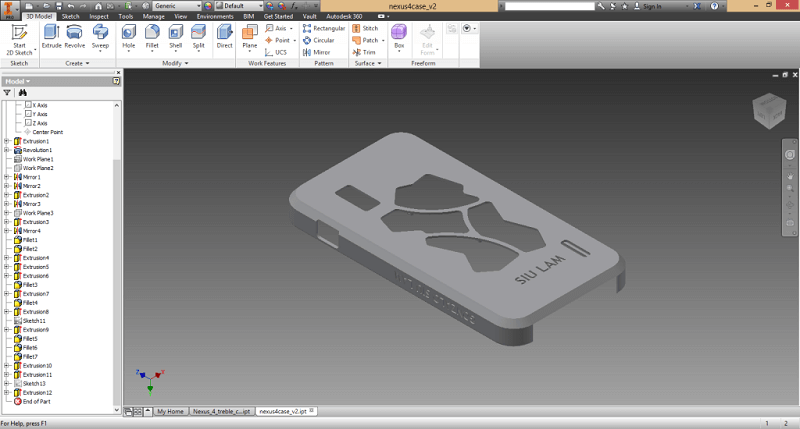
Having the basic case design I then start personalizing it. I decided to go for something simple: putting some gears and my name. I make some random hole design and put some small axis to hold the gears in place. I also emboss my name on the side and the back.
 |
 |
 |
 |
Having my final design finished I exported it to .stl file, which is a mesh file (inventor default .ipt file works with solid objects) that Makerbot software uses. I opened up the file in Makerbot Desktop. a problem which usually occurs is that the object appears really tiny.
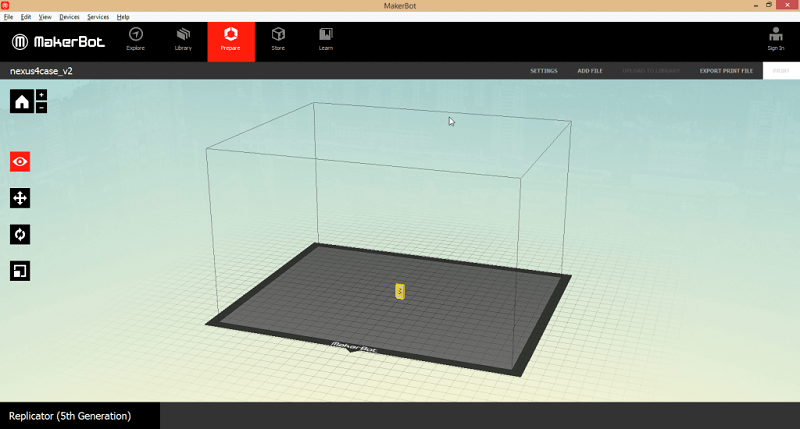
Checking up the sizes it turned up that when importing the files the object gets downsized to 10%, so the quick solution is just set the size to 1000% and it gets to the original design size.
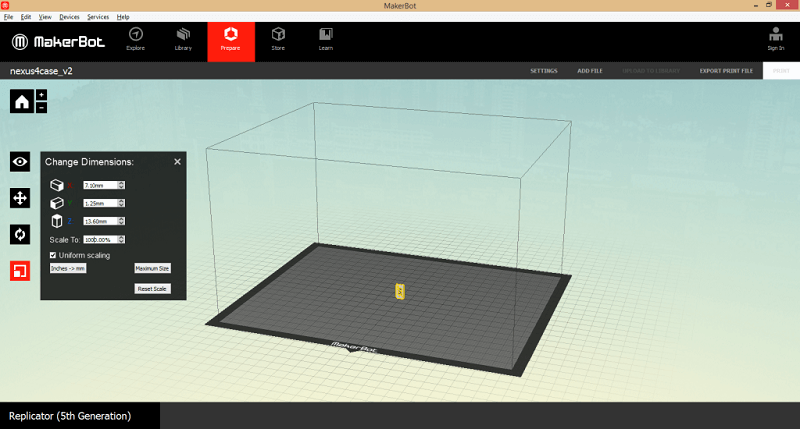
The next thing to do is rotating and positioning the object where we want it to be printed.

Next is checking the printing settings. In this case I set it to print with PLA, with the default settings, but set it to create supports if needed and to print at 210 °C.

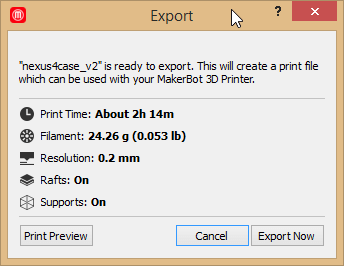
And the last thing is to export the print file. For this small object it took around 10 seconds to create the file. On the preview, it said that it would take 2h14m. The file should then be saved in a SD card.
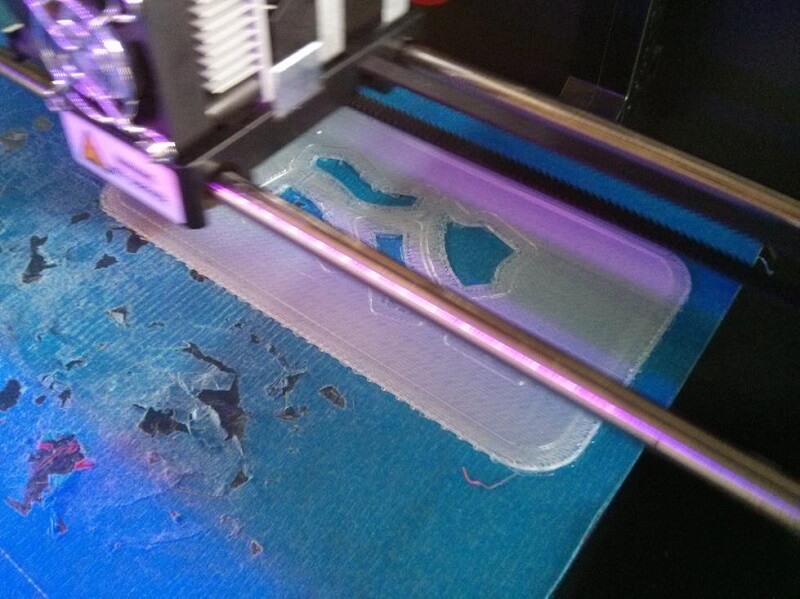
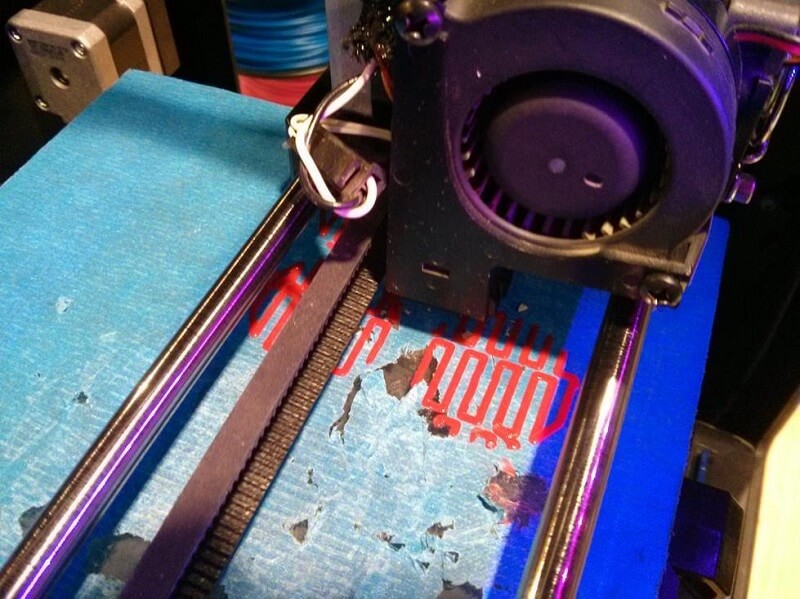
Using the Replicator 2X is very easy. Just insert the SD card with the file, the file (or list of files to choose from) comes up and it's a matter of pressing one buttom to start printing. In my case, as I chose to print a Raft, it started by printing it, which took less than 10 minutes.

While printing the Raft there was a small problem as some of the material got messed up and formed a ball. I noticed it and quickly removed it using tweezers and small wire cutter. The next layer of the Raft covered the defect so in the end there was not a bump that affected the model itself.
After printing the Raft it continued with the model itself.
I left it printing for a little less than an hour while I went for lunch and when I got back it was finished.Although while exporting the file it was etimated over two hours of printing, in the end it took around 62 minutes.
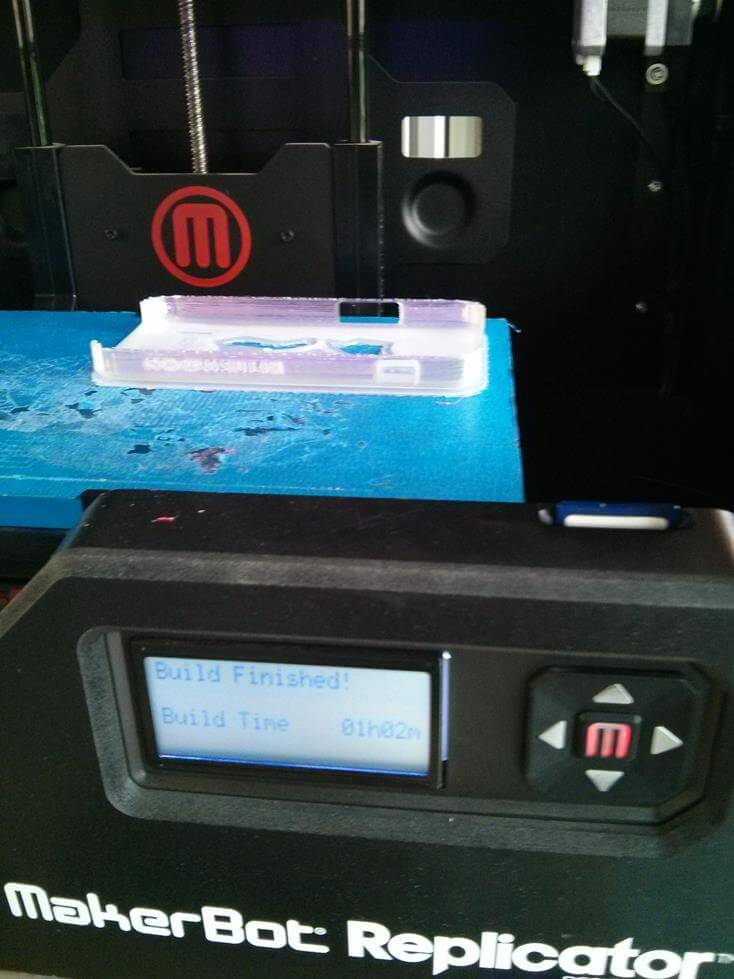
Removing the Raft was quite easy. After removing some messy PLA threads the case was finished.
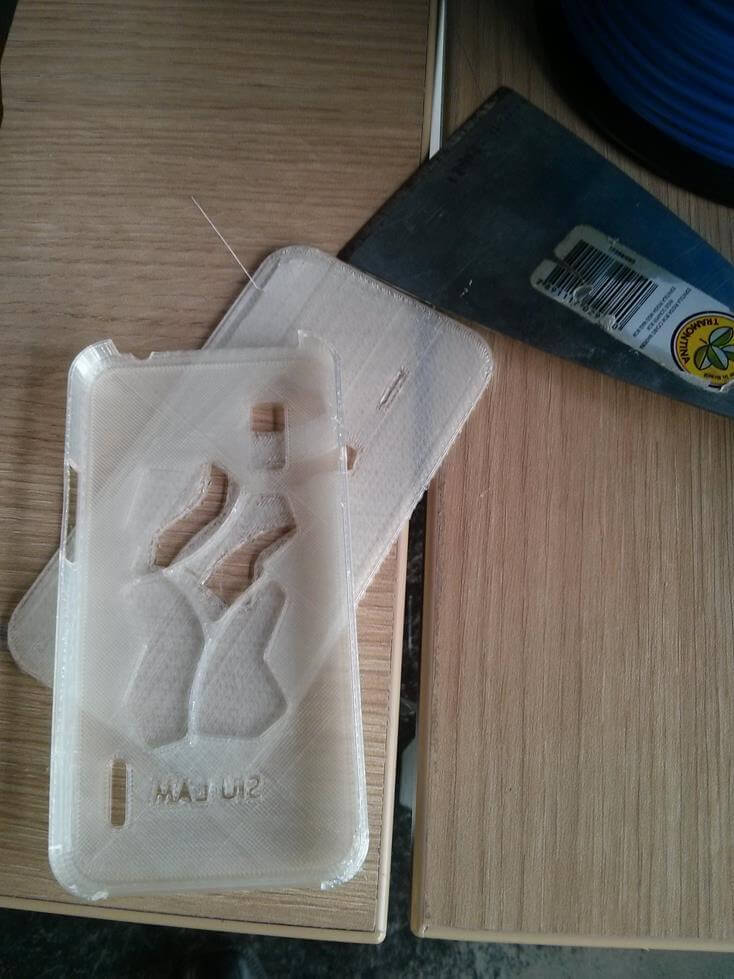
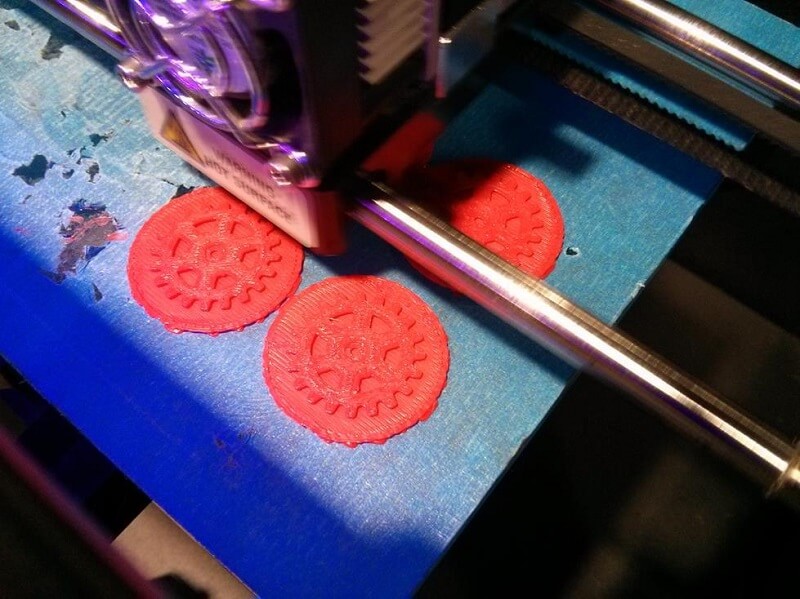
Using the same steps (from Inventor to Replicator) I make a set of gears for the "decoration" of my phone case.
 |
 |
 |
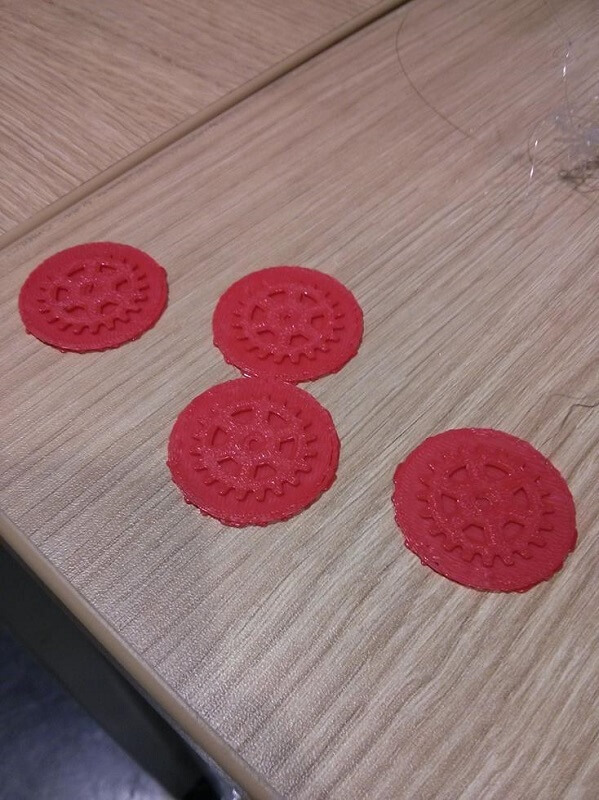 |
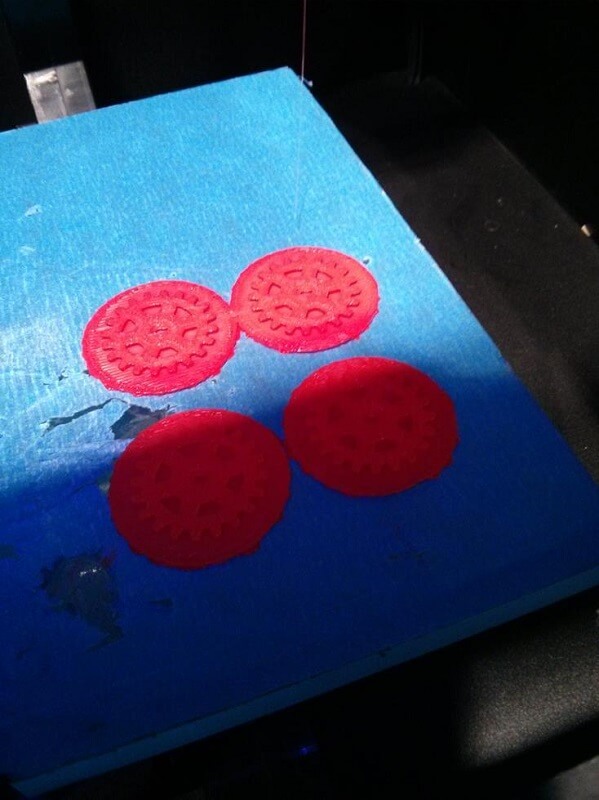
In this case two problems came out. First, removing the Raft was very difficult, it took me around 15 minutes to remove the Raft from all four gears using a hobby knife. Second, although in Inventor it was well designed, the holes for fitting the gears came out a little to small (2mm diameter, with a 1mmx.5mm bezel), though the machine cannot be blamed. Luckily, a matter of making the holes a tiny little bit bigger using the hobby knife fixed the issue.
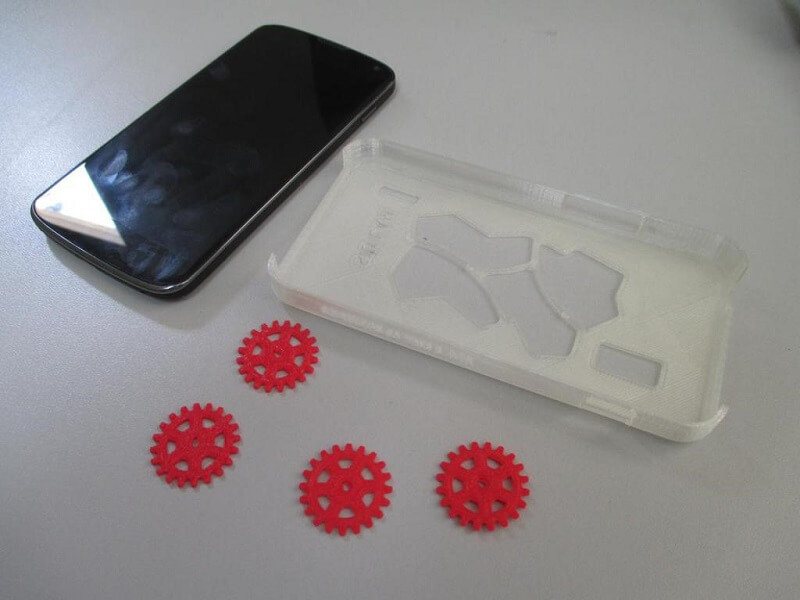
And all the pieces together:
And the final product assembled:
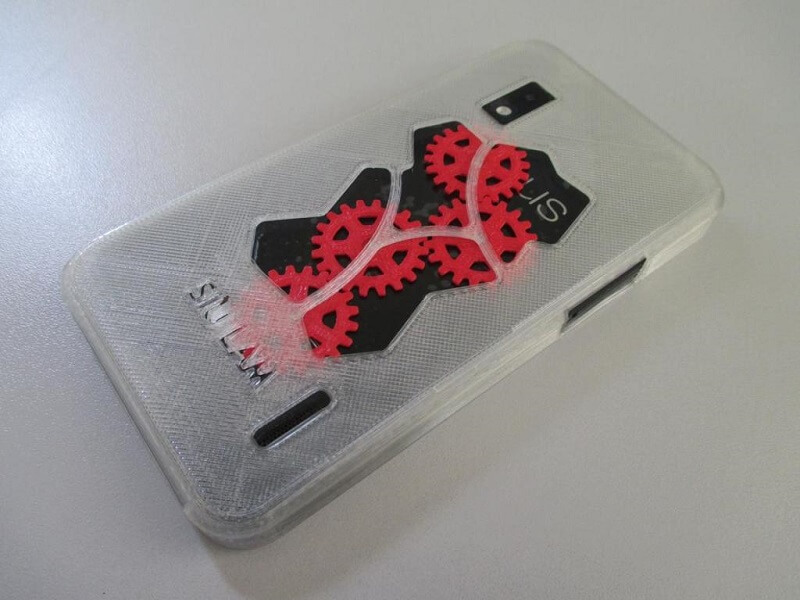

Trying the final product there were some issues:
- The phone case was a little bit to big. Height and Width were tightly fitted but it was a little bit too long (around 2 to 2.5 mm). Still, it was securely fit thanks to the bezel (just 1 mm bezel on the side was enough).
- The holes for the camera, audio buttoms and speaker were a little off, around 1mm.
- The issue with the gear, bigger axis and hole might fix it.
I plan to make another one with all the issues solved. Still, I was quite satisfied considering it did turn out quite good even though it was the first try on 3d printing.
3D scanning
Tools
- 123D Catch: Used to stitch photos together.
- Camera: To take pictures.
- Paper: To make a "stage".
Process
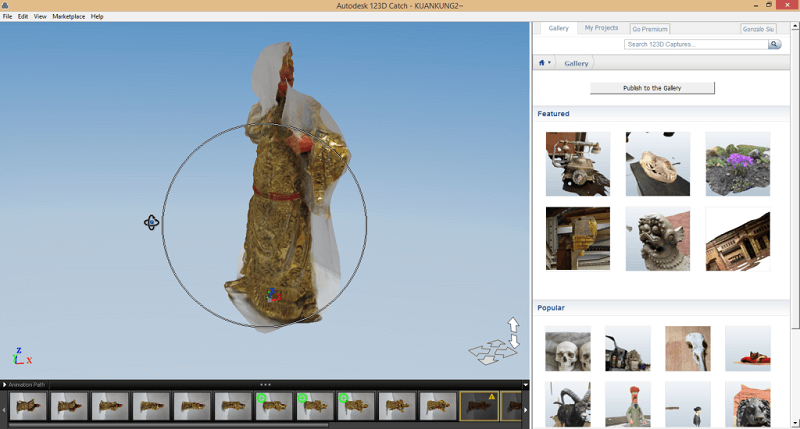
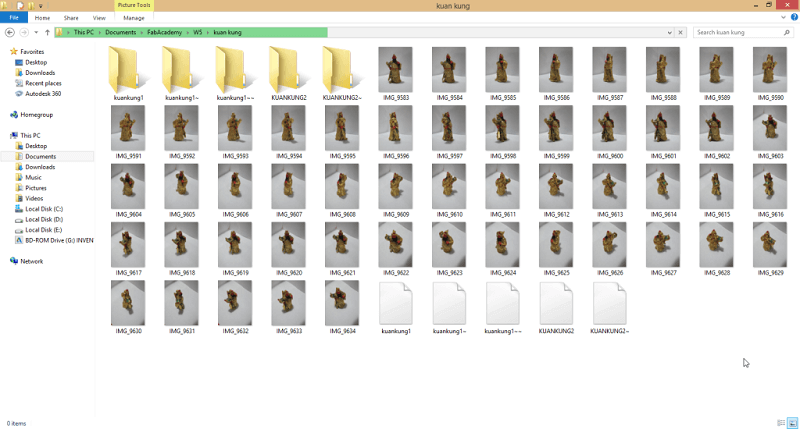
I decided to scan a figurine of Kuan Kung (Guan Yu), a chinese warrior for protection, like a God of War. It has a lot of small details that I wanted to try if they could be scanned or not. I start by making a little "stage" for higher contrast between the figure and the background.
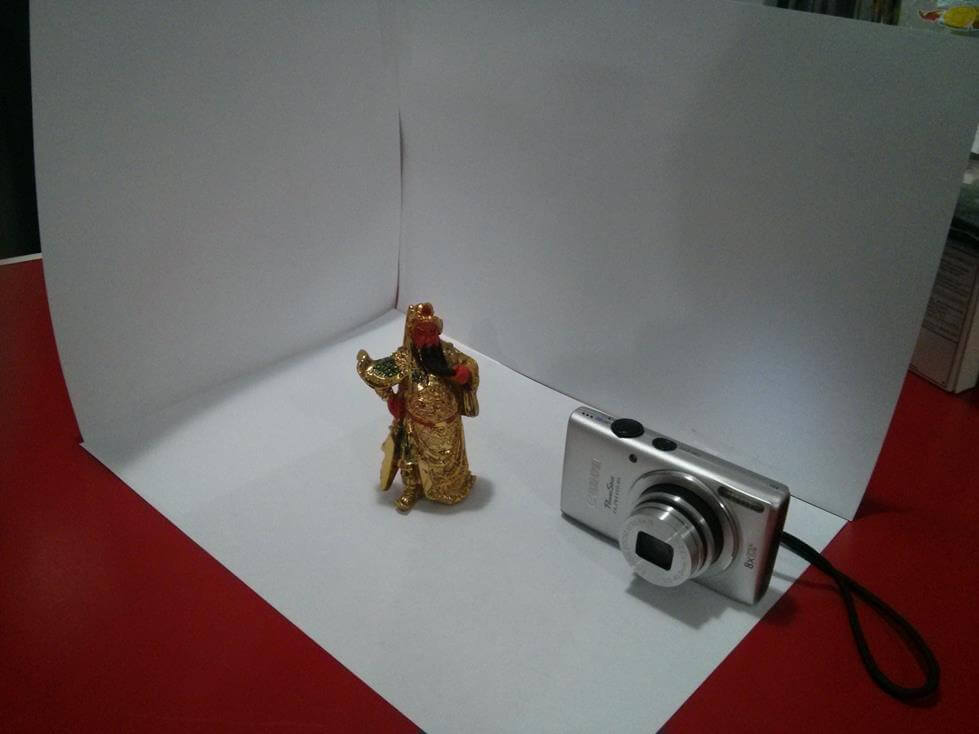
Using that set up, I took 52 photos from different angles.
Adter a quick setup, I created a Project on 123D catch and imported all my photos.
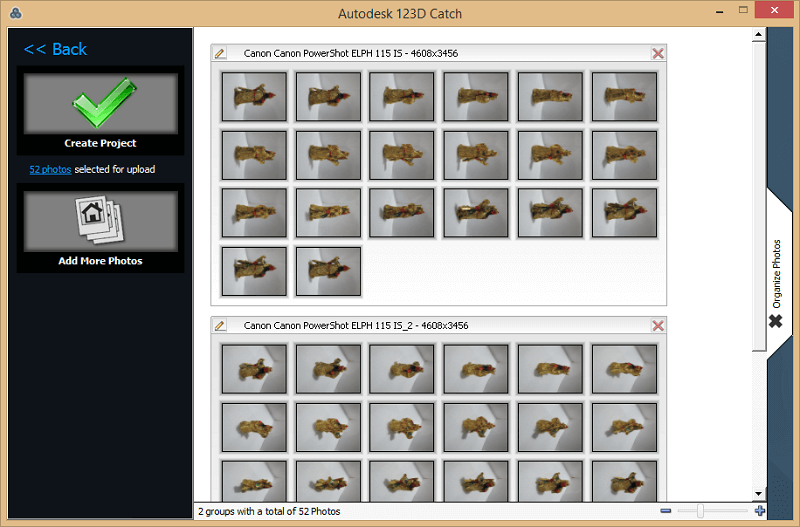
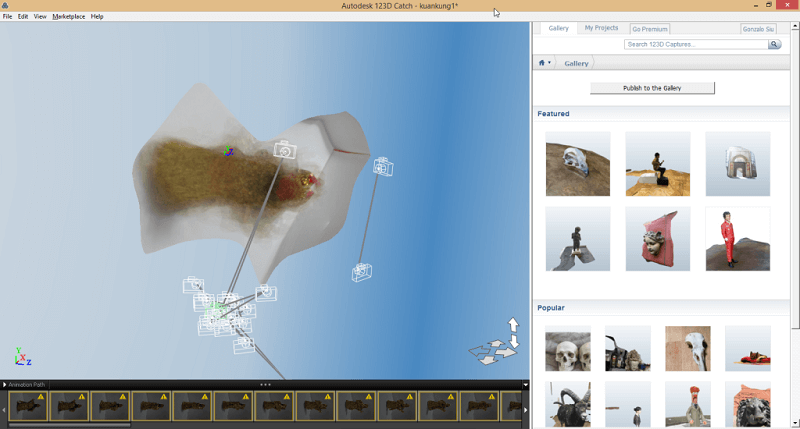
The program did not build a model at all and it appeared as a blob.
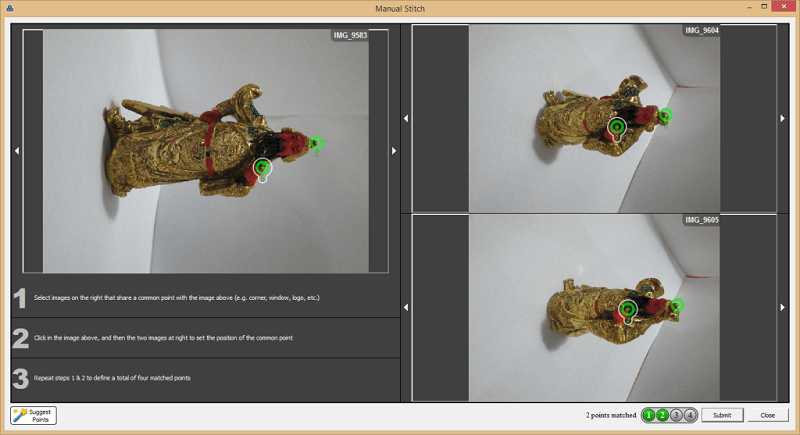
So I started manually stitching the photos.
By the time being, I cannot fully render my figurine. I can render just the front side, there seems to be a problem recognising the back features. Still I'm trying to get it done.