June 5th:
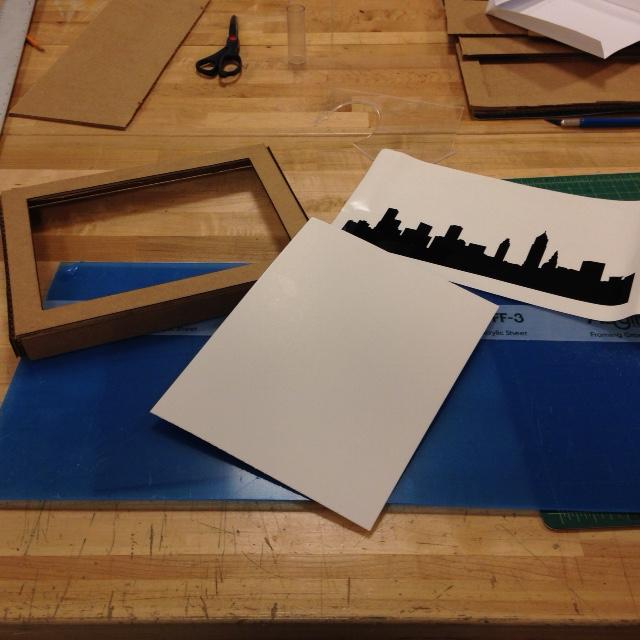
- Designed a simple clear, acrylic front for my picture using Corel Draw. I am trying to use Corel Draw as often as I can because this is a program that my school is purchasing for use in our lab.
- After creating that and cutting it. I decided to follow Neil's advice to laser in an image of the moon and use an LED to create a glow.
- I soldered a 9v battery to a strip of Supernight LEDs.
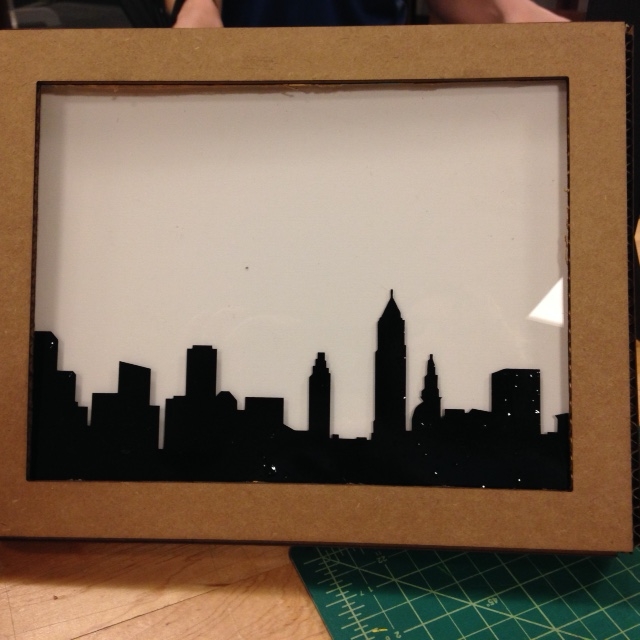
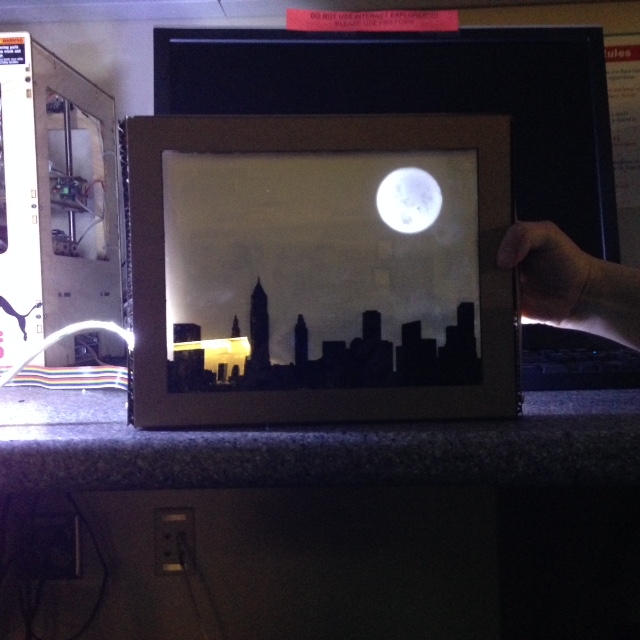
- I assembled my prototype to see how it looked.
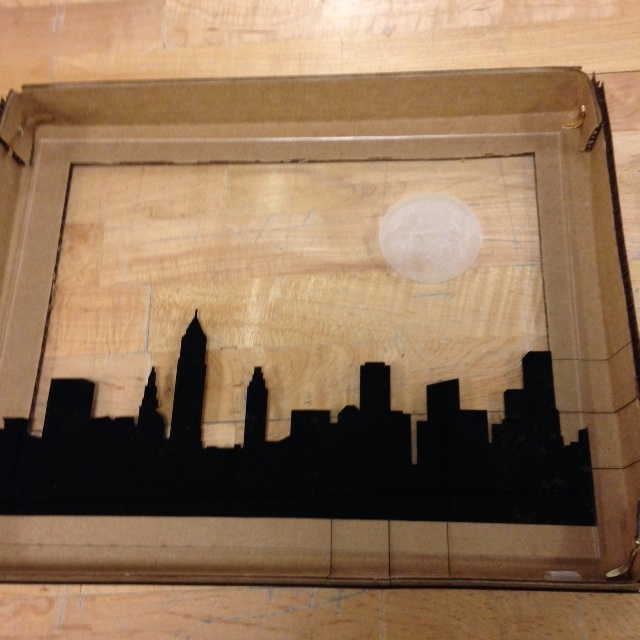
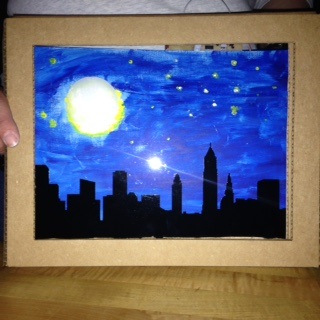
- I created the art work for the frame. Initially I experimented with poking holes into the canvas to see how the size of the hole affected the output of light. Next time, I plan on using the laser cutter to create the holes to match up to the board.
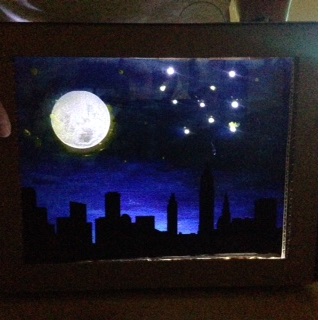
- I assembled the picture with the artwork inside the frame.
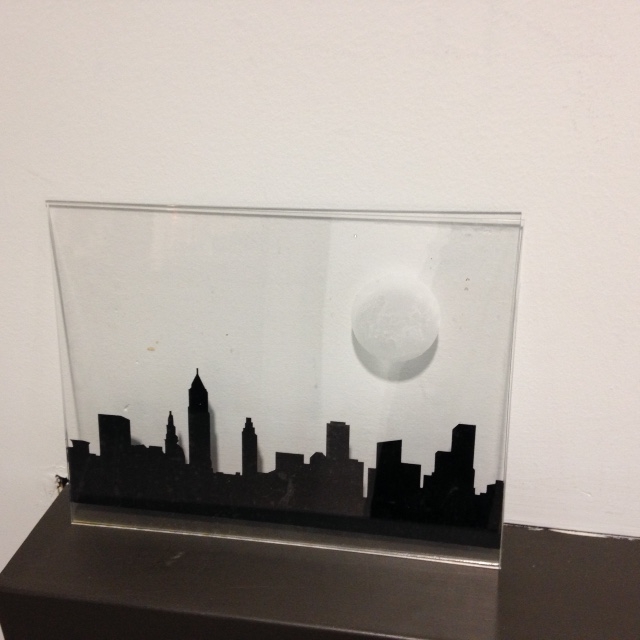
- The twinkling stars can be seen whether or not the room is dark, but the glowing moon can only be seen in a dimly lit room.
- I am very happy with my project. It suits my needs and I have learned so many things since January.
- The biggest success for me is that I was able to finish this program. This is the hardest class I have ever taken. I can came in not even knowing what a Fab Lab was with no computer experience, no electronic experience and knowing next to nothing about writing code. I have truly grown!
- white/yellow LEDs--10
- ATTiny 44--1
- capacitor--1
- 499 resistor--4
- 1k resistor--1
- 10k resistor--2
- 2 pin connectors--2
- 4 pin connector--1
- 6 pin connector--1
- cardboard for frame
- fasteners for frame (brad or brass)
- acrylic for picture frame
- black vinyl for Cleveland skyline
- a strip of outdoor LEDs (my strip has 15 LEDs)
- battery holders with wire connectors that can be soldered-2
- push button-1
- 9v battery-2
- FTDI and ISP for programming
- Corel Draw Frame File - frame.cdr
- Design File for Frame - frame1.dwg
- Design File for light board - charlieboard.brd
- Code for twinkling lights - blinkcode.c
- Moon Image for etching - moonetching.cdr
- Corel Draw Cleveland Skyline- skylinegraphic.cdr
Materials List for Final Project
Project Files:
Back to index