Rachel Legerski - Fab Academy 2015
Casting and Molding
Week 9 Assignment
The assignment for this week is to design a 3D mold, machine it and cast parts from it and post it on the class page.
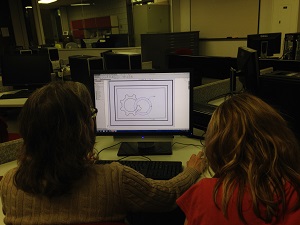
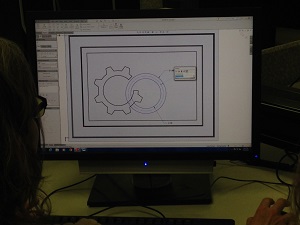
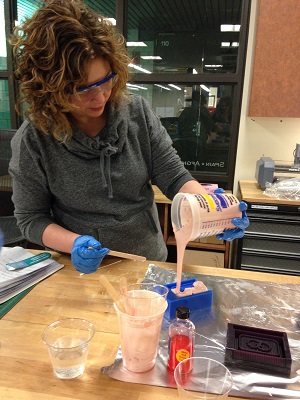
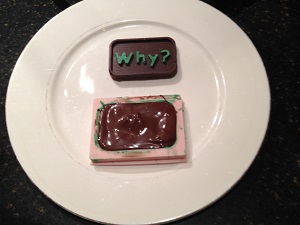
Back to Solid Works 2012. Thank goodness that LCCC has Karen! Karen is the instructor who helps us with Solid Works. Here is a picture of Karen and my partner in crime, Gail, working on Gail's gear design. My design was much easier. I chose the word Why? to use for my mold. Background: Gail and I will be teaching at a new STEM school in August. The gears that Gail created figure prominently in our school logo. I chose the word Why? because that is what we are always asking ourselves and our students. Trying to dig at a deeper meaning and/or understanding of what we currently are studying. Gail and I want to make compatible molds so that we can create mini chocolate bars for our school functions. Thank you to Tim B. for the suggestion!
So my goal for this week is to make a 3D mold out of machinable wax. I will create the mold out of food safe silicon and make mini candy bars from the silicon mold.
Struggles
- Solid Works is becoming more familiar to me, but I do not have access to this program unless I am in Lorain (an hour from my house). I definitely need more practice using this program.
- I like how my design came out. Next time I will choose a different font and make my mold a little deeper because who wouldn't want a bigger chocolate bar?
- It was more difficult than I imagined to use multiple colors of chocolate to get the different effects I wanted. Deeper grooves or a pastry bag with a finer nozzle might solve this problem
Persistence and Success
I felt success this week. My choice of simple text made for a relatively easy design process. Gail had more challenges creating her gear due to needing to add the teeth.
Design:
- As confusing as this sounds, I have to make a positive to make a negative to make a positive. Here we go!.
- A digital 3D model of a mini candy bar was created in Corel Draw.The model was turned into a single object and exported as a DWG file.
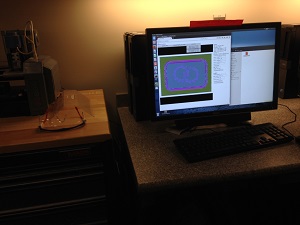
- I exported my design to Solid Works.We created an STL file. I found that it is important when creating the mold to allow for a slight angle (called a draft angle) so that unmolding is possible without damaging my form.
- Gail and I were working together and in the interest of saving time, Gail milled her mold on the Modela using purple wax. I milled mine on the Shopbot using blue wax. My feeds and speeds are as follows:
Tool = 0.5" straight 2-flute flat endmill (not center cutting)
Pass depth = 0.1
Step over = 0.2 (40%)
Spindle speed = 8,000 RPM
Feedrate = 50 IPM
Plunge = 18 IPM
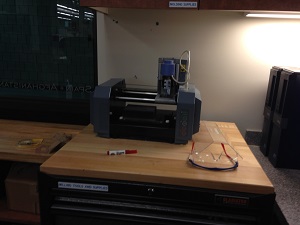
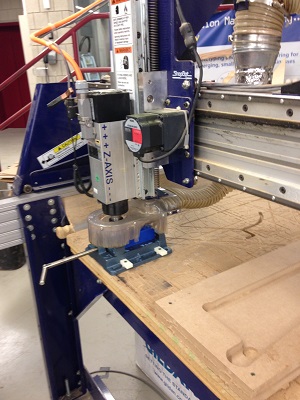
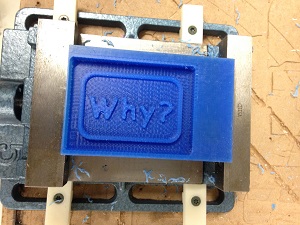
- Here is my finished 3D mold (a positive).
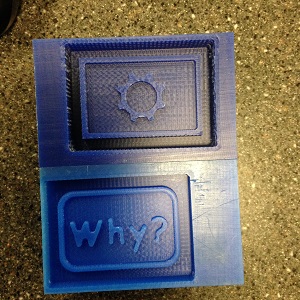
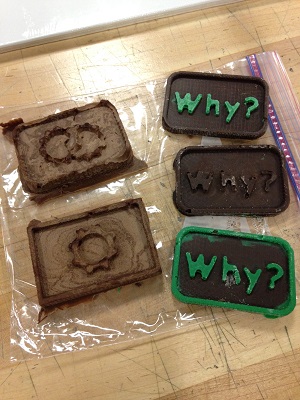
- Here are both molds.
- Next step is to create the negative. We used food safe silico.n
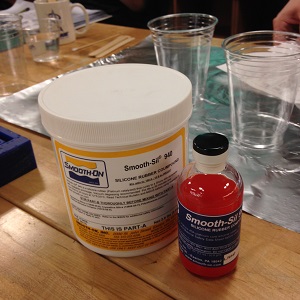
- We mixed the silicon and used a degasser to help remove the air bubbles.
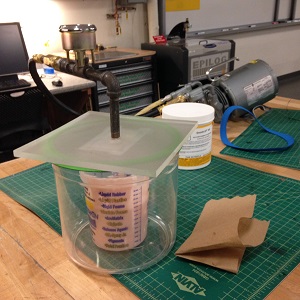
- Pouring was a little bit of a challenge. I had to try to pour slowly to avoid creating air pockets but the material was so thick that it was harder to control than I expected.
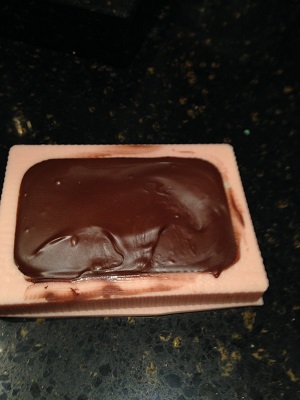
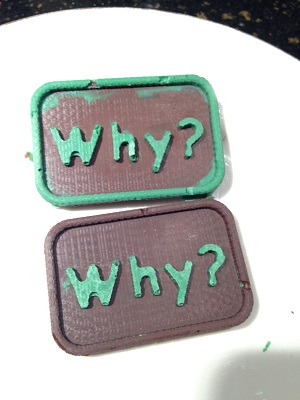
We set our molds to rest and solidify.When we returned to the lab, we were able to unmold. We each took our molds home to create our chocolates. I used dark, mint chocolate and green chocolate wafers and tried several combinations. Using the mold to create my chocolate bars was easy. They popped right out!
Definitely my most successful week of my Fab Academy experience!
Project Files:
Back to index