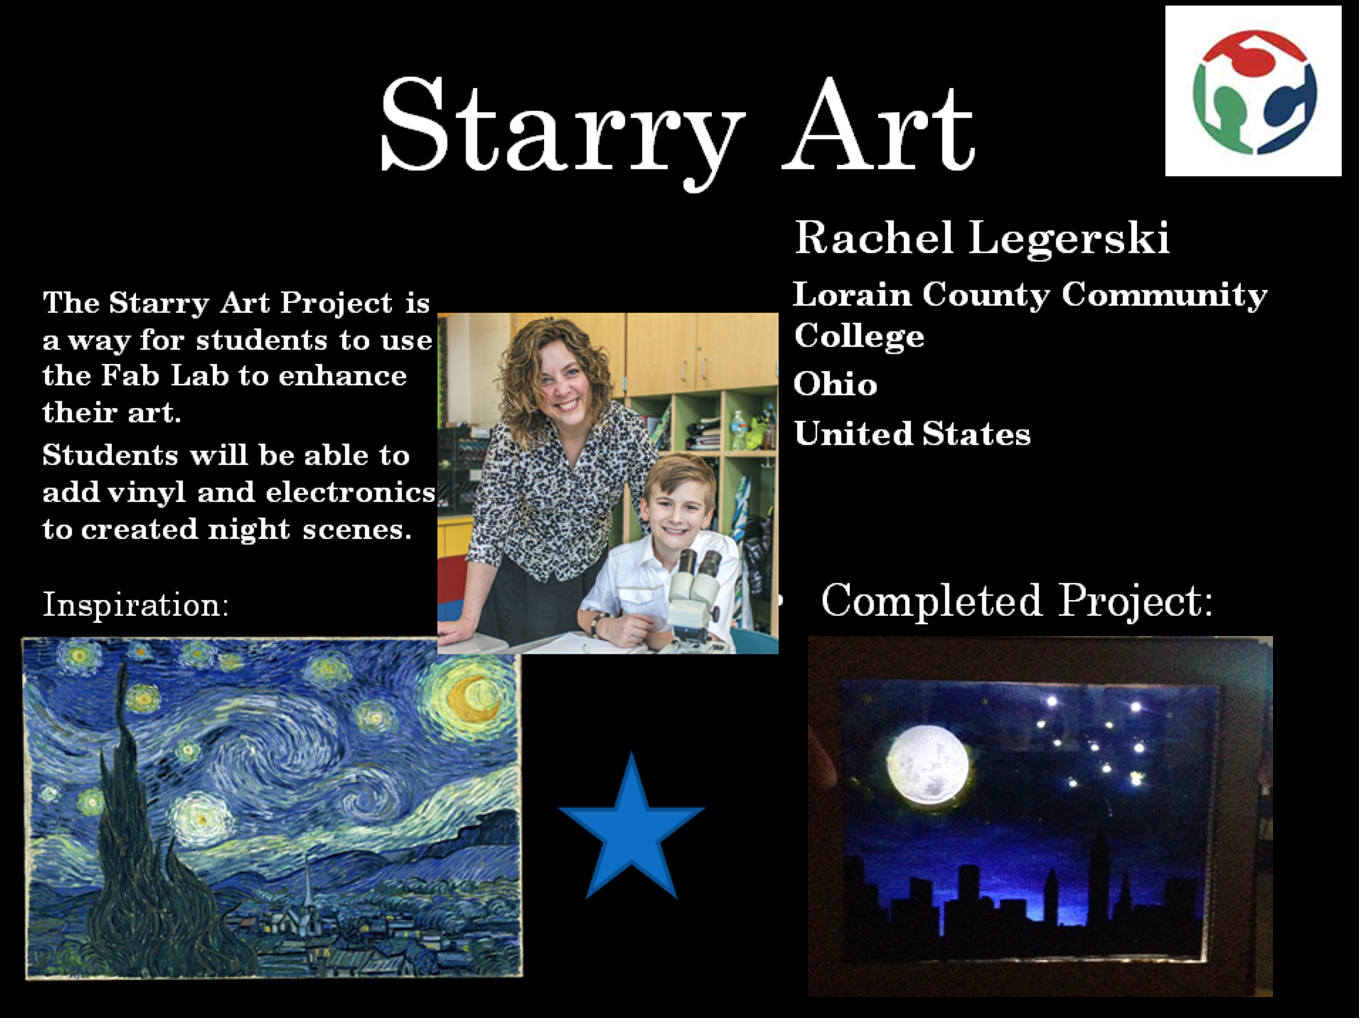
- I decided to create a final project that reflects my new position blending art and design that would be applicable to working with 9-11 year olds. Begin by creating an art piece that incorporates electronics.
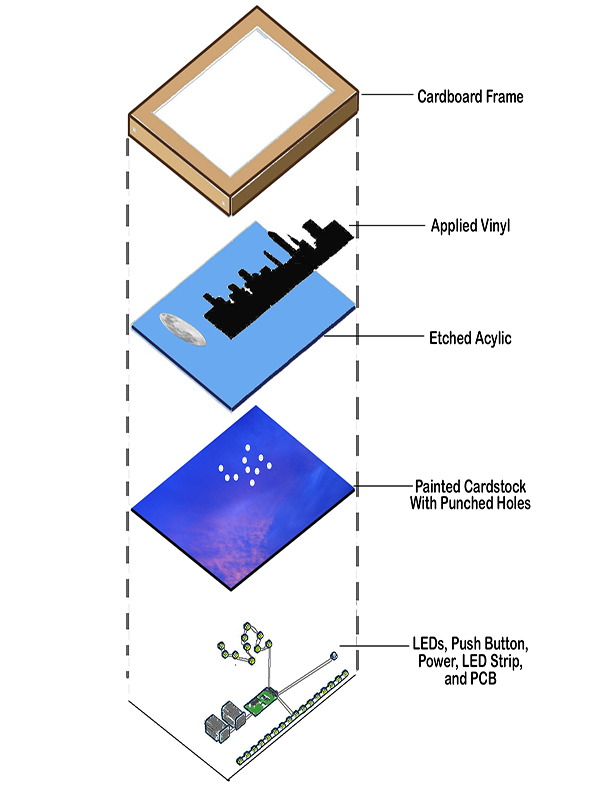
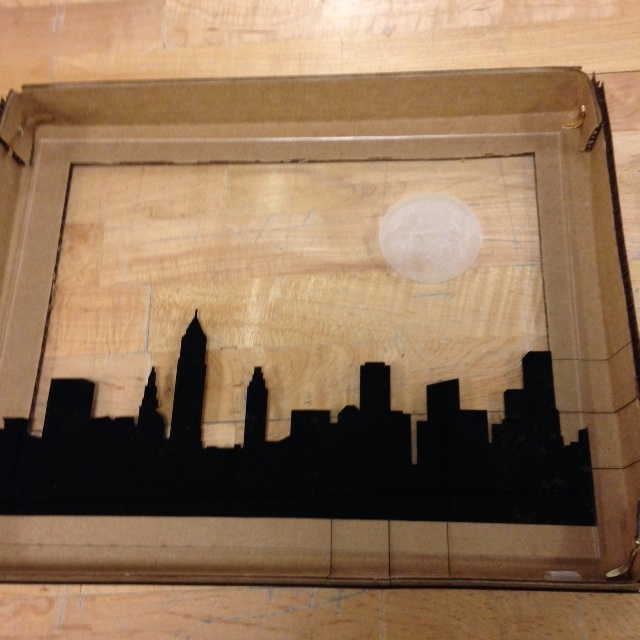
- I created the skyline graphic by importing a jpg to Corel Draw. I made it into a cdr file and cut it out of black vinyl using the vinyl cutter.
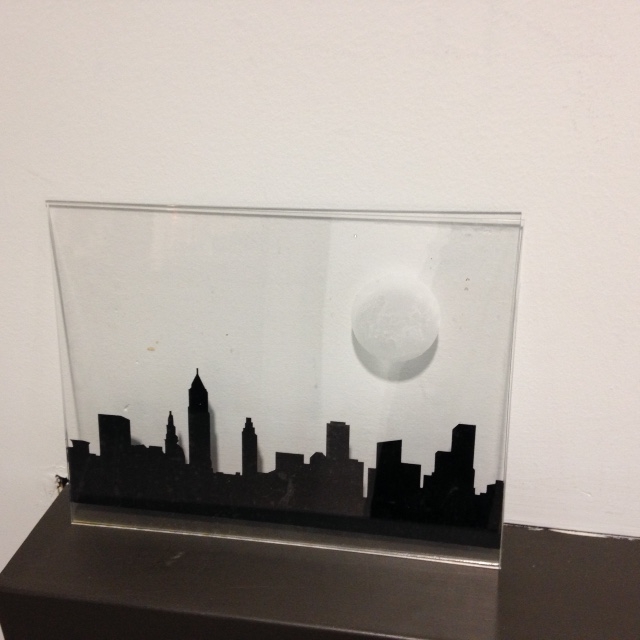
- I used a piece of clear acrylic for the frame. I laser cut the acrylic to the size I needed.
- I imported a graphic of the moon that I wanted to etch onto the acrylic. I made this graphic into a cdr file and used the laser cutter to etch the moon onto the acrylic.
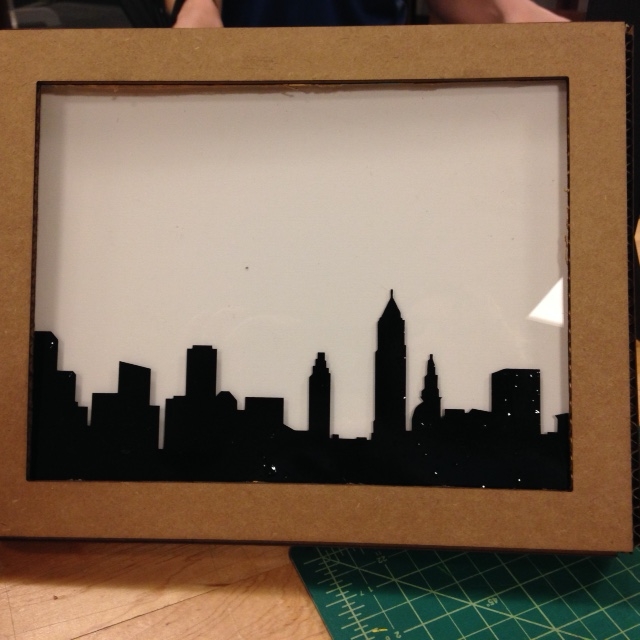
- Using Corel Draw, I designed a frame that would fold over on the sides. I was mindful of making it large enough for the circuit board (charlieplexing lights)
- I cut the frame out using the laser cutter. I used brad fasteners to hold the folded over sides in place.
- I did not have to create a new circuit board because I used my charlieplexing board from the output week.
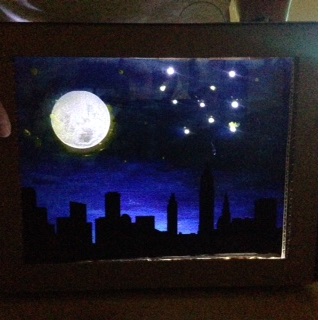
- I added a pushbutton to the circuit board and reprogrammed the board to twinkle for a short period of time when the button was pushed.
- I took the art work that I had created earlier and lined it up against the twinkling lights and used a sharp pencil to poke holes in it (not very technical but effective!) so that the lights would shine through.
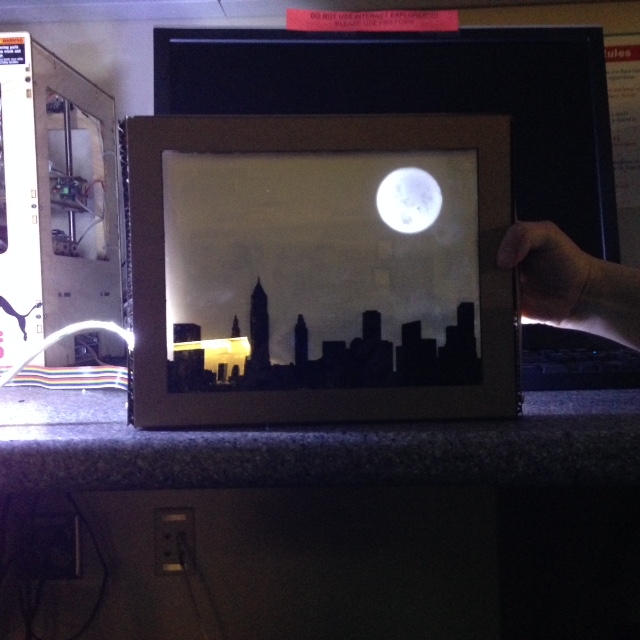
- I assembled my project by laying the acrylic into the frame, placing the artwork on top of the acrylic and securing the circuit board in place so that the lights would twinkle. I placed the pushbutton to the side but put enough of the wiring there so that I could hang the picture and put the pushbutton low enough for young students to reach.
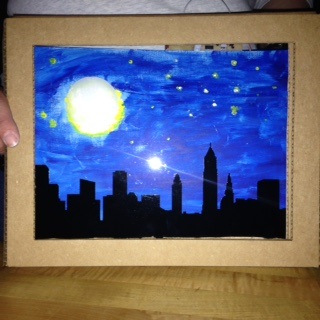
- My project is very simple and suits my needs as it relates to my new teaching position. I wanted to find a way to incorporate design and technology to extend a traditional art lesson. For this particular lesson, I started with Van Gogh's Starry Night painting. After studying the technique, I would have the students create a picture using the technique and incorporating electronics into the background. I would challenge them to add a vinyl cut image to the foreground and assemble their artwork into a frame to display their final work.
- The cardboard frame worked well for my purposes. I know that students will be able to create easily using cardboard. I am happy with the twinkling lights . I would spread them out more by using the vinyl cutter to create a circuit using the copper vinyl. It would create a less bulky final project. Going forward, I will try to have the lights twinkle using a light sensor instead of a push button.
- I feel lucky because everything that I created worked well for this project. As I said, I would modify the light board to make it less bulky. I am also investigating cardboard fasteners to use in my classroom instead of the brad fasteners.
- The importance of documenting as you go! When I first started this program, I didn't even know what that meant. This was all new to me. It took me 9 weeks to learn to write rudimentary code and web pages. I did not use a template and that challenge alone put me behind each and every week!
- This project has taught me to embrace the design process. Do not be afraid of failure. Failure can and does lead to better ideas and products.
- Creating a final project (and completing the requirements of this program) takes a lot of stamina!
- white/yellow LEDs--10
- ATTiny 44--1
- capacitor 1uF--1
- 499 resistor--4
- 1k resistor--1
- 10k resistor--2
- 2 pin connectors--2
- 4 pin connector--1
- 6 pin connector--1
- cardboard for frame
- fasteners for frame (brad or brass)
- acrylic for picture frame
- black vinyl for Cleveland skyline
- a strip of outdoor LEDs (my strip has 15 LEDs)
- battery holders with wire connectors that can be soldered--2
- push button--1
- 9v battery--2
- FTDI and ISP for programming
- Diagram of physical project layout / layer assembly - frame2.dwg
- Corel Draw Frame File - frame.cdr
- Design File for Frame - frame1.dwg
- Design File for light board - charlieboard.brd
- Design File for light board schematic - hellocharliefriday.sch
- Code for twinkling lights - Code for Twinkling Lights
- Moon Image for etching - moonetching.cdr
- Corel Draw Cleveland Skyline- skylinegraphic.cdr
What it does:
What has worked? What hasn't?
What have you learned?
This project is my own design. It does incorporate an input (push button) and an output (twinkling lights). I did fabricate, assemble and program the microcontroller (see output week documentation).
The design files are included at the bottom of this page (both 2D and 3D designs).
Materials List for Final Project
All materials (excluding artwork materials) are standard Fab Lab parts and were acquired from the Fab Lab library.
Project Files
License and Distribution
I don't anticipate needing to license or distribute my model BUT,if I did, I would use the MIT permission model:
# Neil Gershenfeld
# 11/11/10
#
# (c) Massachusetts Institute of Technology 2010
# Permission granted for experimental and personal use;
# license for commercial sale available from MIT.
(c) Rachel L. Legerski 2015 Permission granted for experimental and personal use. License for commercial sale available from Rachel L. Legerski
Back to index