Persistence and Success
- Working step by step, I am able to program my board. The light is on UNTIL I press the button. When I press the button, the light goes off. Hmmmm, that is exactly opposite of what I want it to do. Does that mean that I soldered one of my components backwards?
- I work with the hello echo. I follow the steps but my board won't echo back. Again, Hmmm....
- Being ridiculously thrilled to see the LED light up!
- The microcontroller datasheet is a user manual for your board. It spells out everything that you need to know.
- The most important thing that I learned is that you MUST know the pins. Each pin has a number and a specific purpose.
- The microcontroller sheet helps you make sense of the code.
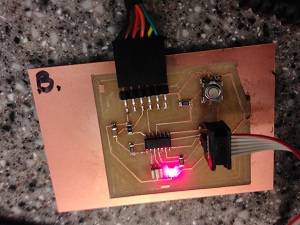
- Connect the ISP board to the Hello Board through their 2x3 headers. Making sure that you have the pins around the right way and the ground and VCC match up.
- Plug the mini usb onto the circuit board and plug into computer.
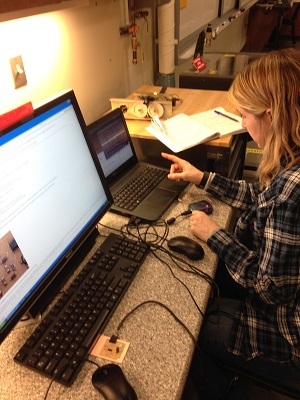
- Use the FTDI cable to provide power to the circuit board. My board is in the lower left of the picture. That's Gail in the background working on hers!
- After giving the final command (burn bootloader), the light came on! It stayed on until we pushed the button which turned it off! A little backwards but I'll take it after such a long days work.
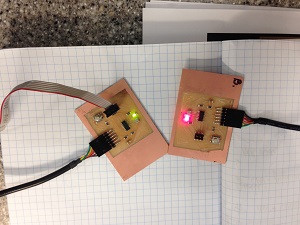
- After the initial success of the LED lighting, I was frustrated that my board wouldn't echo back to me. I will continue to work on that.
- blink2.c.make
- helloecho schematic
- helloecho board
- blink code file
- MAKE file
- blink assembler file
- commands for assembler
Microcontroller Datasheet
Design Steps To Follow:
The Programming Process
To program in C I have to downloaded the hello.ftdi.44.echo.c and
hello.ftdi.44.echo.c.make files.
First, the software for AVR Programing must be found on the device you are using. I needed:
- Avrdude for programming
- GCC to compile the new C code.
To get the program I need to use the following commands:
- sudo apt-get install flex byacc bison gcc libusb-dev avrdude
- sudo apt-get install avr-libc
- sudo apt-get install libc6-dev
Connecting the Hello Echo and Programmer
The ATtiny fuses need to be set to run at 20mhz. This is done using sudo make -f hello.ftdi.44.echonew.c.make program-usbtiny-fuses
Finally, the board is programmed in the open terminal by sudo make -f hello.ftdi.44.echonew.c.make program-usbtiny.
Project Files: