05. 3D Scanning and Printing
Project
My objective for this exercise is to make a piece of a bike frame with the lost wax process.
Design a bike frame is not easy at all, in particular to do it with the proper angles. I did a little bit of practice for the project Rootless. In the tutorial section there are some extra info on how to make it.
An alternative to design it form scratch is to "copy" an existing one.
In the first part i'm gonna scan a bike frame to get a quick and rought result. After that I'm designing and printing a connection for that.
3D scanning
My objective for this exercise is to make a piece of a bike frame with the lost wax process.
To do that i need a 3D scan to use a reference, for diameters and angles. Probably there are easier ways with such a simple geometry, but I wanted to test the process to eventually apply it in other (more complex) situations.
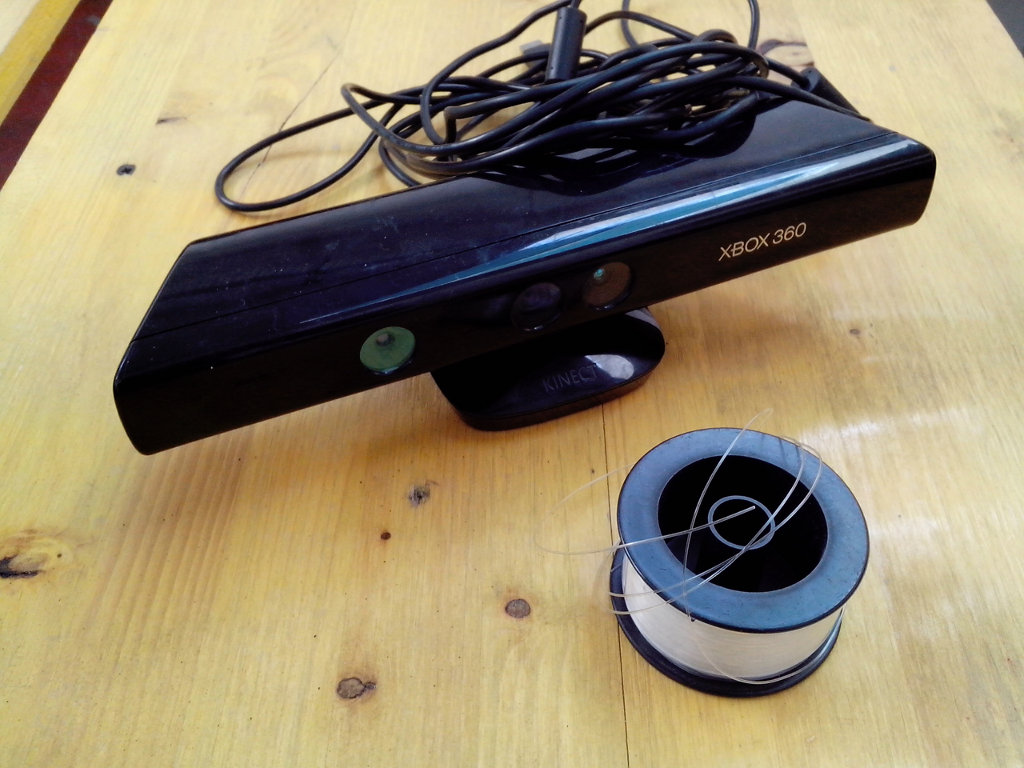
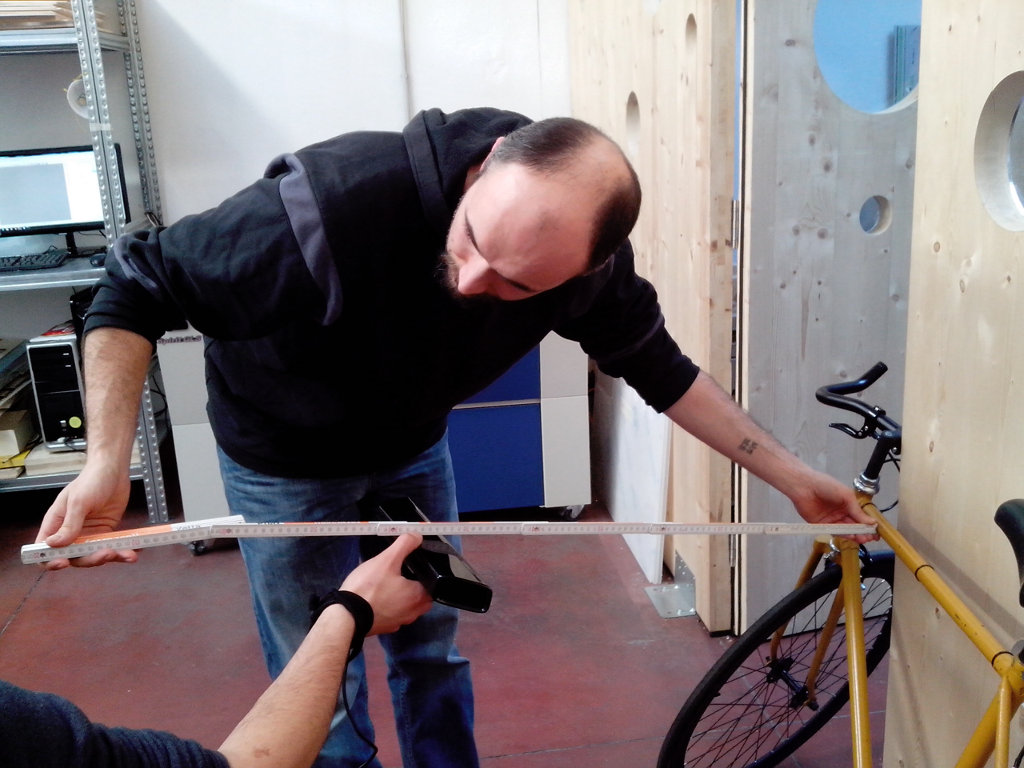
Together with Mattia Ciurnelli we used a Kinect to scan the bike. to keep a regular distance from the object we used a nylon thread.
Here the process:
first step we choose the reference point, the center of a virtual sphere around the object
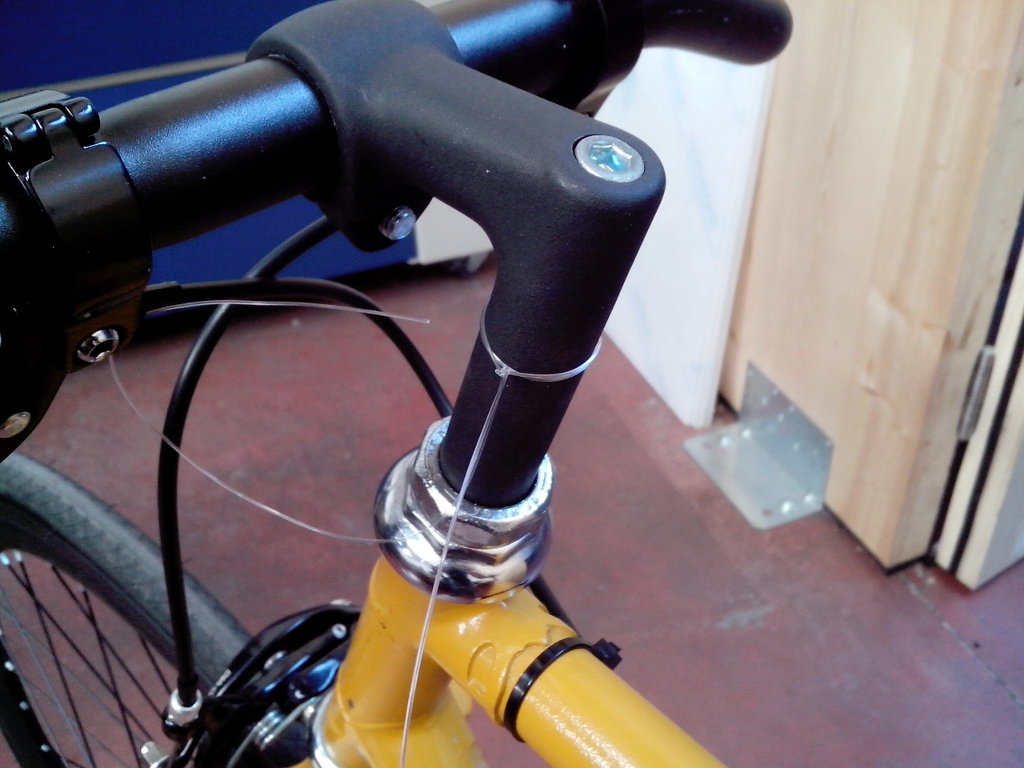
Then we mesured the distance form that point to the kinect to have a good result. The software helps you a lot showing in green the parts at the right distance
While the software is recording I moved the kinect around, staying focused minly on the front part, cause i didn't need a high detail back part too.
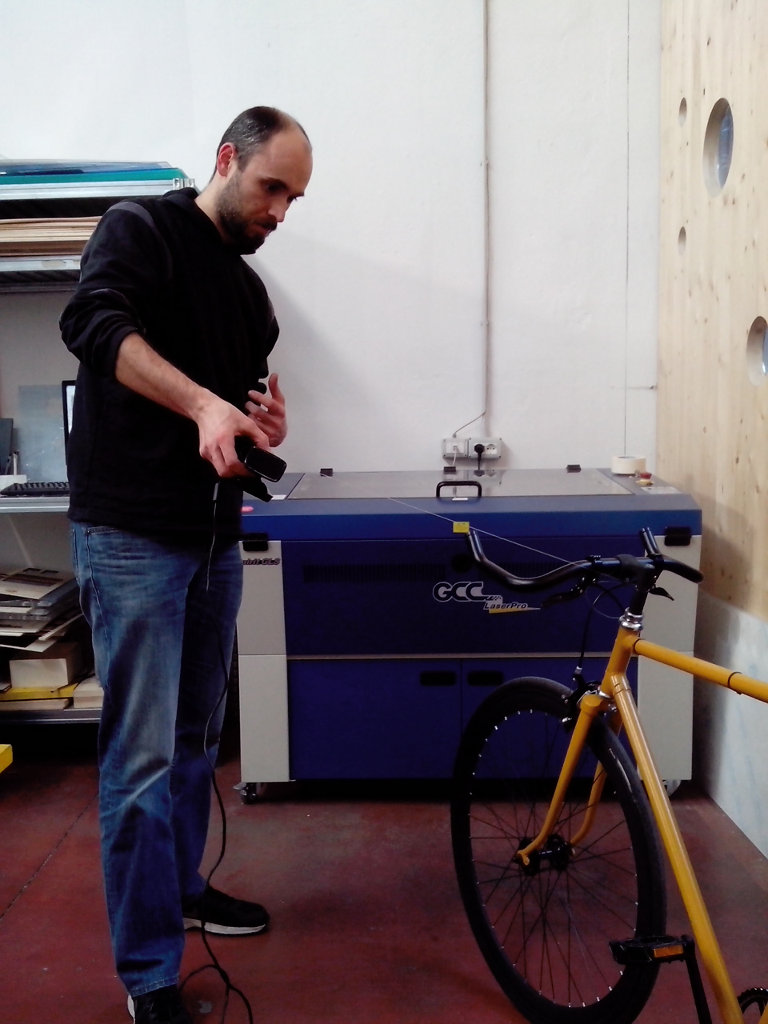
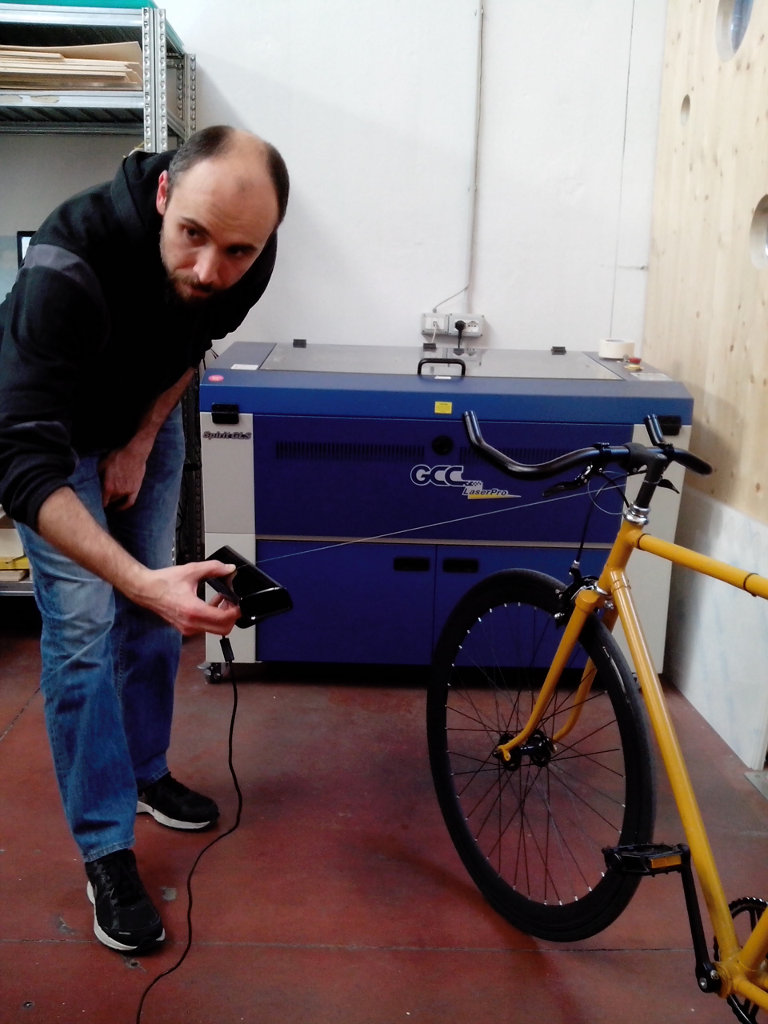
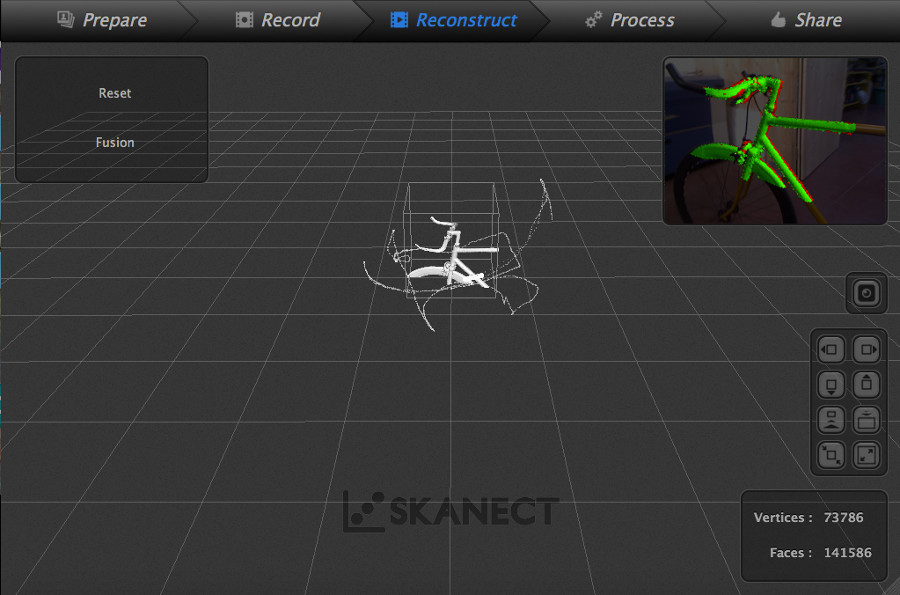
The software we used is Skanect. It's pretty simple and quick. We started evaluating the distance
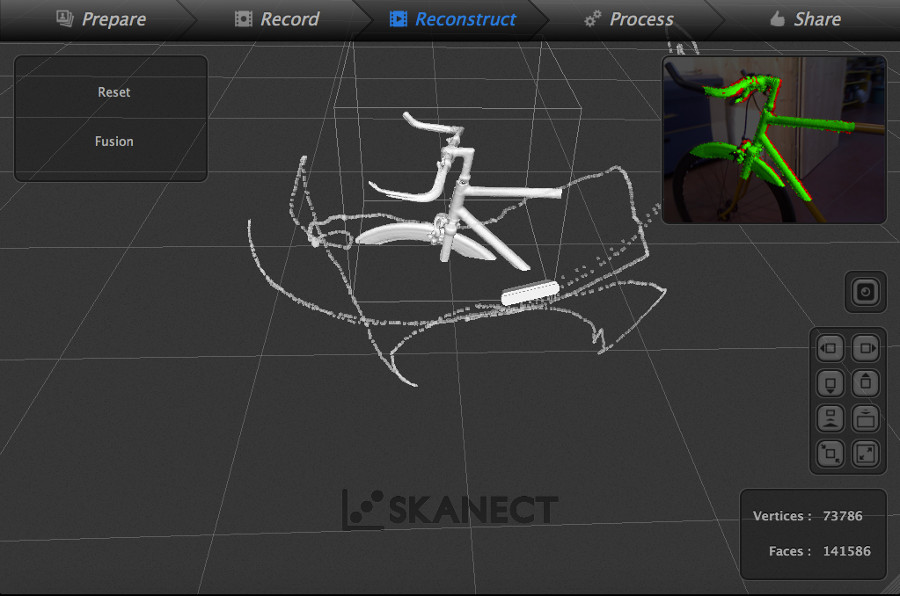
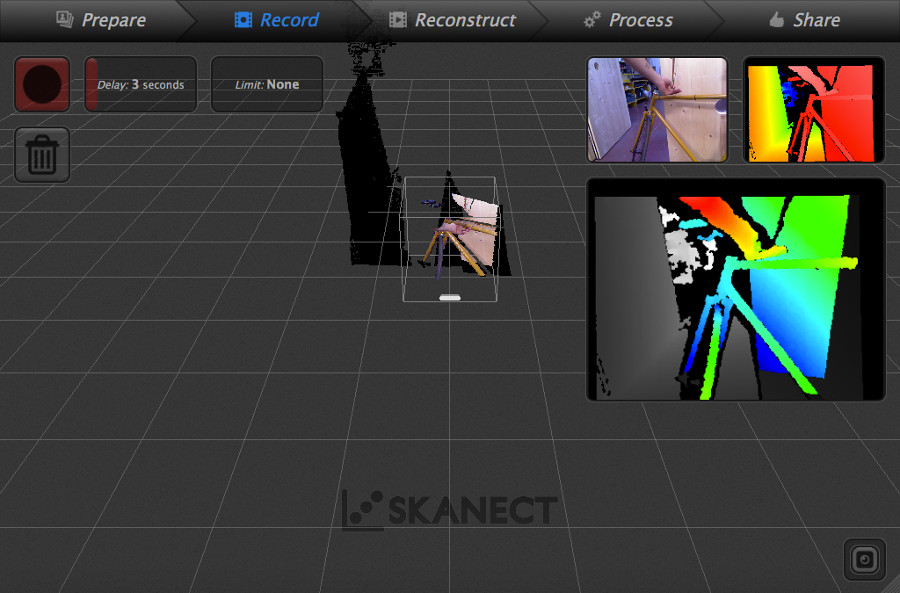 After it has recorded the scan, it's creating a 3D model and it's showing the path done with the kinect
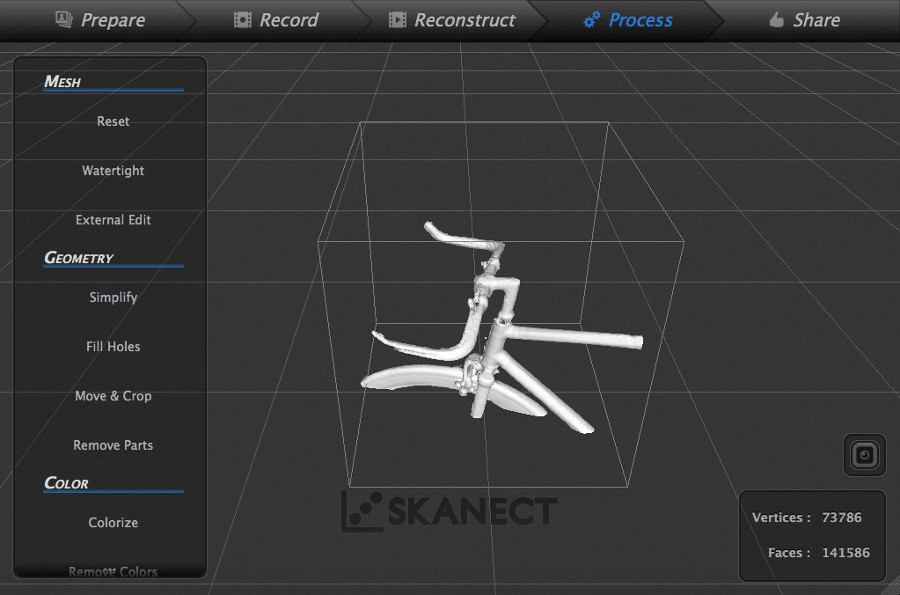
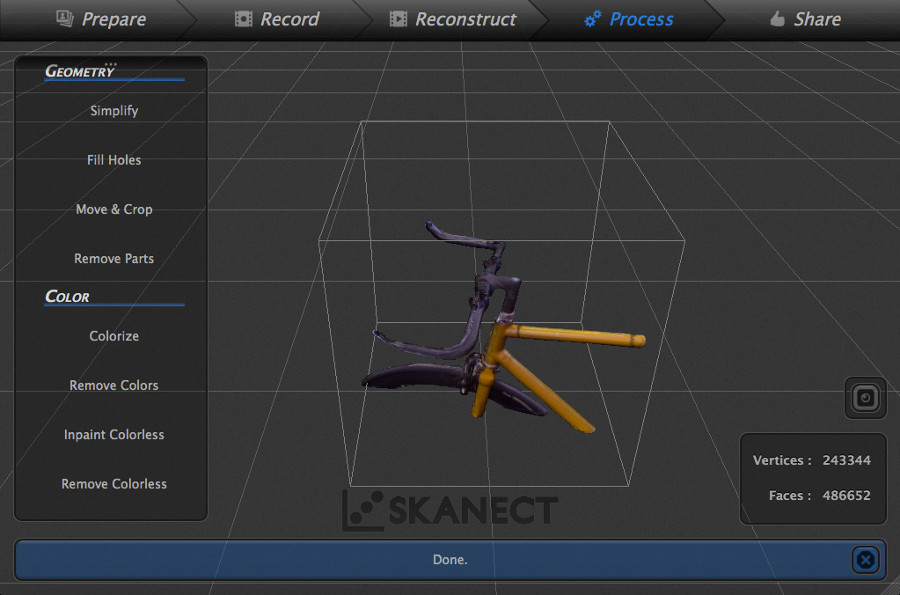
 In the end it's creating a 3D model that can be shown with or without texture.
3D modeling
Being just a reference, i imported the stl as is in rhino
 I used that Stl to extract a geometric approximation that will become the base of my design
 As you can notice, it's still noisy and it's not as precised as i hoped. Beside that, I went on with my project and i created this net that wires the joint. This should help the soldering and resist to torsion. The design is based on some topological optimization found online.

 It was to complex to do it in grasshopper+millipede, but that was the original idea. At the end I got a lot of pipes basically impossible to merge together.
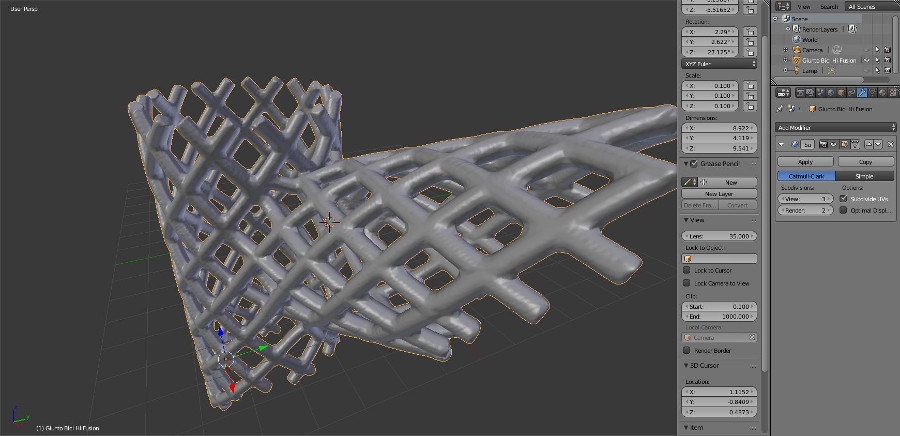
 Rhinoceros still has some troubles with the boolean union, and it's pretty common to be unable to merge complex geometry. To do so, I used "Solidify" in Meshmixer (123D app). It's a simple shortcut to merge together meshes into a single oblect perfectly closed. The last step was blender to smooth the connection between the pipes. This is how it looks at the beginning
 And here after a "subsurface" (modifier -> subsurface)
 The final Stl file is approximately 110Mb, so i have to upload a lighter vesion before being fused in a single piece (with meshmixer) and being smoothed (with blender)
3D printing
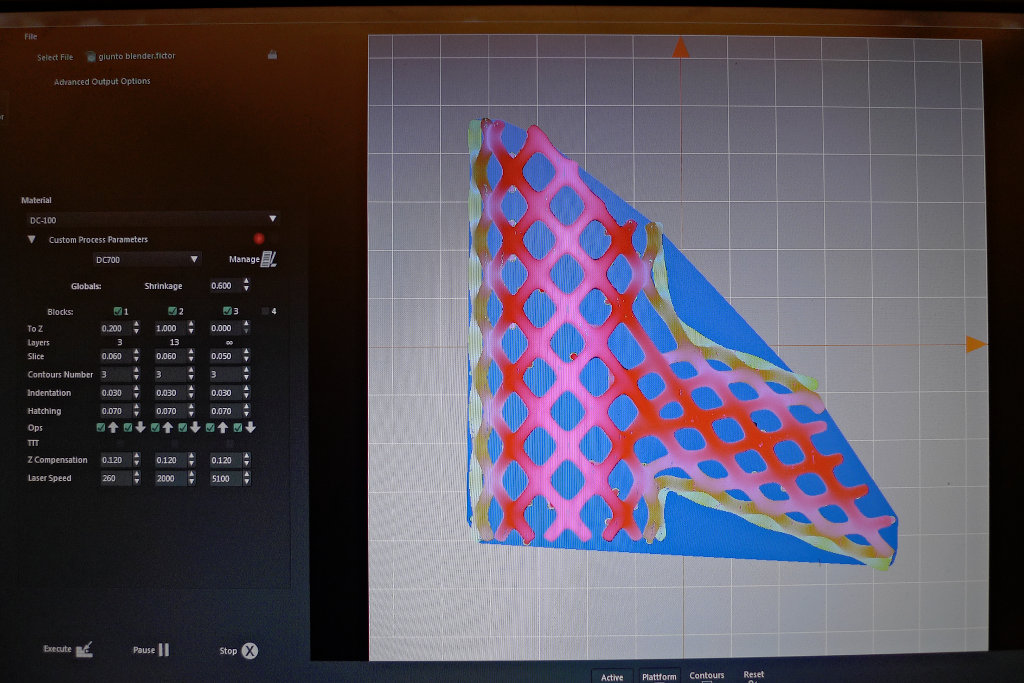
To print such a complex shape in a material suitable for the lost wax process I used the DWS 020X, a high resolution SLA 3D printer
 From the machine software it's easy to set support material, resolution and resin's characteristics. I used a "digital wax" designed for jewelery and dental purpose.
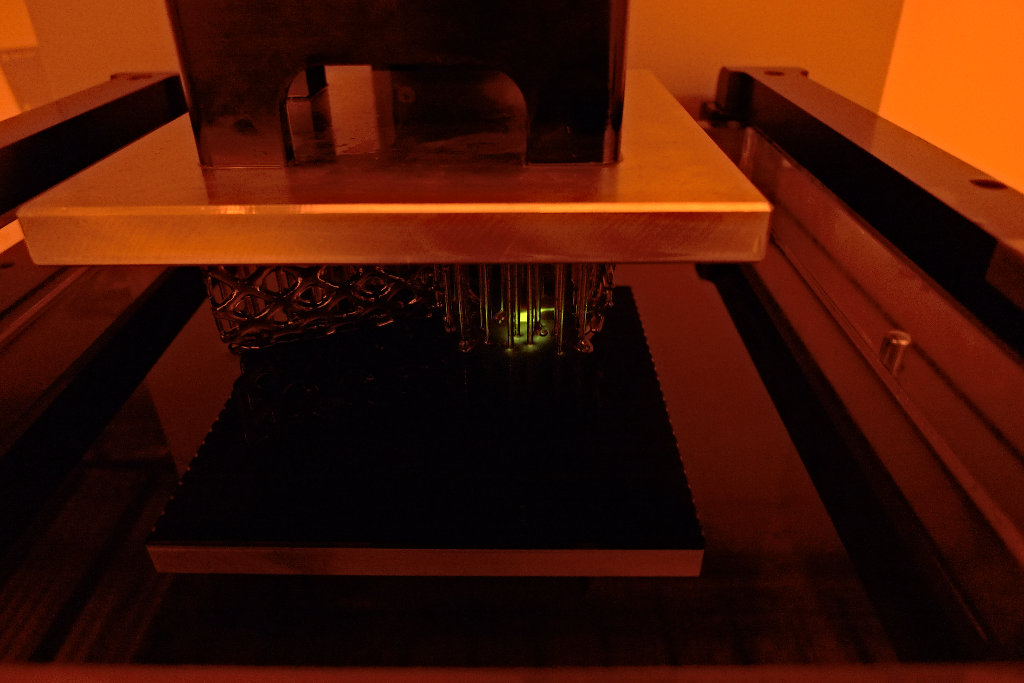
 While the machine is printing you can see the laser spot
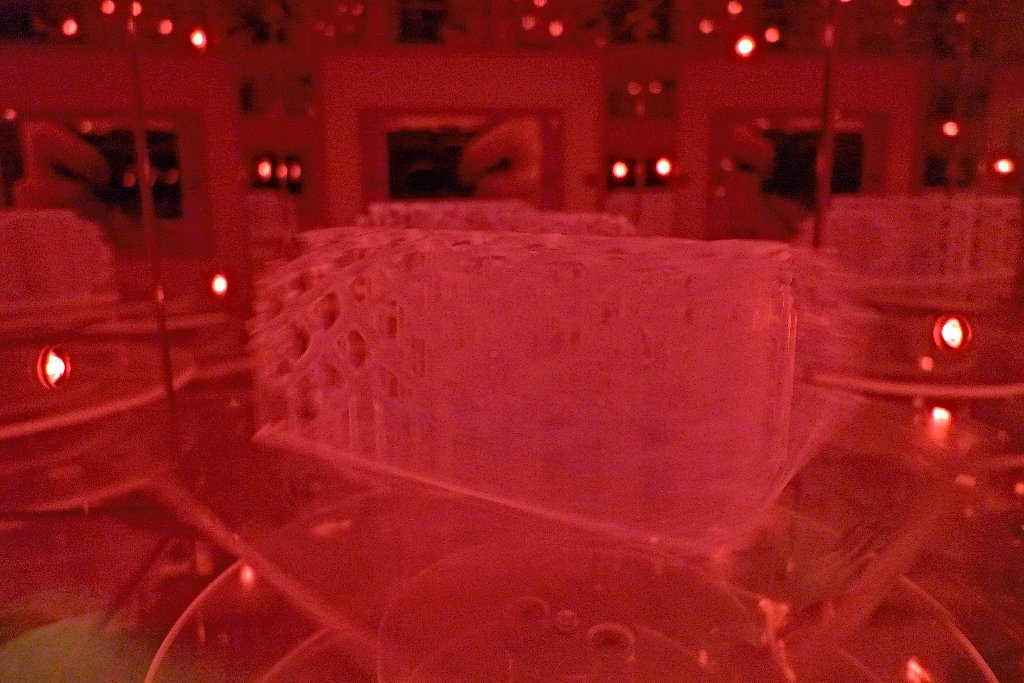
 After the piece is finished there is a period of curing in a UV oven
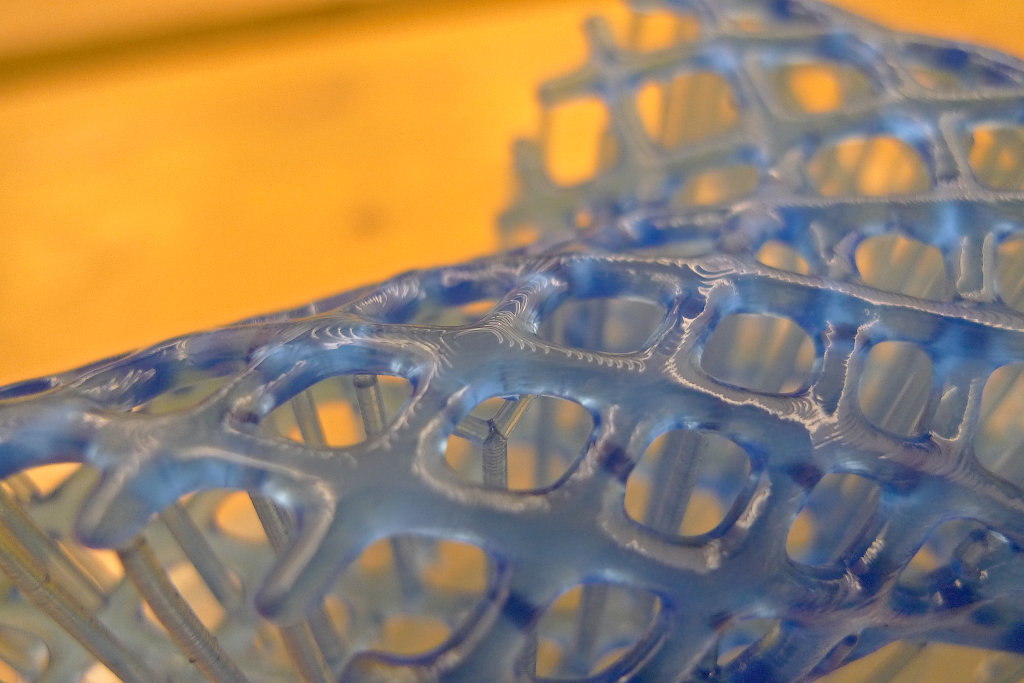
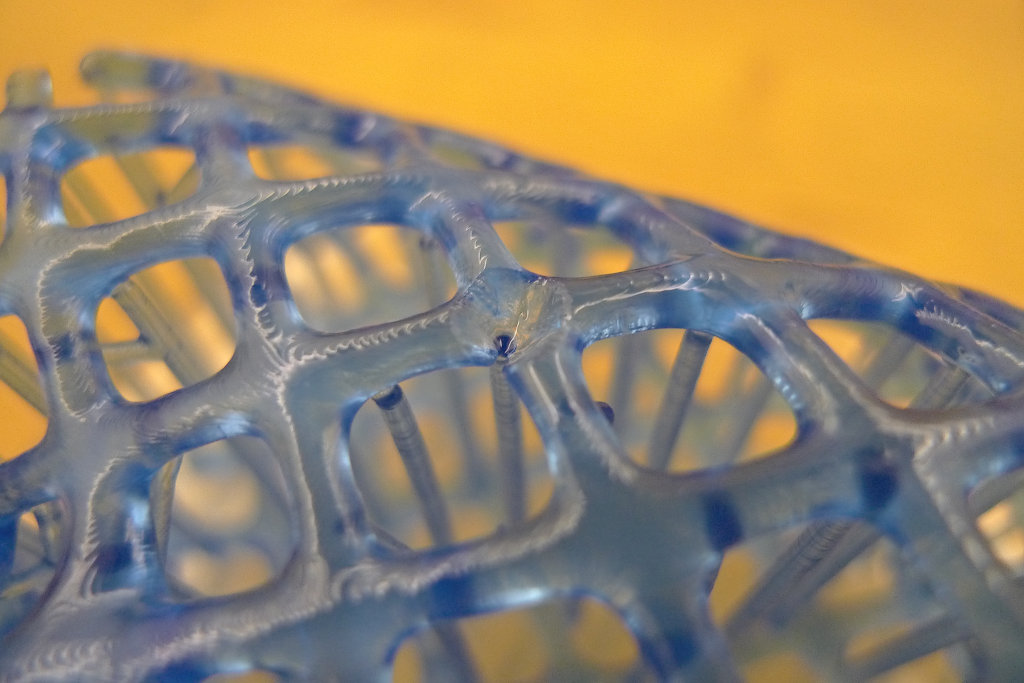
 Here the final object
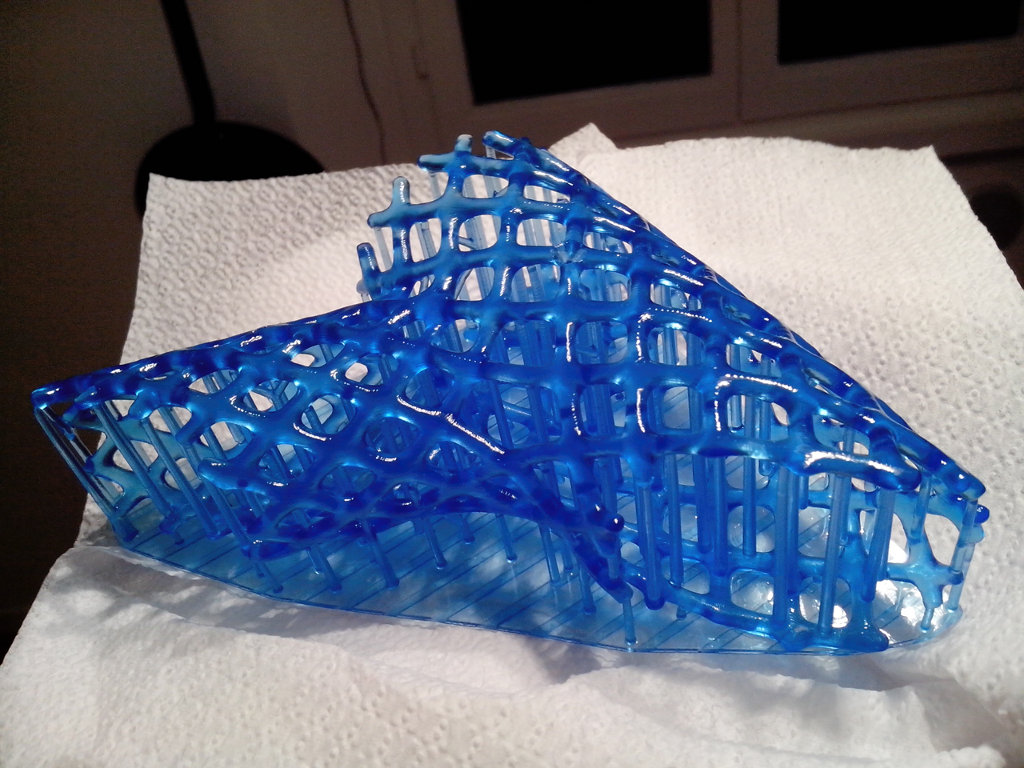 And here two details: in the first picture you can notice that when the surfaces are almost flat, even if the layers are very thin they become visible. The second shows how a small detachment of a fragment create a "shadow cone effect", the laser is polymerizing the resin attached to the fragment and not to the object.