|
 Tools:
Blender 2.69, netfabb basic 5.1.0 Tools:
Blender 2.69, netfabb basic 5.1.0
Notes:
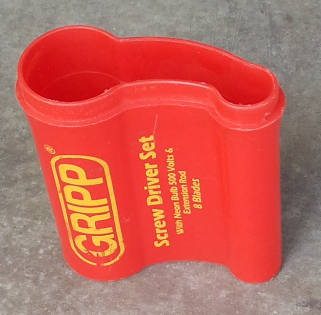
1) Realising
that the first attempt (while it was very interesting) did not
produce a printable model, I moved on to learning how to produce
a 3D model that can be printed. Also, I decided to go with a
simpler object – a Box.
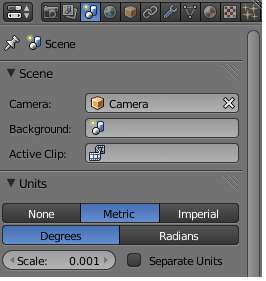
2) First taks was to start
talking in “Units”. The wine glass example above did not care
about any dimensions, which fine in case one wants to produce
images, animation etc – not the real objects. In Blender one
needs to turn on the Units explicitely.
In that setting the
scale to 0.001 turns the metric system into 'mm'.
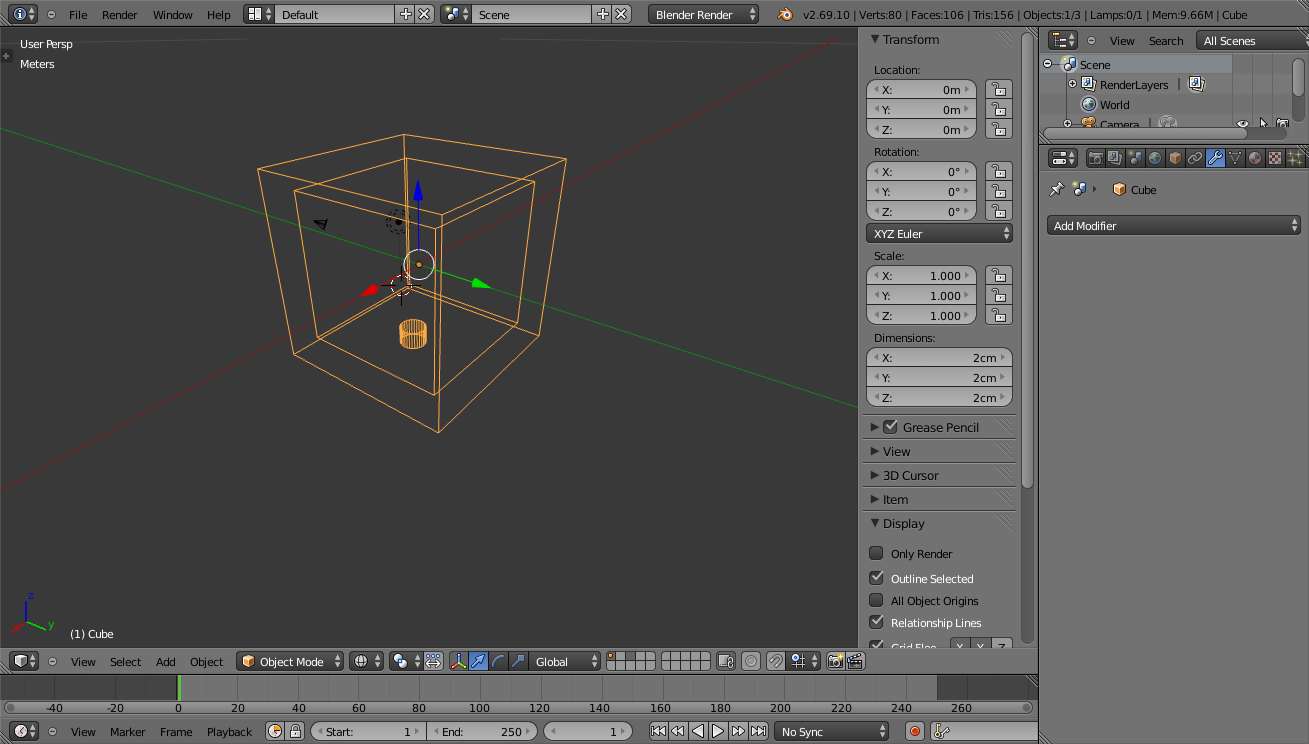
3) At
this point in time, I deleted the default cube and added another
object – again a cube. Resiized it to 2cm x 2cm x 2cm.
<more
write-up about blender and netFabb handling to be added here>
At
the end of process in blender and netFabb, as a result -
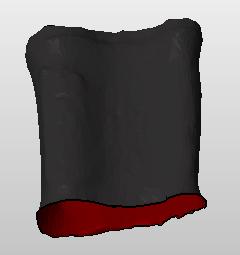
1)
The Hollow box is 2cm x 2cm x 2cm. The wall thickness is
approximately 2.0038mm.
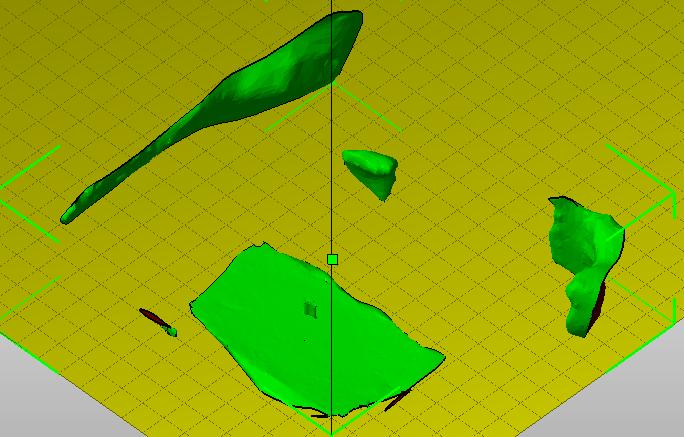
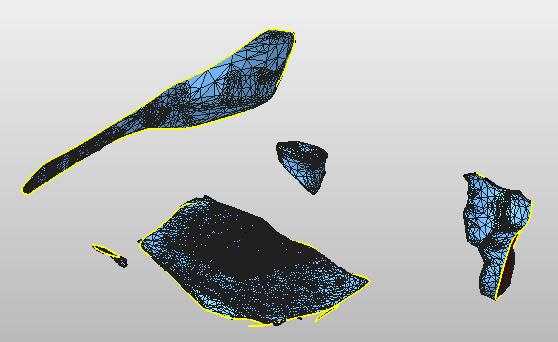
2) I checked for "select
non-manifold" in blender and also repaired using Netfabb
basic. Acc/to Blender and Netfabb Basic, the model is
water-tight. (In
general I am designing the model in Blender till "non-manifold"
check and then using netfabb to repair the stl. The same stl is
being treated as 3D printable.)
3)
An escape hole exists on the bottom side.
<write-up
remains to be added here>
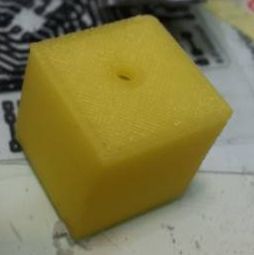
The
hollow box is
realised now!
- as a result of the design above, has been shown in this
diagram.
Let me first
thank Ted Hung of Taipei Fablab, Astrid and Alex of Asmsterdam
Fablab.
The suggestion by Alex and Astrid (that this box
be printed in Taipei Fablab) was immediately held up by Ted –
unconditionally. He printed this box for me at Taipei Fablab.
The
unavailability of 3D printer at my end, did not hamper this
process!
|

 weerwerwerwew
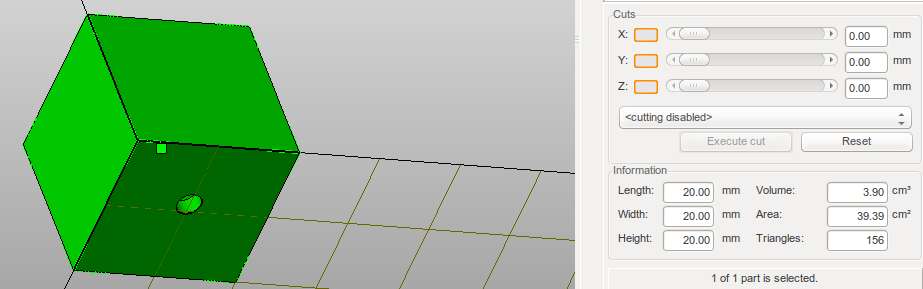
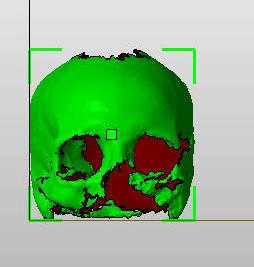

 Front
View
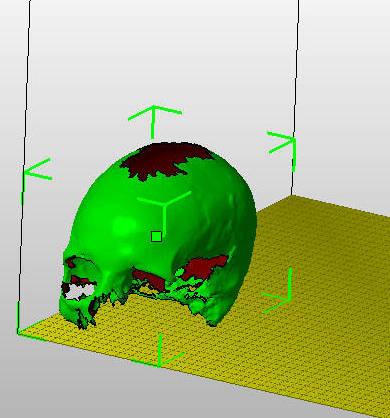
Front
View Perspective
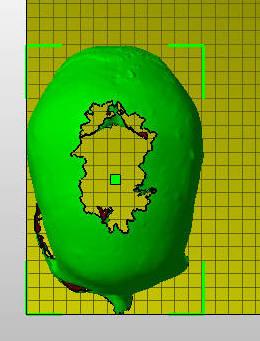
 Top
View
Top
View