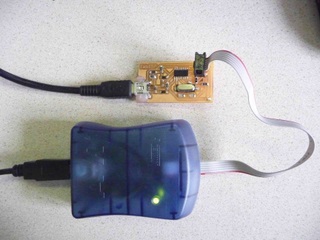
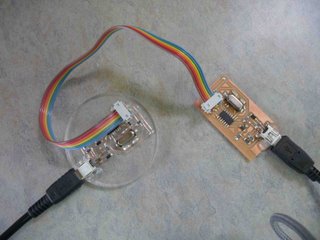
Using AVRISP mkii to program the target (FABISP) board
Eagle files:FabISP.sch, FabISP.brd, FabISP.lbr, FabLab.dru, Partslist
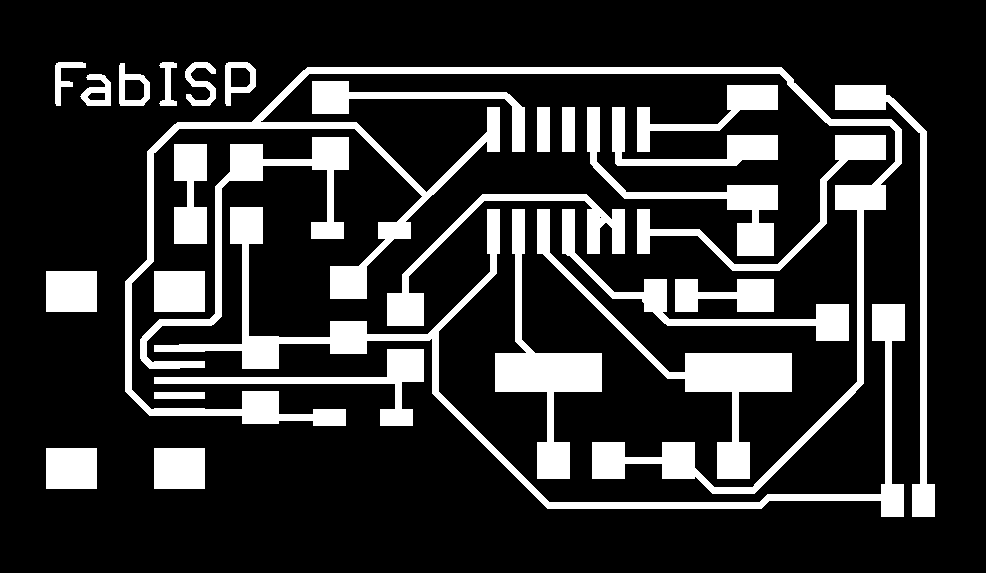
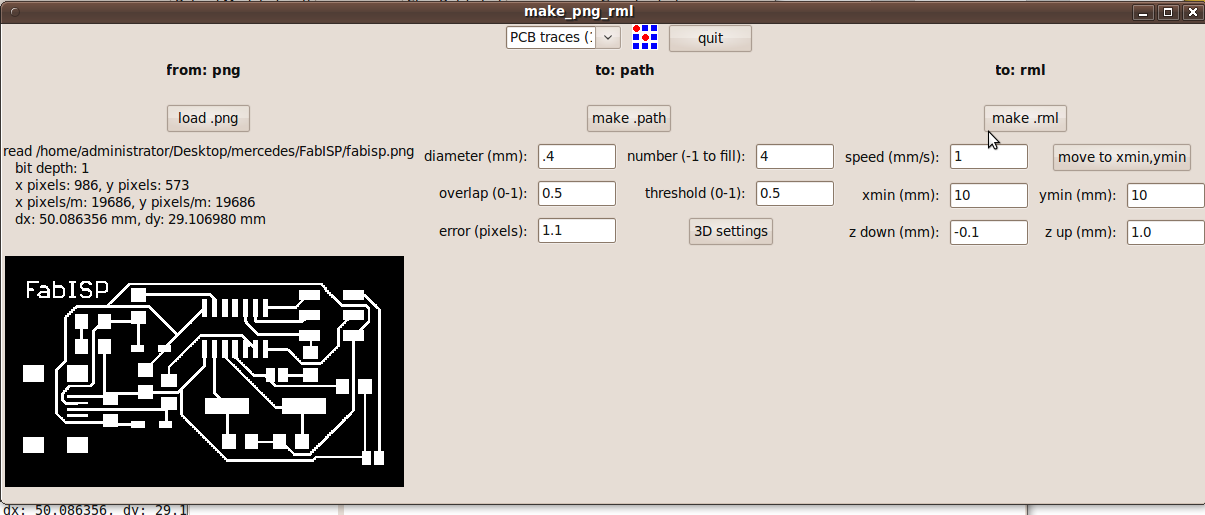
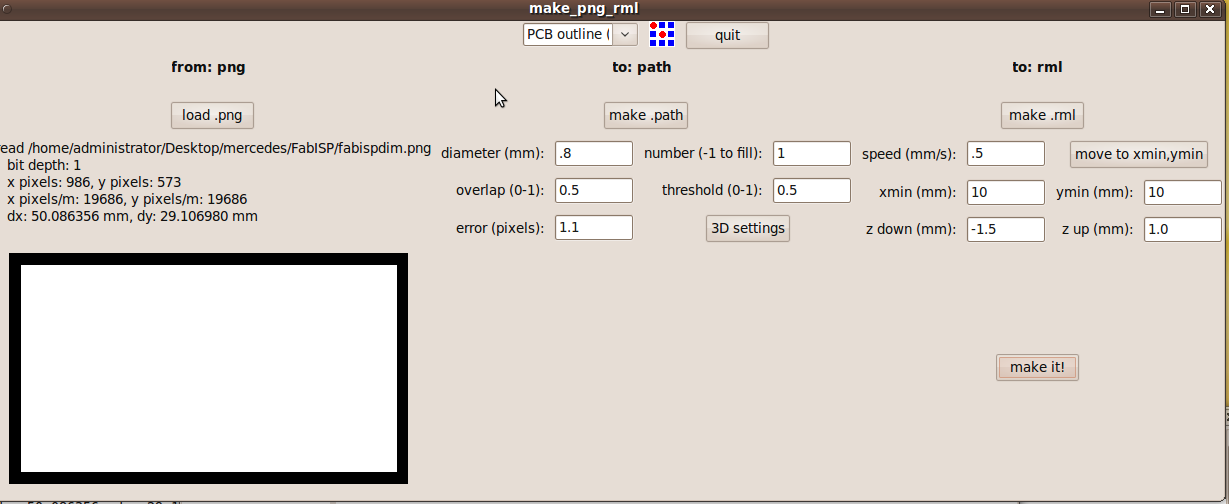
Modela: FabISP.png , FabISPdim.png
Software: Firmware.zip, FabModules
Design the FabISP using Eagle software:
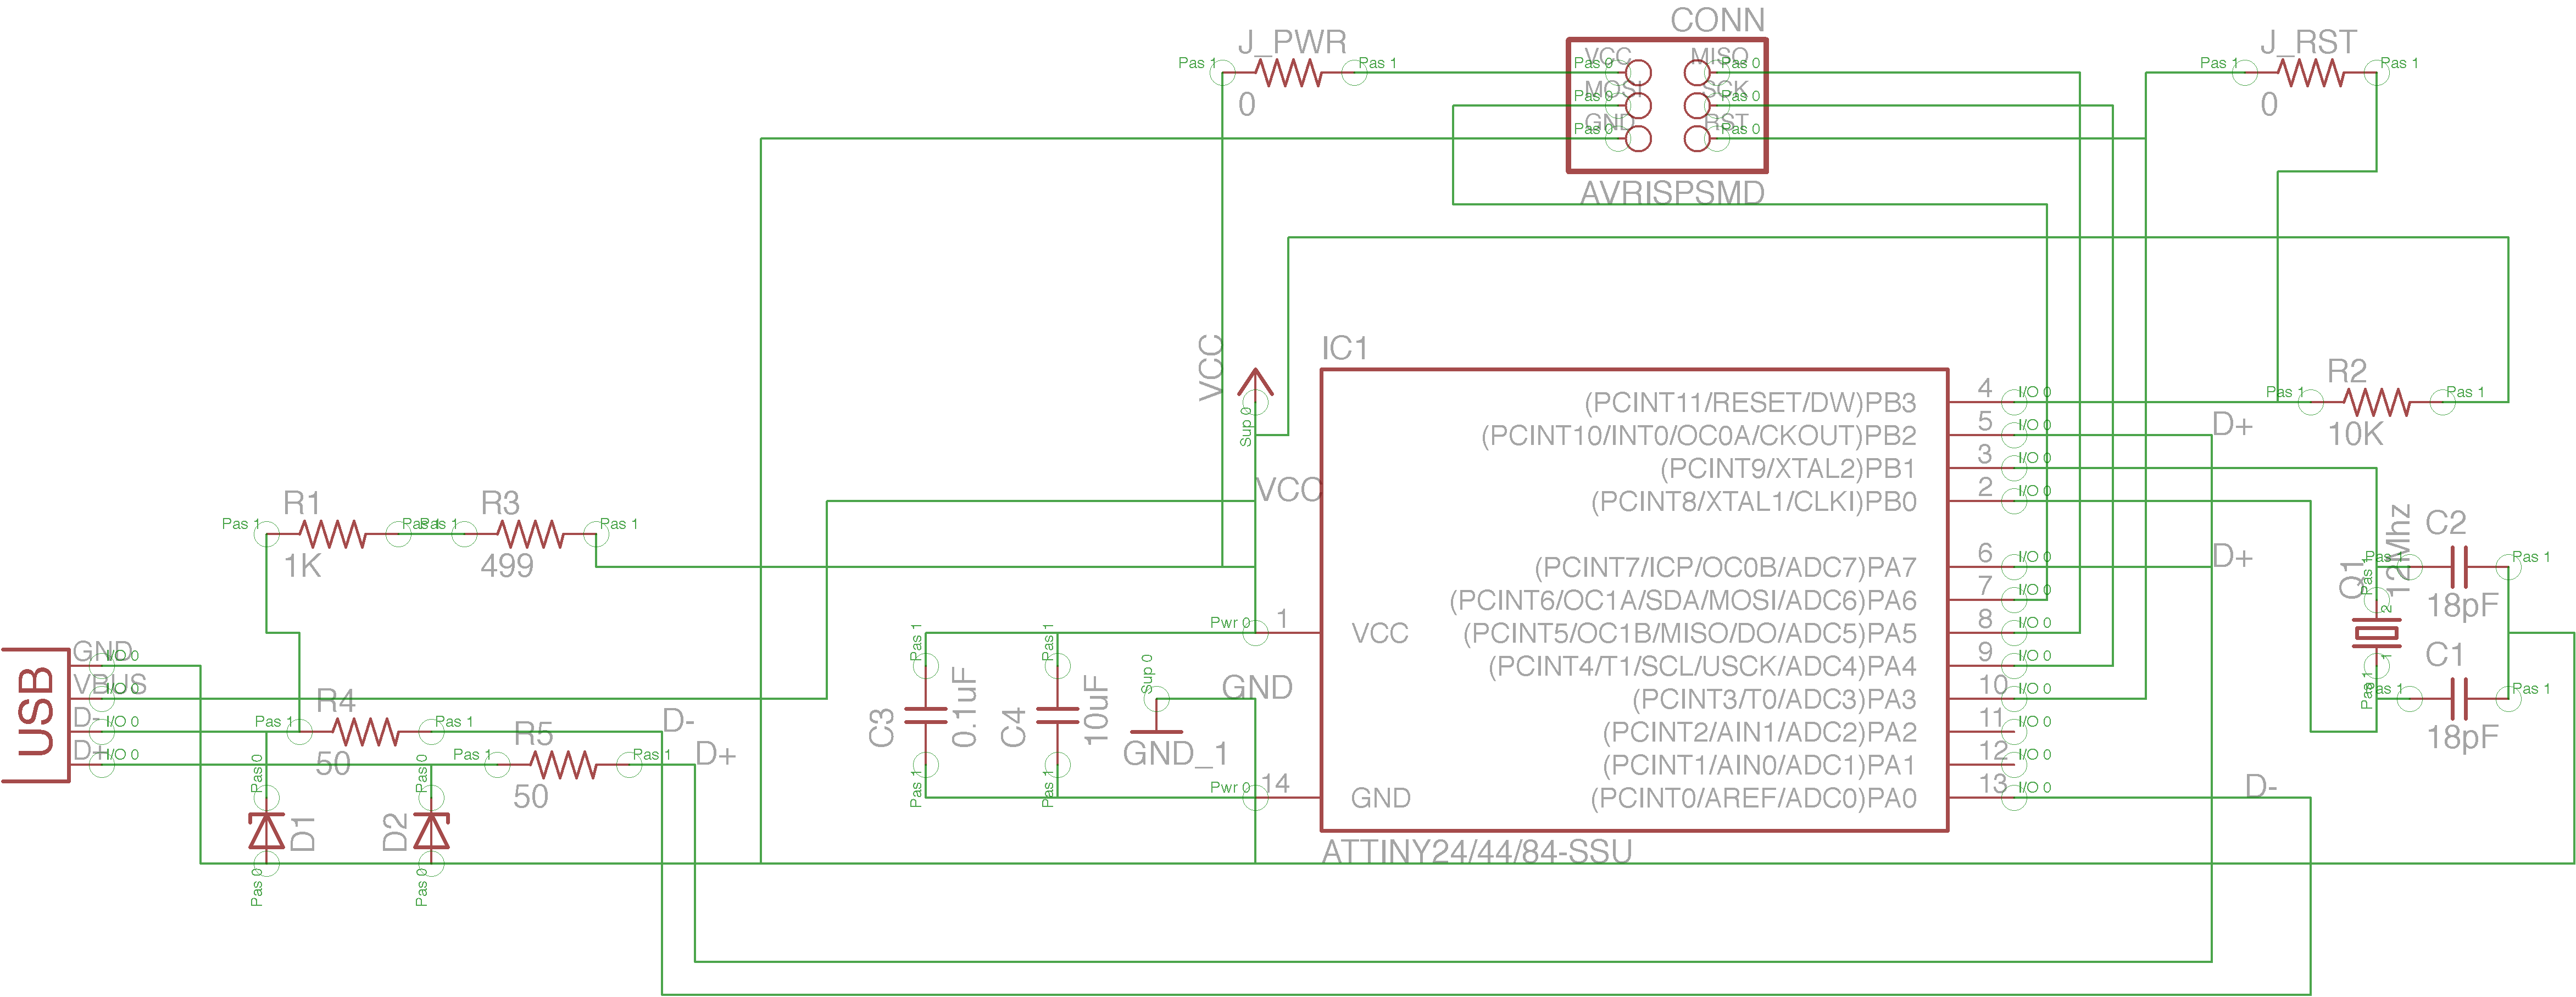
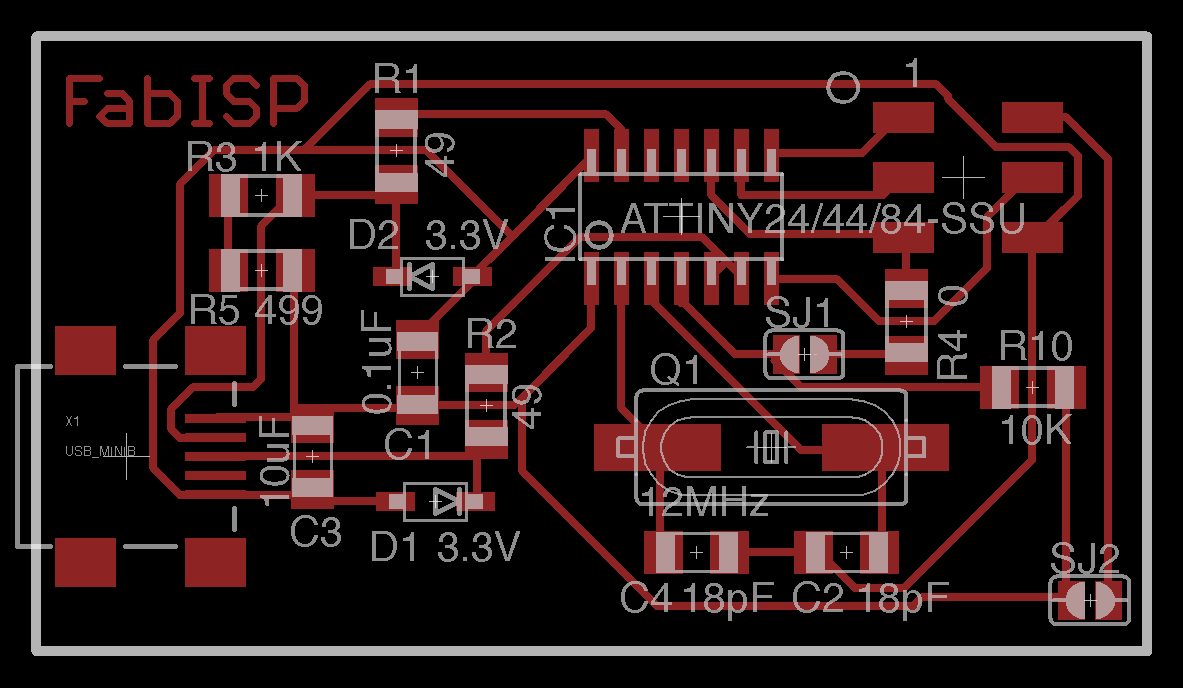
Eagle board schematic and layout (from David Mellis).
Making the PCB using the Modela:
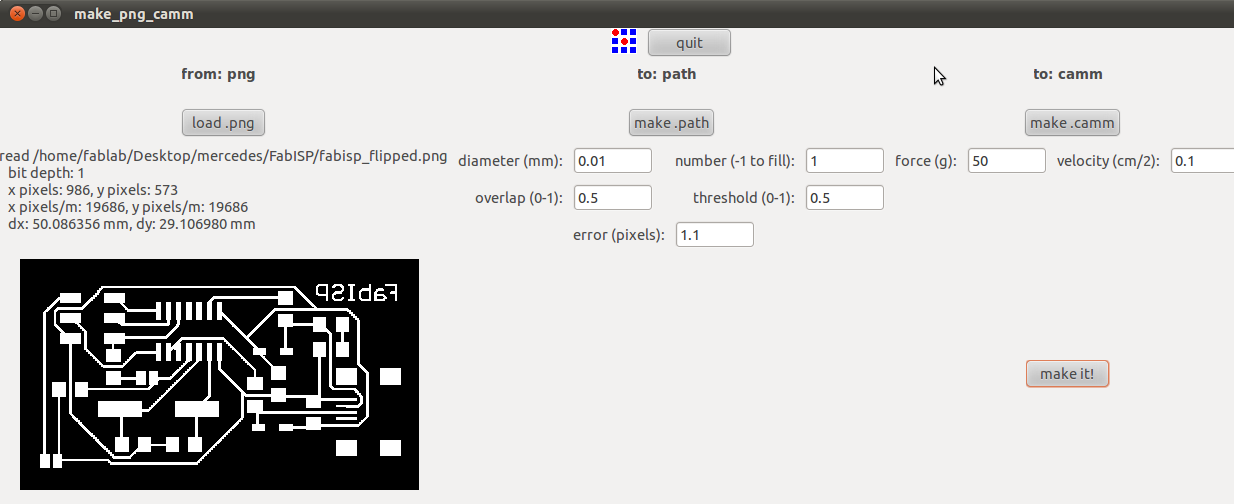
Install the fab modules.
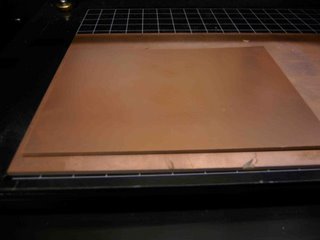
You will need at least 2x4in copper board (FRS1)
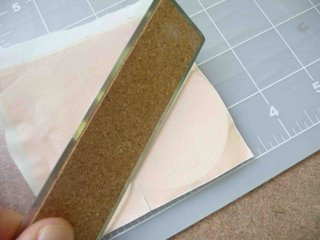
Set it up as in the picture below (making sure the platform is not moving and the board is taped securely on the Modela stage).
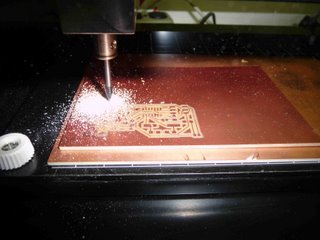
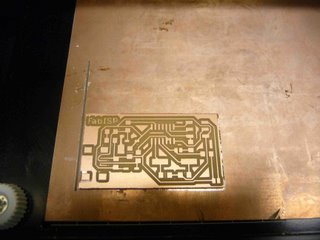
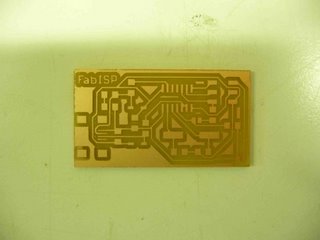
Use the 1/64in bit for cutting the traces and 1/16in bit for cutting the board outline (dim). See screen shots below for the Modela settings.
Soldering the components
When soldering the components on the board make sure to wash the board after cutting the traces (soap and water is good enough to remove the oil from your fingers). Make sure to use plenty of flux and keep a fresh stash of solder wick in case you need to remove parts from the board and resolder them. By far the hardest component to solder is the mini USB connector. The fine leads make it almost impossible to see where and what you are soldering.
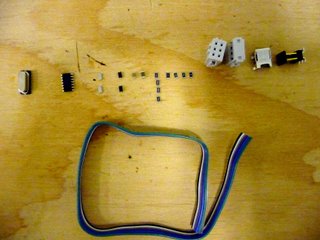
All the parts needed to populate the FabISP board.
Close jumper between ATtiny44A and 12 MHz oscillator and jumper connected to the Vcc on the 6 pin header (lower right corner).
After the FabISP has been programmed you can open the jumper between the Attiny44A
and the oscillator and leave closed the jumper on the lower right corner (this will be used to power other target boards).
Making the FABISP using the Vinyl Cutter:
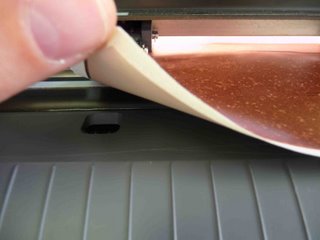
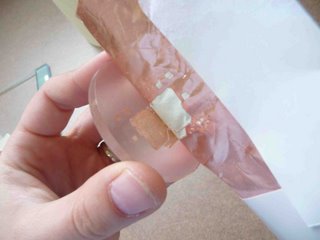
The first I did was mirror the fabisp.png .
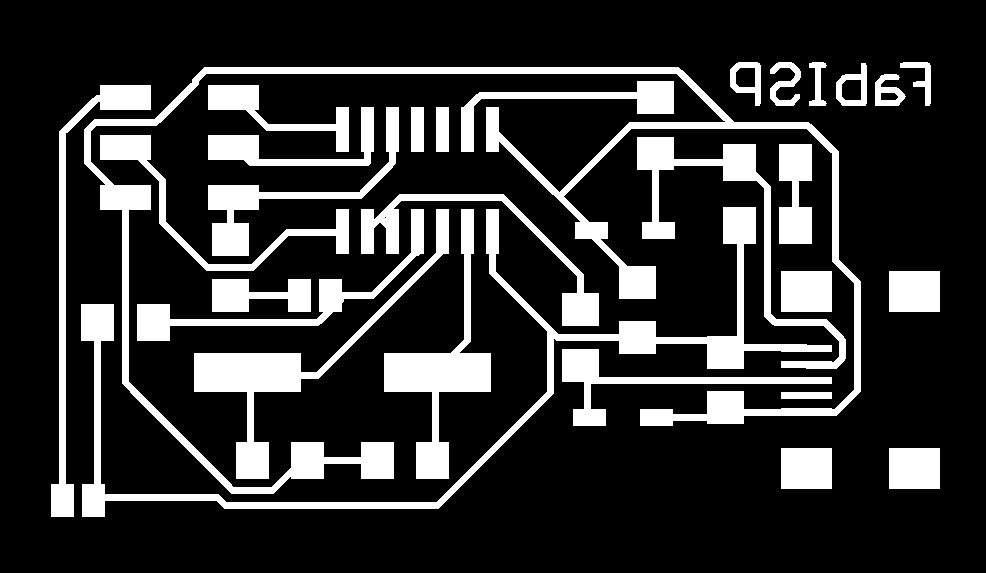
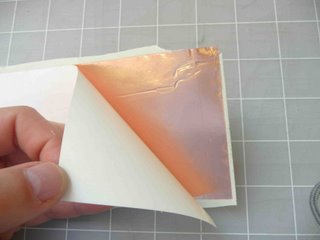
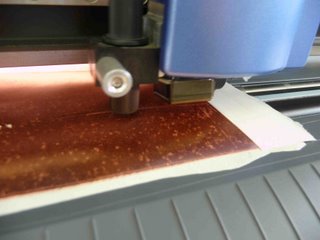
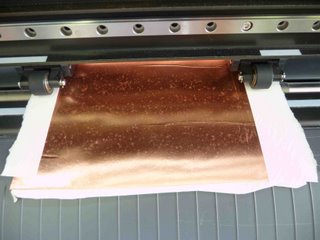
Next I put release tape (the same used to pull off vinyl) on the shiny side of the copper foil. I removed the backing from the copper, and I cut the traces on the sticky side of the copper (this is the reason why I had to mirror the png file). I also had to put paper, or something non slippery, to the sides of the copper. Since the vinyl is cutting on the sticky side the rails tend to stick to the cupper and they do not feed correctly and you end up with bad traces.

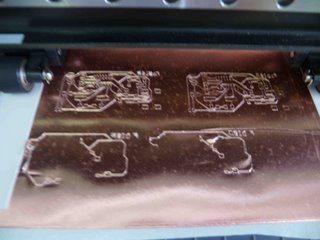
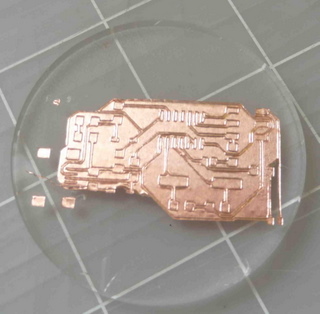
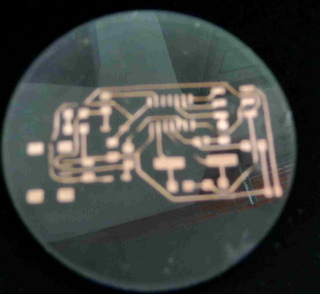
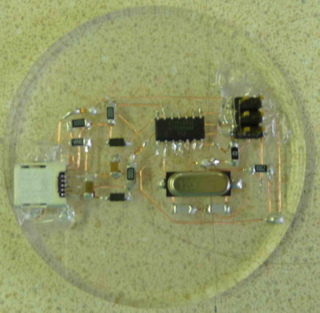
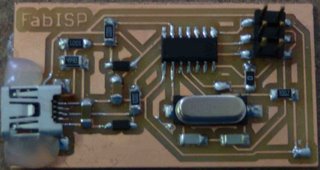
Populate FabISP board. As you can see there is a lot of "afterwards" repairs.
Some of the traces are so thin that they break off during weeding and need to be repaired manually.
Programming the FABISP
Download and unzip the firmware.zip files and the development tools for AVR micro-controllers.
CrossPack on Mac OS X. Copy avrdude.conf into /usr/local/etc and avrdude into /usr/local/bin
WinAVR on Windows
avr-gcc, avr-libc, and avrdude packages on Linux.
Open the “makefile” using TextEdit and make sure you select the correct oscillator (I used the 12MHz) and correct ISP:
F_CPU = 12000000
AVRDUDE = avrdude -c avrisp2 -P
usb -p $(DEVICE) --- if you are using the AVRISP mkii
AVRDUDE = avrdude -c usbtiny -p $(DEVICE) --- if you are using the FABISP
Save the file.
Open the command window and navigate to the directory where the firmware files were saved.
In the command window type:
sudo make clean
sudo make hex
sudo make fuse
sudo make program
Once the ATtiny44A is programmed, open the SJ1 solder jumper (disconnect the two pads).