FabISP Project Tutorial
Milling the board on the modela was not
too difficult due to the software but it was important to make sure that the
board was fastened down well to the bed of the modela.
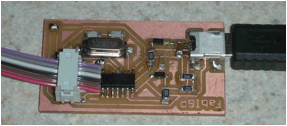
I love the look of the boards after they are cut. It always reminds me of a piece of
modern art. After all the components are added the board takes on its purposed
look and displaces the art with function.
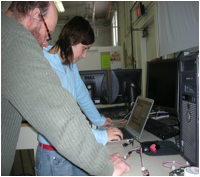
Putting the components on was quite a task. They were very small and I was not a
practiced solder gun wielder. The
task took all my attention and I forgot to take pictures until the soldering
was well along. The most serious
problem was a serious difficulty getting the solder to flow. We raised the temperature of the gun
from 700 to 755 and then changed the tip. Finally I used a hammer to flatten
the wire solder and then cut it into chips. The pounding was very rewarding.
The chips of solder helped with the small pins on the centipede or
microcontroller and the USB chip had very fine pins to solder and keep the
solder on the pad and trace. During this process I also experimented with using
flux to see if that would help with the solder flow.
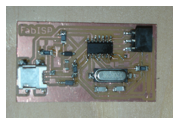
Although I knew to orient the small chips I didn’t pay attention
to the orientation of the microprocessor and had to undo all my careful
soldering. We didn’t discover the
error until we tried to program the ISP.
The reoriented chip
worked much better and the ISP is
complete.