Week #12 || Output Devices
Software used:
Machine used:
Setbacks:
1. First try: Hello H-Bridge adaptation
First attempt to the hello.h-bridge board
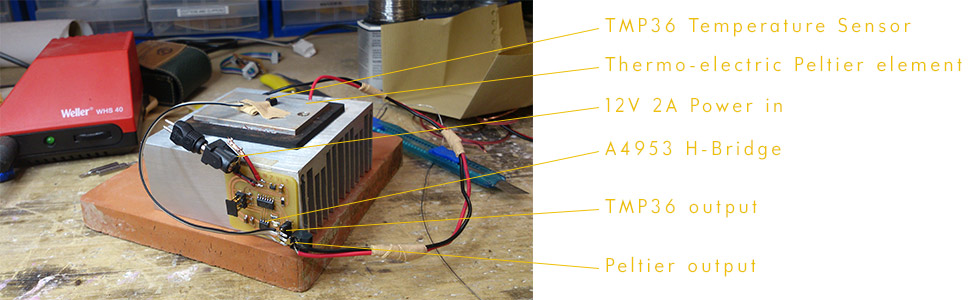
My output device is a thermo-electric peltier element for both heating and cooling, needed to control the temperature for mushroom cultivation. Temperatures between 10 and 30 degrees need to be reached with this single element. The peltier element works as a heatpump; when a current passes through the element, heat is pumped in a single direction, creating a hot side where the heat is released while the other side gets cold. By introducing an h-bridge, you can reverse the current flowing through the element, and change which side is heating and which side is cooling. That means the element can have a static installation in a setup, while fullfilling both functions needed for the temperature control.
I made an apadation to the hello.h-bridge board for my setup, also including an output for a temperature sensor, and an LED to one leg of the atTiny44 for testing. The idea is for to activate the heating element according to a set temperature, creating a constant loop between the heating element and the sensor.
I am already pretty comfortable in Eagle, and the design and making of the board went very smooth.
Unfortunately, first the board got damaged while being transported, and after that the programming failed. I could not figure out what went wrong; first I set the fuses correctly, but later in the ArduinoIDE the board was not reckognized as an atTiny44. In an annoyed state (I had just learned that morning that I would need an operation on my wrist and I will be wearing a cast until August, I had broken the scaphoid bone 6 weeks ago without knowing it was broken.) I replaced the atTiny with a new one, but then I could not even load the .make file anymore. I did not manage to get this board to work.
2. FabLeo
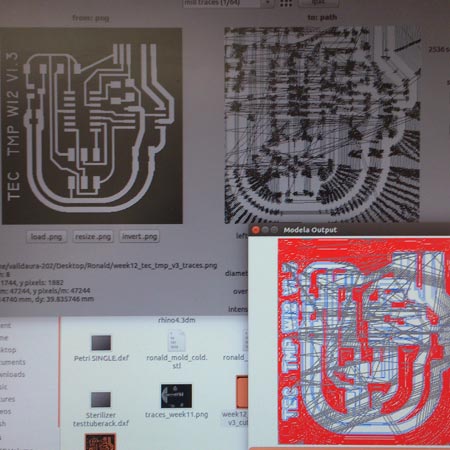
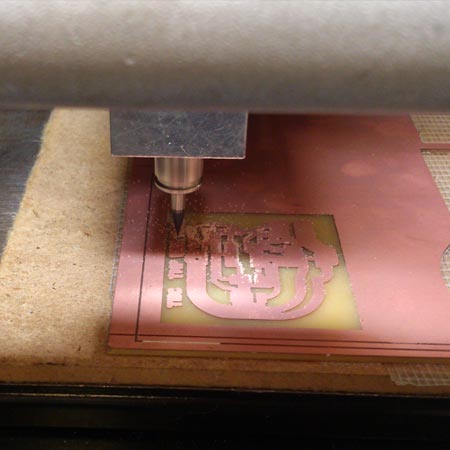
For the second try, I decided to make an Arduino clone, in order to have a board I could do broader prototyping with, while integrating the outputs for my devices. I used the FabLeo by Jonathan Grinham and modified the eagle file to integrate the h-bridge with a 2 legged output, 12V 3A power input, and a 3 legged temperature sensor output. I was really enjoying working in Eagle on such a large schematic, and I felt great after I finished it and started milling! We do not have the atMega 32U in our lab, so I was going to use the 16U, which I was told is the same at would fit onto the board.
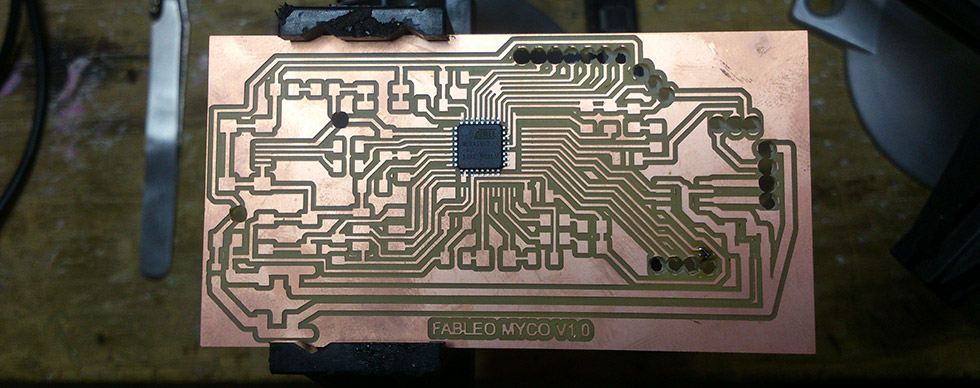
During the milling I made one mistake: I had the .png for the holes in the wrong colours, and should have inverted it. So the holes were made too large and I could not put the female pinouts on the board anymore. Secondly, the atMega 16U turned out not to fit on the board! It does not seem the board was milled out of scale, because other elements do fit. I had not yet found out what is the mistake with the microcontroller not fitting here, but I will try again both redesigning and milling another Arduino clone.
3. Third time's a charm
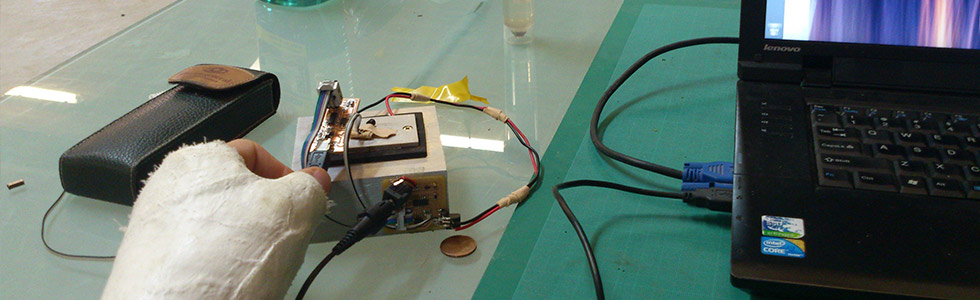
Luckily the saying above turned out to be true! My first board did not work, I never got to assembling the Fab Leo, but my third attempt, an iteration of the Barduino worked great! The process of making this board is decribed on my project description page. After assembling and test-programming this board, I attached two output devices and made them work! I have attached the fan to the mosfet output pin, and the LCD display with information on temperature and mushroom species. This first try is not yet connected to a temperature sensor, so the displayed value is just a value written in Arduino as a trial.
Files
Click here to download the board file EAGLE.
Click here to download the schematic file EAGLE.
Click here to download the traces and cutout file PHOTOSHOP.
Click here to download the code for the test shown above ARDUINO IDE.