Week #6 || Electronics Design
Software used:
Machine used:
1. Design
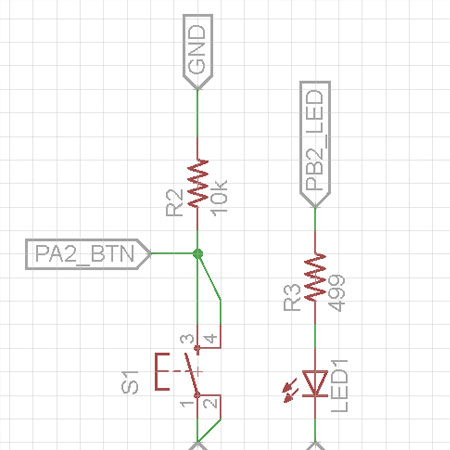
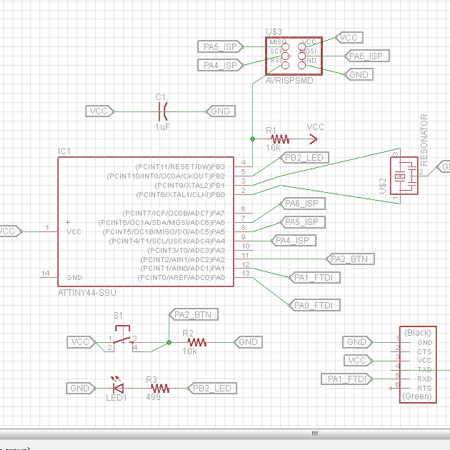
Before even touching Eagle, I wanted to understand electricity. This is a subject I have never understood, and has always been too abstract for me. After watching few videos on youtube on the basics of electricity, I really felt I got it! It made me feel comfortable enough to start understanding ciruits and actually draw them myself. Eagle turned out to be quite simple, basically putting in elements you need and connected the dots. I found it much easier to connect elements via naming than via actual lines. This way I got to keep much more oversight in the schematic.
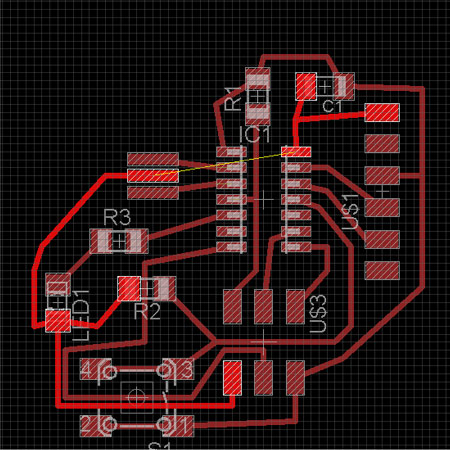
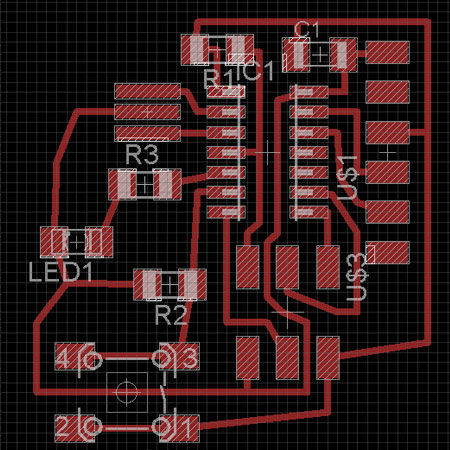
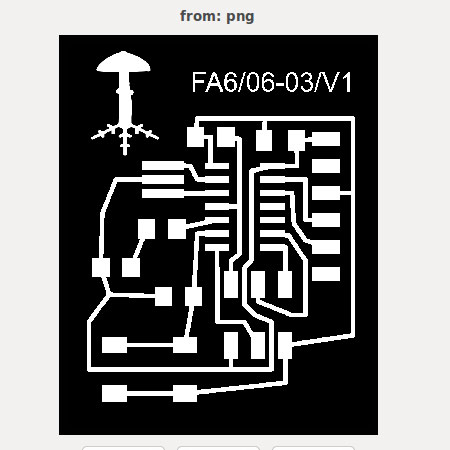
The design of the actual board was like solving a puzzle. All element must be connected, but can not interfere with each other. In my first try (third picture) I had trapped some elements and could not make all the connections. I decided to delete everything and start over, taking example from Neils board more closely (picture 4). My own elements (resistors, button, and LED) fitted in nicely!
2. Manufacture
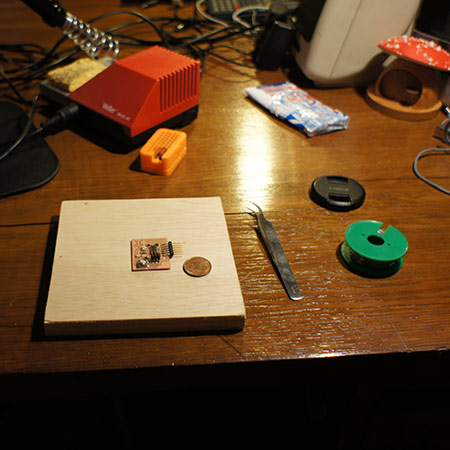
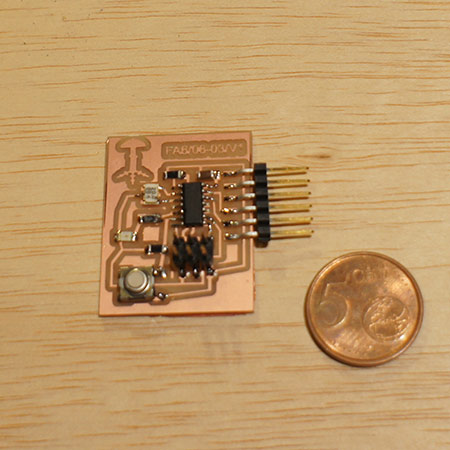
The making of the board went very well. I managed to design and make the board on the same day! I soldered stuffed it later at home in about 30 minutes. I am ready to start programming!
Files
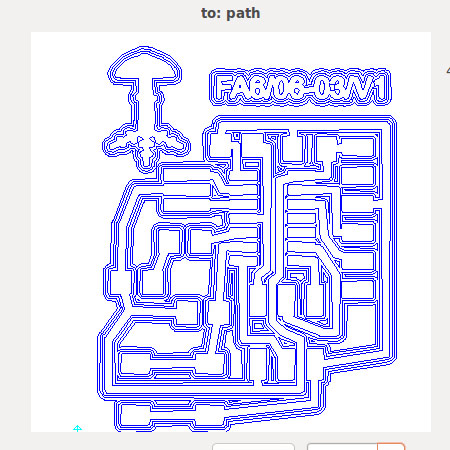
Click here to download the cutout PNG.
Click here to download the traces PNG.
Click here to download the board EAGLE.
Click here to download the schematic EAGLE.