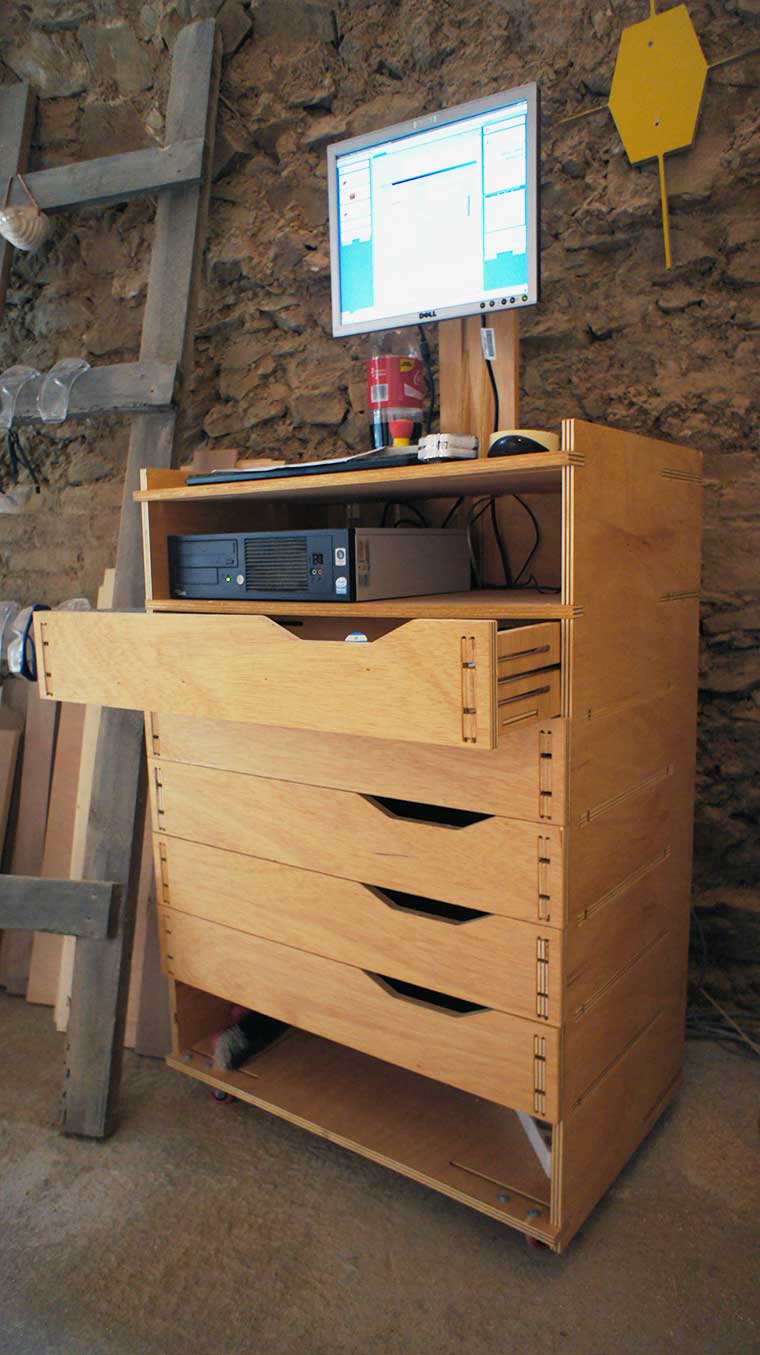
make a Shopbot's Workstation BIG
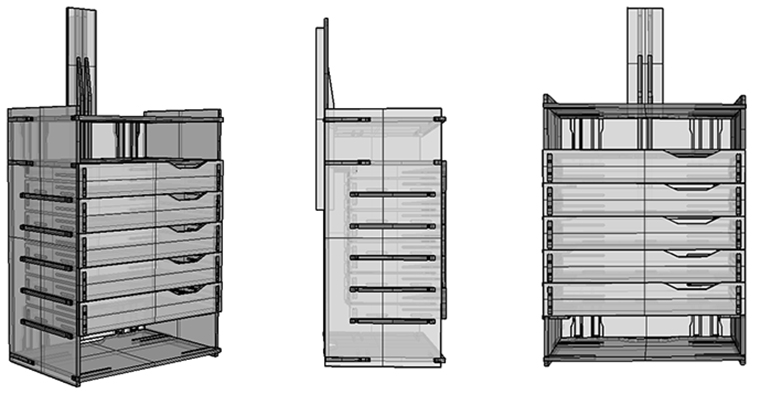
:
NO SCREWS NO GLUE design
the Green Fab Lab needed a new ShopBot's Workstation. To design it I started from the Evil Mad Scientis' s CNC Workstation Cart redrawing to adapted it to our necessity as an horizontal pc, cables space inside, and last but not least without any screw or glue. So I studied elastic joints and I tried to develope my own version.
A lasercutted model
I choose to use a 15mm plywood, instead the 13mm suggest, in order to have some “extra thickness” to design pocket joints. After a first all comprehensive design I made miniaturized model (scale 1:5) using laser cutter and 3 mm plywood . Of course, without pockets, the model was not really standing but I used it figure the assembly process out.
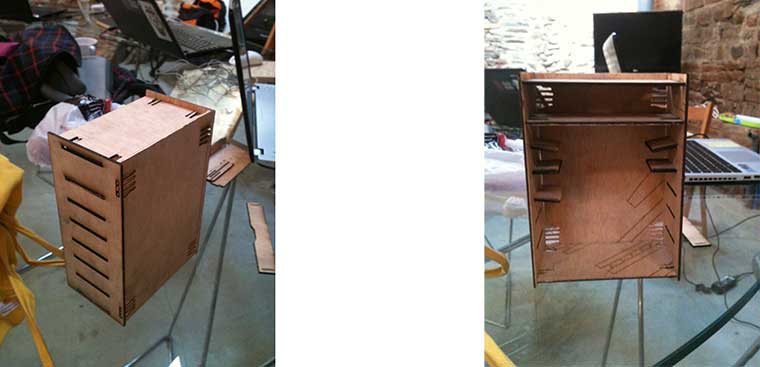
Testing Elastic Joints
drawer's joints and supports mechanisms
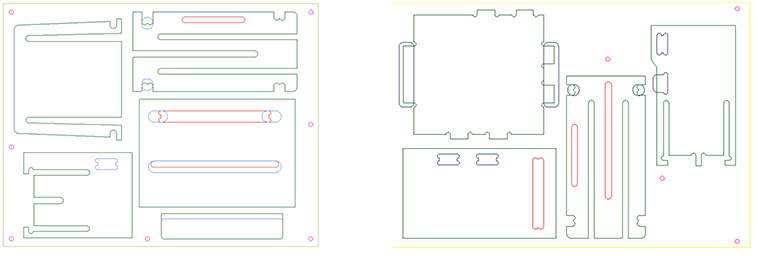
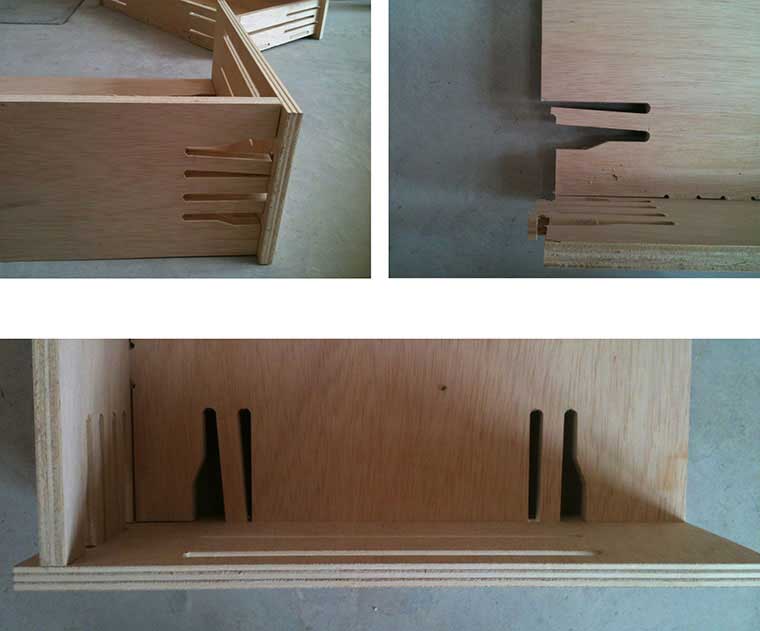
For drawer's design I had to draw 2 different elastic joint, due to different overlap requirement in front and back side, and 2 different lock joint to fit the base. Than I studied 2 options for the sliding movement/support. And I started to make some test using the Shop Bot V Cave pro.
Setting for 15 mm plywood:
- 6mm milling bit
- 15000 spindle speed
first file
- pin down :drill 6mm depth
second file
- pocket: inside path, 50%offset, 6mm depth in 2 passes.
- inside: inside path, cut-trow 16mm depth in 4 passes, 3 tabs each.
- outside: outside path, cut-trow 16mm depth in 4 passes, 4 tabs each.
TEST1:drawer's joints

TEST2: fitting drawer's support

TEST3: elastic drawer's support

The 2 corners test shows the elastic base support be more stable than the fitting rule's one. Anyway I tried to adjust that second option to because was saving a lot of wood. Than a tried with a bigger test to check any eventual weight problem.
Finding a to rigid design
TEST4:a drawer

TEST5:a slice of exterior box


and external box joints

With those tests I realize that the same joins the I design to assembled just one times by harm, and resulting enough flexible to be assembled and assembled in previous tests became too rigid assembled each others. So I had to redesign all the joints to make theme more elastic with longer sections and open ends.
Nesting strategies
Board 1: one last test
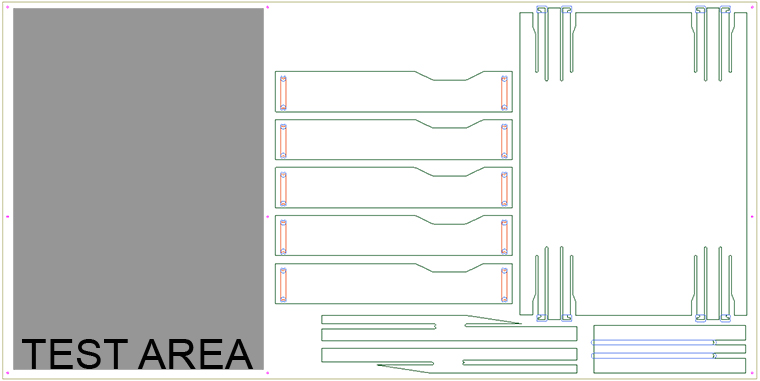
Board 2: first build drawer
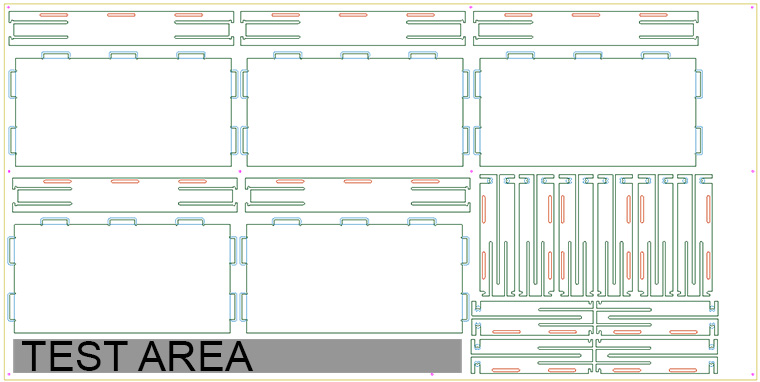
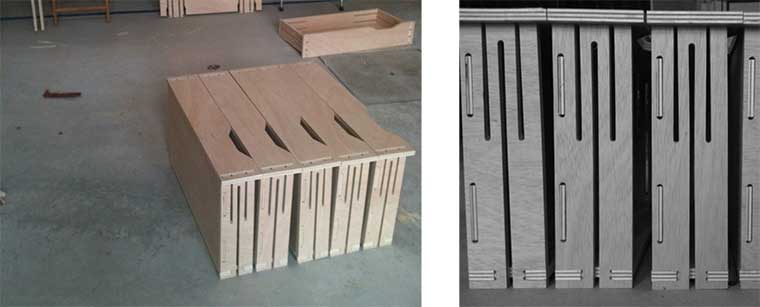
In order to optimize time, I planned the nesting design to be able to assemble parts along the cutting process. So during the 2 and half hours of the second stock cutting I was finishing the third board design based of first boar's test results. And during the third board cutting I was assembling all the drawers already cut.
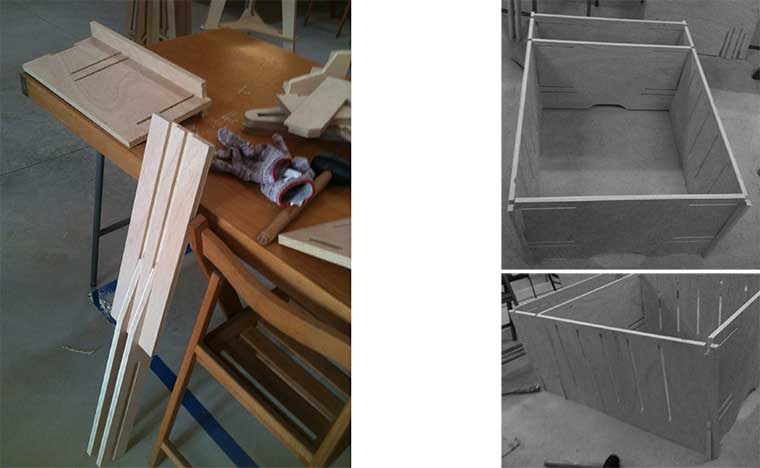
Board 3: external box (just tested)
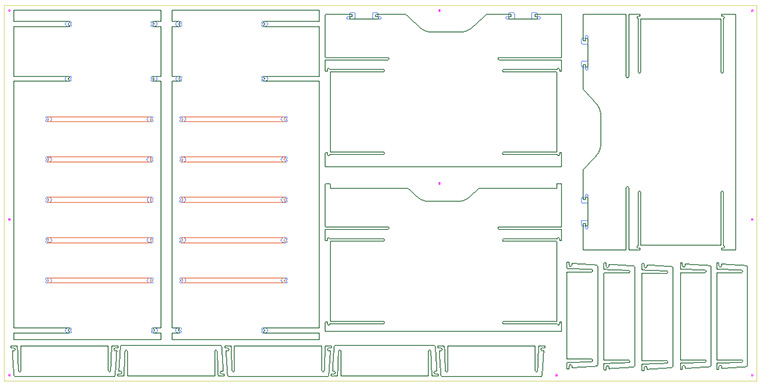
Assembly process
first arming components

than the most elastics
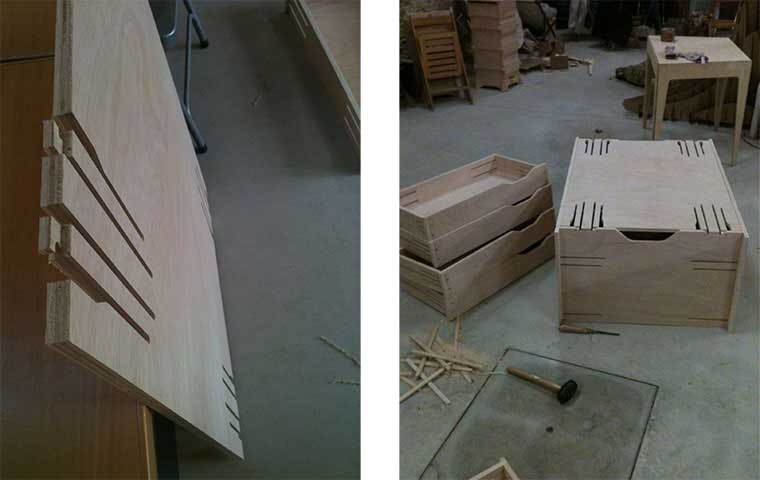
last a lime seed oil finishing touch
