3D scanning and printing are now very popular in the market. A lot of places are using 3D printer to build models for display, doing their prototypes for testing and etc.
I have been using 3D printer for quite some time, so far I am having fun using it. I tried to print quite a number of models and parts for projects like gears and screws.
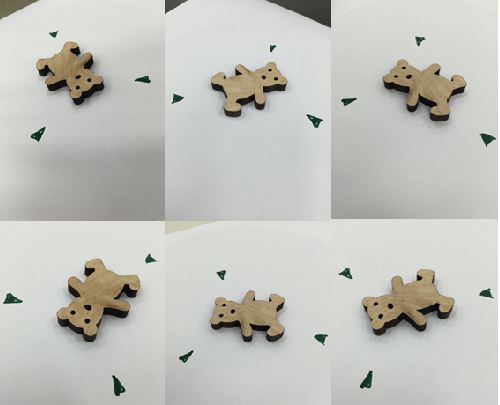
3D scanner is something new to me, I am trying to get hold of it. Currently I am tried to used my iphone to capture a toy model of a bear cut out using laser cutting machine.
The picture below is the photos that I taken for my 3D scanning assignment.
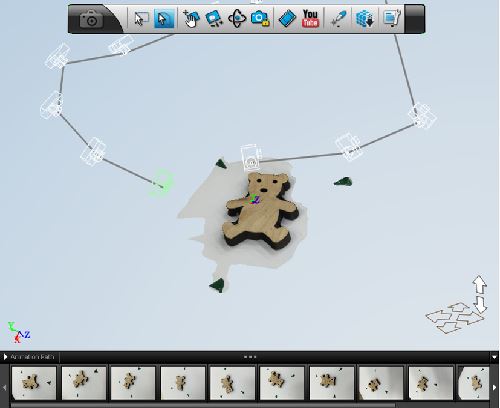
After taken the photos, I am using the software 123 catch to capture the photos and process the photos in order to capture the 3D model of the bear.
The picture below is the screen shot taken of the 3D bear model from 123 catch.
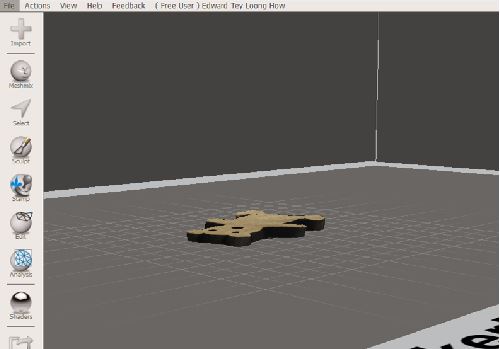
I noticed after the 3D model processed by 123 catch have a little bit of missing details here and there. One of my buddy, Walter told me that Roy asked him to download meshmixer in order to fine tune the 3D model.
The picture below is the screen shot taken of the 3D bear model after doing ammendments using the meshmixer.
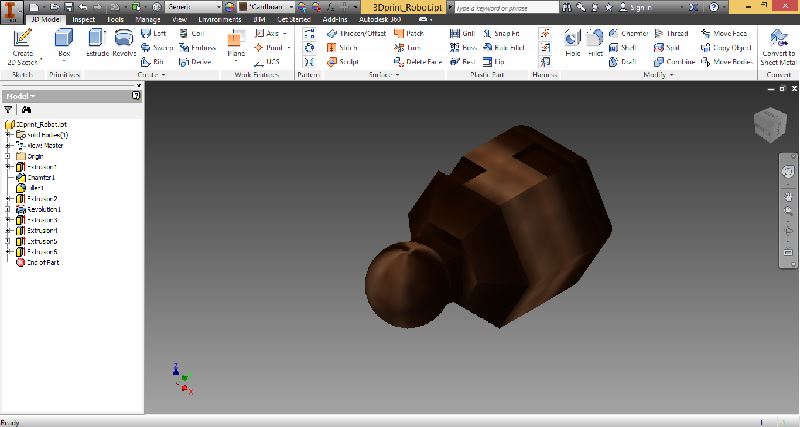
For the 3D printing assignment, I actually draw a robot head for one of my toy using Autodesk Inventor.
The picture below is the screen shot taken of the robot head drew by me.
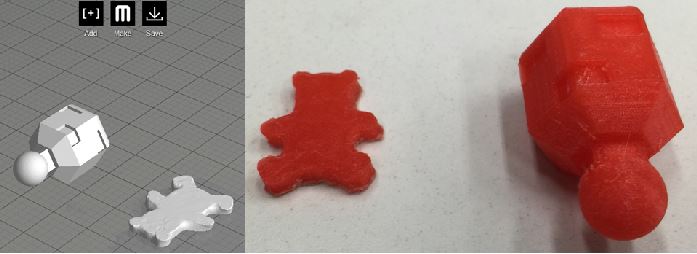
All done and finally the moment of truth. Using the 3D printer to print out the robot head and the bear. Using the makerbot software and Makerbot Replicator 2 3Dprinter to print out the 3D models.
The screen shot (on the left) is taken after adjusting the position of the models and the photo (on the right) is taken after using the 3D printer. I am so happy looking at the end products.