Week 3 : Computer-Controlled Cutting
Laser cutting - a technology that uses a laser to cut materials, and is typically used for industrial manufacturing applications, but is also starting to be used by schools, small businesses, and hobbyists. Laser cutting works by directing the output of a high-power laser most commonly through optics.
Assignment :
1) design, make, and document a press-fit construction kit
I have been doing quite a lot of laser cutting jobs recently due to helping out students in their projects. Operation of laser cutting is quite simple and friendly user. Currently I am using two different laser machines to do my jobs, Epilog and Laserline.
Getting starting with laser cutting, you will need to download a drawing software called Corel Draw which I mentioned earlier in week 2 of my assignment. I usually do my drawings on Corel Draw if the drawings are simple. For complicated drawings, I will prefer to use Autodesk Inventor.
After completing the drawings using Corel Draw or importing the drawings to Corel Draw, You will need to transfer the drawings to the laser machines in order to cut it out.
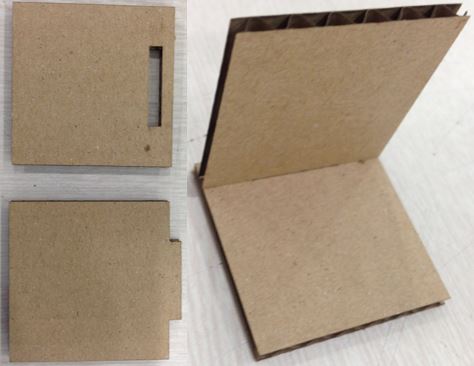
I actually tried to drew something simple before I do my box for my wife to put her little stuffs. I did a simple drawing for the press fit design and cut it out.
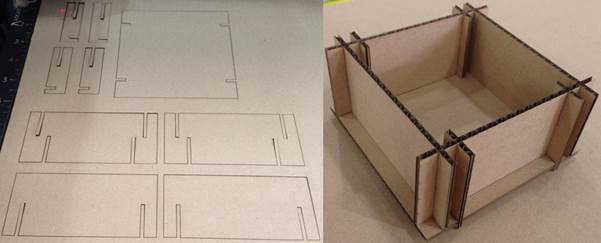
Below is a screen shot (on the left) is my drawing from corel draw and the picture (on the right) are pictures of test pieces cut out from laser machine and assemble.
I have draw a nice and simple design of my box to be given to my wife using corel draw. Honestly I am starting to imagine how it will look like. I think my wife will love it.
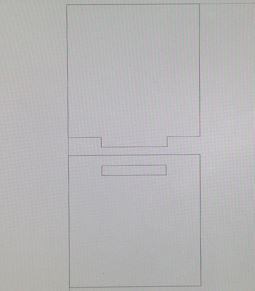
Below is a drawing of the box that I have created.
I will need to program the Epilog Laser Machine to cut out my box which you will need to adjust parameters for my cut out or else the workshop will be on fire. Haahaahaa...!!! Honestly I find Epilog Laser Machine much more friendly user than Laserline. I will consider to use Epilog more.
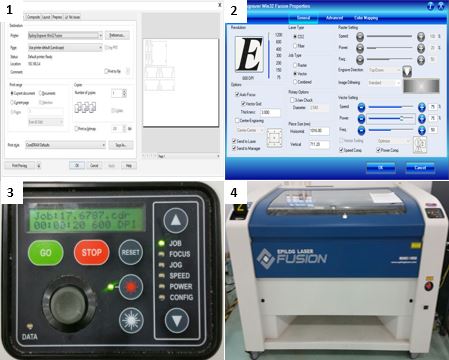
1) After completing the drawing, press print to cut
2) Before cutting, you must set the parameters for different materials
3) The display and panel on the Epilog Laser Machine to allow user to adjust manually and view the timing of the job
4) A picture of the Epilog Laser Machine that I will be use to cut my box
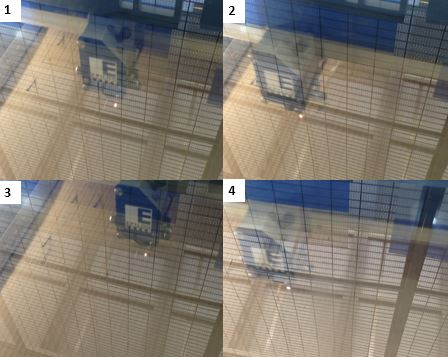
Below are pictures of the Epilog Laser Machine cutting out the box.
Click on the picture to take at a look of the video (Epilog Laser Machine in progress - Going for another round, parts not cut out yet).
I used a 3 mm cardboard to do my box which was asked by Neil to use cardboard instead of acrylic. To my surprise, my box came out to be quite nicely fit. I manage to do it without any mistakes.
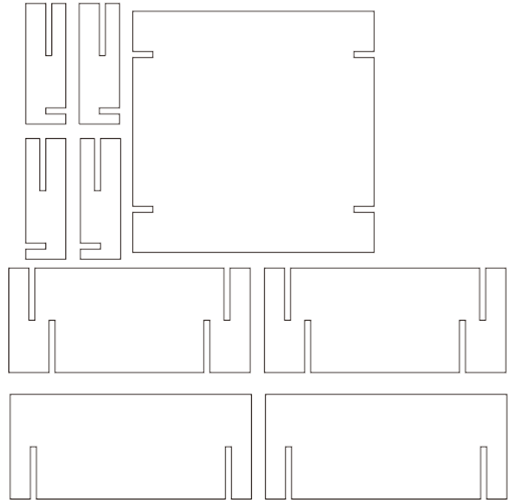
Below is a cut-out of my box and the final look of my box.
It came out just the way I want it to... Awesome...!!! Two Thumbs Up...!!!
Next coming up is the Vinyl cutter... I am using the Brother Scan&Cut that was in Roy's Lab, both of us were figuring out how it works. After Roy read up on the instruction manual, the steps in using the vinyl cutter were pretty straight forward.
We wanted to cut out some alphabets and shapes. To our surprises, all these can be done on the machine itself. For me, I used the sticker labels to out the characters E1 - R1 for our Astromech. I keyed in the words, selected the fonts then choose the position for the vinyl cutter to start.
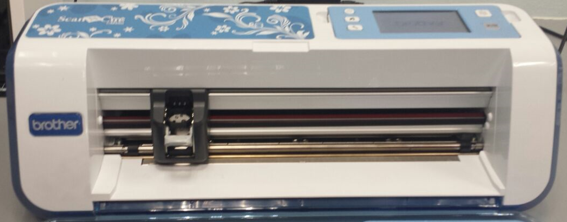
Below shows a photo of Brother Scan&Cut vinyl cutter.
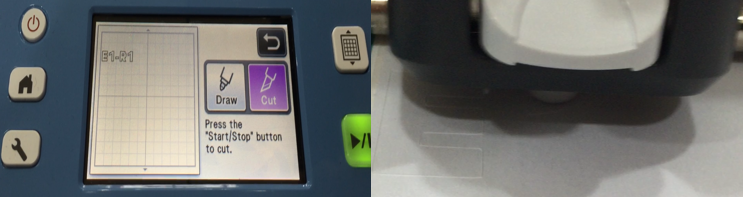
Below are two photos, the photo on the left is the touch screen with function buttons that are used to draw shapes and alphabets and the photo on the right is showing the vinyl cutter working in progress.
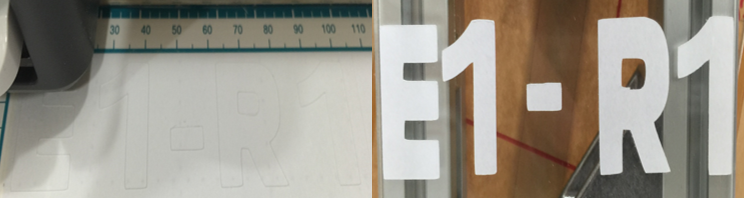
Below are two photos showing the complete cutting of my label and sticking the label to the Astromech, E1 - R1.
Click on the picture to take a look of the video (how the Brother Scan&Cut vinyl cutter works).
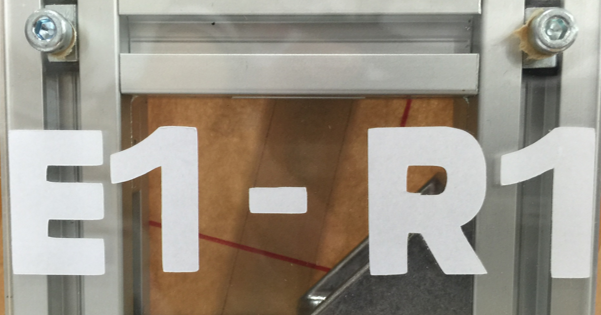
Now the Astromech, E1 - R1 looks COOL...!!! I love it so much...