16week//
• This week we was working on MECHANICAL DESING AND MACHINE DESIGN
It is a group work base on Nadya Peek and James Coleman modular Machines on cardboard stages.
• This week we was working on MECHANICAL DESING AND MACHINE DESIGN
It is a group work base on Nadya Peek and James Coleman modular Machines on cardboard stages.
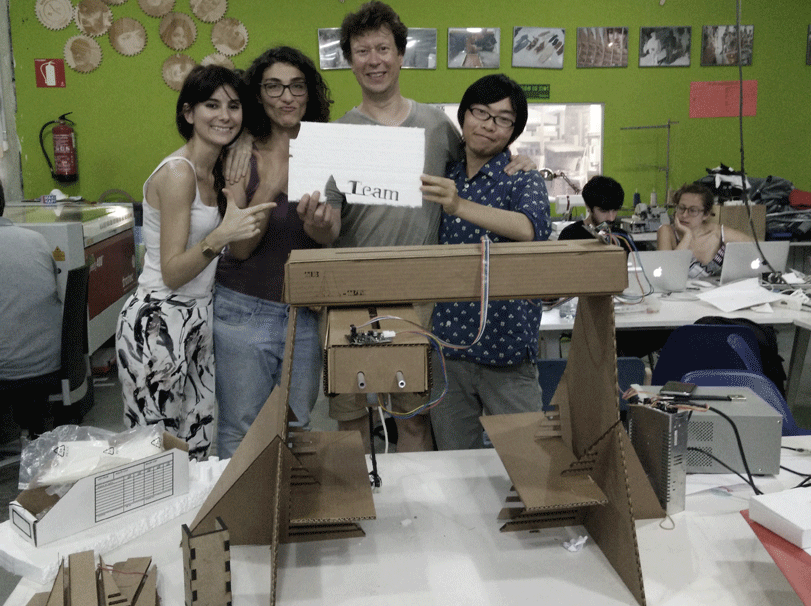
• I'm part of The A Team with Taichi, Jani and Lina.
We divided our roles. My role is Design the machine, structure, base, materials and techniques.
Lina design too, Jani electronics: he made a board for the connection between USB and nodes and the multitool attach and Taichi program the GCode on Python.
• We are The A Team.
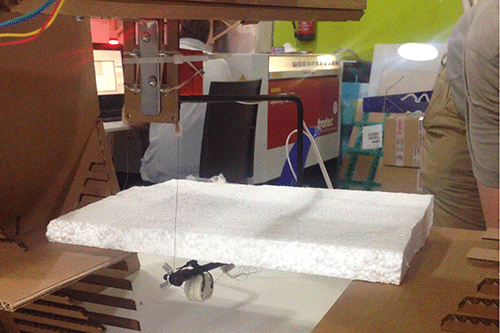
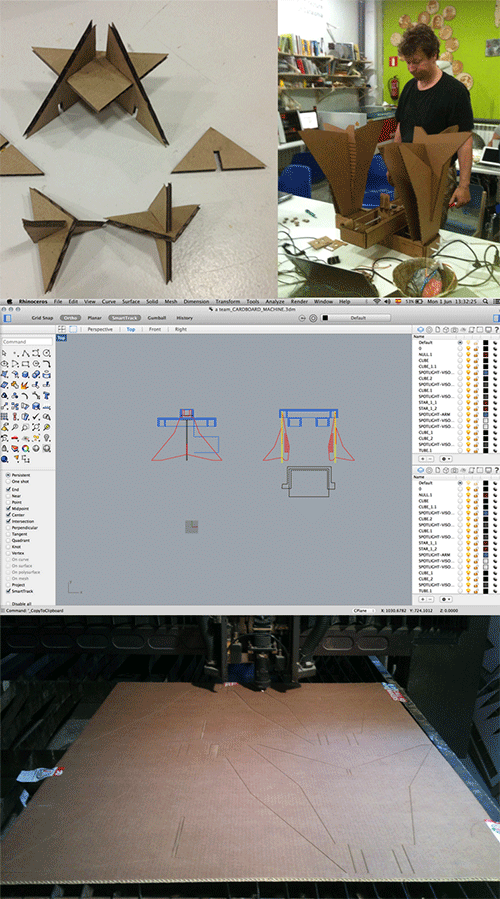
• We start to make a Foam Hot Cutter Machine, but after the first week this machine was done and we decided to create an exchange structure tool in 3D printing to becomes our Machine in a Multifuncional Tool Machine to draw.
• We decided to make a structure using two stepper motors to cut with hot foam sending G Code written in Python.
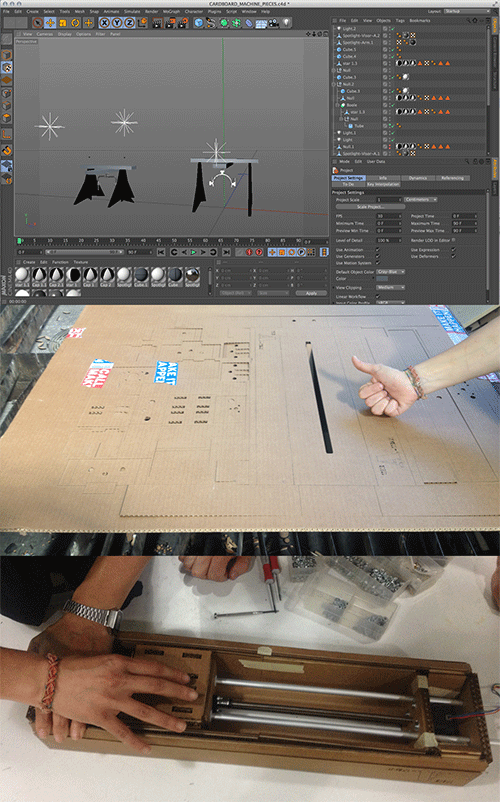
• I design two options for the structure on 3D to understand how our machine could be.
• We decided to work on cardboard because it’s cheap and give us the possibility to prototype quick and change the design easier was we did.
We was working with cardboard 7mm, at the beginning we think that this was a good idea use thicker material to make the Machine more resistant but we realise that didn’t fix with Nadya design, so we fix the files on Rhino before to cut it on the bis laser cutter machine.
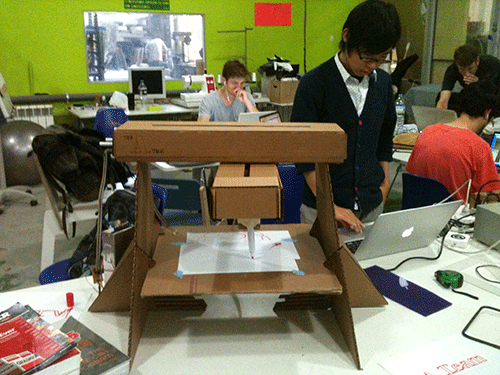
• After cutting this first part we assembled the machine mecanical parts following the instructions from MIT.
• We've decided make a legs for our structure.
• I've proposed Lina a structure base on my modular press fit solution.
She was afraid about de resistant so she decided to duplicate the legs to strengthen the structure.
But the result wasn’t as stable as she aspect, so we decided turn back and cut my simple solution just doing some adjustments.
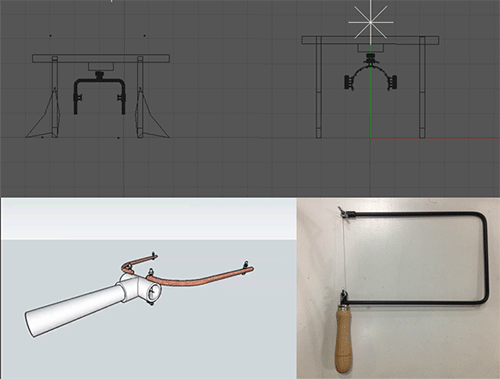
• Researching how to make the tool on 3D printed or wood, we realice that we couldn’t because we need to hot that area, so the best solution will be to use the metal part of a small hand saw, so I buyer it.
We remove the handle and use just the metal part.
We made the the FormCutter cable and attached it to the header. The wire should pass through the foam so we don't need to put the stand, but this base fixing on levels on the laterals of the legs will be usefull later.
• Now our A Team Machine to cut foam was ready, stable and can stand the foam without base!
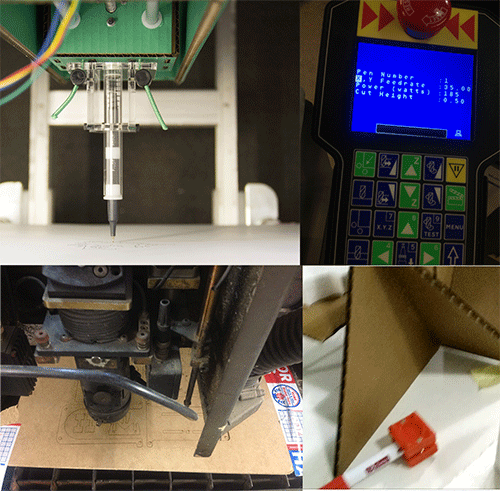
• After fix the foam cutter tool I show Piccolo project and I show the group, then we realised we can design a adaptable support.
• I cut a support base on that project on MDF, we was trying but it was difficult to fix with the cartonboard parts.
At the end Jani make it in 3D printing attachment with magnets.
This tool give us the opportunity to change from the foam cutter to a pen, brush. So Taichi changed the code, we fix the support for the tool attachment with elastic rubber and now our A Team Machine can draw with different tools.
• Our A Team Machine is done and we understand that A is for amazing! Great team work!