12week//
This week I was working on composites.
I've designed a 3D mold and made a fiber composite part.
This week I was working on composites.
I've designed a 3D mold and made a fiber composite part.
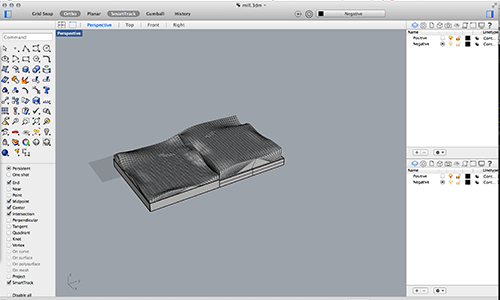
• I have worked on design a mold of 33x33cm on foam material for my composite.
• I've inspired for my design of Wasara colection biodegradable throwaway t create mine.
• When I've finished my design on Rhinoceros I've exported it on .stl.
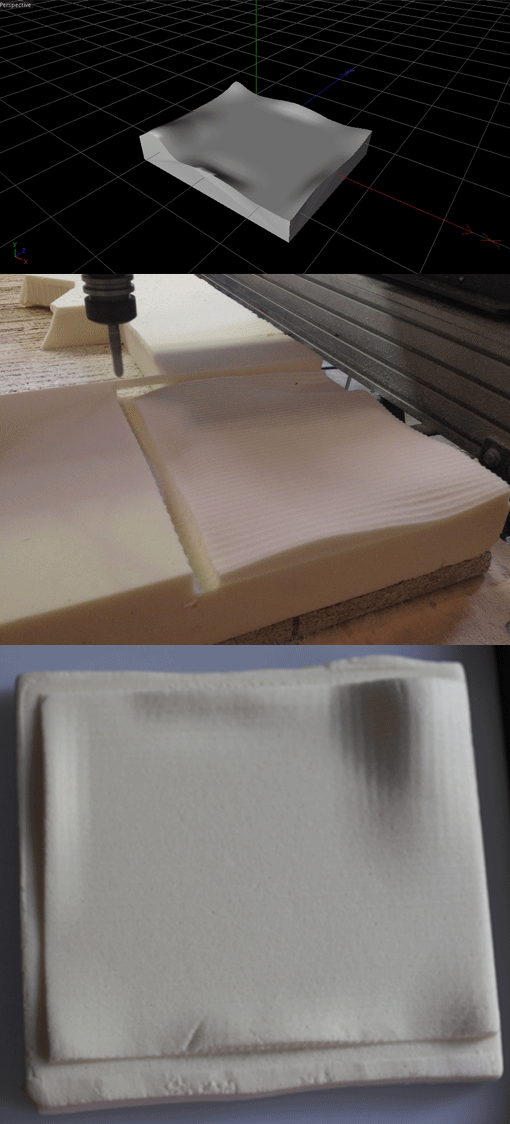
• To mill the mold on the Shopbot CNC is the same process that we follow to mill OSB board.
• To prepare the files I follow the same steps on PartWorks3D:
Open the .stl file. Write the size of the mold: 33x33 cm and set the orientation of the mold.
Next set the Roughing toolpath the dimensions of the tool and the direction of milling.
•Before send to mill remember to clean the machine and fix the foam with a doble side adhesive tape to the CNC machine.
•Set up visually the x,y (0,0) and the z-axis home coordinates values. For z we need to touch with the metal tool located on the top of the drill motor the foam. The sofware autodetect the z.
•To start to mill just press the green button over the Shopbot hardware. Then press return to continue when the software ask to you. And it's done!
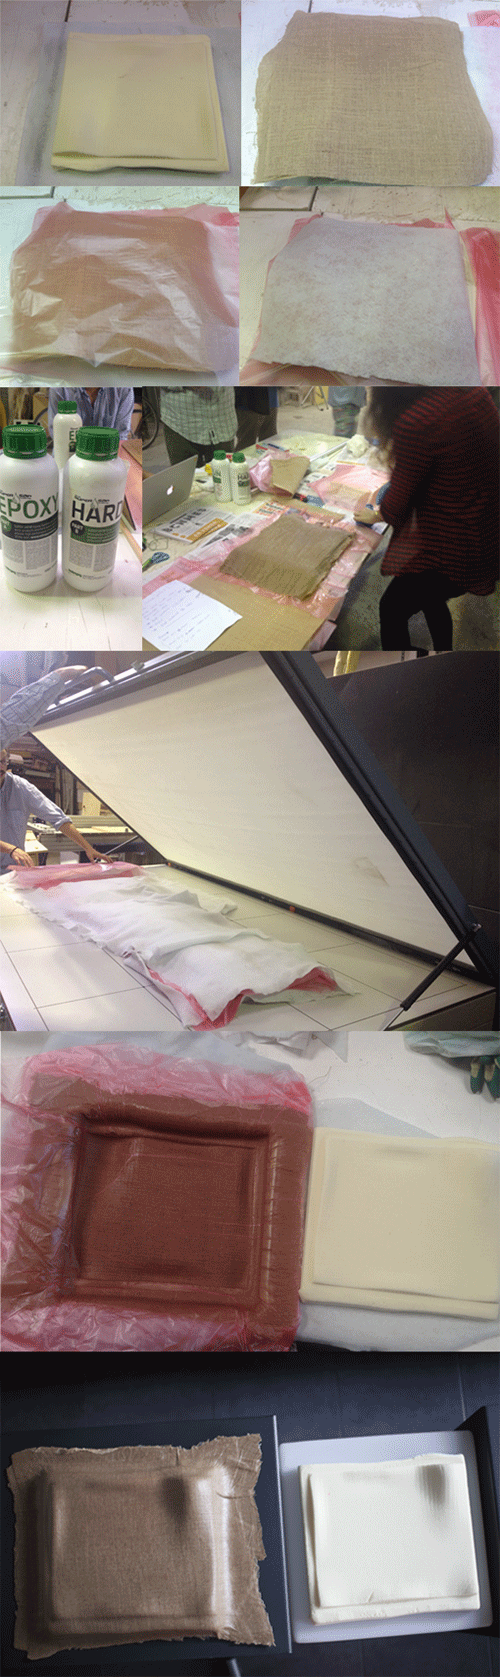
• How to mix the Epoxic Resin: 2 parts epoxy, 1 part hardener. Be quick because you have 20 minutes to use it!
• When the Epoxic Resin is mixed soak it on the yute til it's completely wet.
After try to drain the yute as much as possible to remove all the excess of resin.
• I've prepared the layers for my composite on the foam in this order:
Felt (white fabric)+ Plastic laminate with holes (red)
+2 layers of Epoxic Resin and Yute
+Felt + Plastic laminate without holes (red)
• When all the layers are ready put on the Vacuum Machine to compress the material for 6 hours.
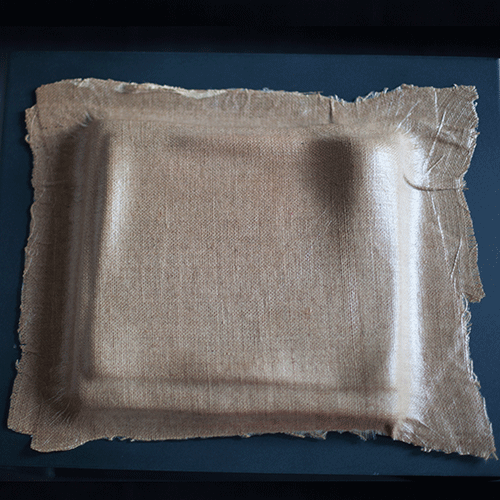
• Now my composite is STRONG!