<<<
The subject of this week's Fabacademy is "designing and manufacturing a mold, and then make prints with"
As I am trying to mount a velomobile, I would try to make flashing caps in-situ molded with sanitary silicone,
realizing the molding directly on the body of the velomobile over the
LED that serves as flashing with transparent silicone sealant.
The interest to make this piece with this technique is multiple:
- for flashing, it needs several studs (at least 4) which may be the same: hence the importance of molding.
- in-situ casting silicone enables in a single operation of manufacture of the part and the fixing.
- seal
will be provided directly, since the silicone sealant is used tiling
(whose primary function is precisely to provide a seal).
- the cap will be flexible, and therefore not dangerous in a collision with a pedestrian, and less fragile.
- the cap also ensure multidirectional flow of light from the LED.
I got the formula Profile symmetrical NACA on wikipedia for a blinking super aerodynamic.
I
struggled to get a consistent from rotate_extrude function object: it
is necessary that the platform is based entirely in the positive x ...
finally I managed to get a satisfactory form:
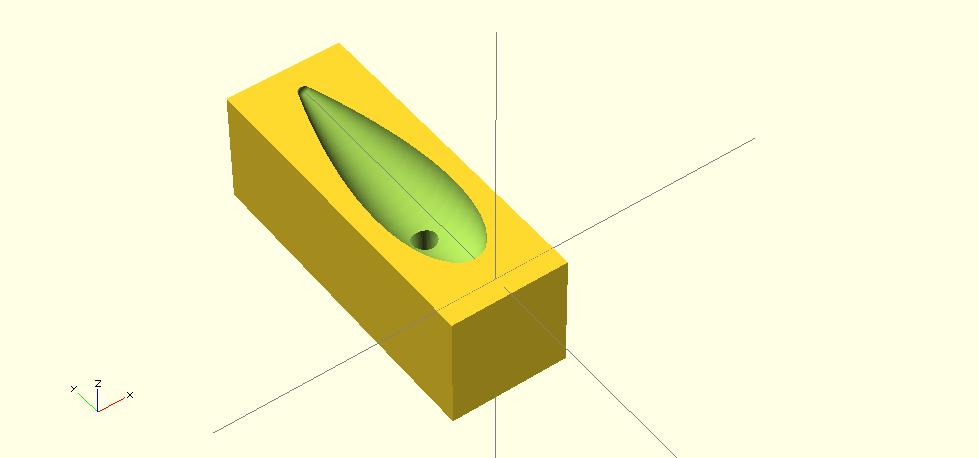
file :clignot.scad
I inserted a chimney at the top, in order to inject the silicone.
The fabModules not directly accept STL files from OpenSCAD: you must convert to binary, eg with blender.
file :clignot.stl
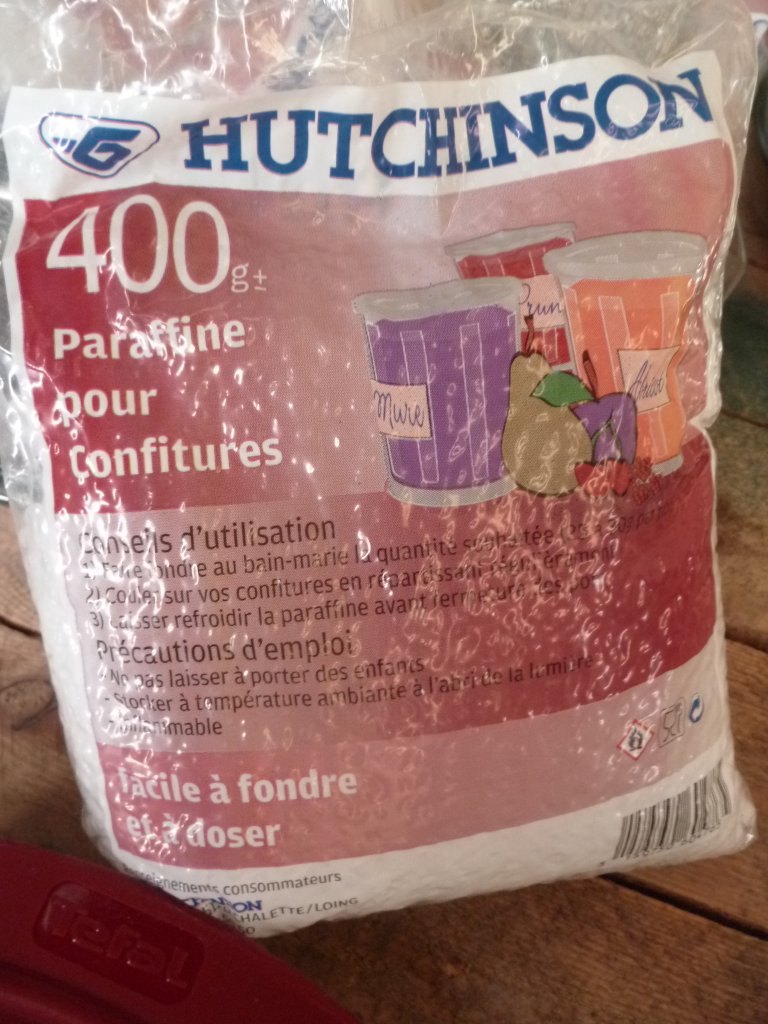
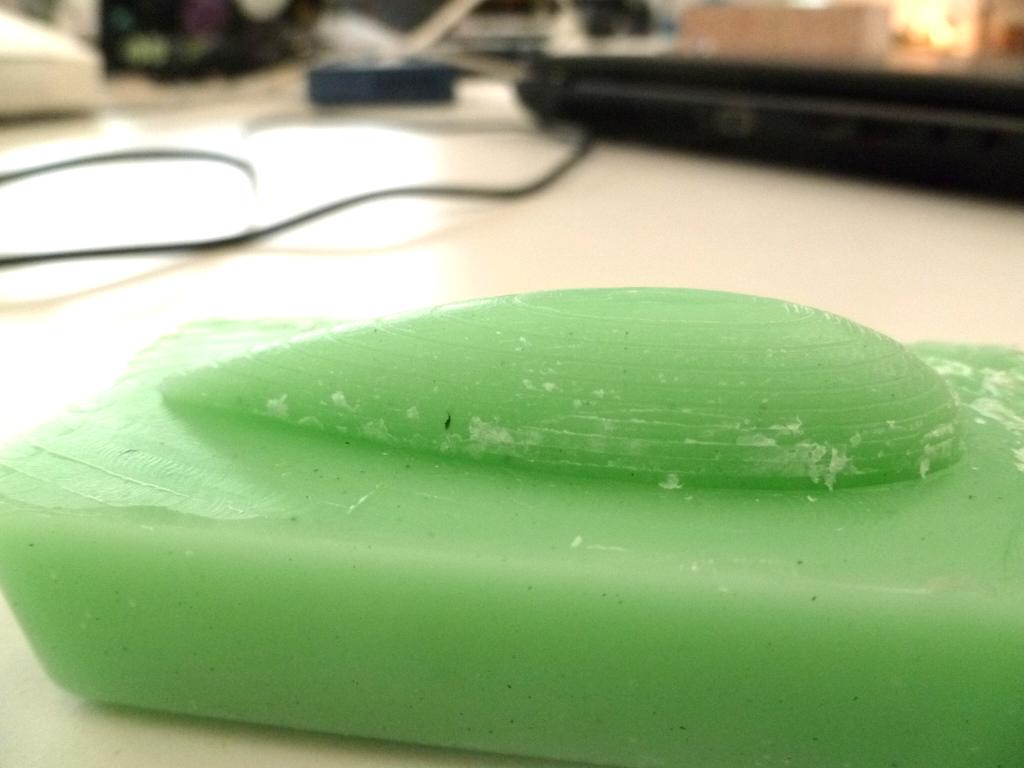
Unfortunaly, machinable wax is very difficult to be find in France.
Finaly, I decide to make myself, according to several online tutorials :
http://www.instructables.com/id/Machinable-Wax/?ALLSTEPS
http://asterix.returnland.xbws.org/faites_votre_propre_cire_usinablebr-p45463.html
http://www.machinistblog.com/make-your-own-machinable-wax/
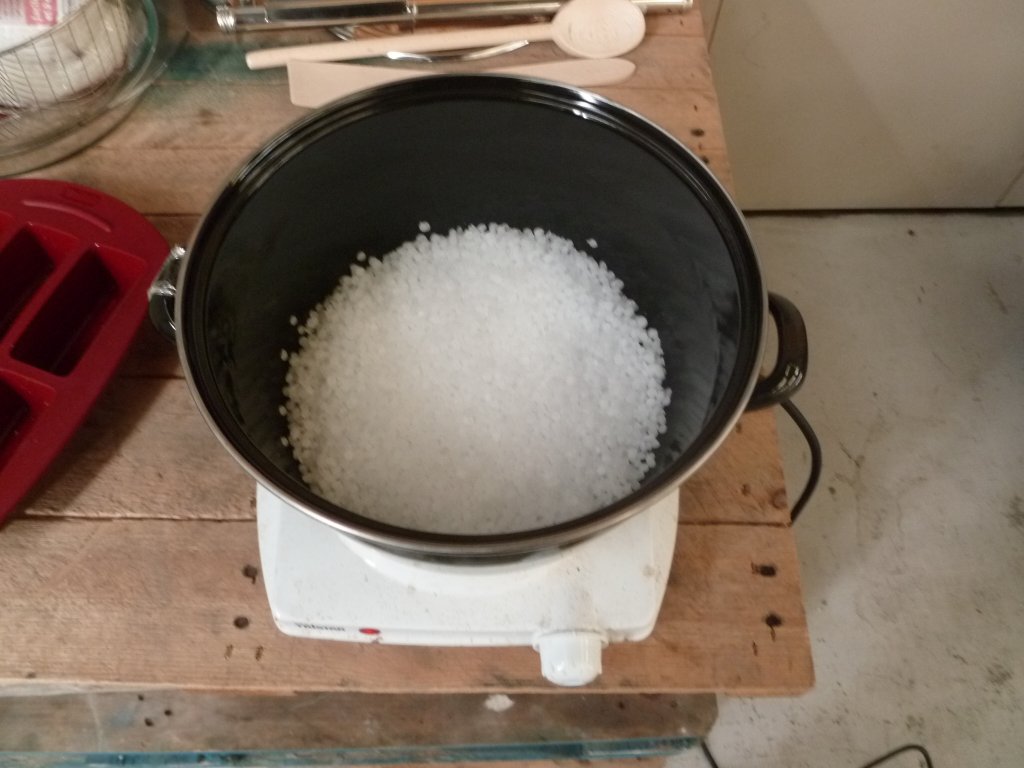


the result is quite good, in spite of that i don't put a lot of plastic bags. I will see machining...
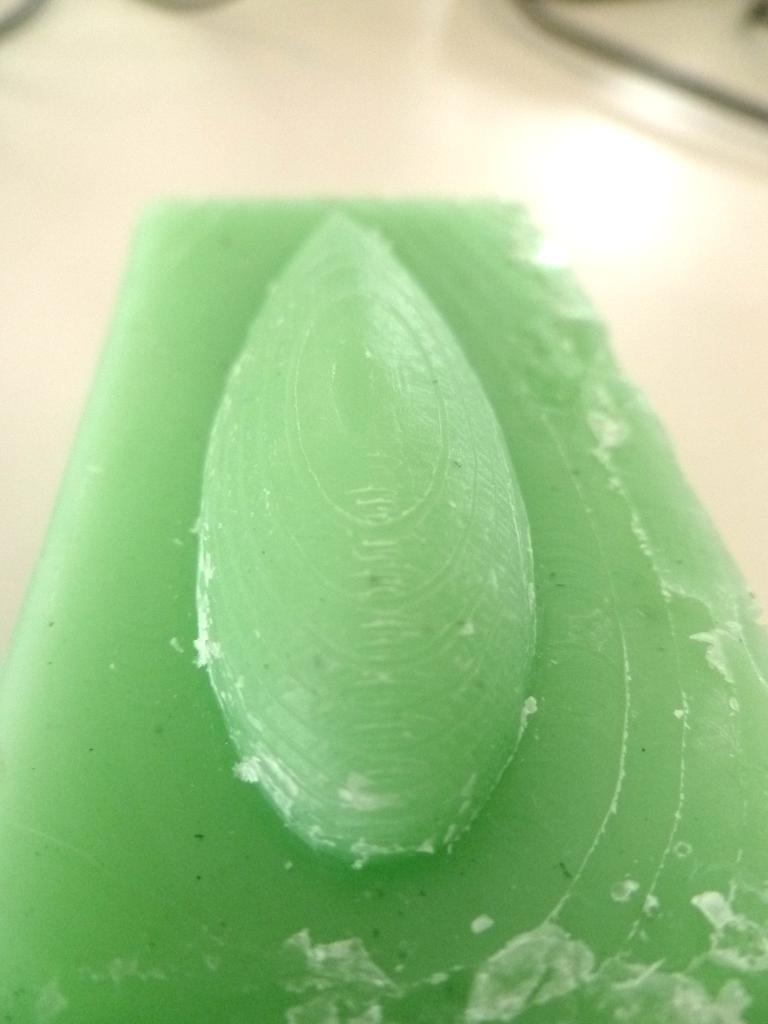
After my machinable wax has dried,
I installed it in modella (roll the stick with tape).
I used the tool that seemed most appropriate: a double flute straight teeth:
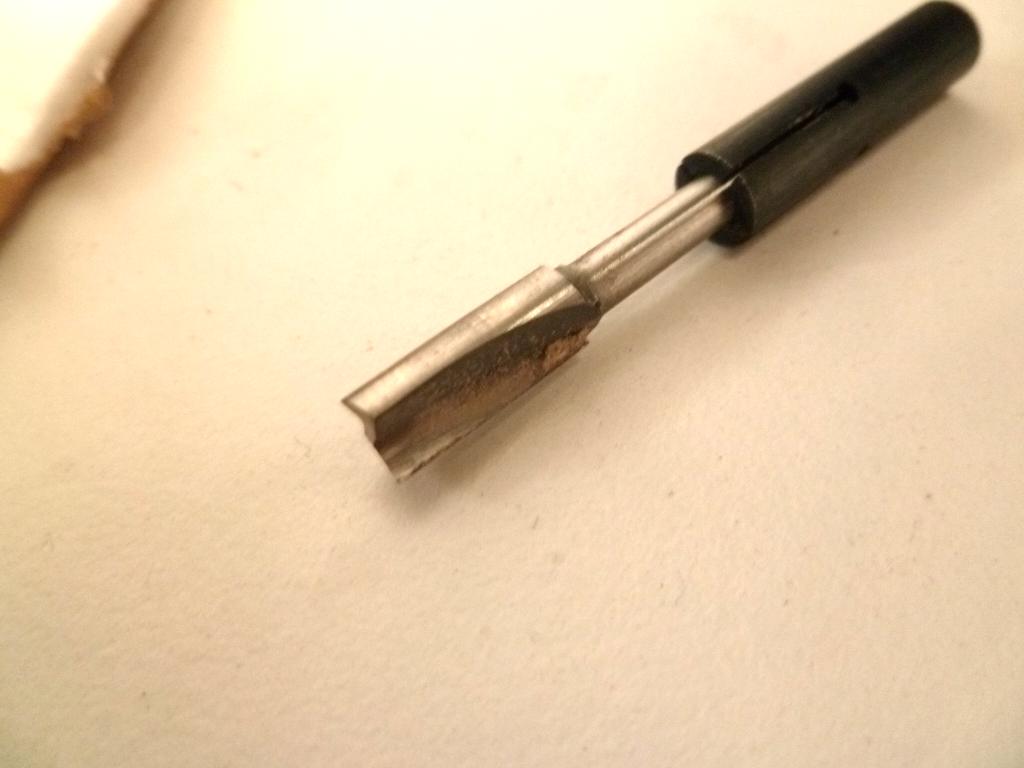
the lingo is a little digging on the surface: a first pass is necessary to plane block.
after,I do two passes:
with fab modules I converted the stl file in PNG, then file for modela rml:
with stl> rml
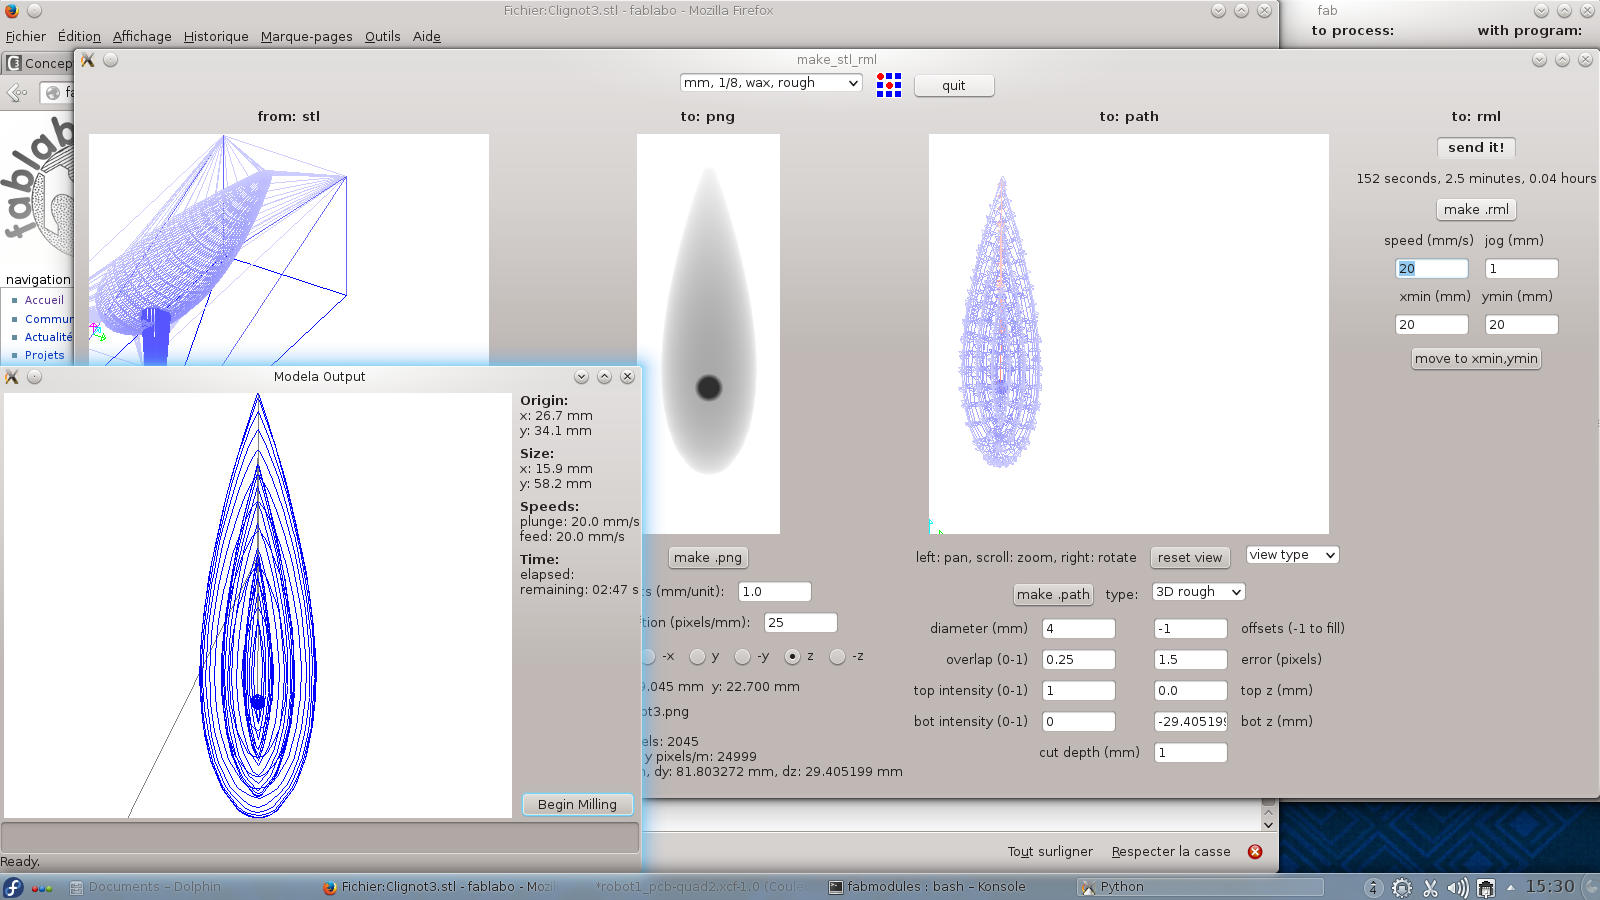
My trimming is already asse accurate, because I set the depth of each cut 0.3mm
By
cons, I did not understand the meaning of the overlap parameter: 1
means that the following trace overlaps the previous one, it is exactly
0 a tool diameter, so a small number gives less precision.
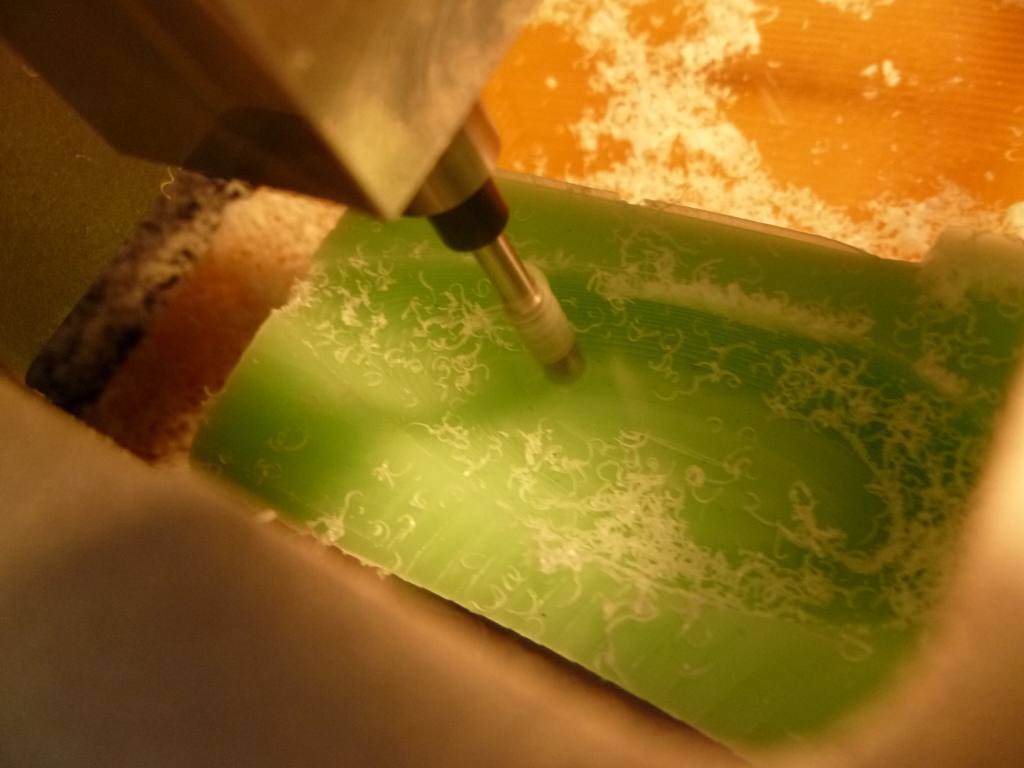
Then I do a finish:

Note that I made a mistake in the settings:
when I was informed a tool 4mm diamlètre, I left the "clearance" parameter to 3.18 ...
This causes an error in the generation of the path, but without warning . So the last path generated remains in memory:
this is how I spent twice roughing thinking to finish ...
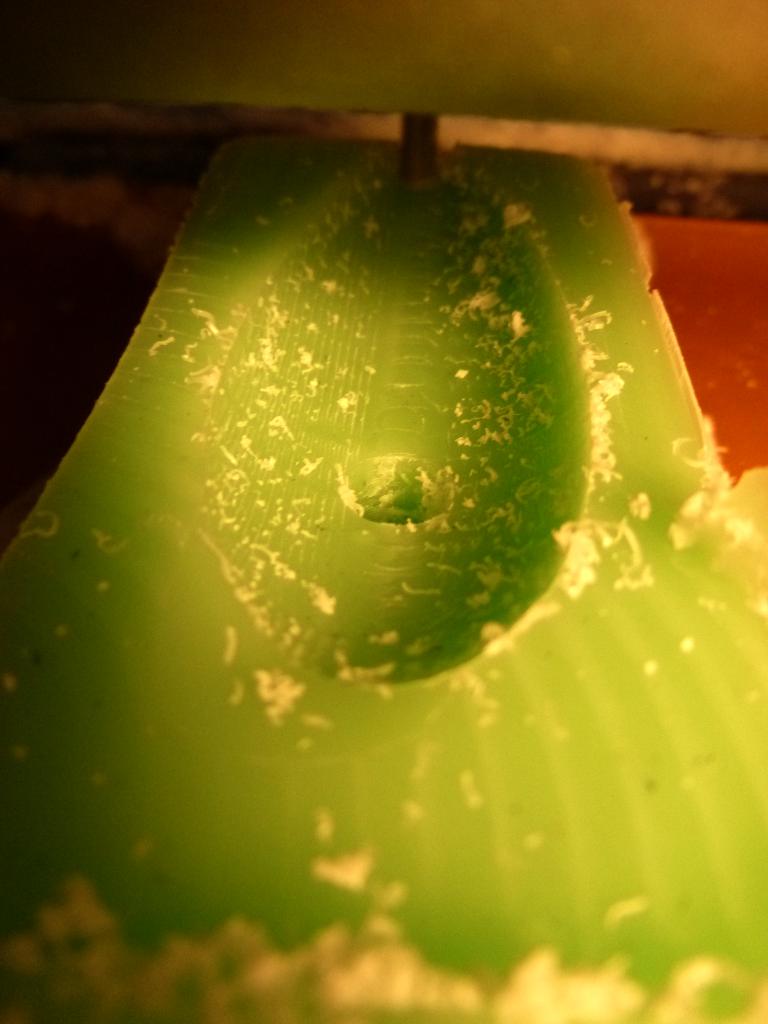

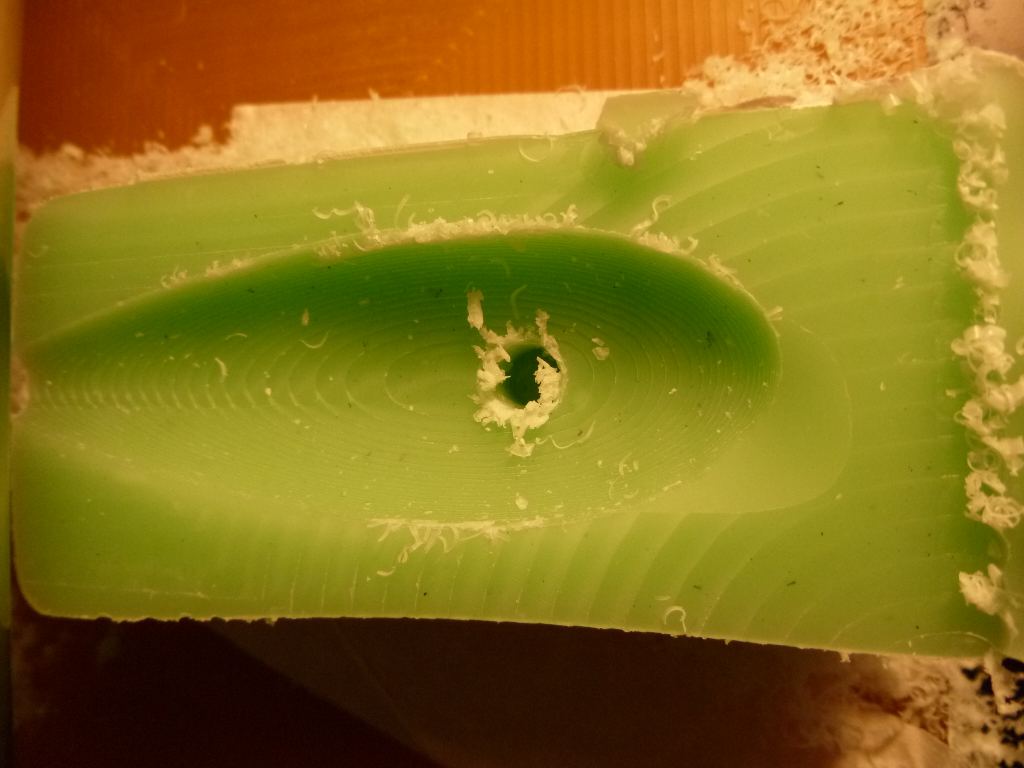
is satisfactory overall, but there is a small flaw: the first surfacing was not deep enough and there is a fault near the nose.
the other by the ofset machining causes a hole in the back: maybe practice for DIECAST, it was not intended ...
I thought use of transparent silicone used to seal the tiles.
Alas, after a test, I just realize (Tuesday morning) that this material polymerizes only in air!
Therefore in the mold, it remains liquid ...
I must find something else ...
I prepared a prototype composed of an aluminum sheet (the material
of the body of my vélomobile) pierced in the dimension of an LED.
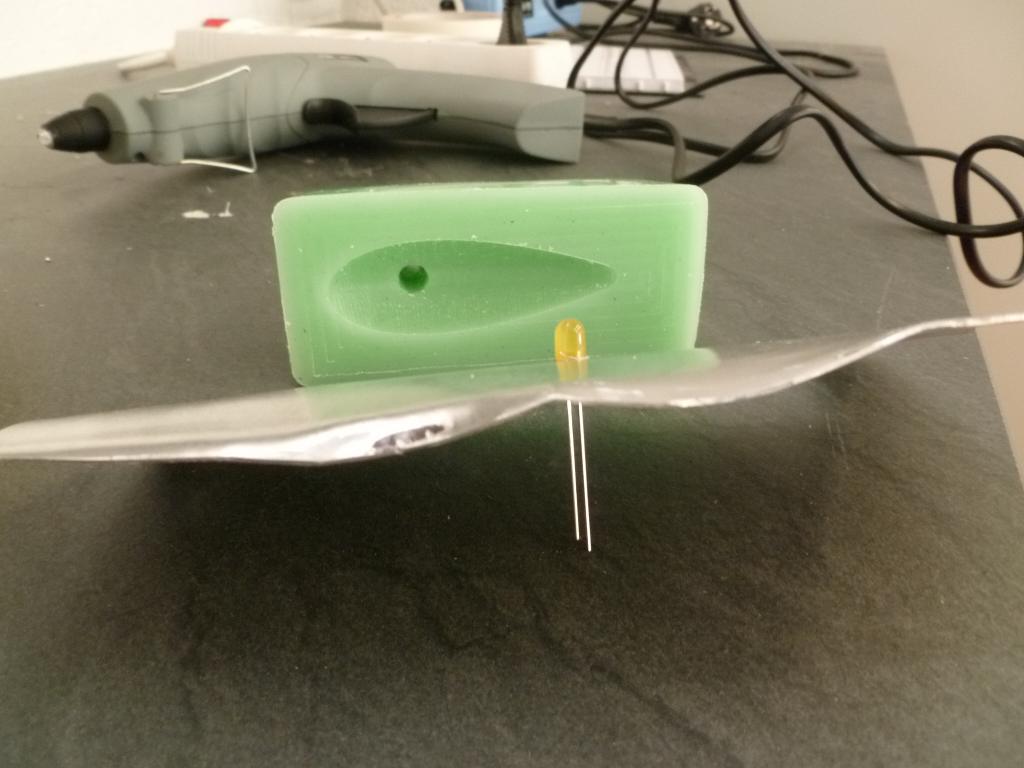
The mold is an older version with cheminey. I finally remade without and then coated with black soap for easy removal.
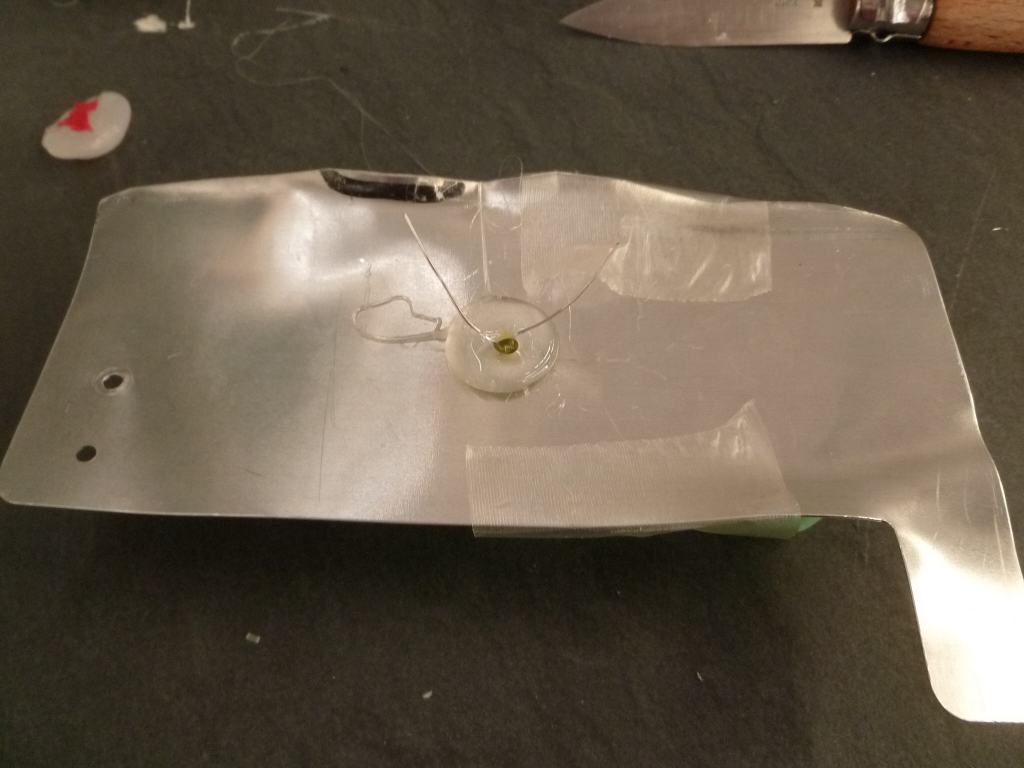
once the mold firmly glued to the plate, the cast is simply done by injecting glue gun with the hole of the led.
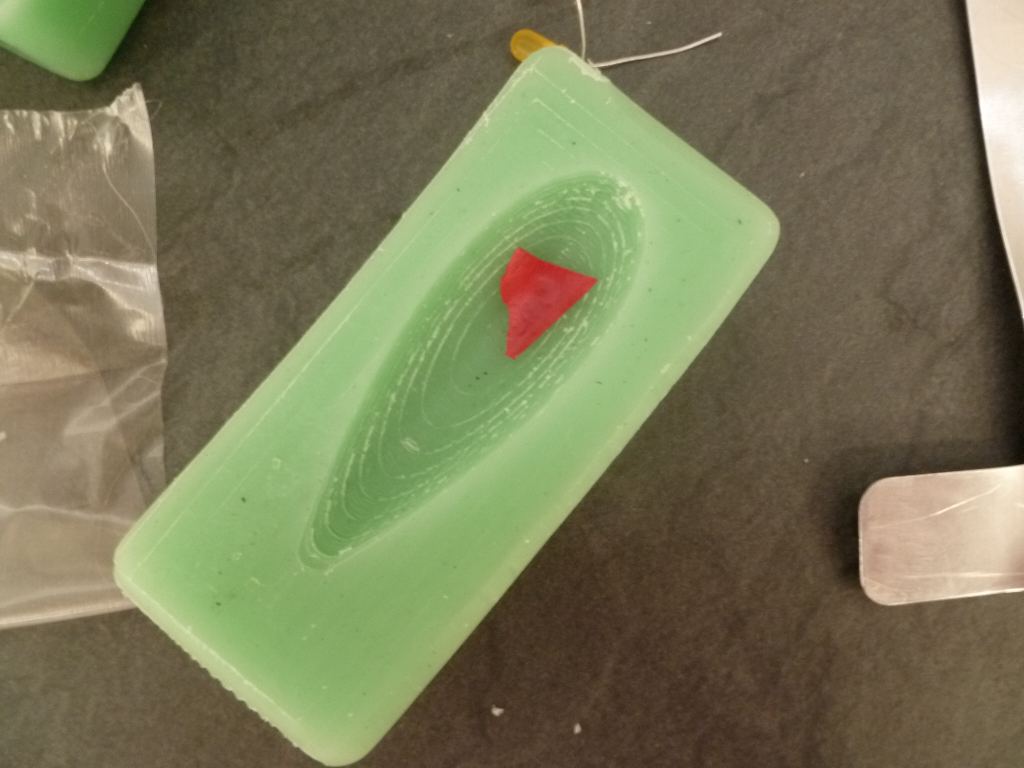
It is not clear whether the cavity is full. for safety reasons, I will
spill over to the glue between the mold and the plate. Finally, I
inserted the LED close to the hole. The glue will also holding it.
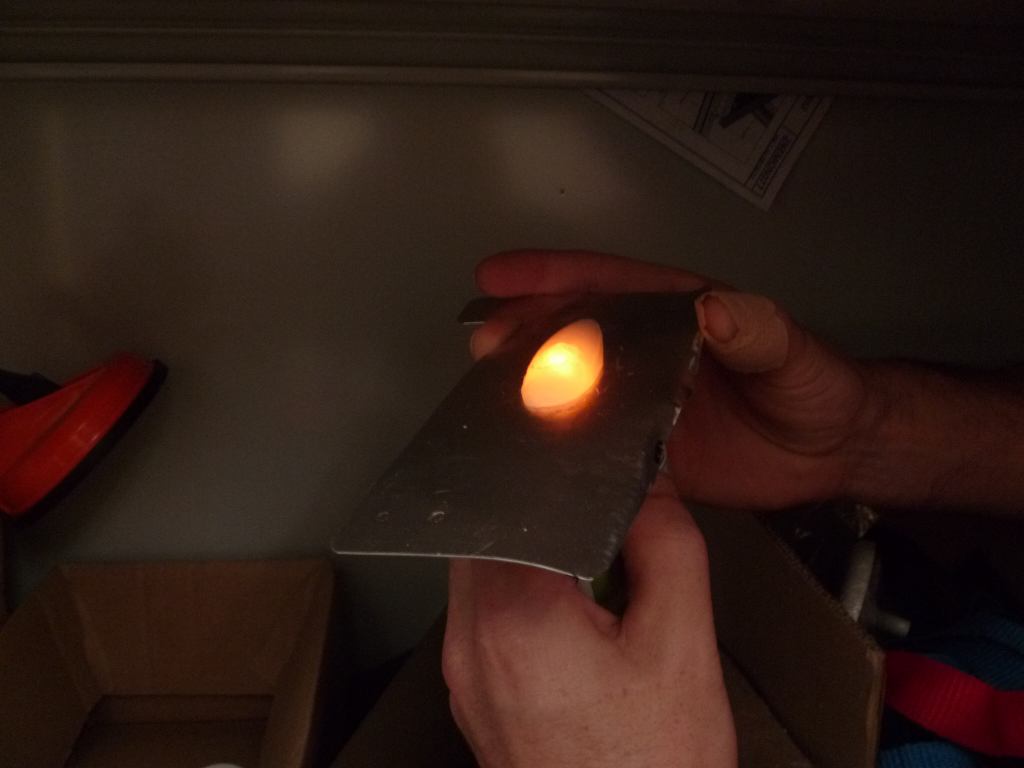
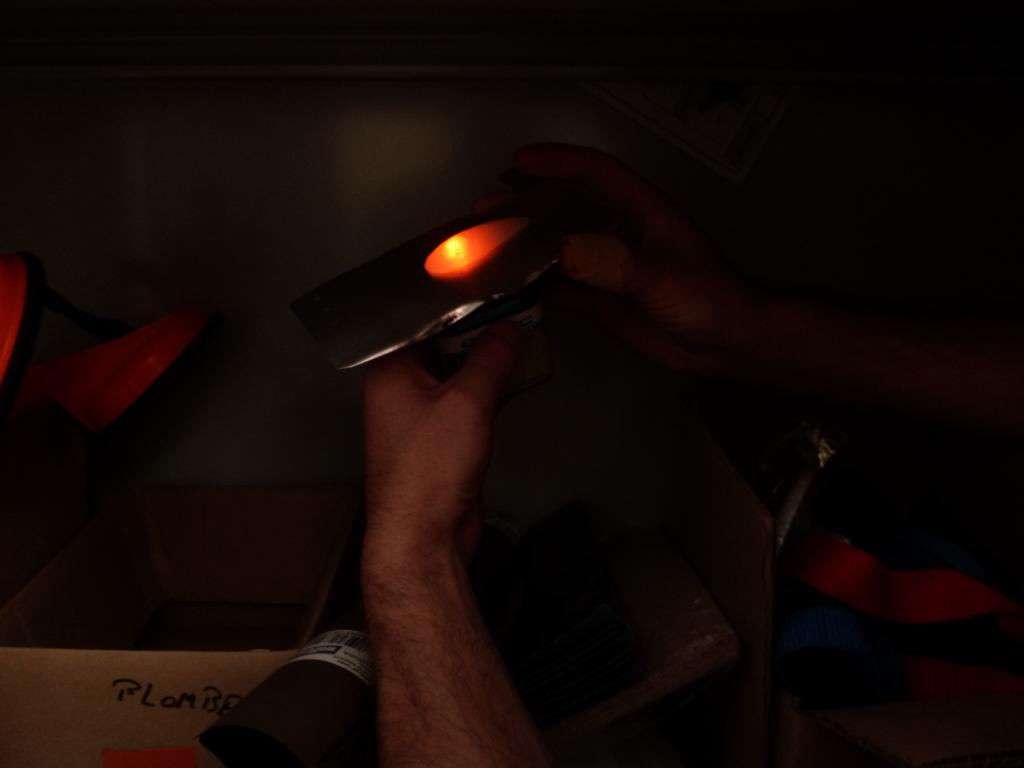
Once removed from the mold and trimmed, the flashing is ready.
The concept is validated:
one can achieve a flashing and fasten in one operation. Hot glue is a good light diffuser and sticks well to the plate.
However, the method can be improved: in fact, even coating of soap, the machinable wax mold is difficult to peel off.
Ideally, make a silicone mold from a positive.
However I lack time for this week ...
next week, I do a silicon mold from positive shape, to get better results


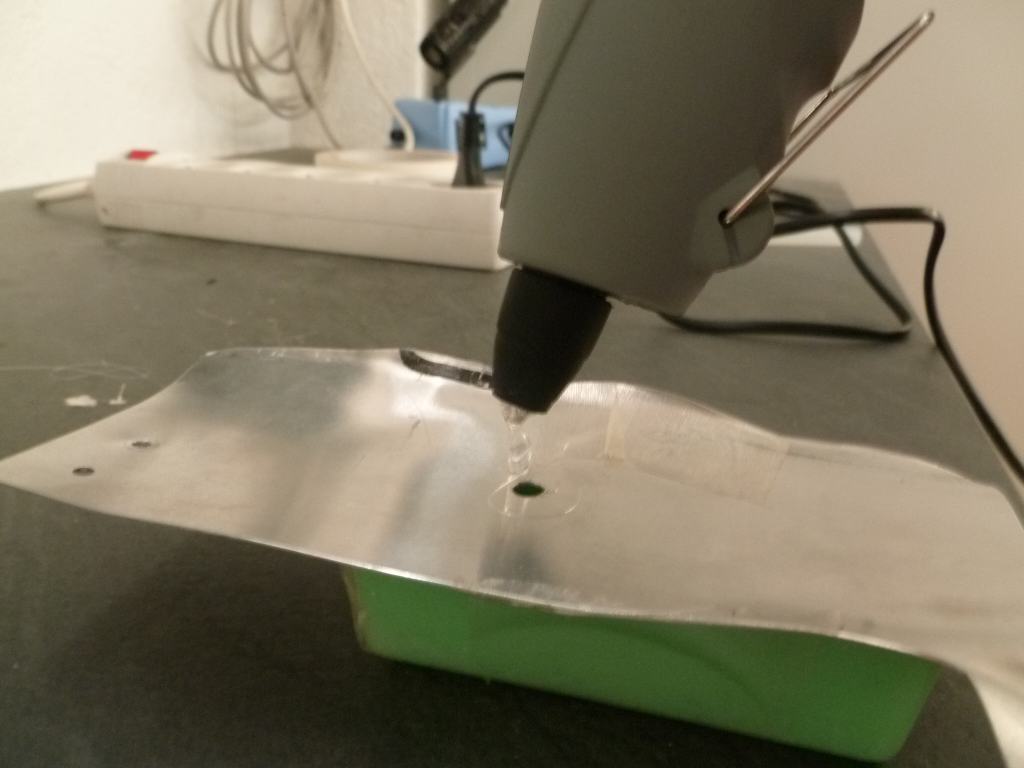
I made two holes in the aluminium sheet : one for the led, the second as cheminey, and to facilitade the detection of full.
I do the cast with hotglue gun


finaly, the result is quite good. the part is clean and stick very whell to the sheat.