pamela chami
  • home
  • about me
  • project
  • assignments

week09

Molding and Casting

This week assignment was to design a 3D mold, machine it, and cast parts from it following these steps:

  • Design a 3d model
  • Mill the part out of a wax block to create the positive mold
  • Create a silicone negative mold from the wax block
  • Fill the silicone negative with a casting material to form the final part
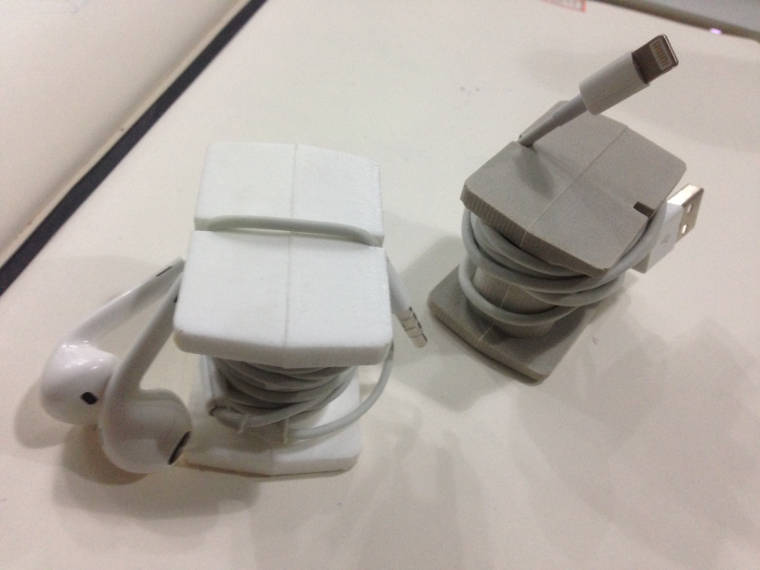
  • My idea was to experiment with the geometry of molding and the constraints from using a 3-axis milled mold and at the same time make something useful. so I decided to mold and cast a phone charger holder which I urgently need as I always run out of battery and I always carry my charger around!

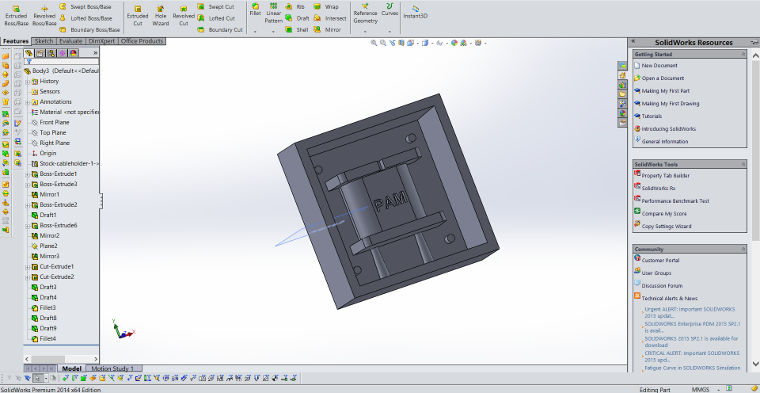
    Design a 3d model - positive mold

    I used solid works to built the 3d model for the positive mold. I created first a 3d cube pieces that had a lot of difficulties to mold. After a lot of trials about how will my pieces work, I finally decided to do one positive mold which will give two symmetrical negative molds.

    I had to take in consideration many factors :

  • The dimesions of the mill tool used. Always mill and design around the tool
  • Create angular side (because my mold was deep enough)
  • Include “fixing points” so that the parts can fit together in perfectly.
  • Include a hole that is exposed to the outside where liquid can be poured
  • Smiley face

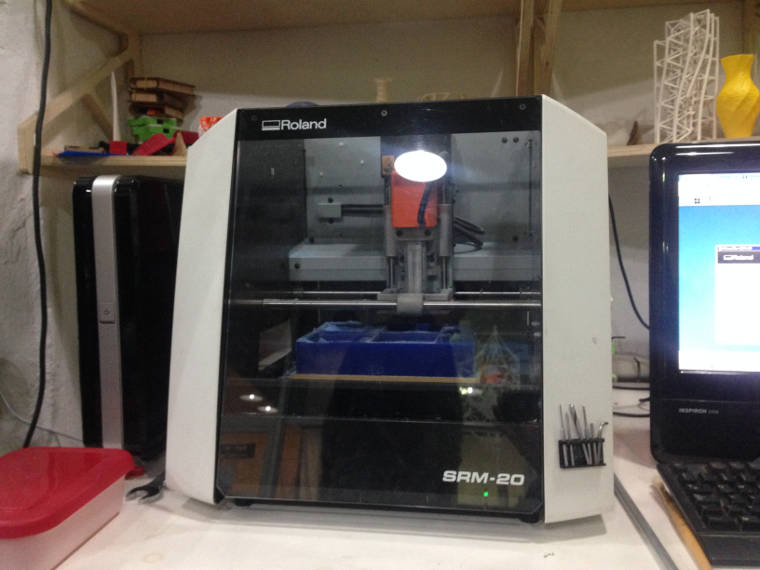
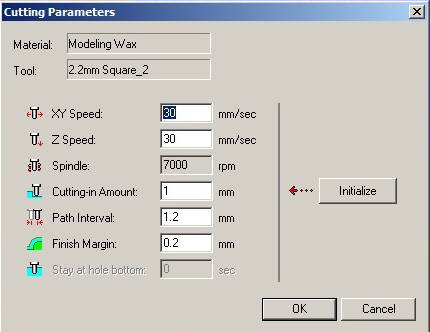
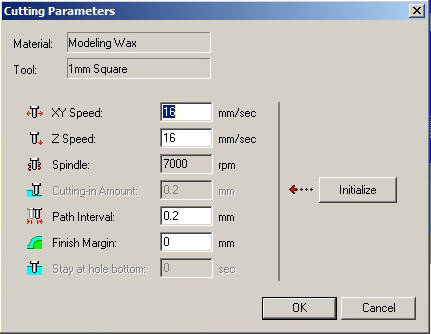
    I used the Roland SRM-20 machine to mill the block of wax.
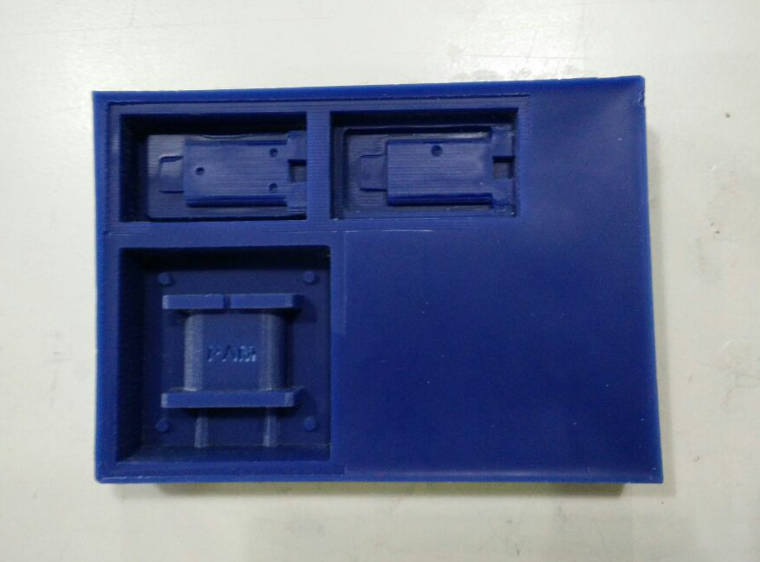
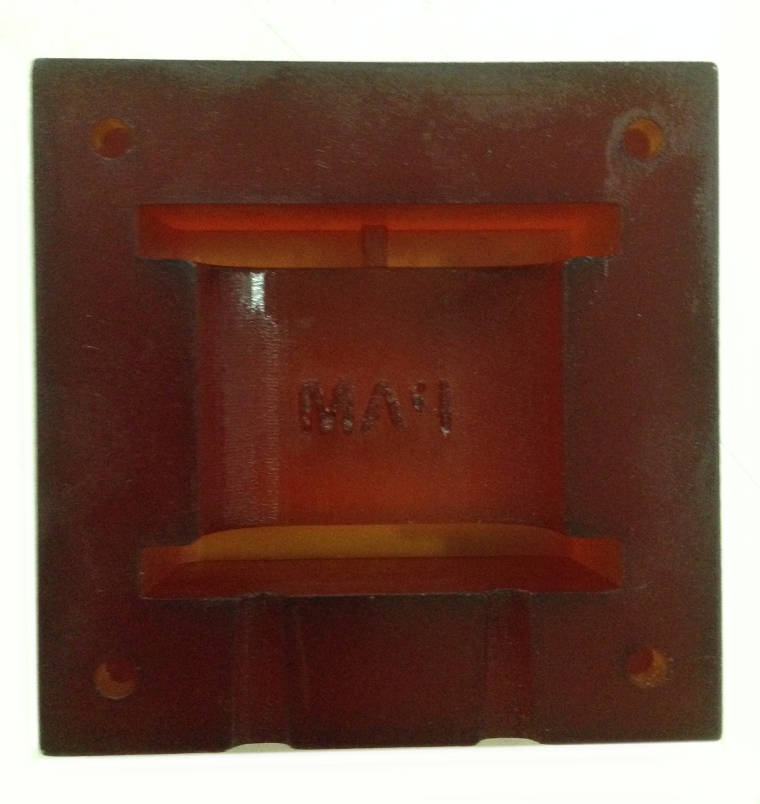
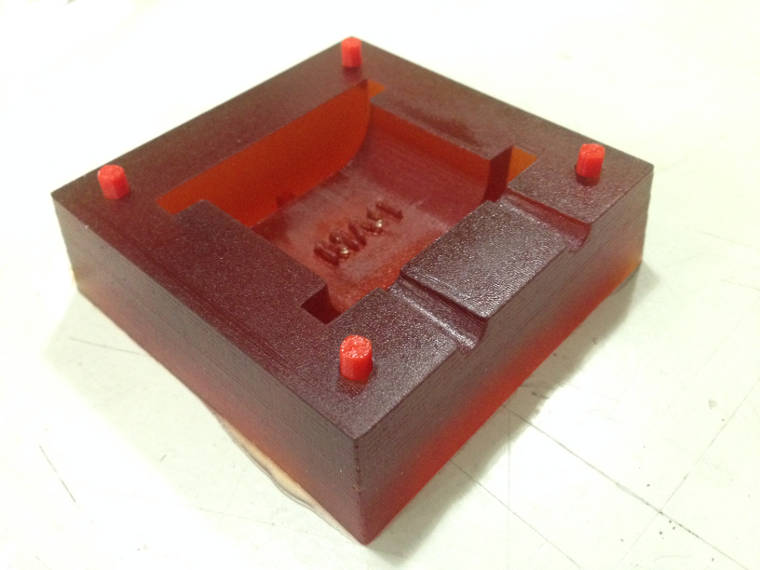
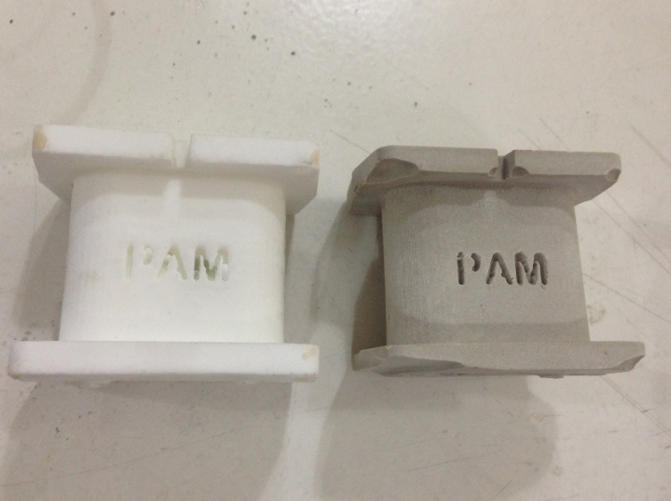
  • The machine should be clean and the block of was should be properly glued to the base board by a double sided tape
  • First step is the roughing surface using a 2.2 diameter mill bit
  • Second step is the finishing surface using a 1mm mill bit
  • This link is a guide explaining all about CNC machining, mold making, and resin casting. It was really clear and useful.

    Smiley face

    Smiley faceSmiley face

    Smiley faceSmiley face

    Smiley face

    Negative mold

    Smiley face

    Smiley face

    After the preparaton and filling the block of wax with silicone, I had to keep it dry for 12 hours and try to fill the mold again for a second symmetrical negative mold.

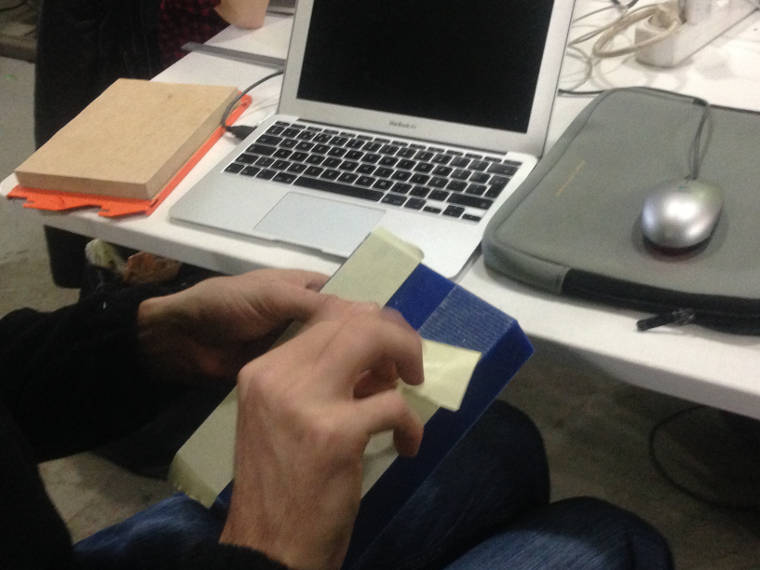
    Because of the symmetric in the mold I had to 3d print fixing points so that the parts can fit together perfectly.
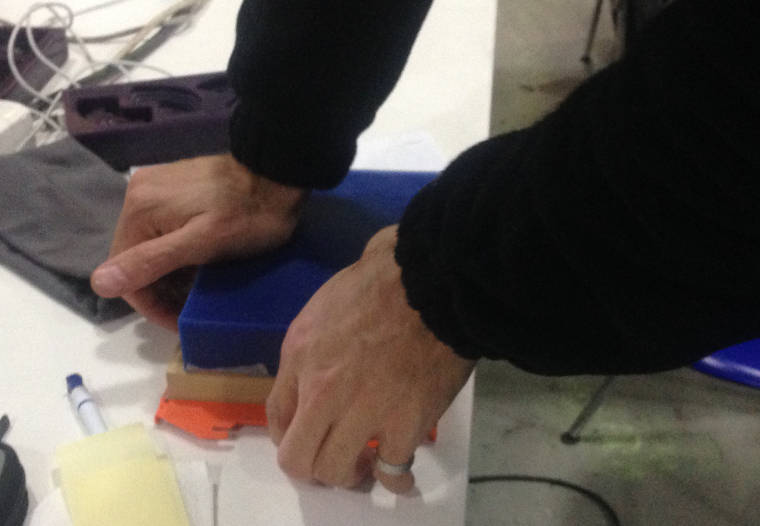
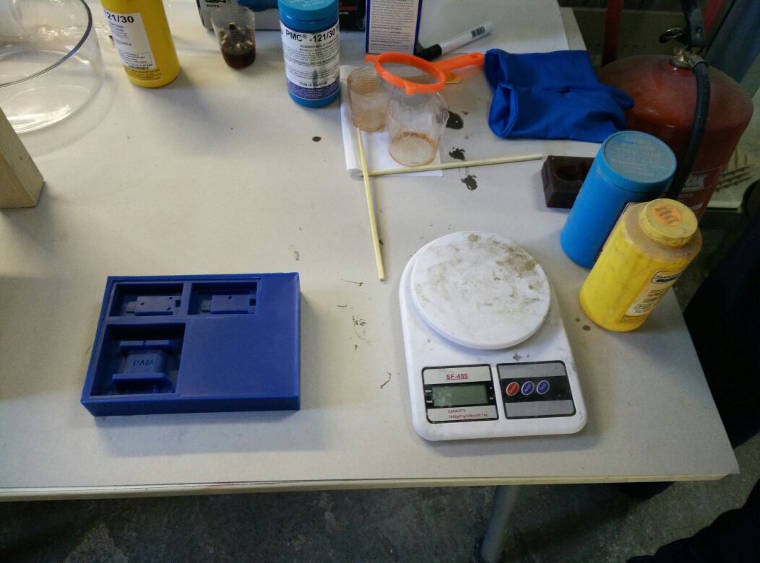
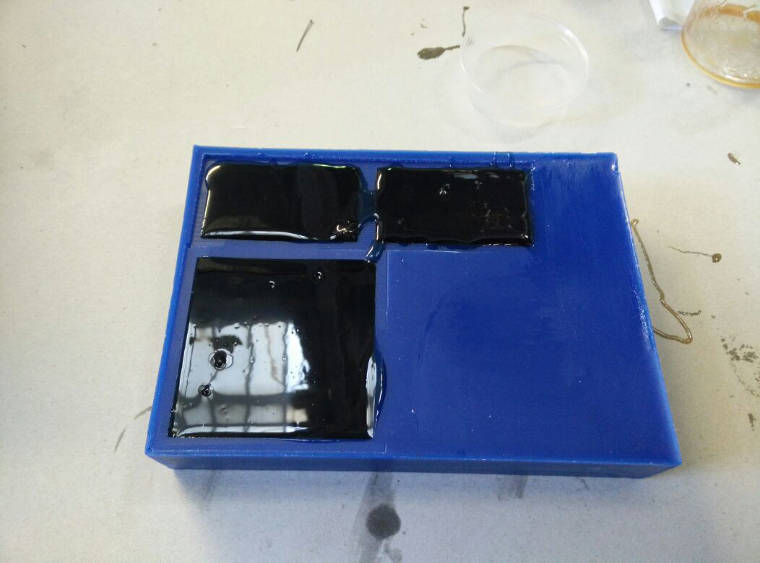
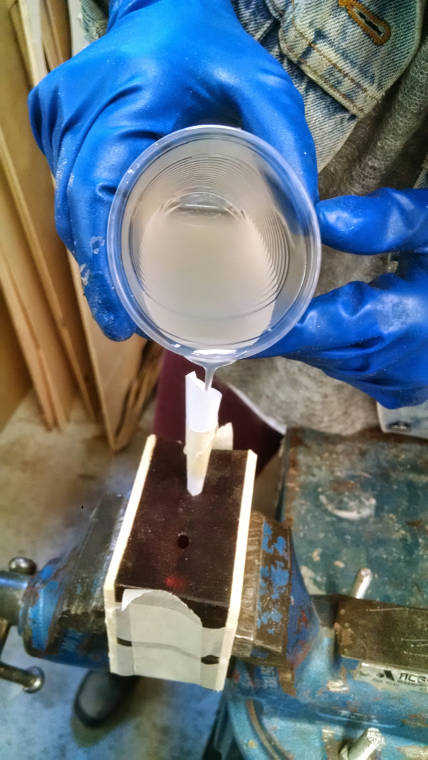
    Smiley face

    Smiley face

    Casting

    For the casting part, I have used:
  • UltraCal 30, a super-strength gypsum cement
  • Smooth cast, casting resins
  • Which are completly different. I had to shake my negative mold well before so the cast can expand in all the mold. The first attempt was the ultracal and you can see in the image the result. The smooth casting was better.

    Smiley face

    Smiley face

    Smiley face

    Smiley face

    Smiley face

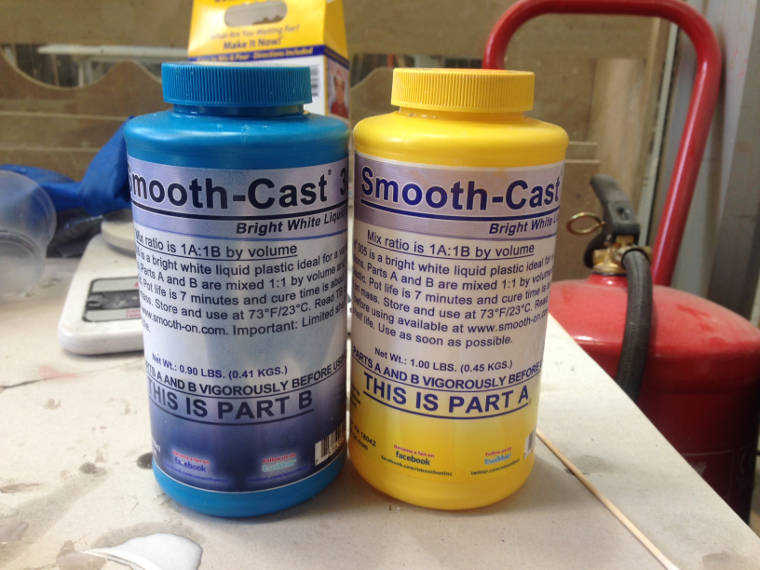
    Download the file here : 3d module - solidWorks

    Fabacademy.org | Copyright © pamelachami | Design by pch