week08
Computer-Controlled Machining
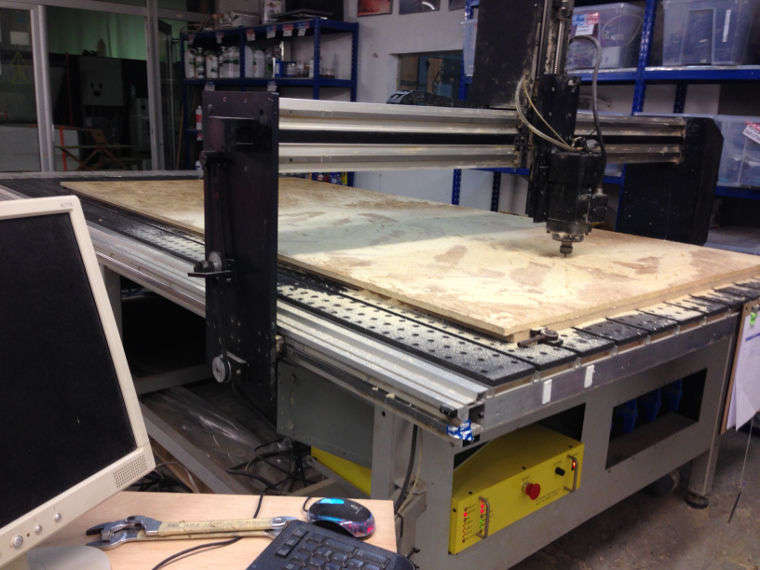
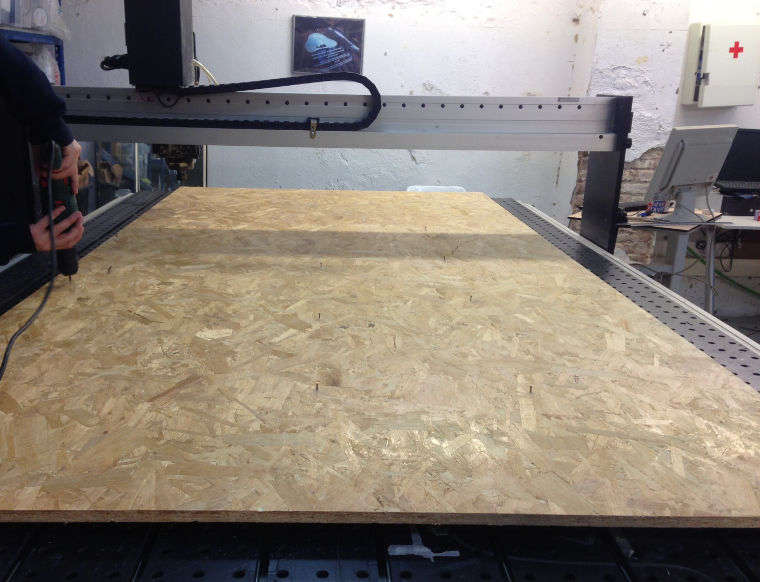
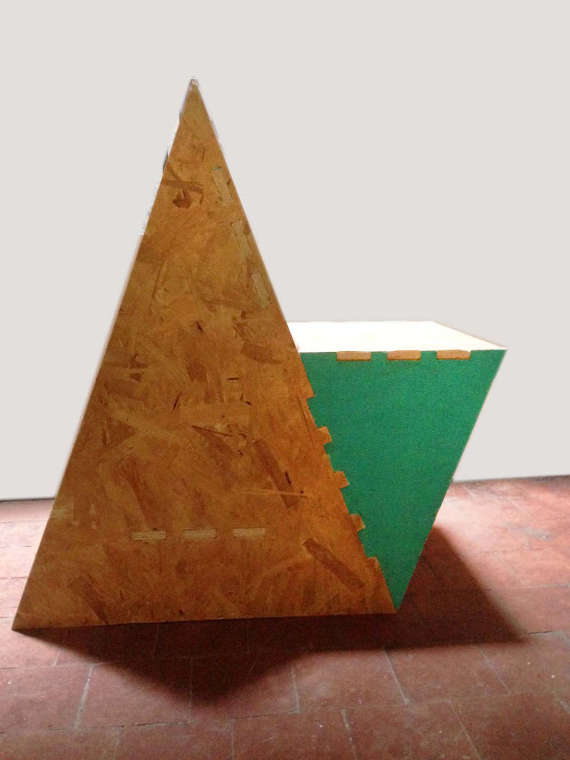
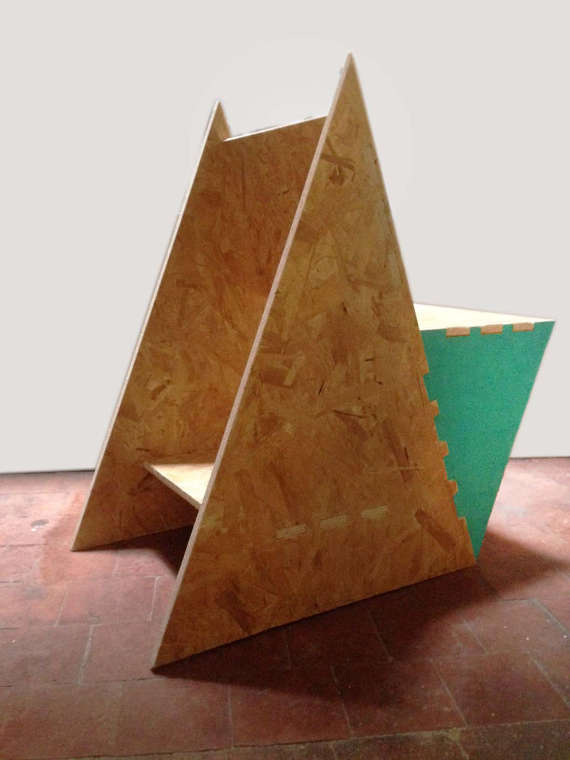
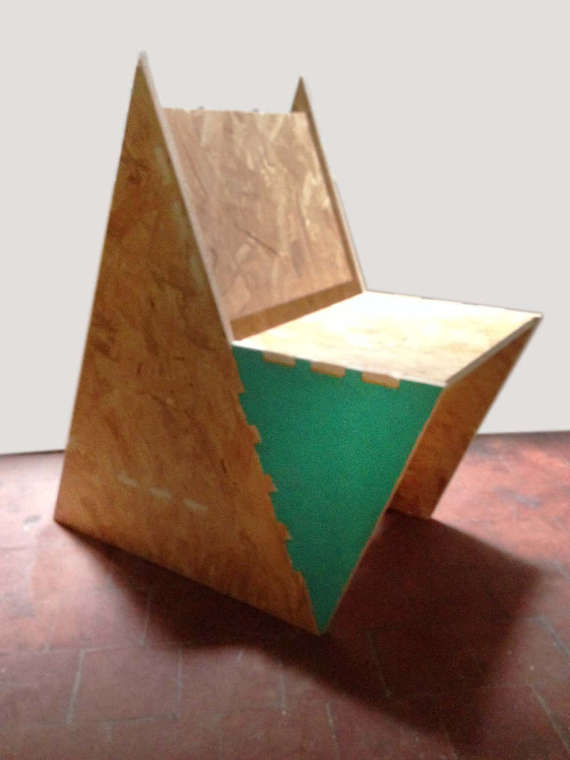
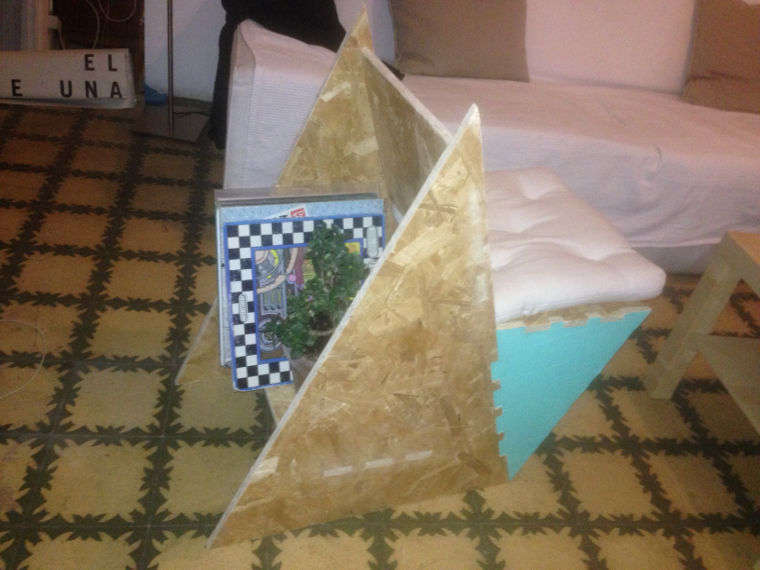
This week assignment was to make something big using plywood. I have used the Oriented Strand Board (OSB), an engineered wood particle board formed by adding adhesives and then compressing layers of woodstrands in specific orientations and I used the CNC machine to mill and cut the board. The dimensions of the OSB are 2500 L x 1250 W x 15 Thick.
Inspiration
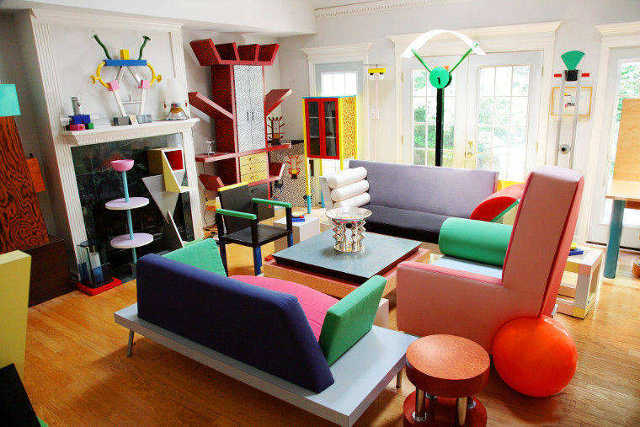
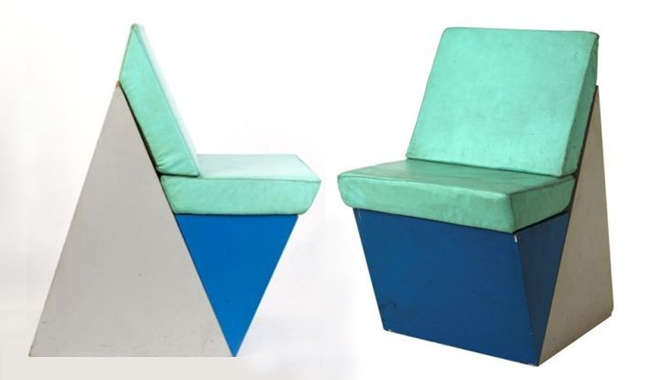
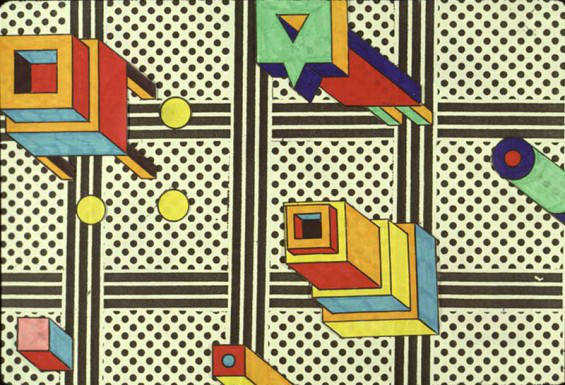
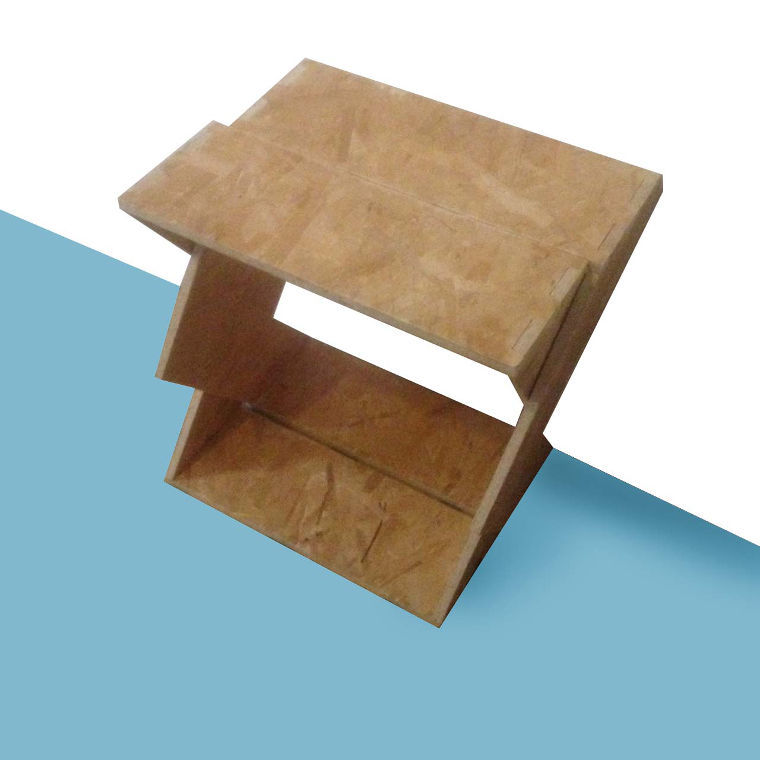
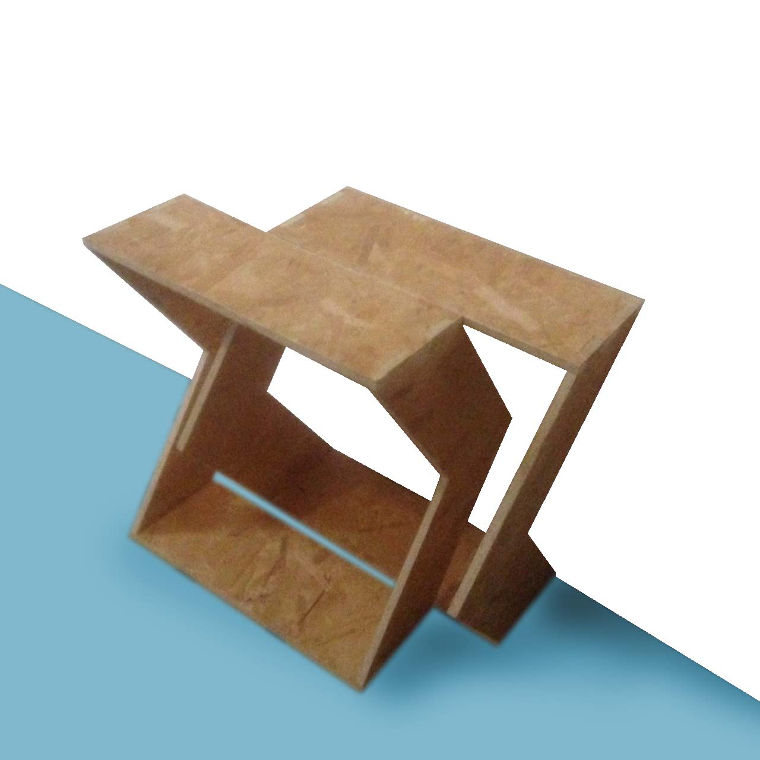
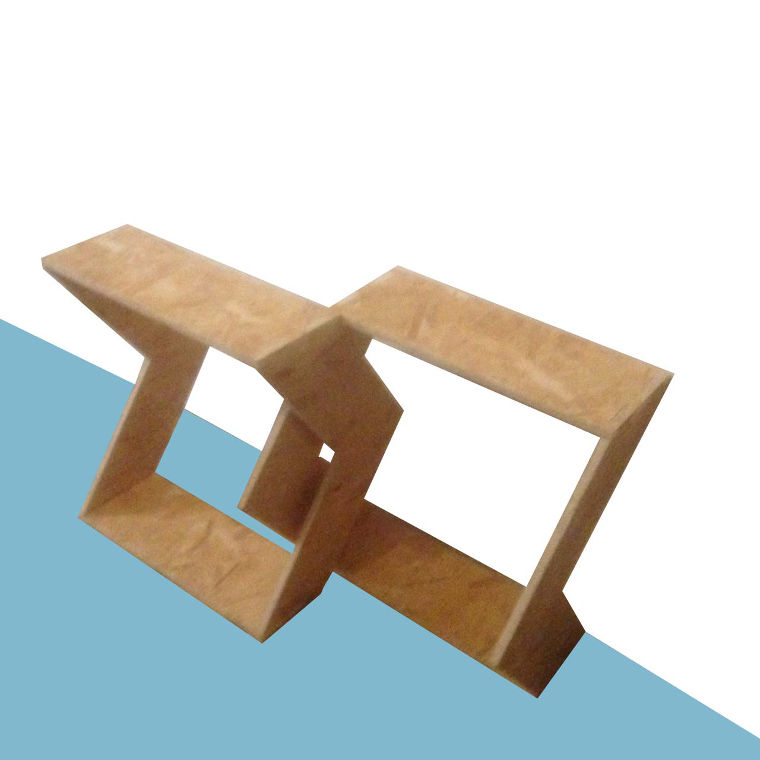
As an interior architect and having a background in design, I am very passionate about furniture and product design. For this week assignment, the first thing I thought about was the memphis group design movement which started in the early 80's and which was founded in Milan by Ettore Sottsass. Their design was the combination of value, chromatic palette, materials, and versality. Their main aim was to reinvigorate the Radical Design movement. The group intended to develop a new creative approach to design.
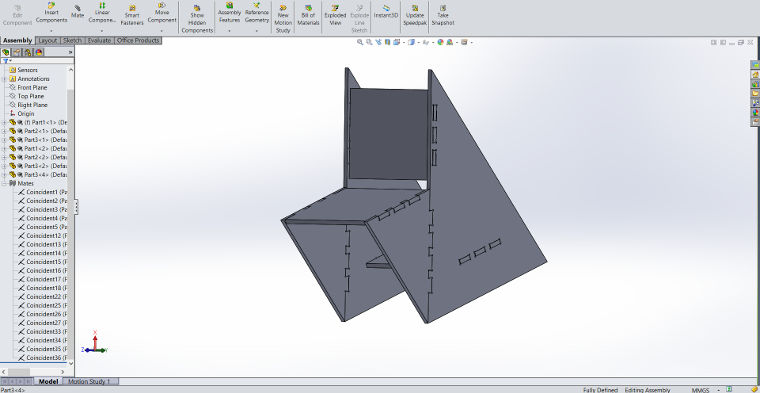
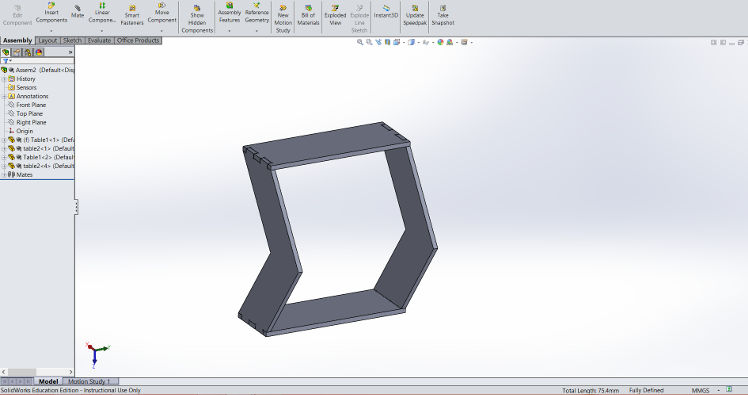
So I have decided to make furniture (A chair and a side table) and get inspired by the memphis design and try to play with the geometry shapes and maybe even add some colors.
Design Process
I draw the design in SolidWorks a new engineering software for 2d and 3d design that I really found friendly to use. There are 3 steps to follow to build 2d and 3d design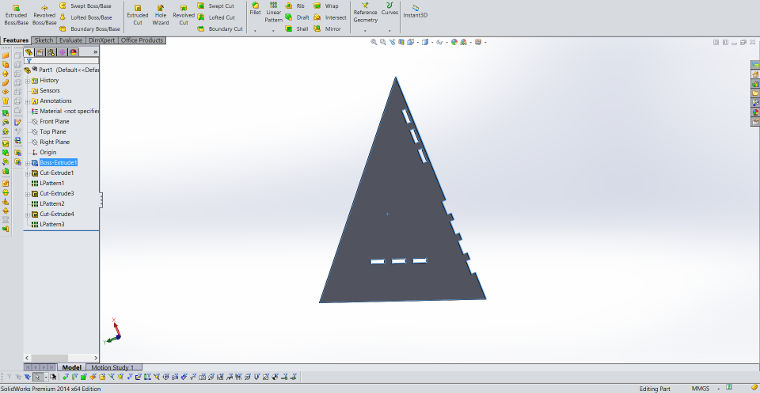

Mill tools
Here is a clear list of the milling tools with all the dimensions.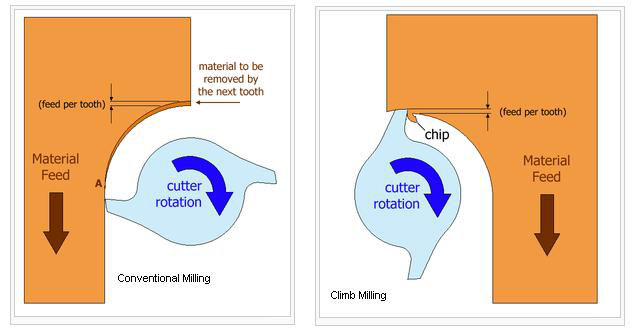
CNC machine
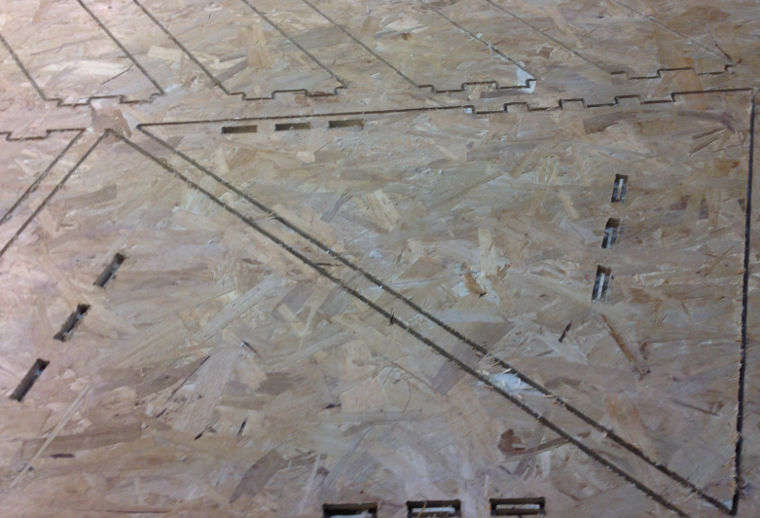
I opened the design as DXF in RhinoCAM, a Rhino plugin, to generate the path of the milling. The file should be prepared by steps:
Once all the steps are generated into gcode, the CNC machine can be able to read it using the Mach3CNC software. Few notes before processing:
Failure
Note to self: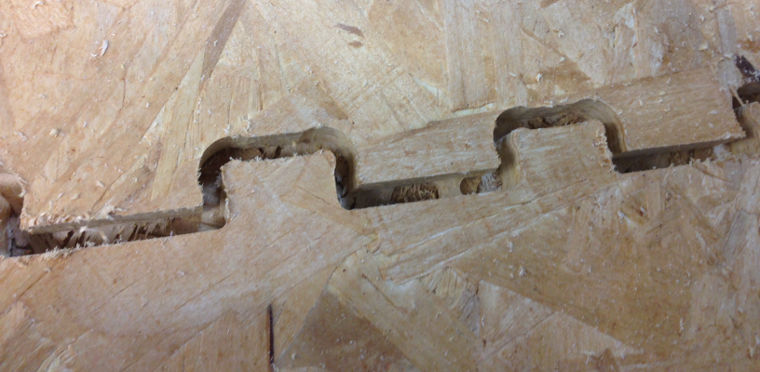
References
Some references that were useful and handy:
Download the files here : Furniture file - solidWorks